Photos
Table of contents
- Printing Parts
- Z Rail Assemblies
- Frame
- Z Joints
- Deck
- Z Drive
- Z Idlers
- Z Endstop
- Bed
- ZeroFilter
- Y Axis
- X Axis
- A/B Idlers
- A/B Drives
- X/Y Joint Assemblies
- Y Endstop
- Gantry - Mounting A/B Idlers
- Mounting A/B Drives
- Klicky
- Rear Gantry
- Mounting X Axis
- X/Y Belts
- Mini Afterburner
- Gantry Install
- Z Belts
- X/Y Belts (Revisited)
- All Belts Done
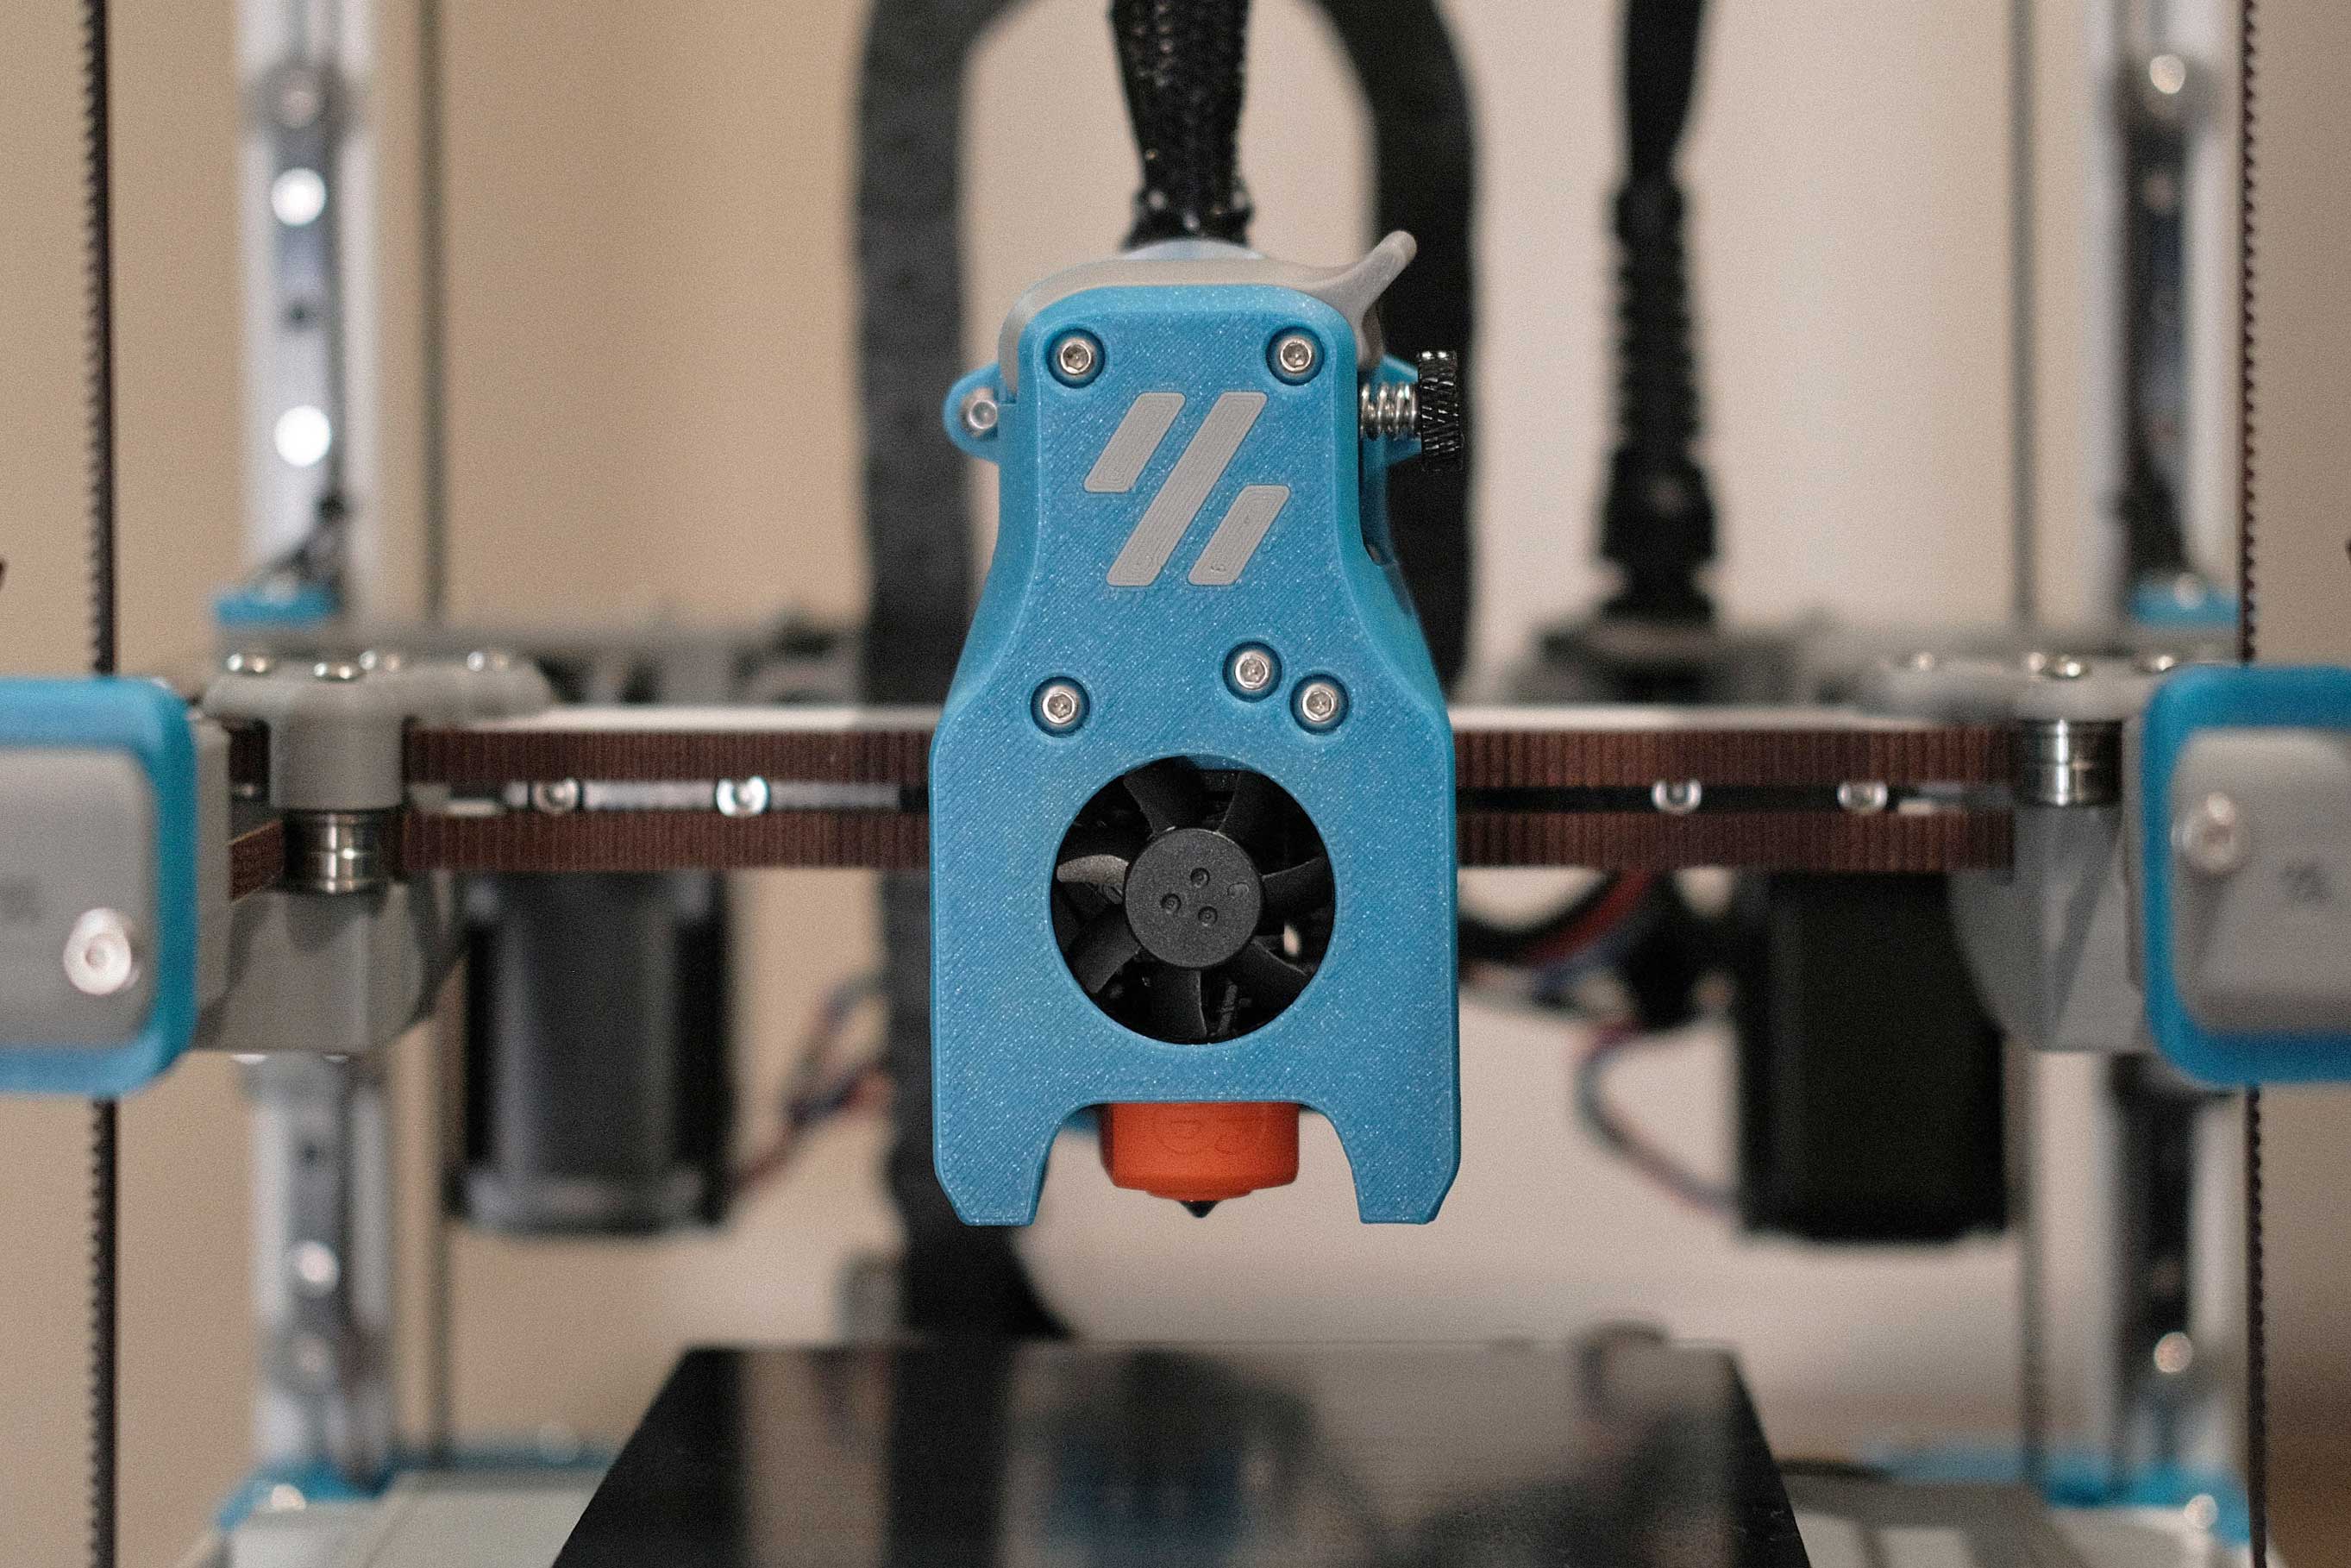
- Mini Afterburner (Revisited)
- Front Skirt
- Electronics
- Wiring
- Mini Afterburner (Revisited)
- Umbilical/Cable Chain
- Wiring
- Initial Build Complete
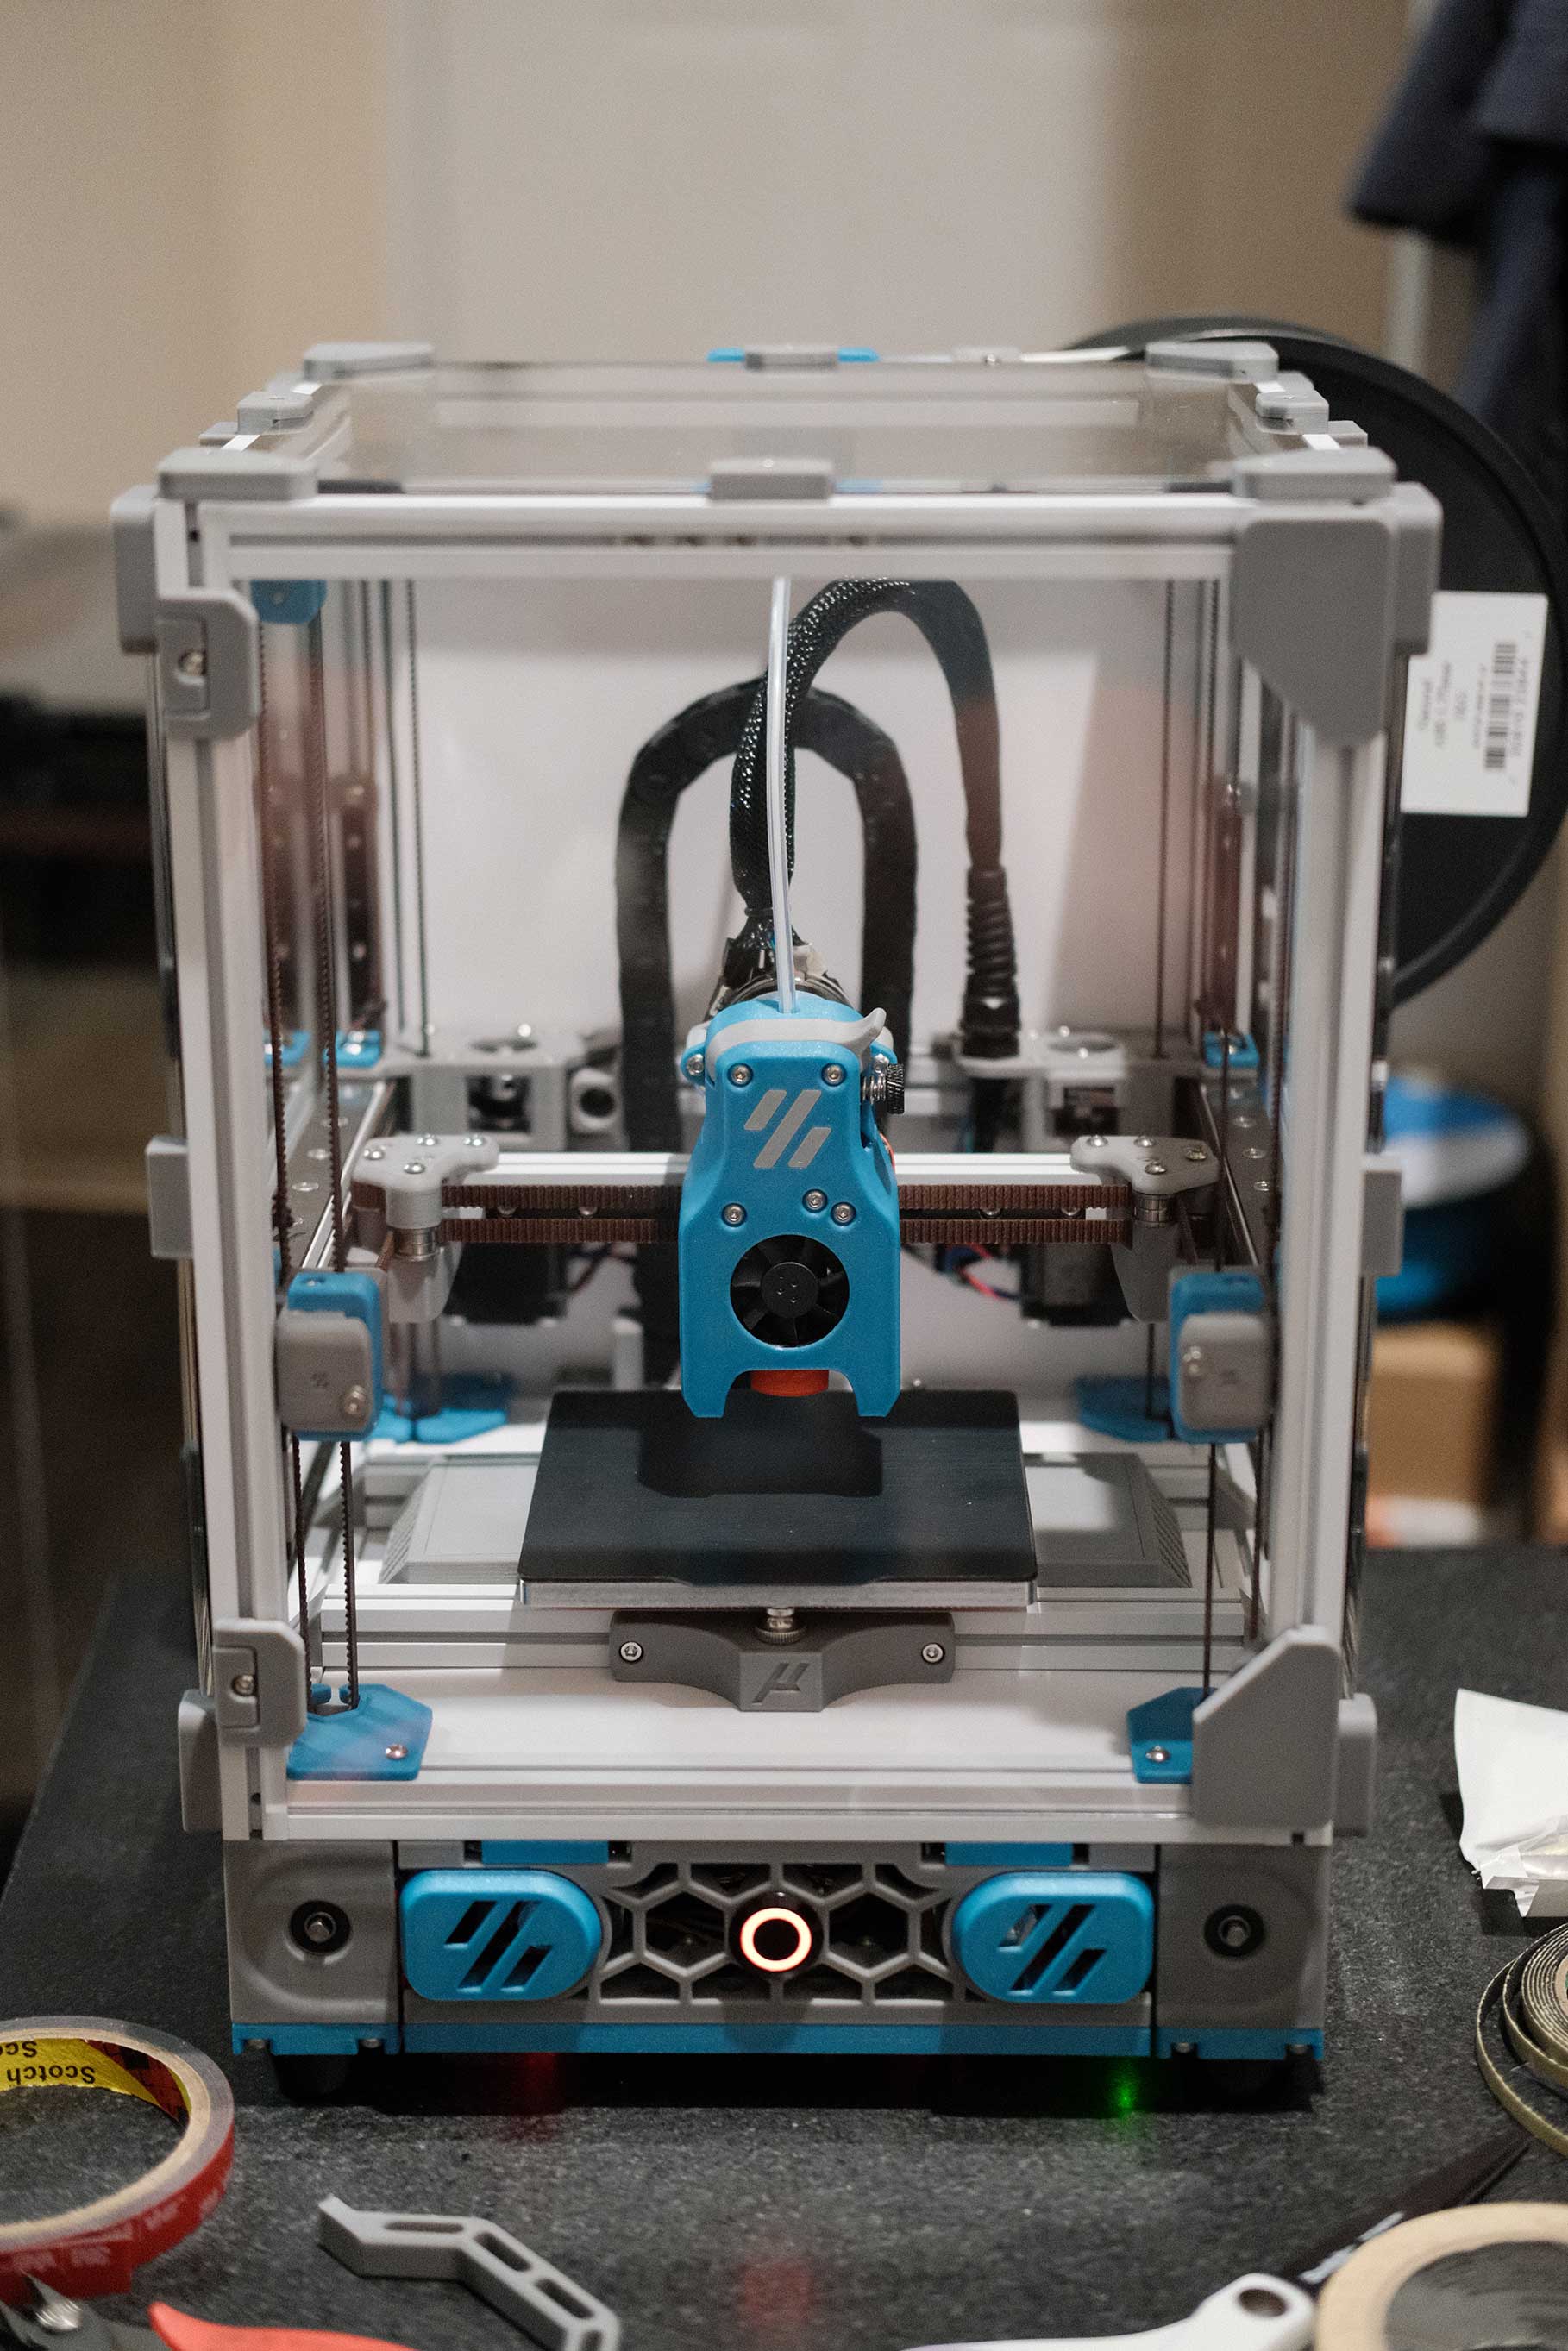
- Neopixel Front Button
- Panels
- Comparison to 300mm Trident
- Neopixel Sticks for Chamber Lighting
Printing Parts
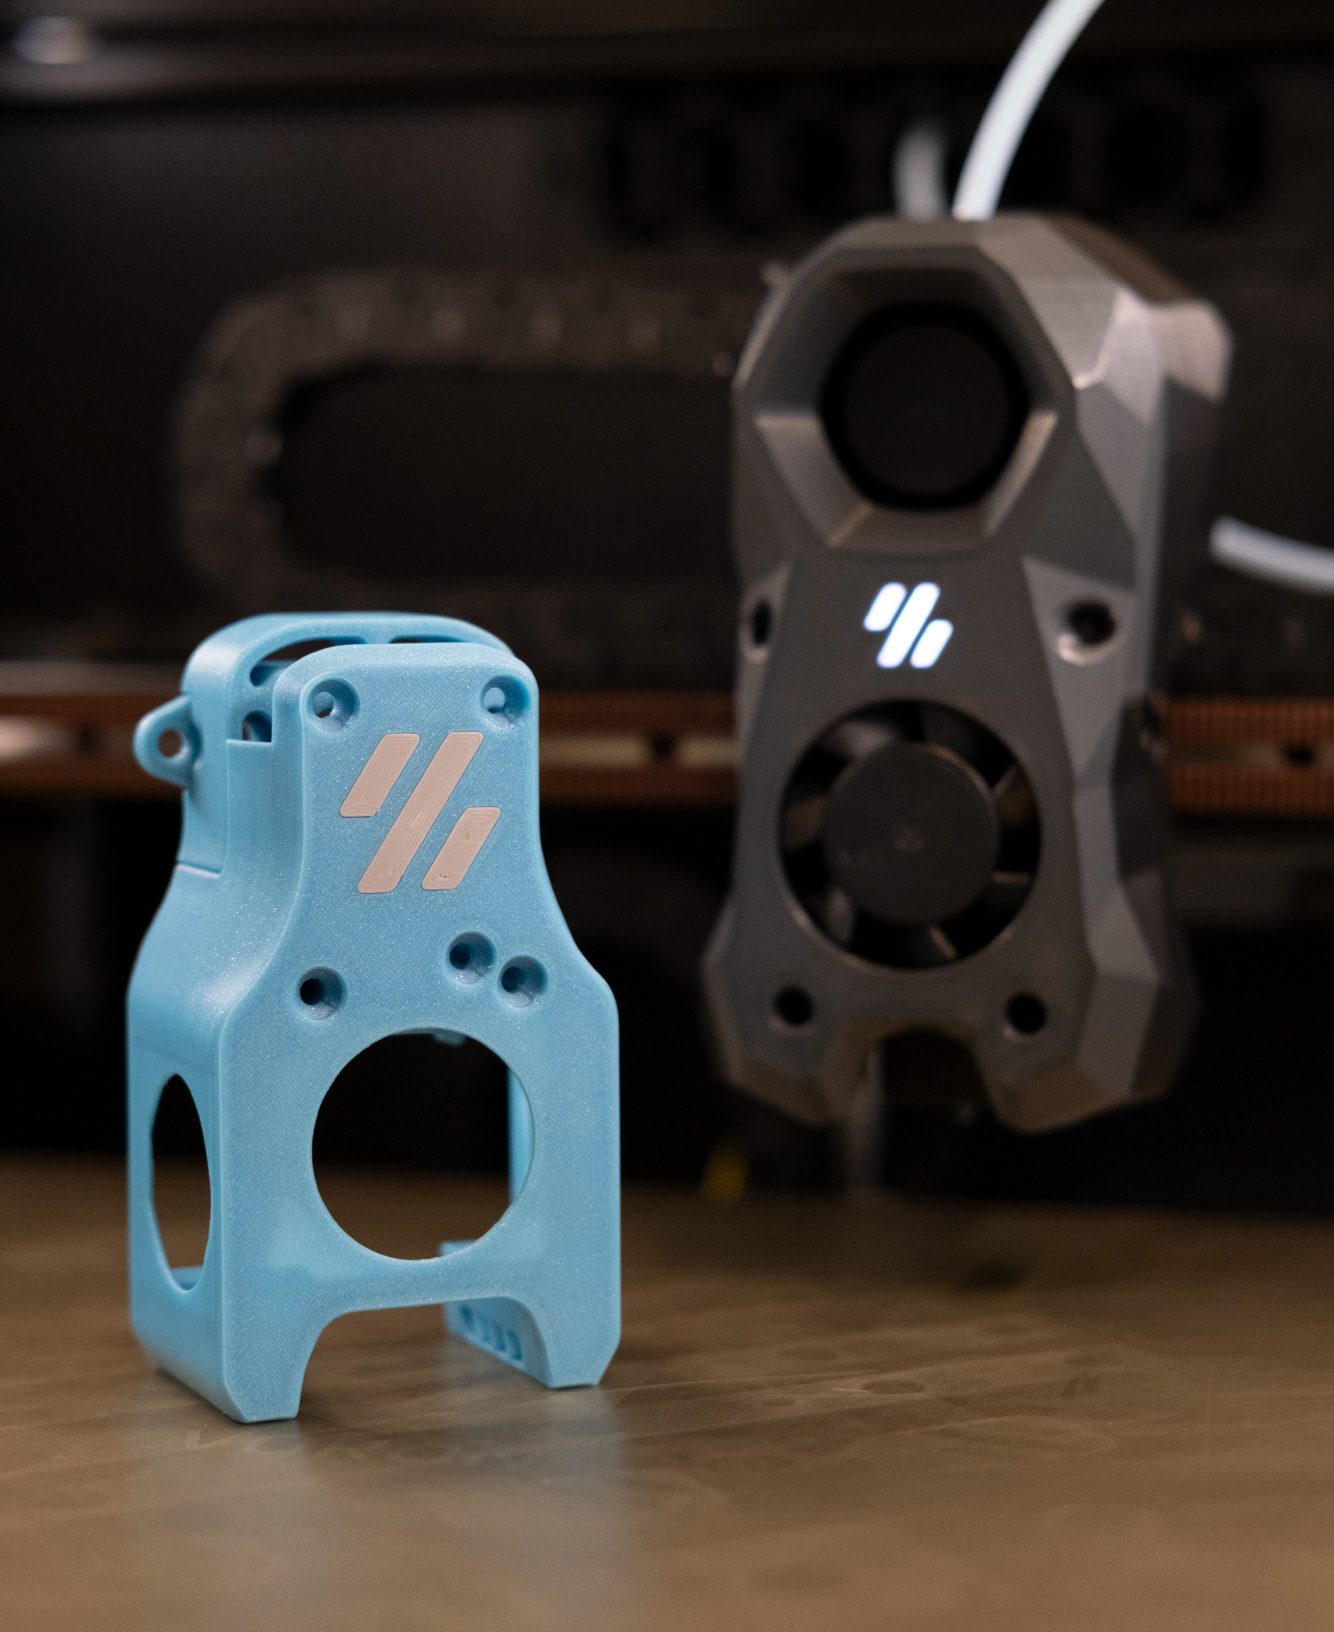
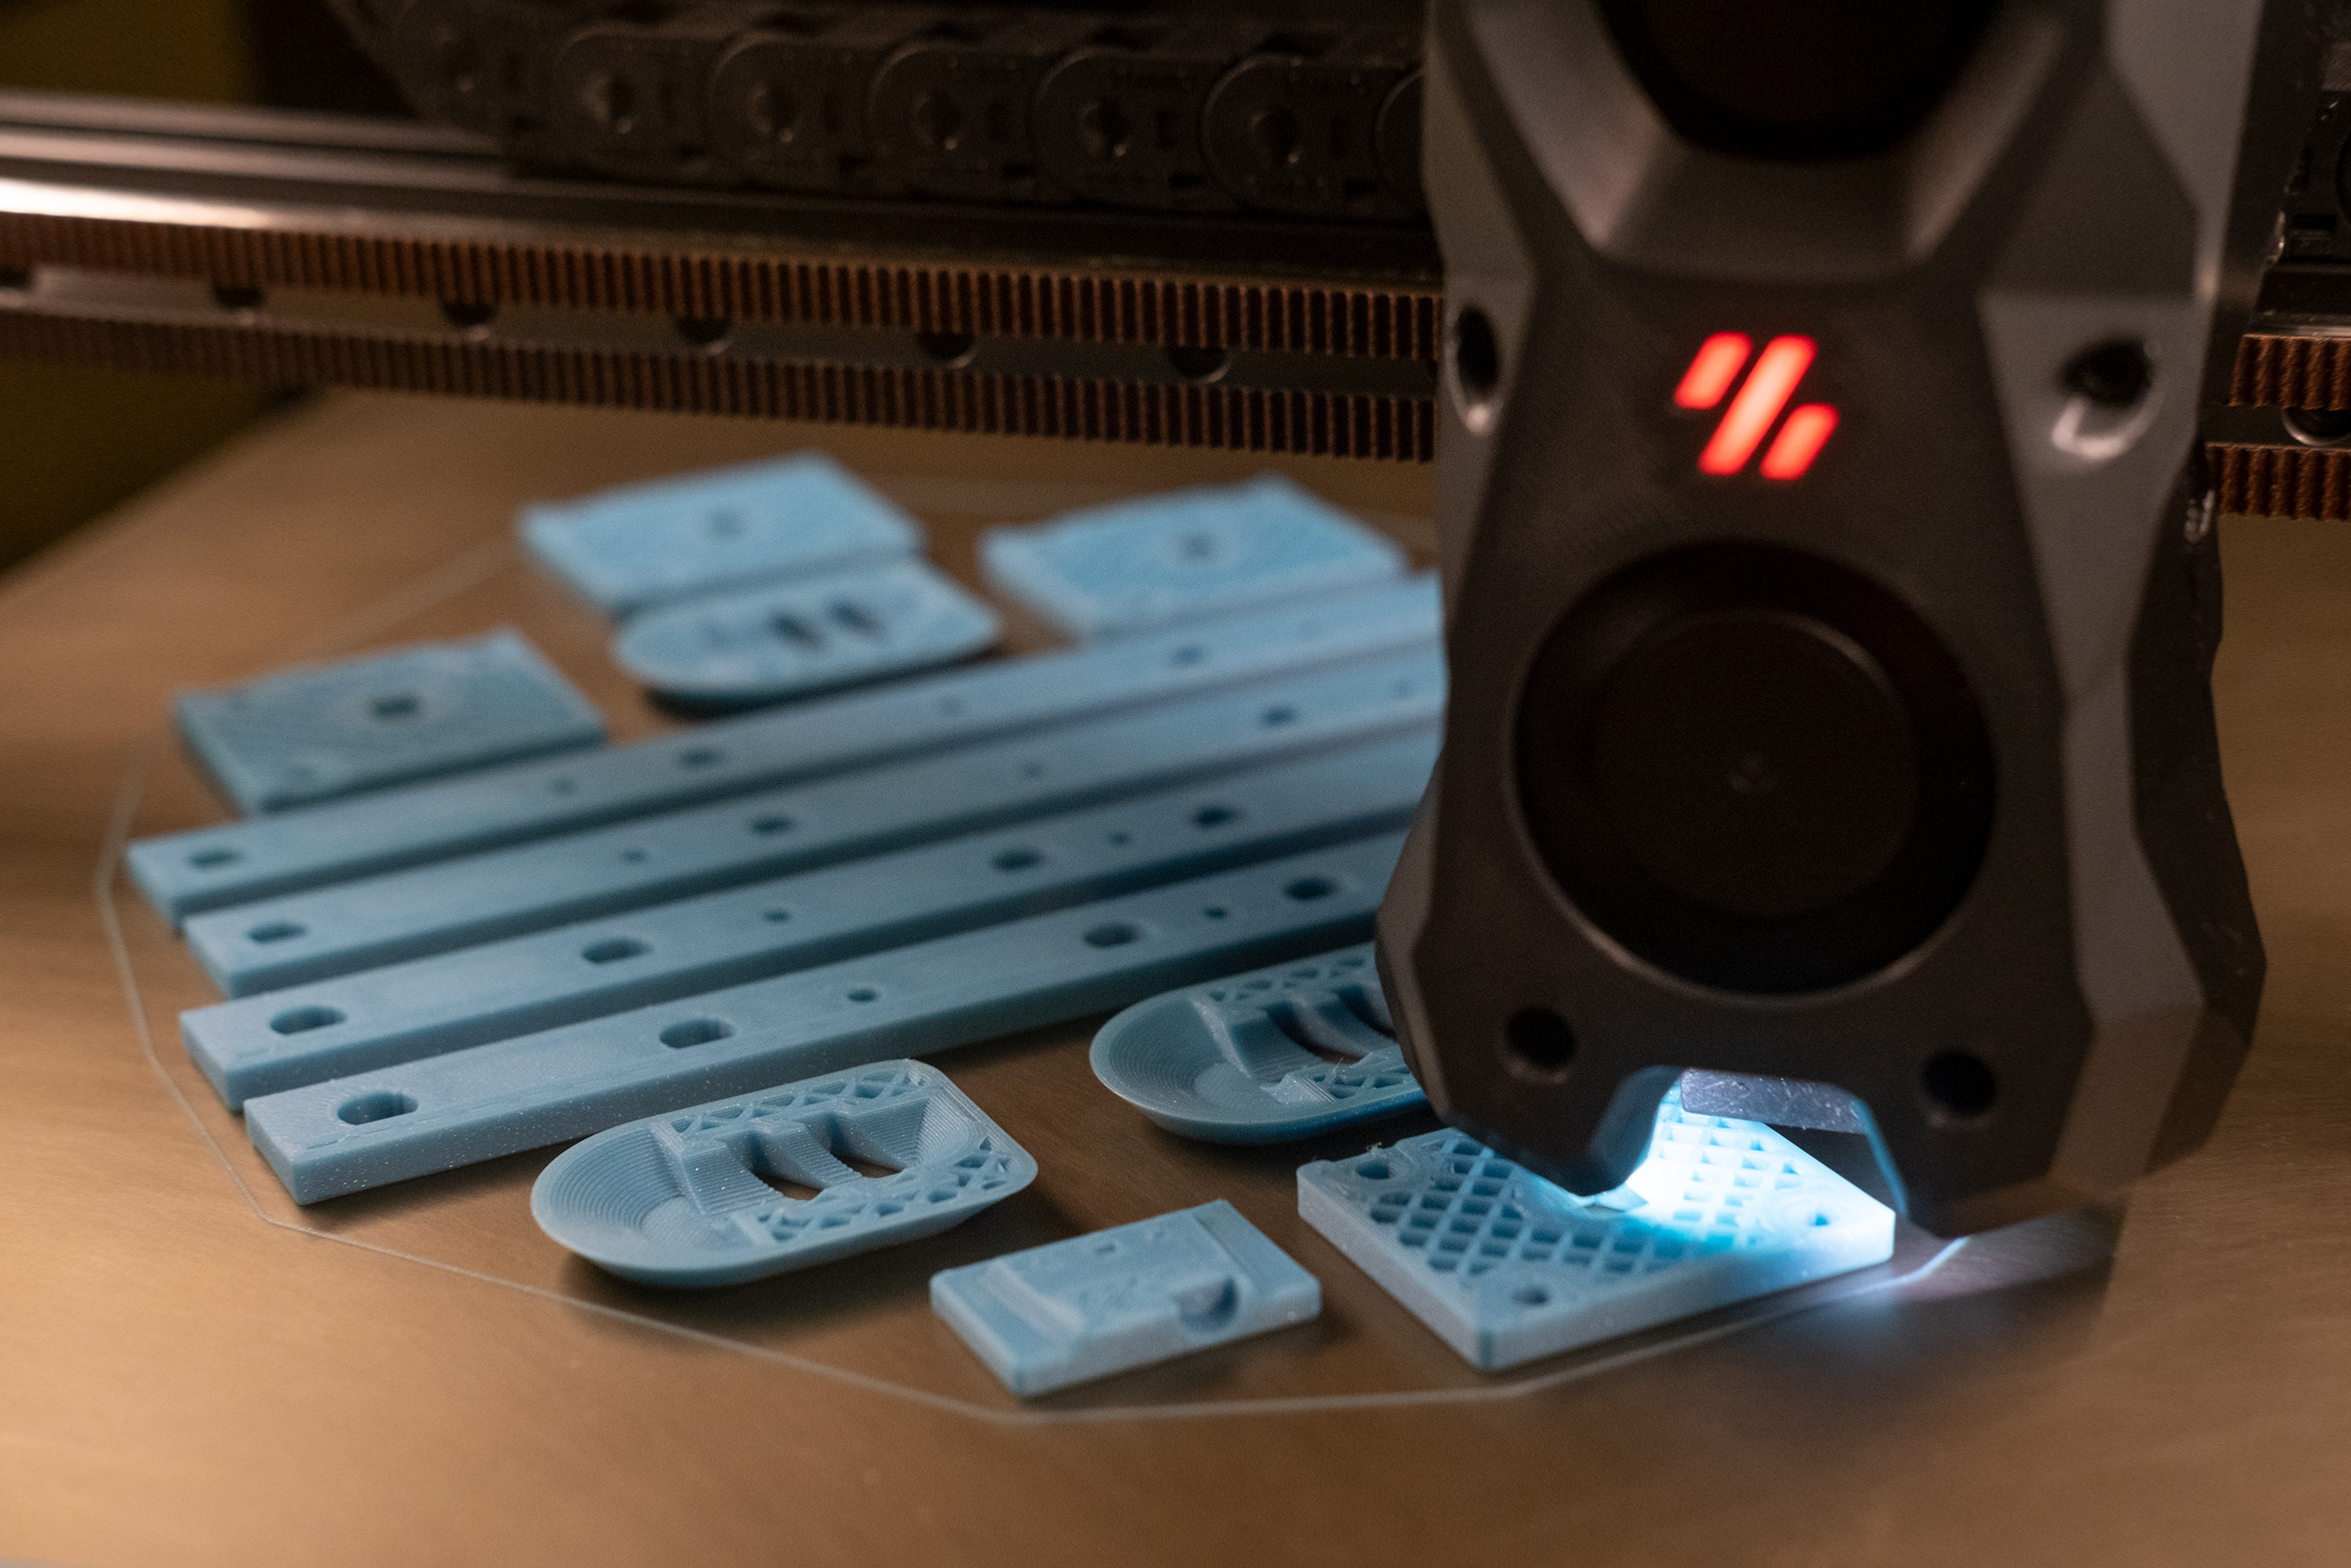
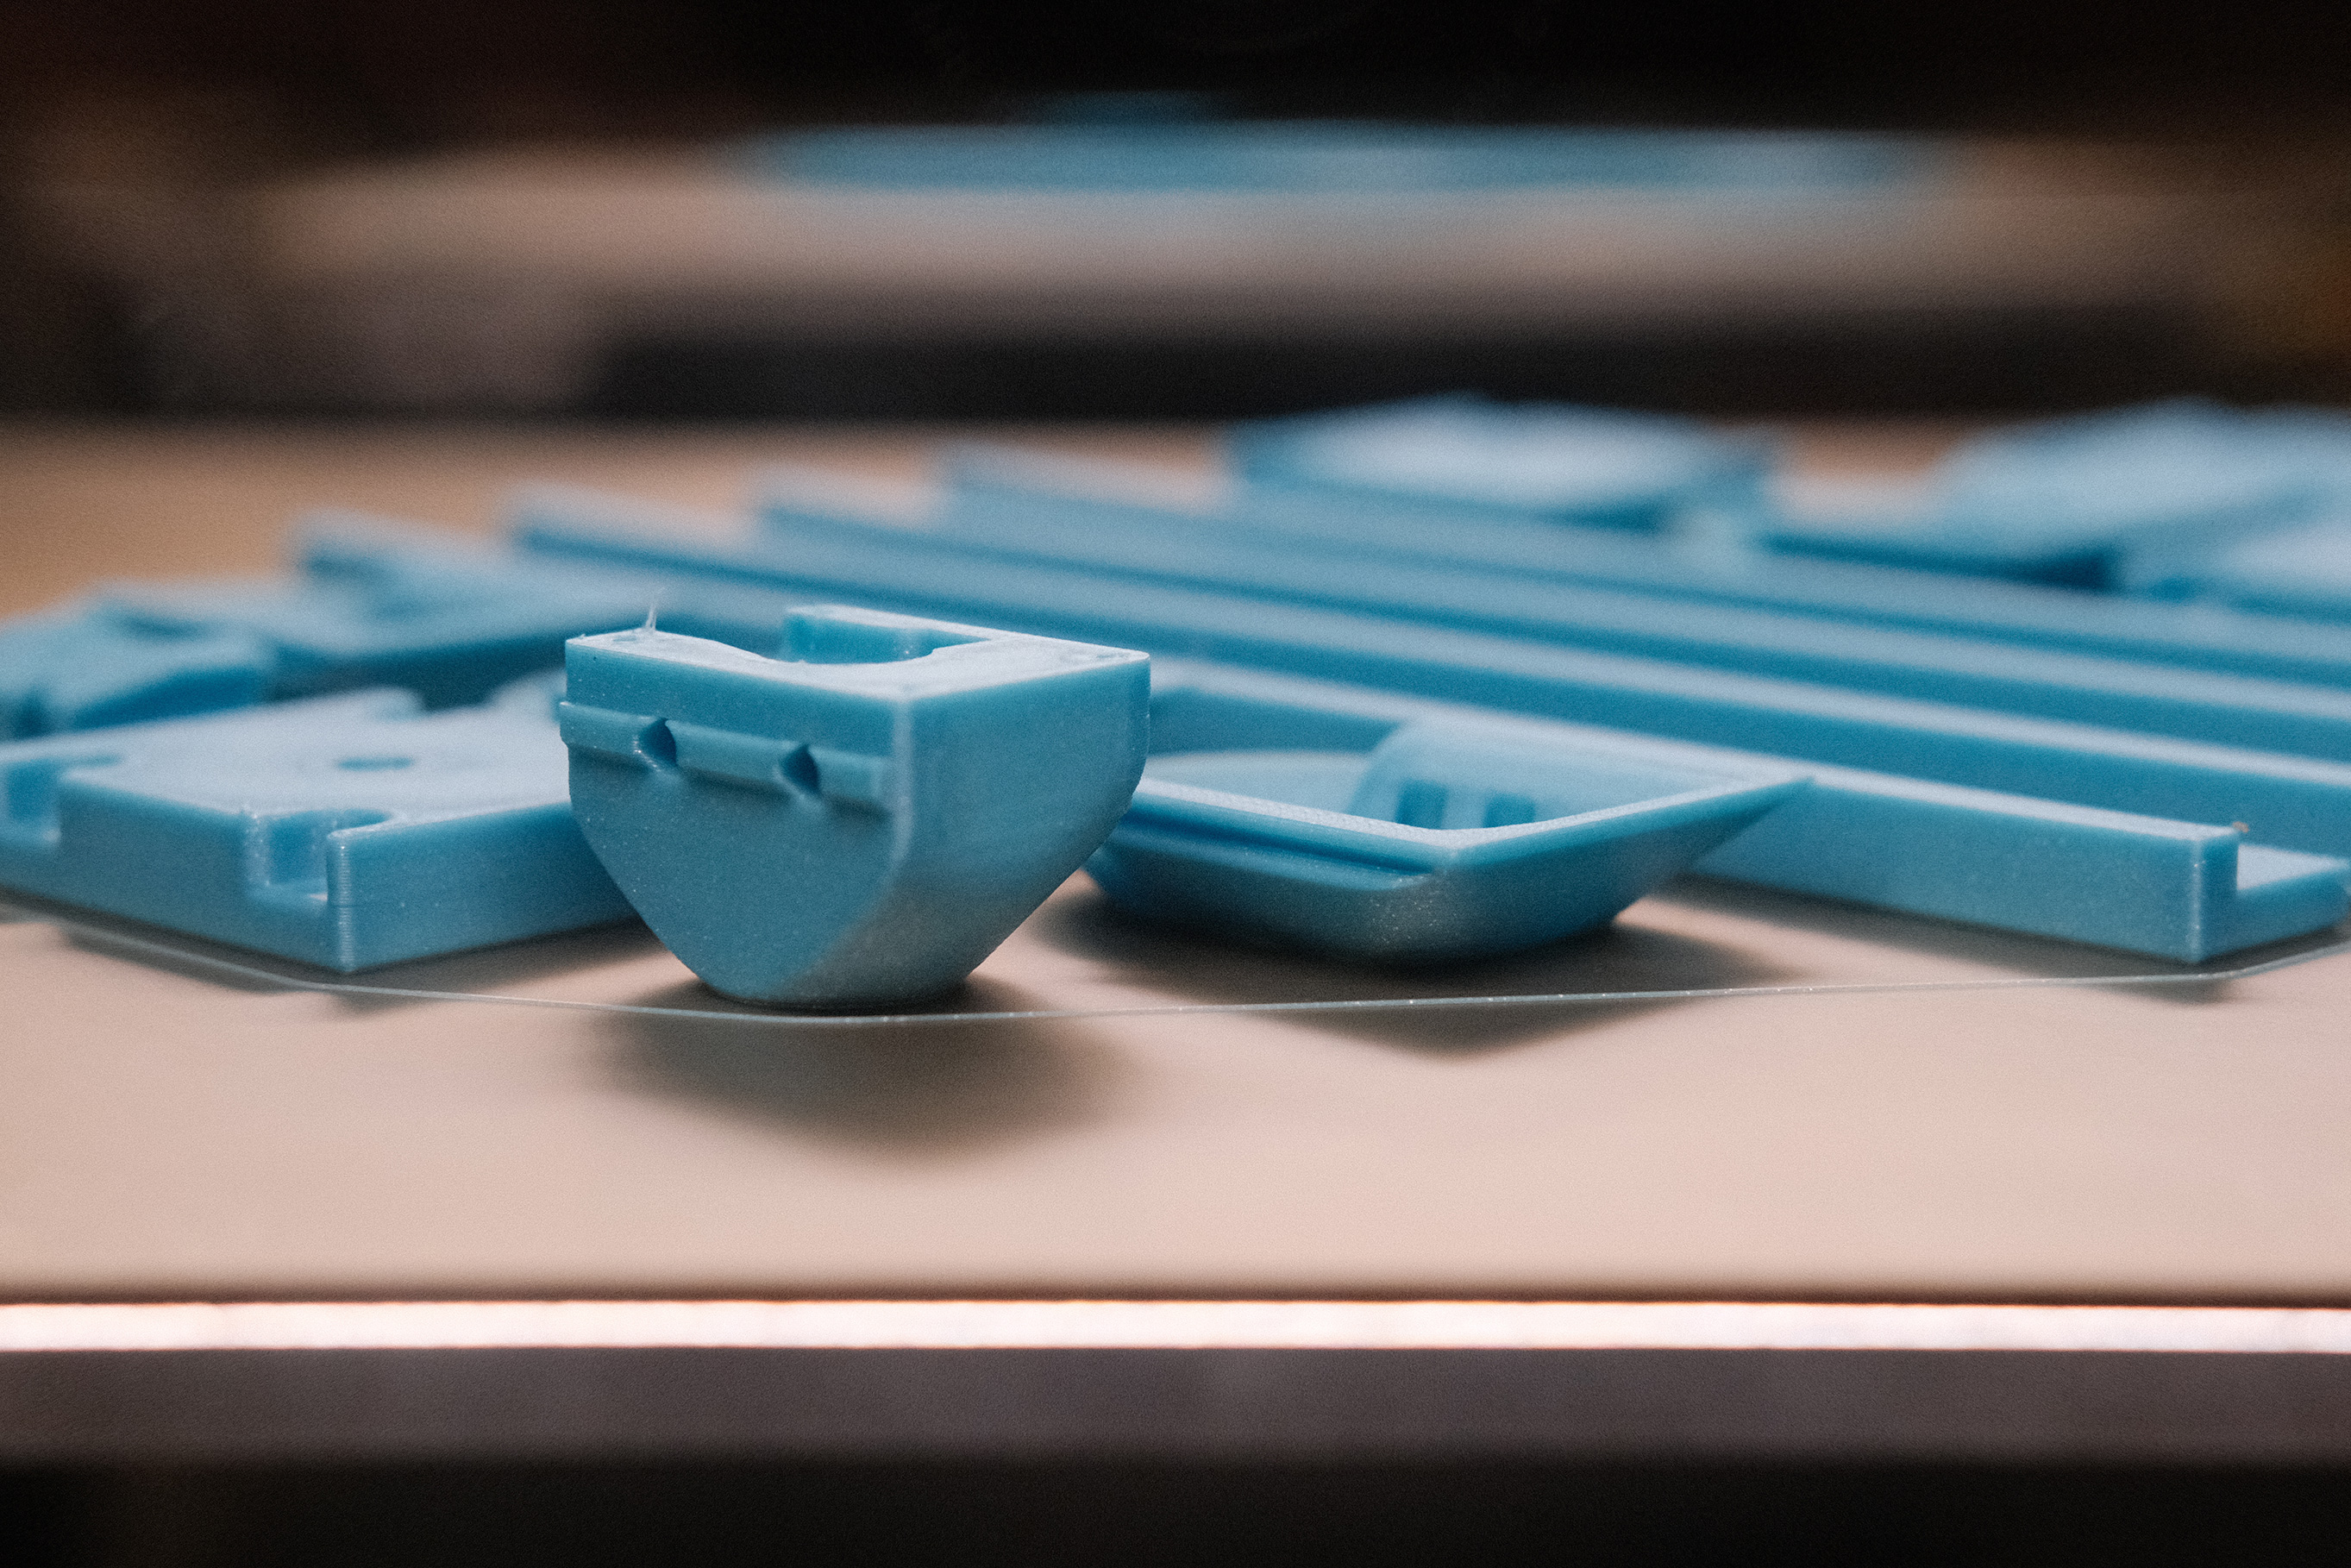
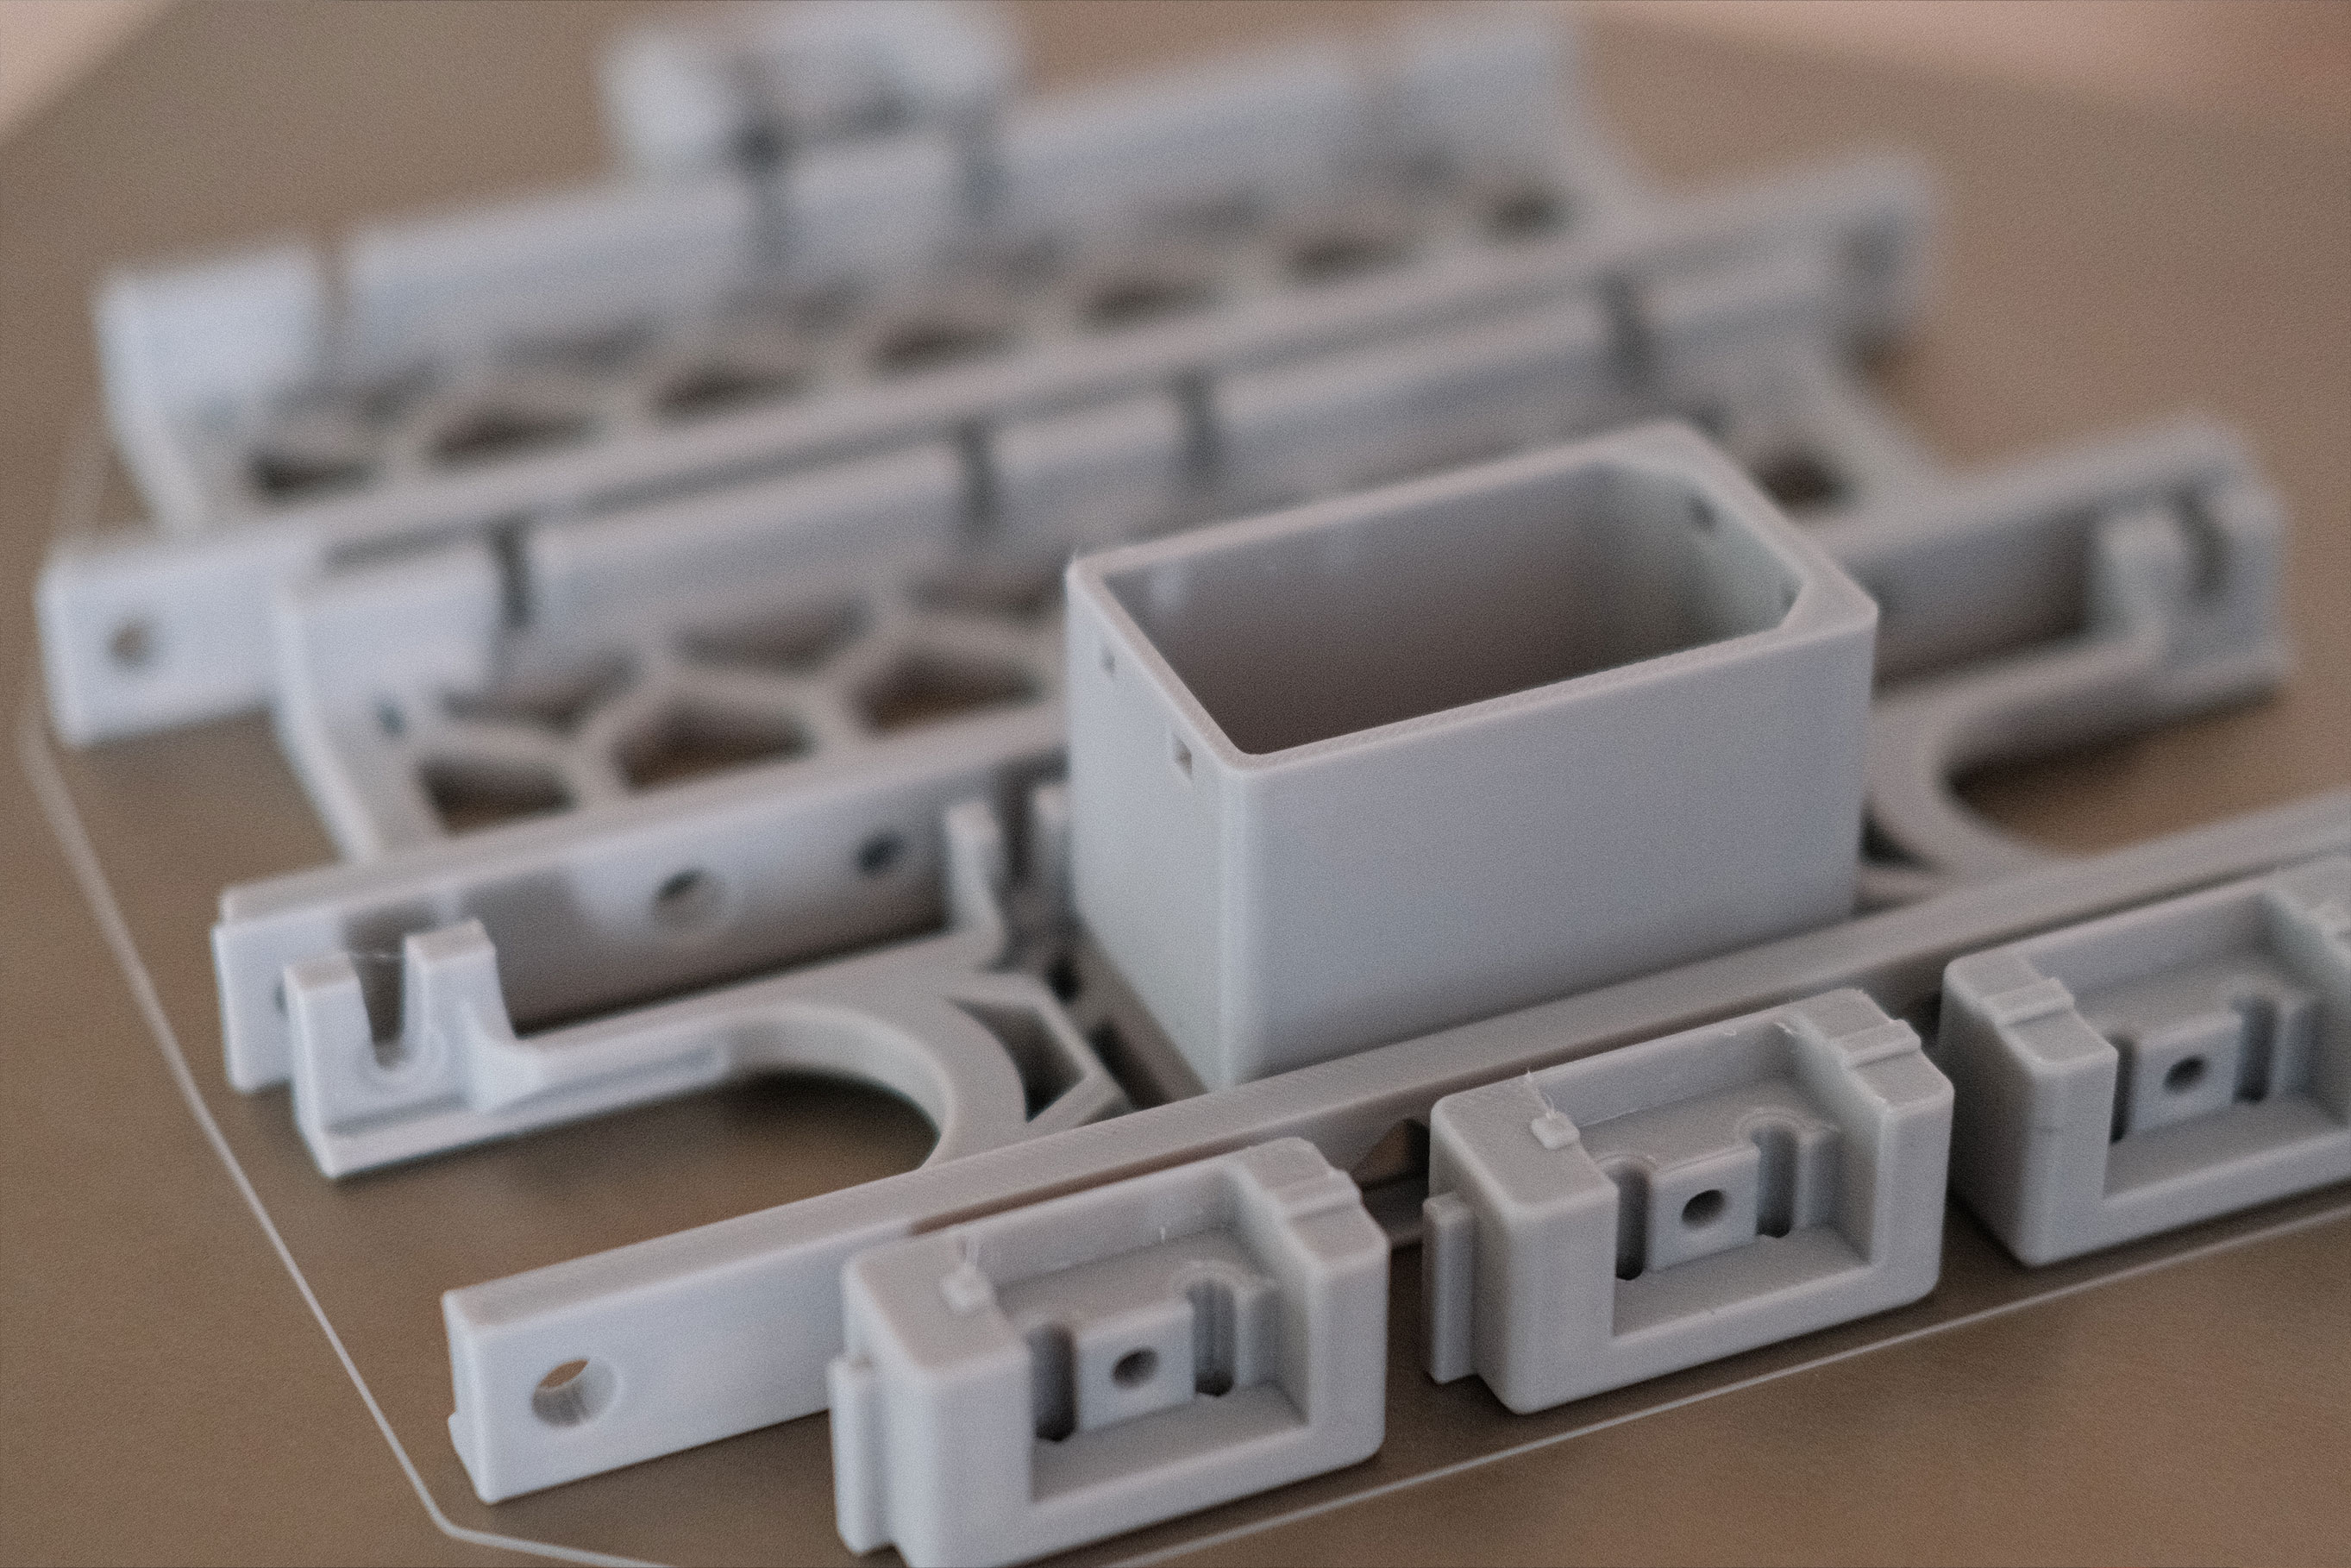
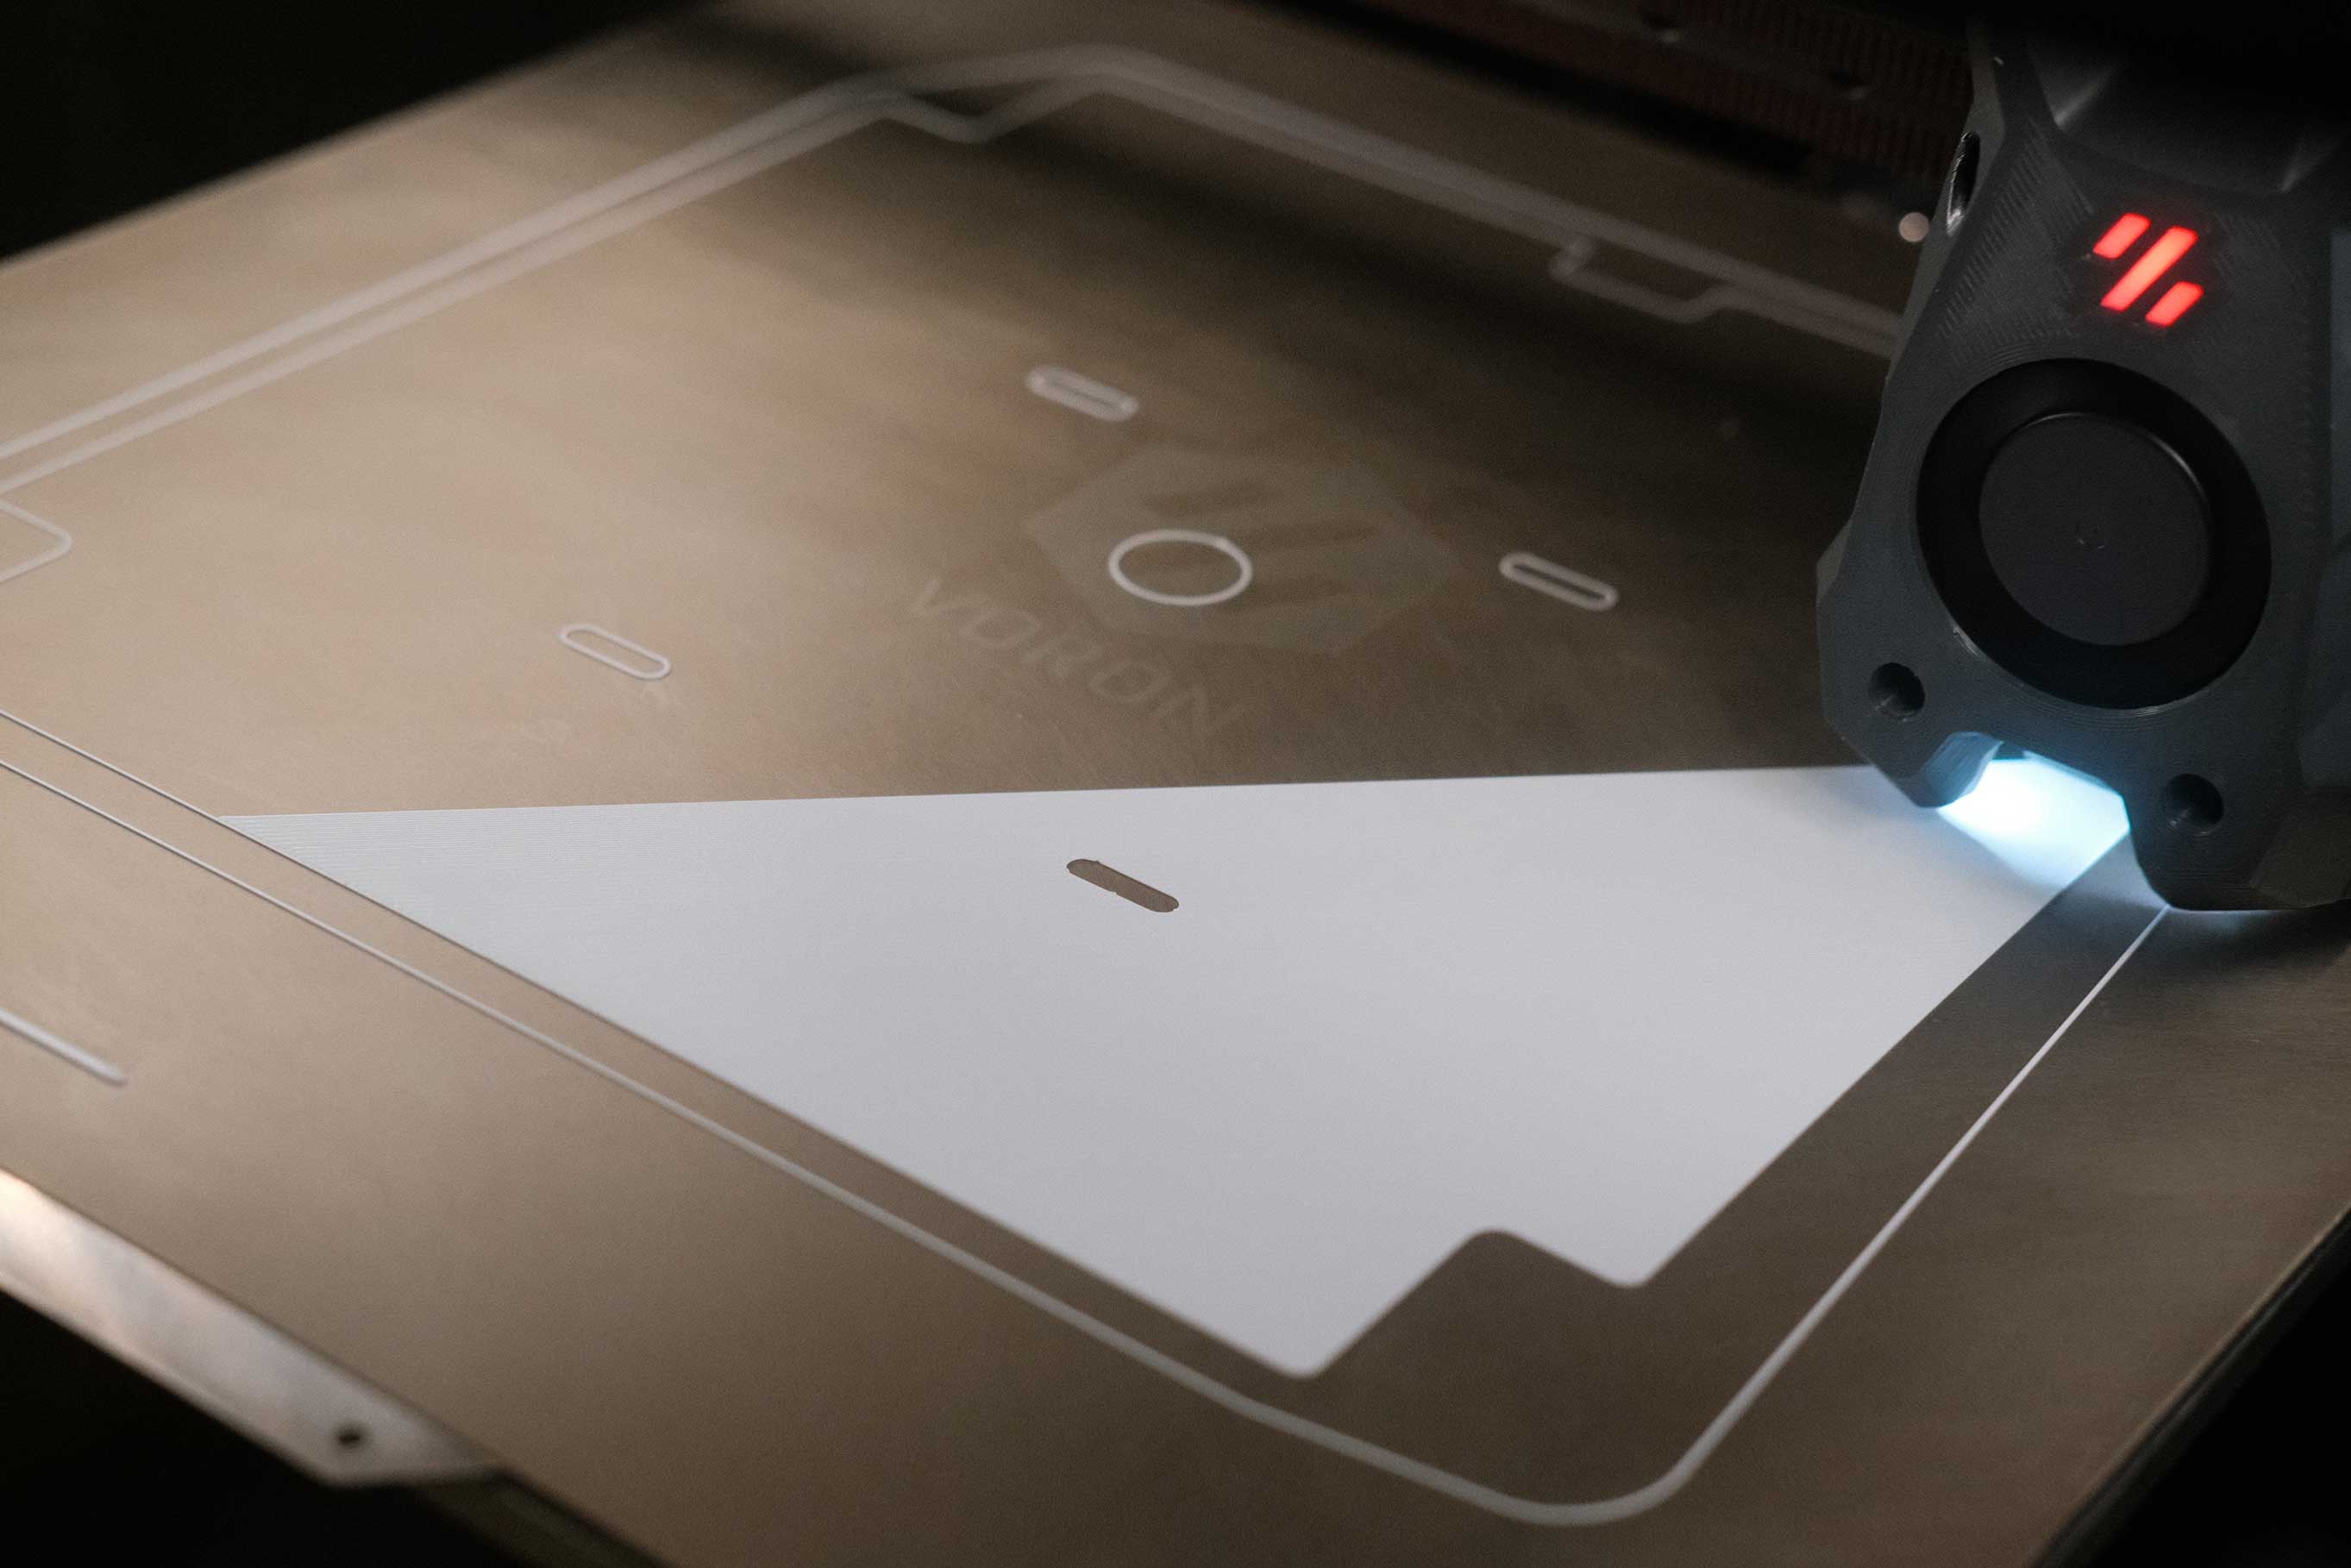
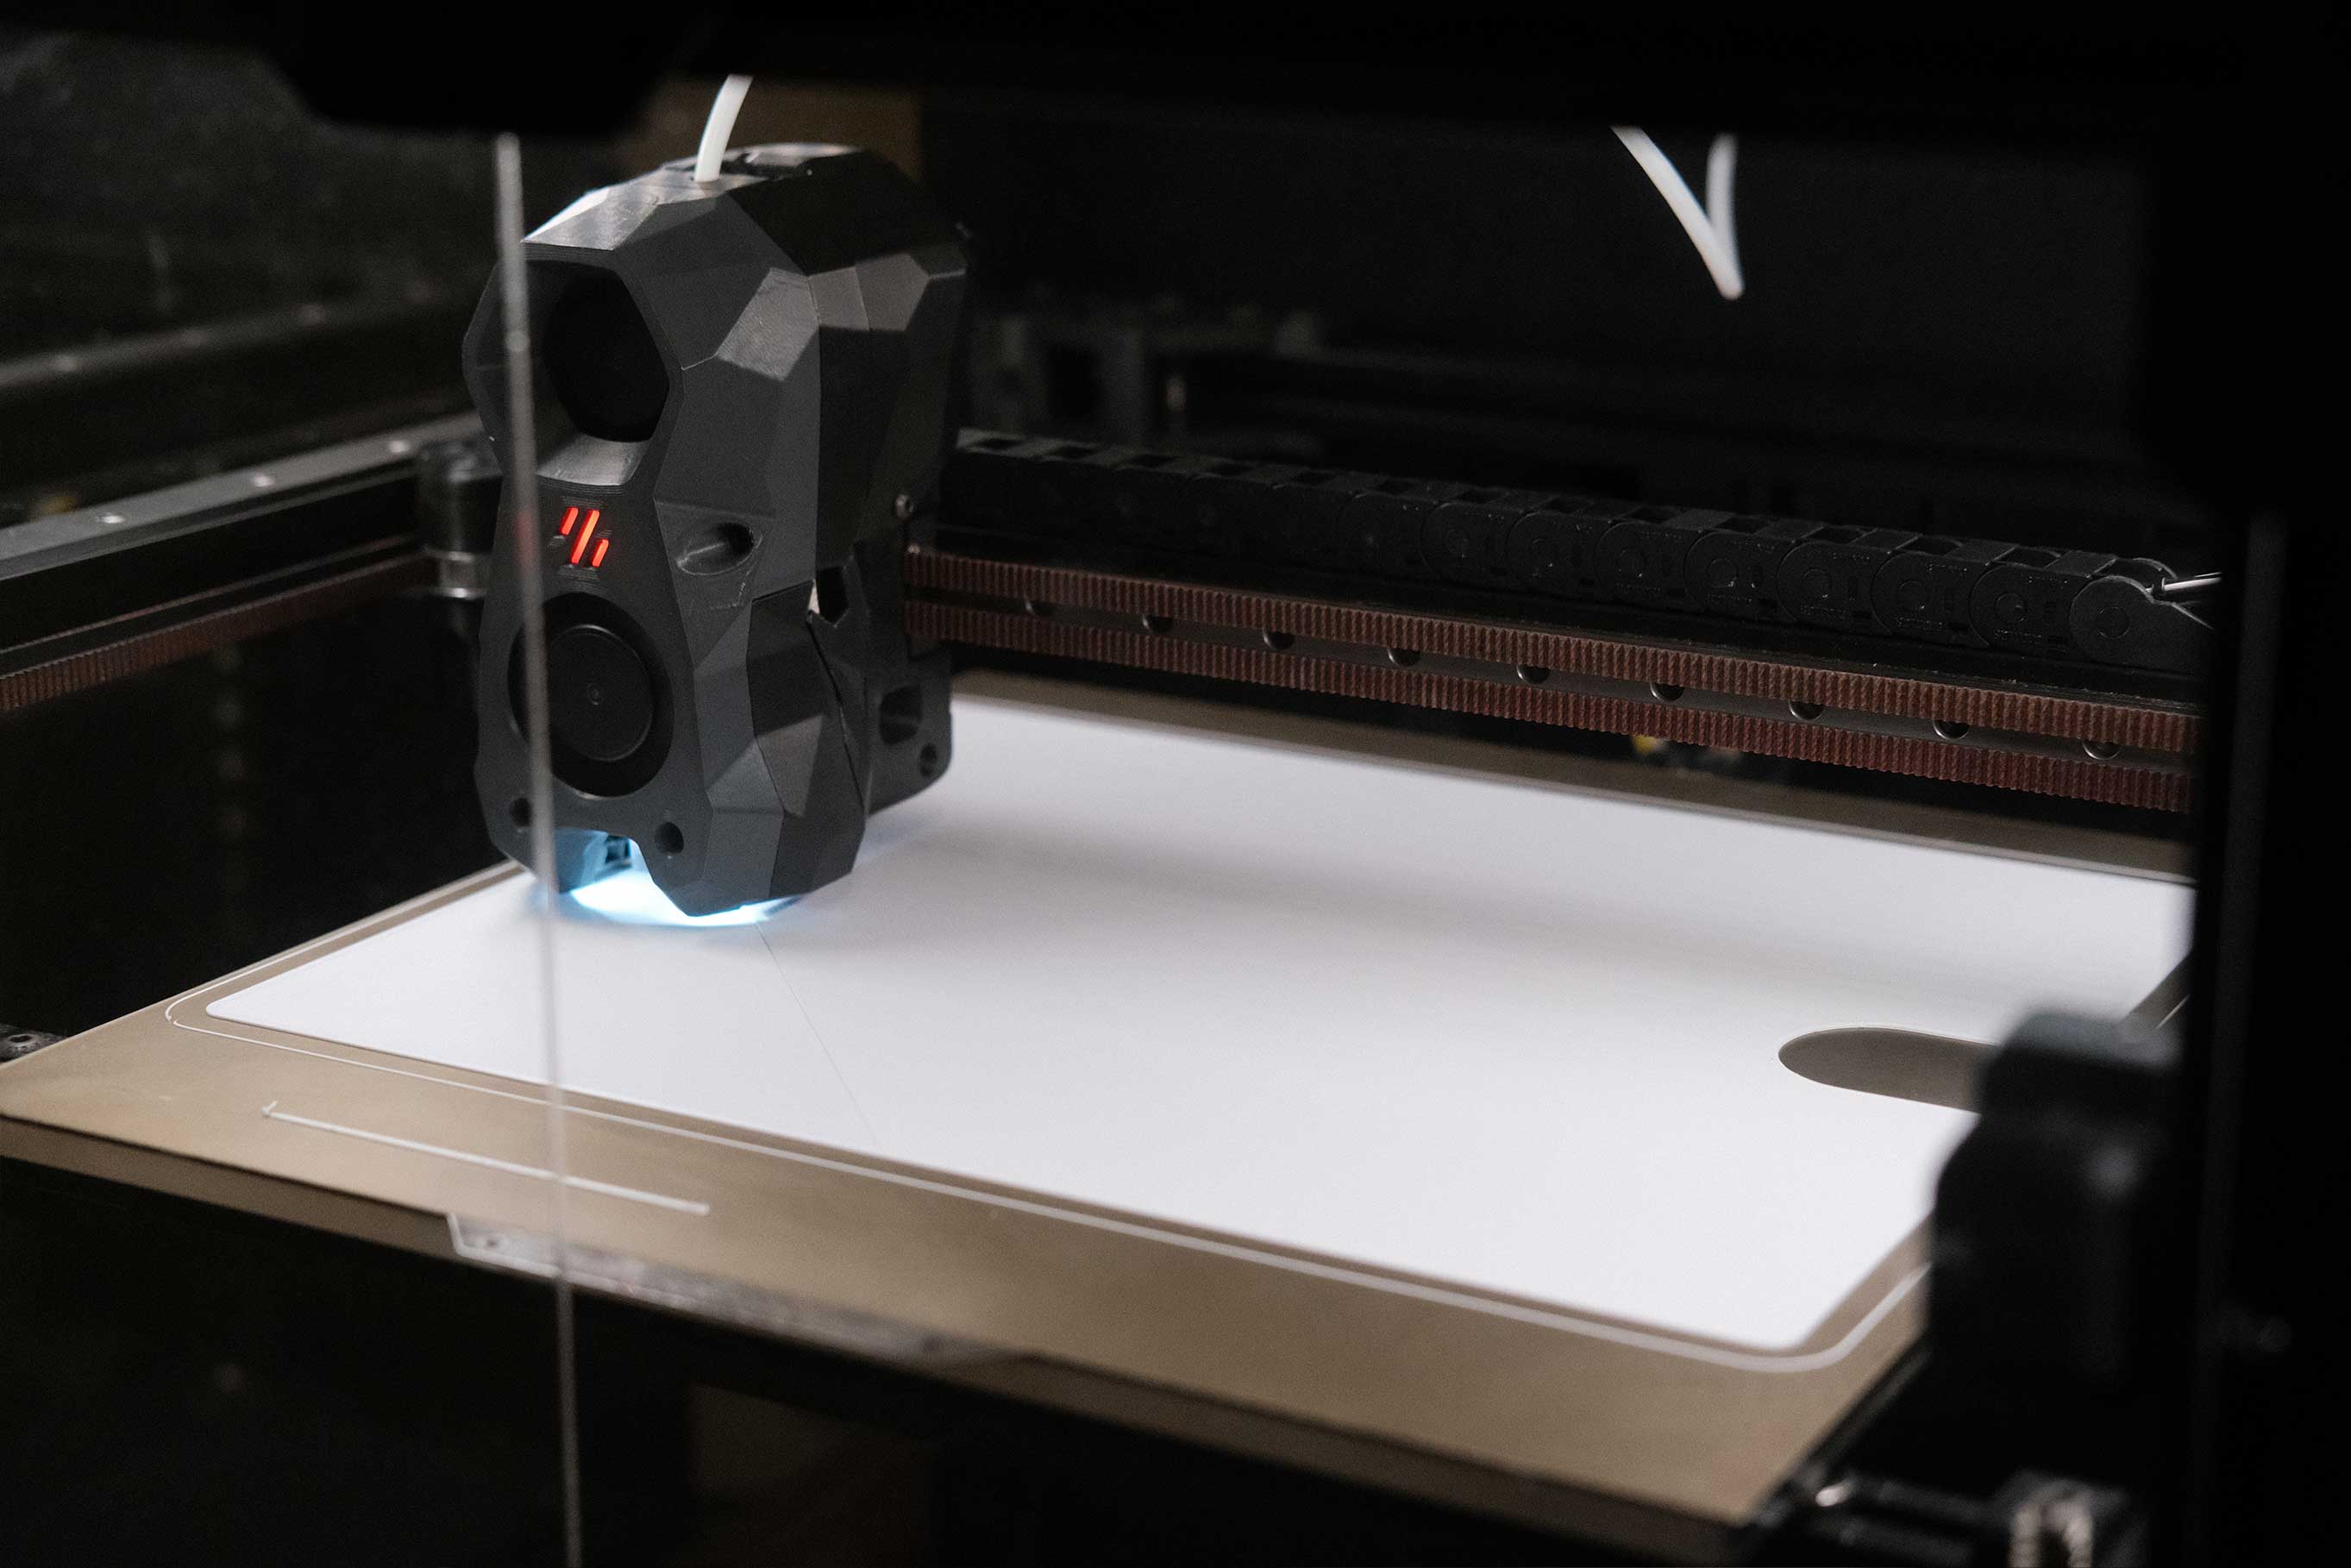
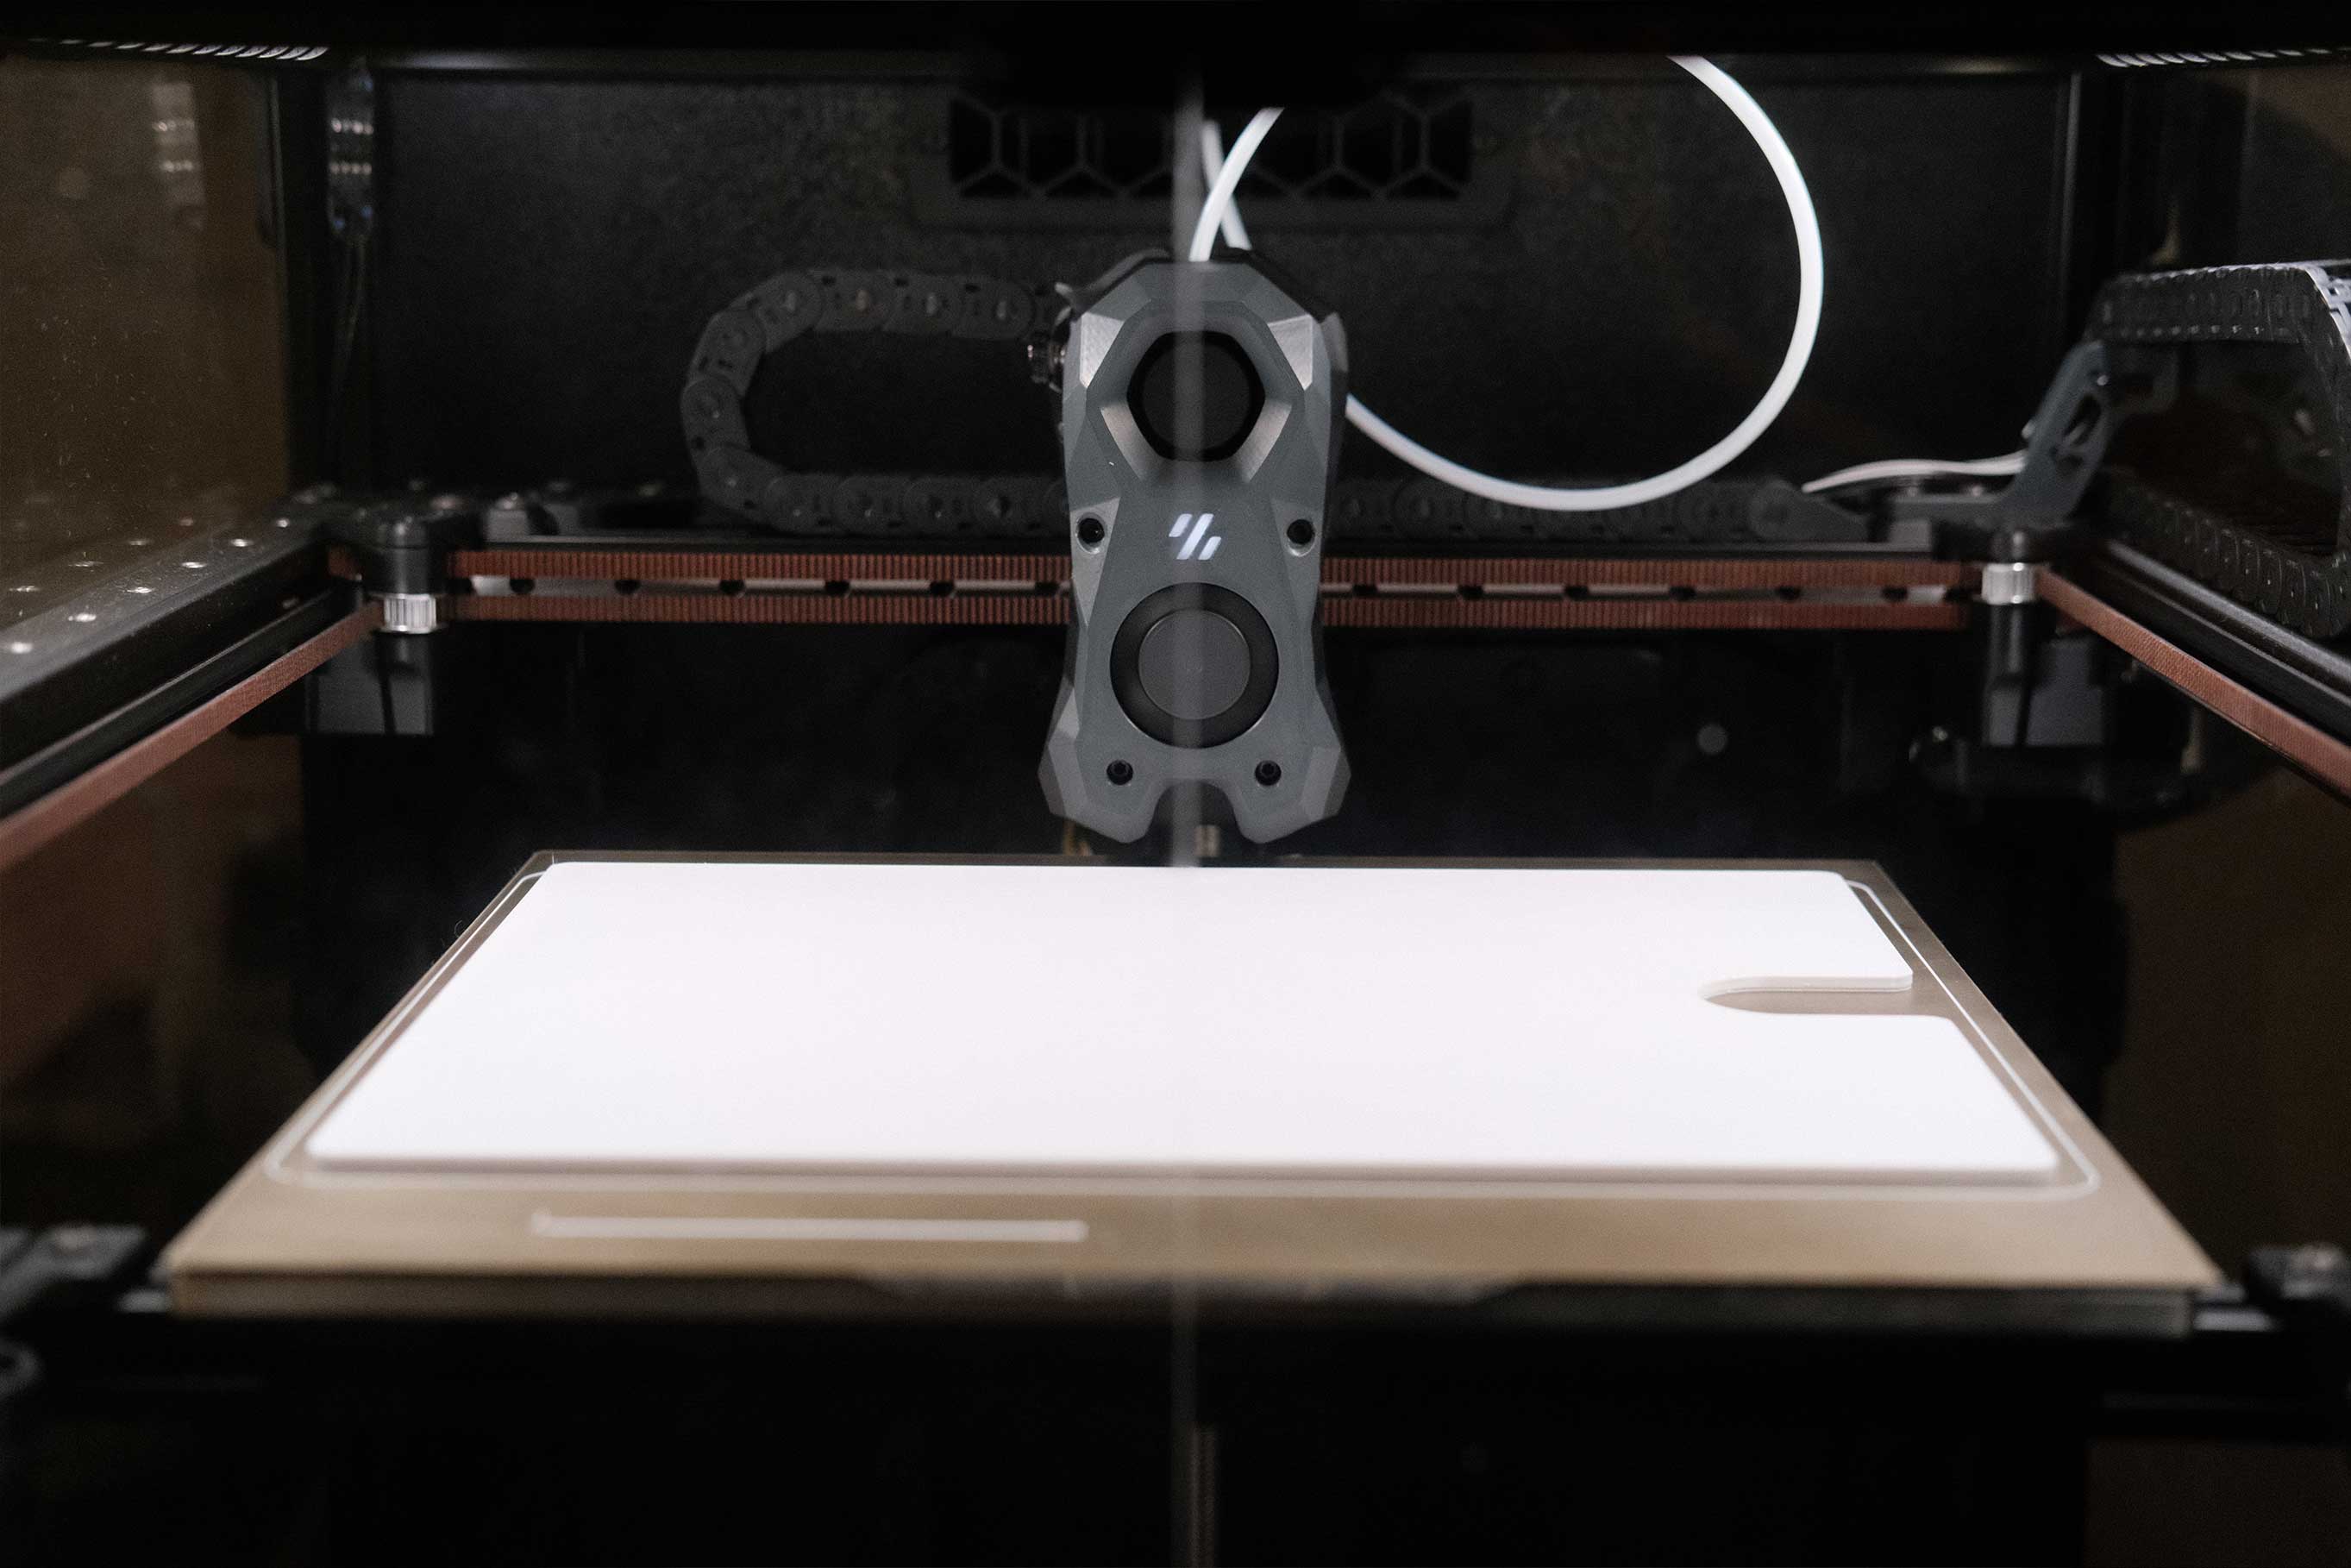
 Printing Begins! - 1
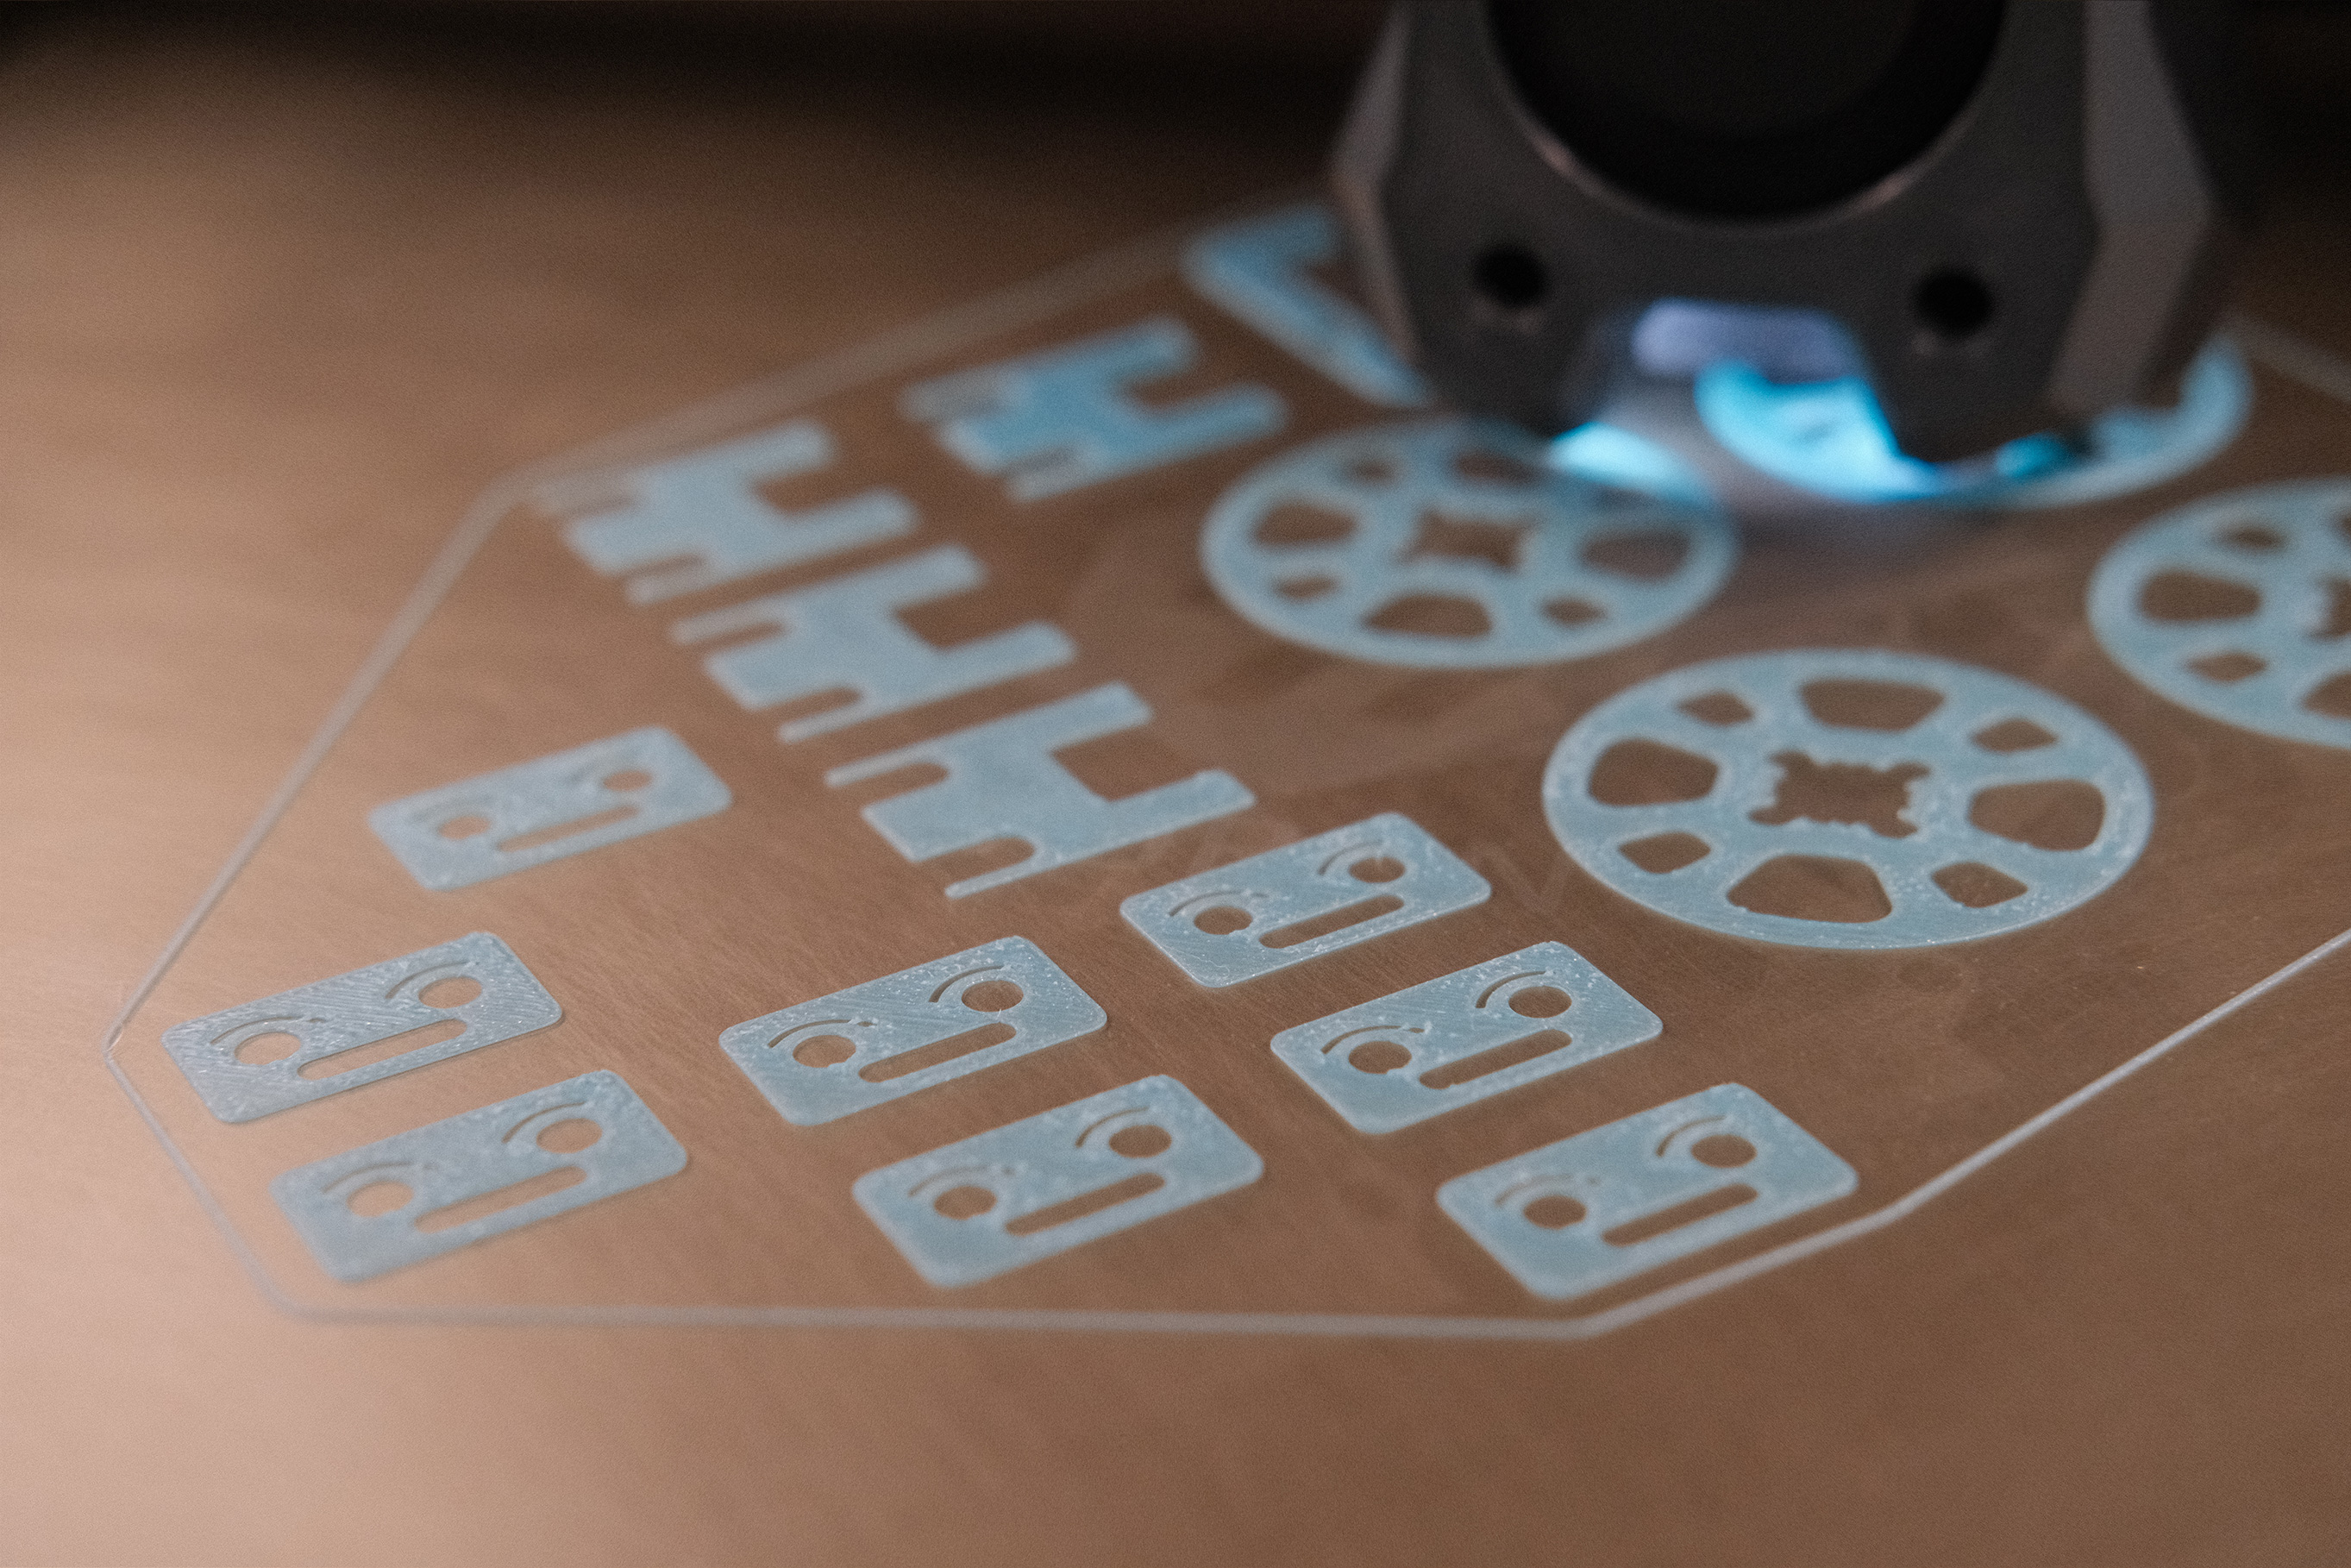
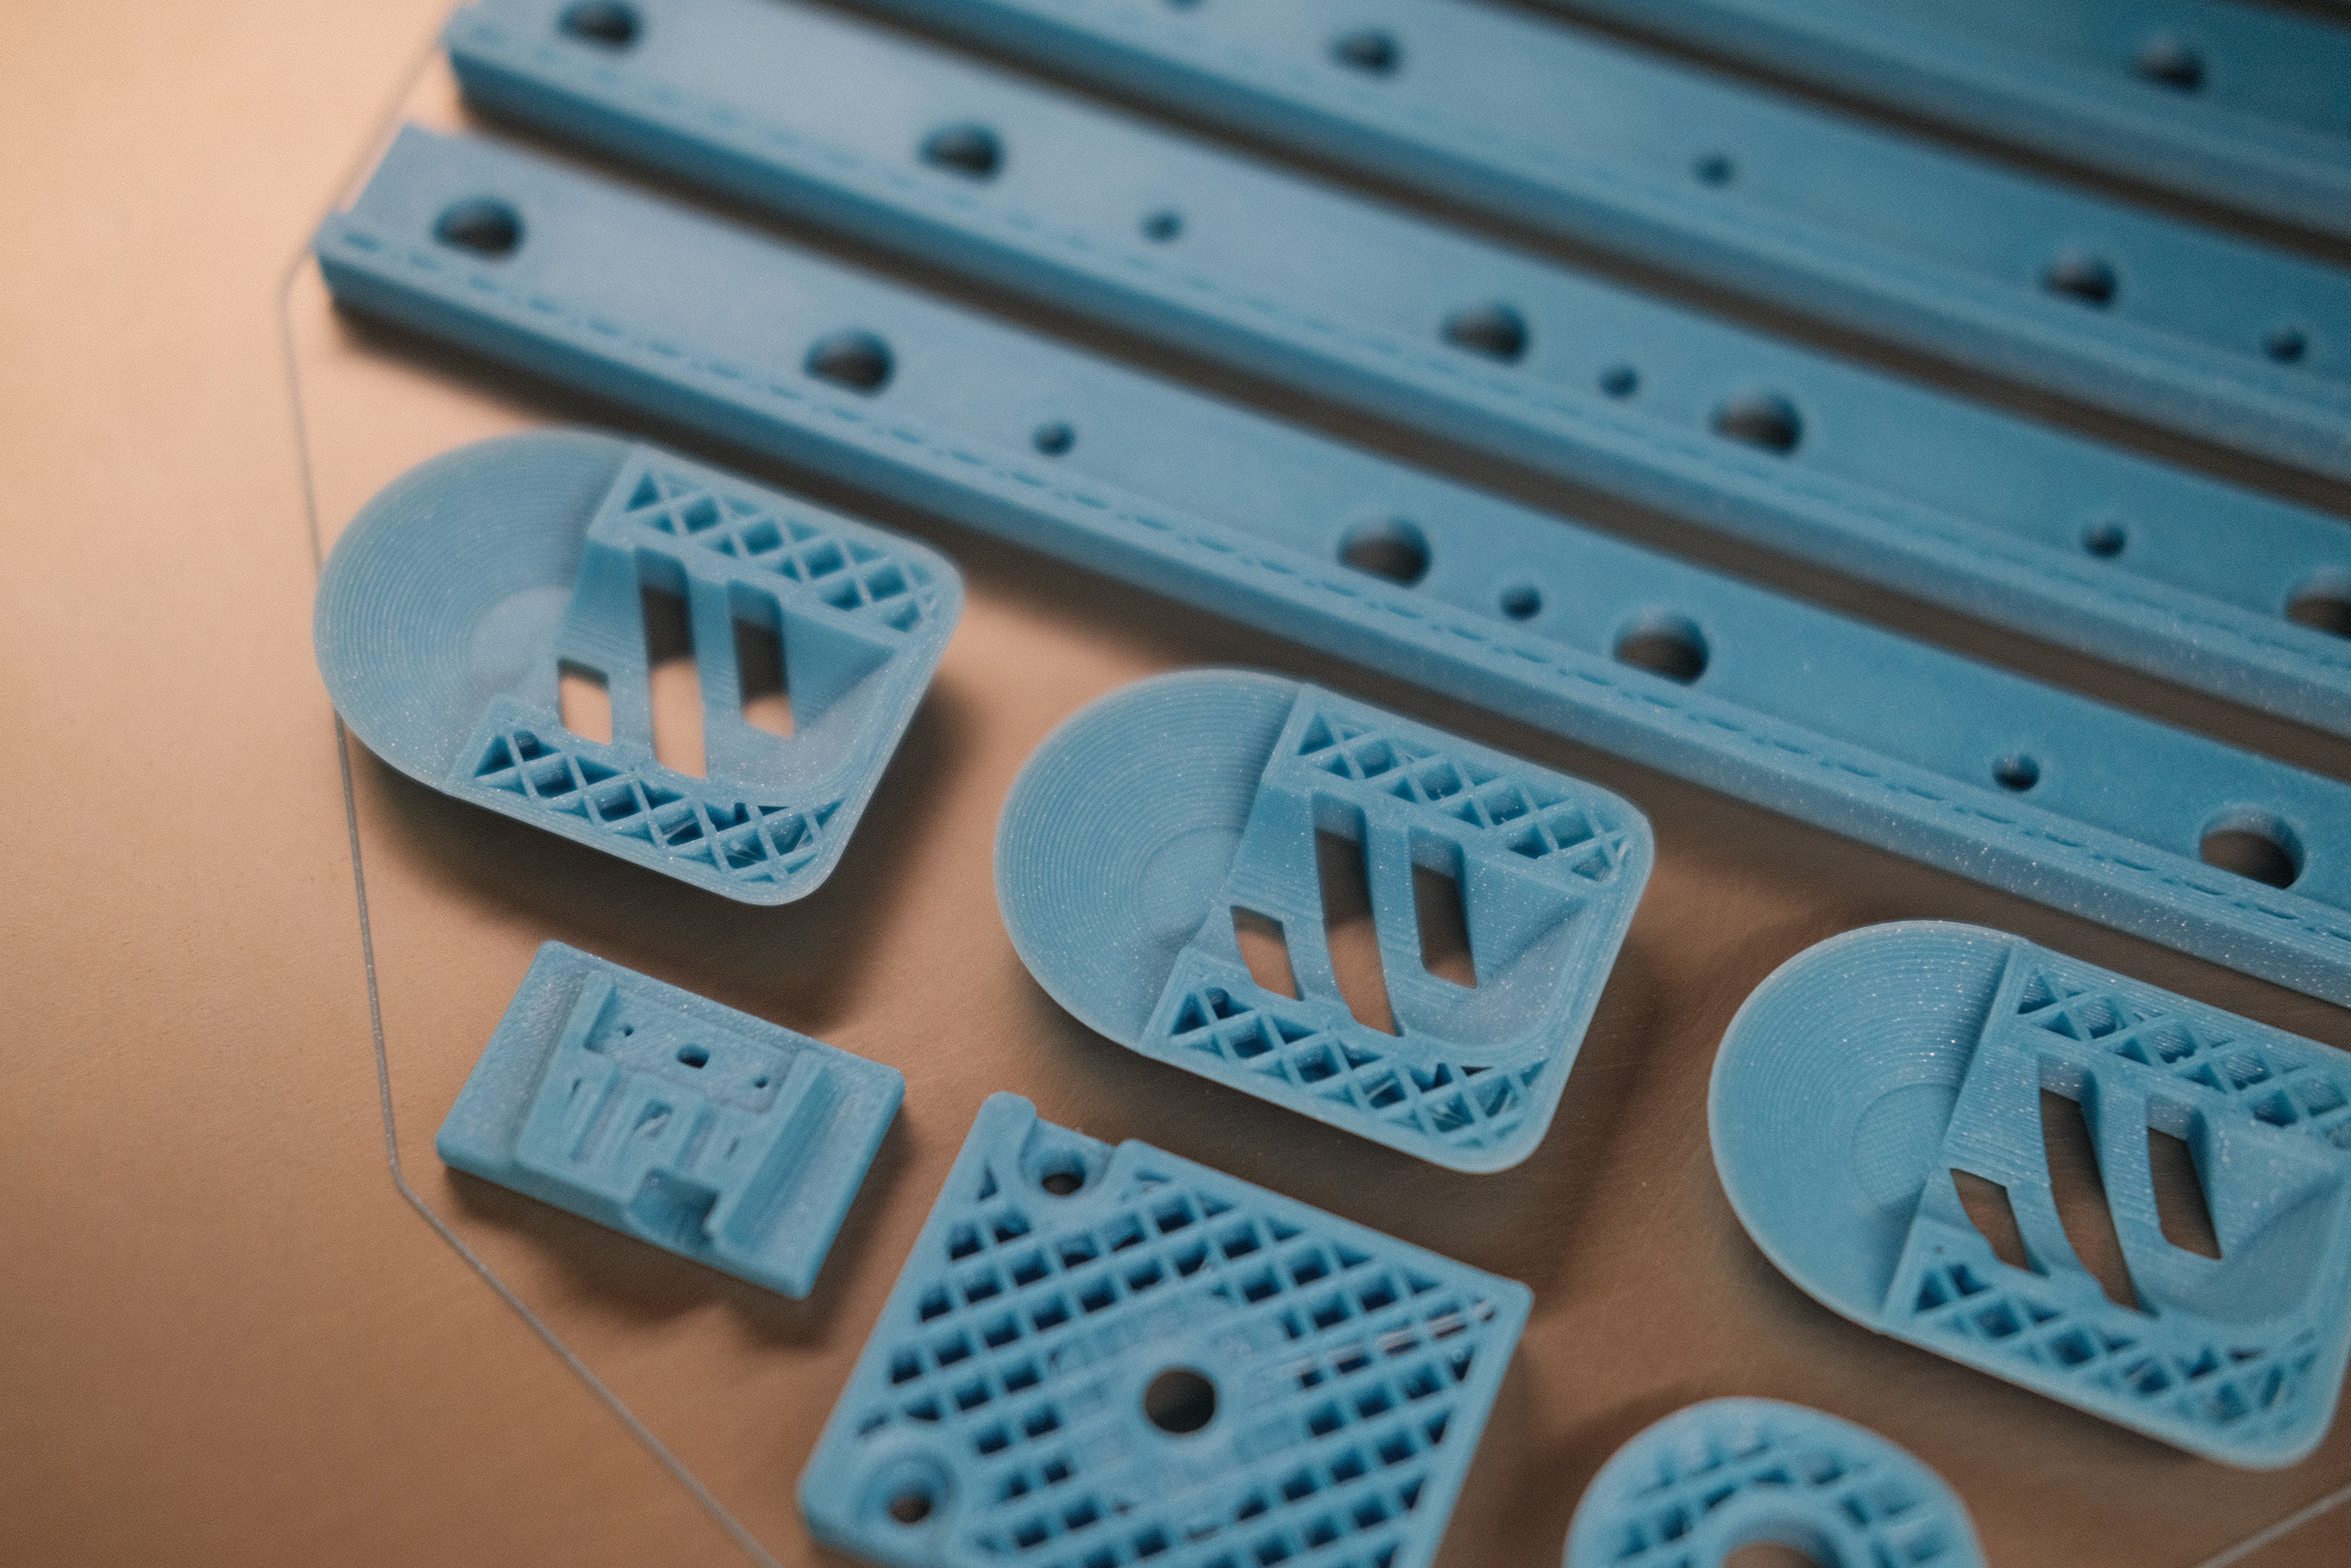
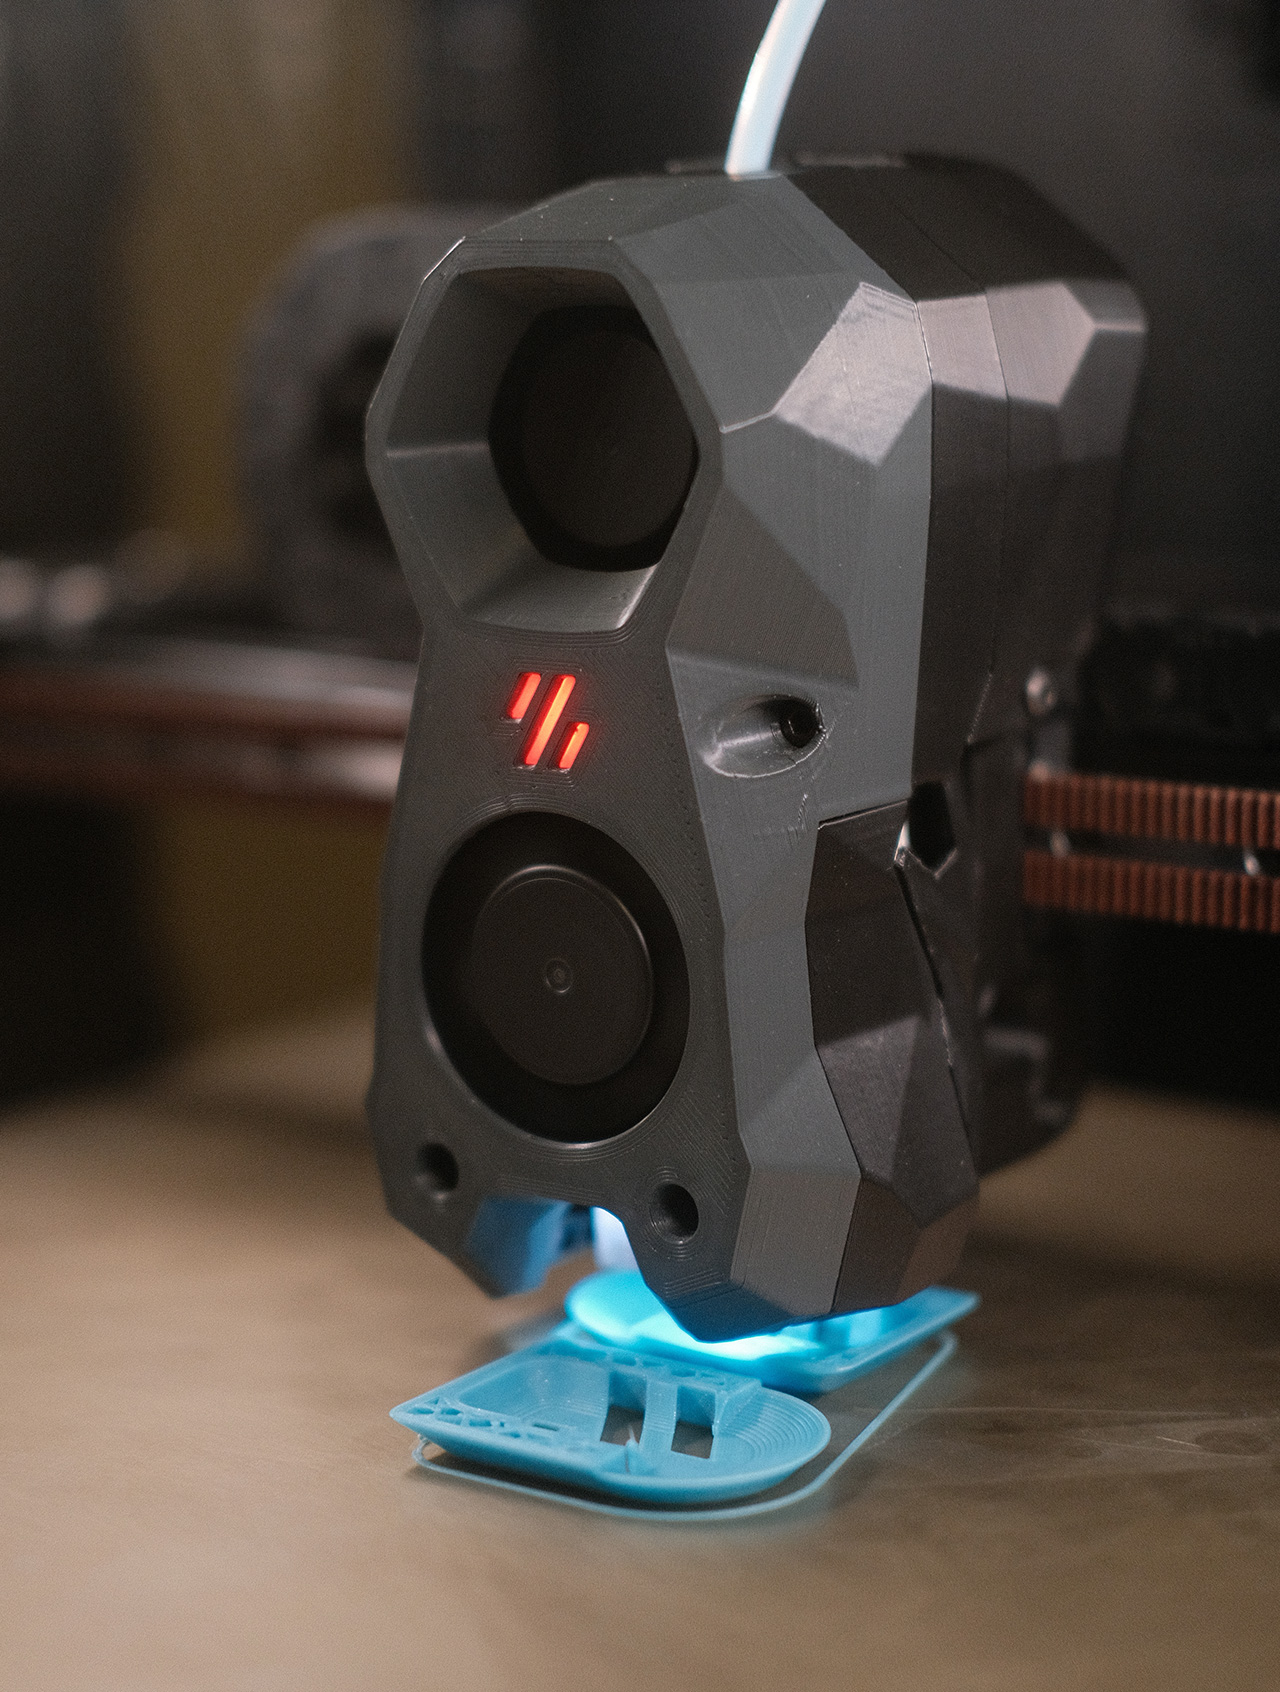
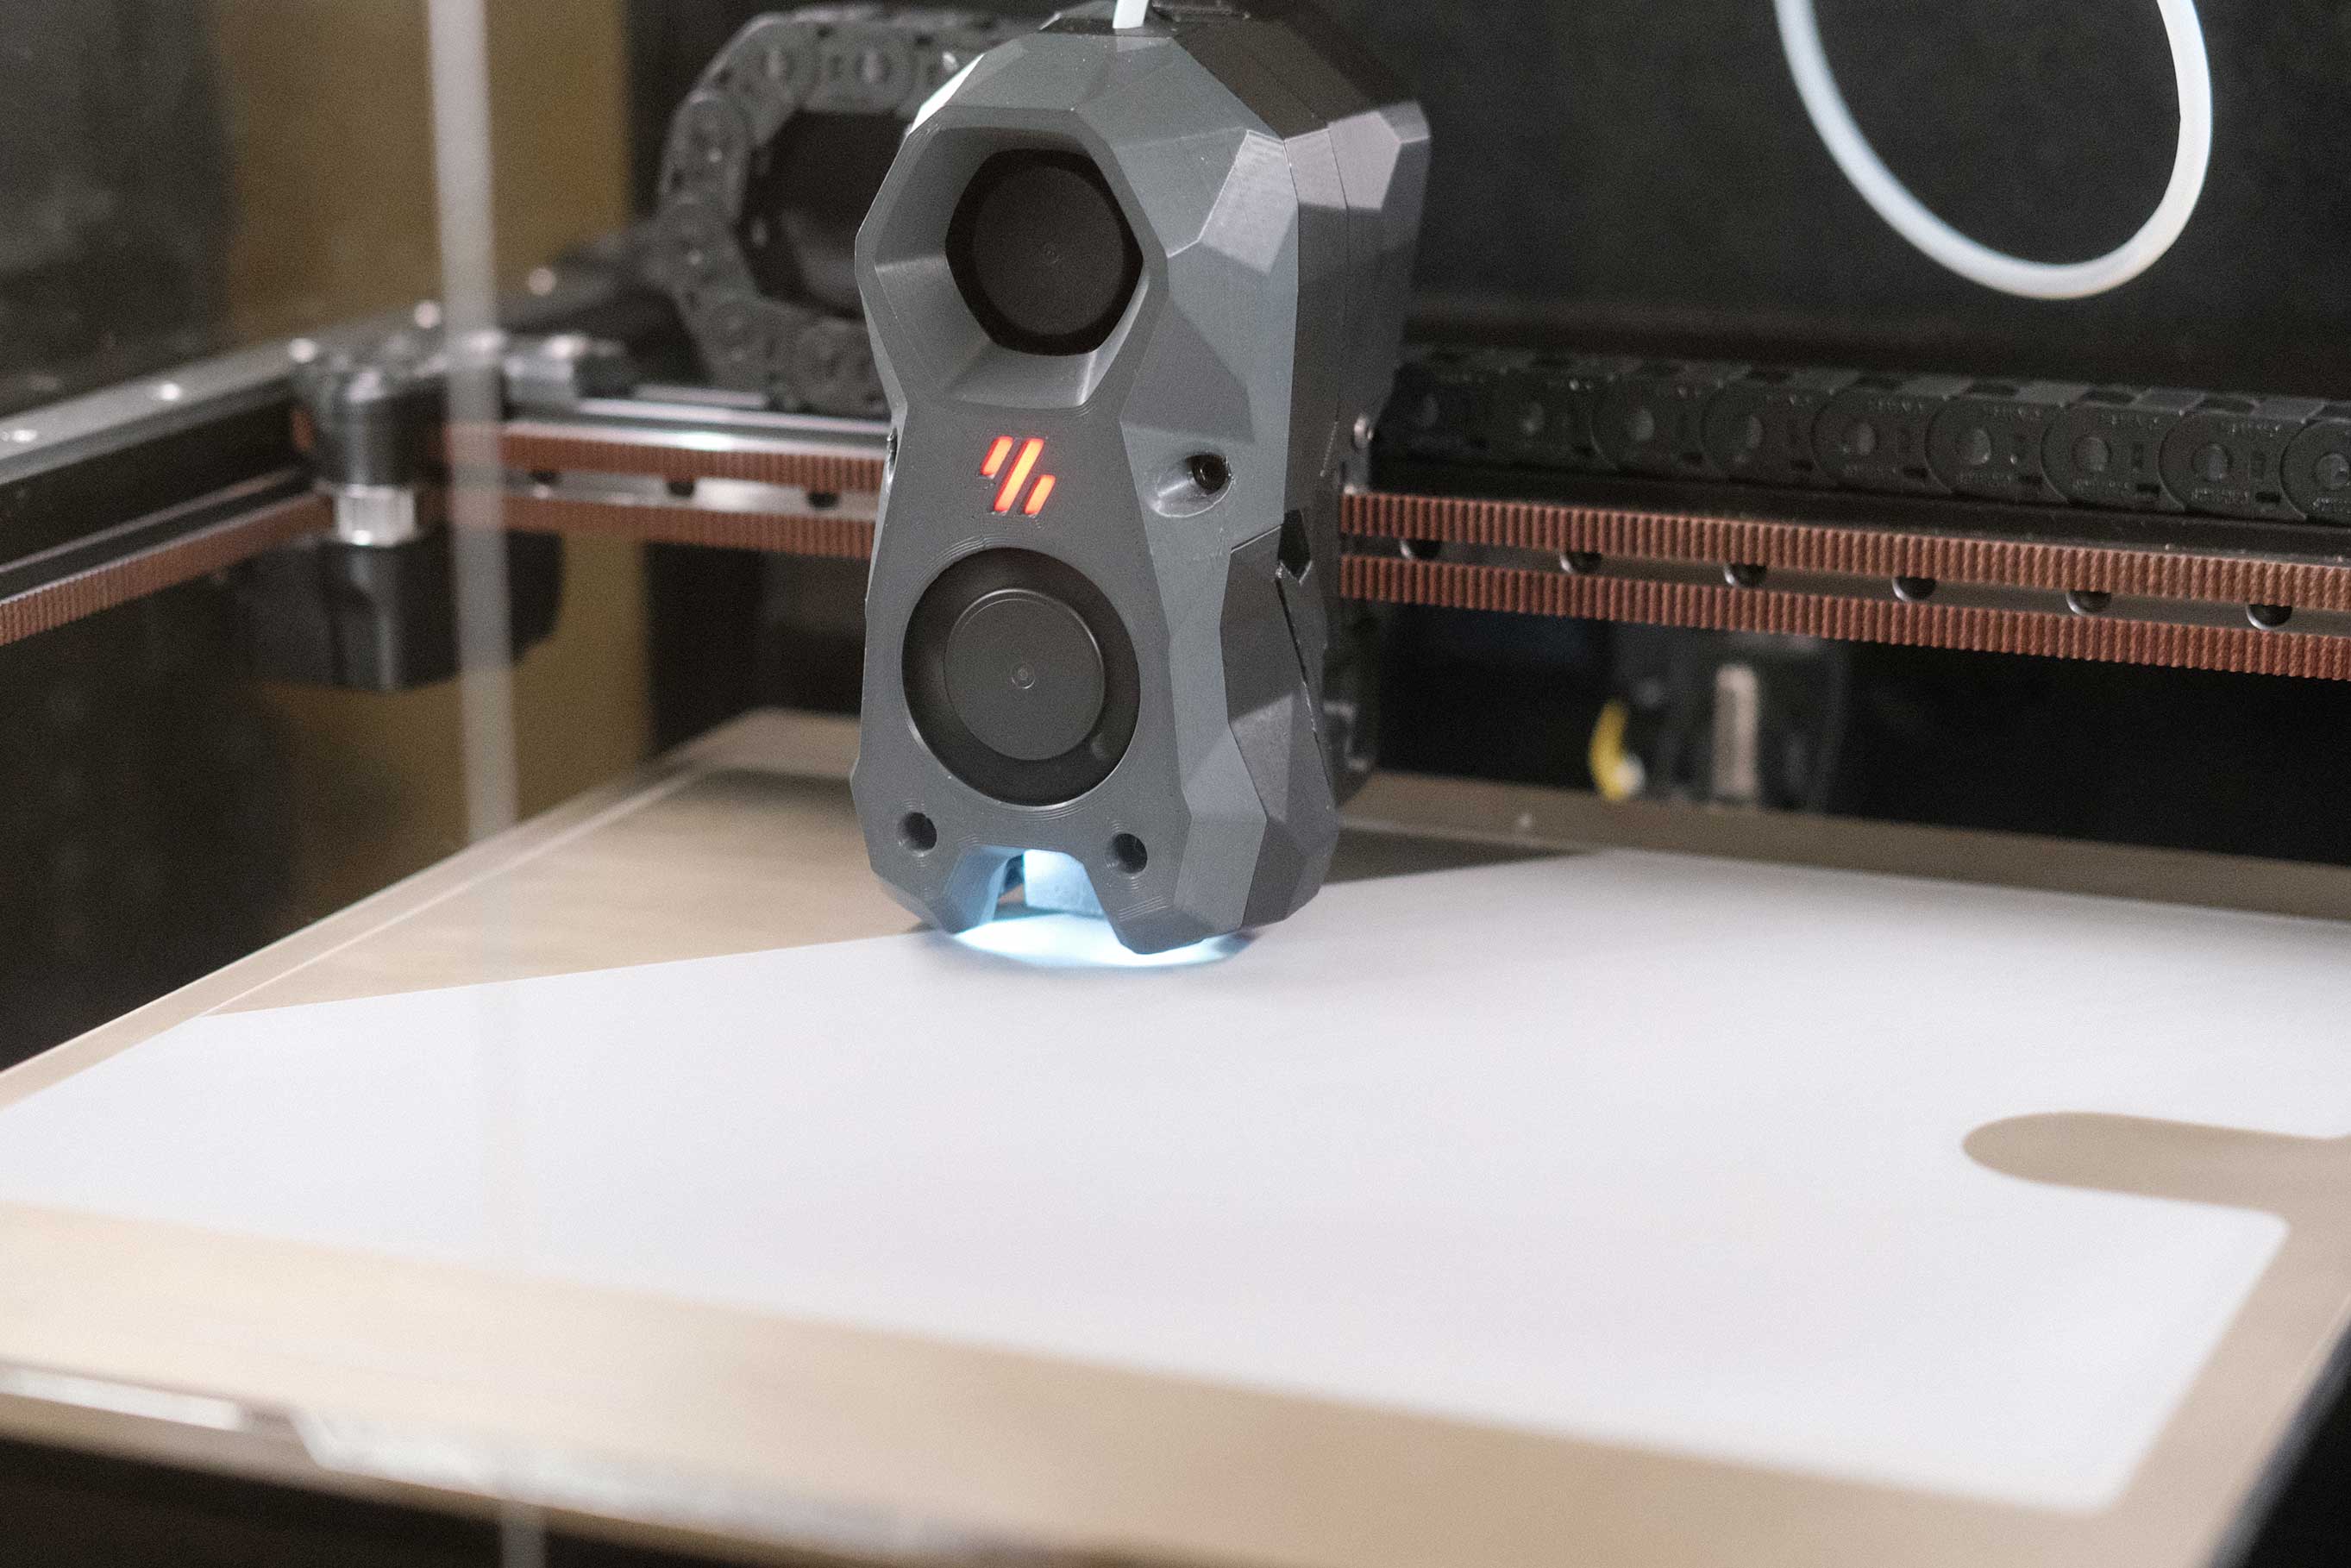
 Printing Begins! - 2
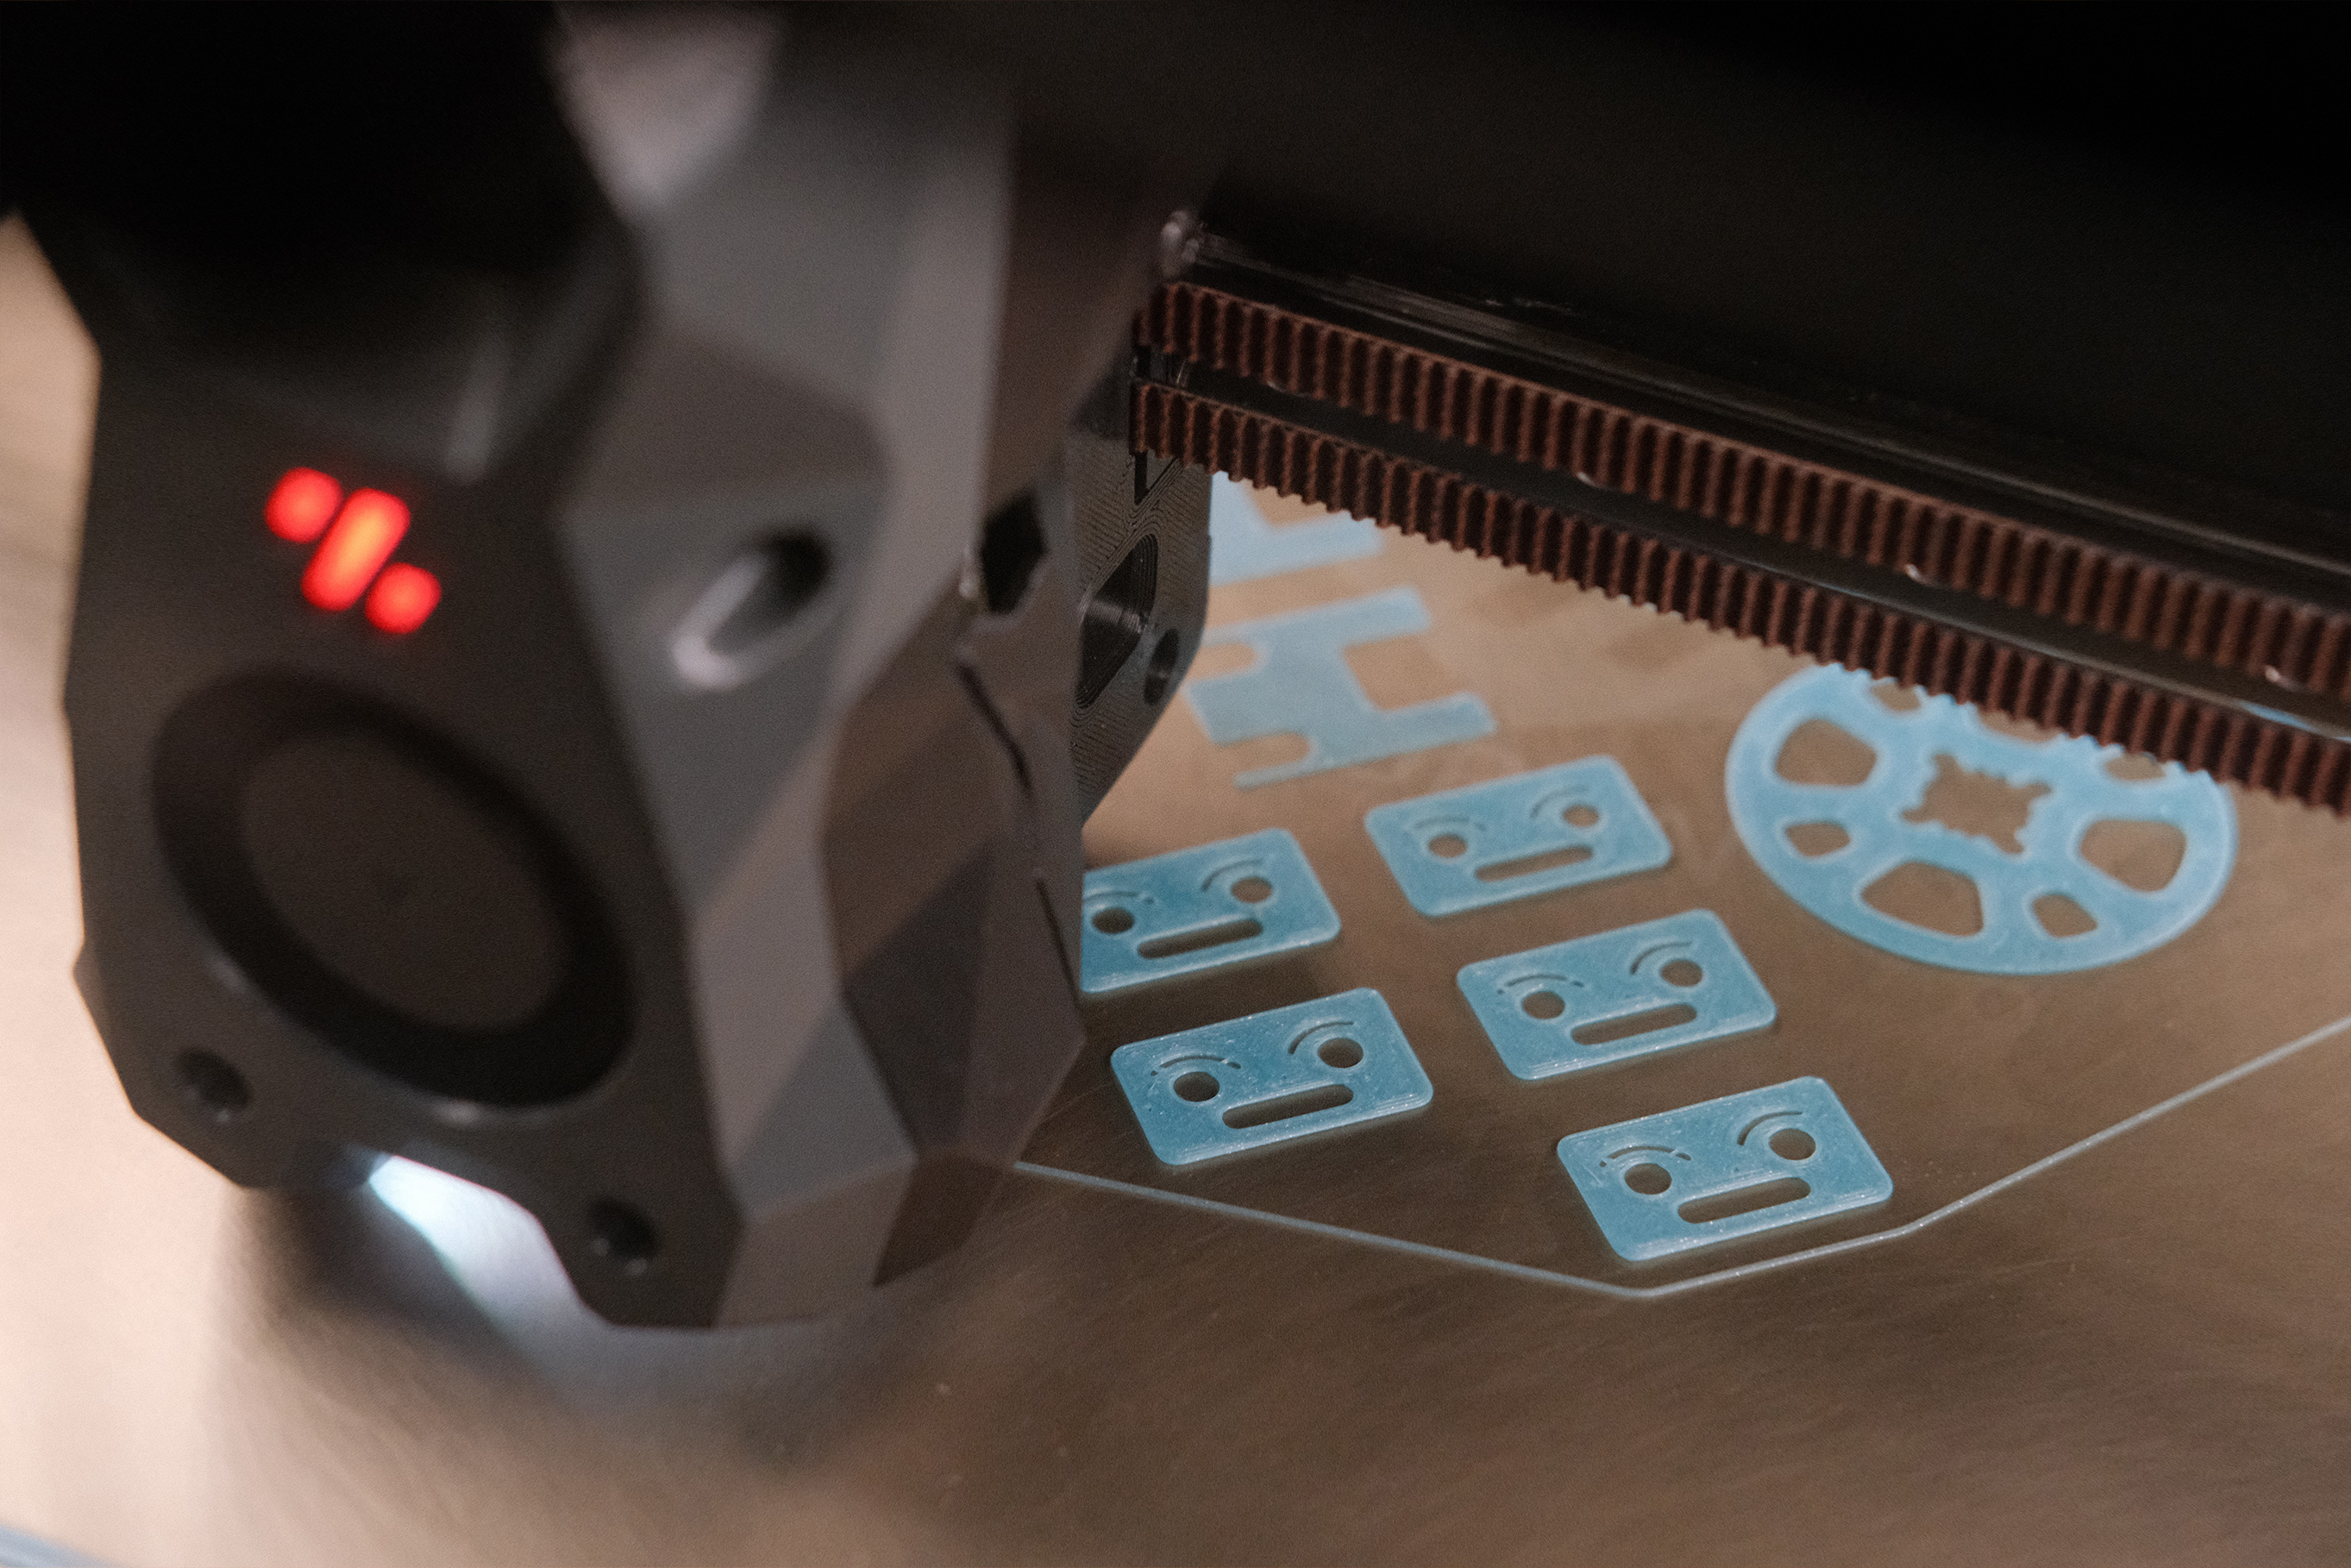
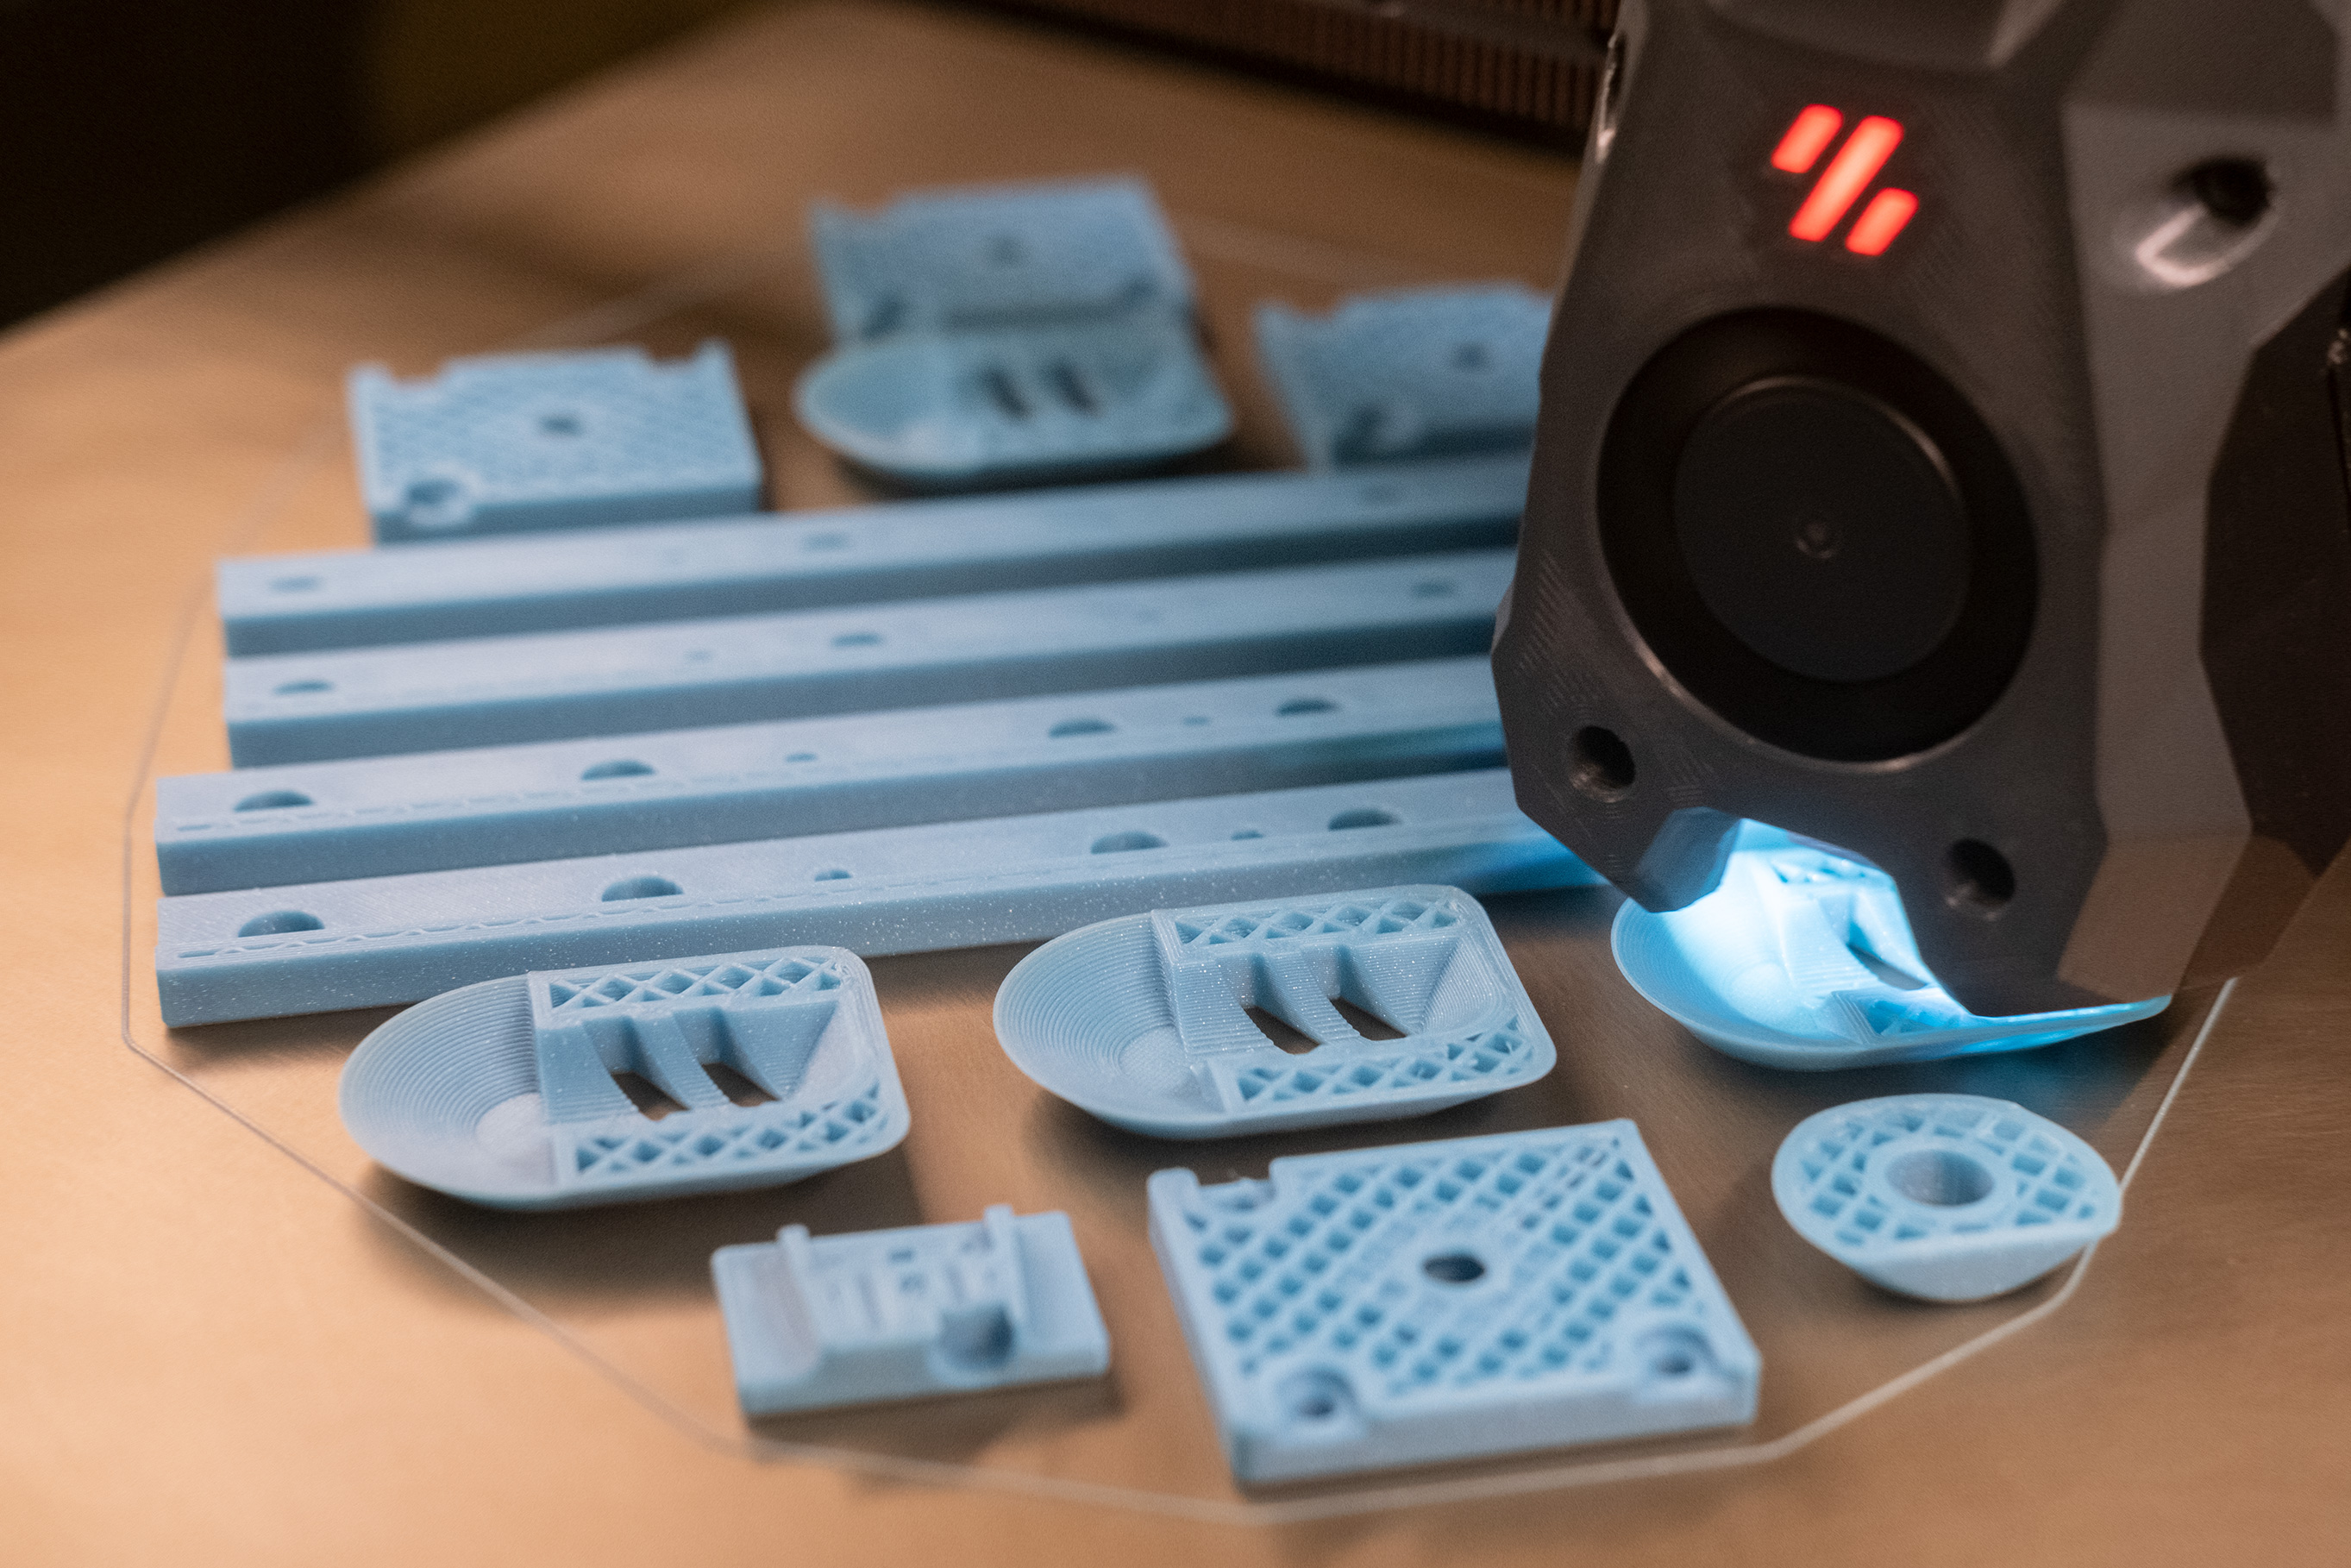
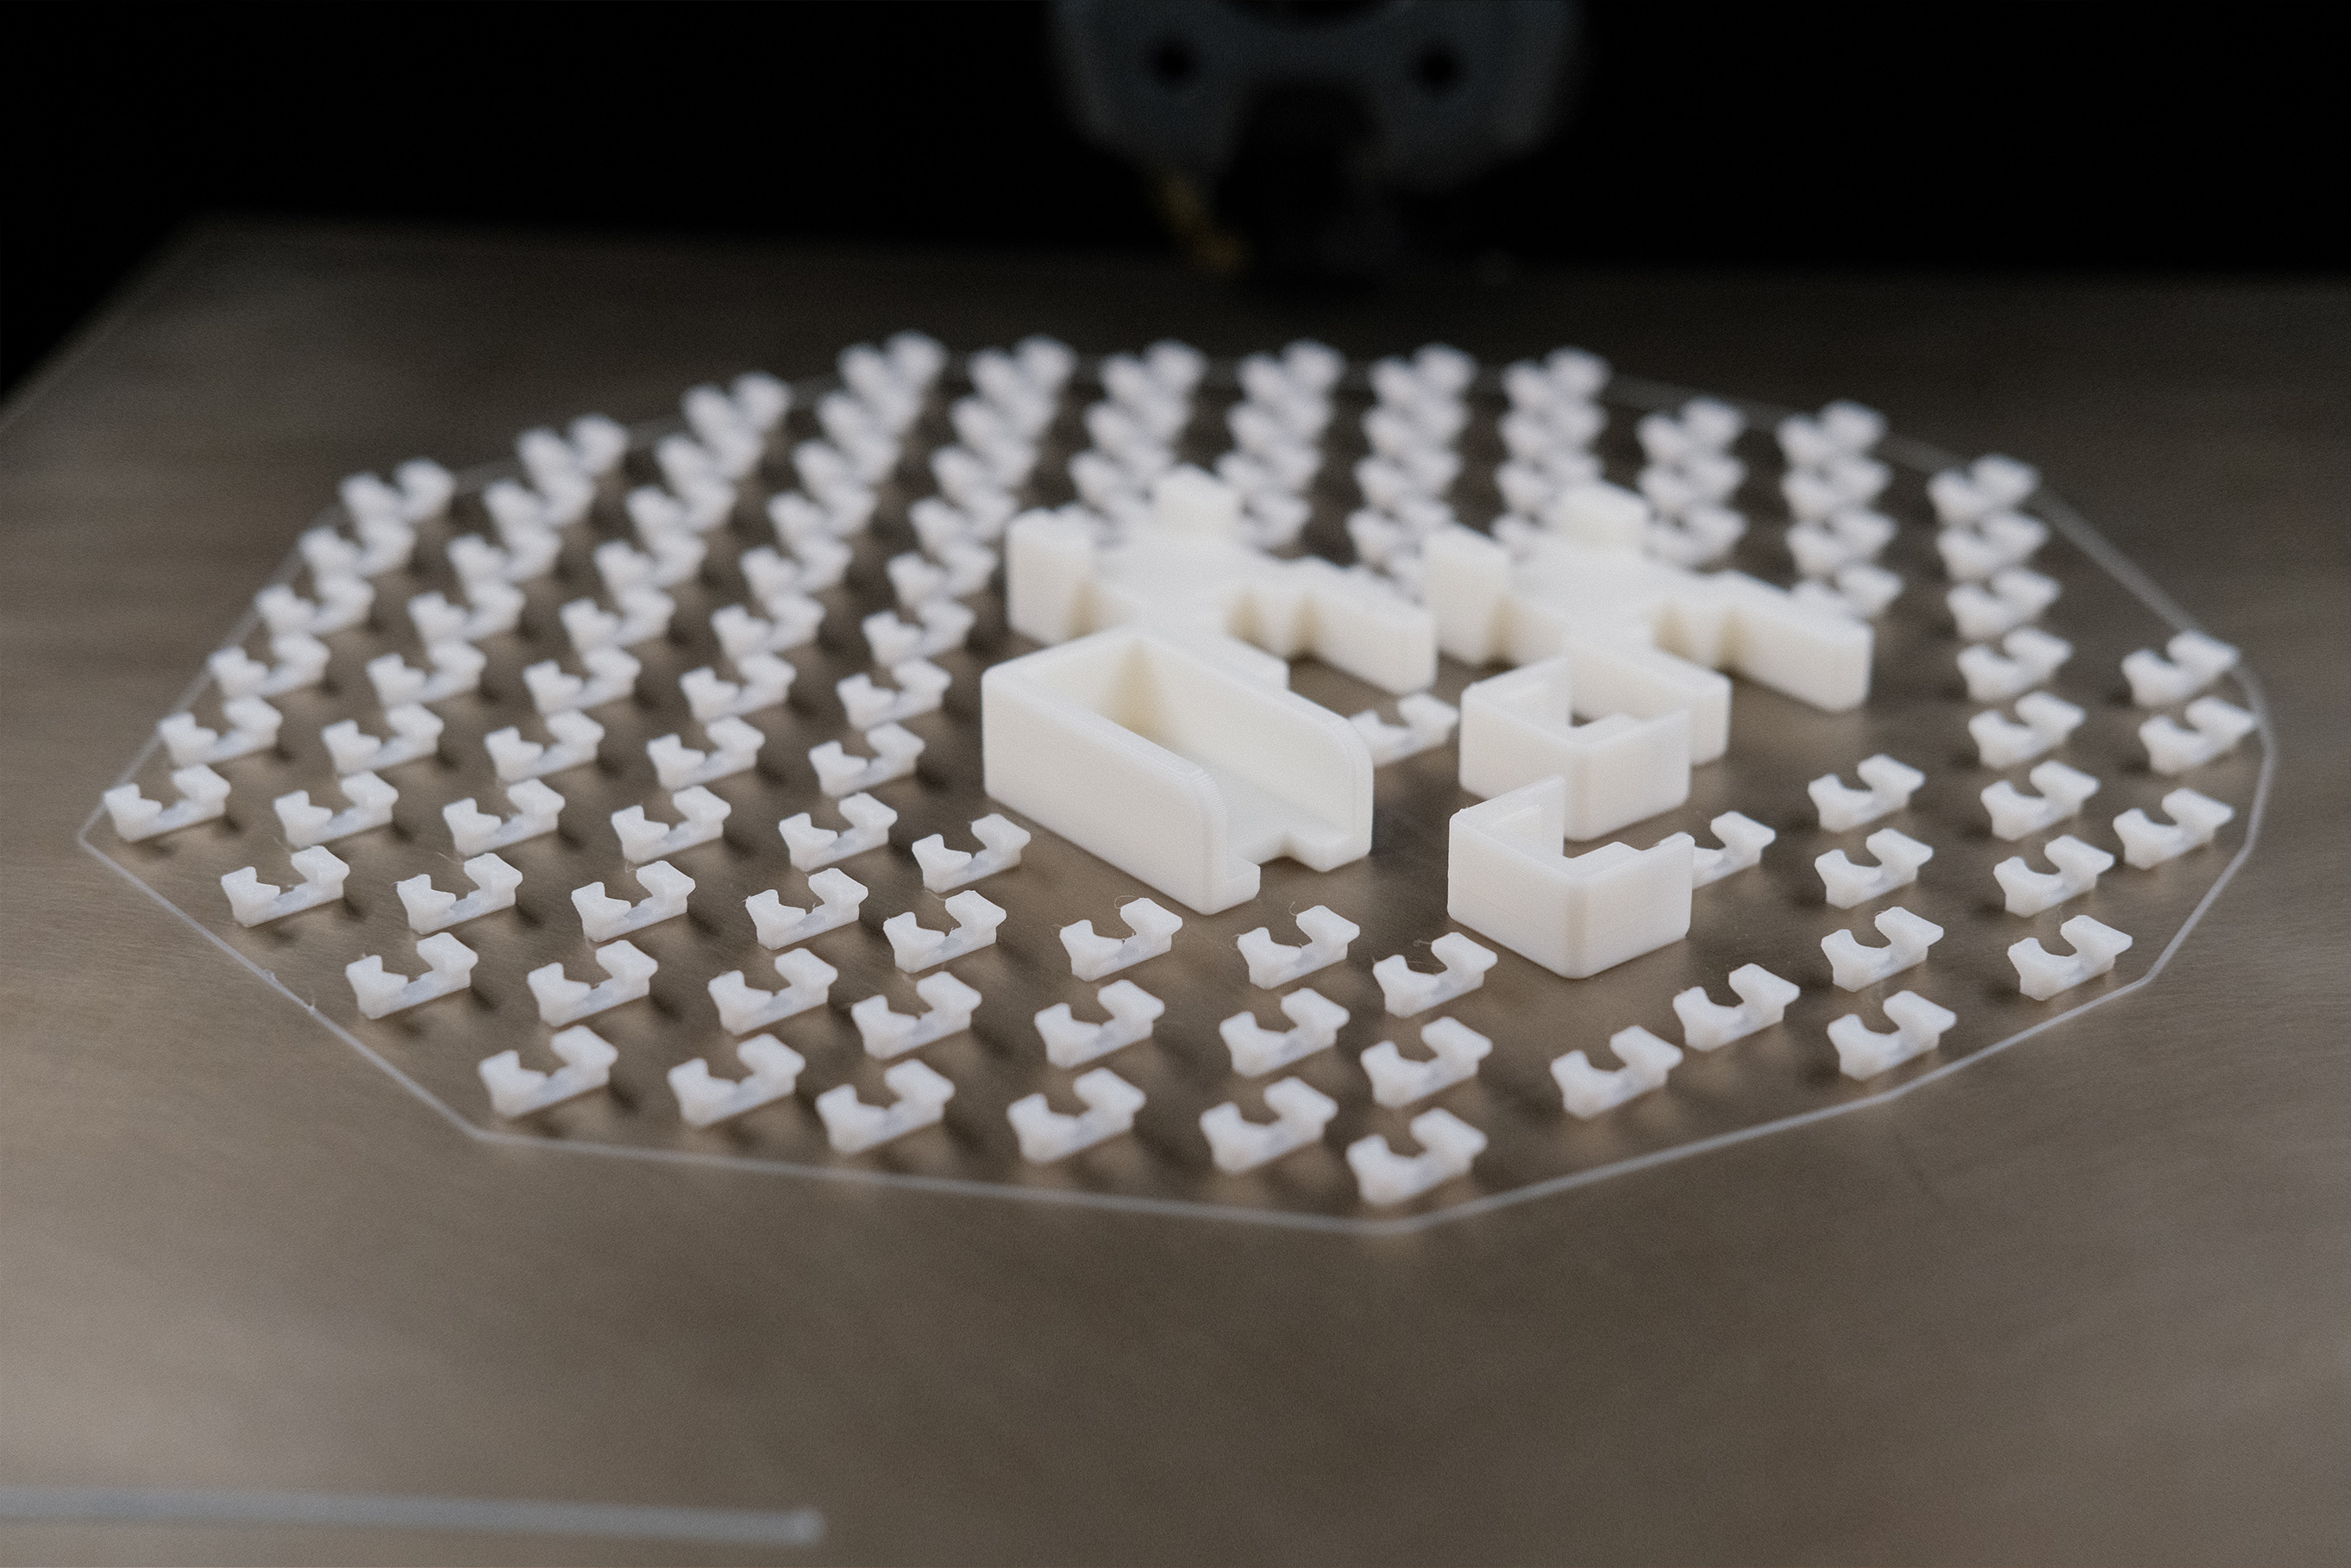
 Printing Begins! - 3
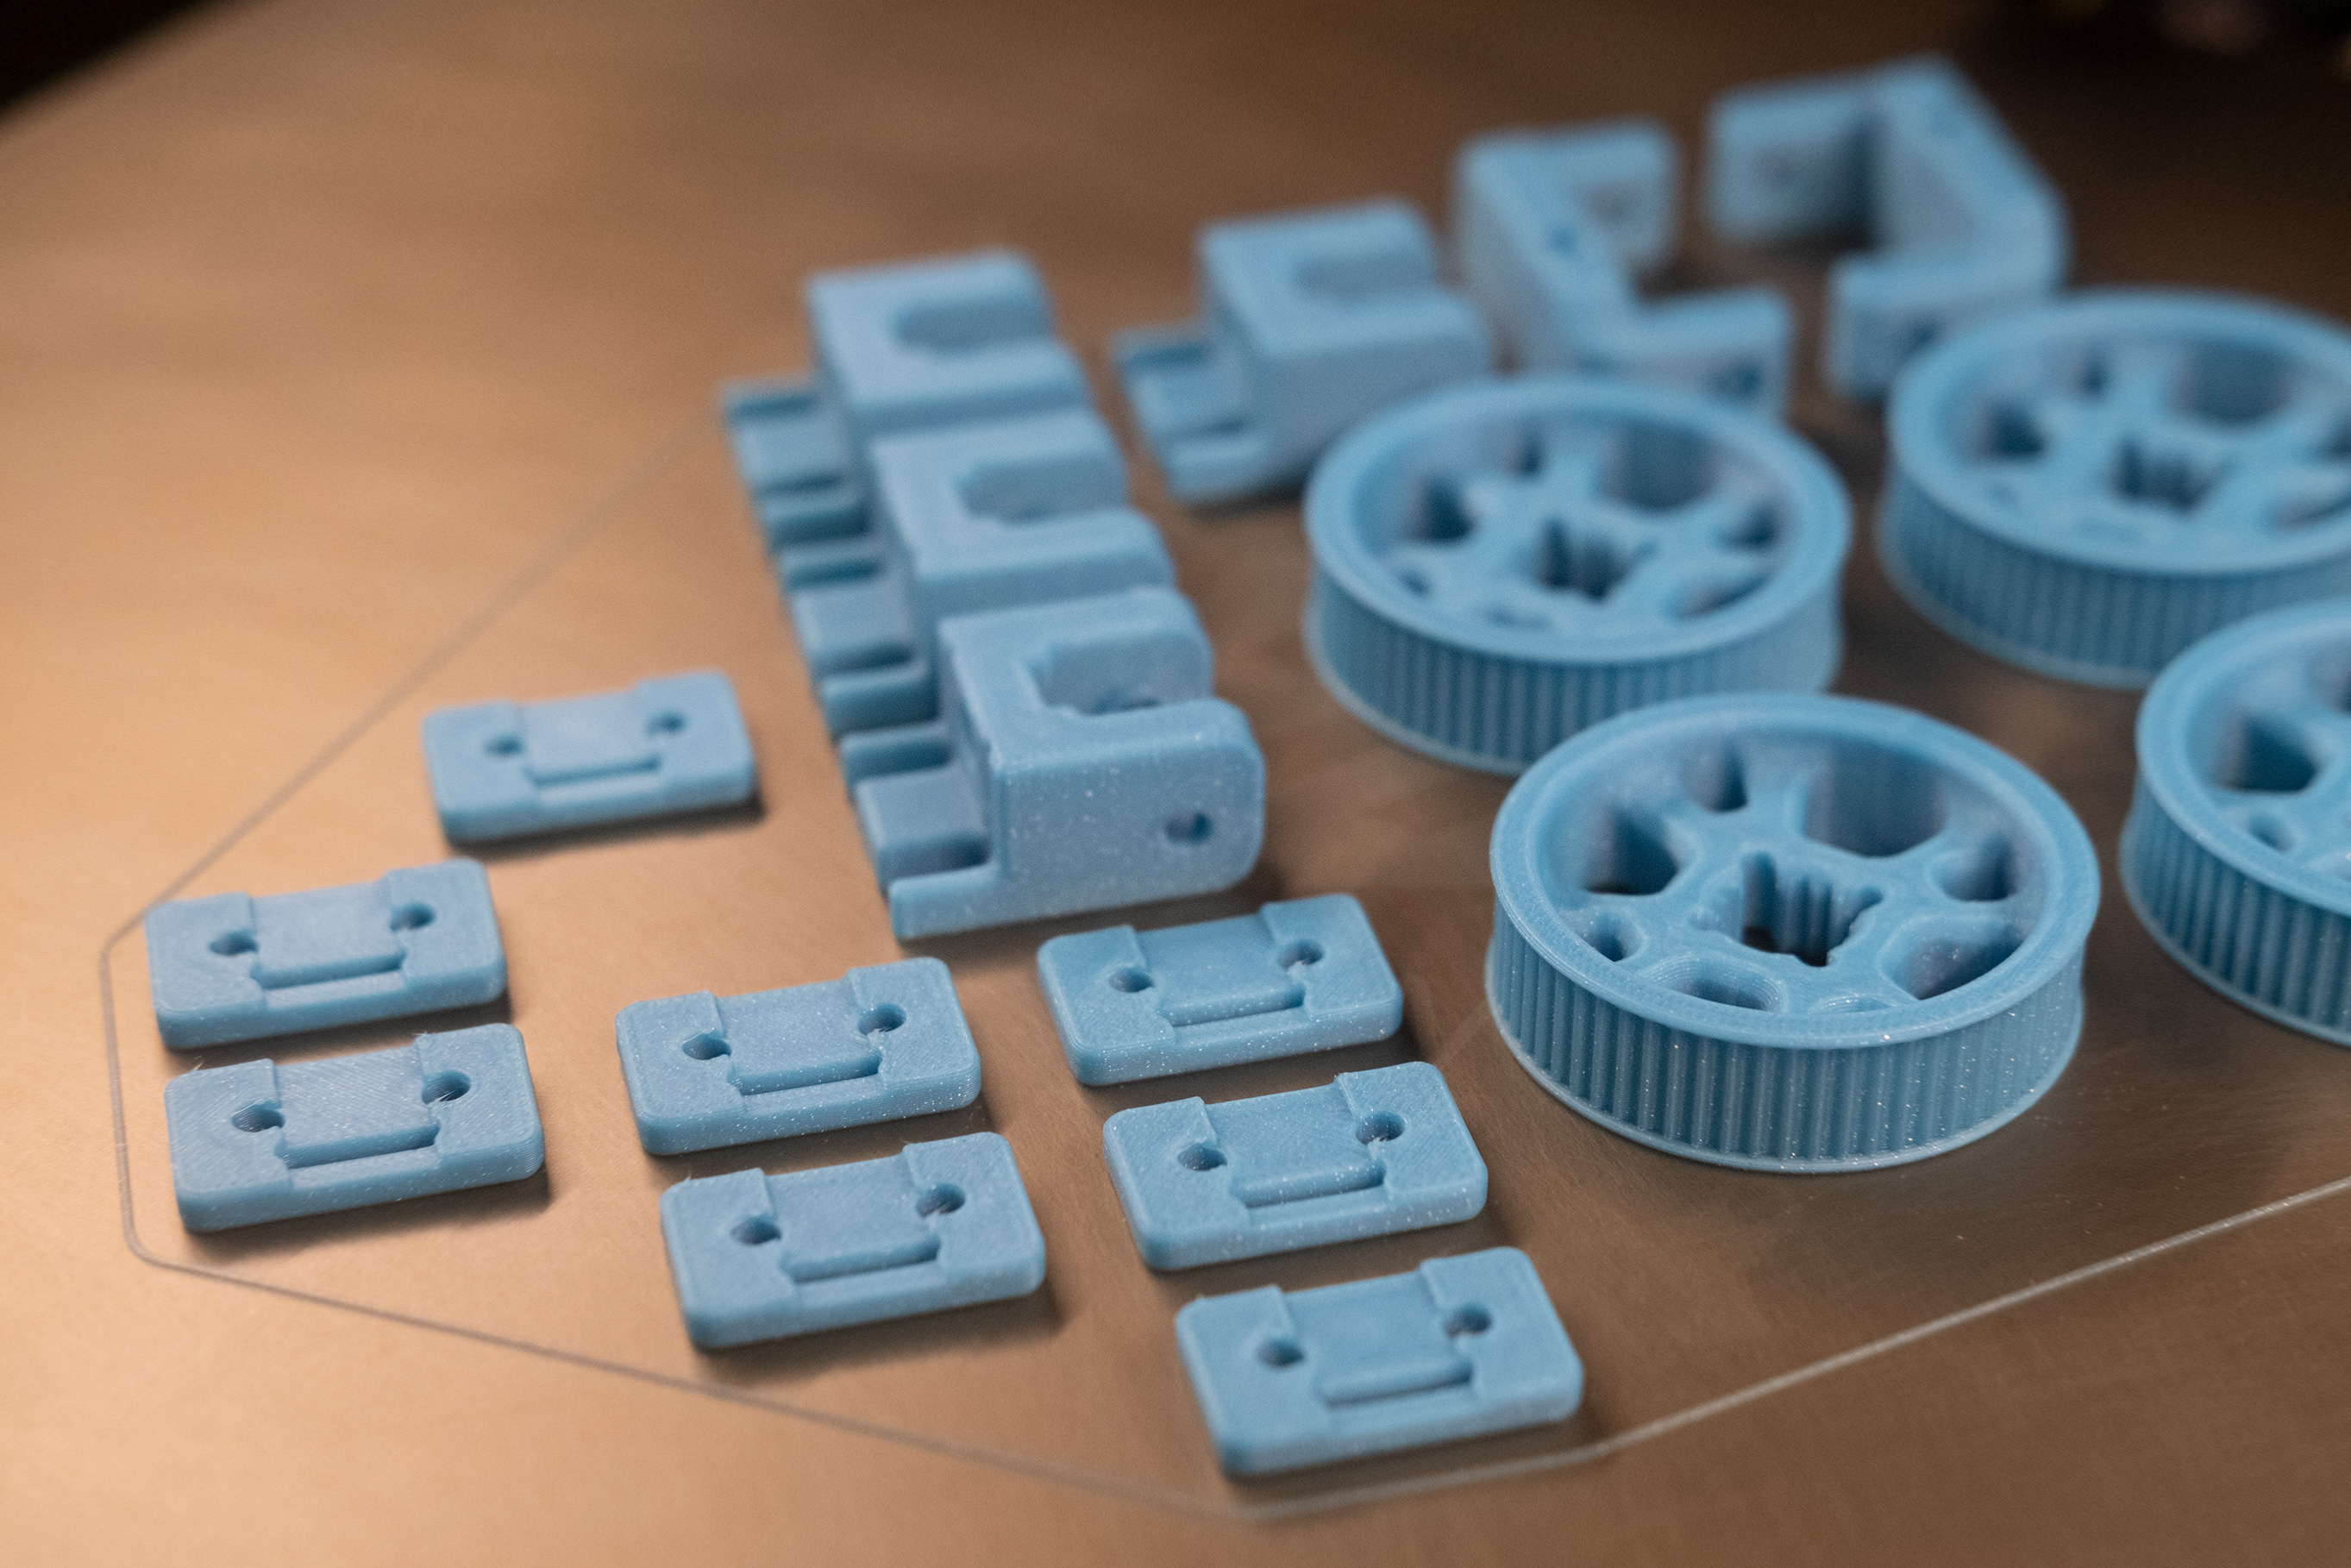
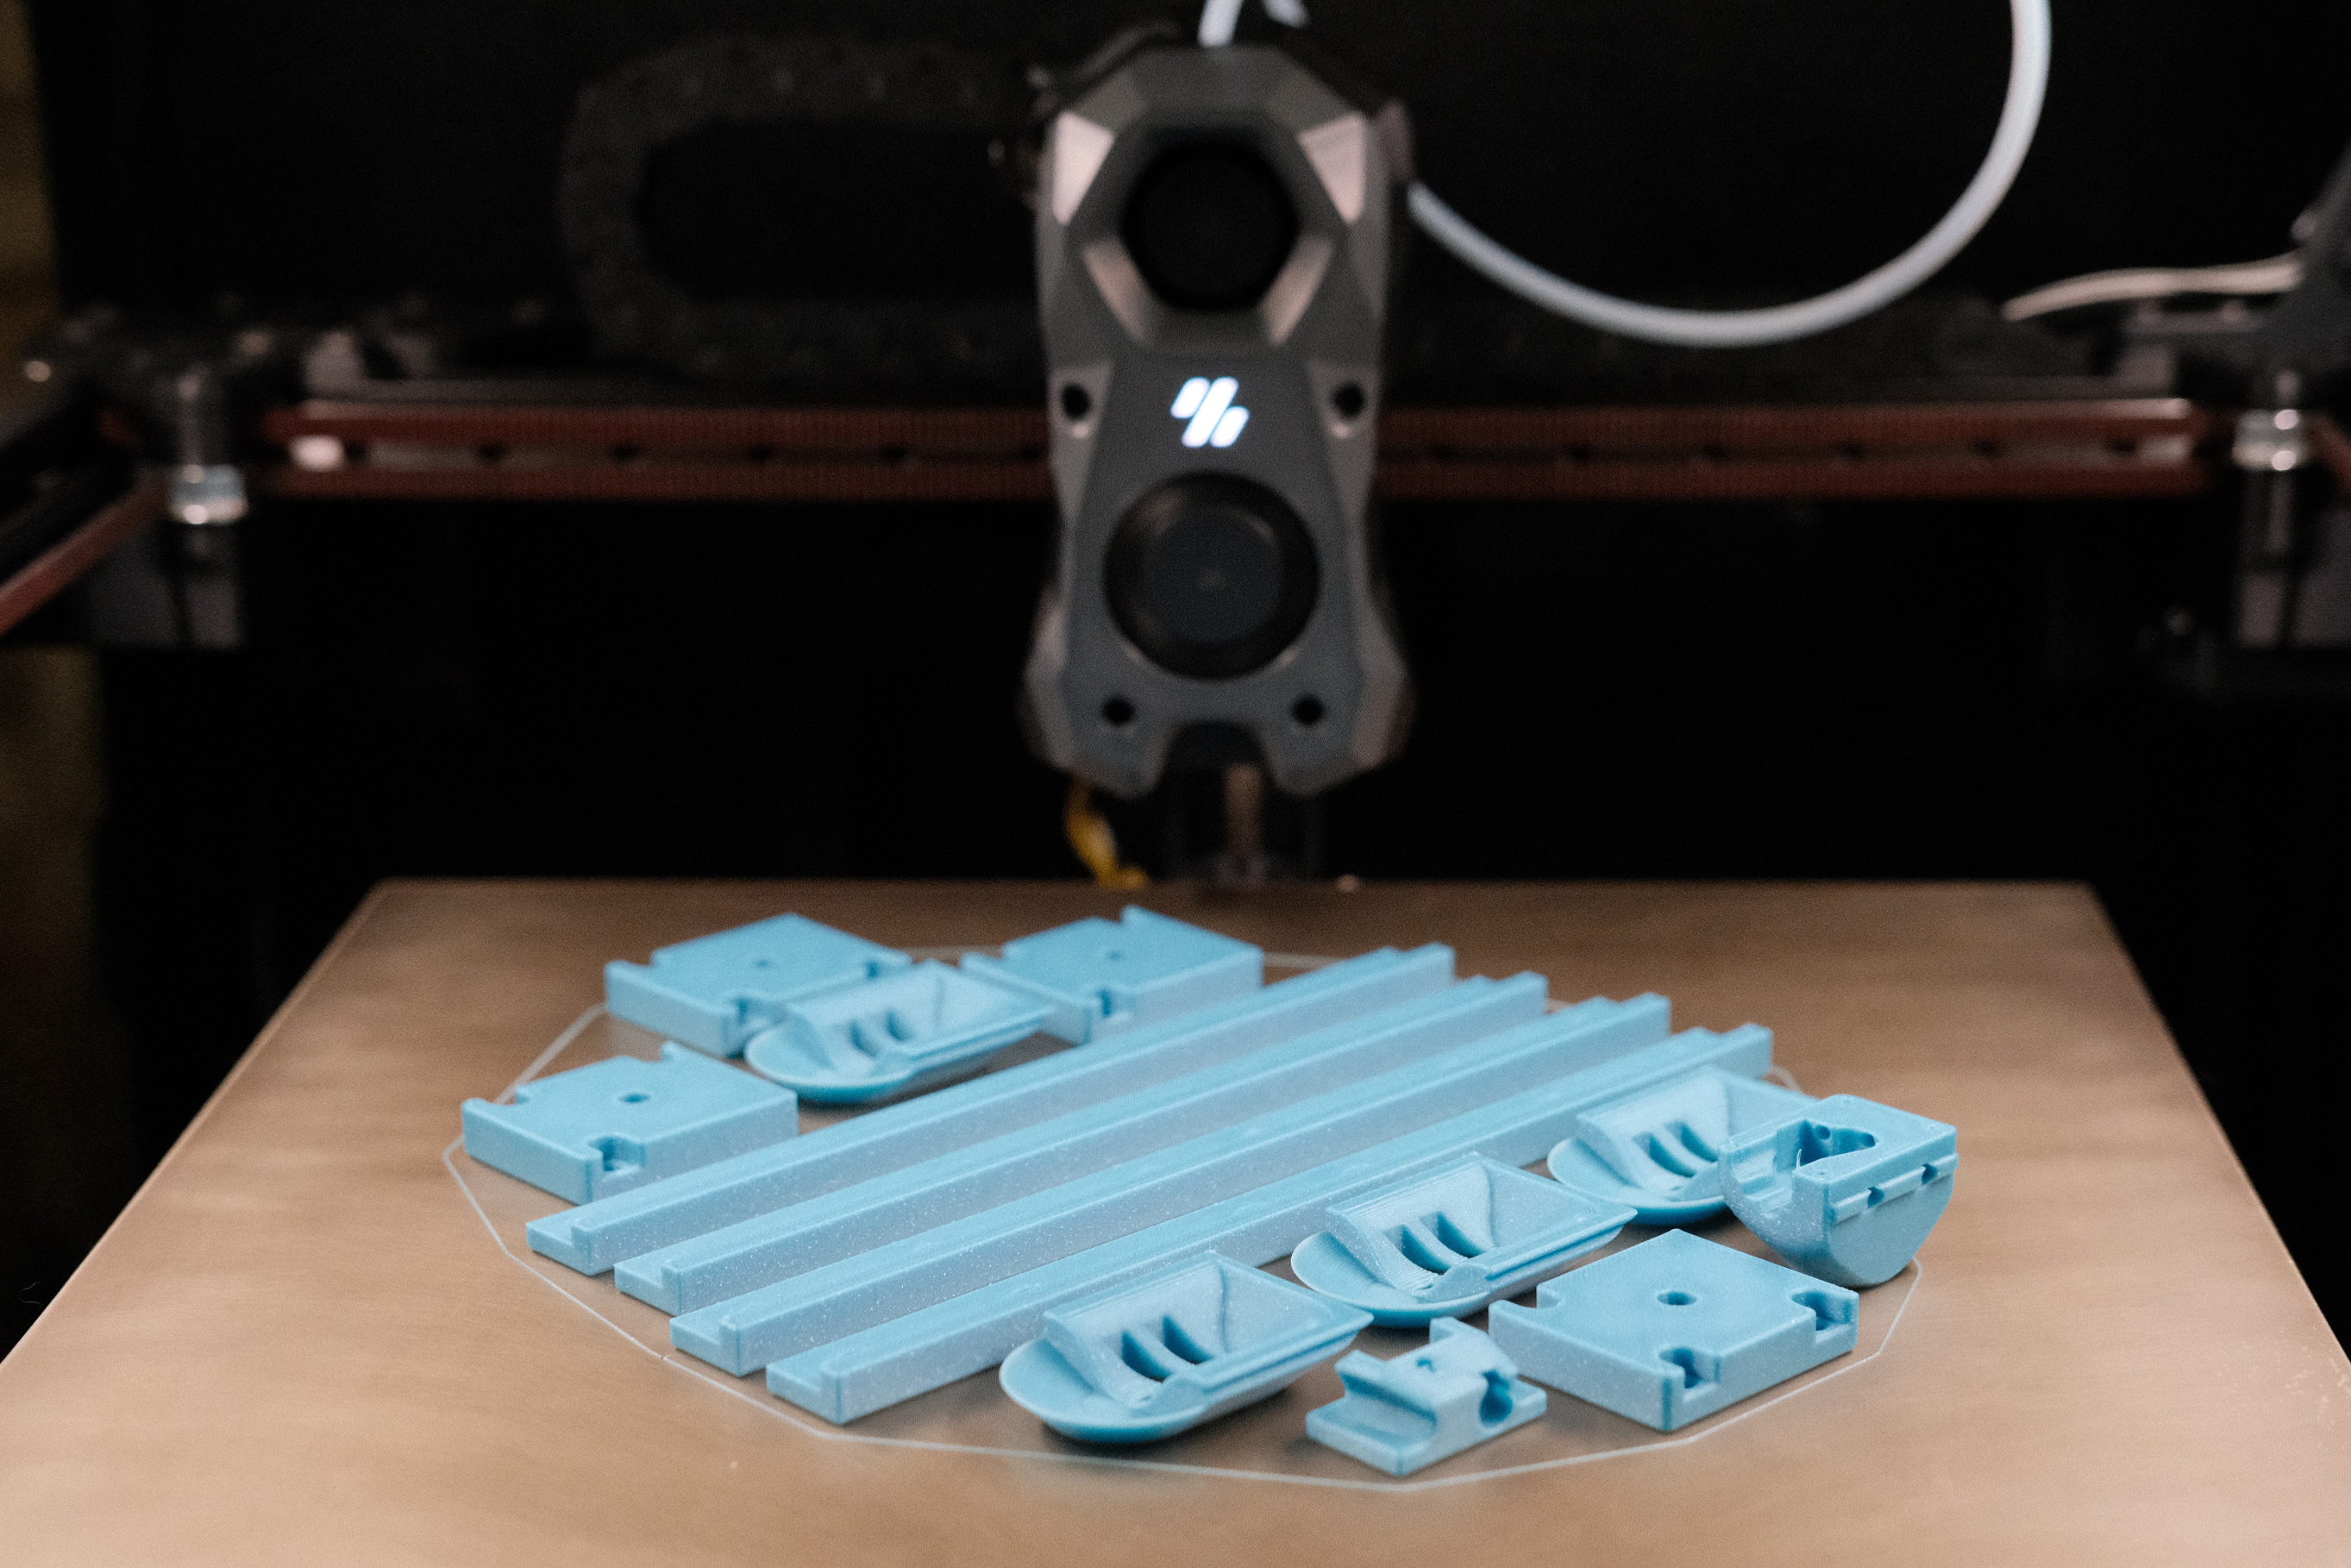
 Printing Begins! - 4: Very pleased!
 Printing Begins! - 5
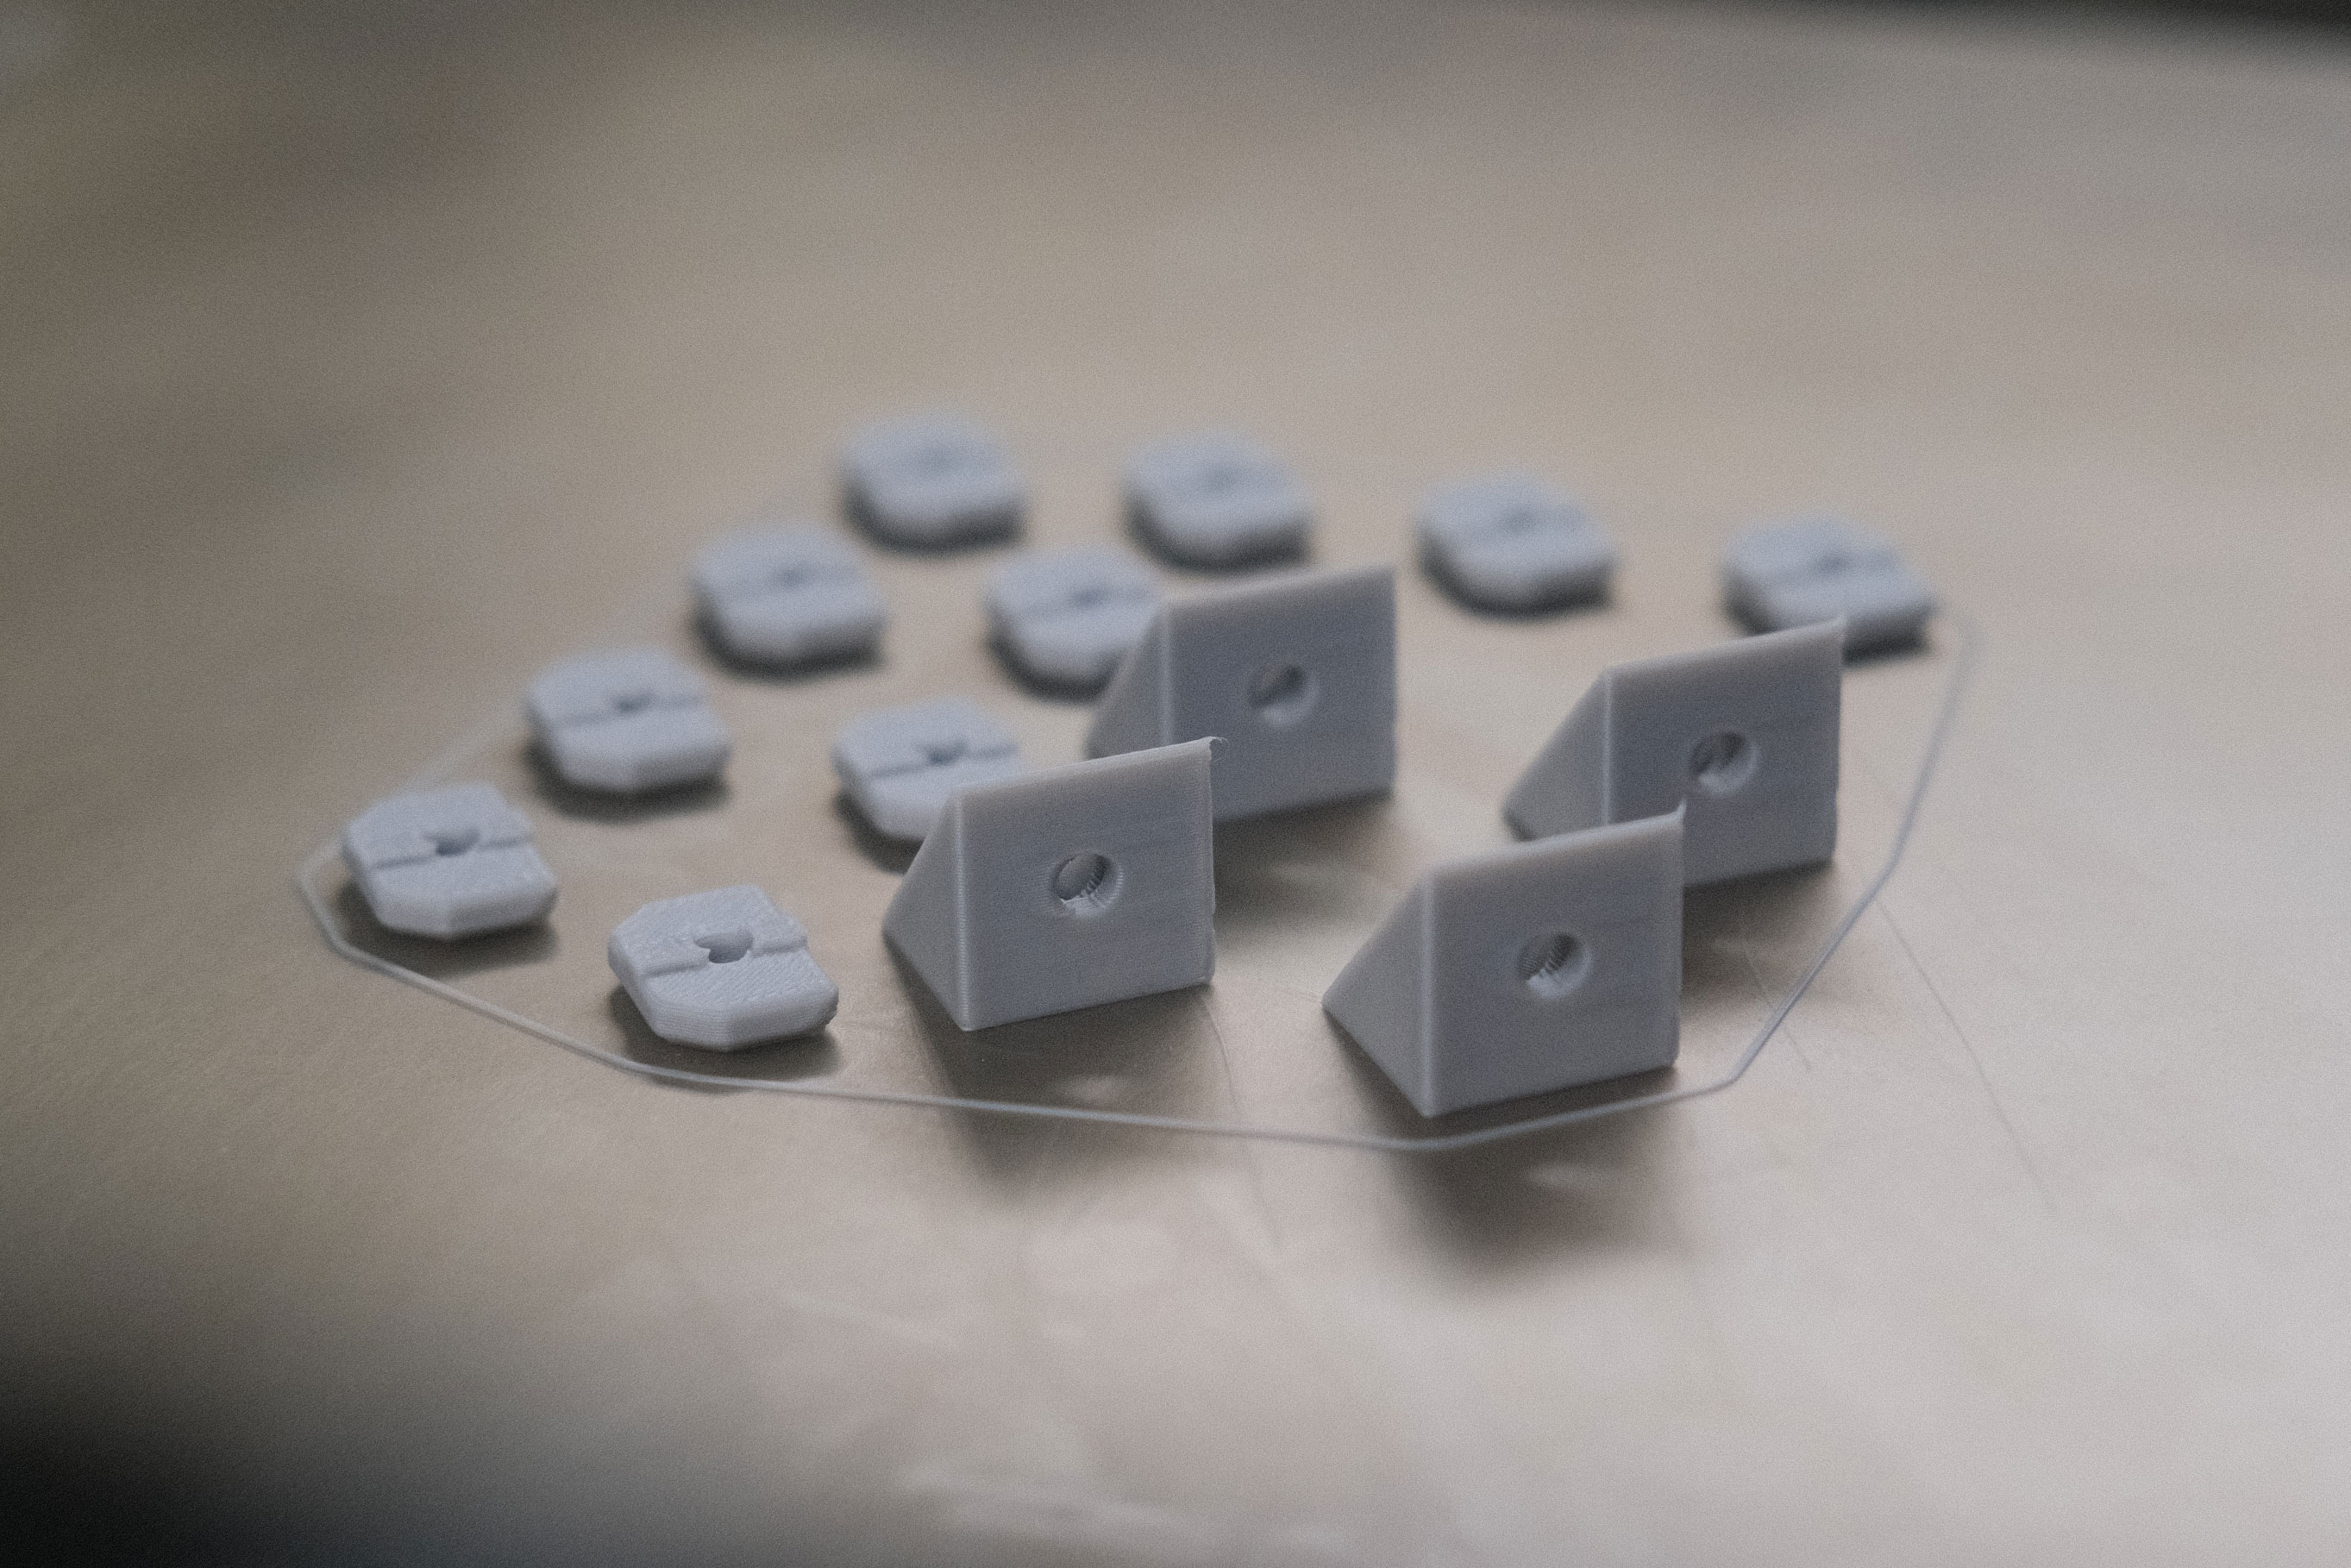
 More Accent Parts - 1
 More Accent Parts - 2
 More Accent Parts - 3
 Even More Accent Parts - 1
 Even More Accent Parts - 2
 Even More Accent Parts - 3
 Even More Accent Parts - 4
 Even More Accent Parts - 5
 These Front Z-Covers Are Hard - 1
 Main Colors FF Mushroom Cloud Grey - 1
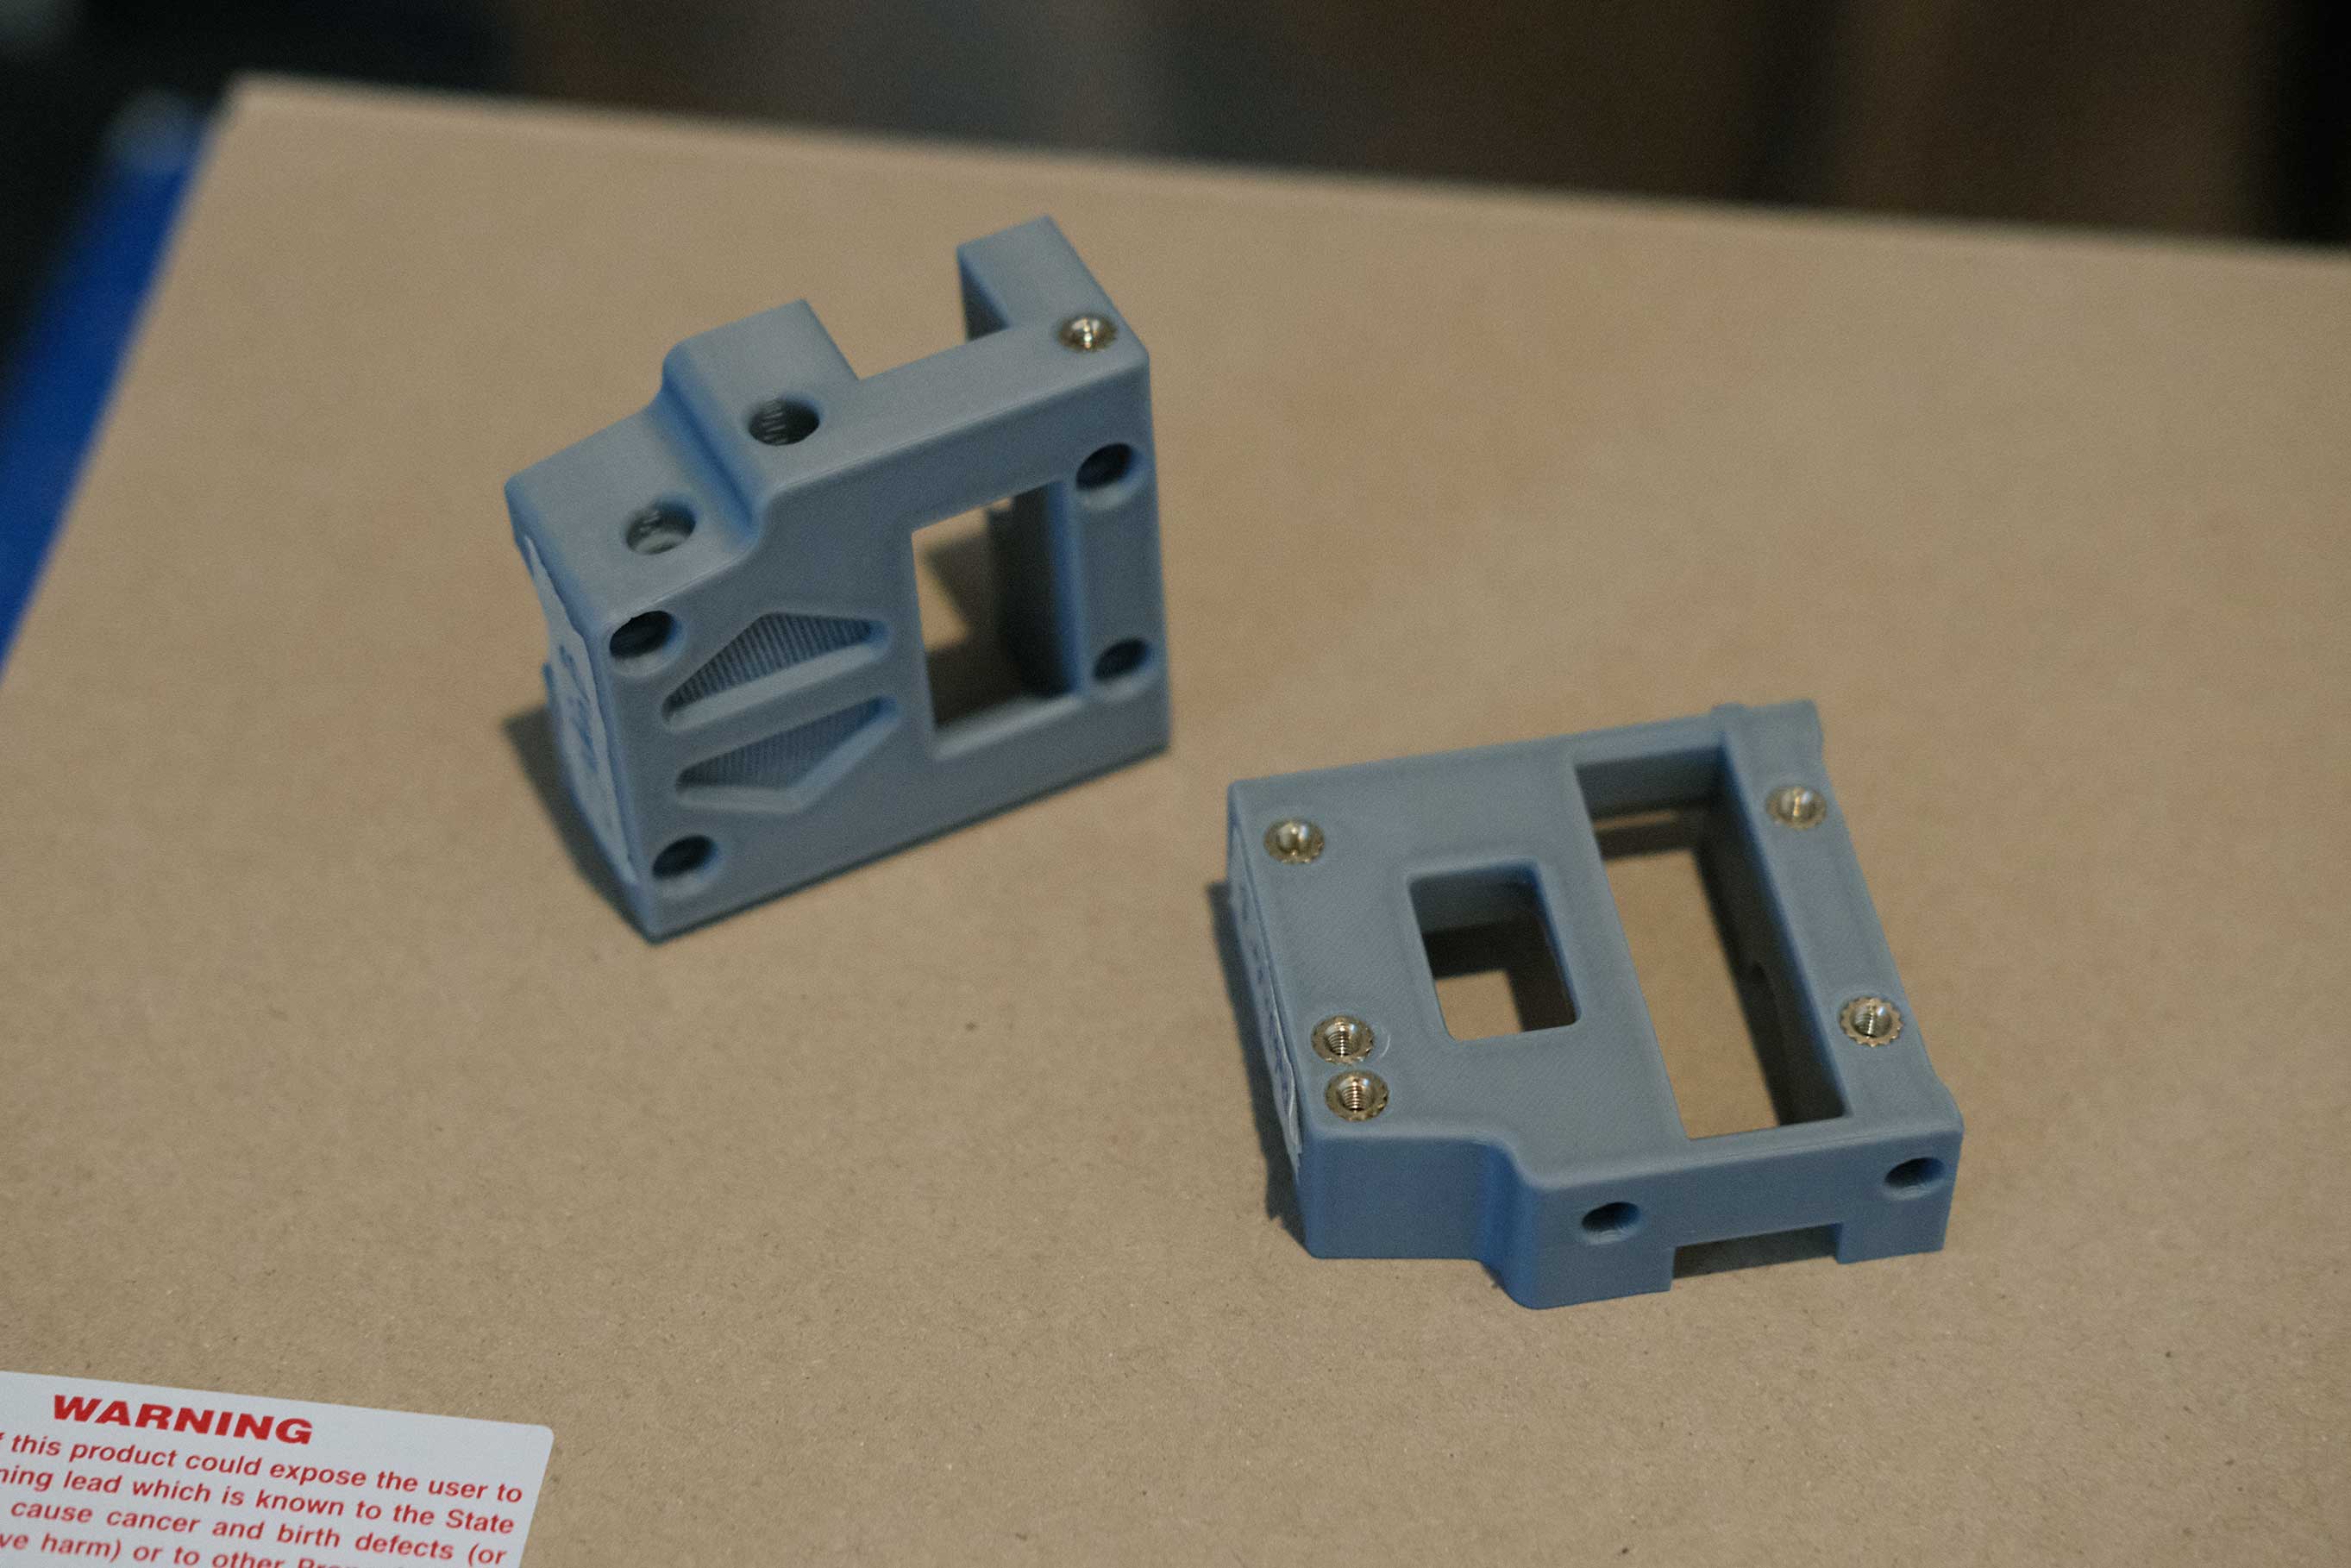
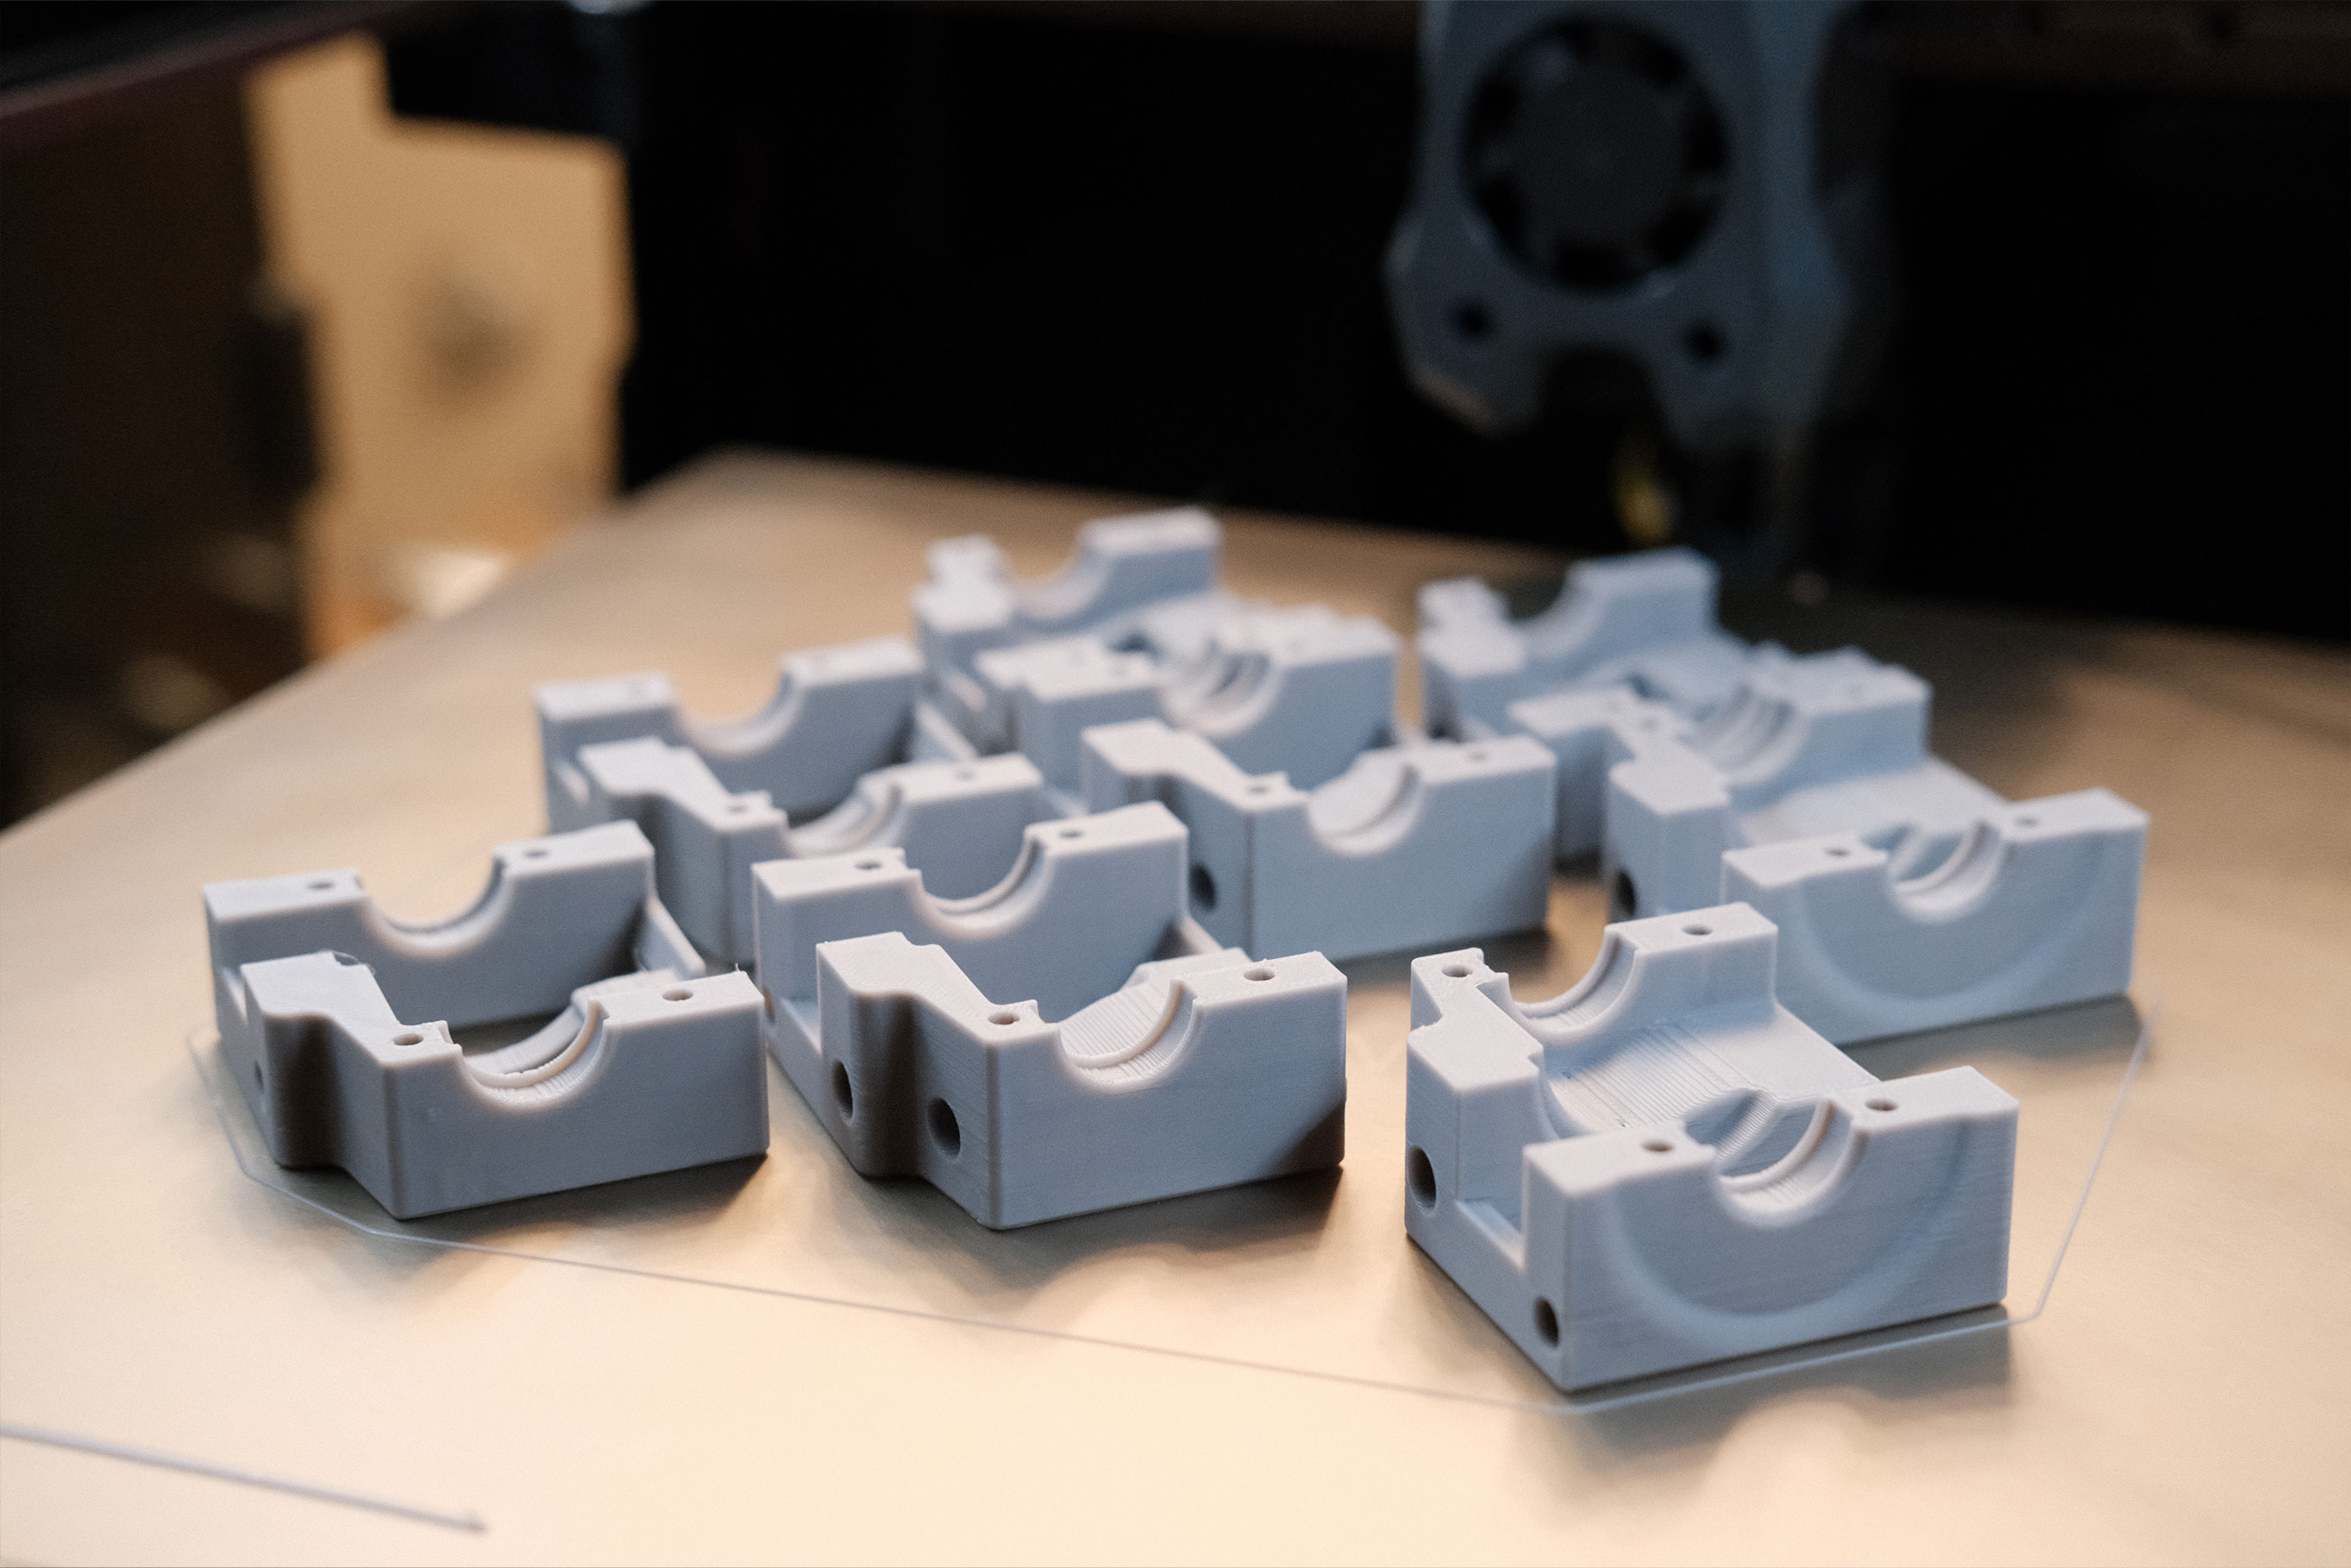 Main Colors Z-Motor Mounts - 2
 Main Colors Z-Motor Mounts - 3
 Main Colors Z-Motor Mounts - 4
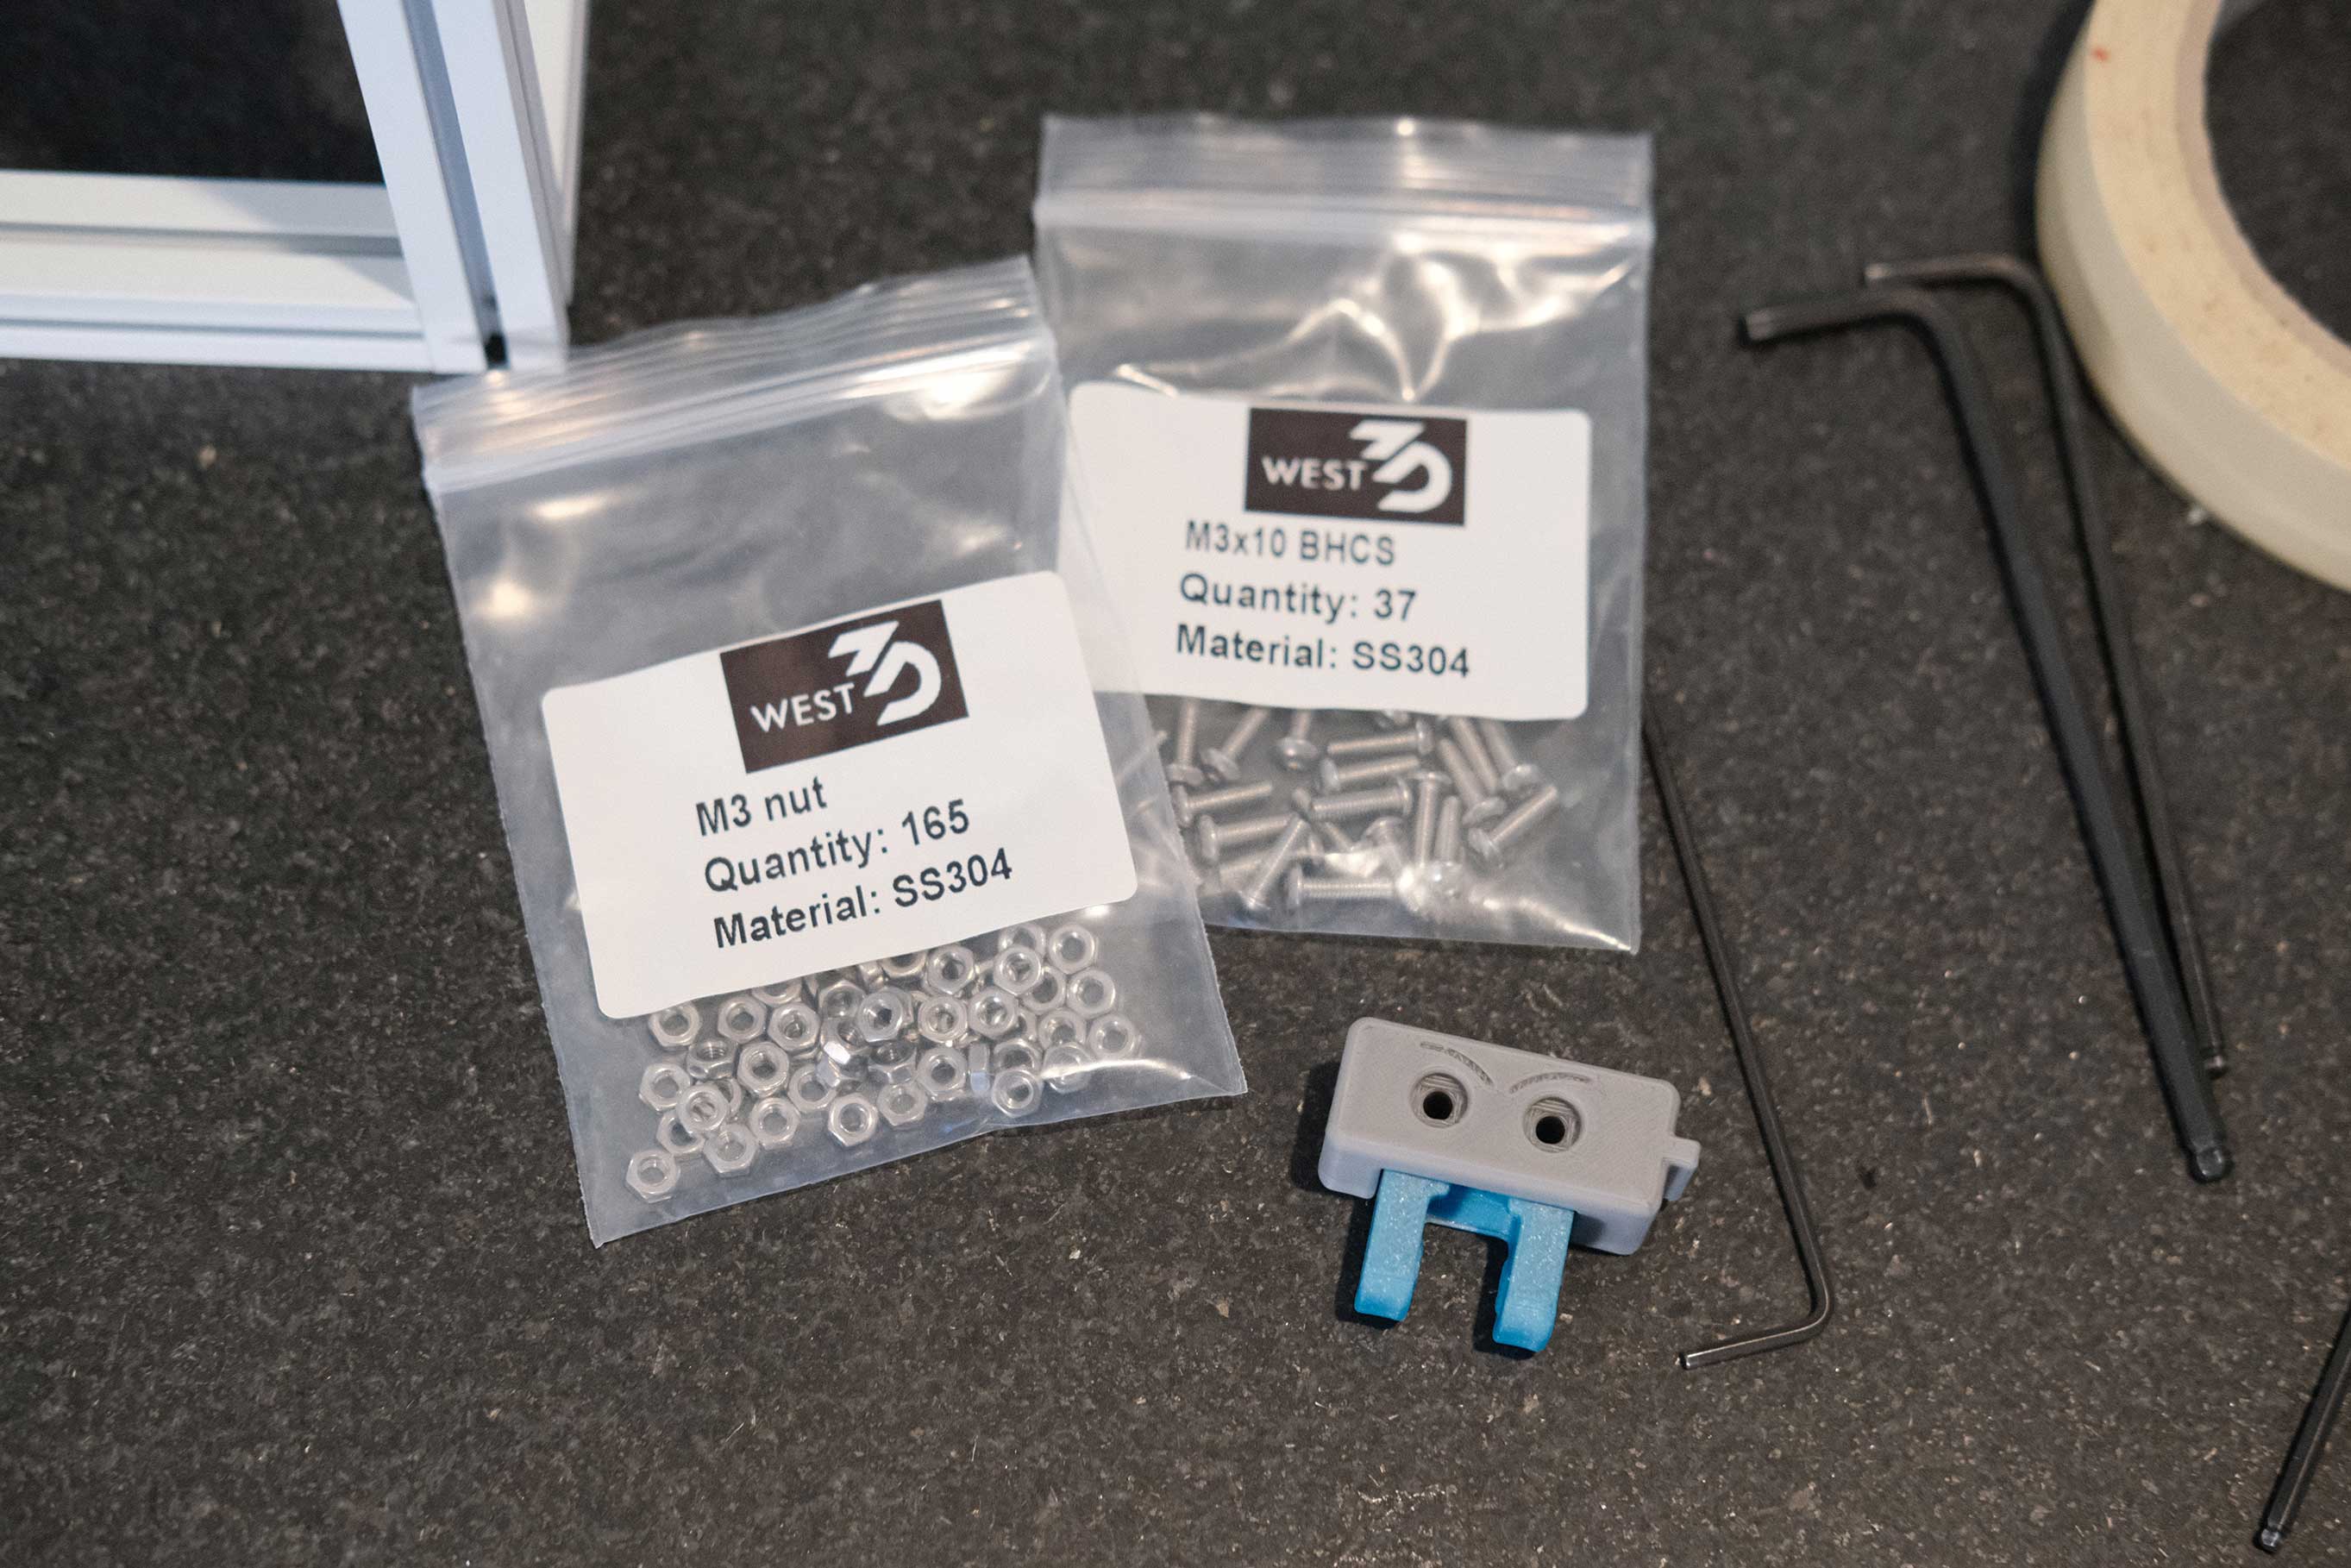
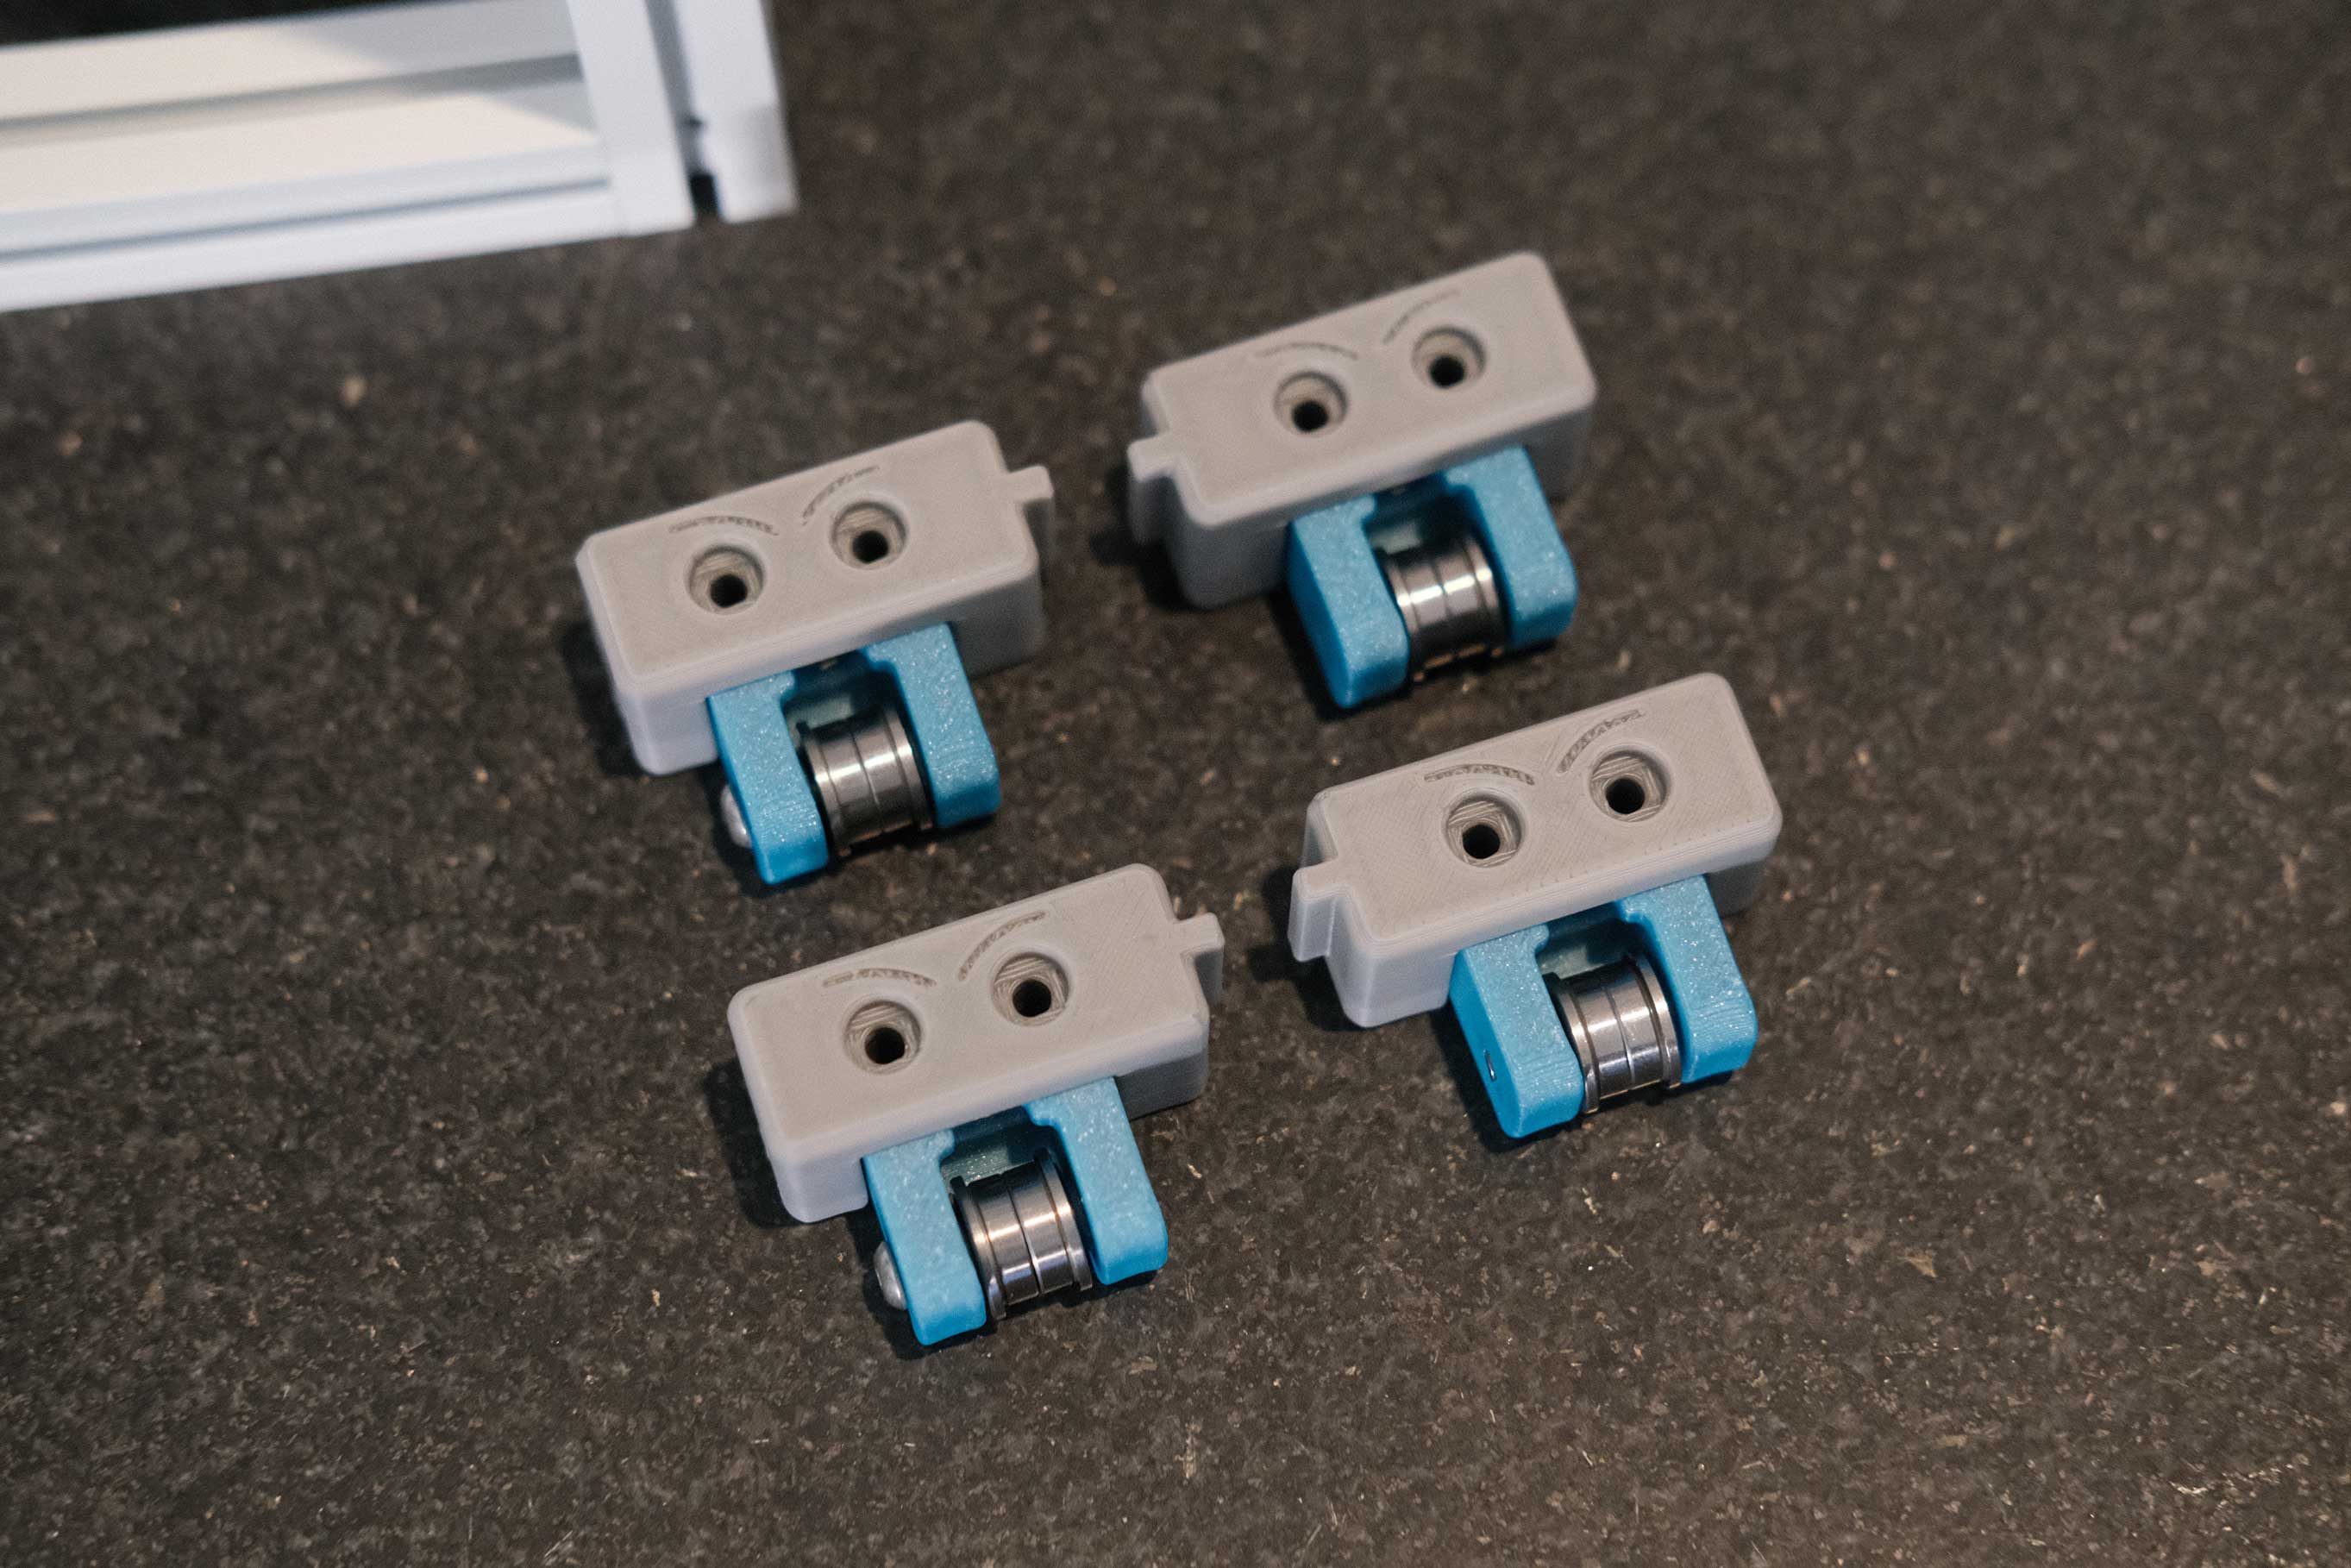
 No-Drop Nut Inserts & Alignment Tools
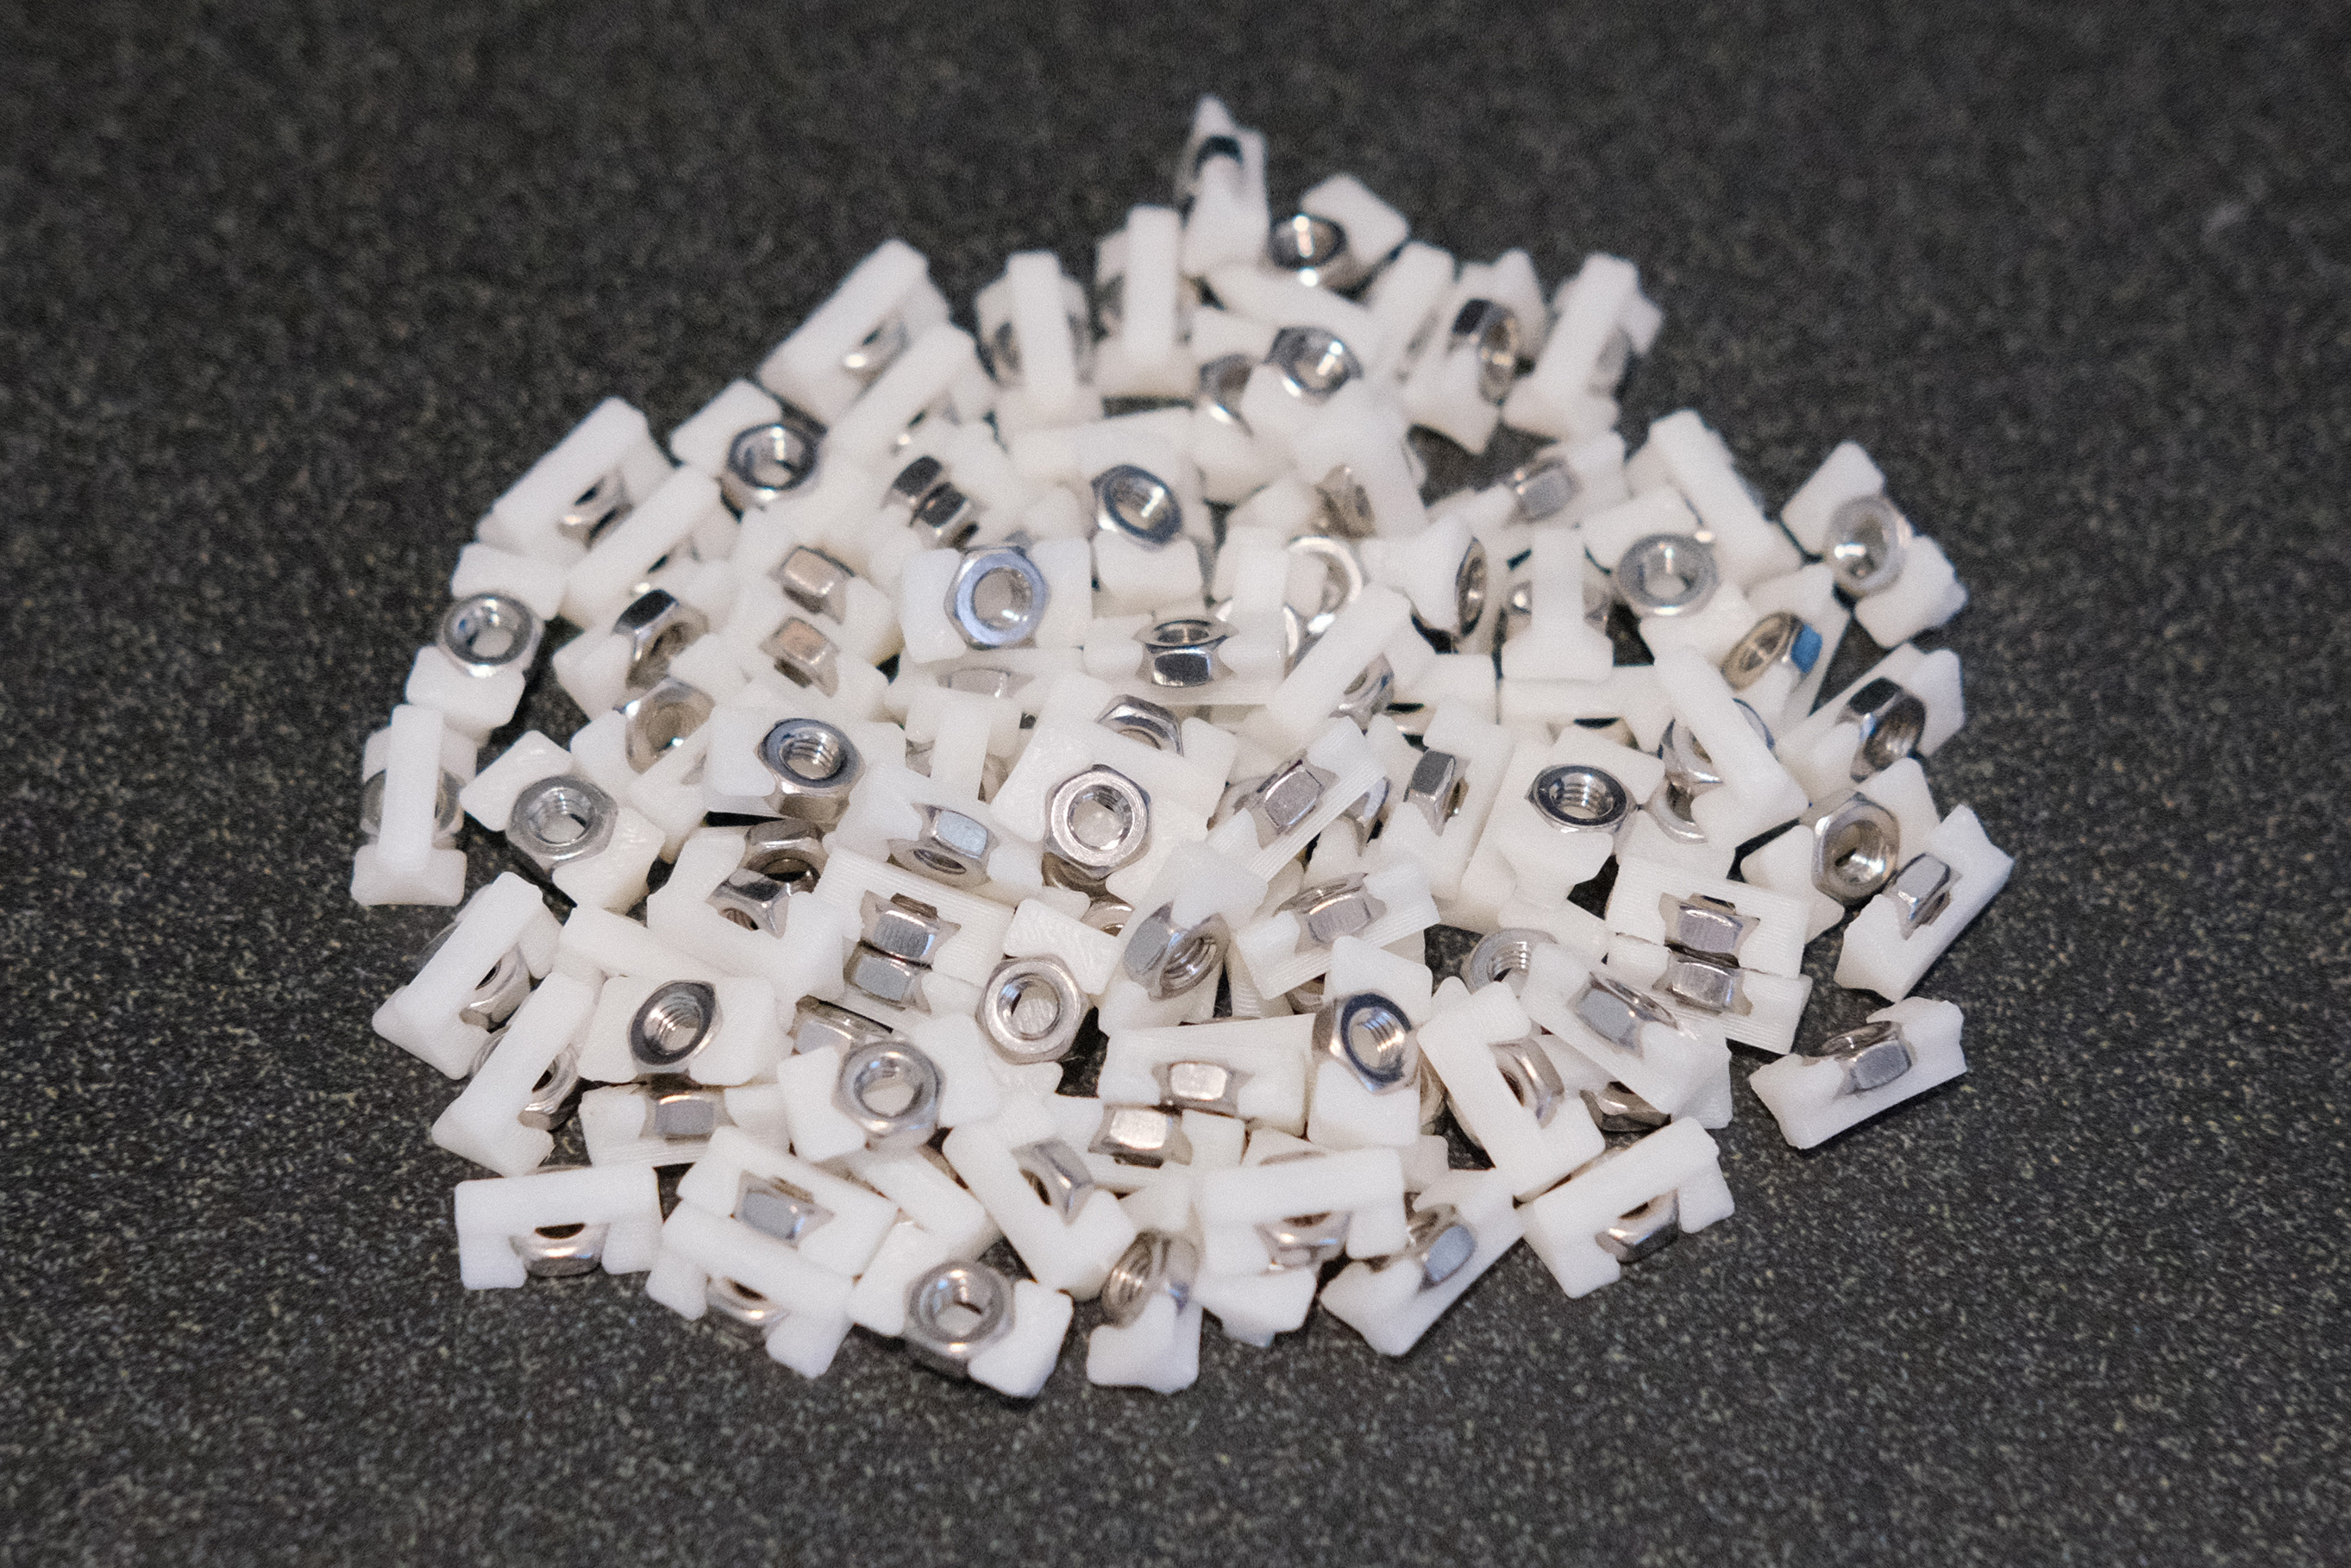 No-Drop Nut Inserts
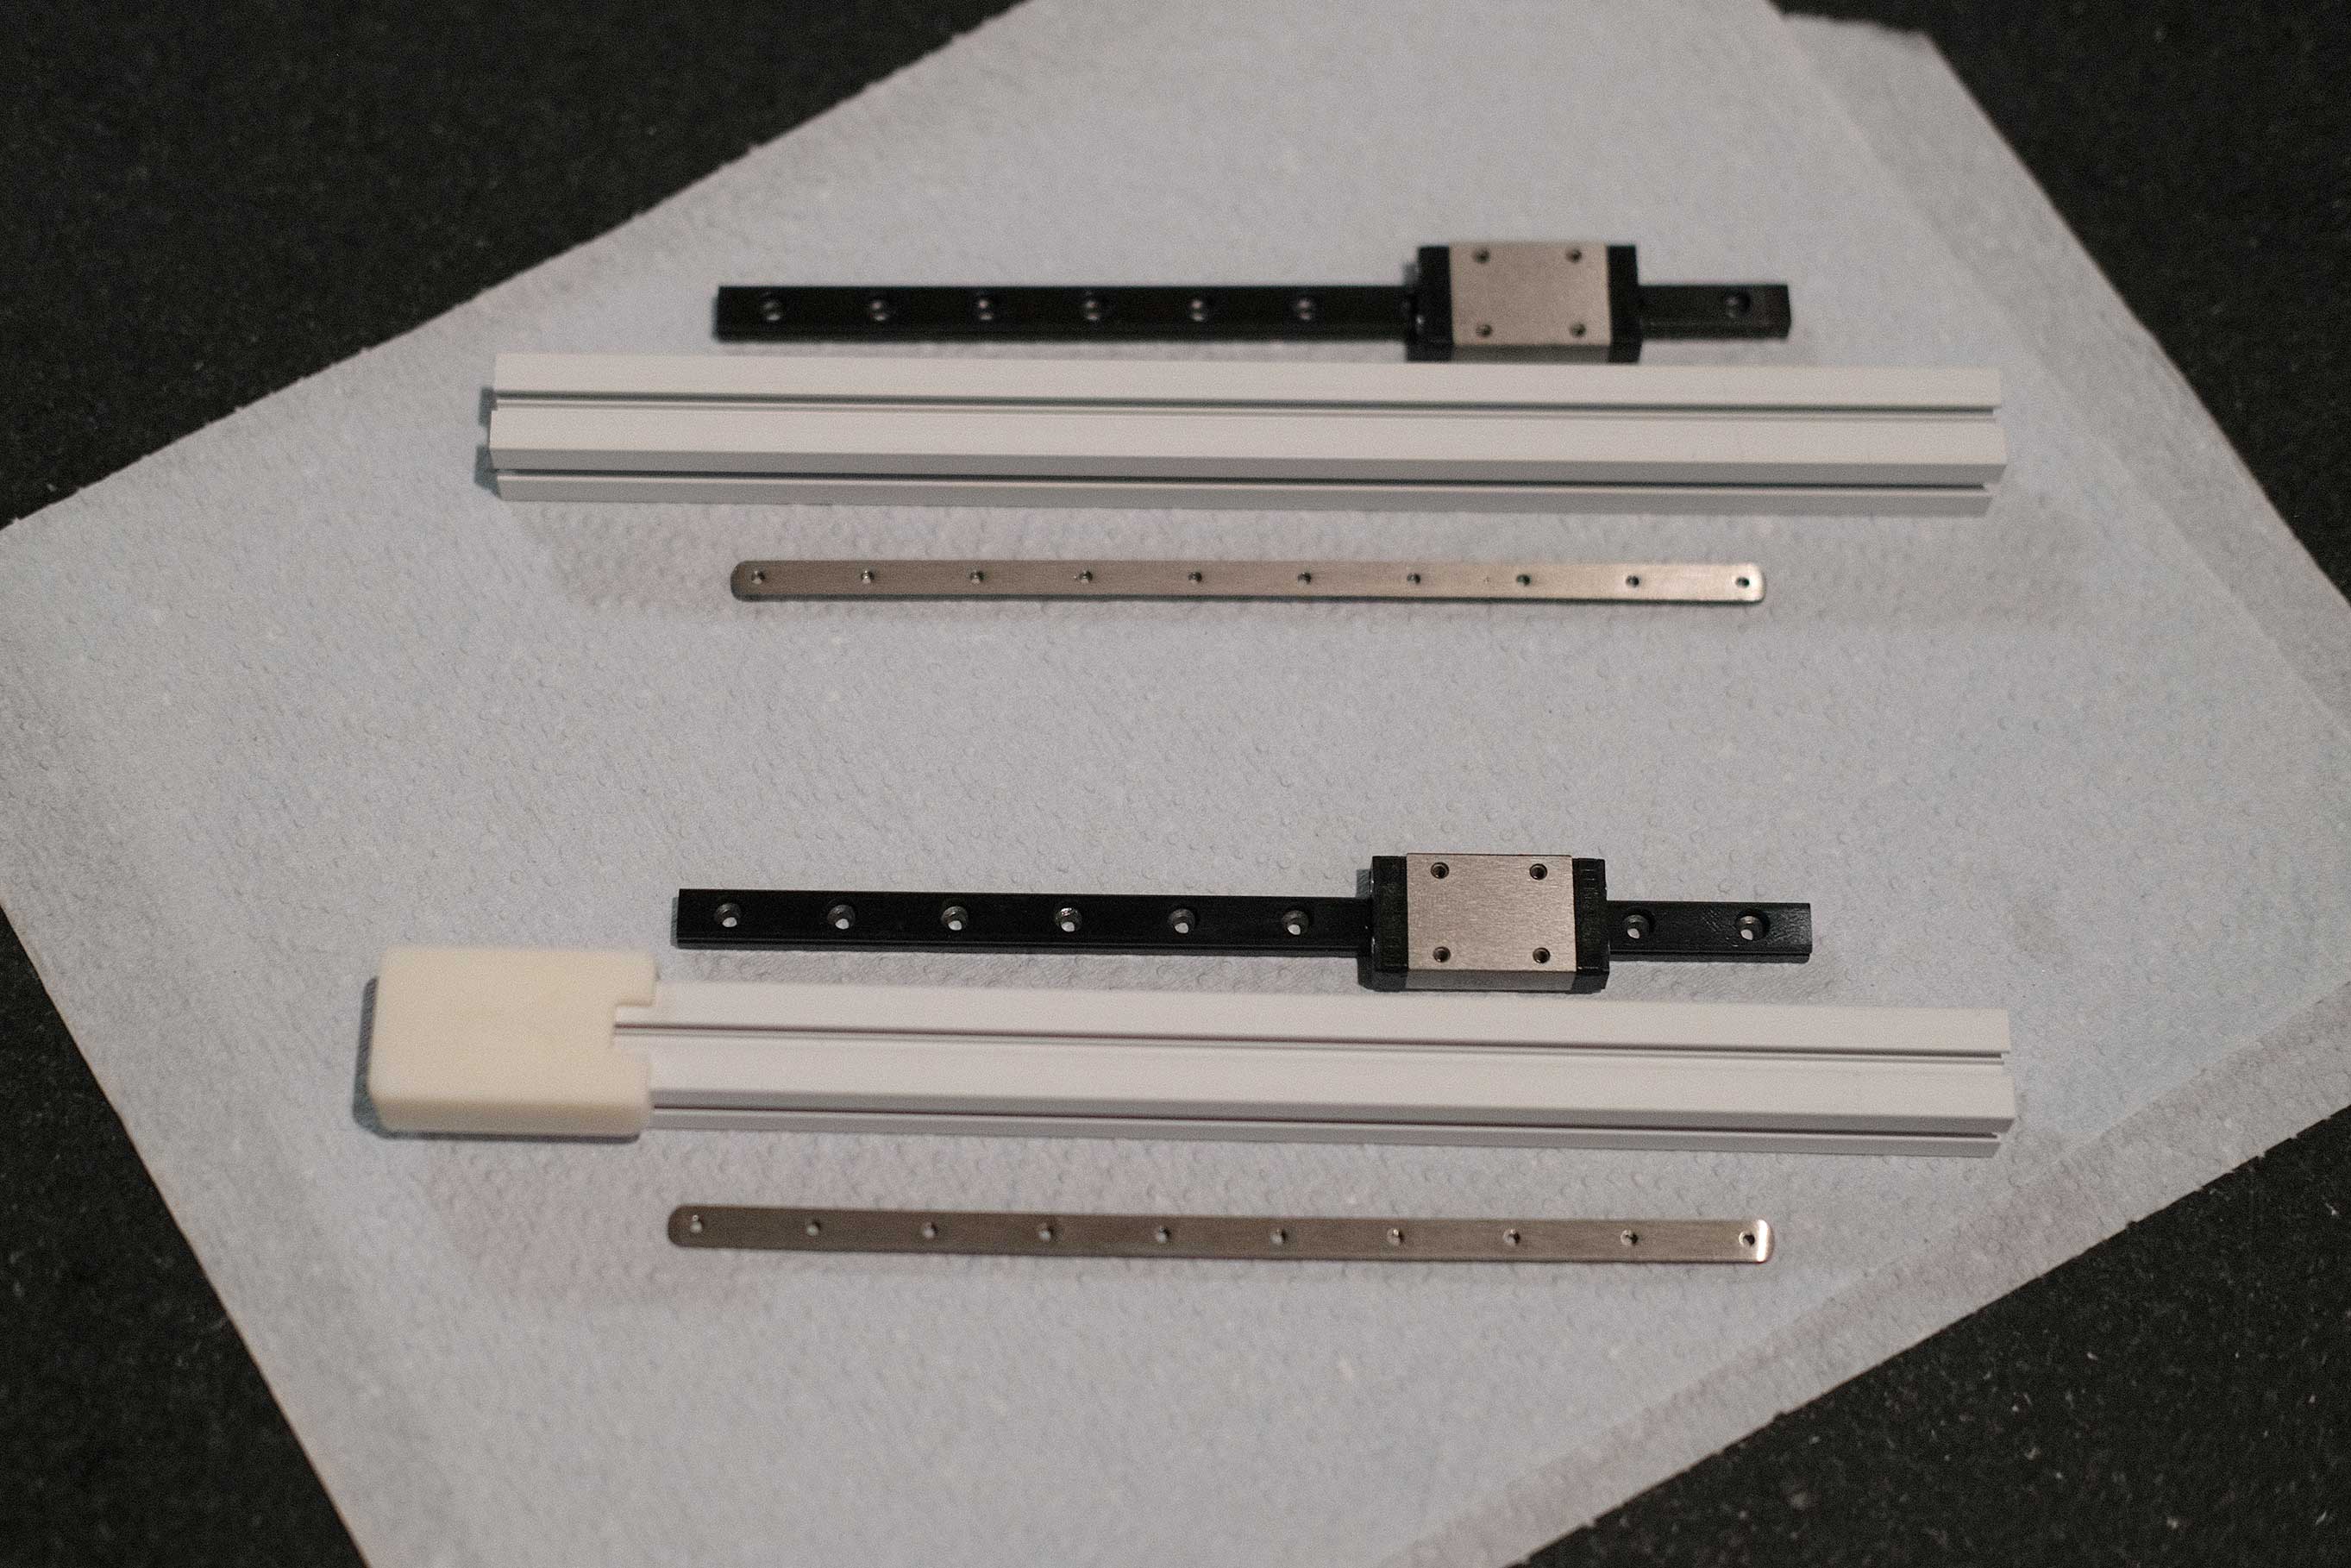
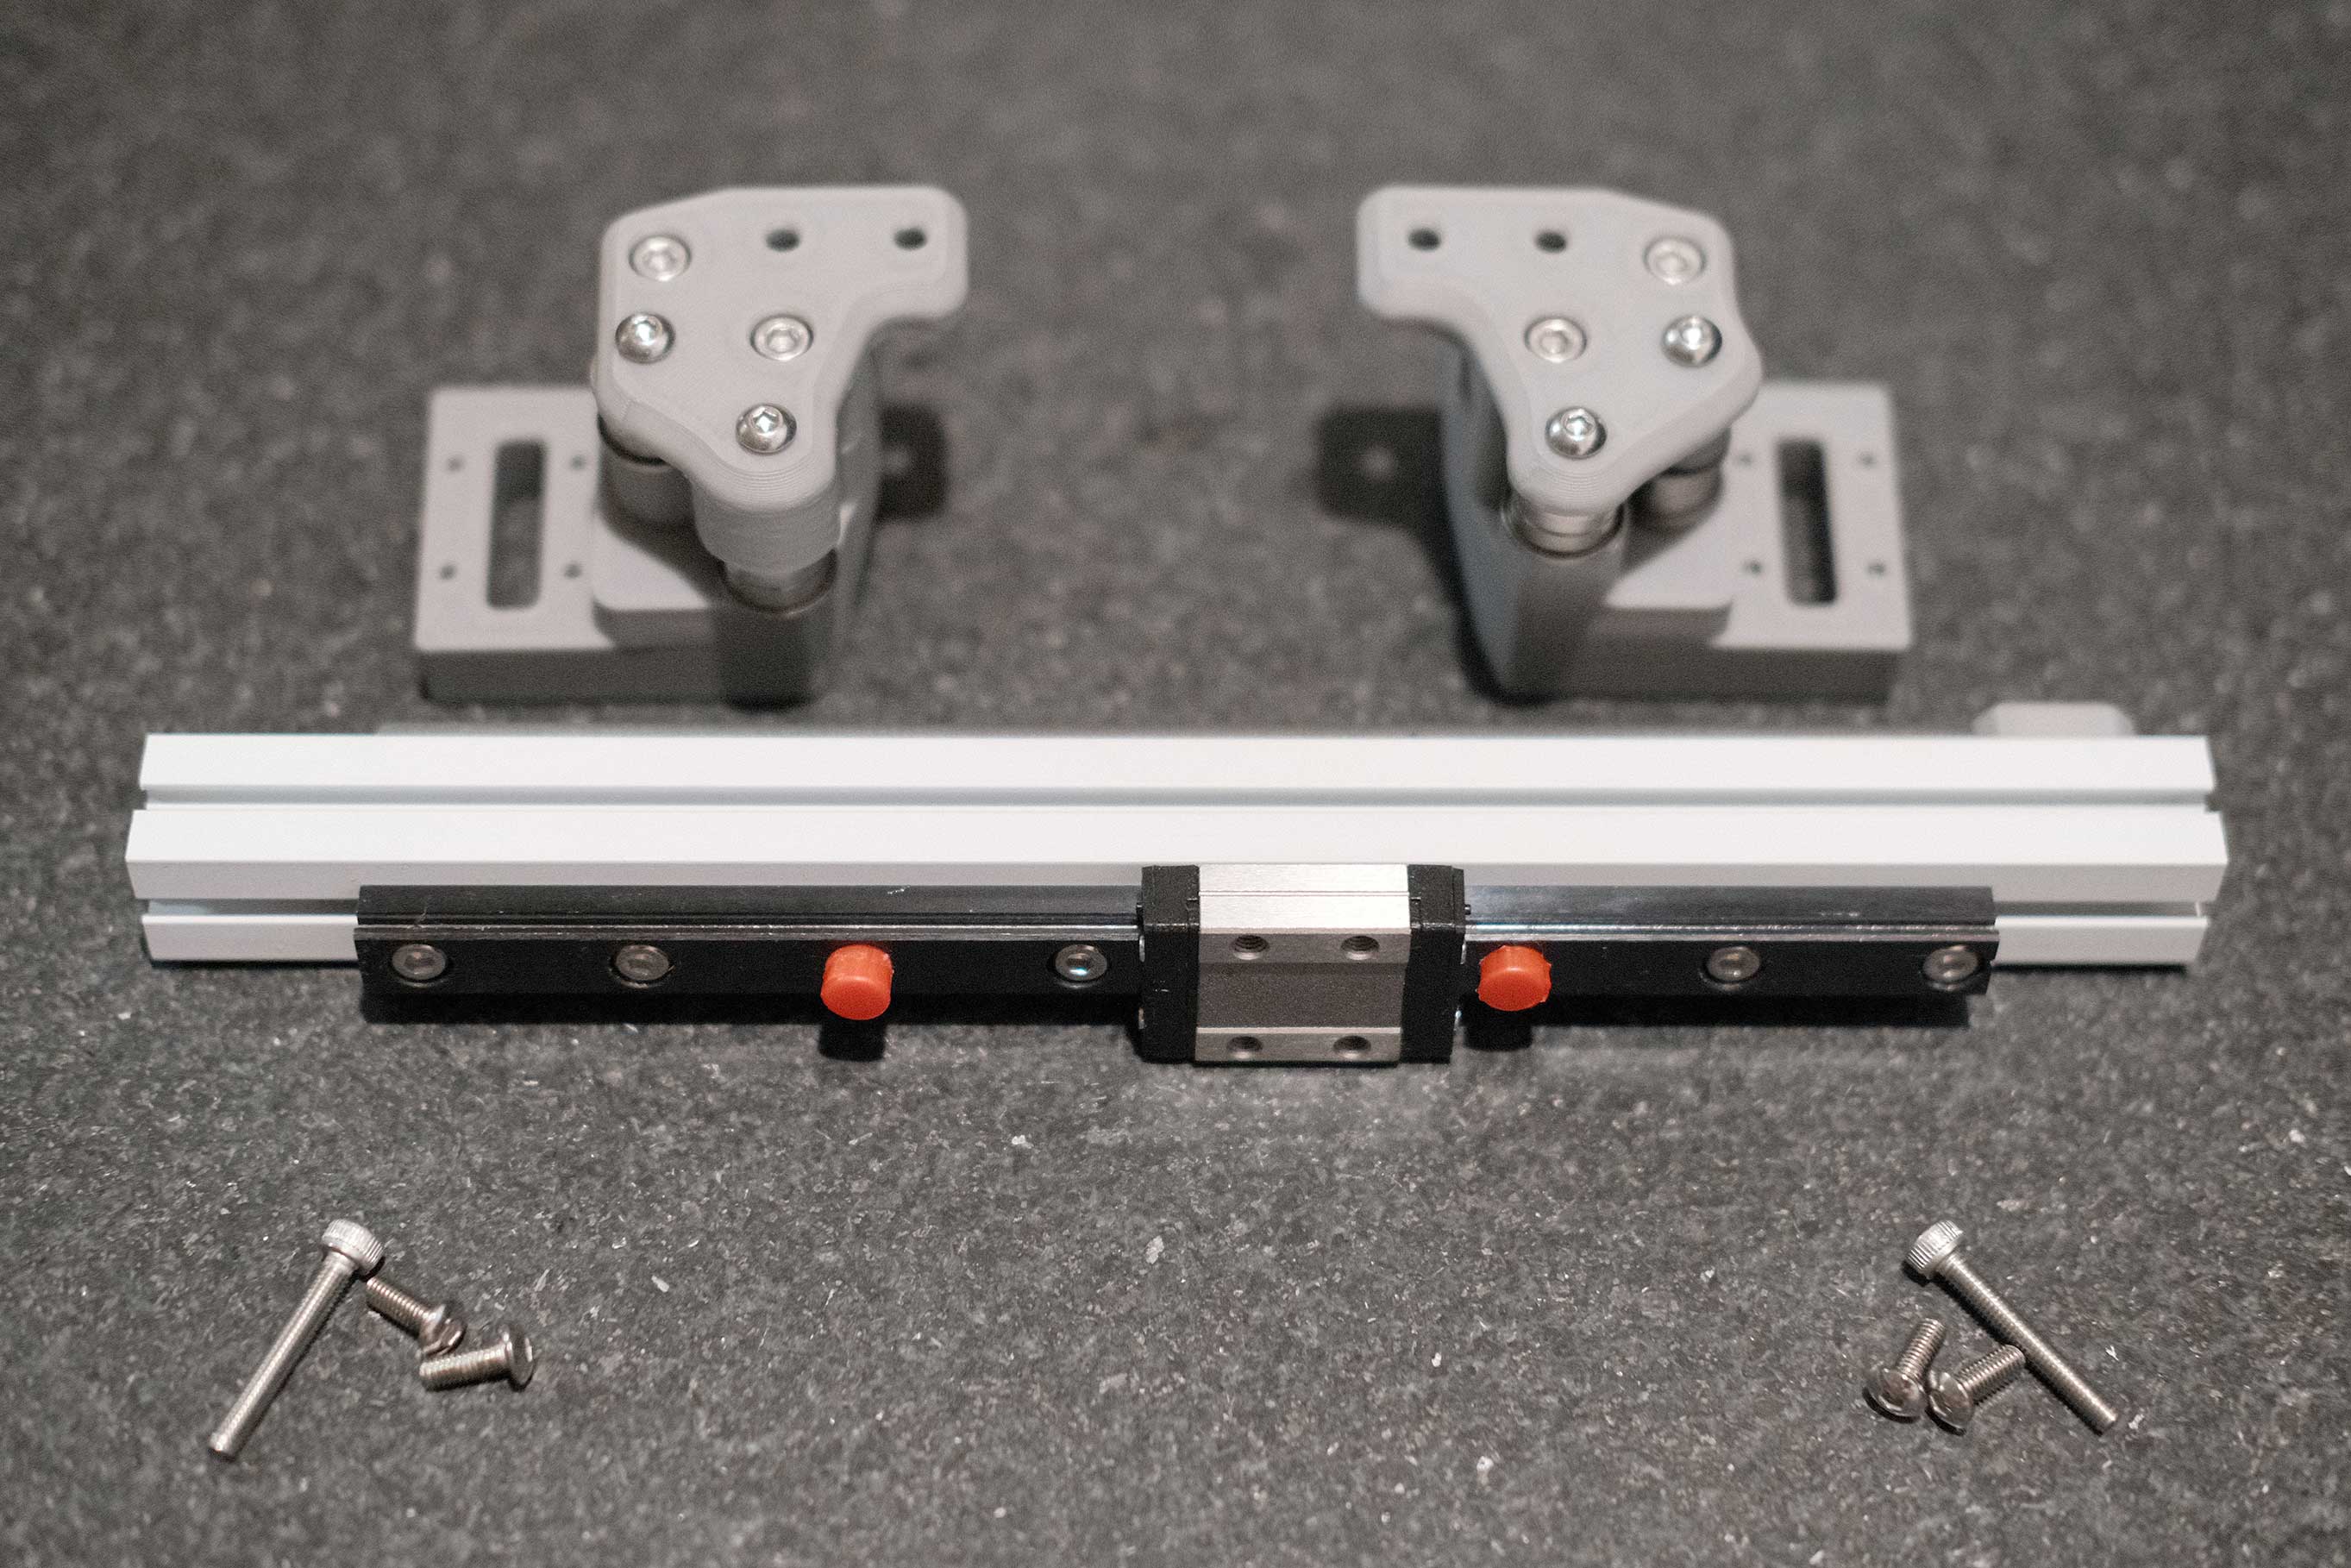
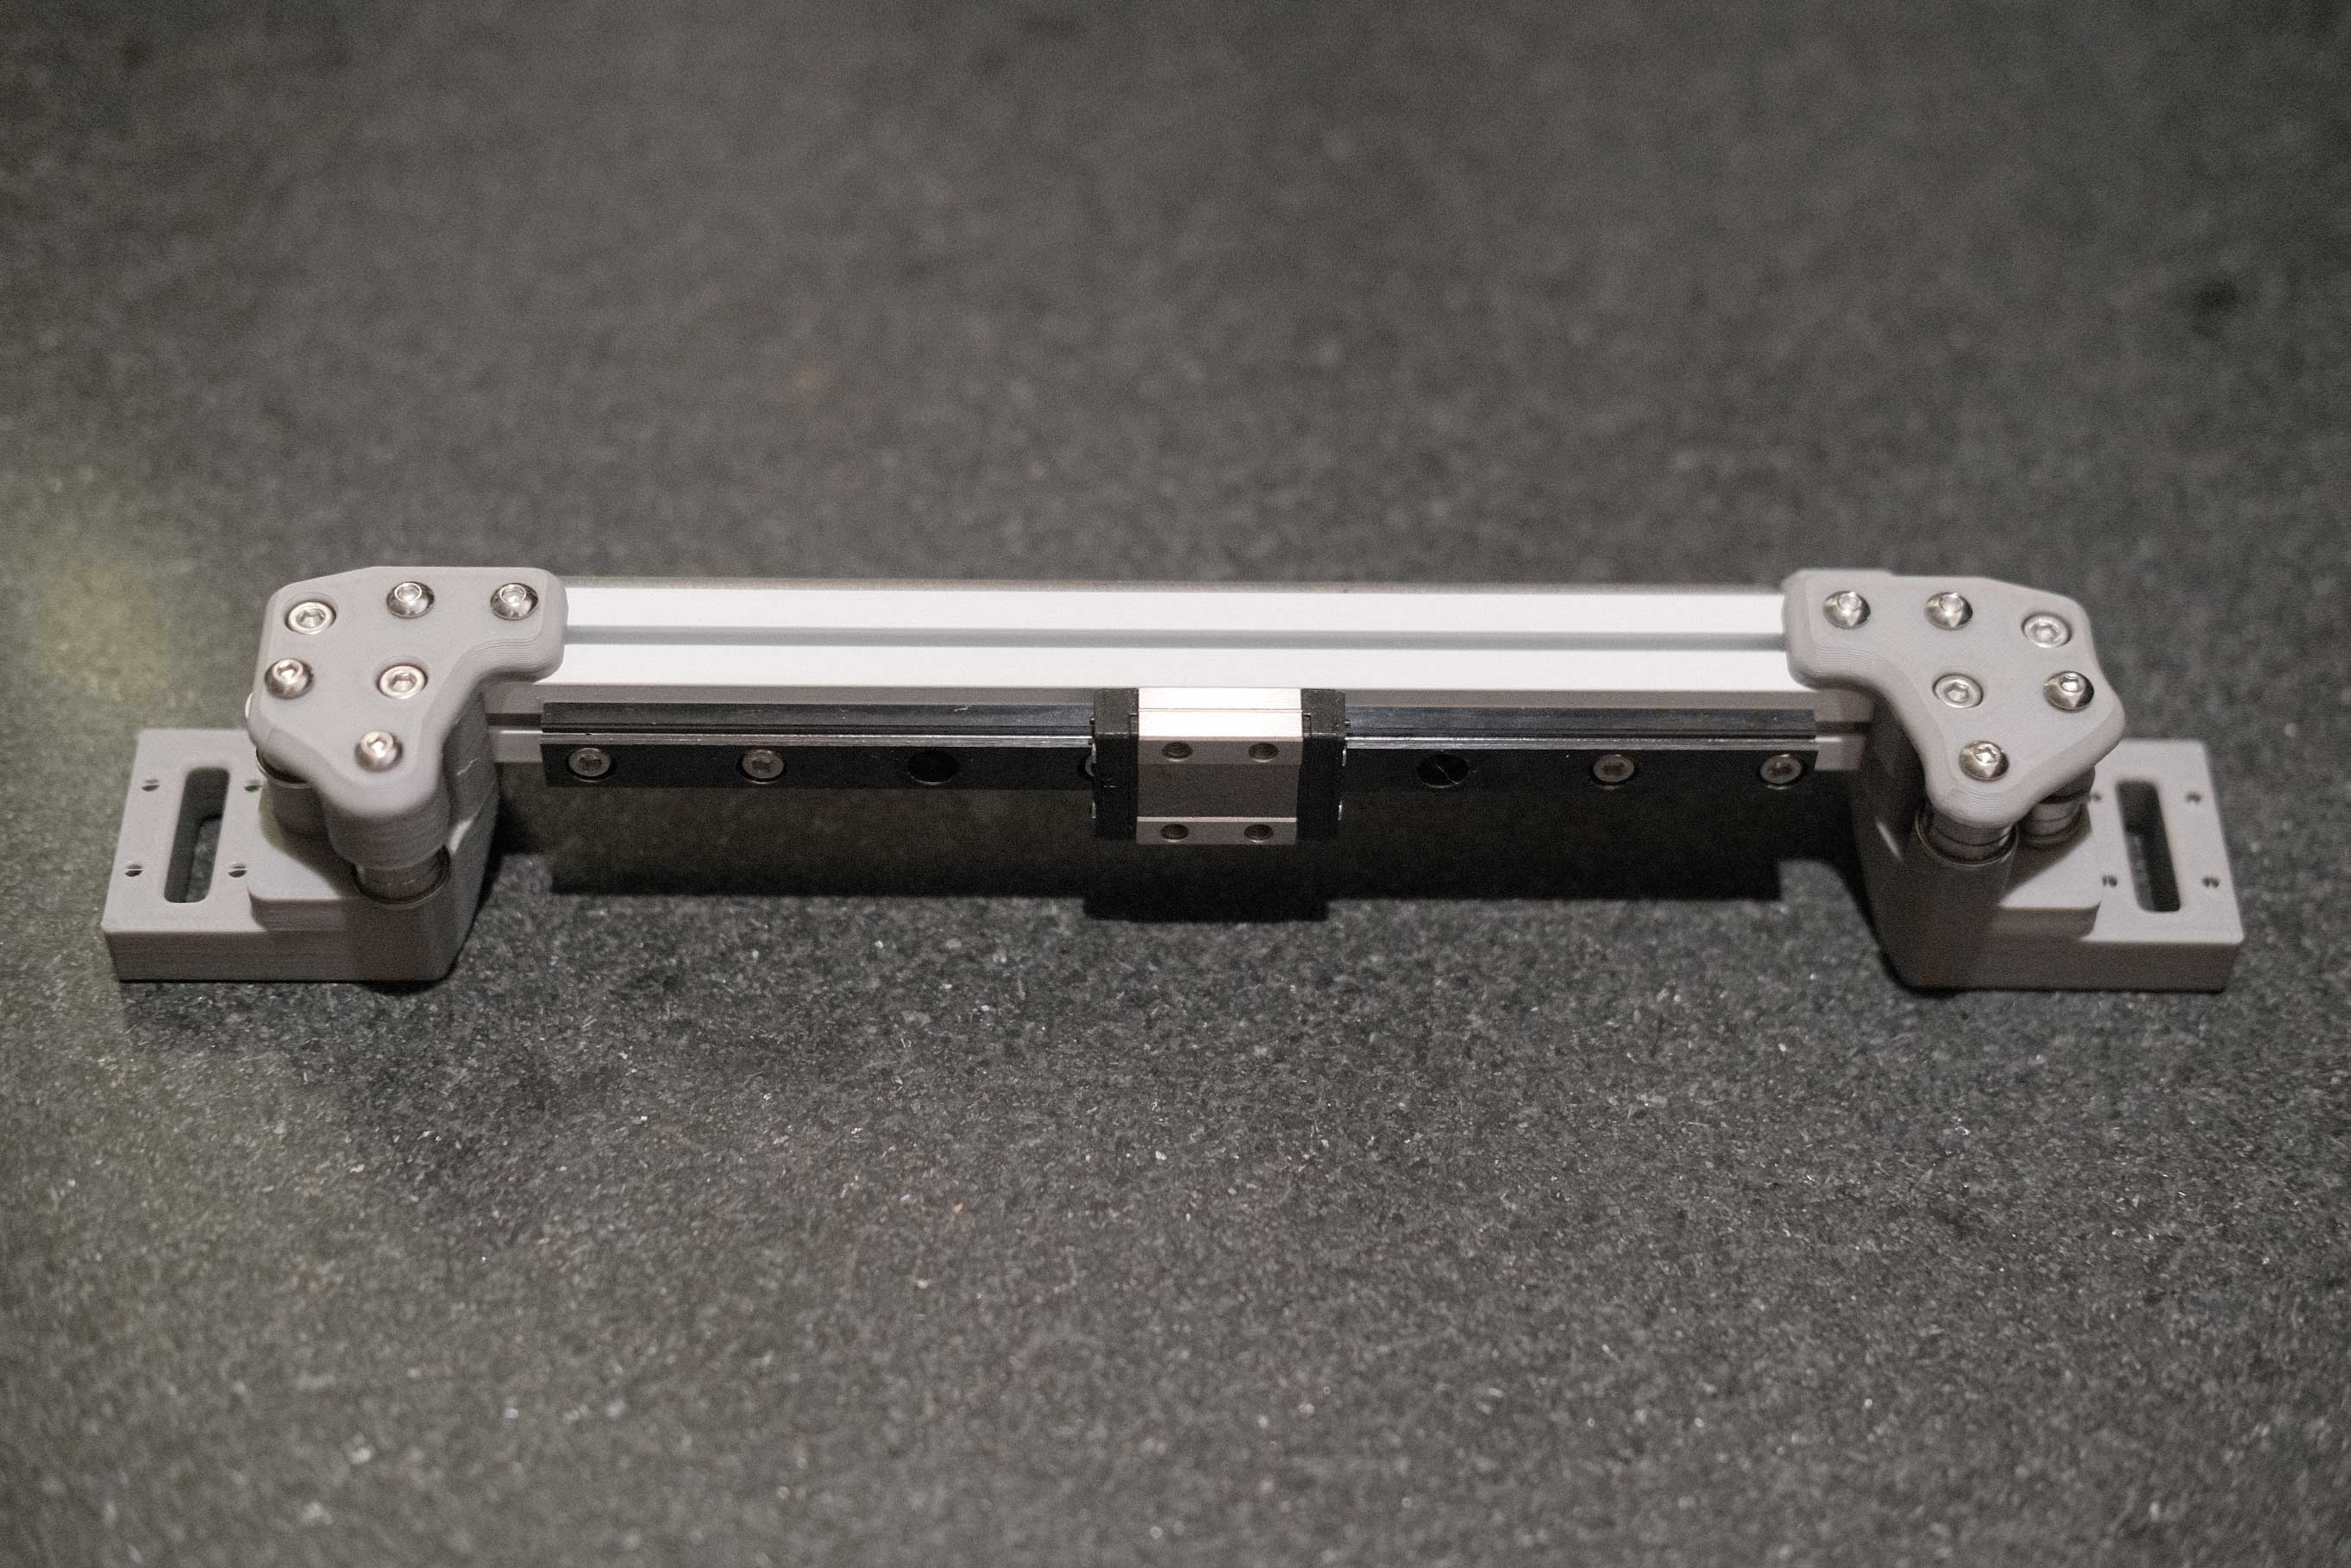
Z Rail Assemblies
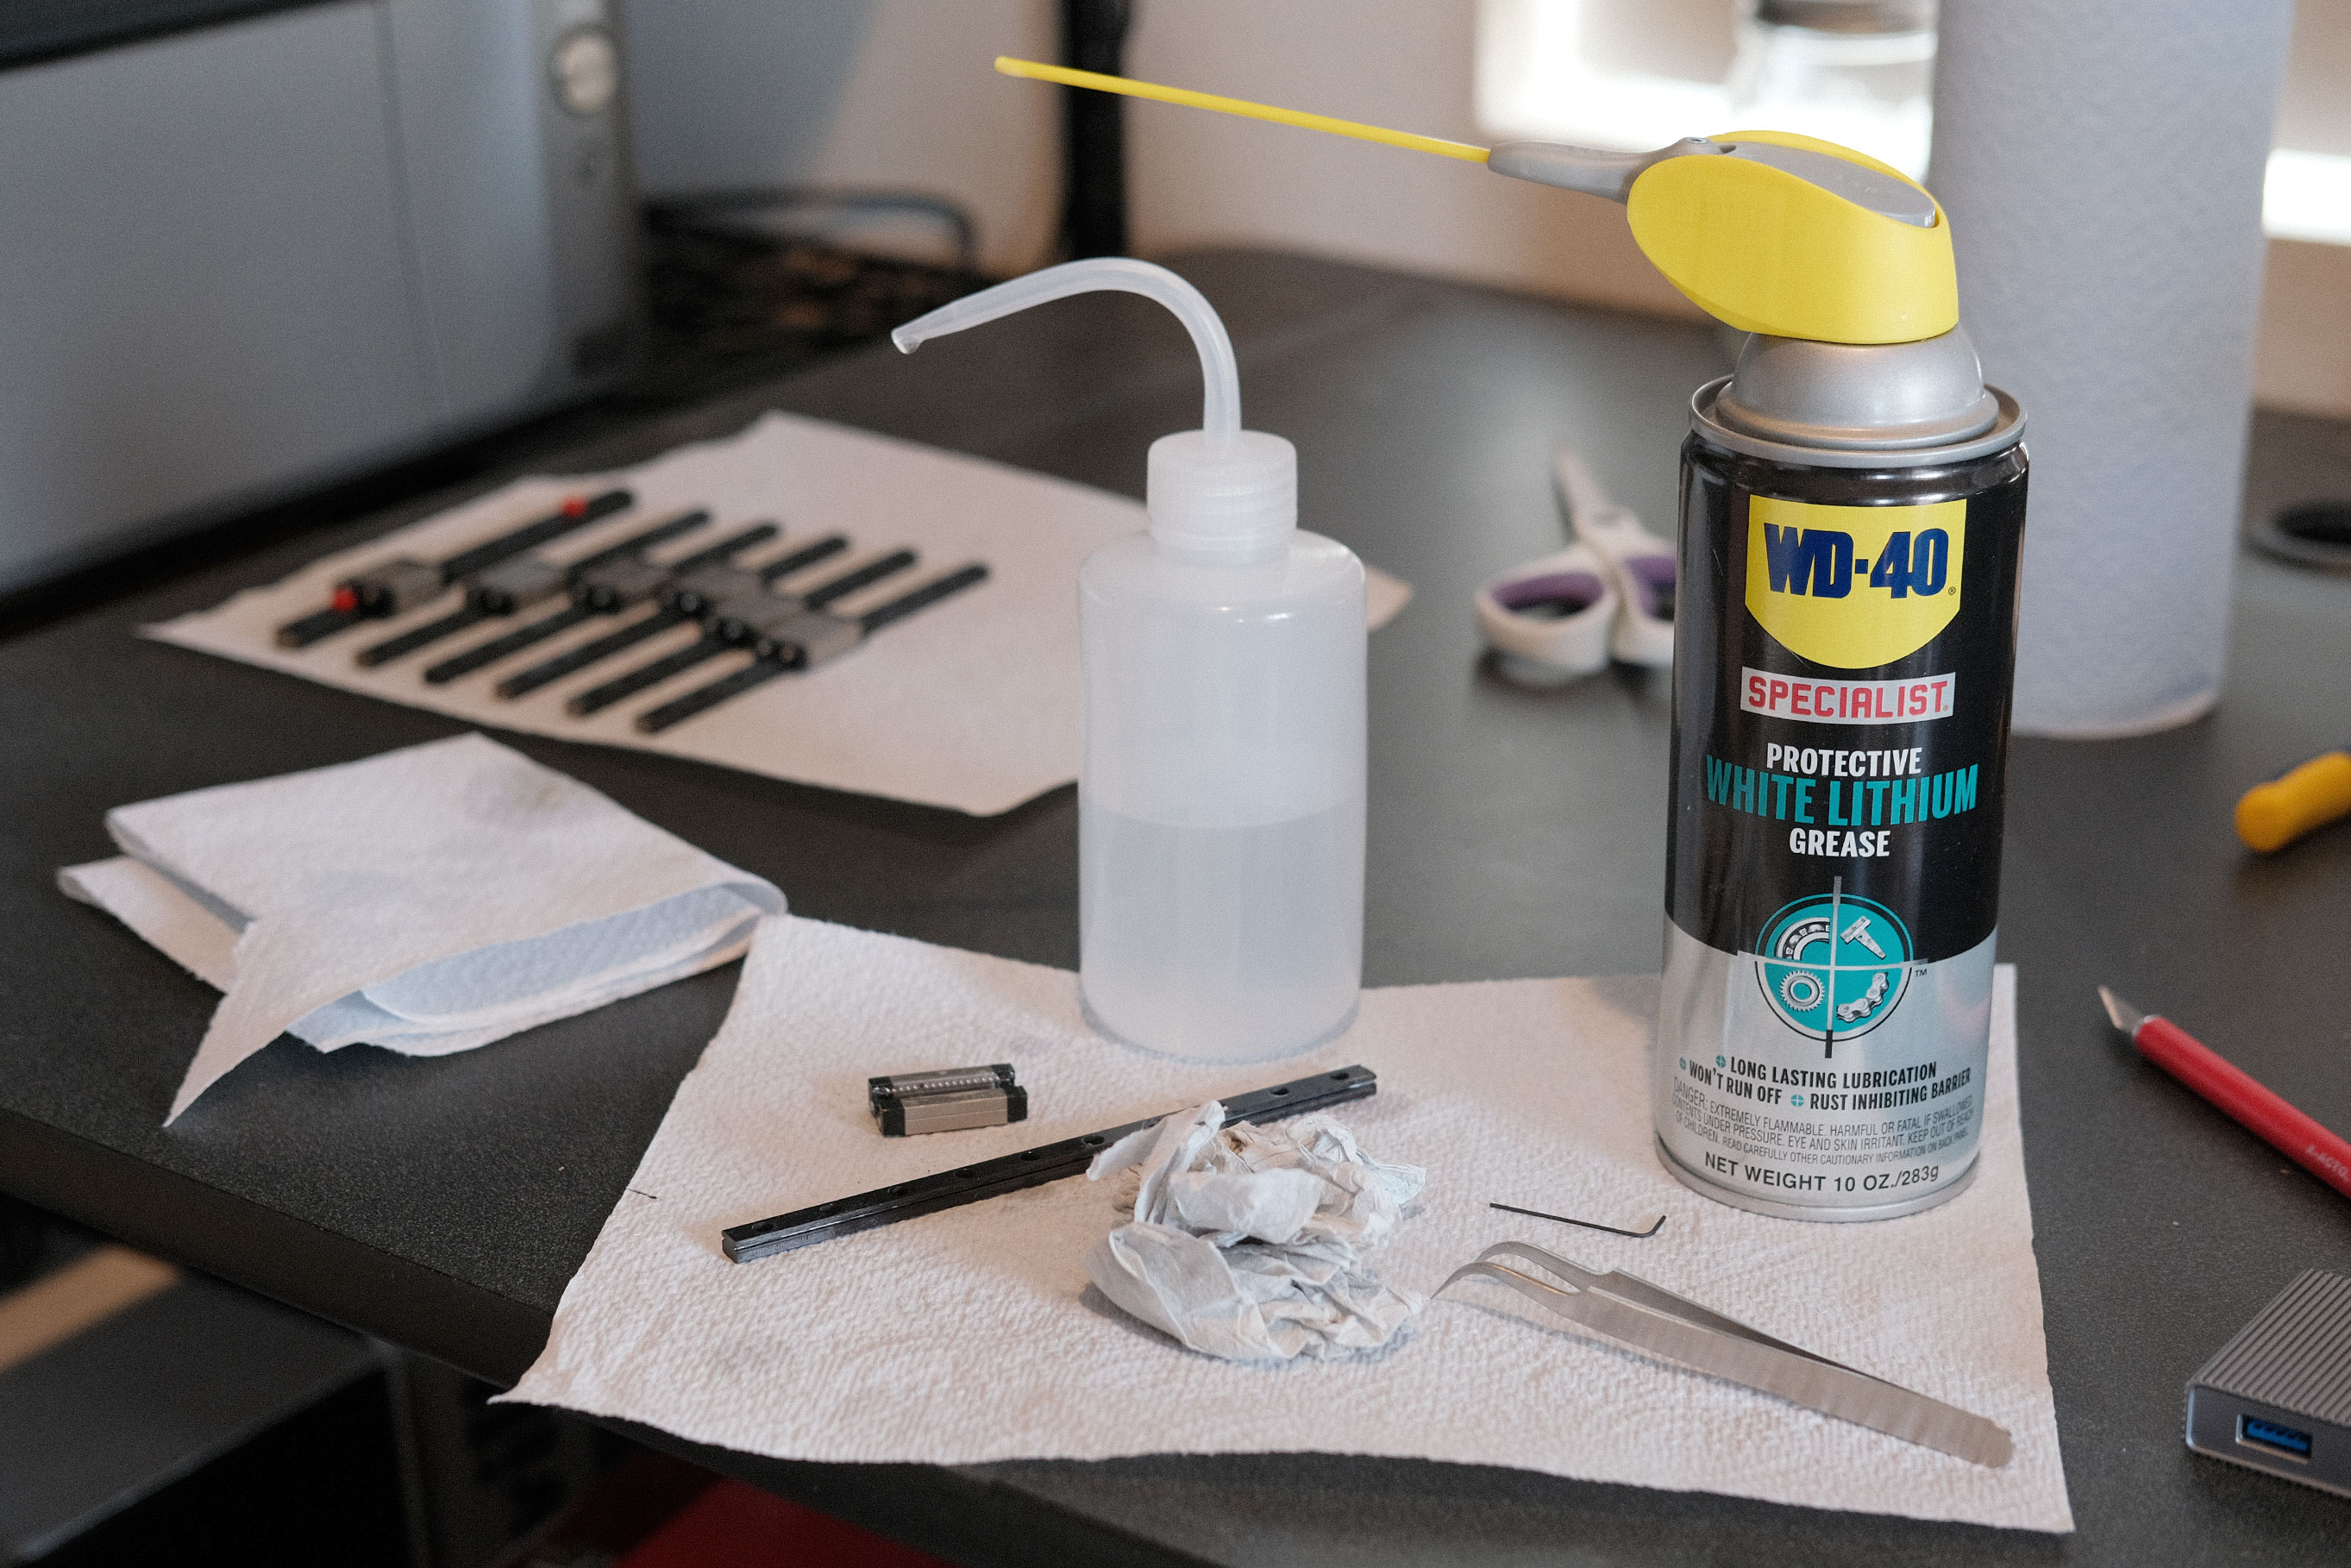 Prepping Rails - 1
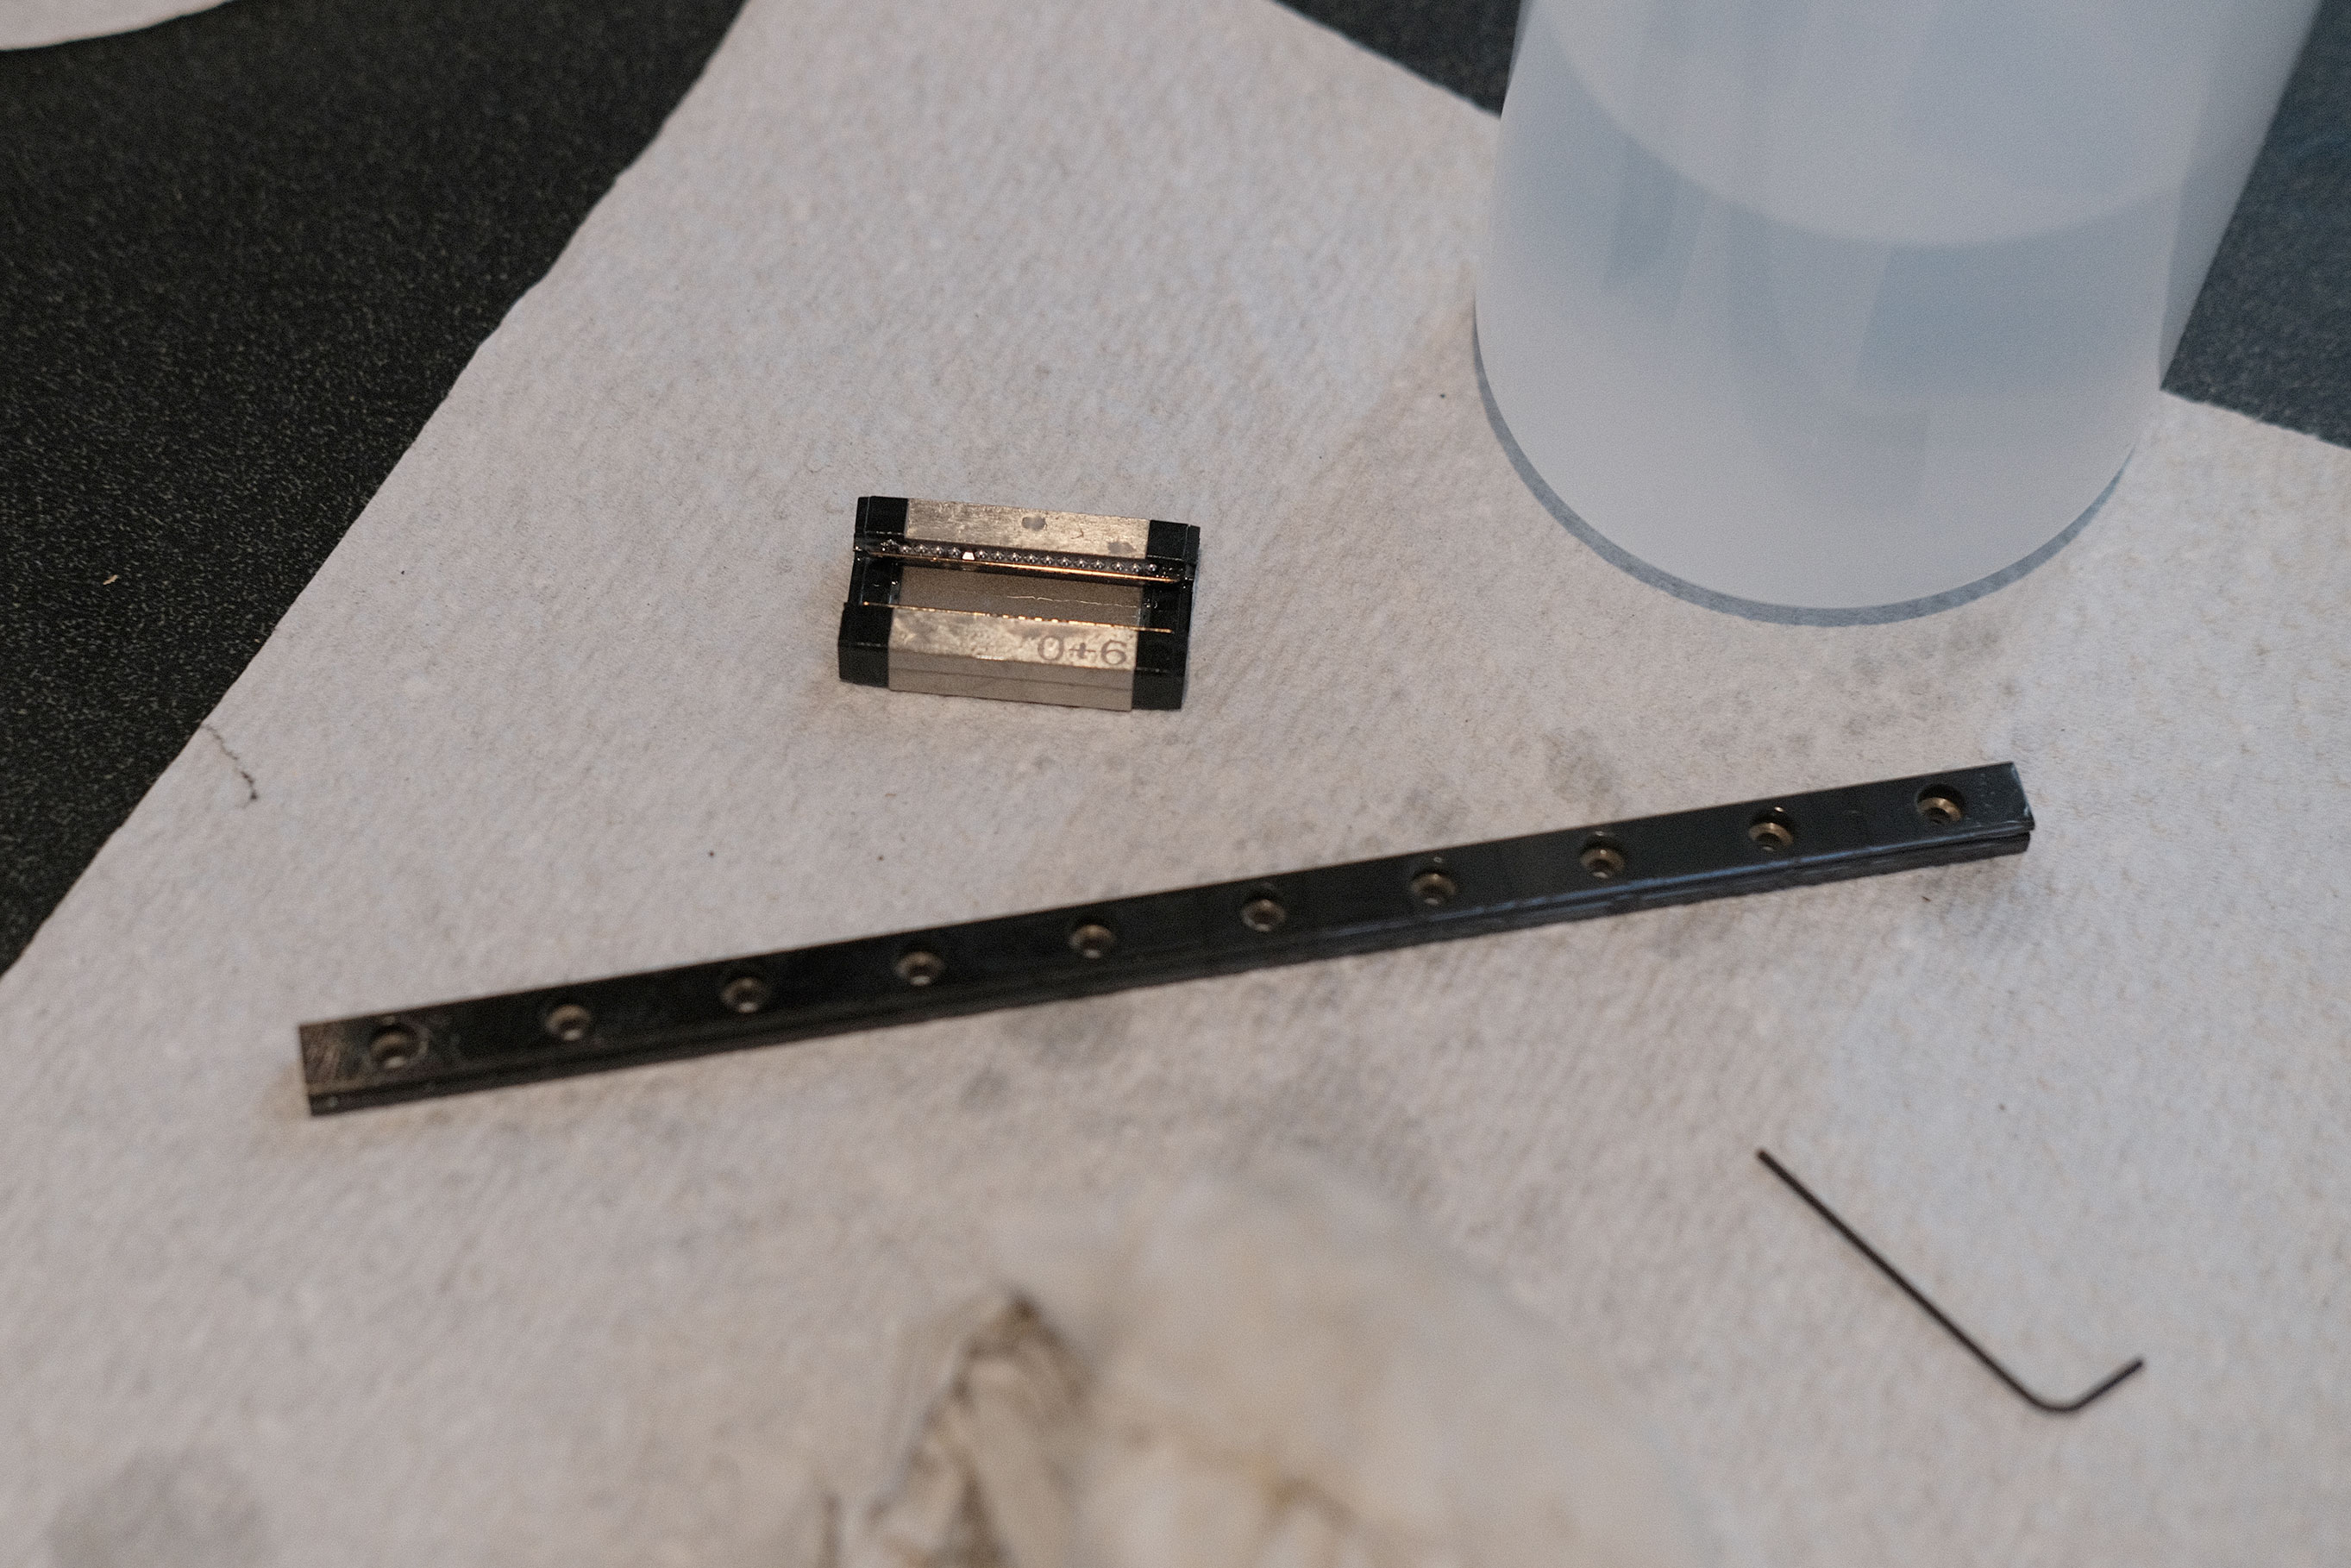 Prepping Rails - 2
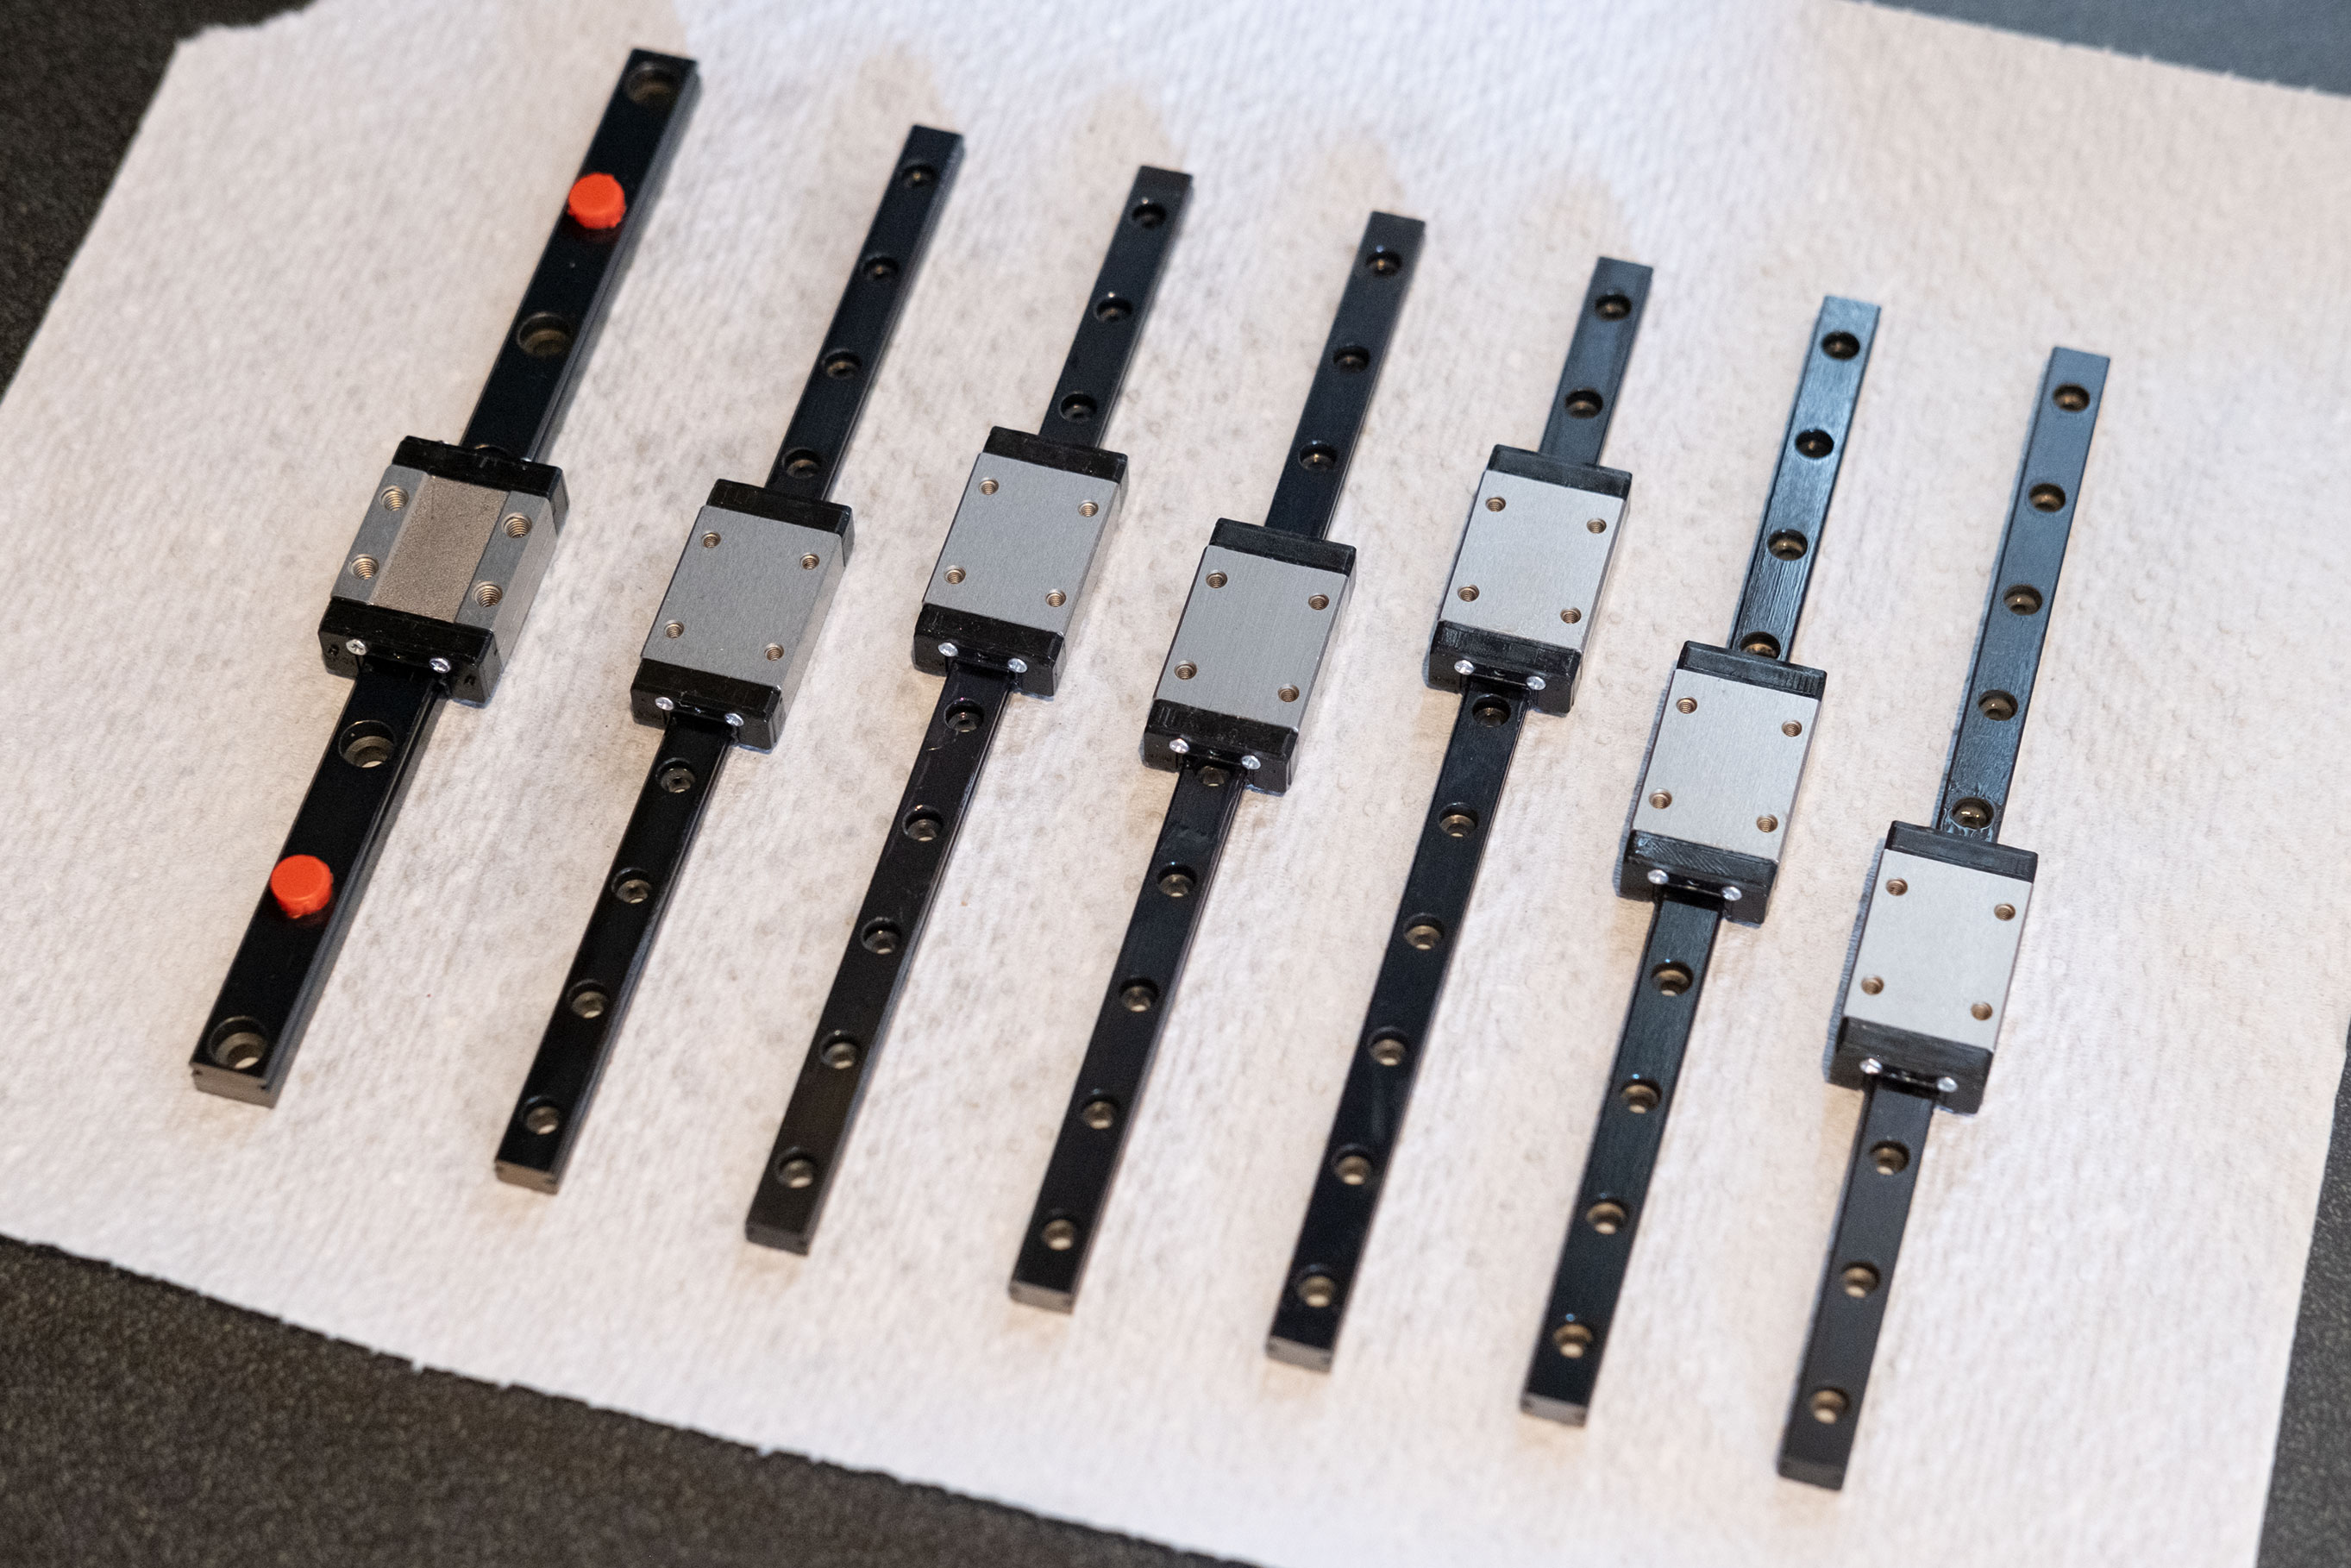 Prepping Rails - 3
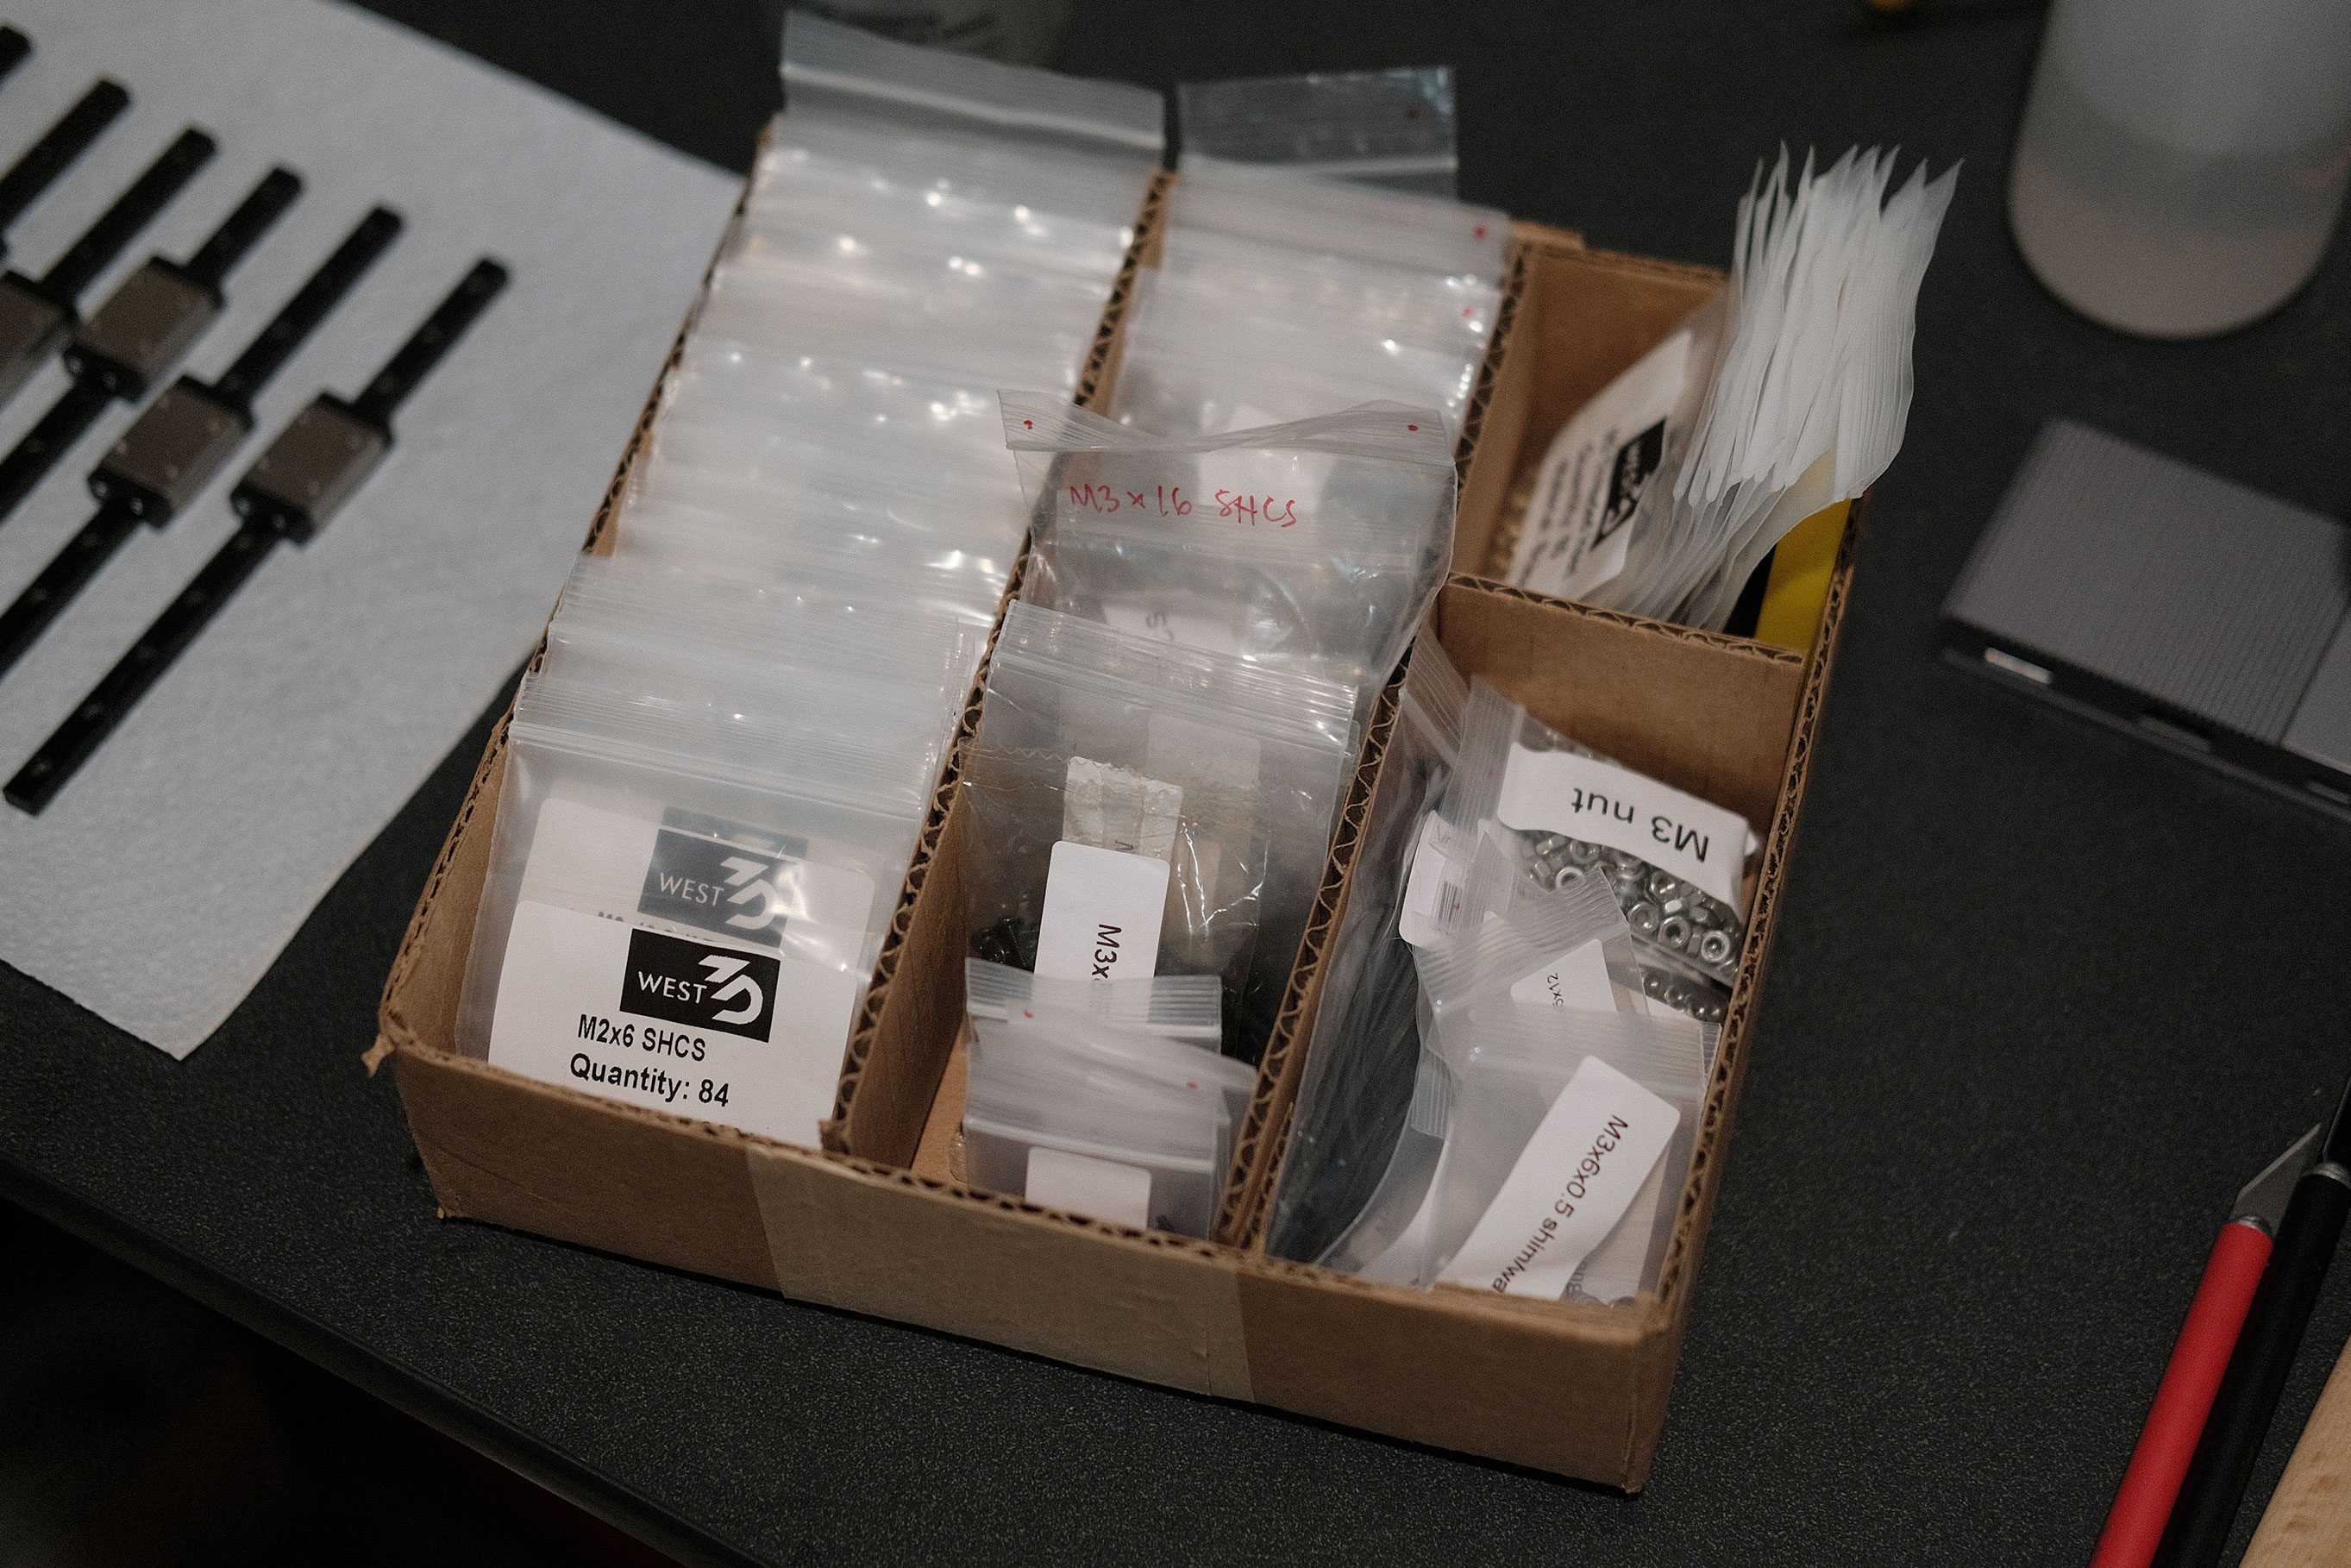 Fasteners Organized
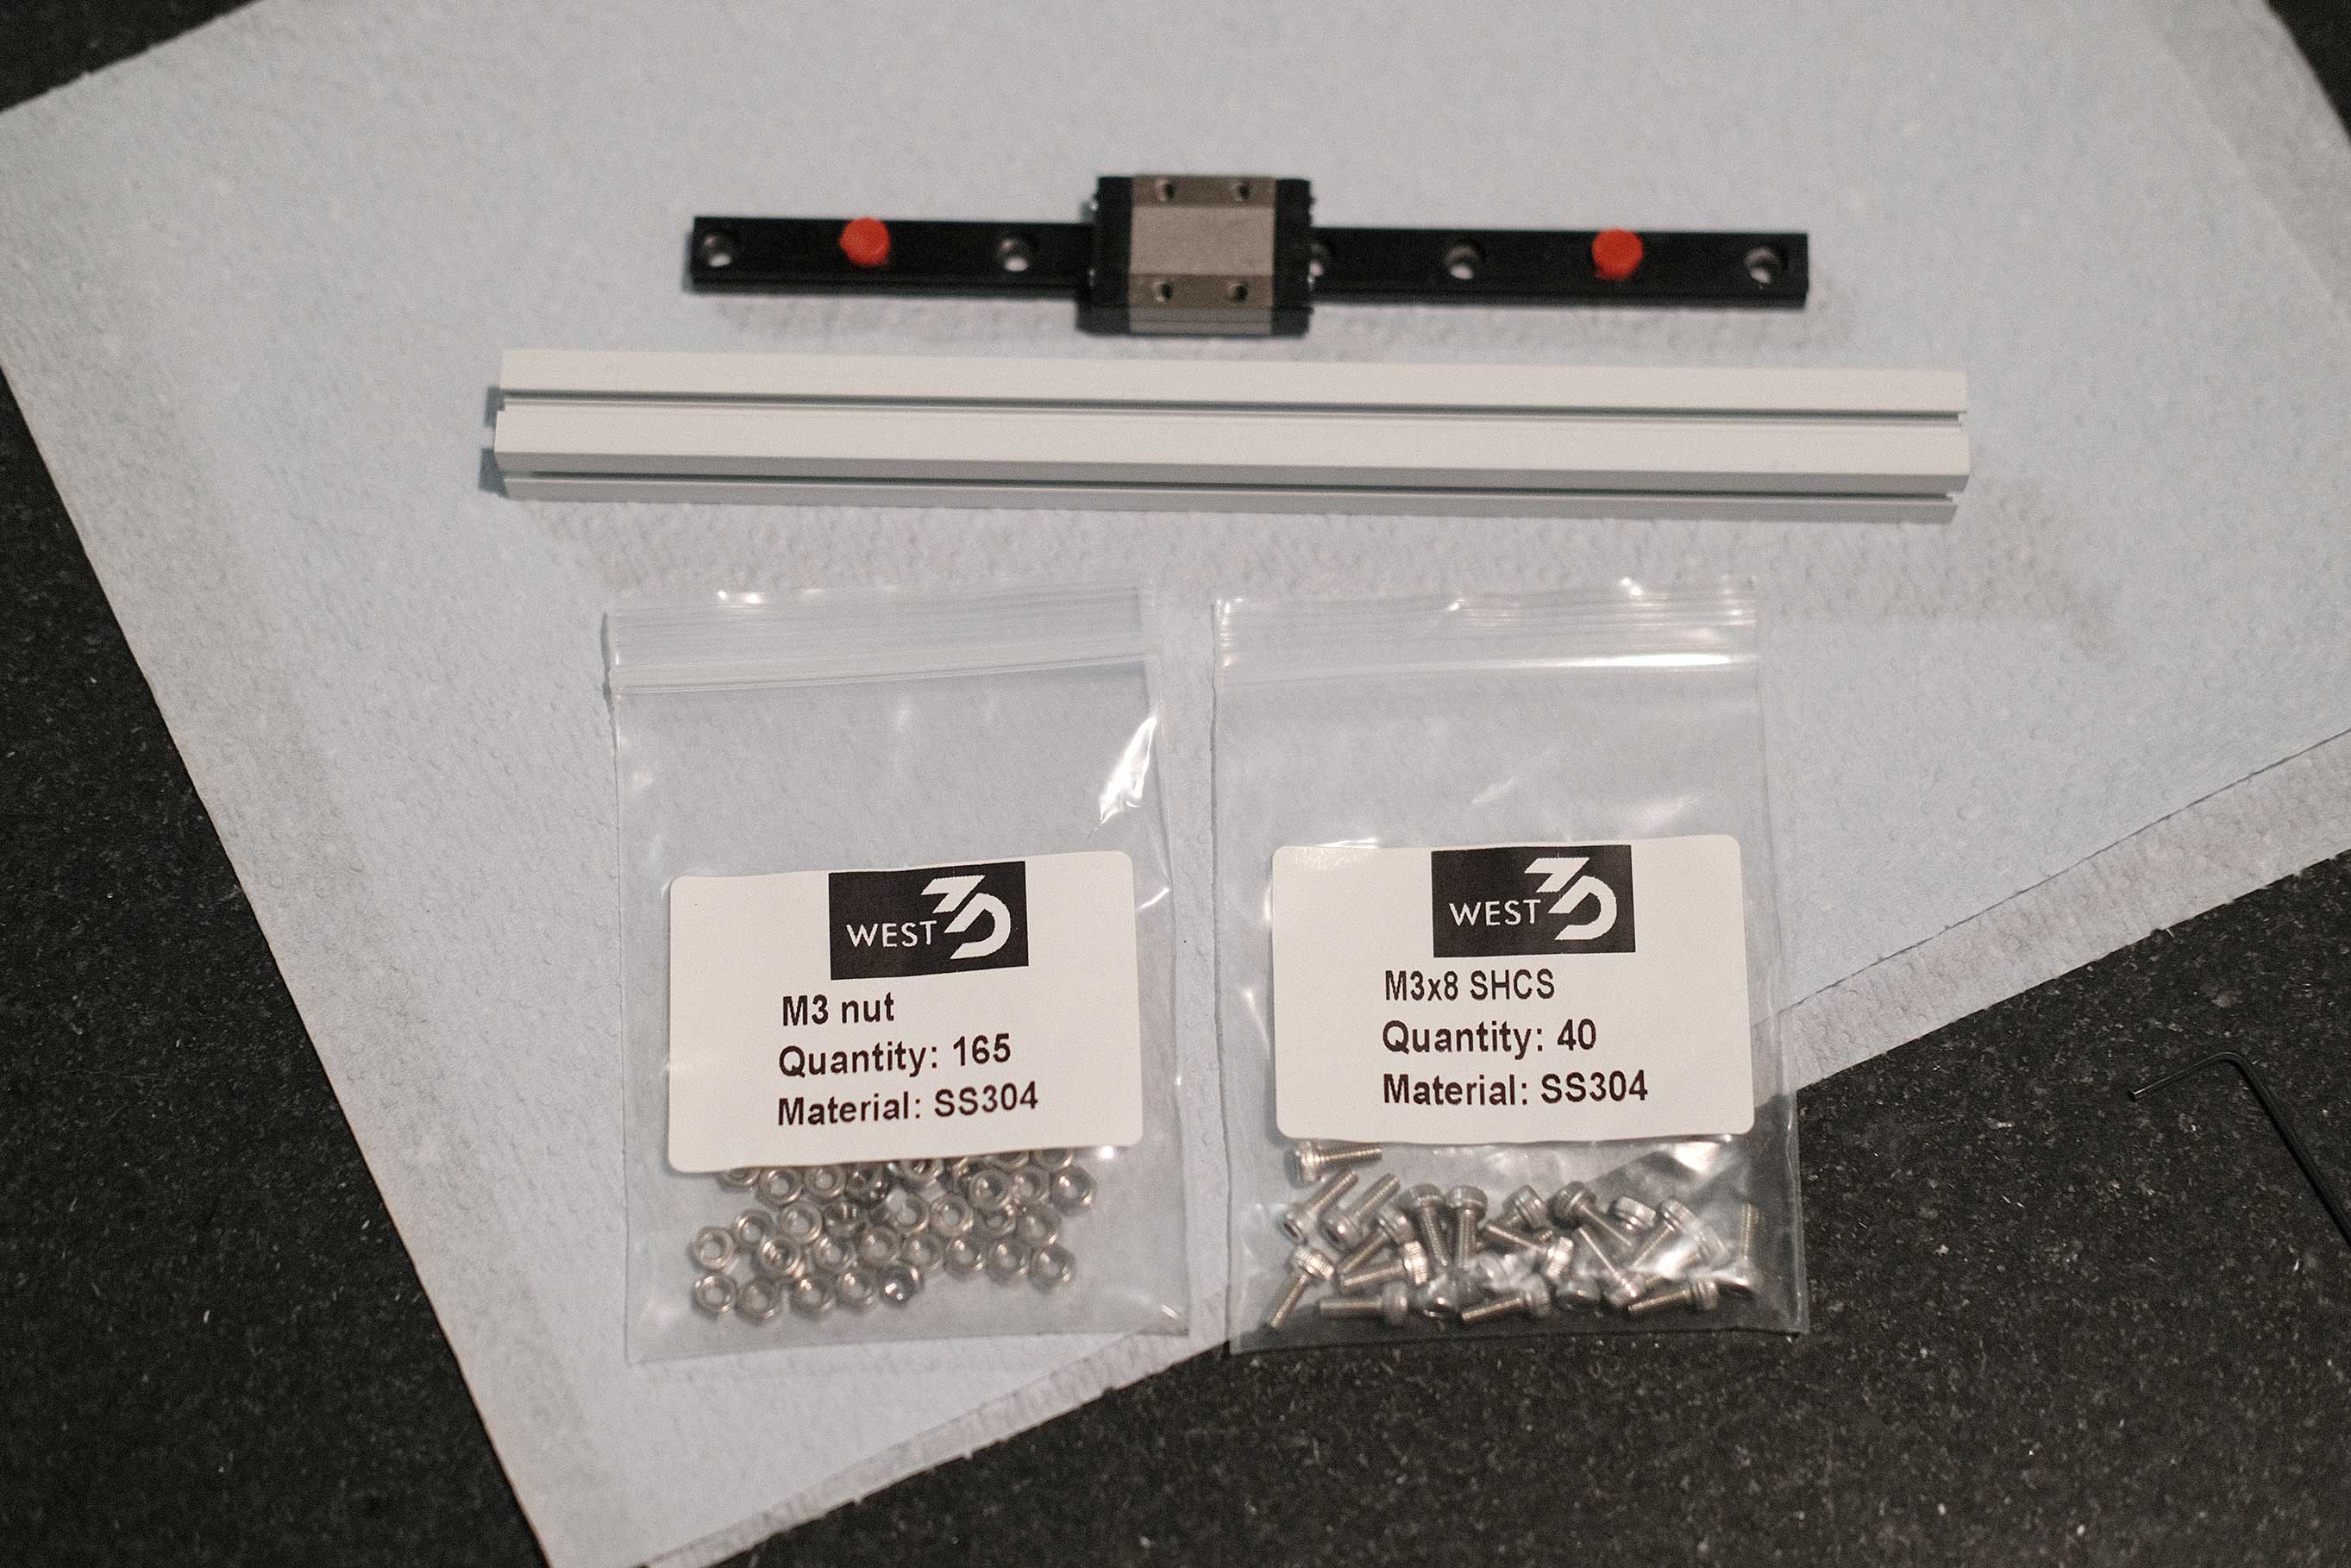
 White Powder-Coated Extrusions - 1
 White Powder-Coated Extrusions - 2
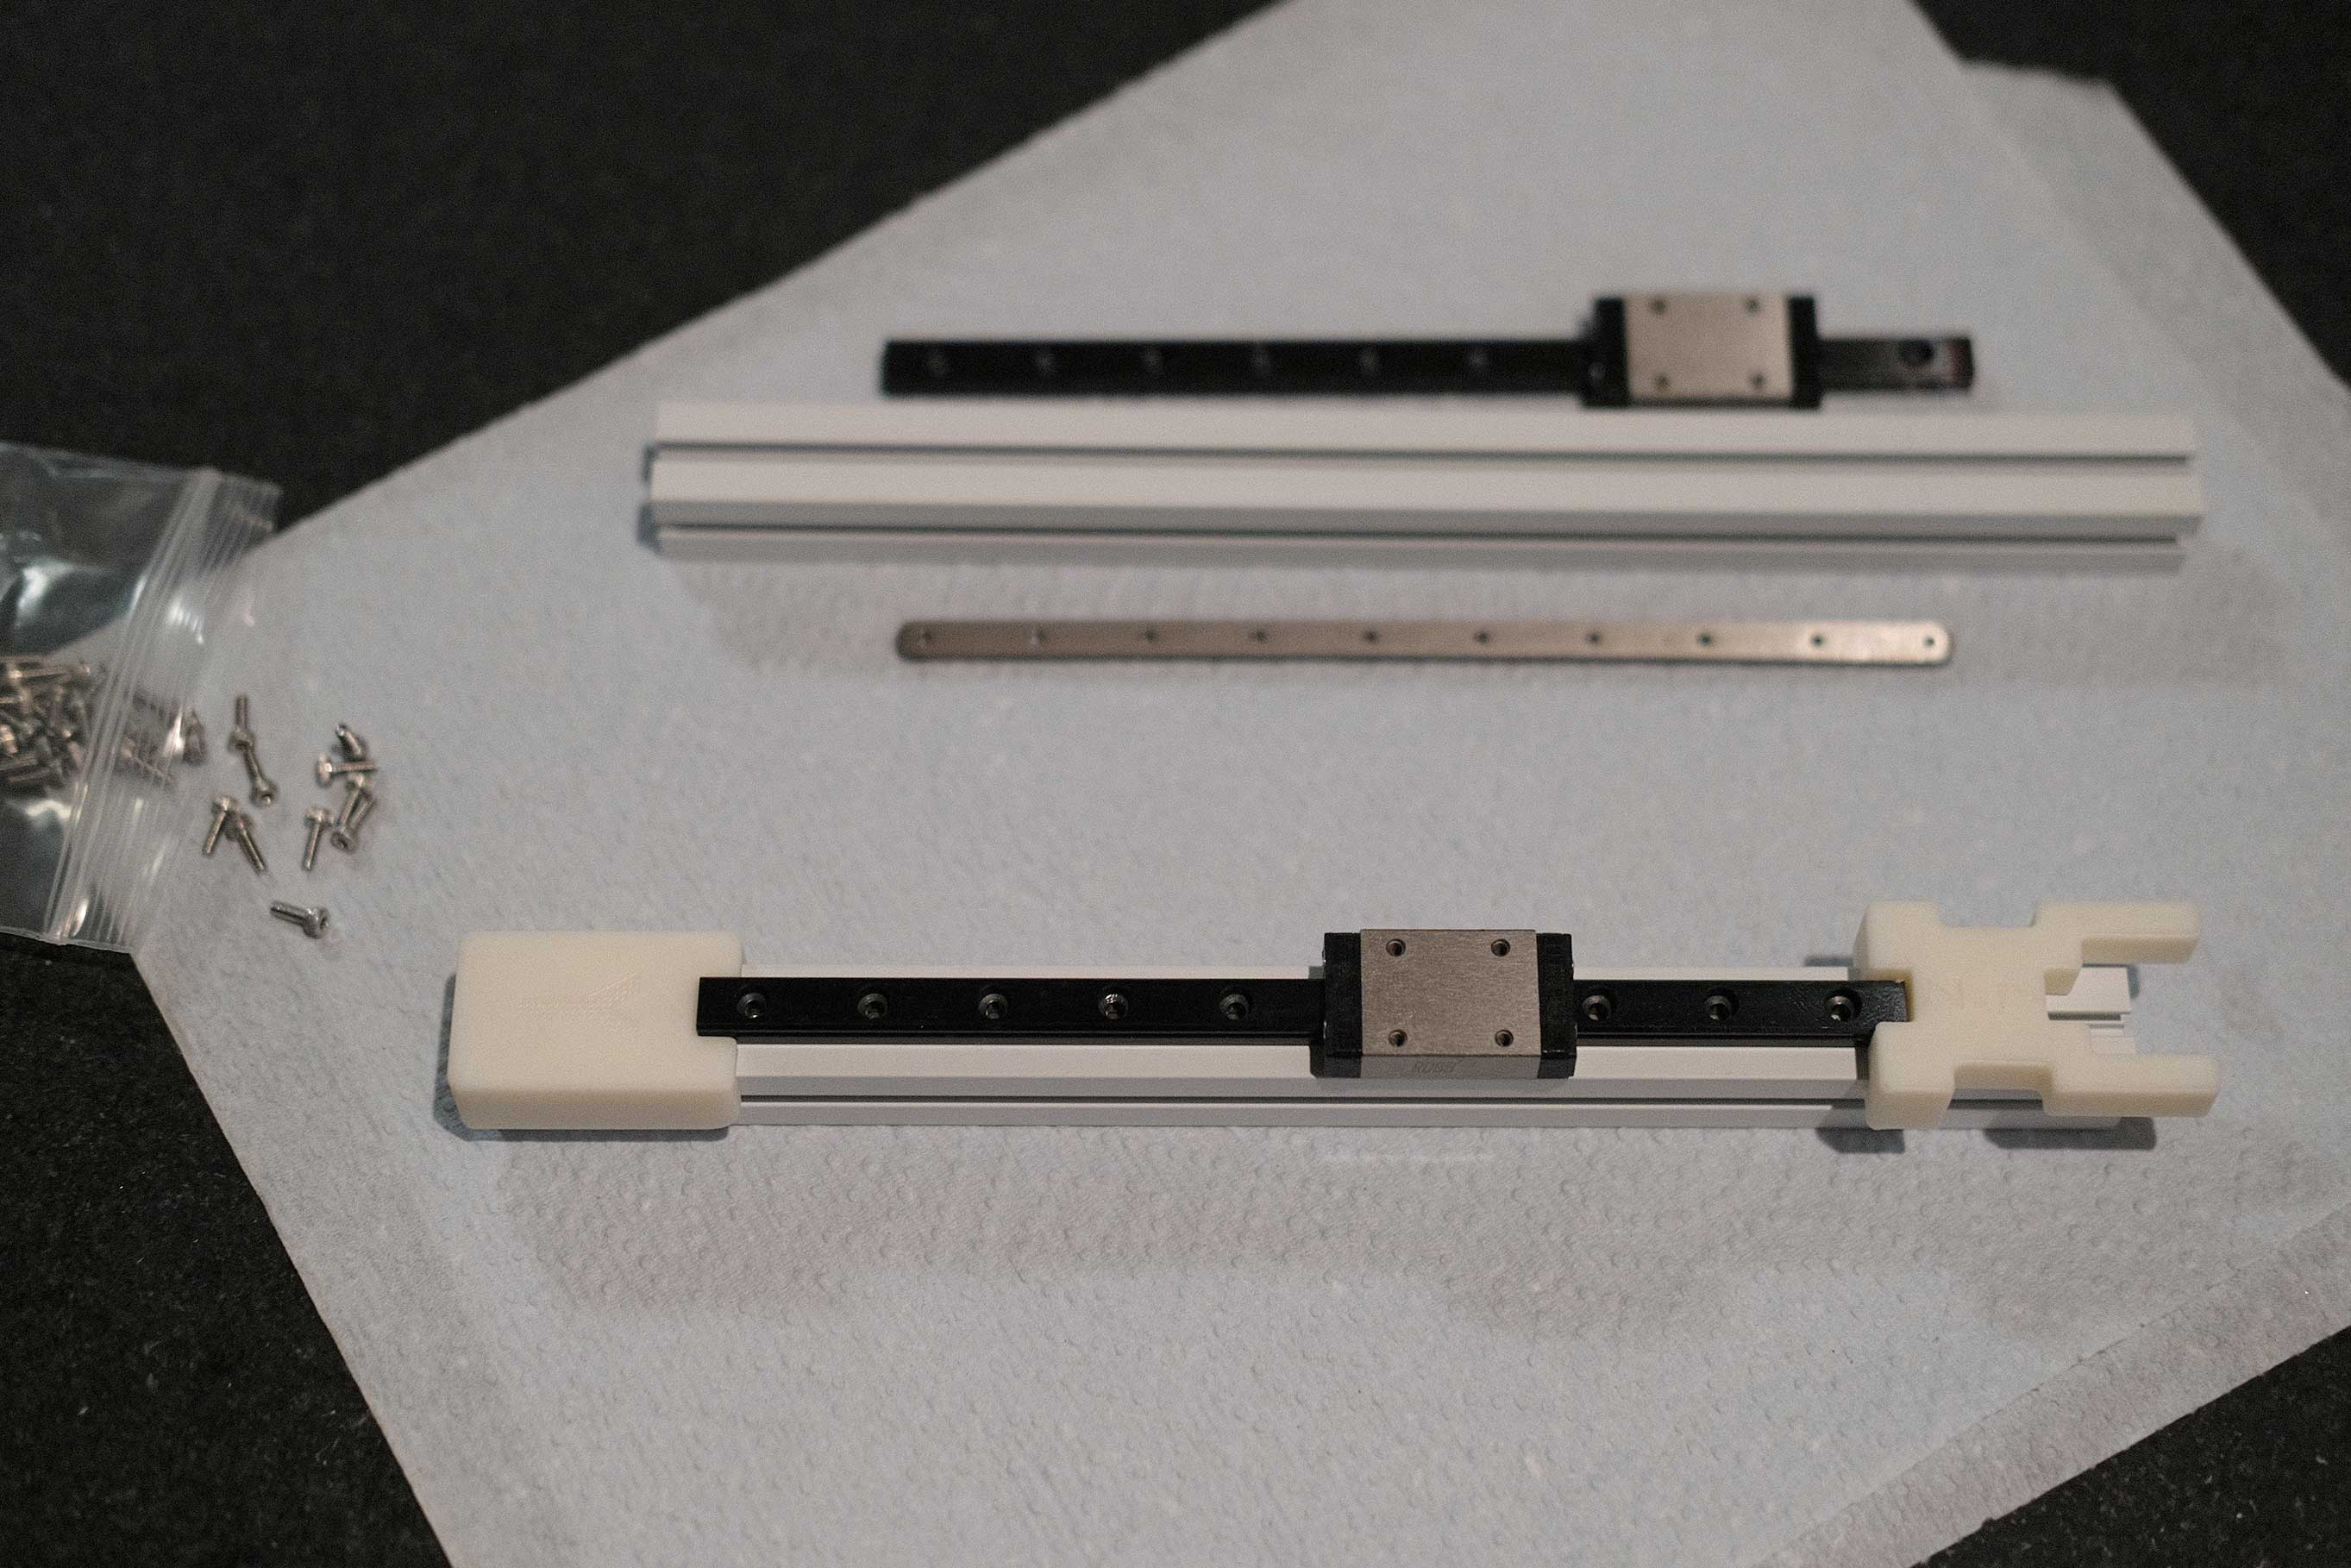
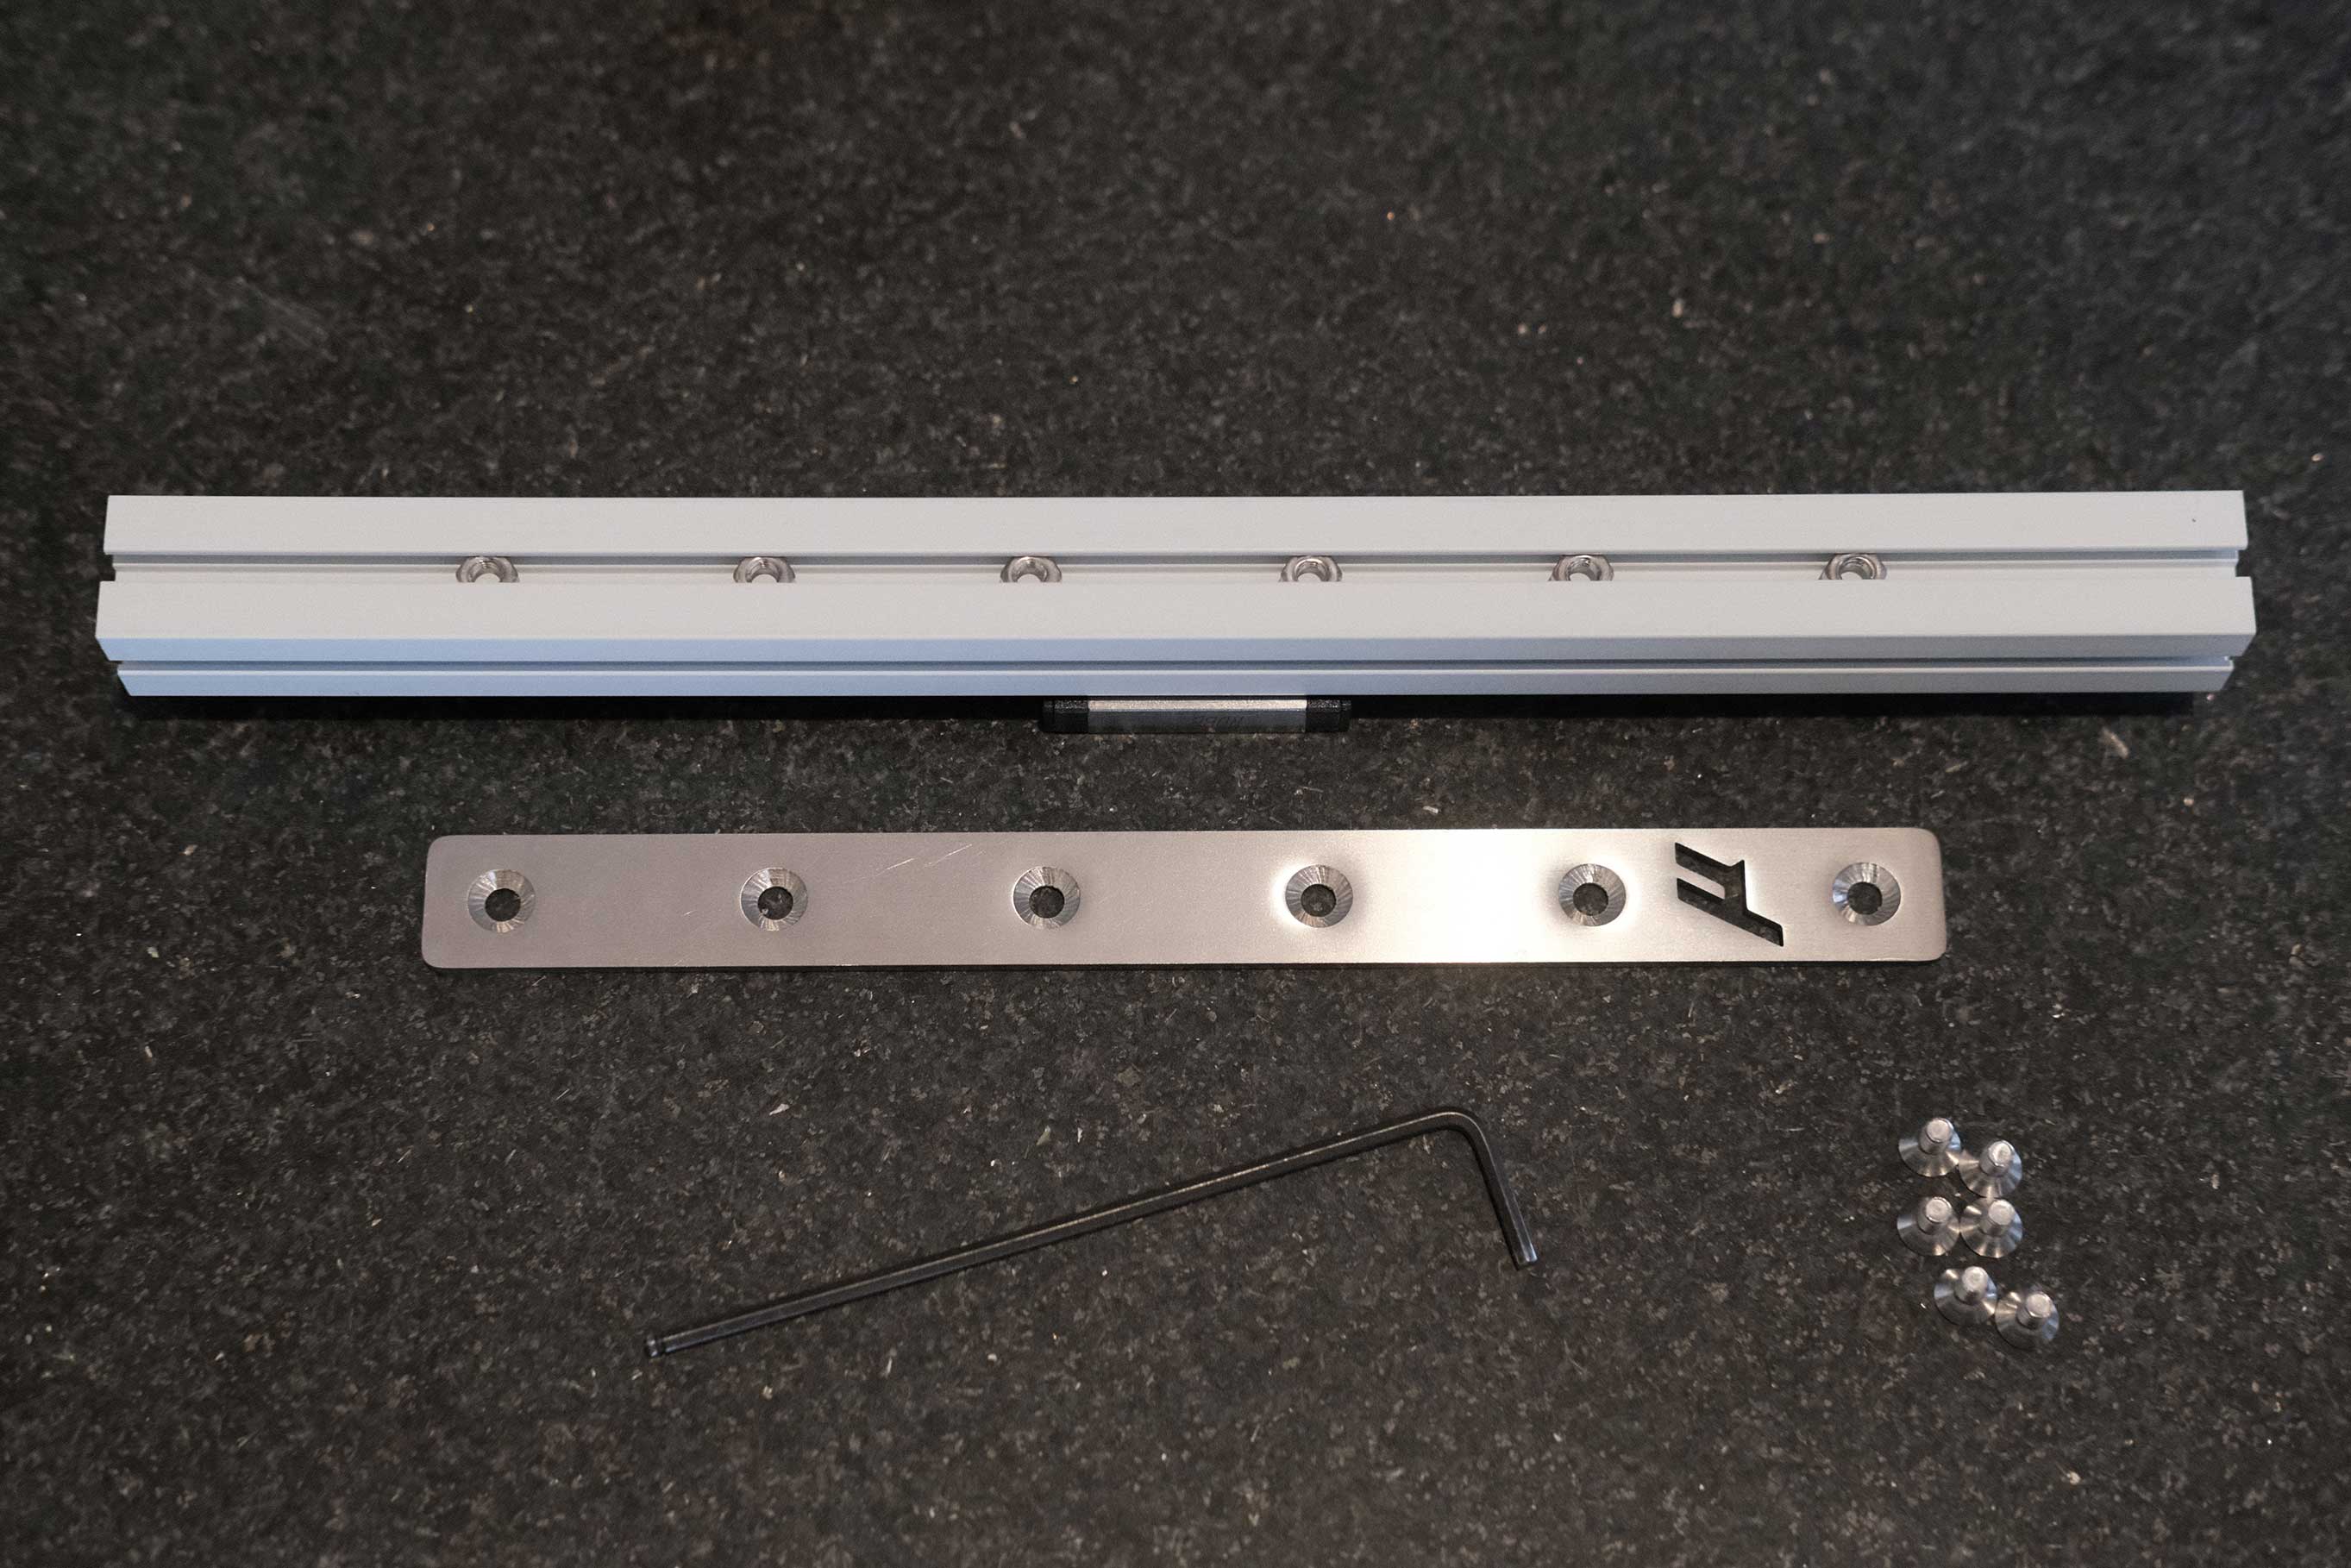
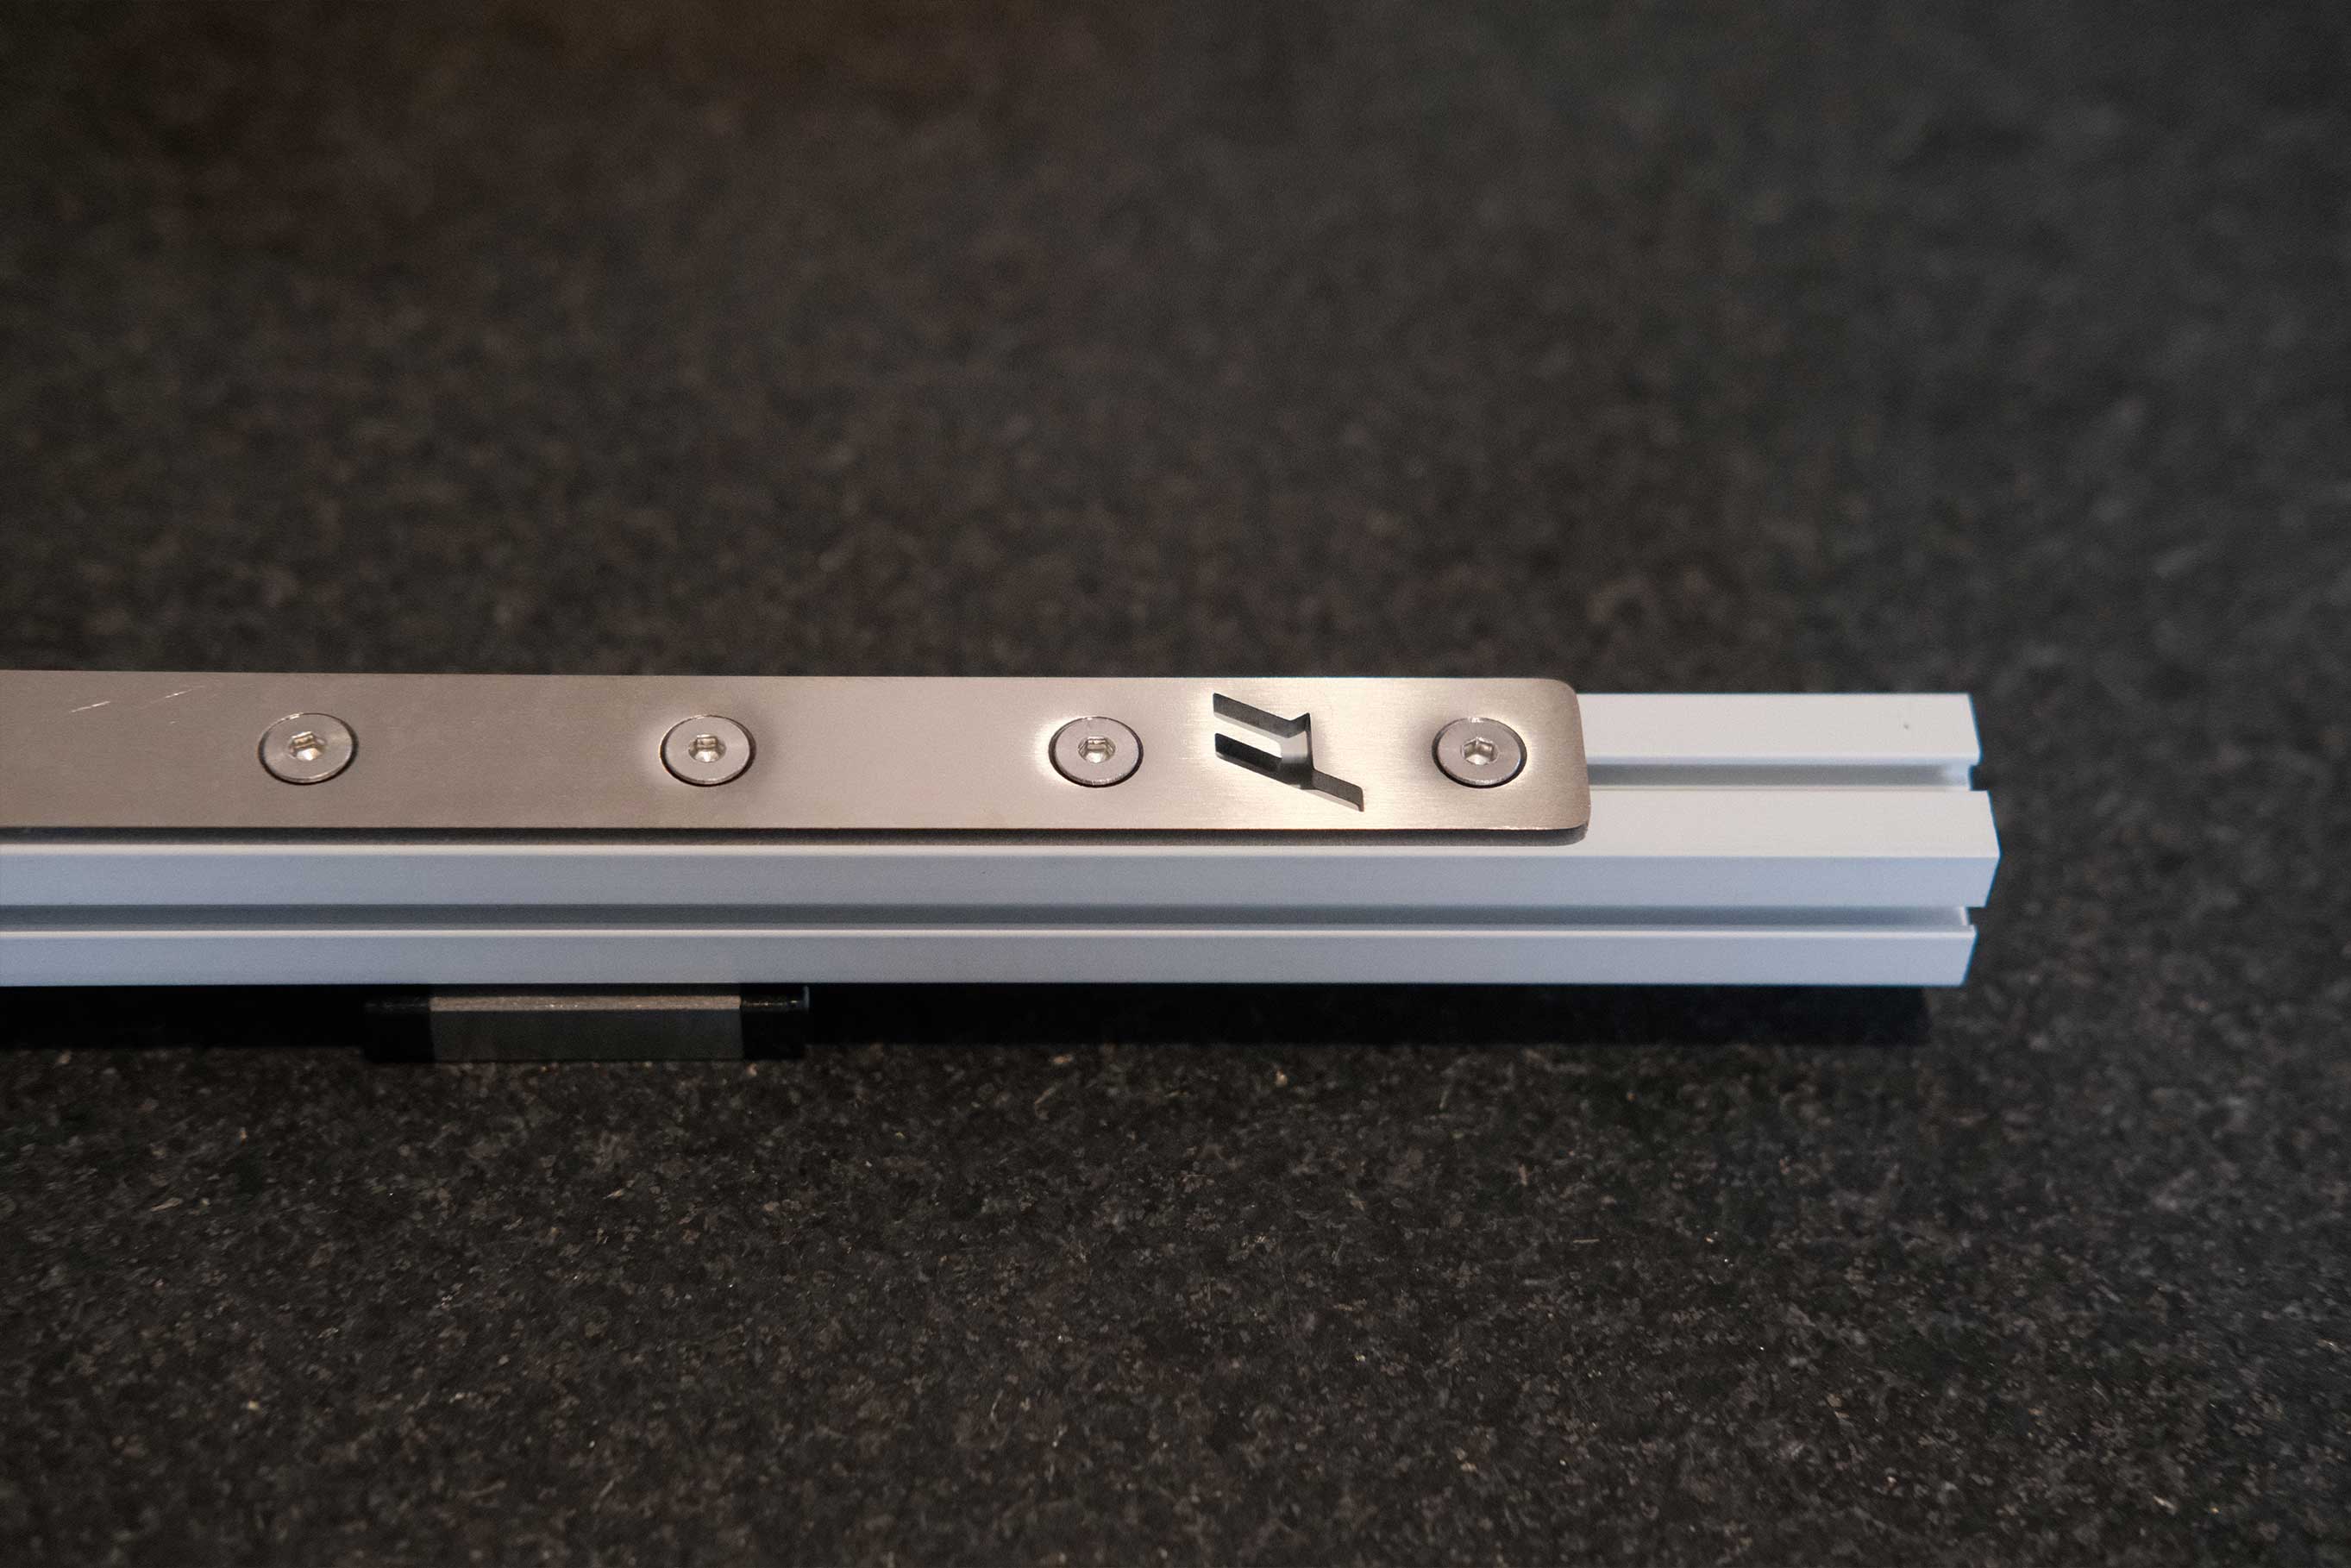
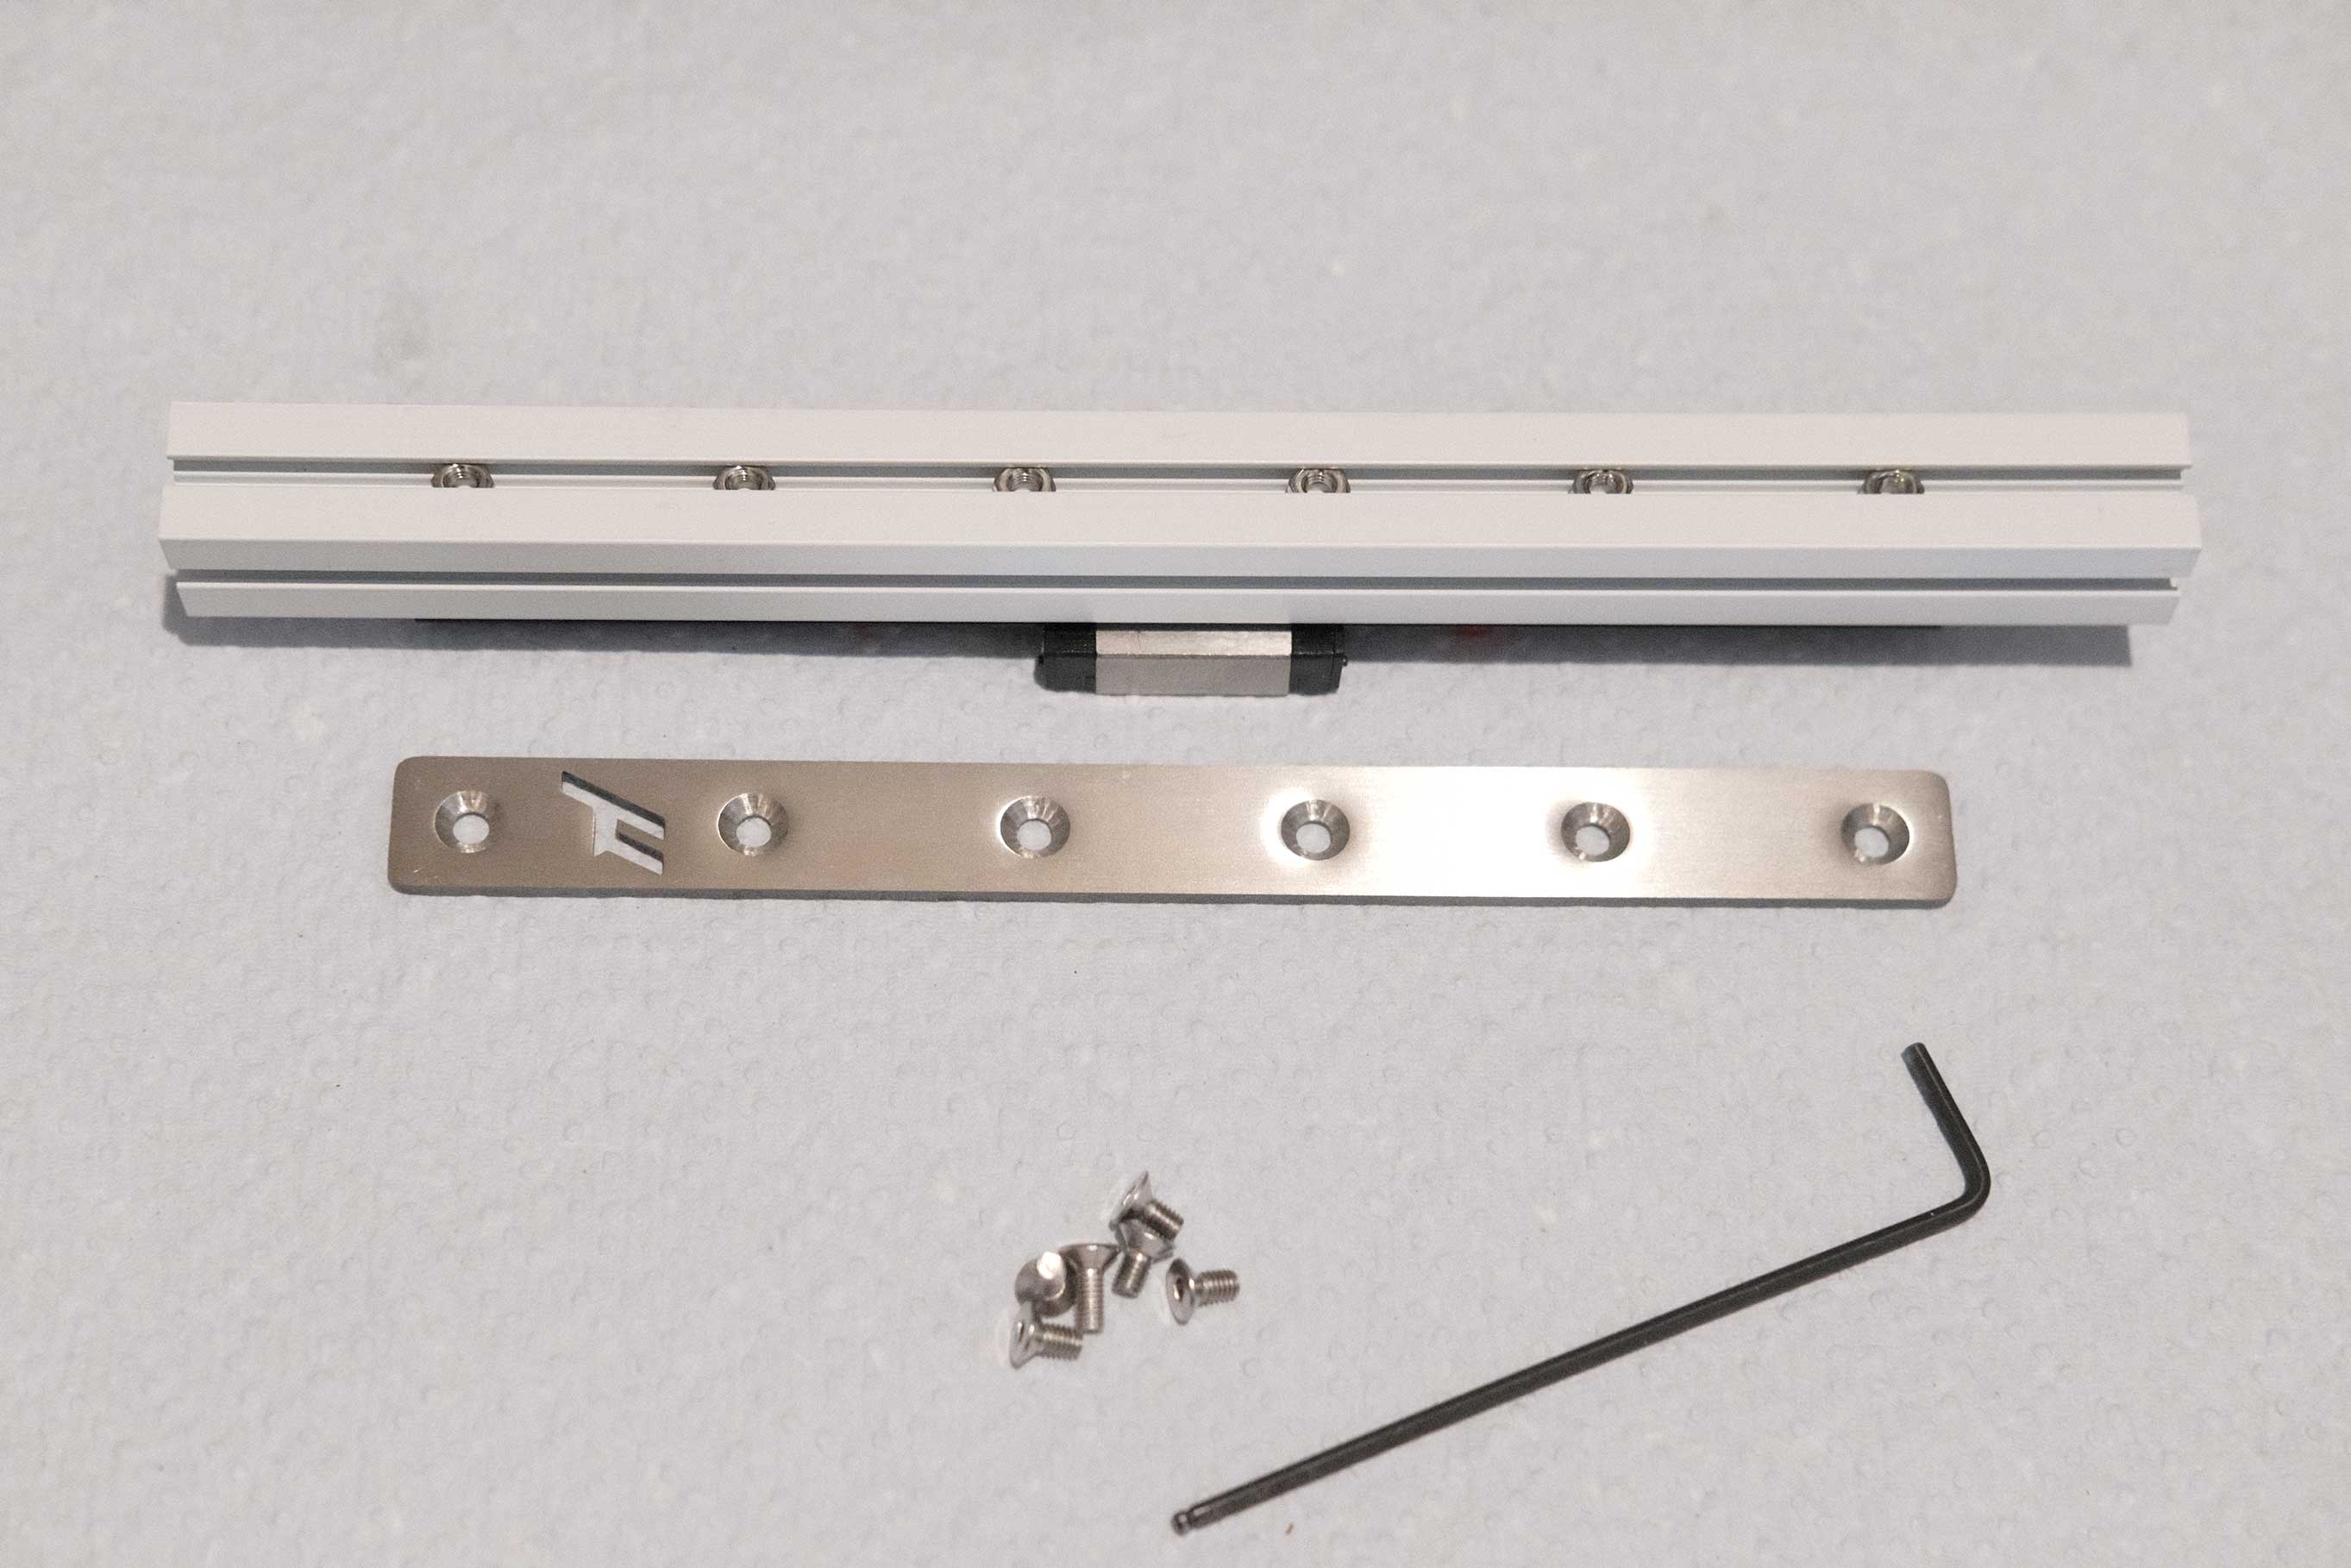
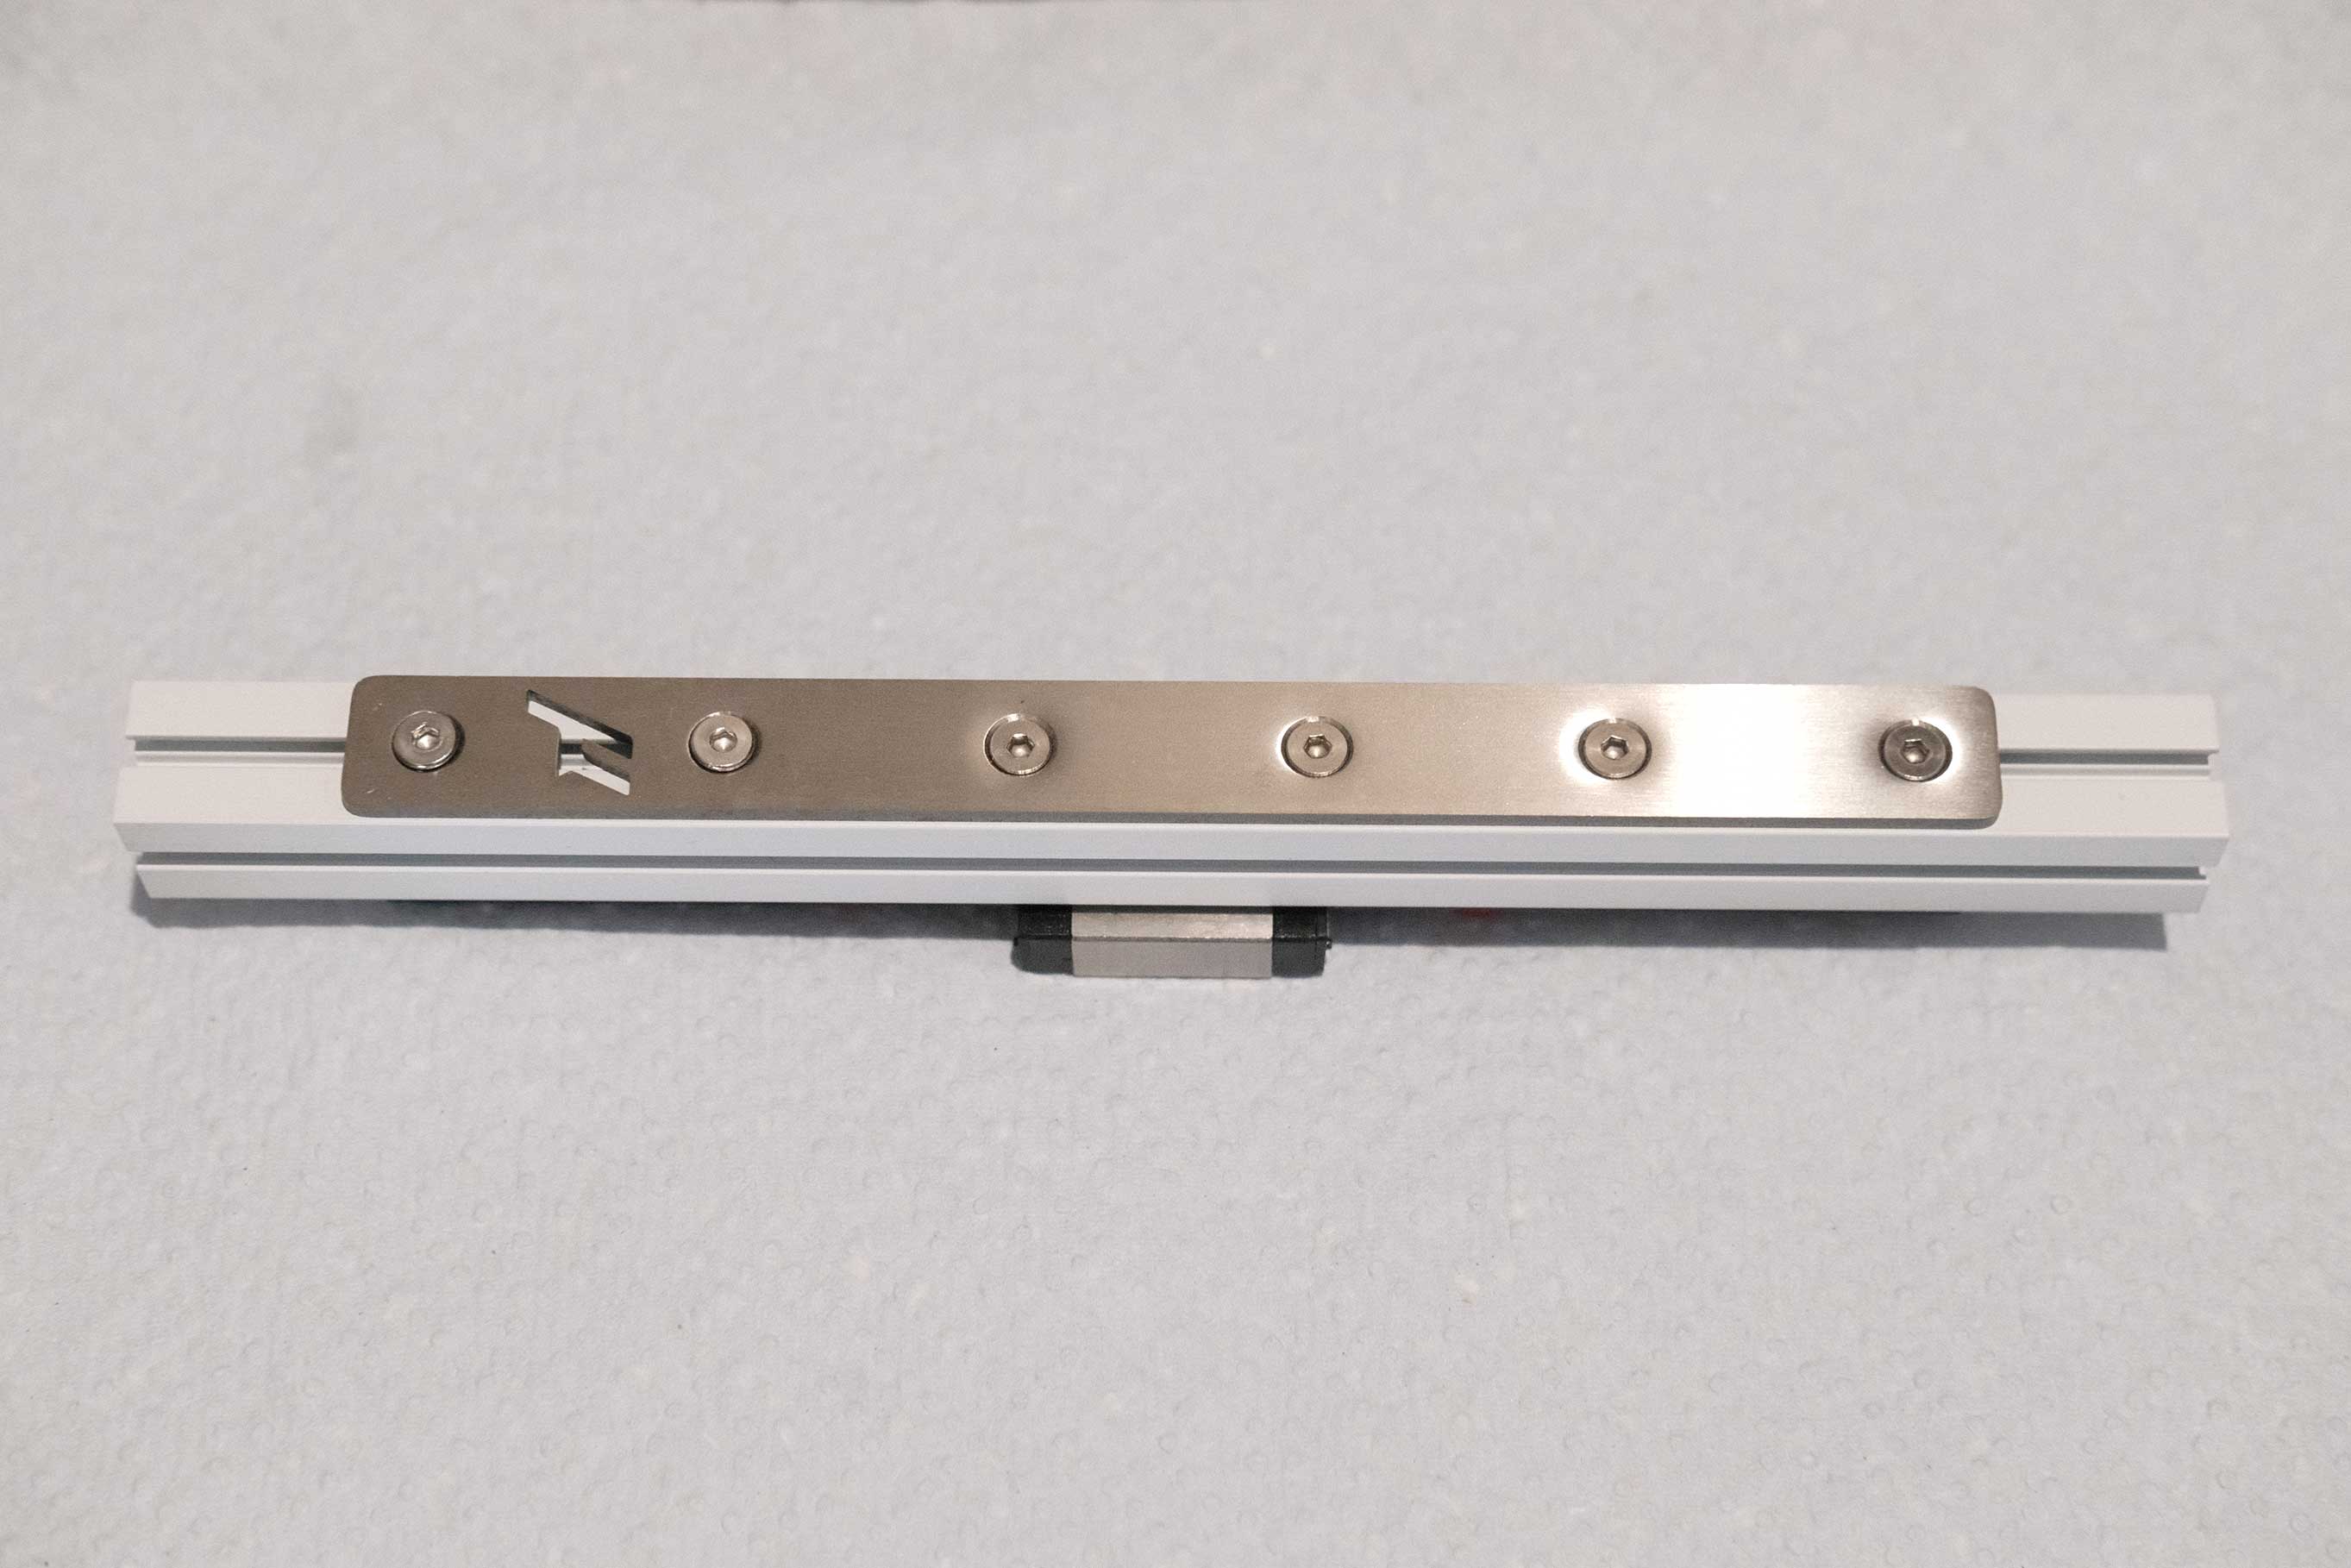
 Extrusion With a Nut Bar
 Insert Nut Bar into Extrusion
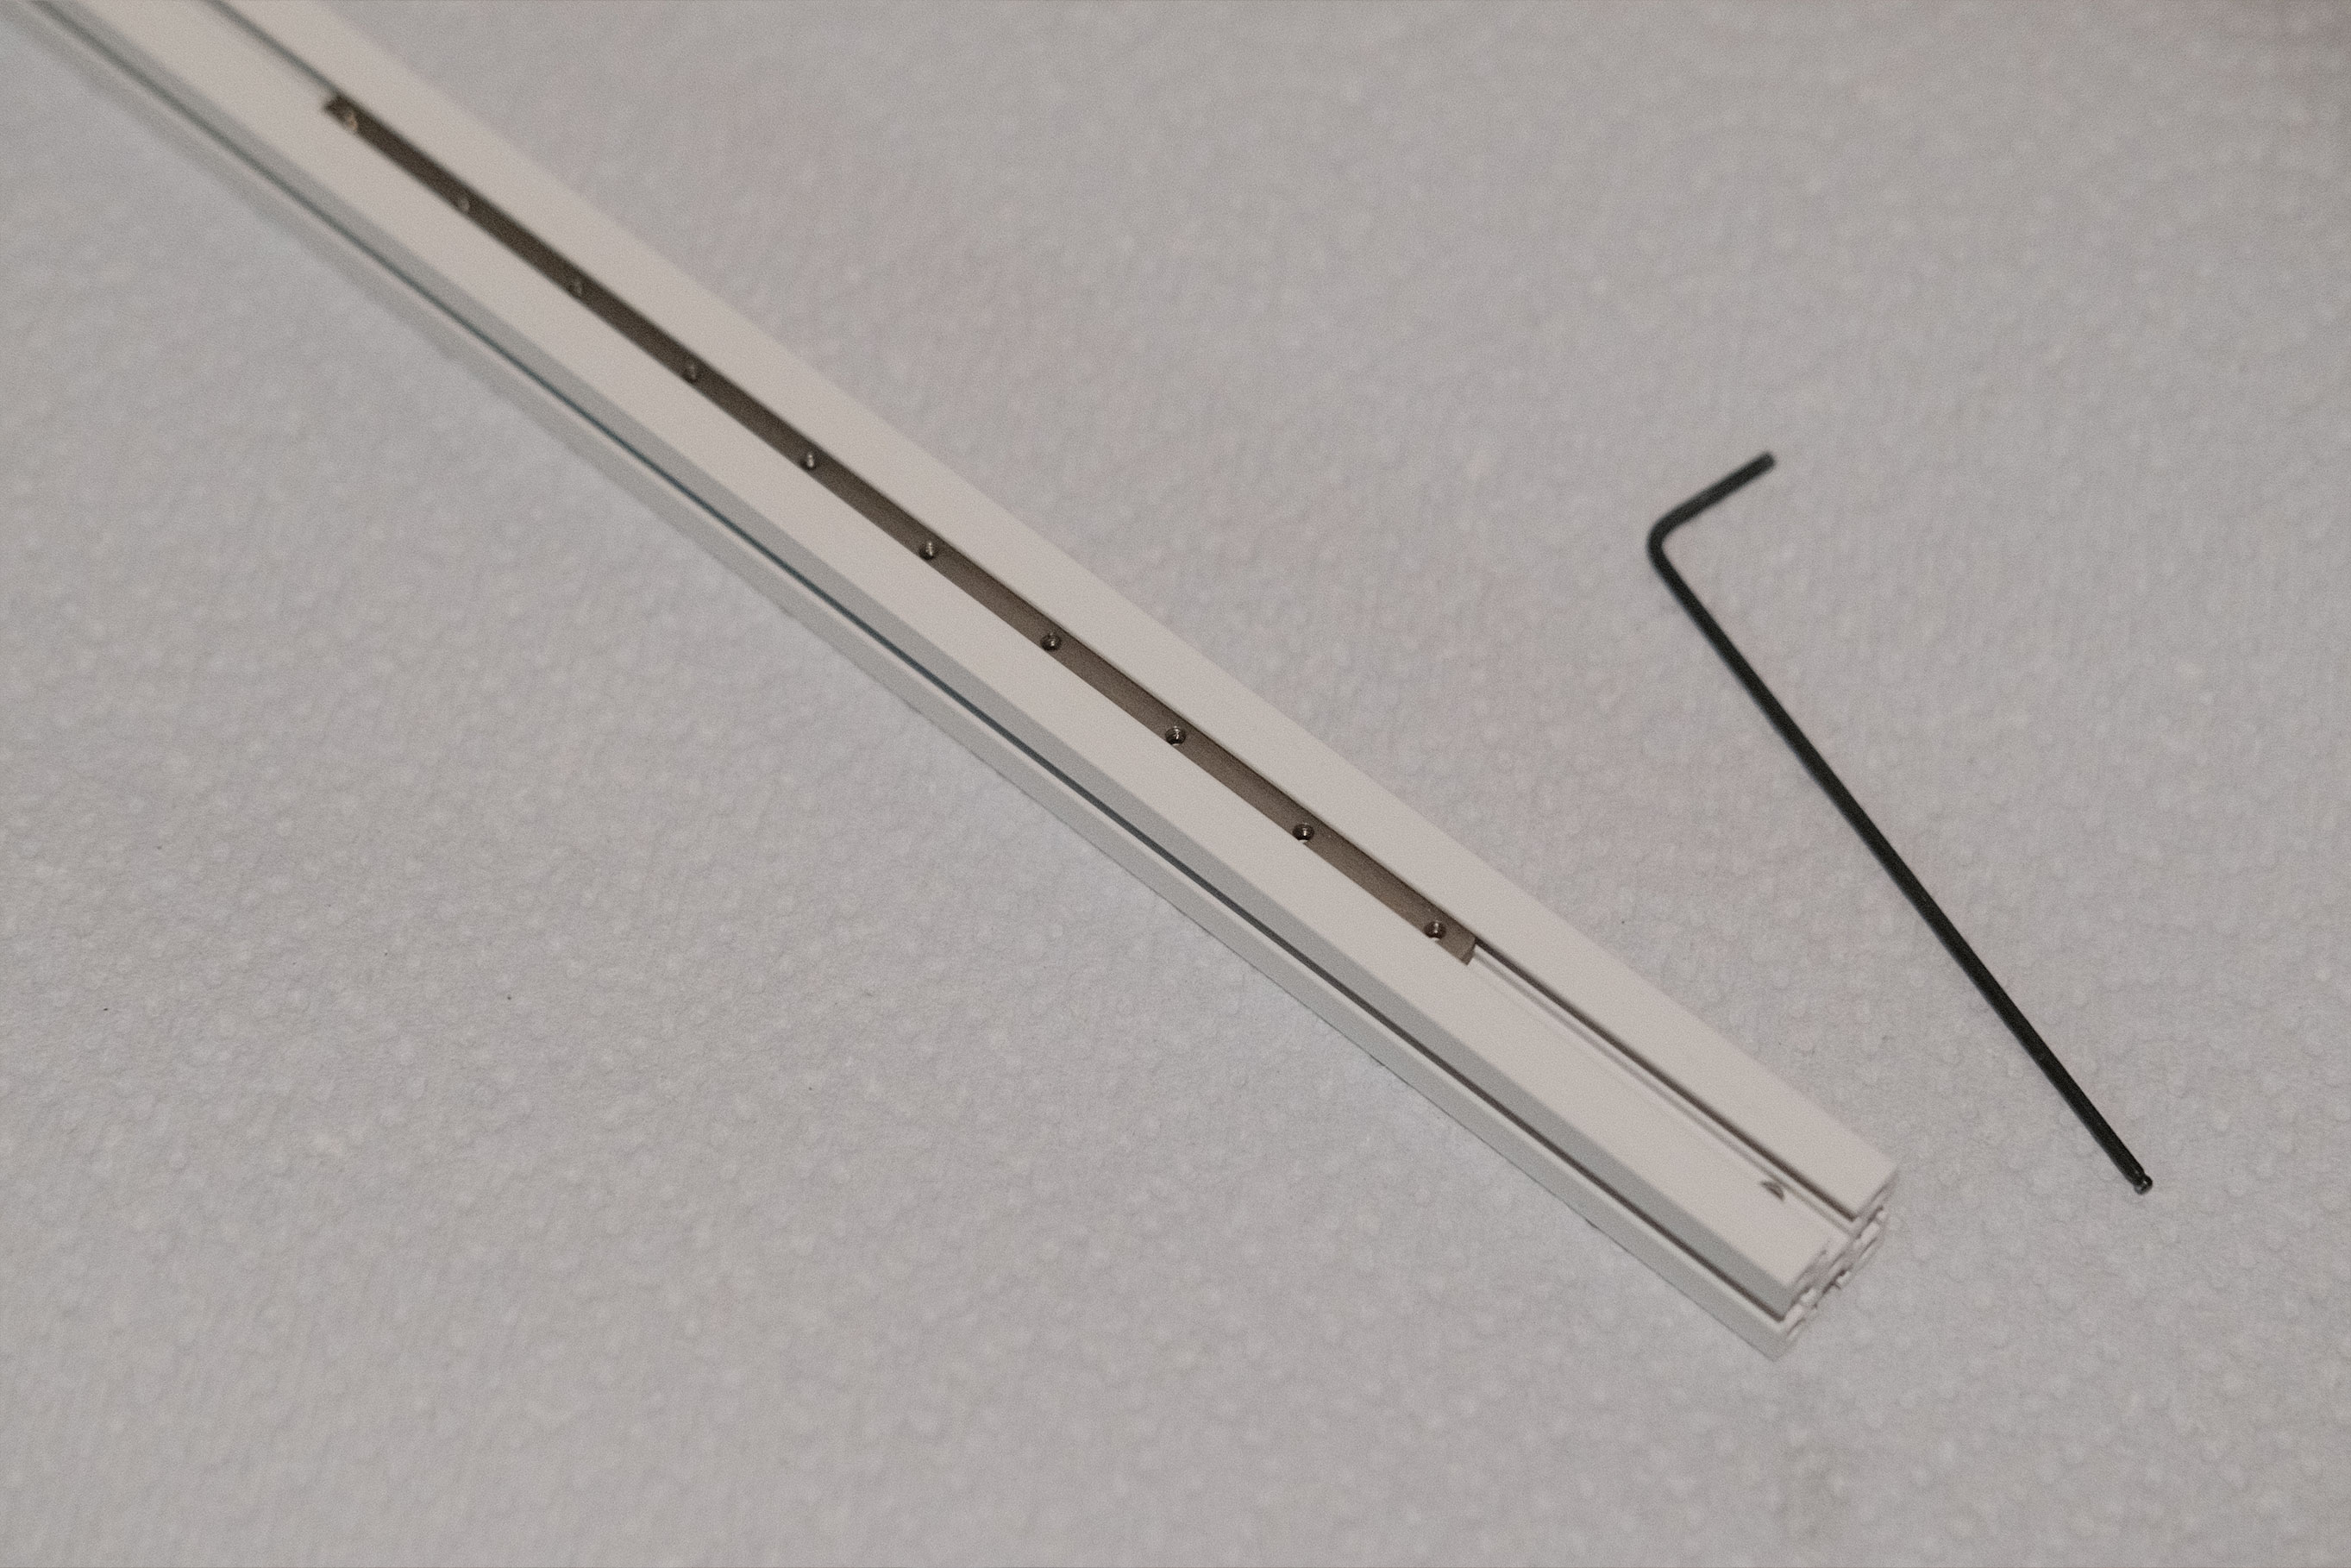
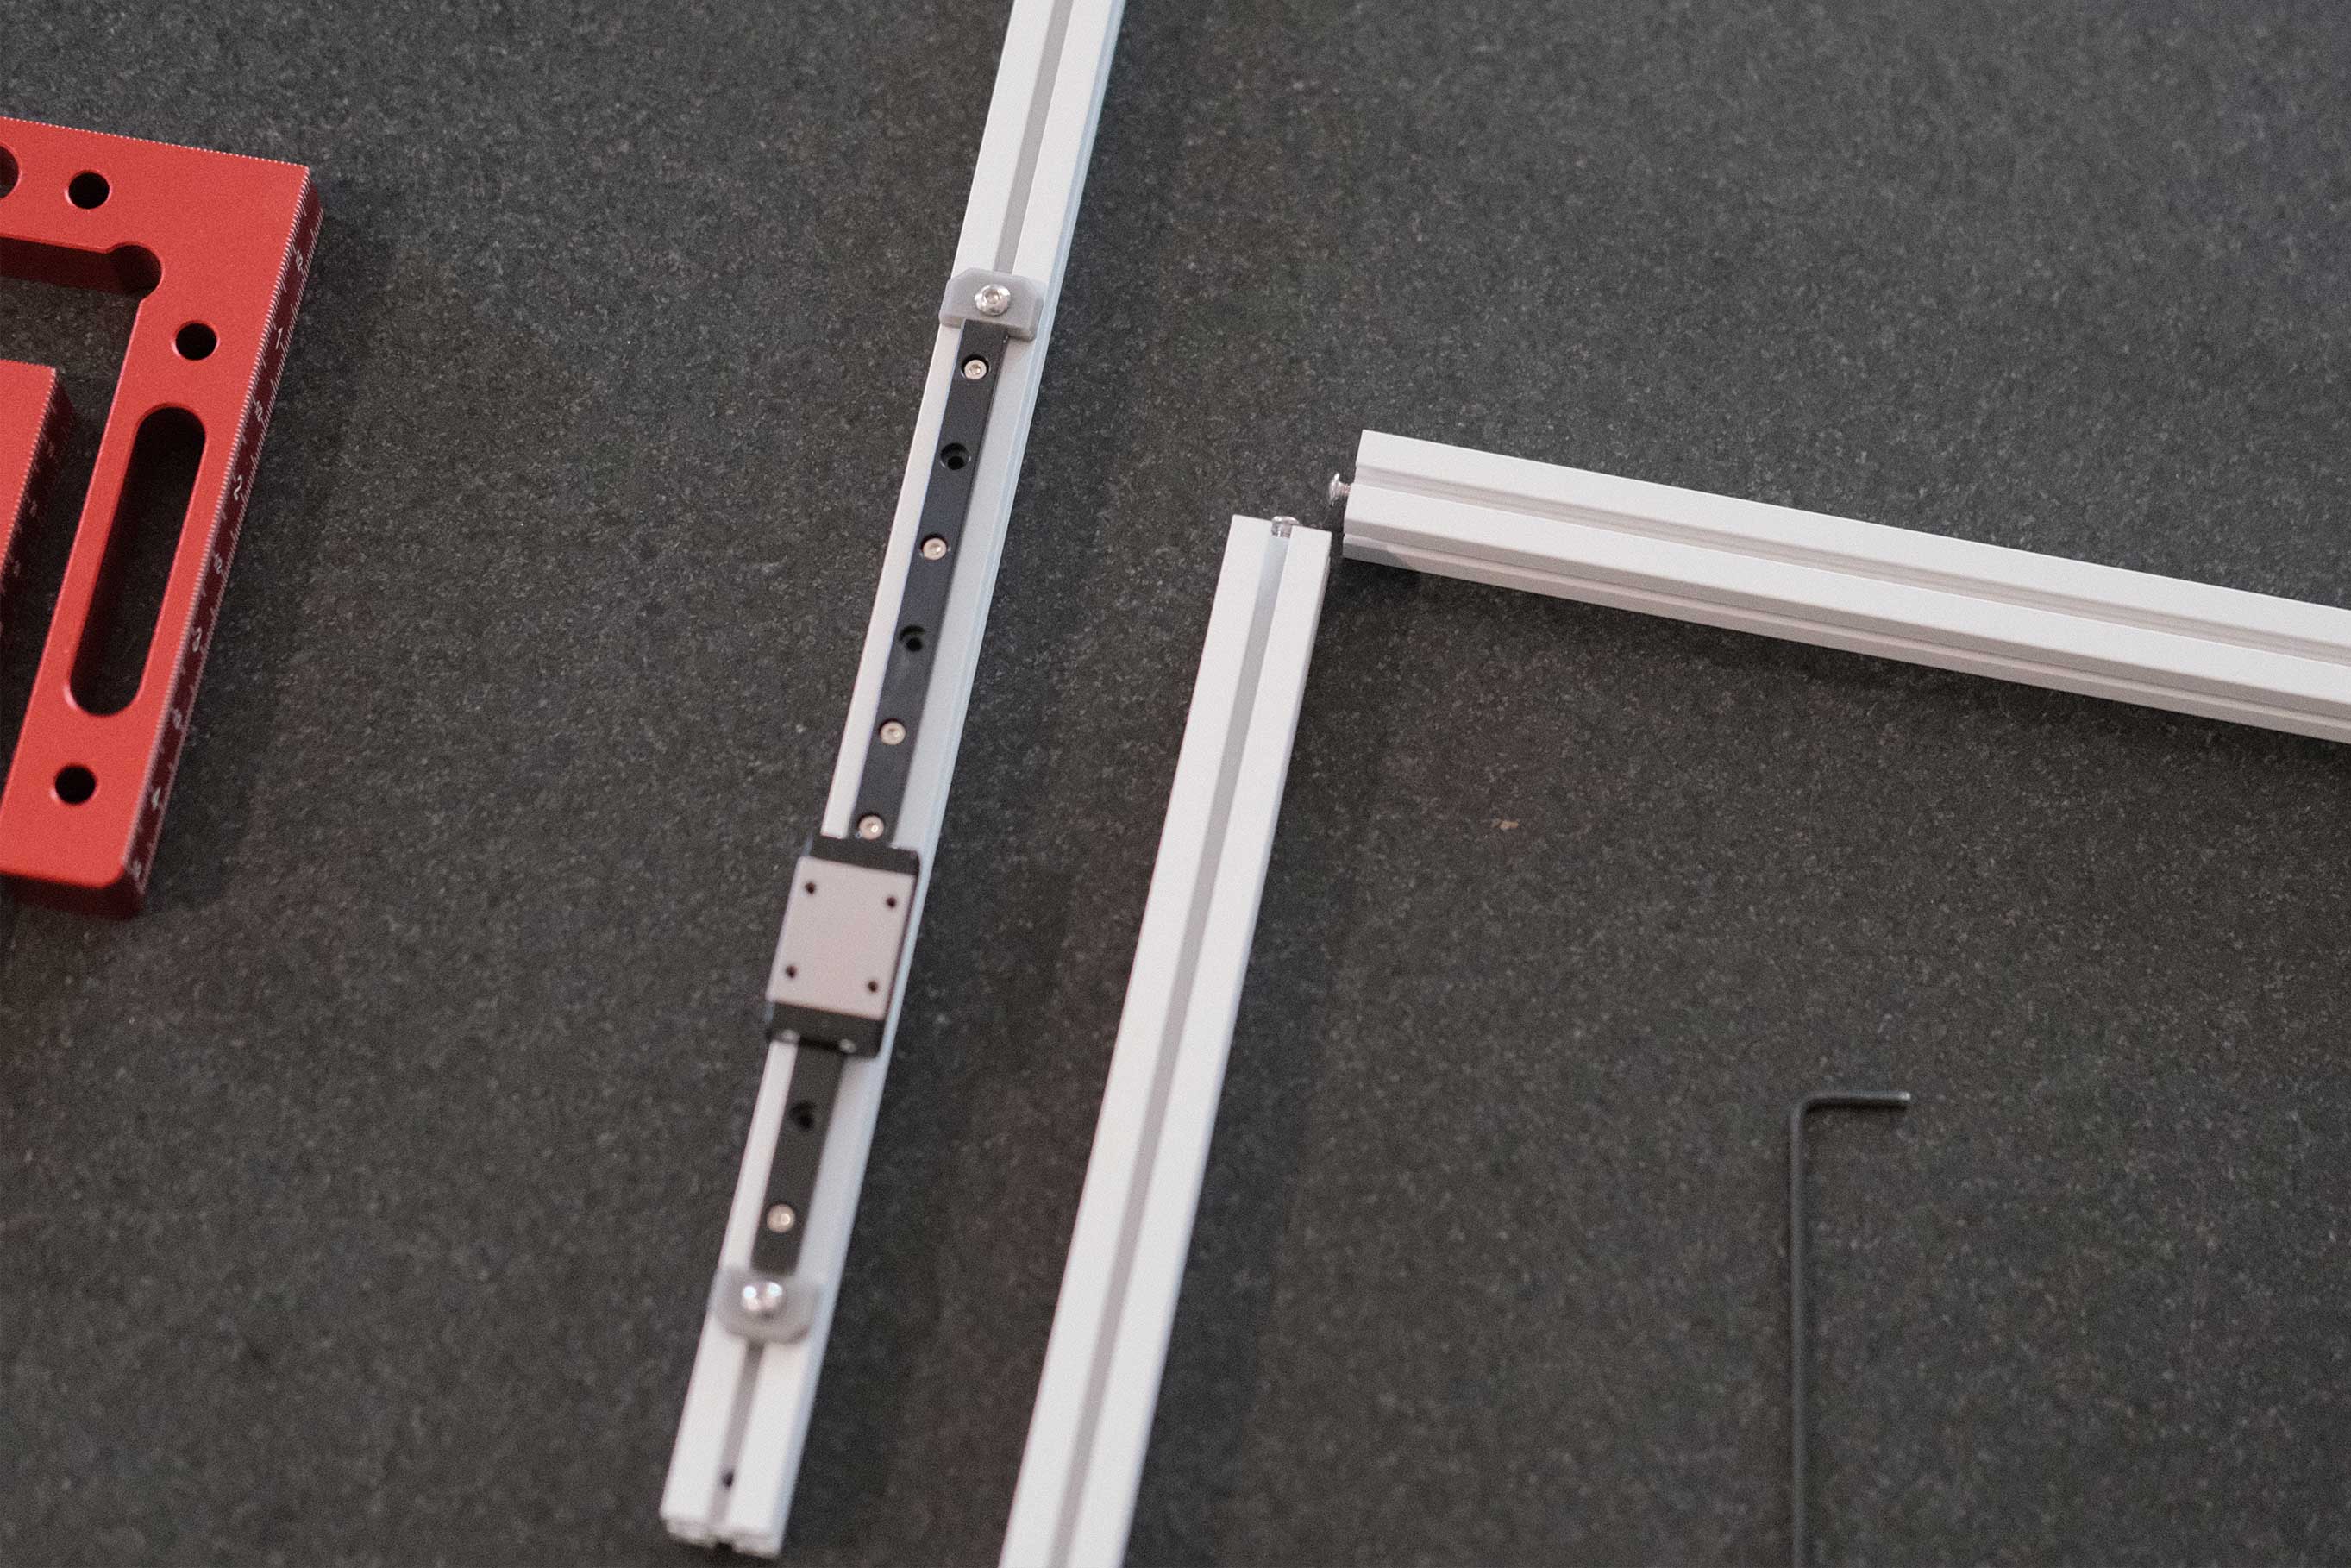
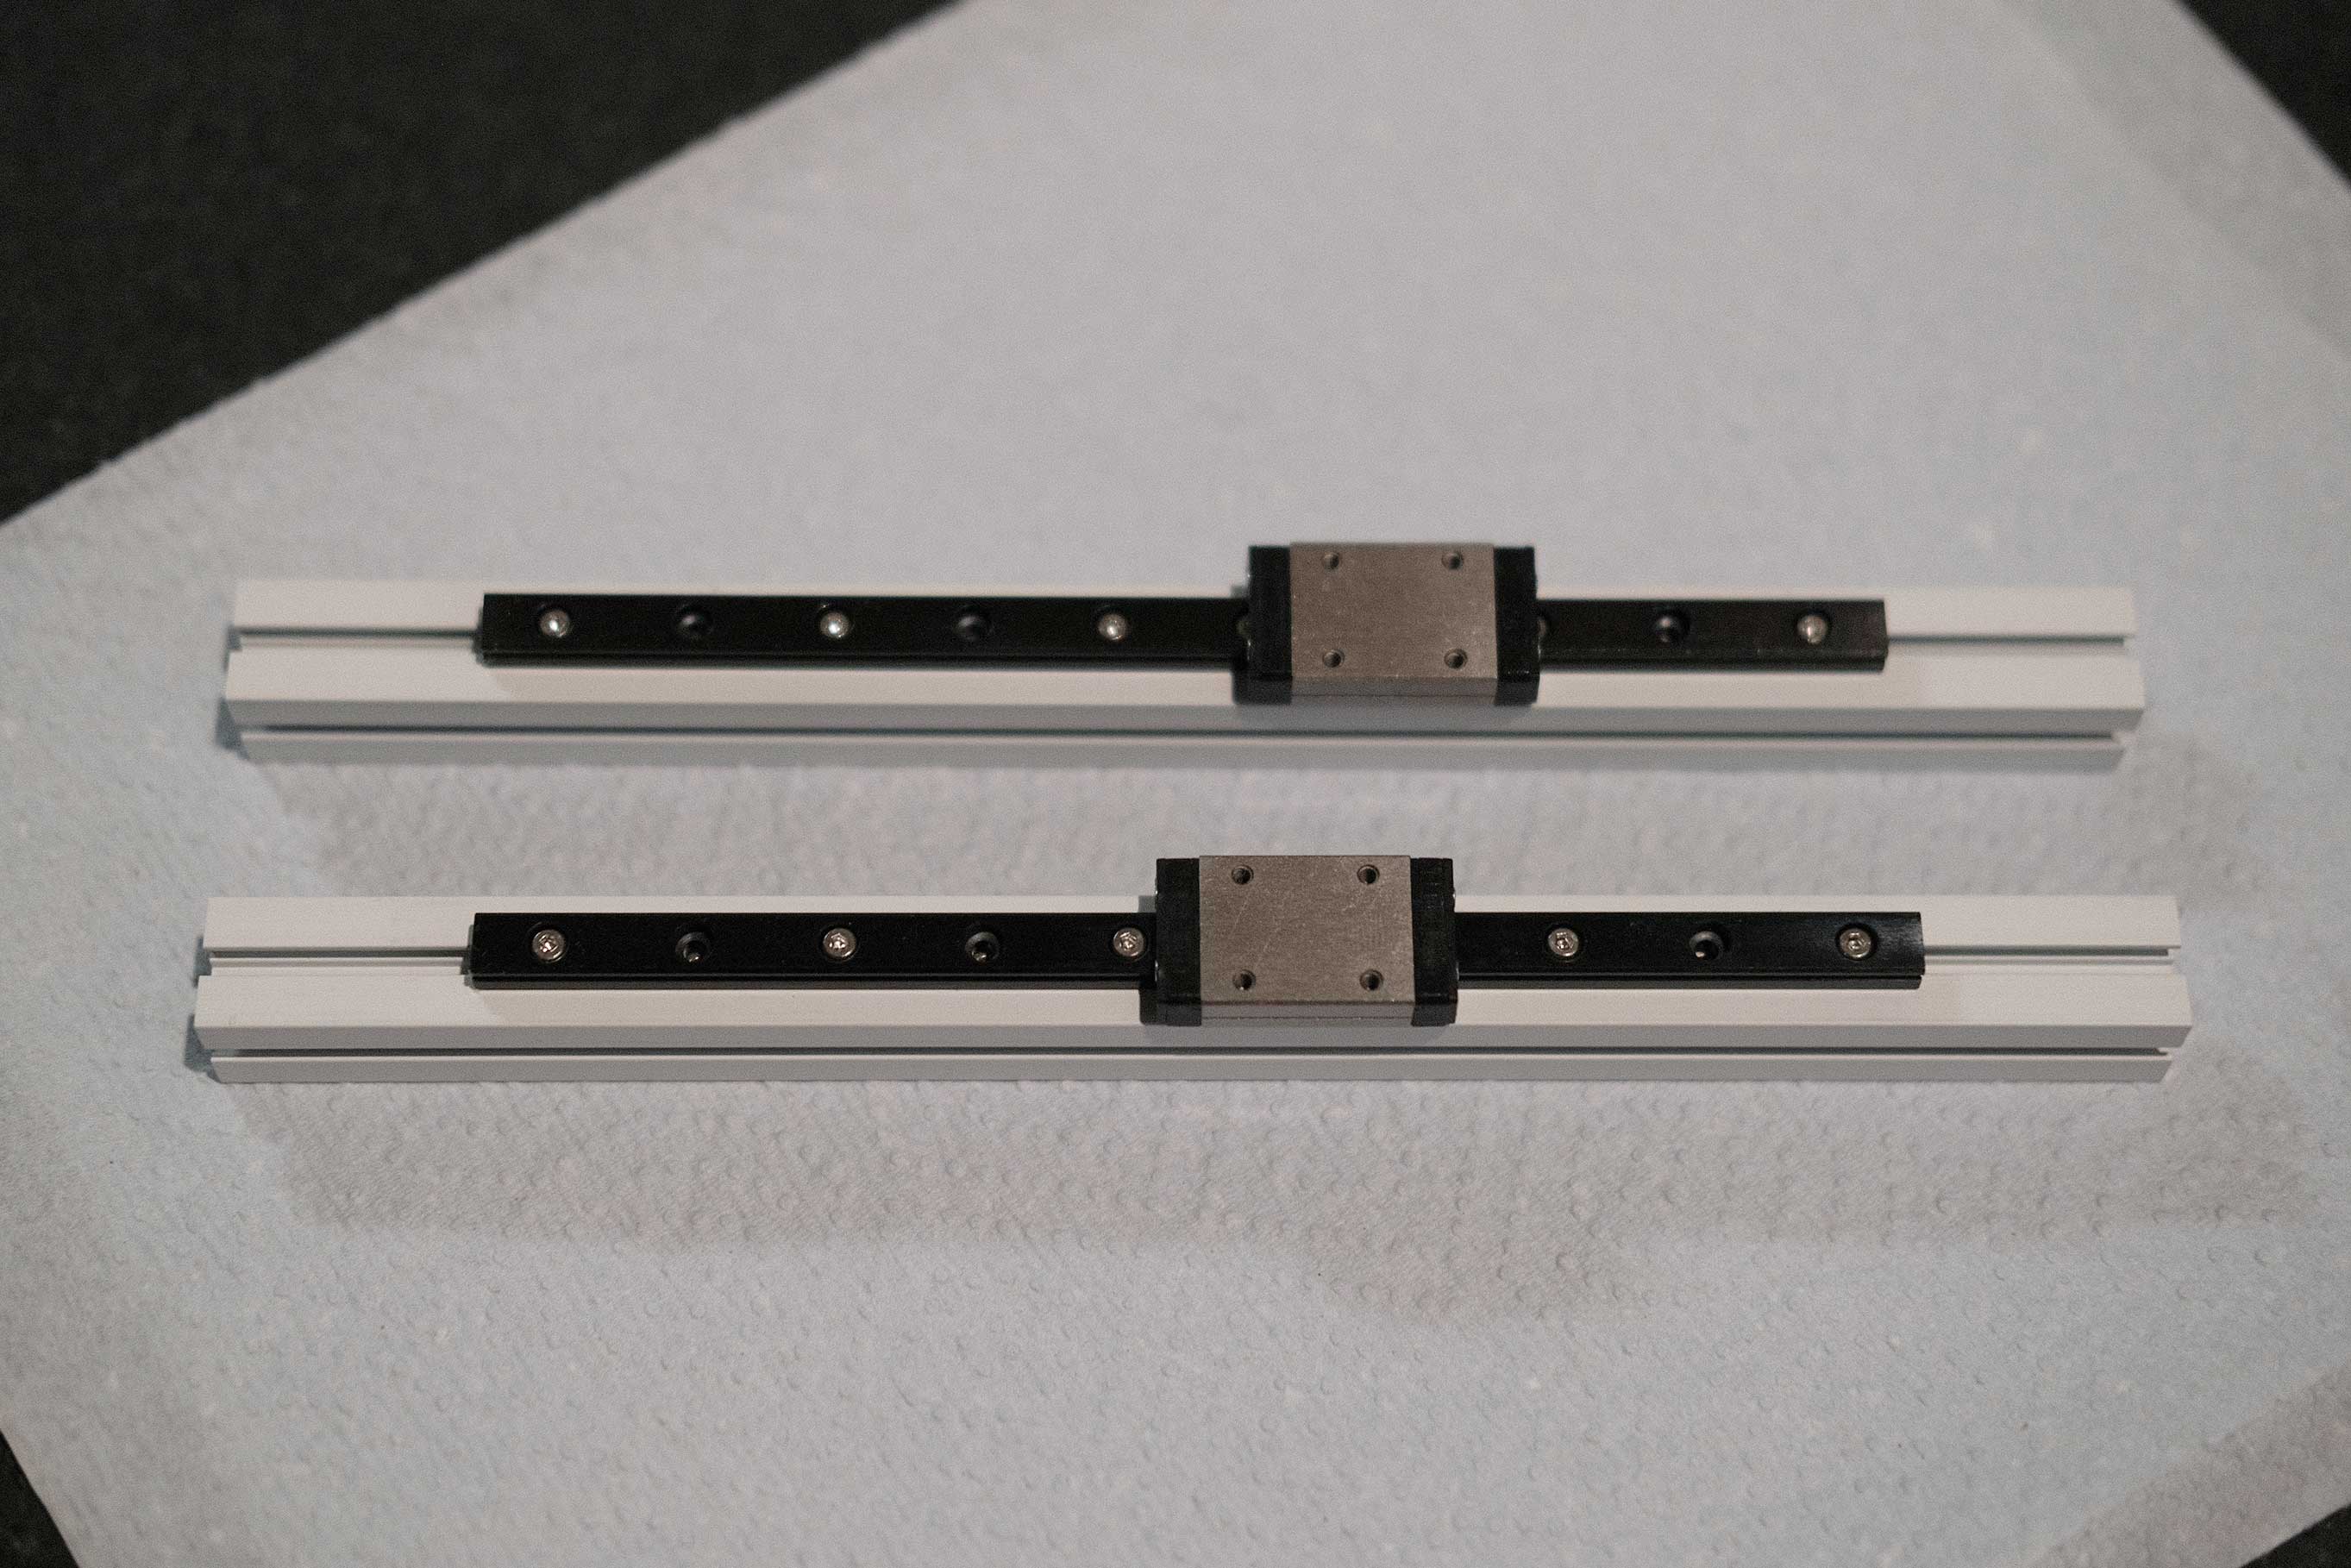
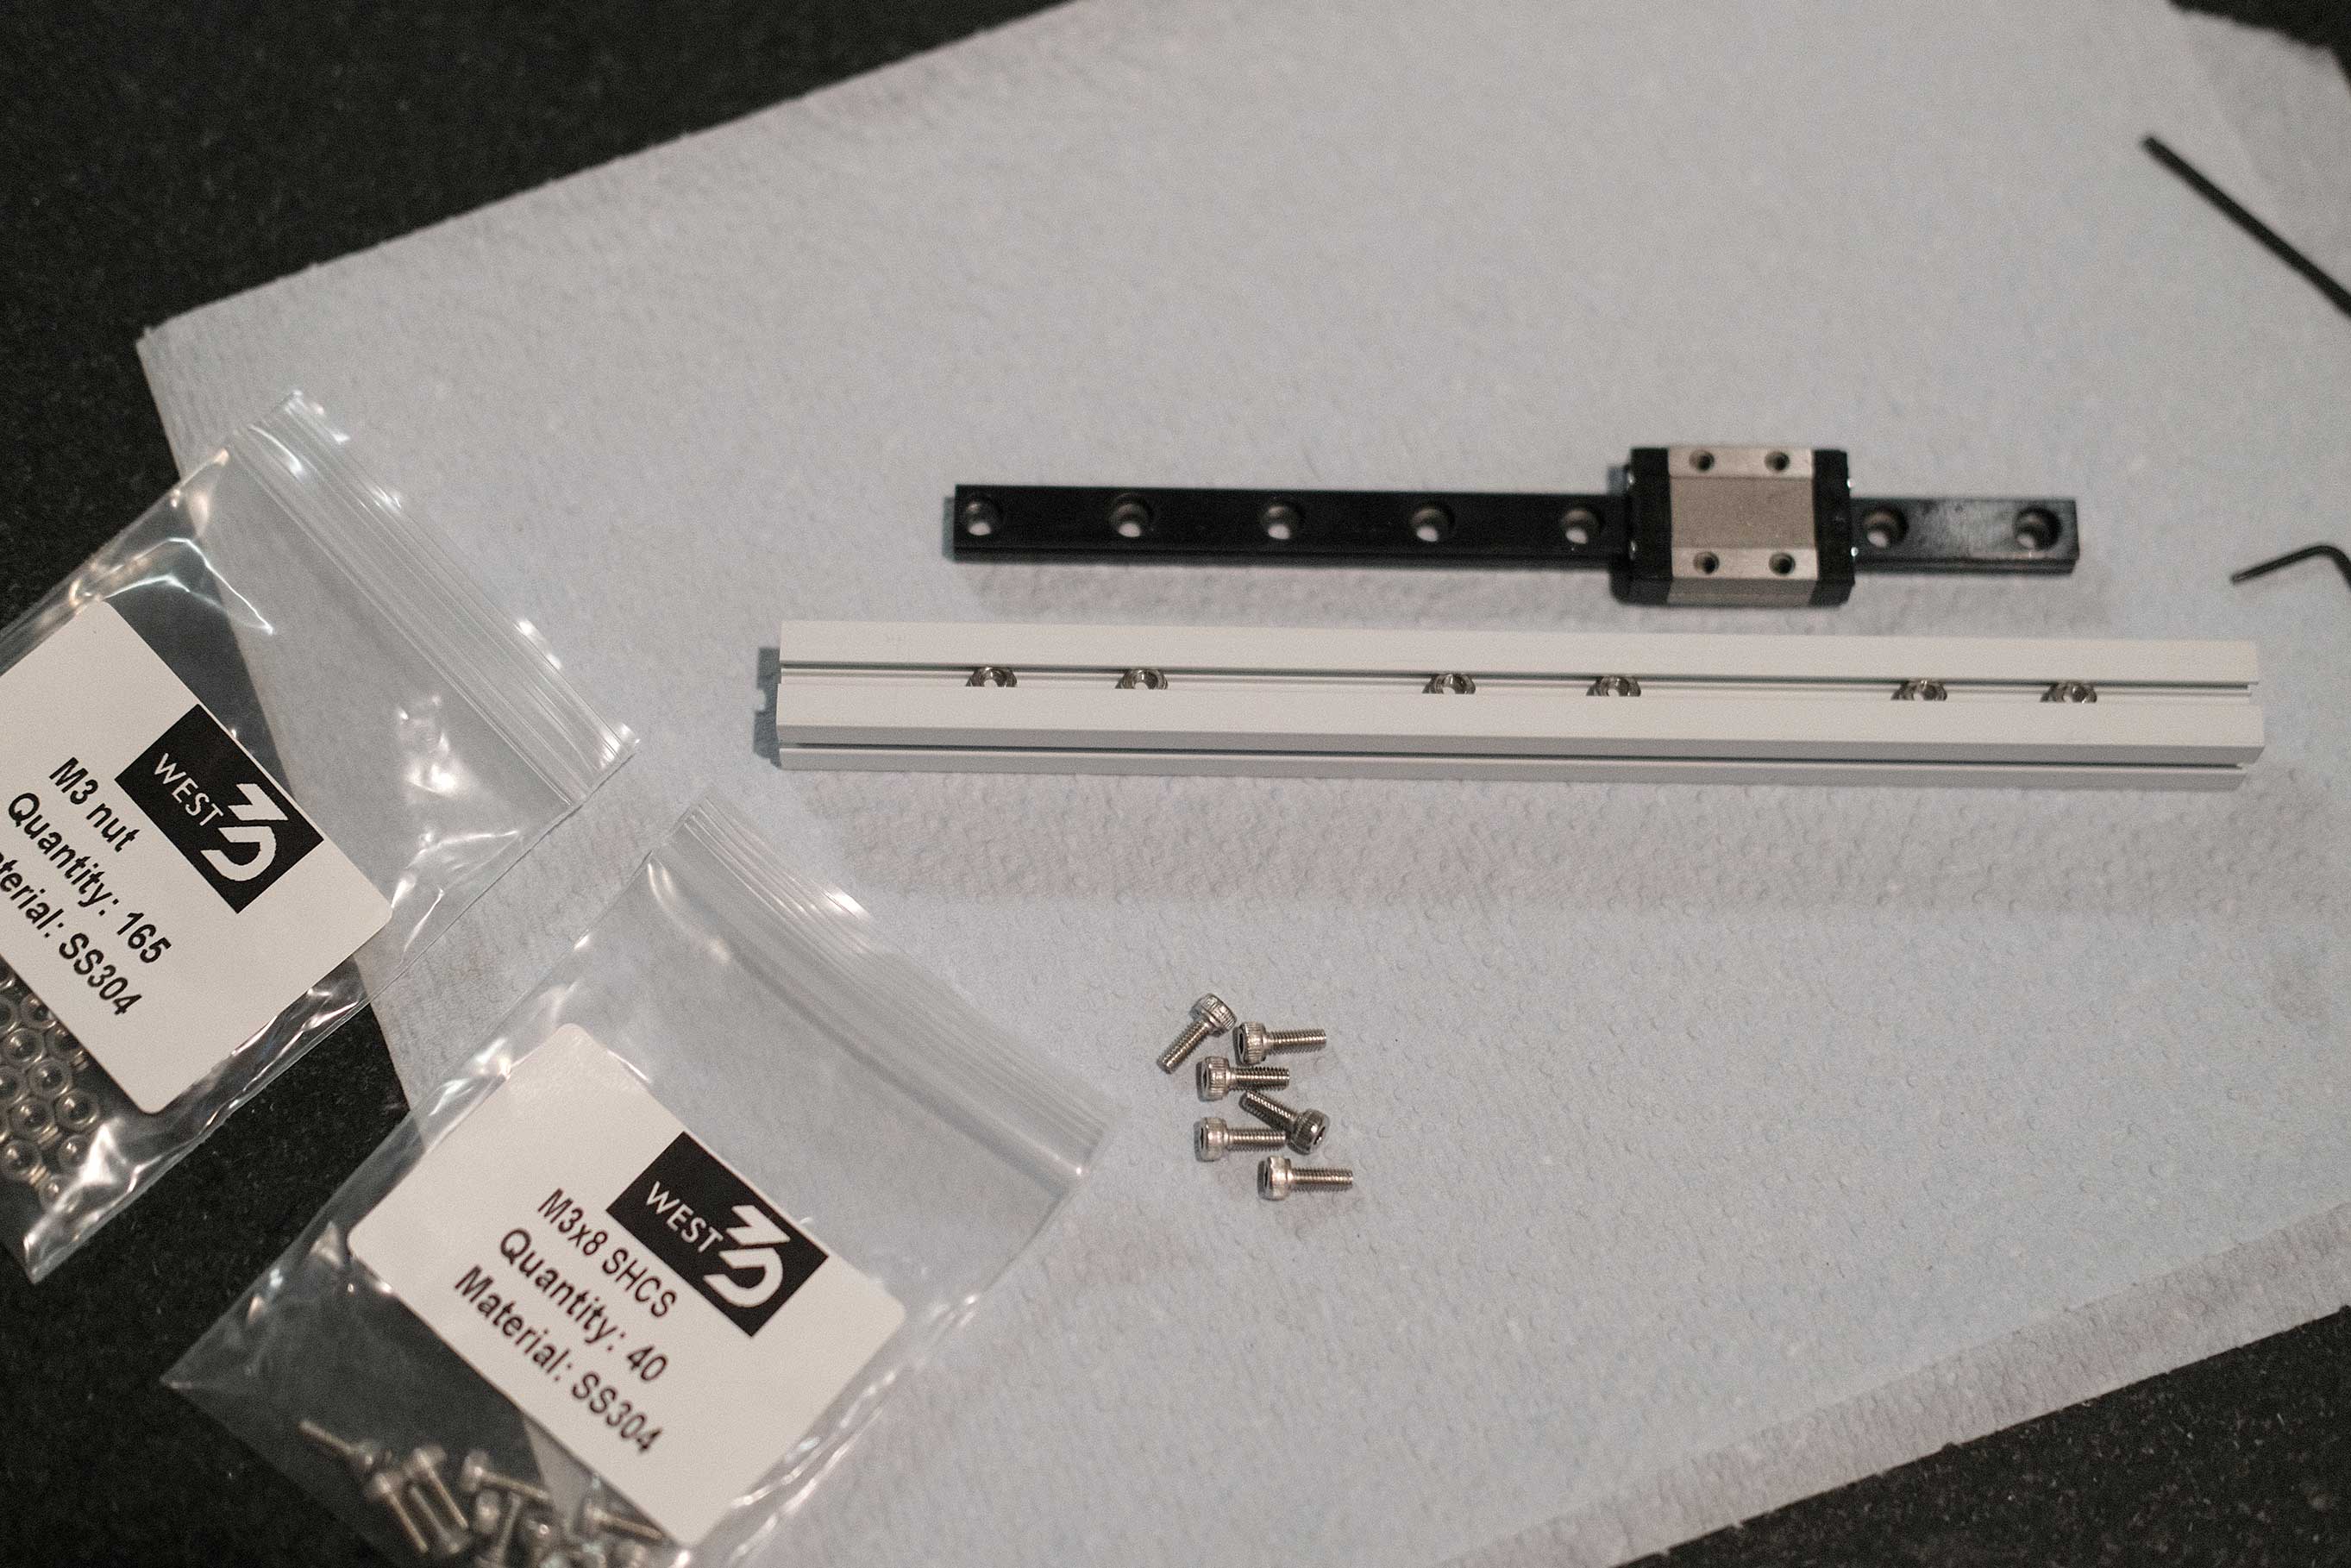
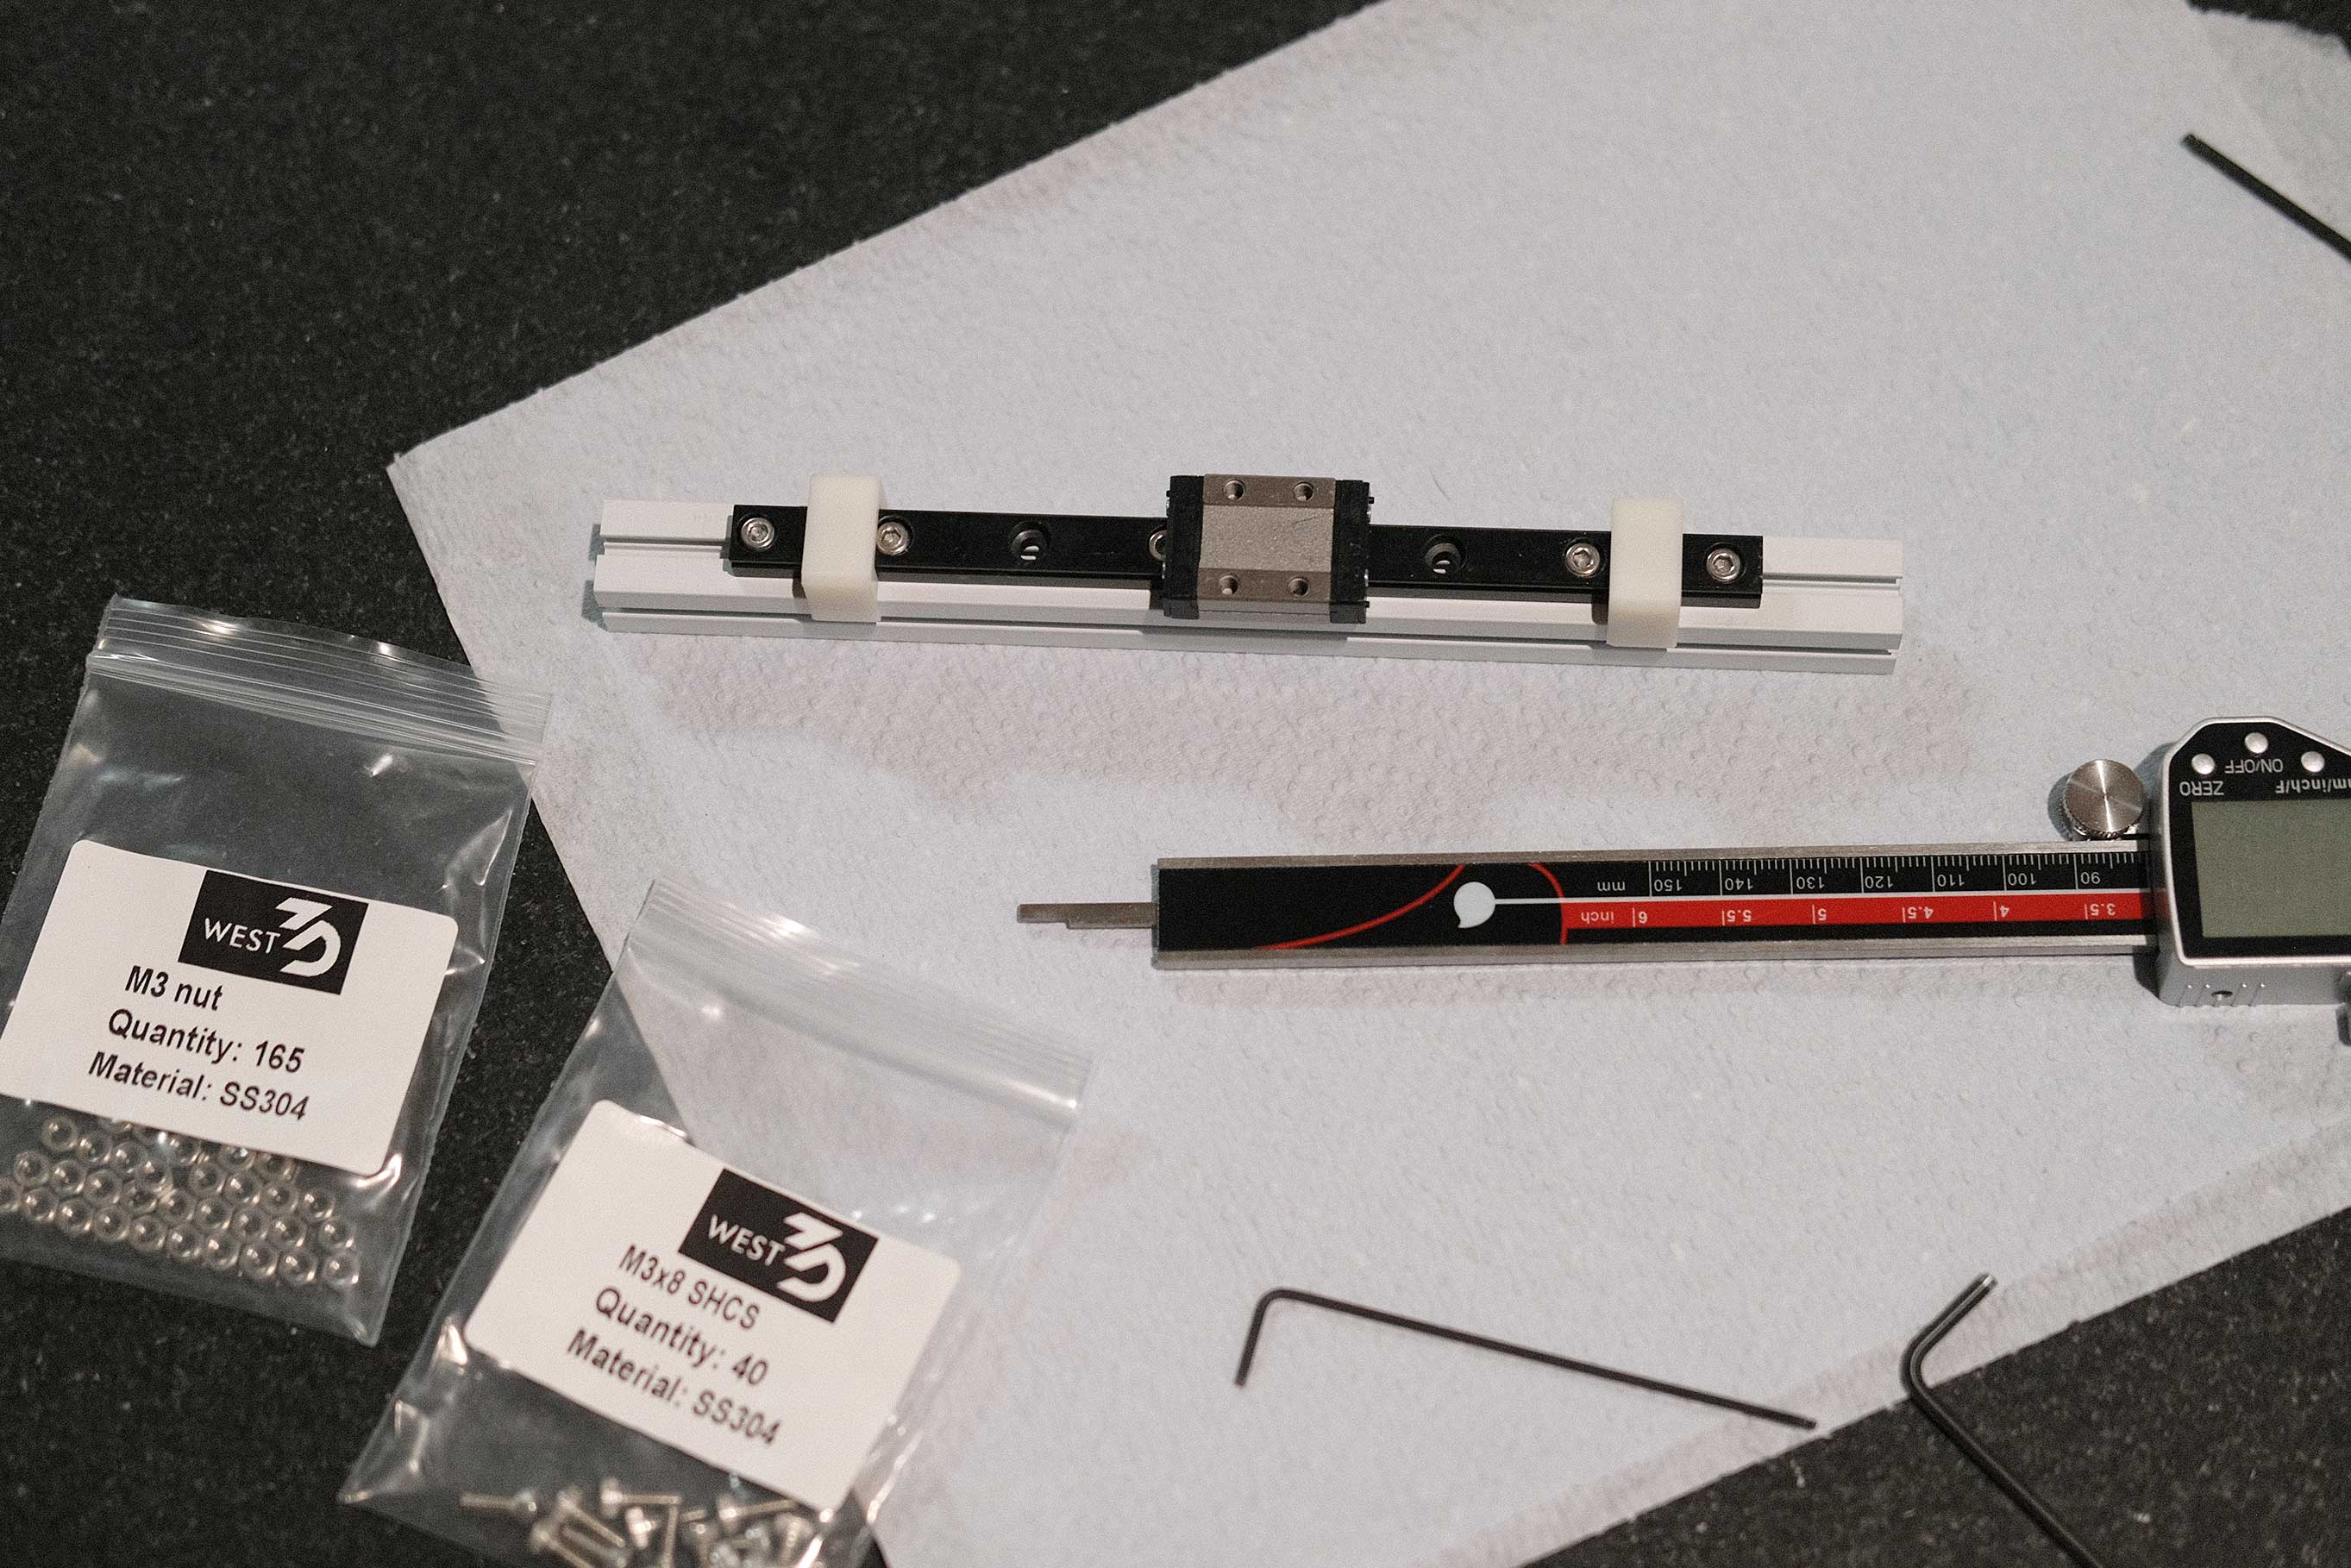
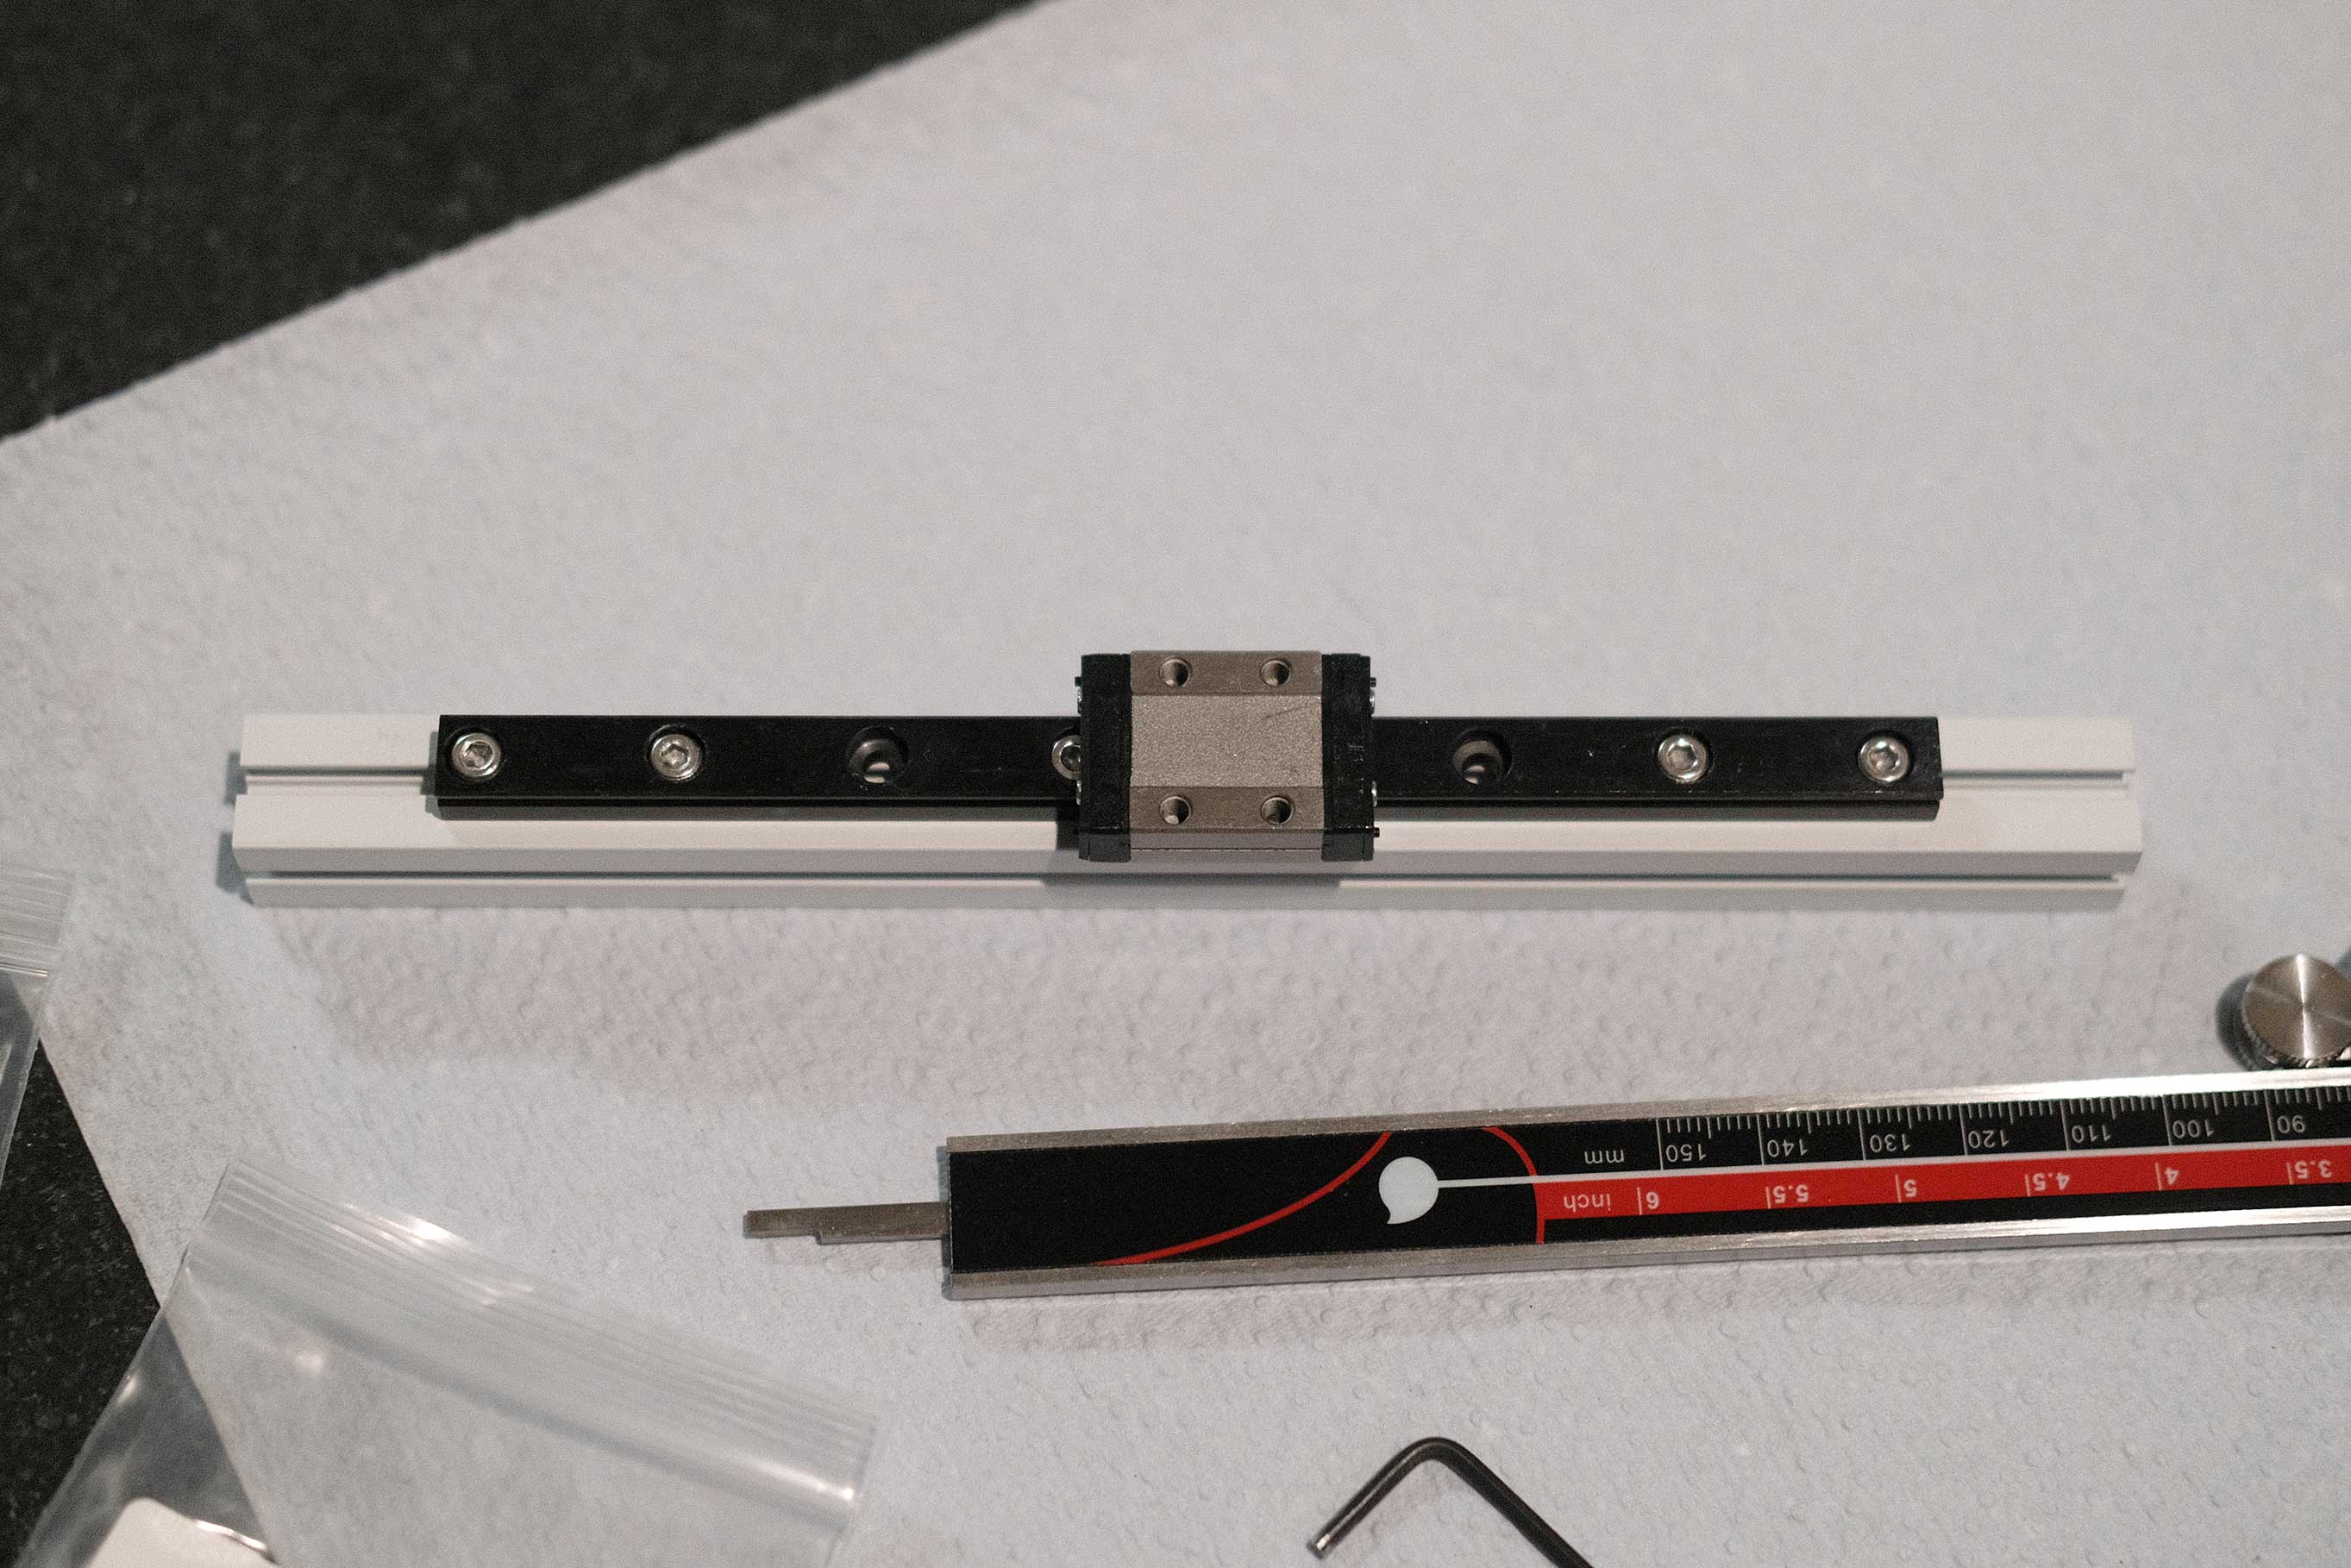
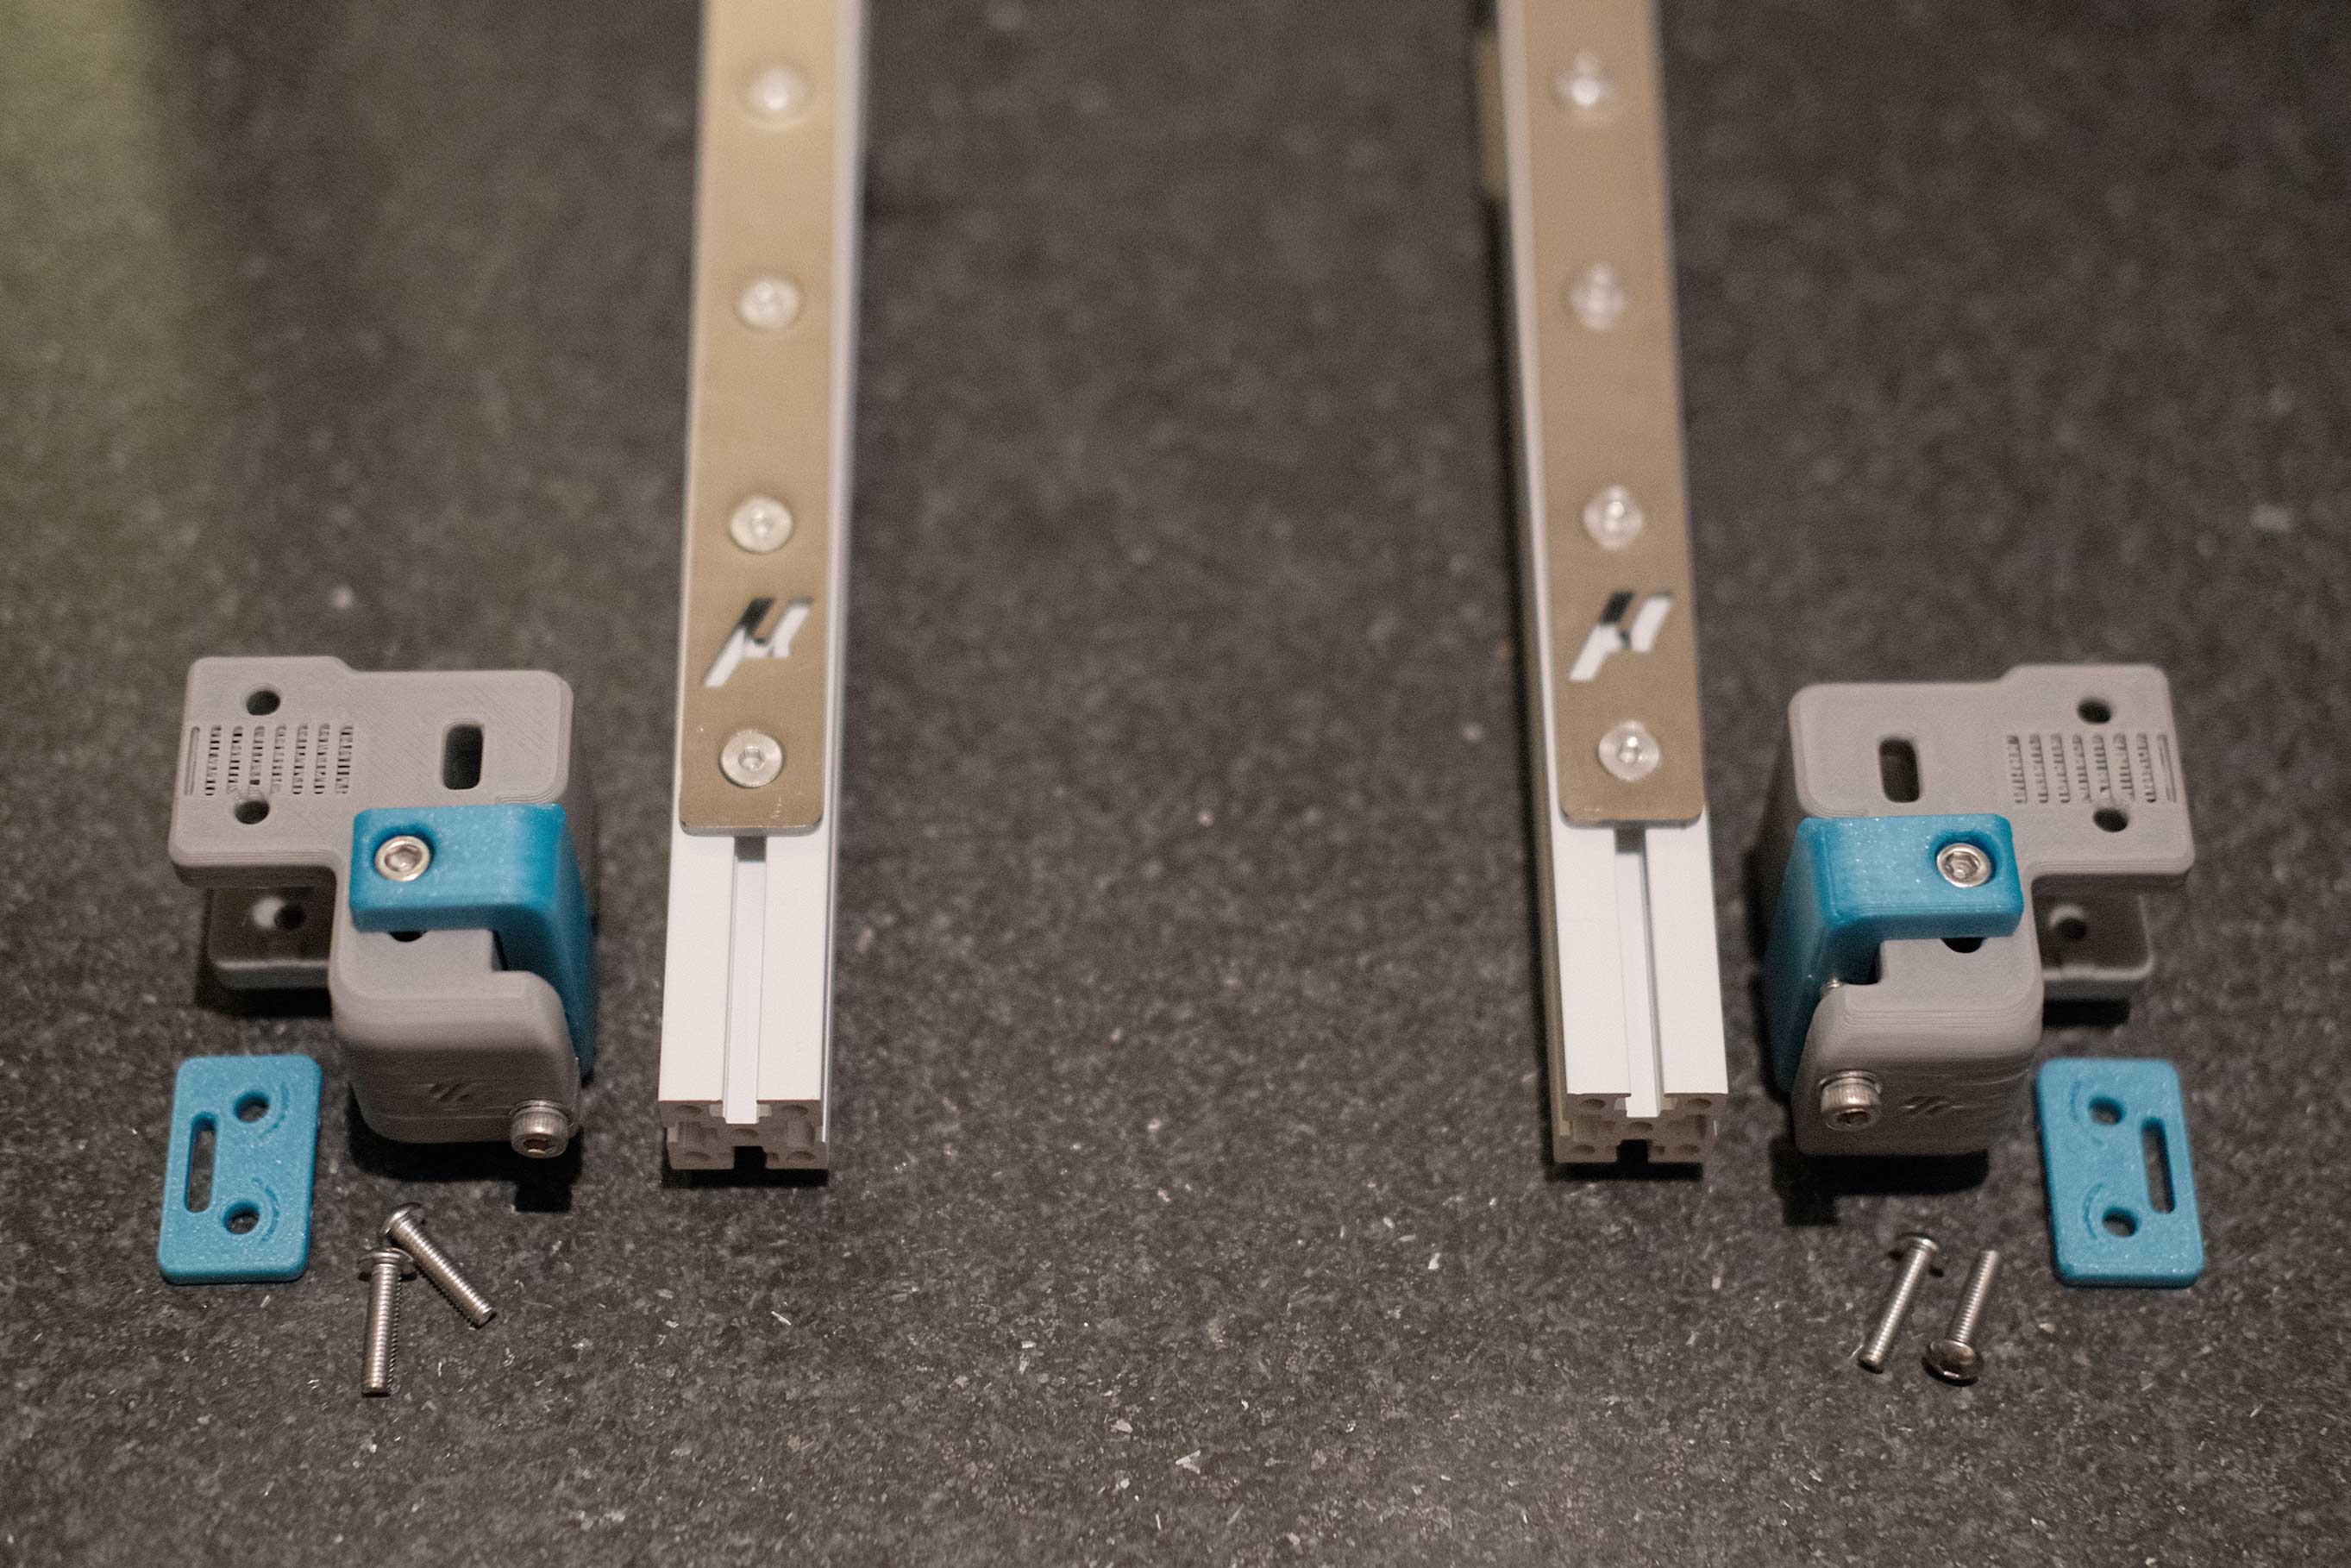
 Place the MGN7 Linear Rail
 Printed Jig for Spacing
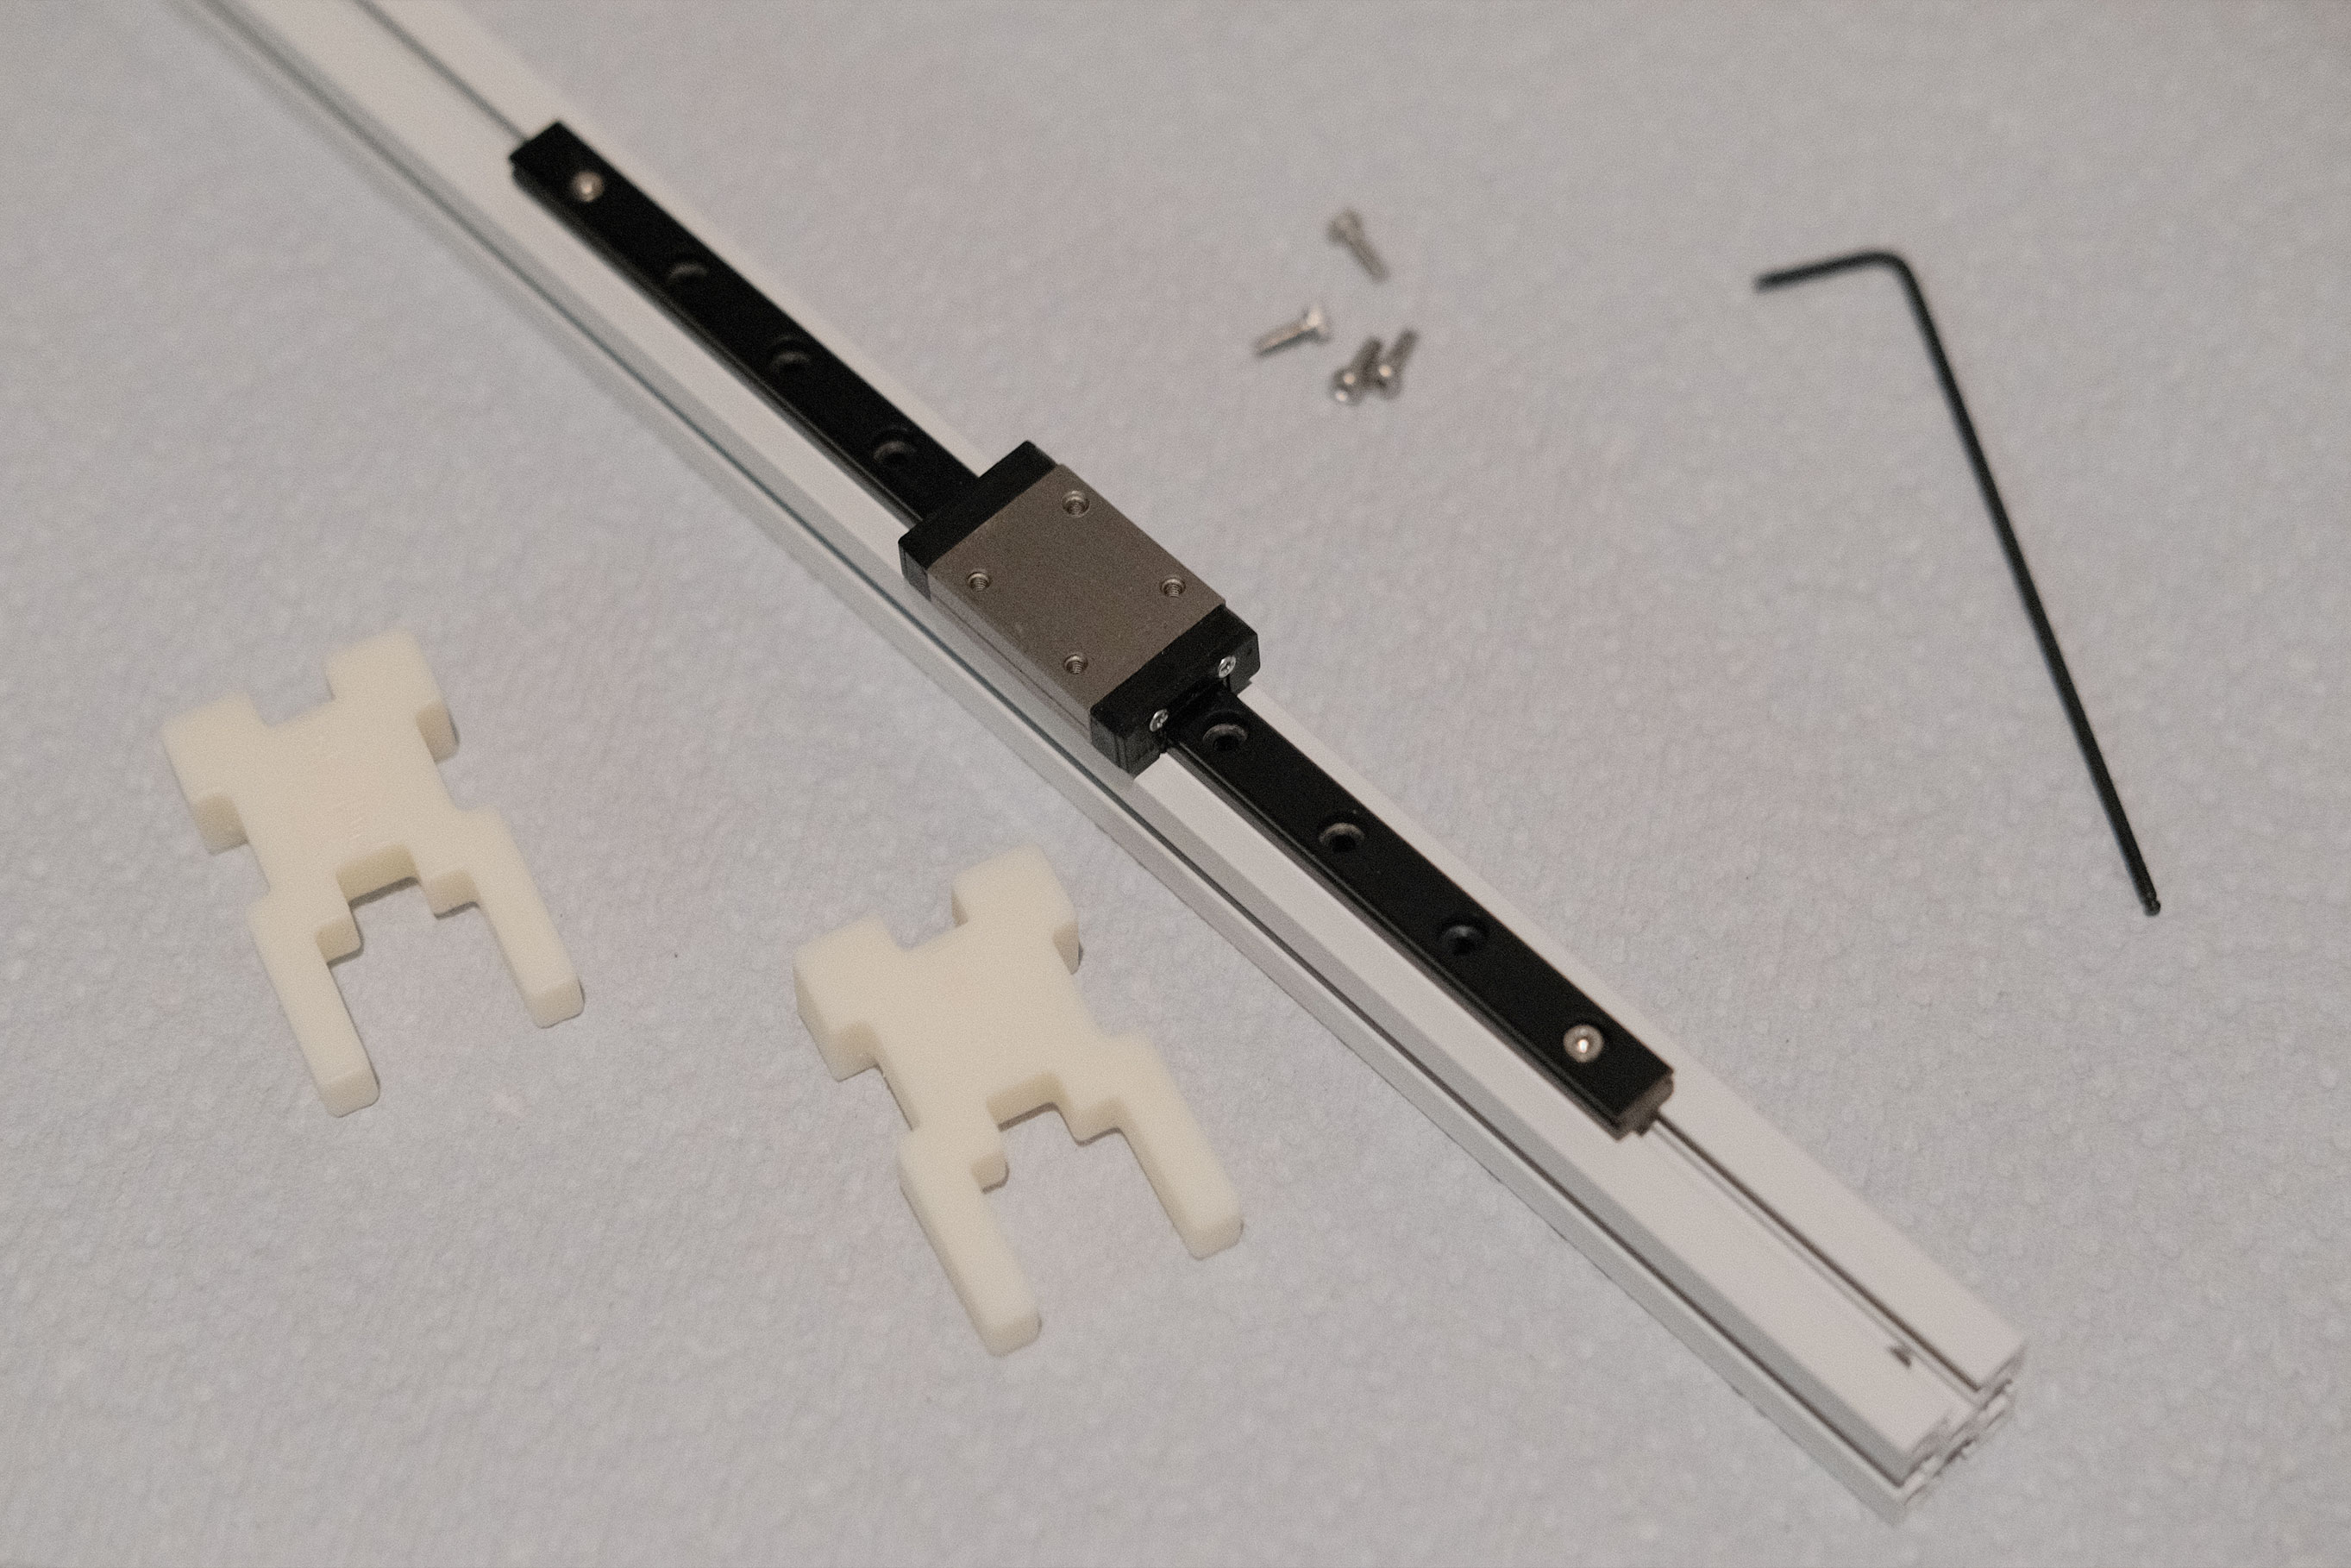
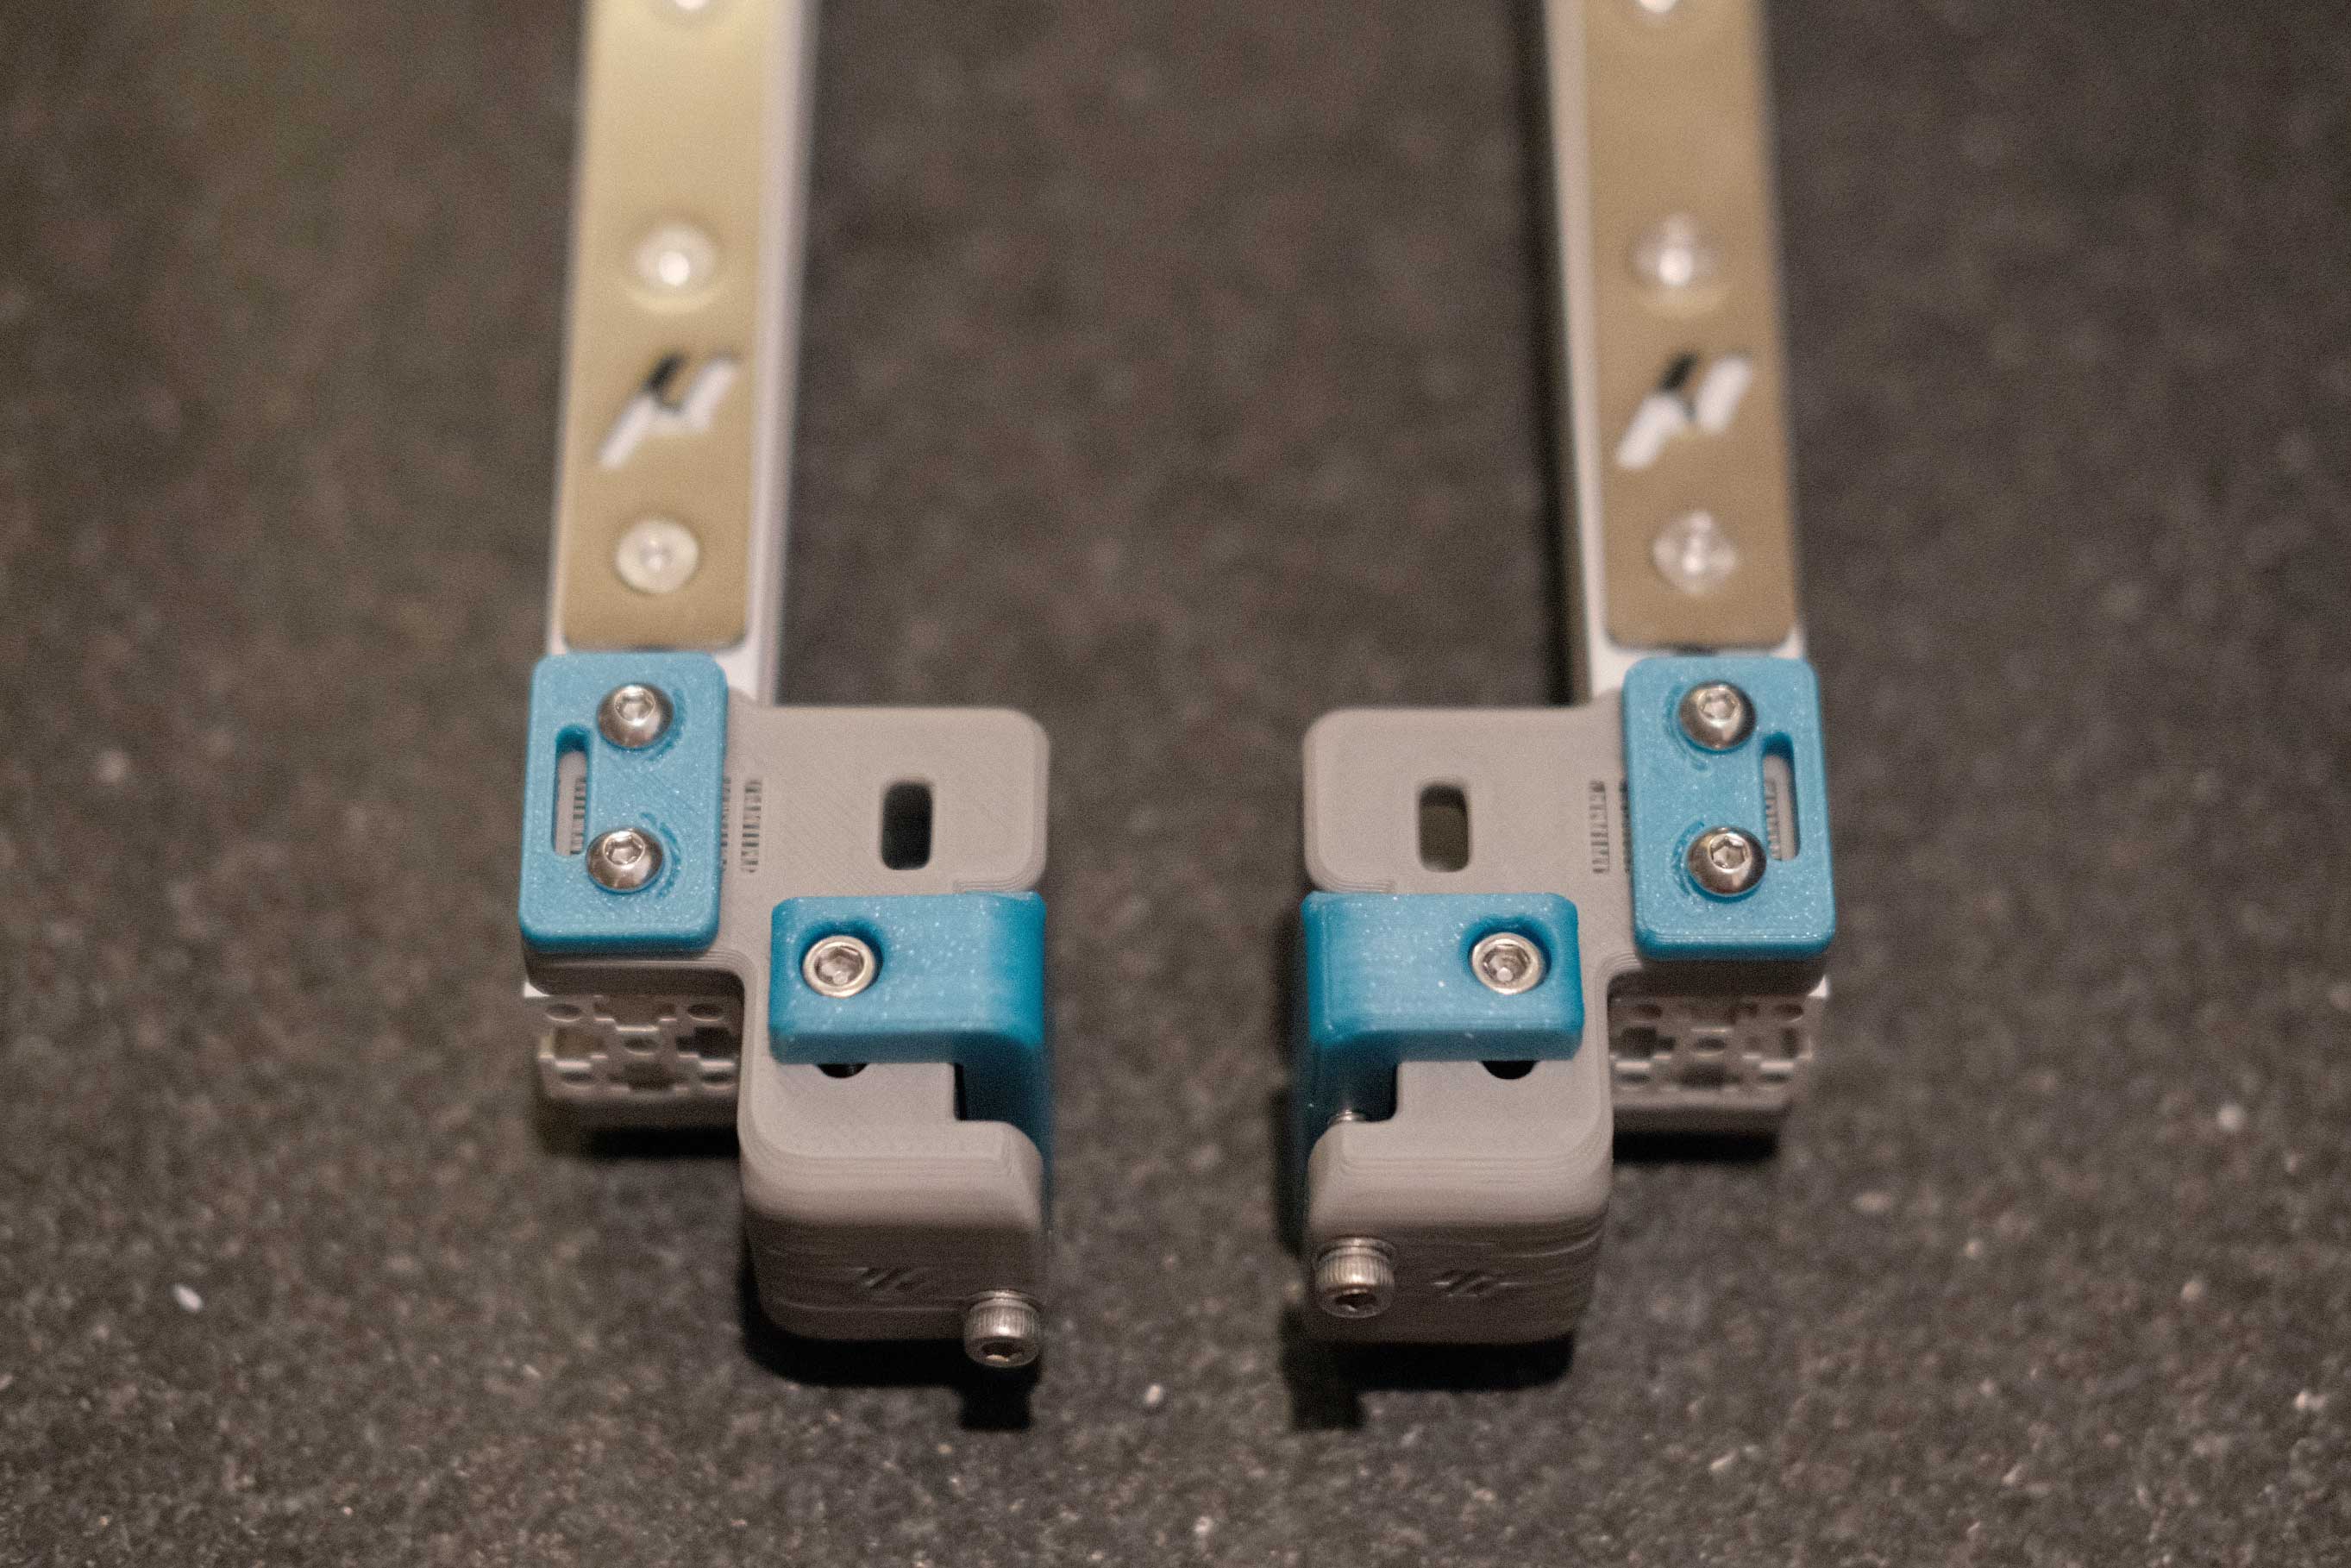
 Add the Remaining Screws
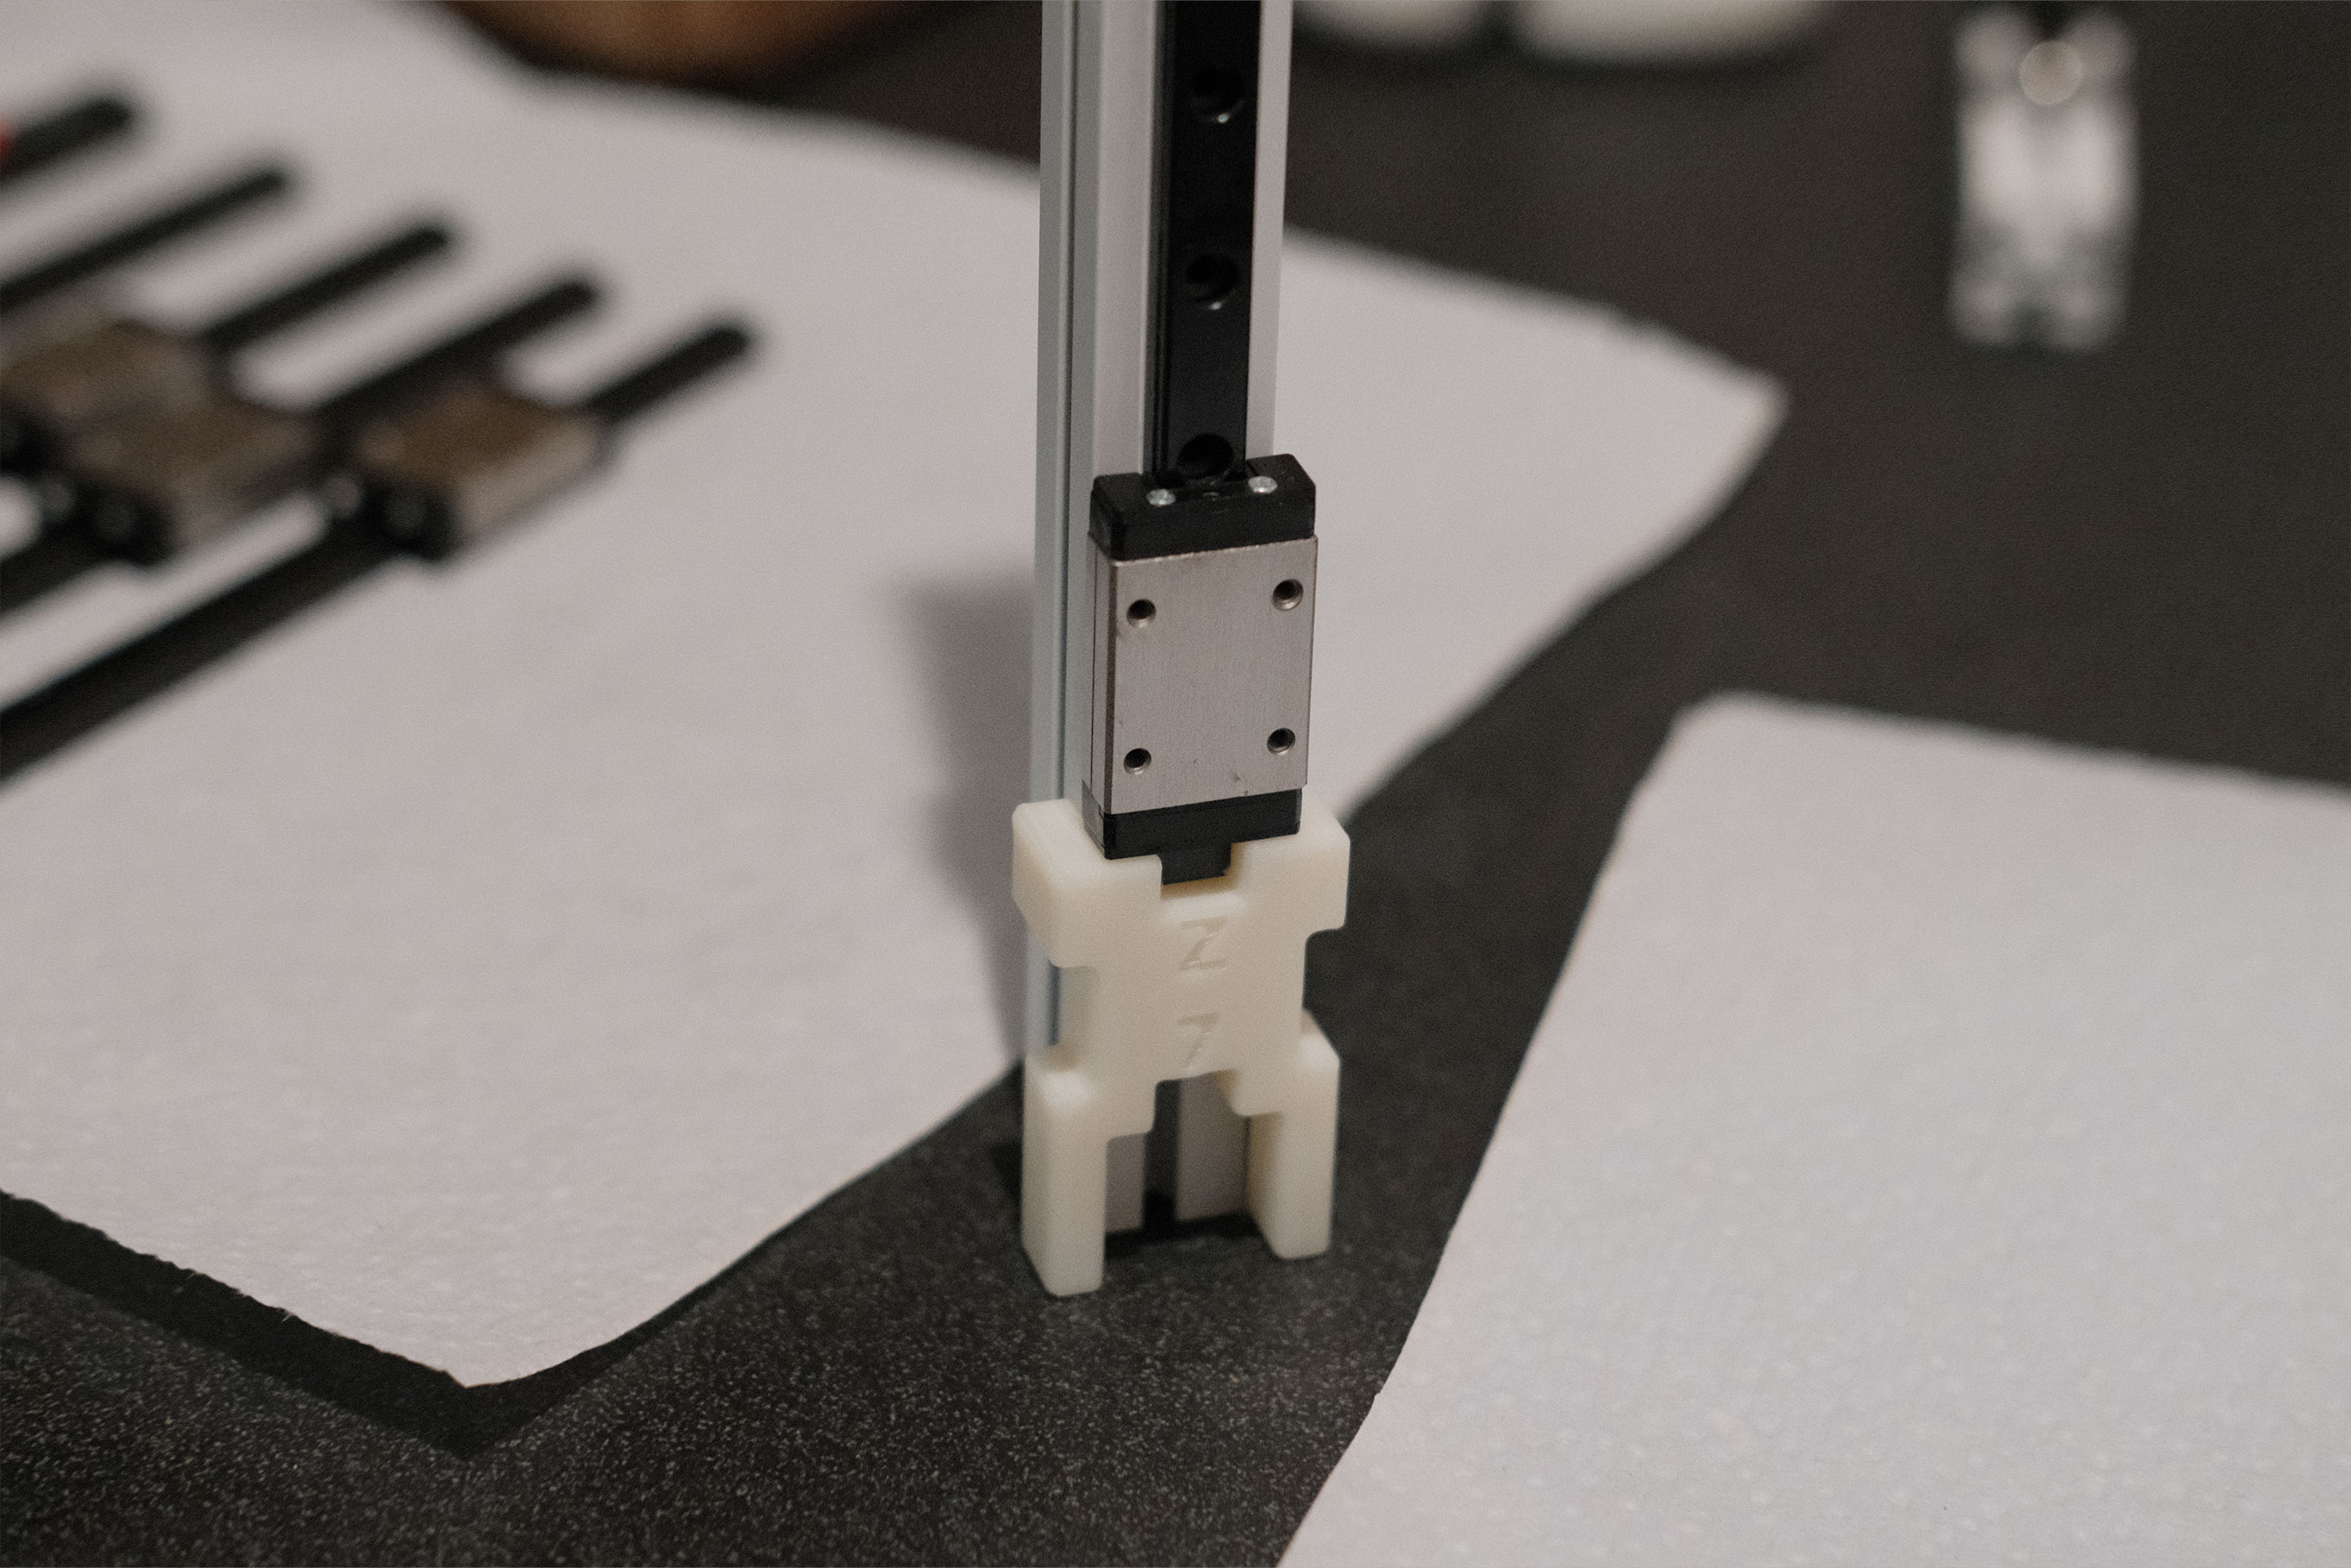
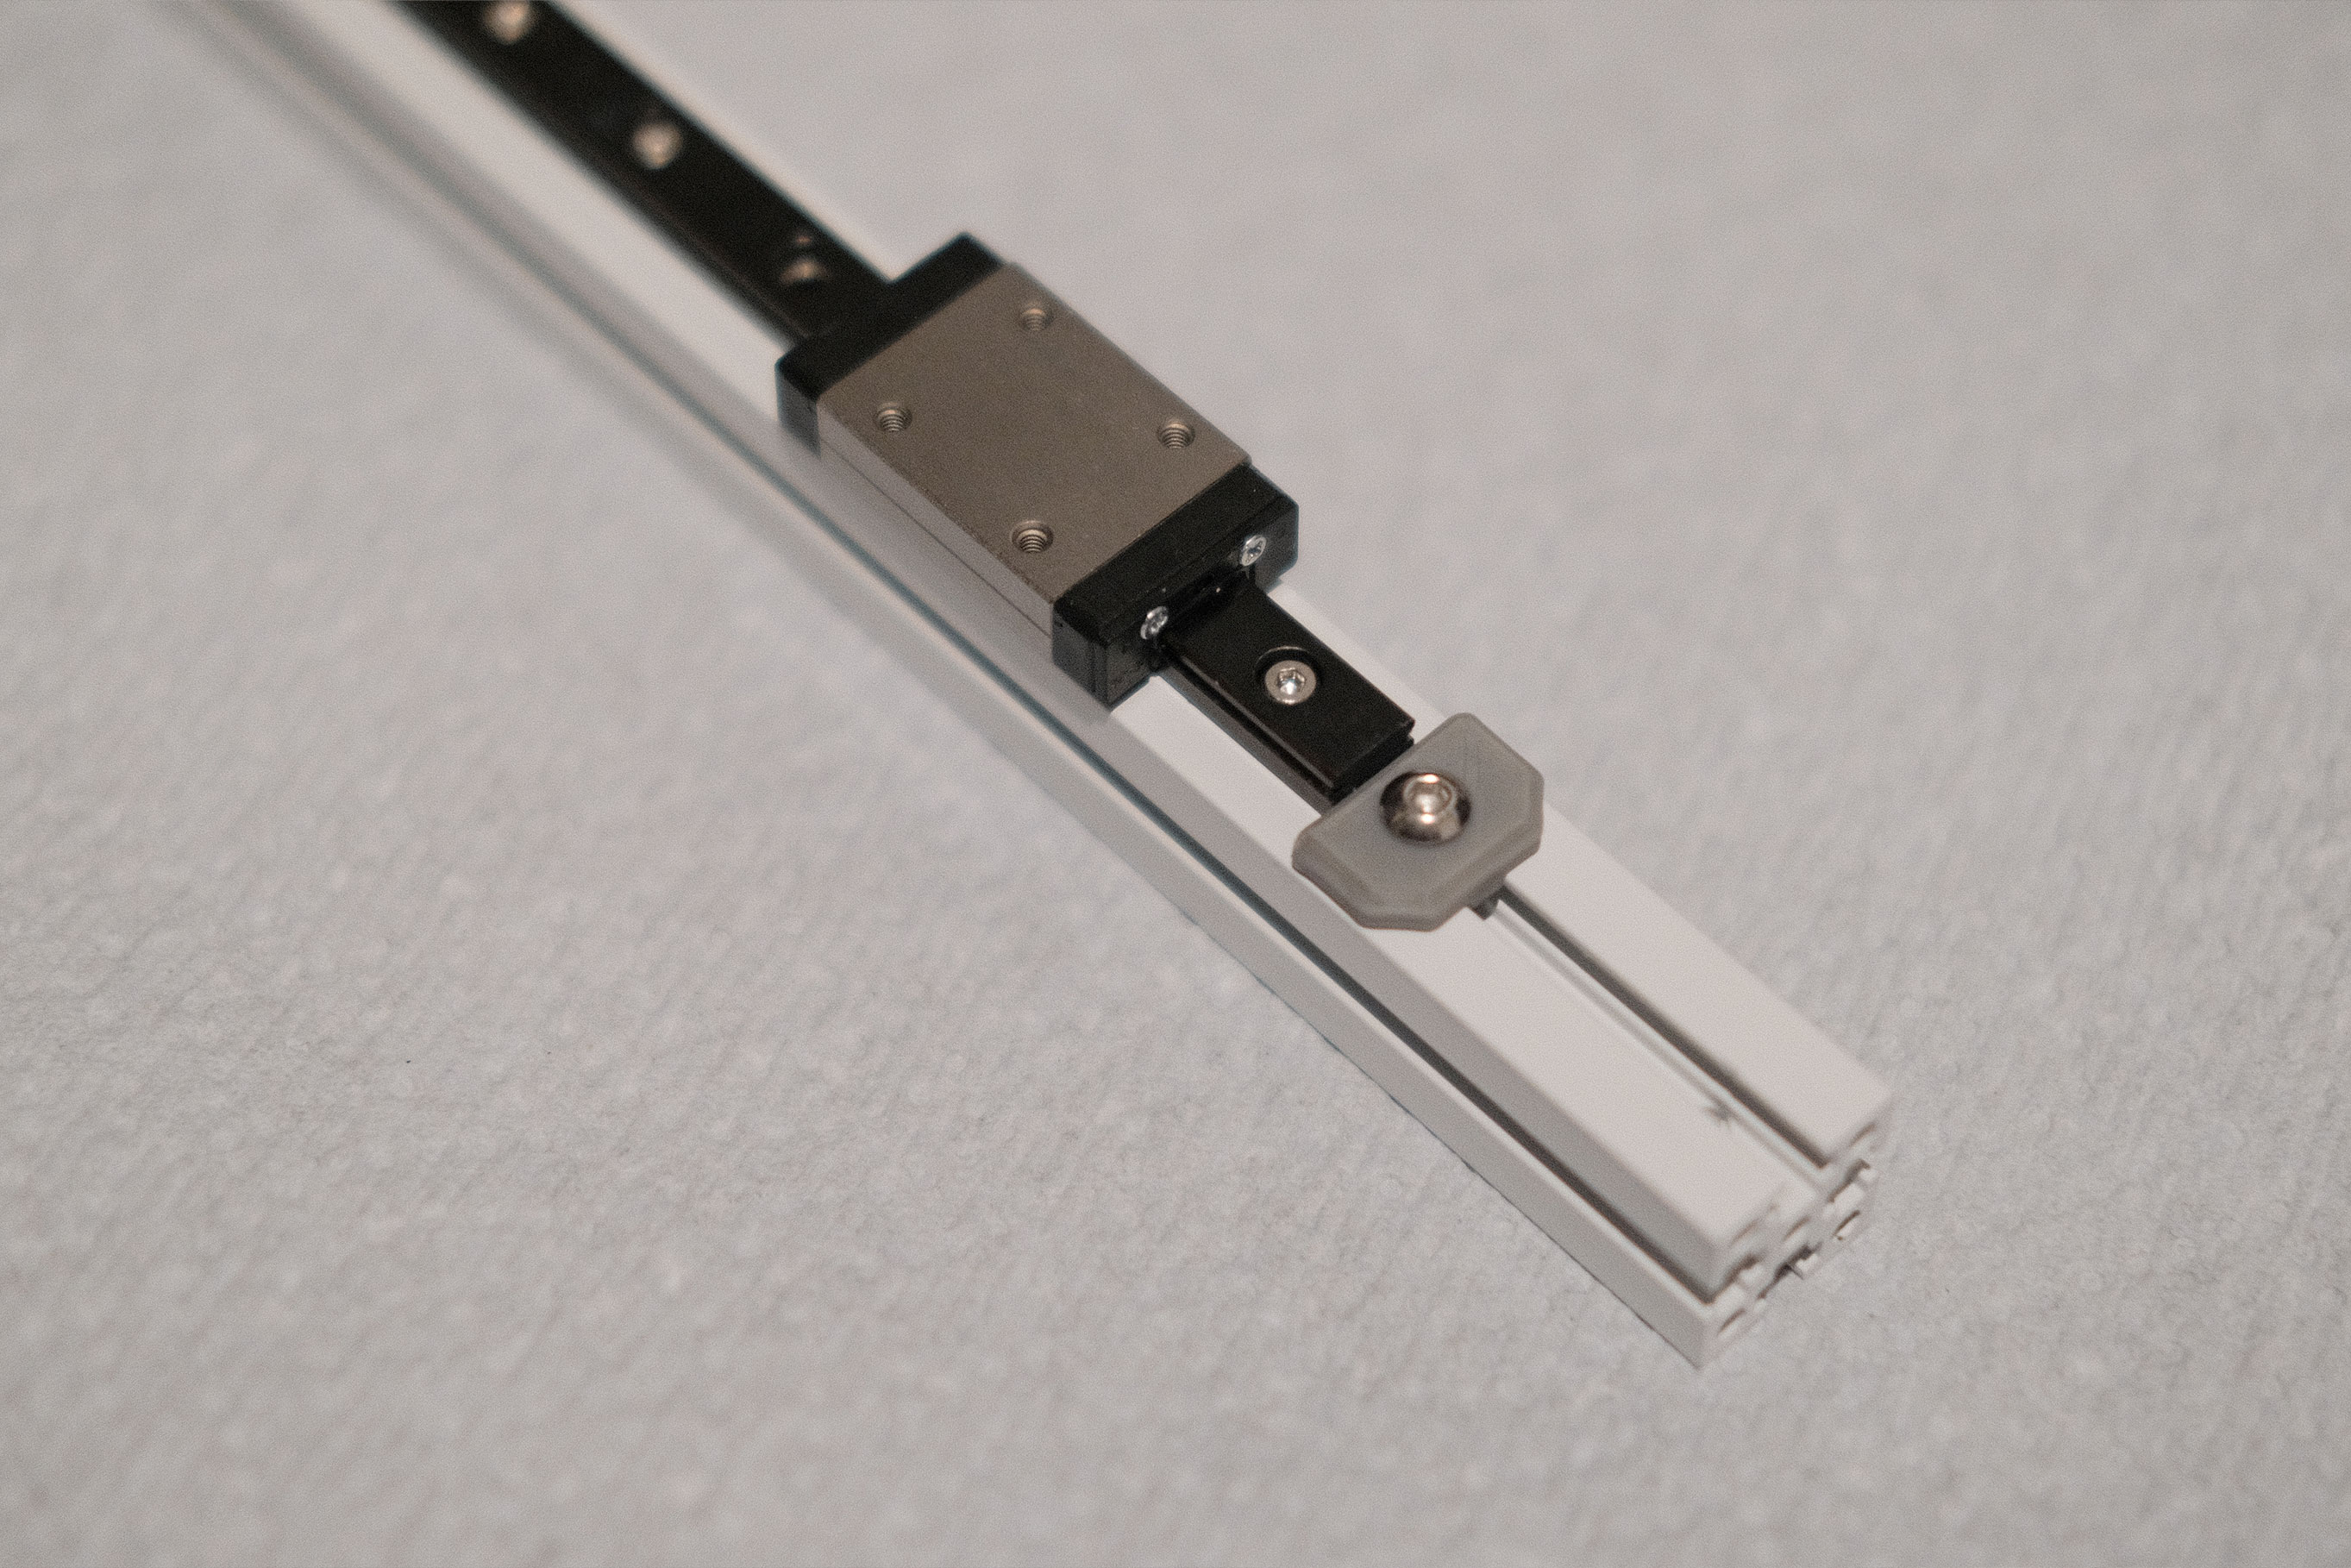 Add the Rail Stops
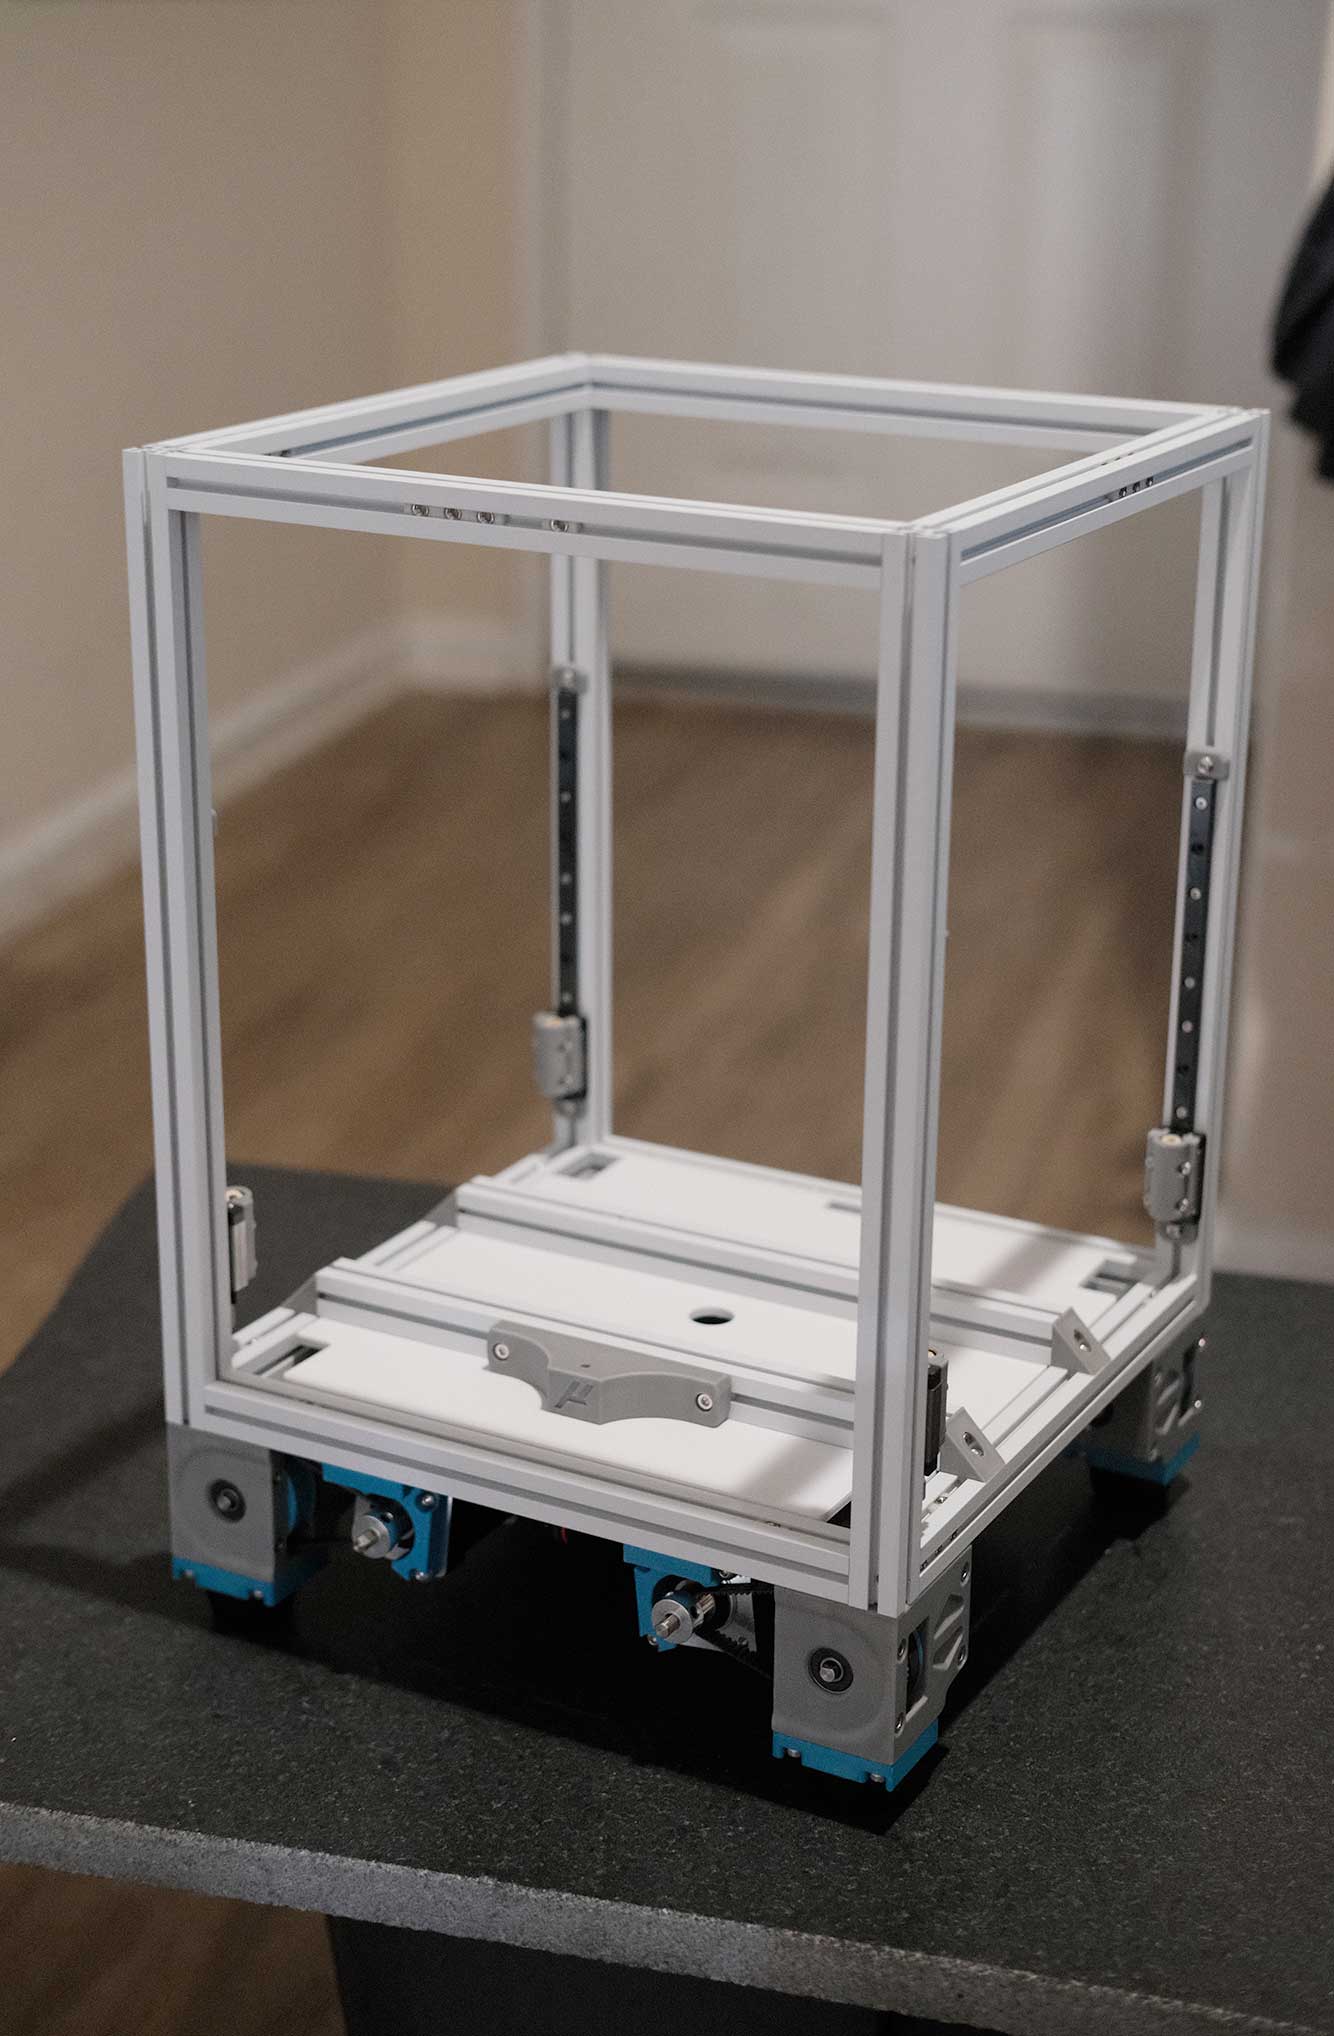
Frame
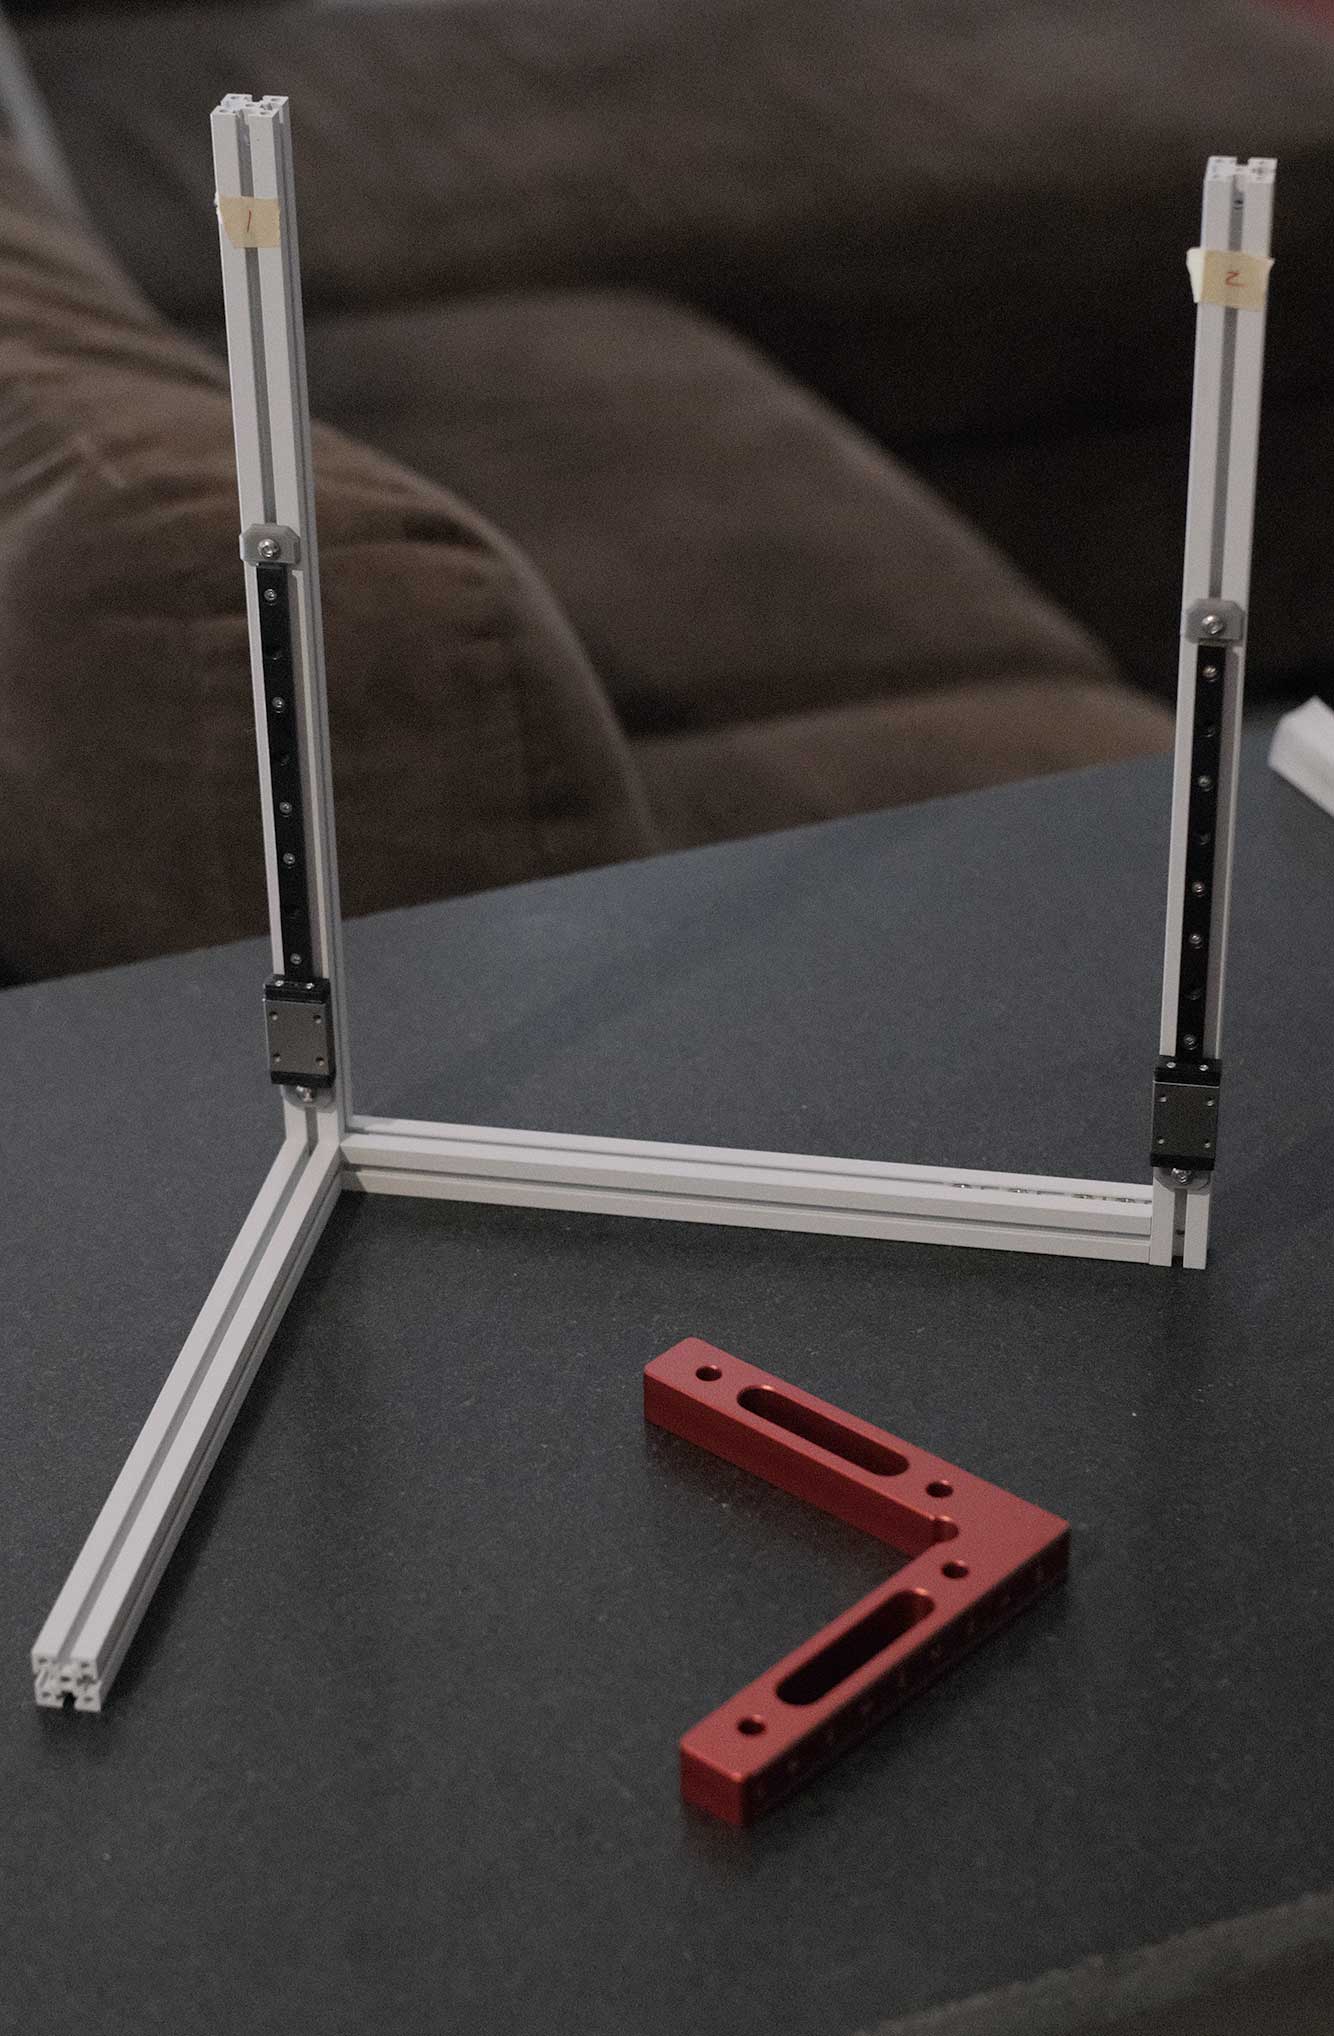
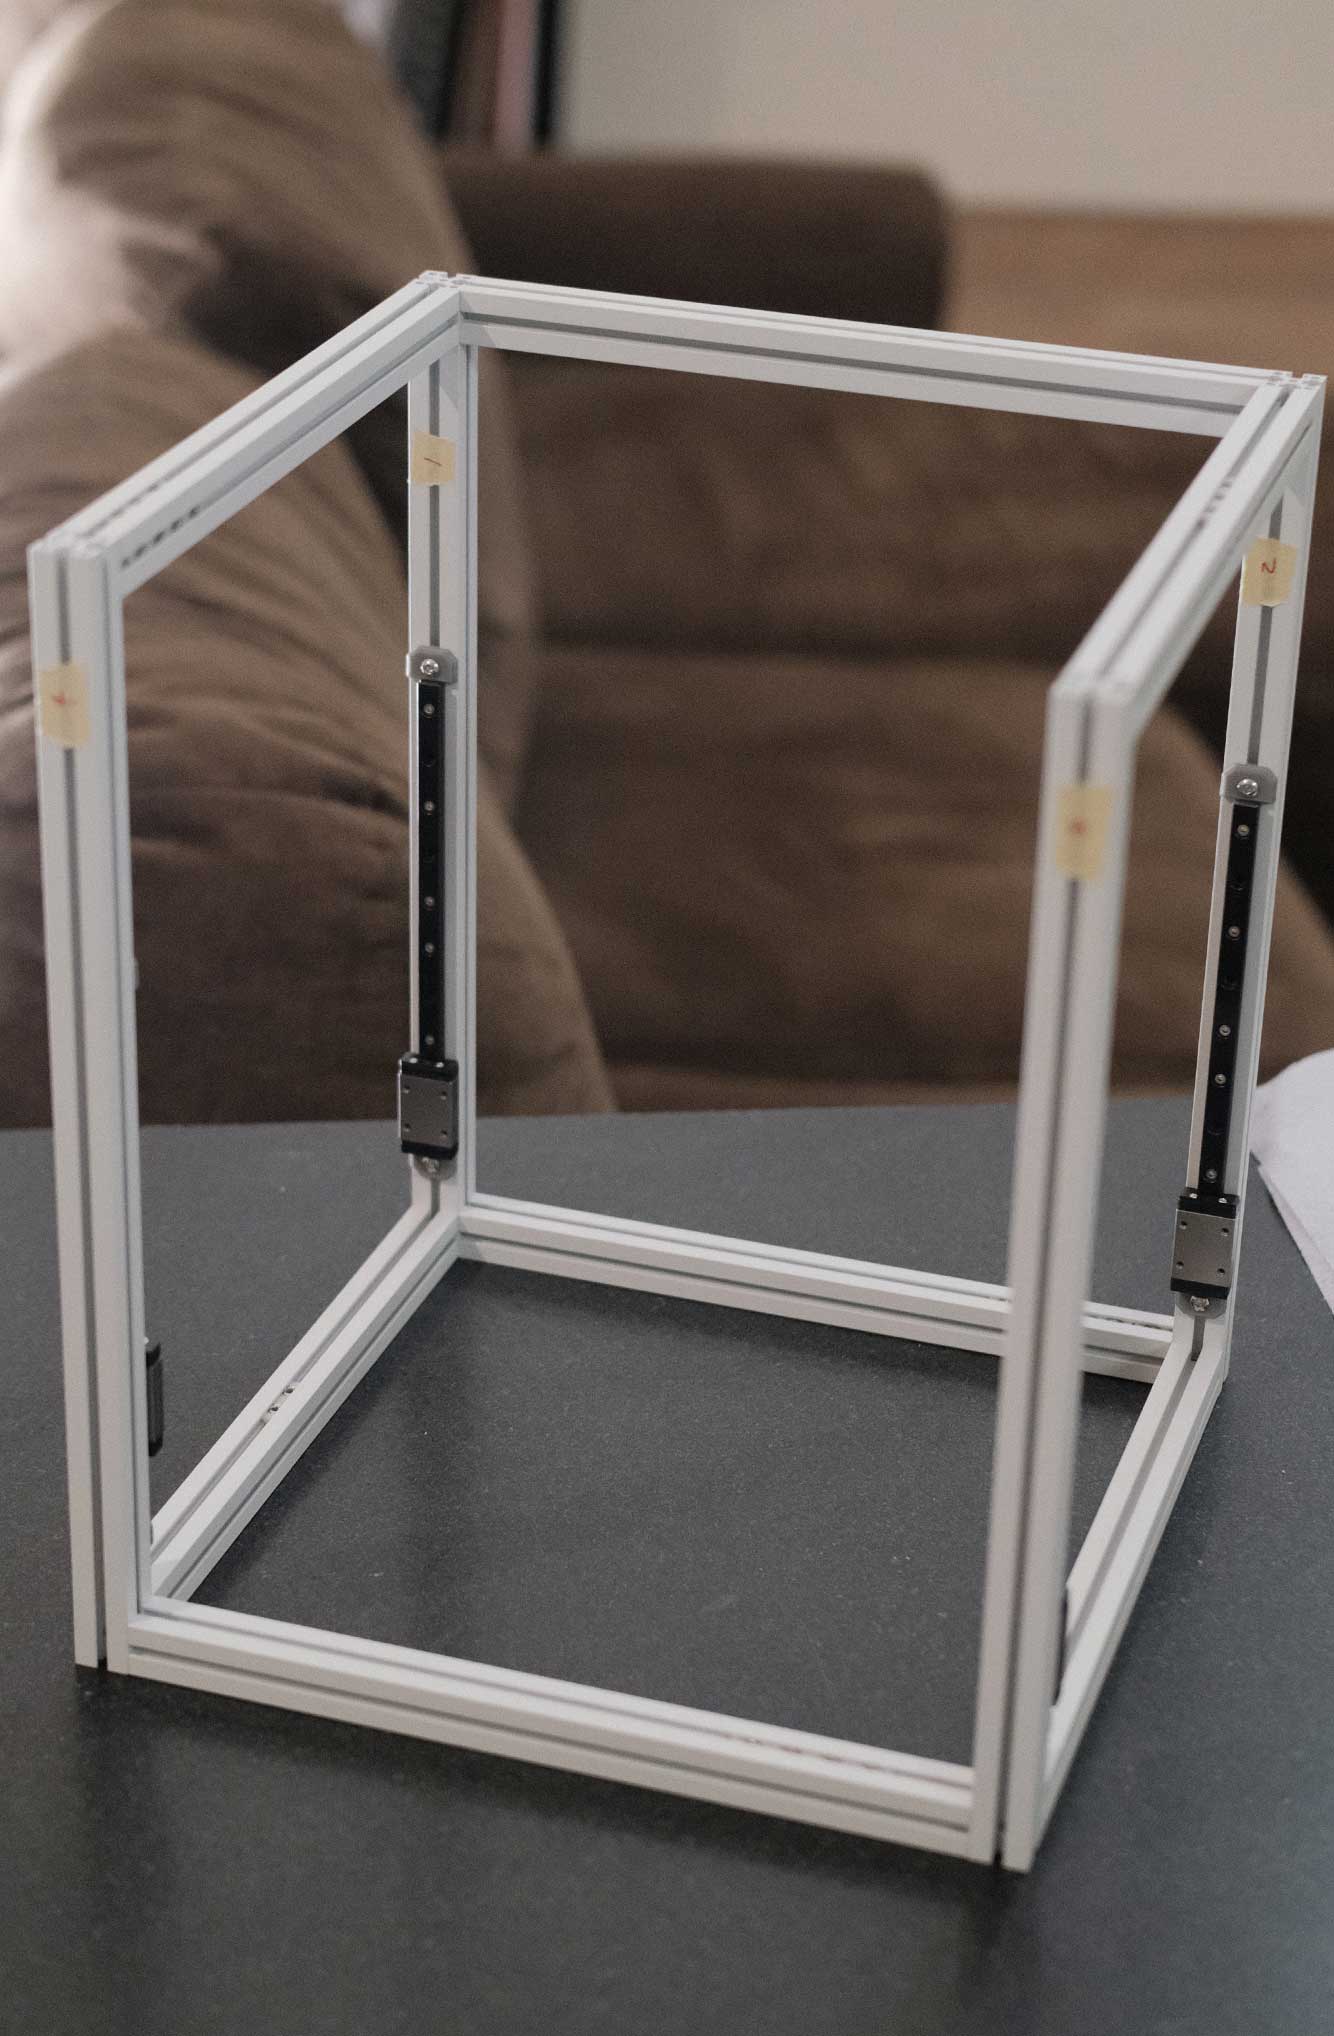
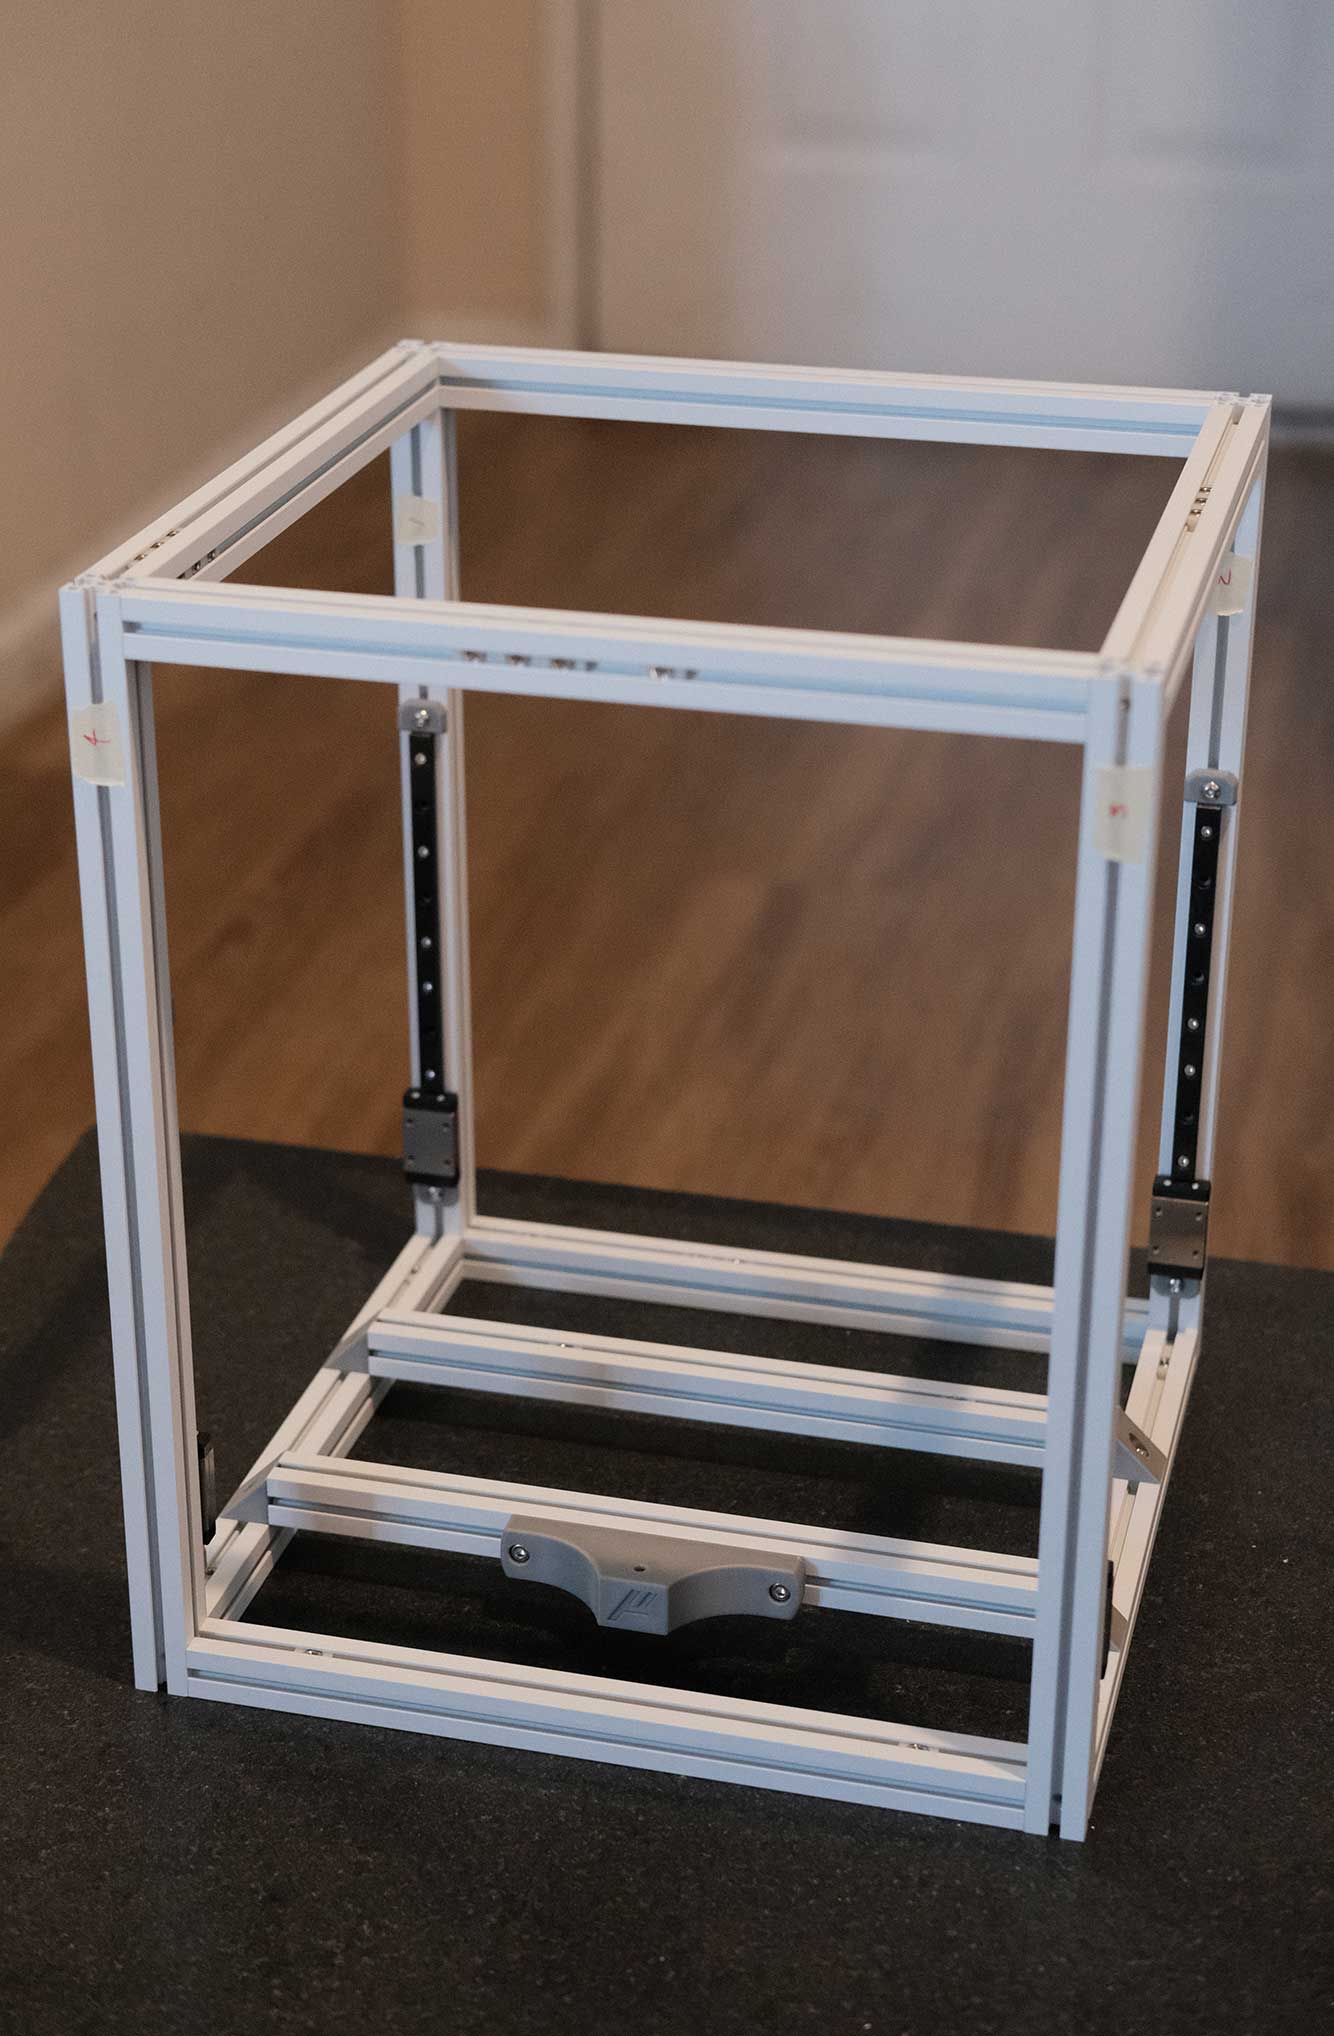
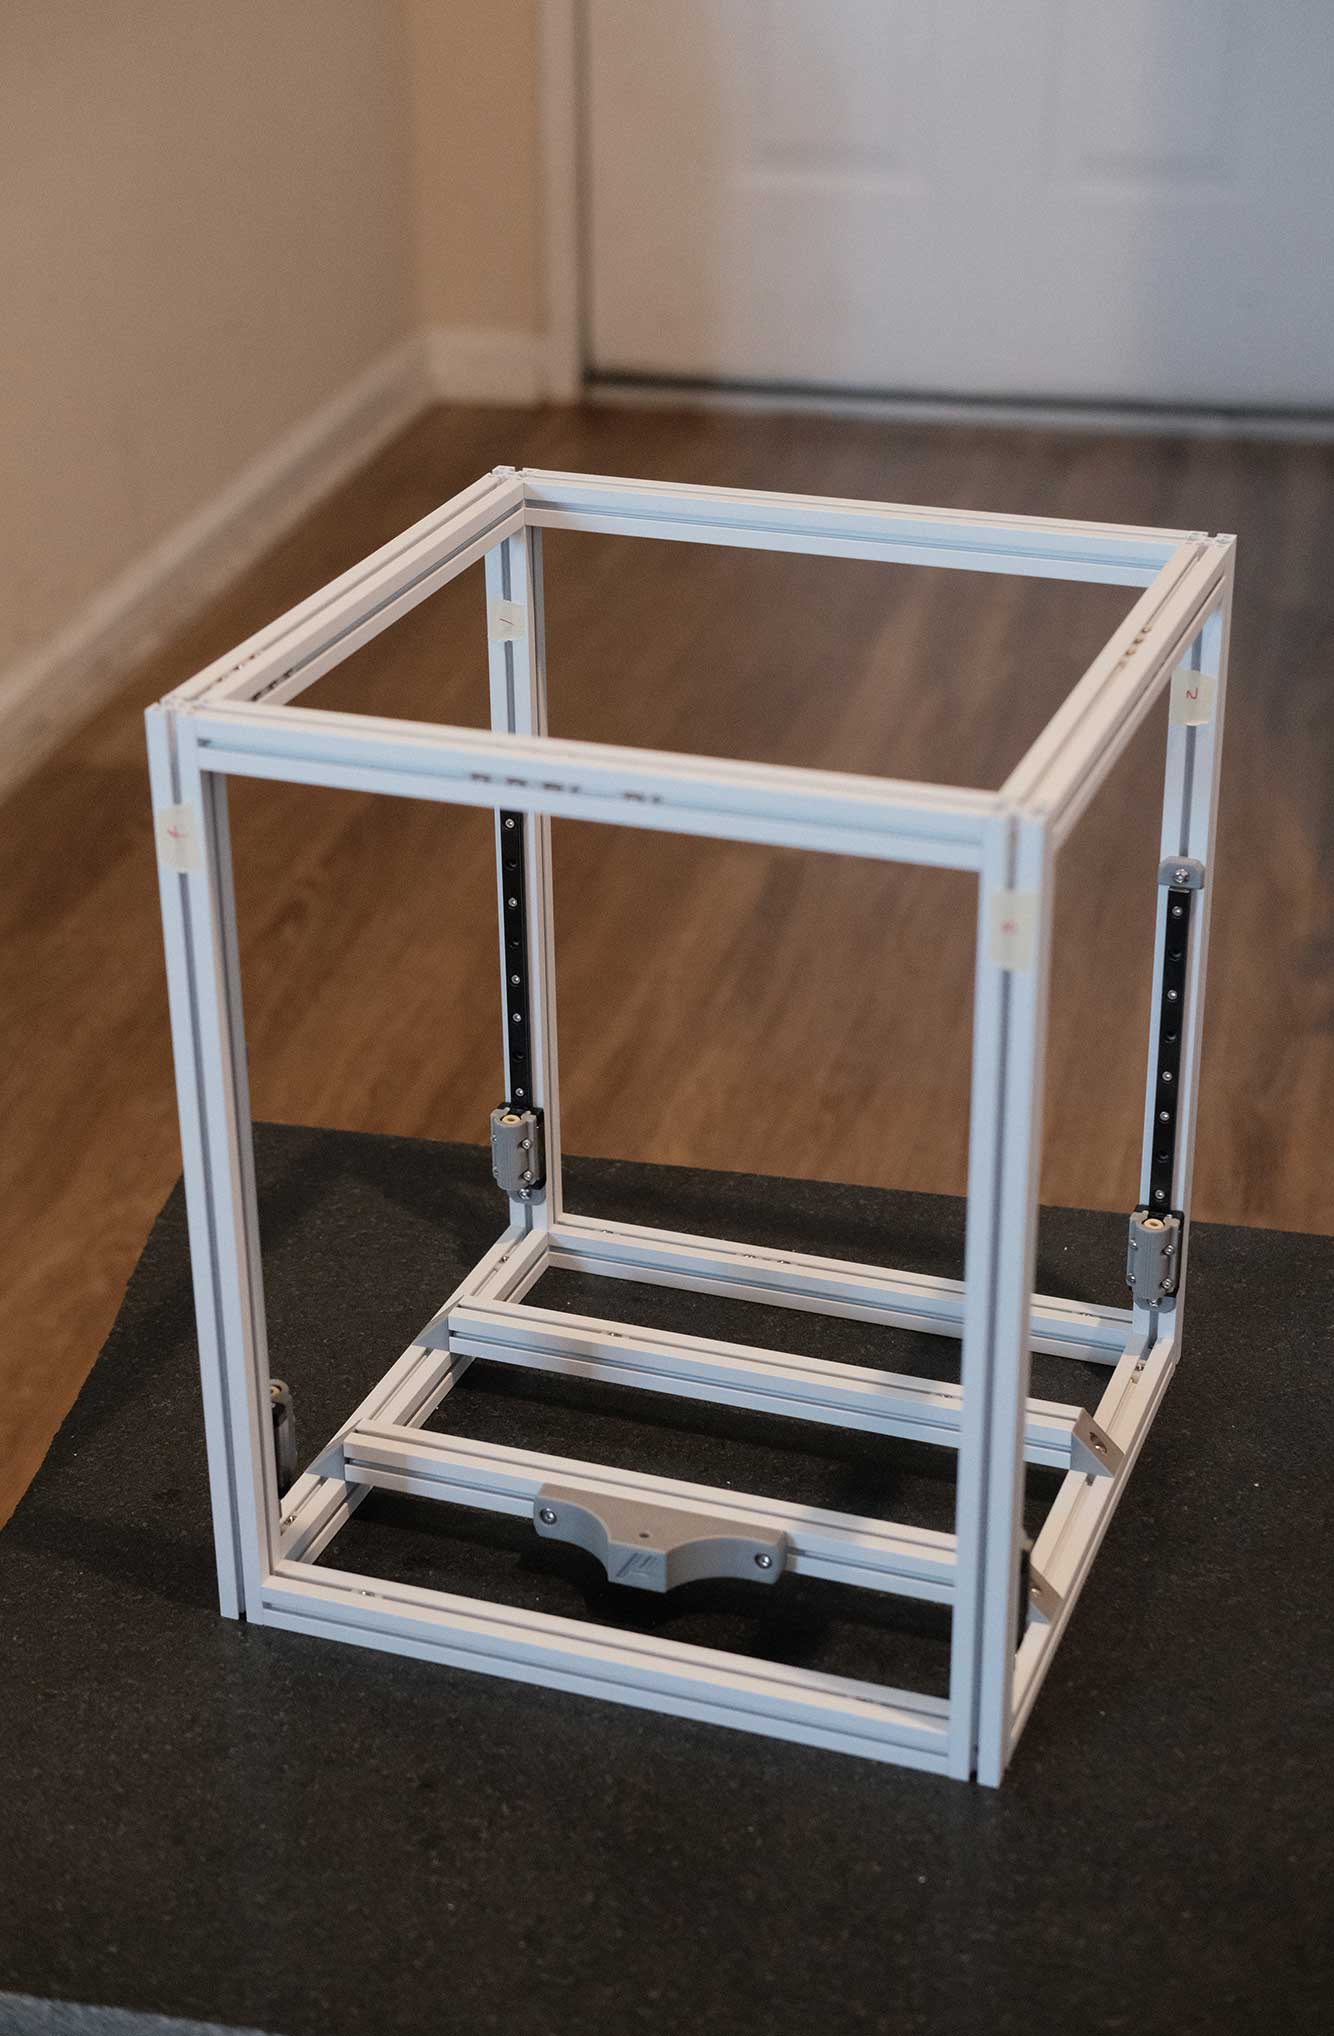
 Frame Assembly - 1
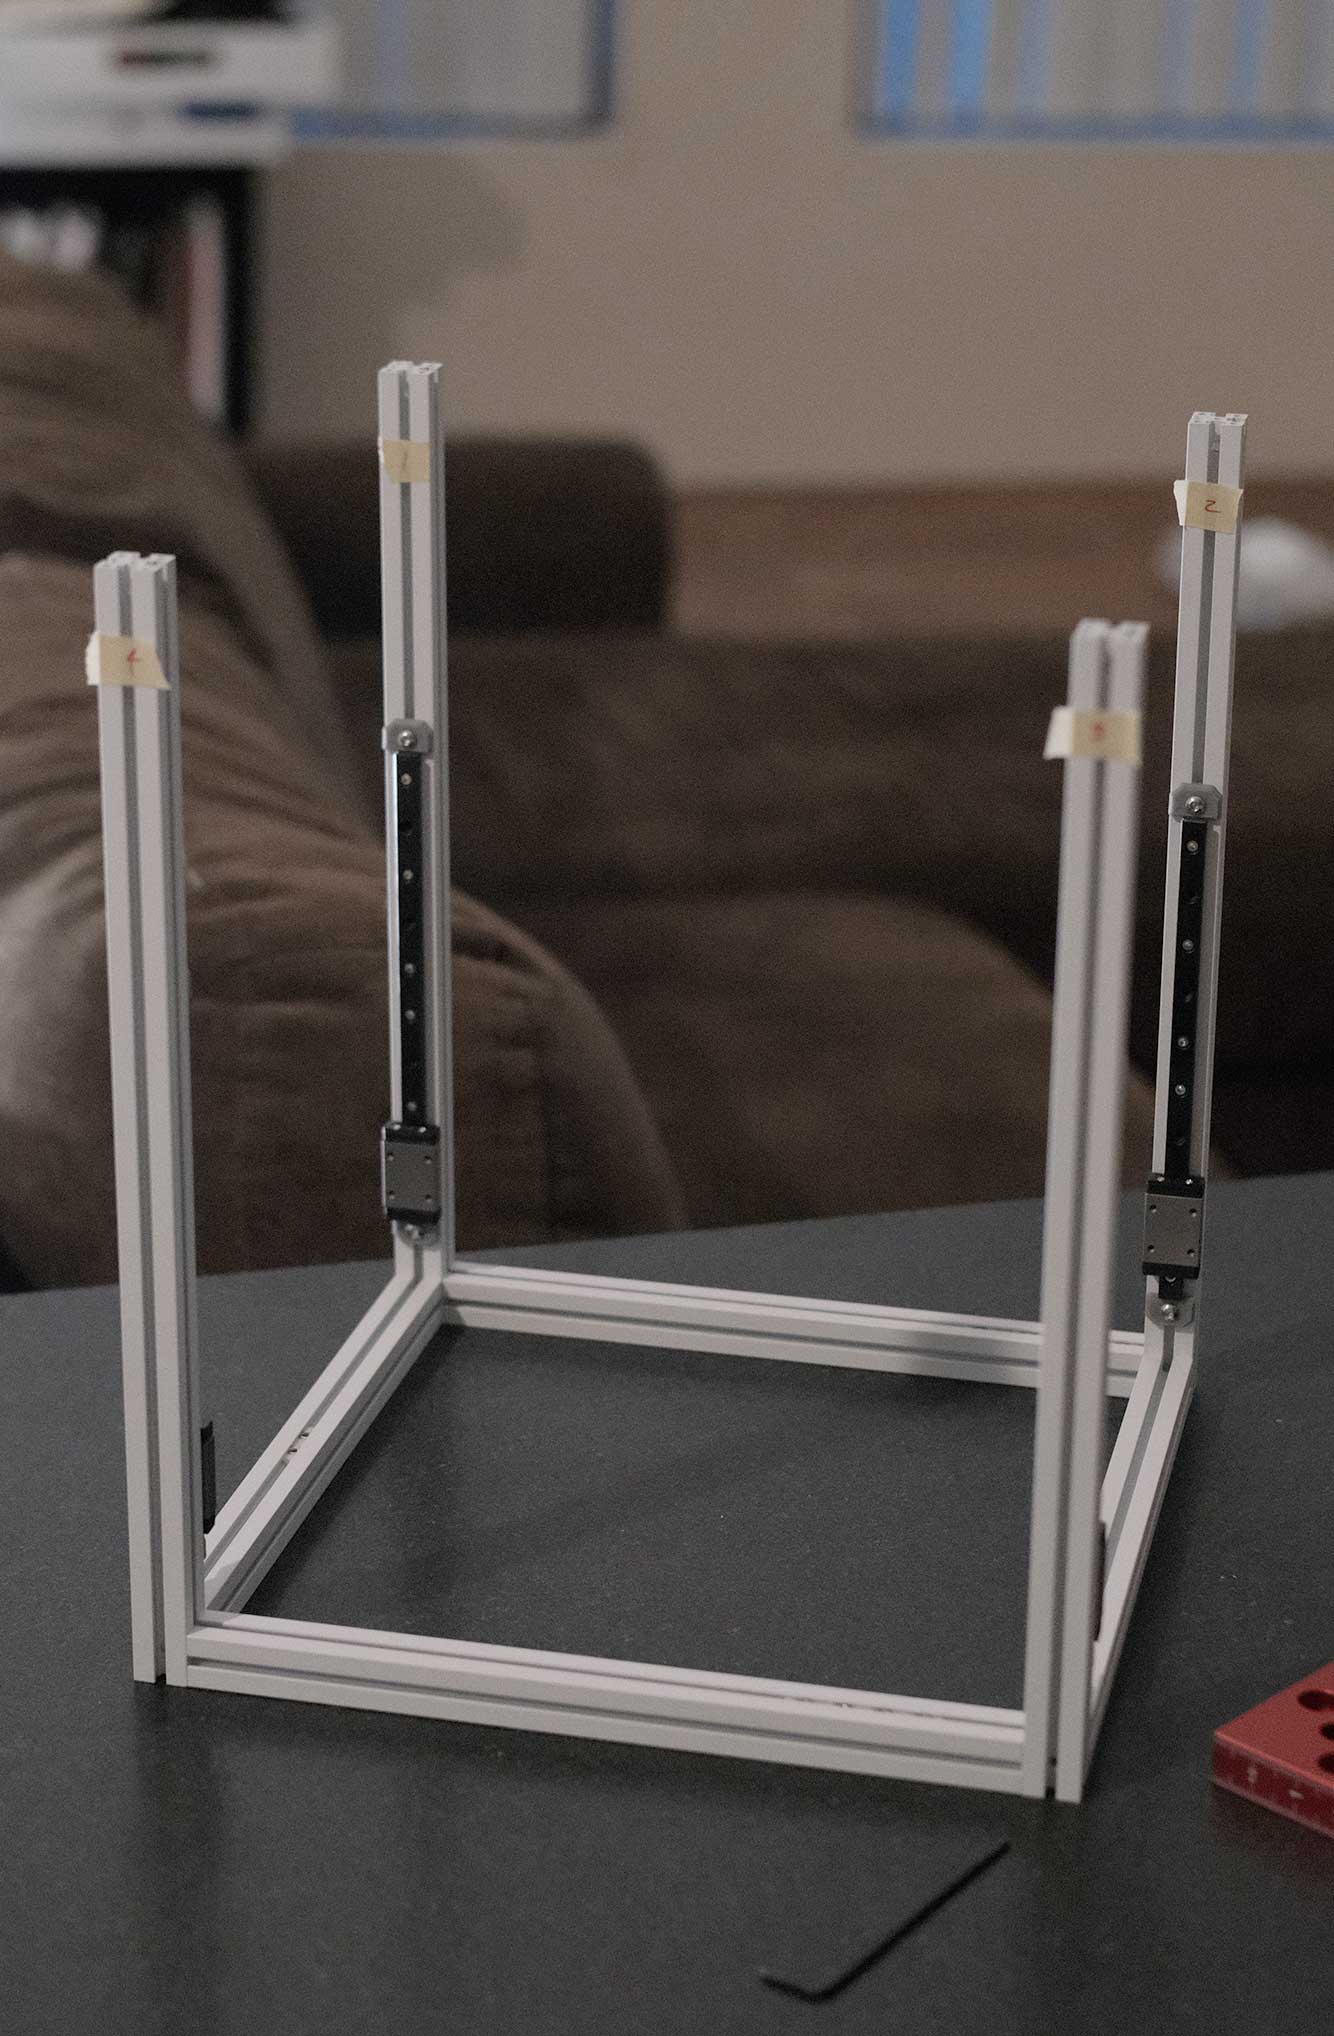
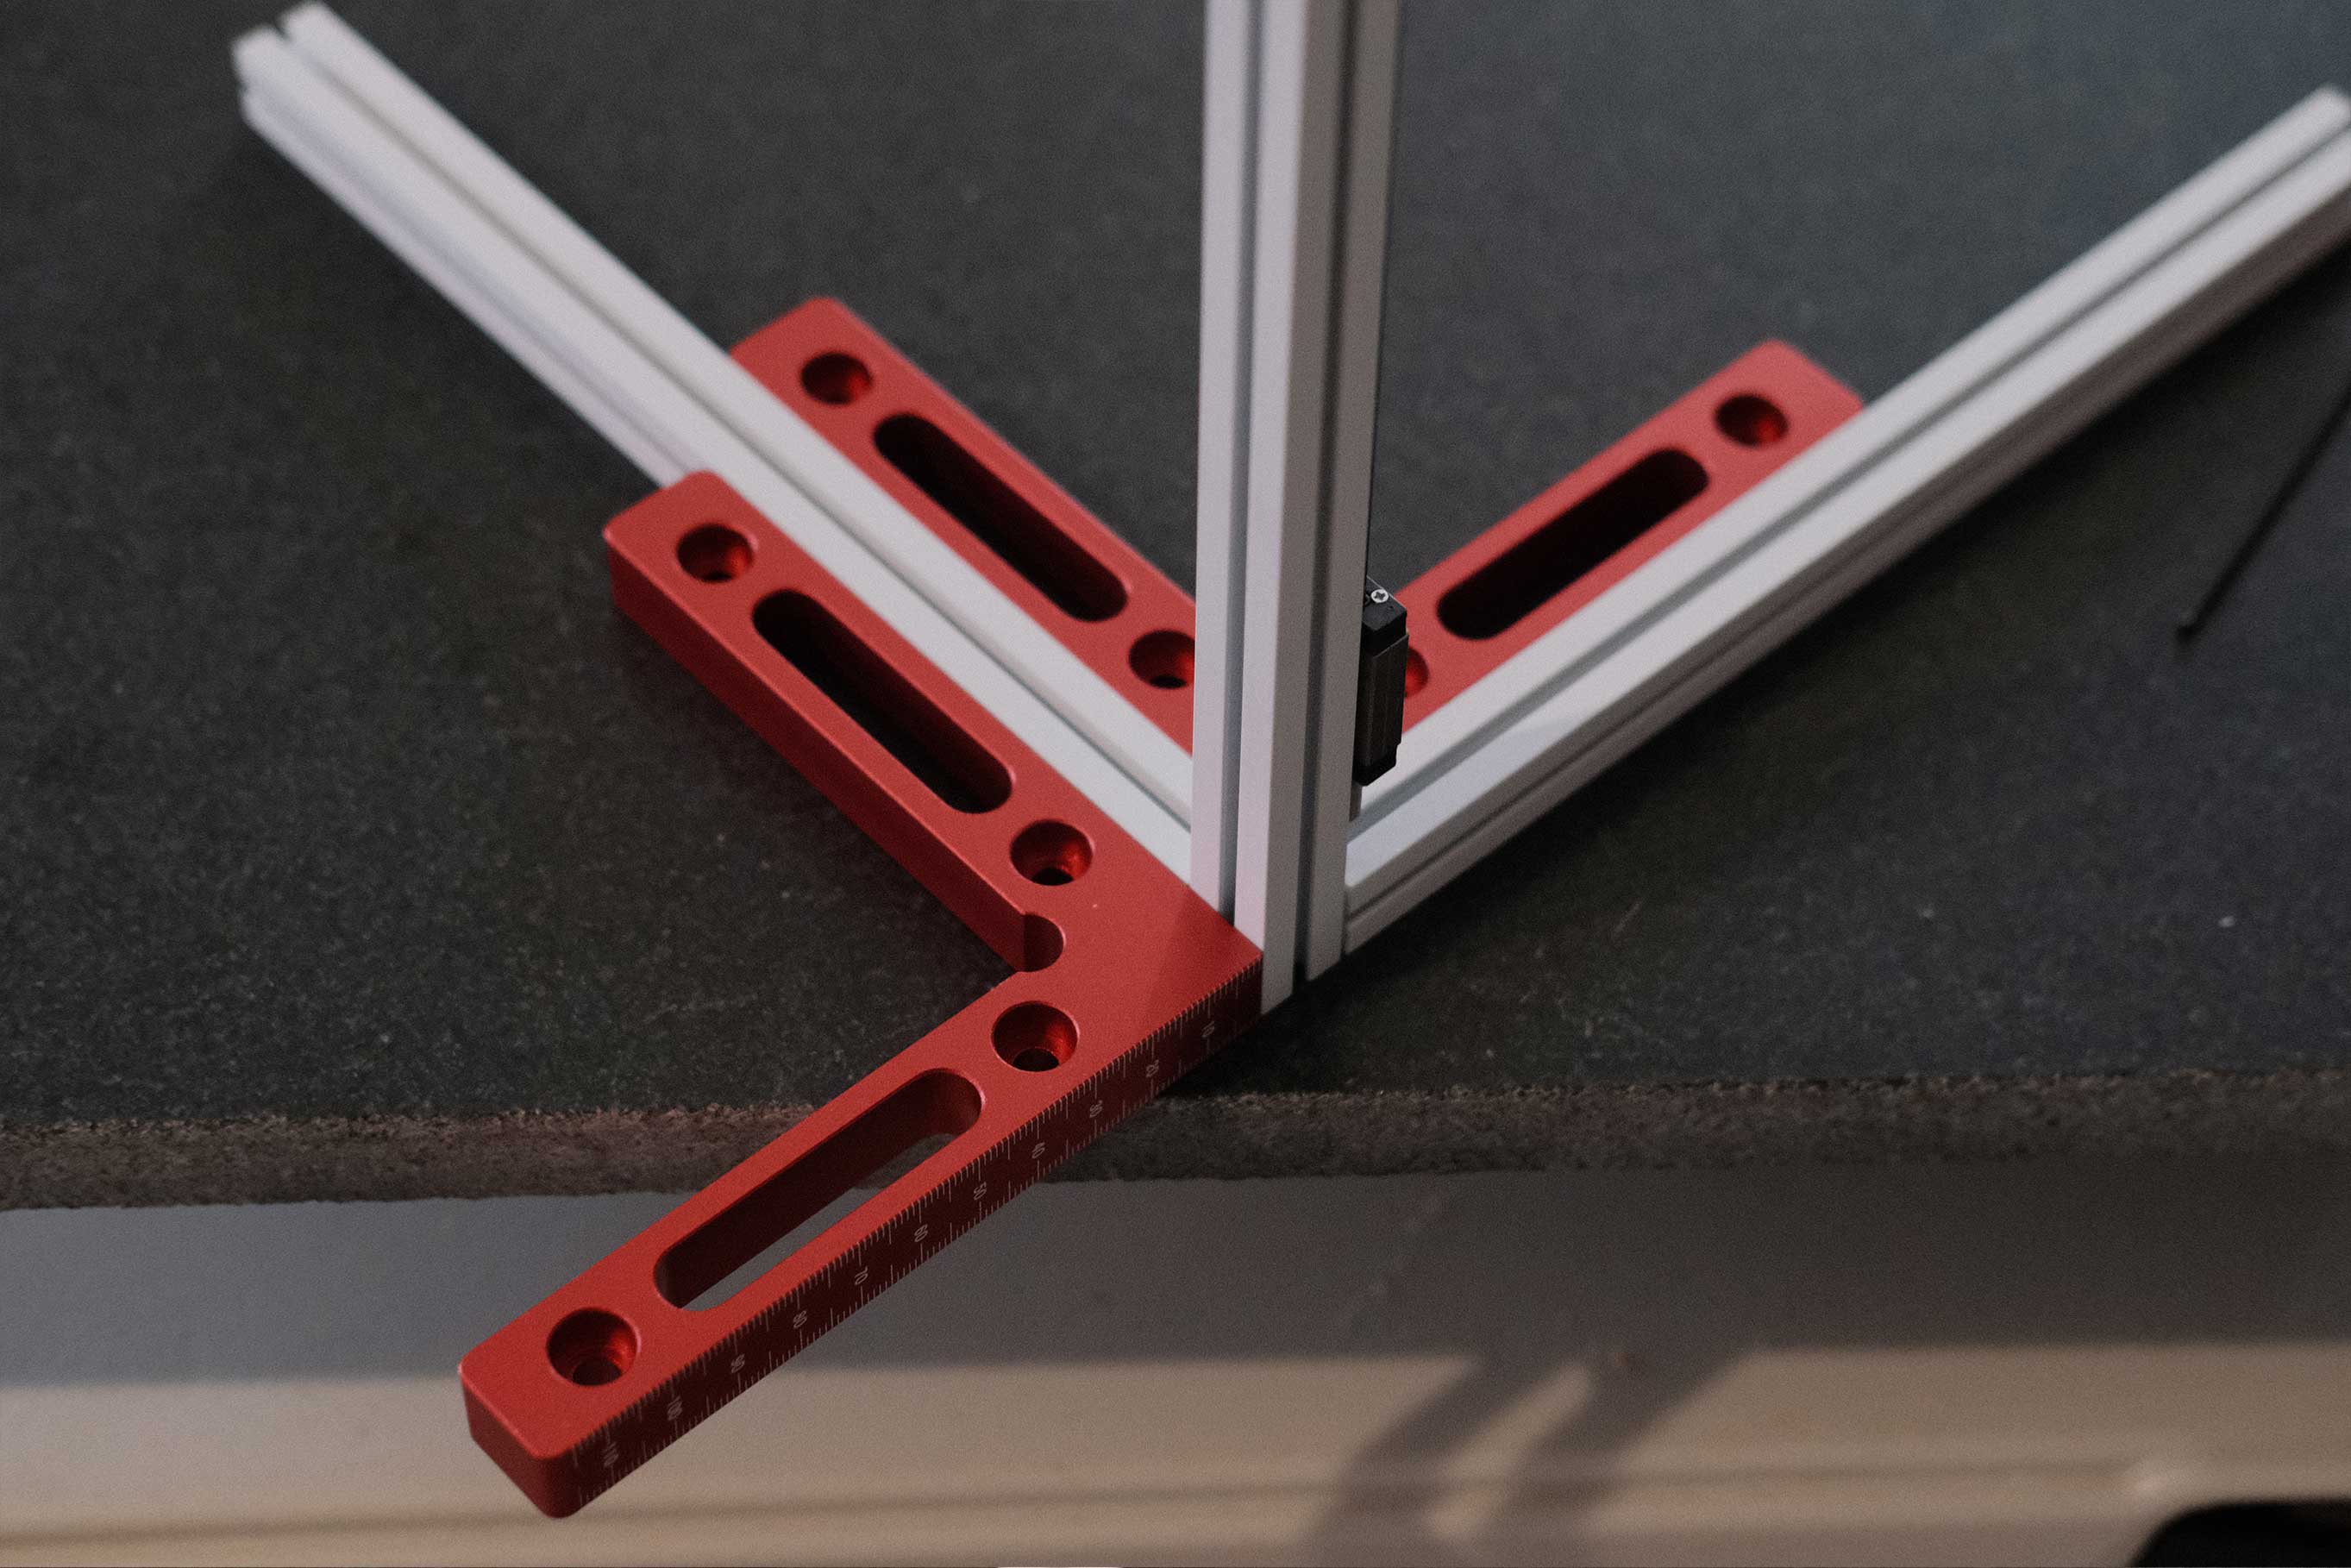 Frame Assembly - 2
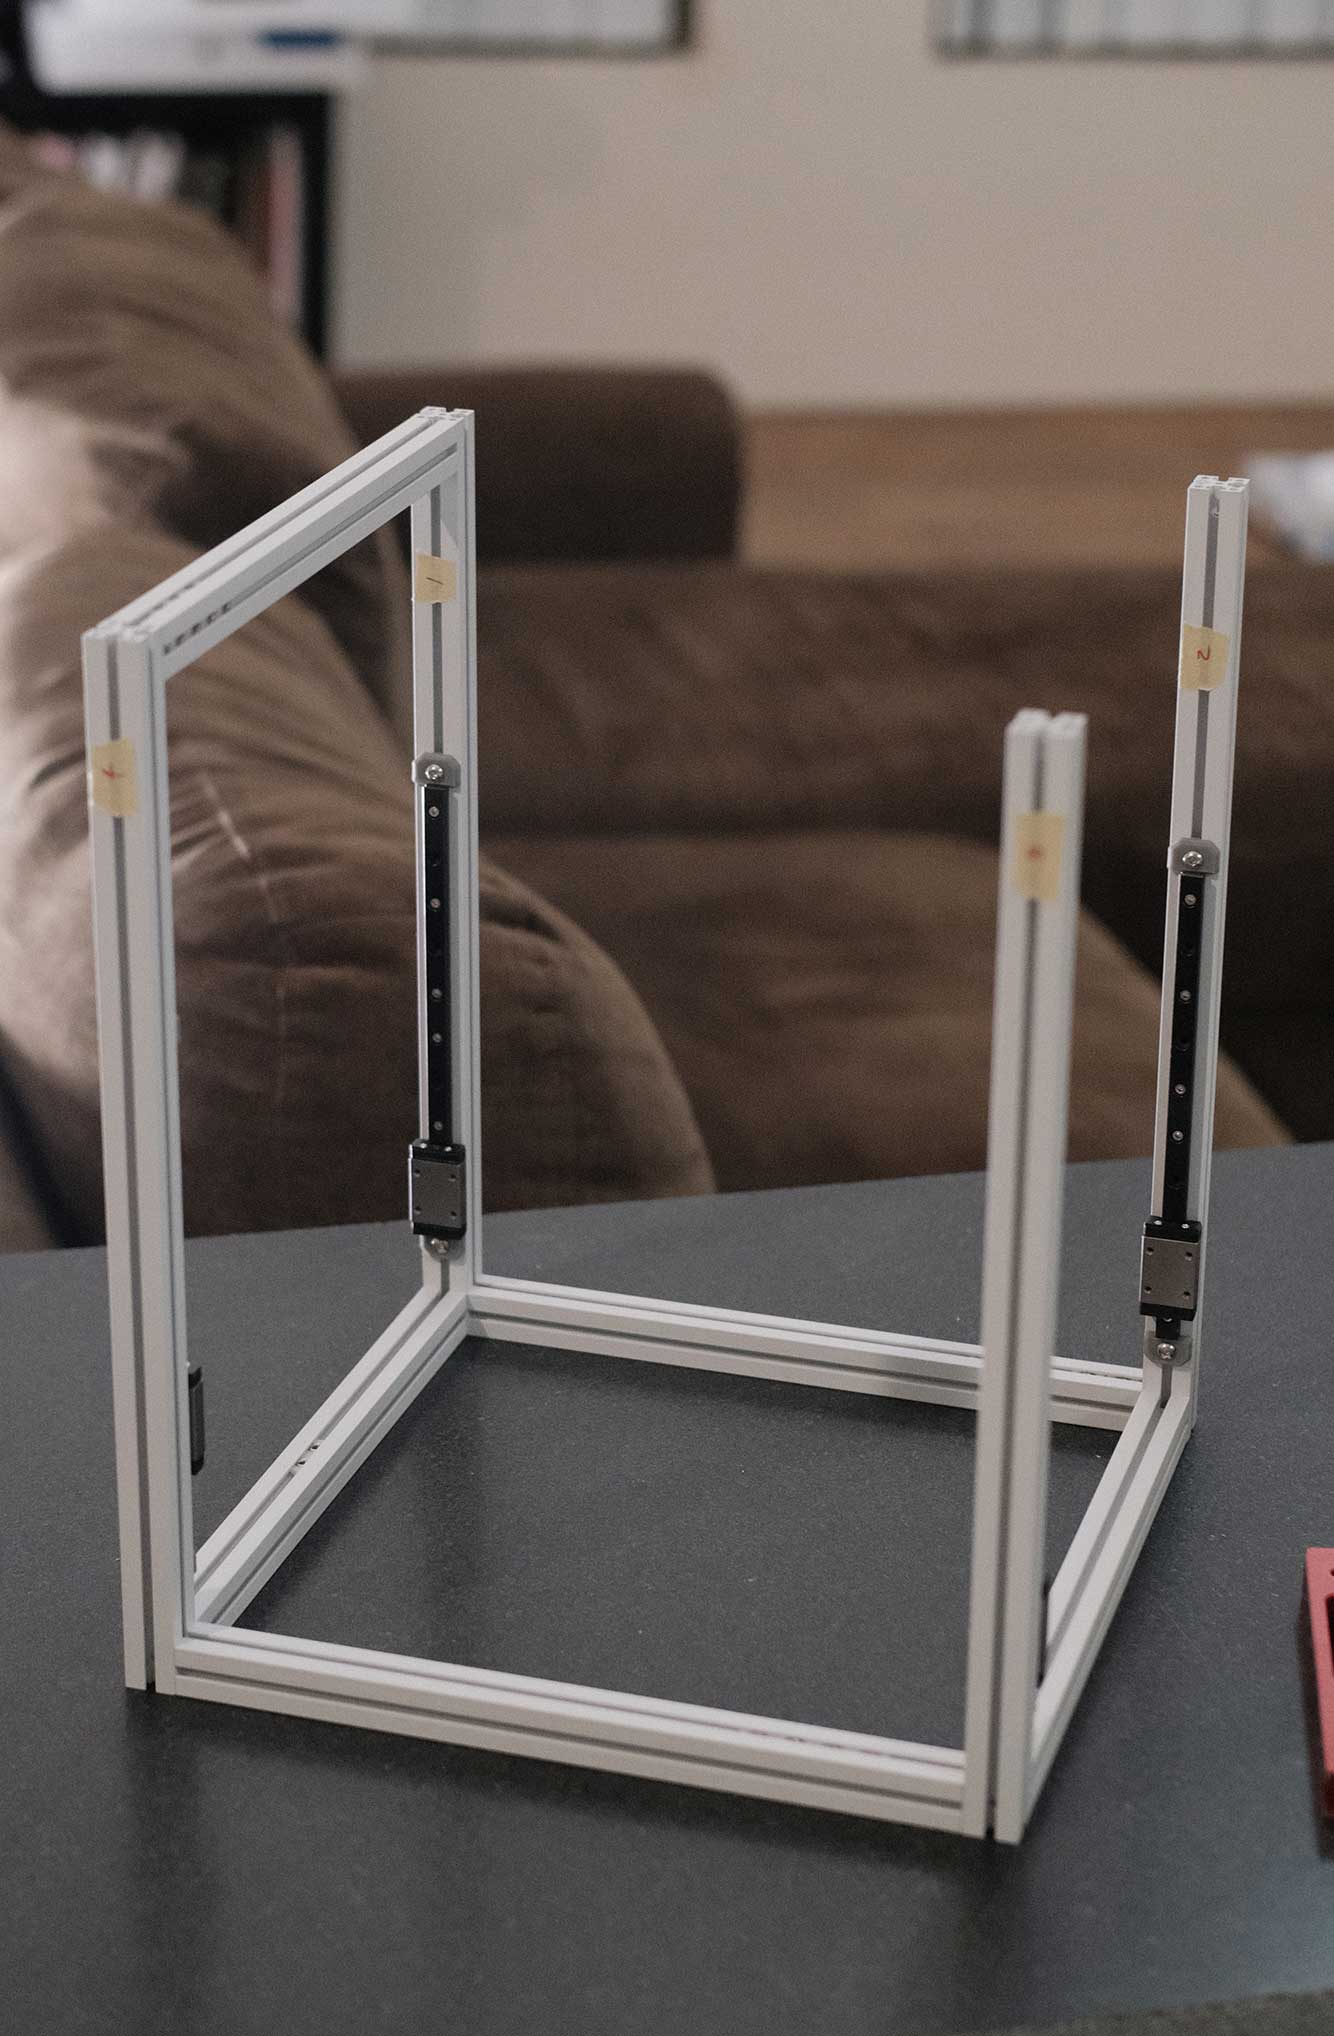
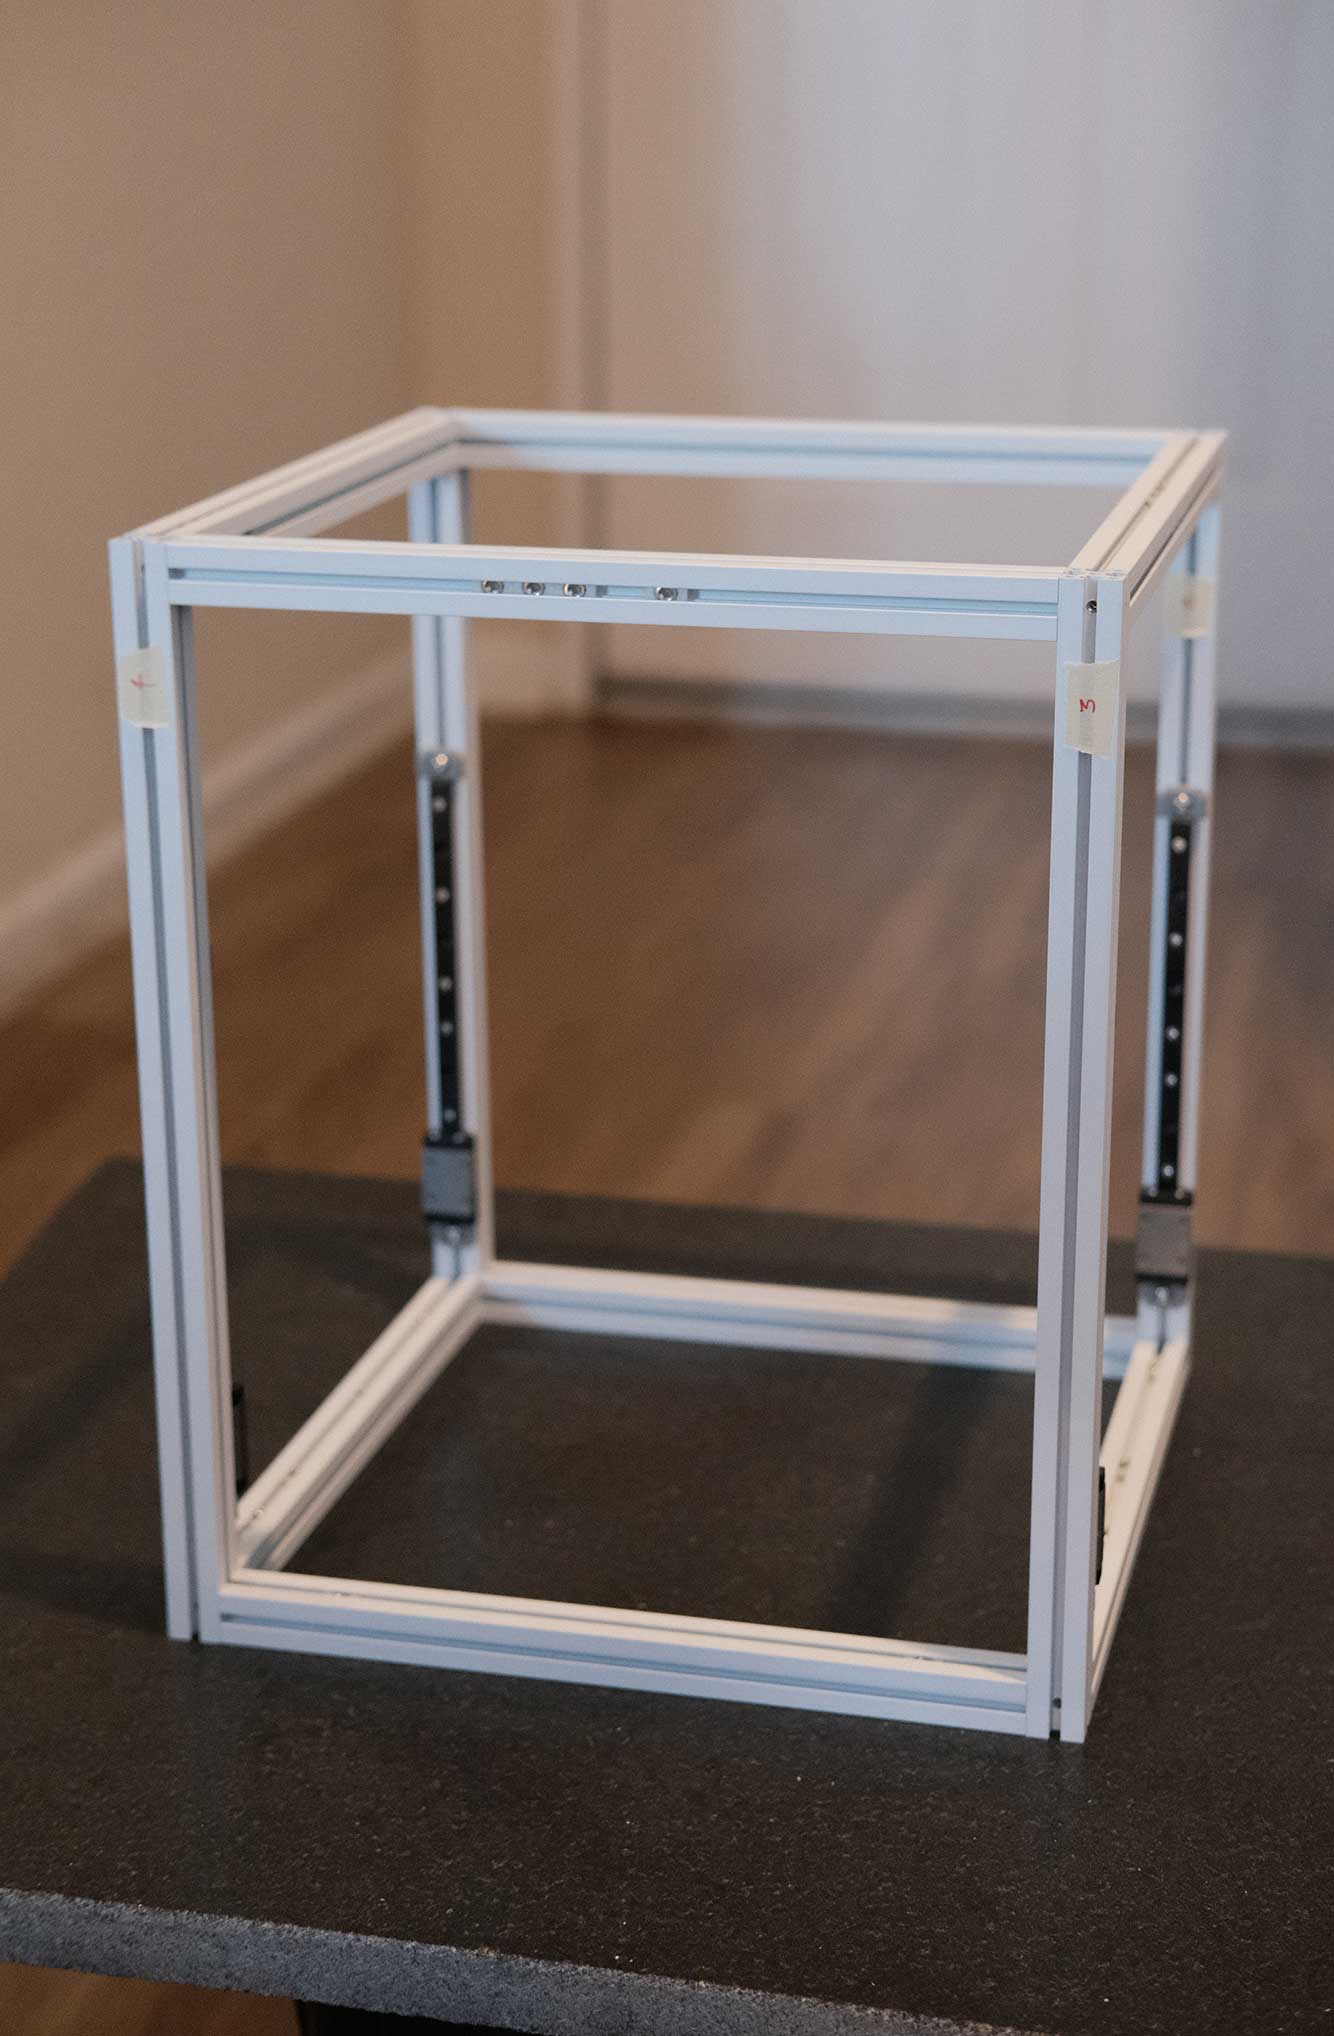
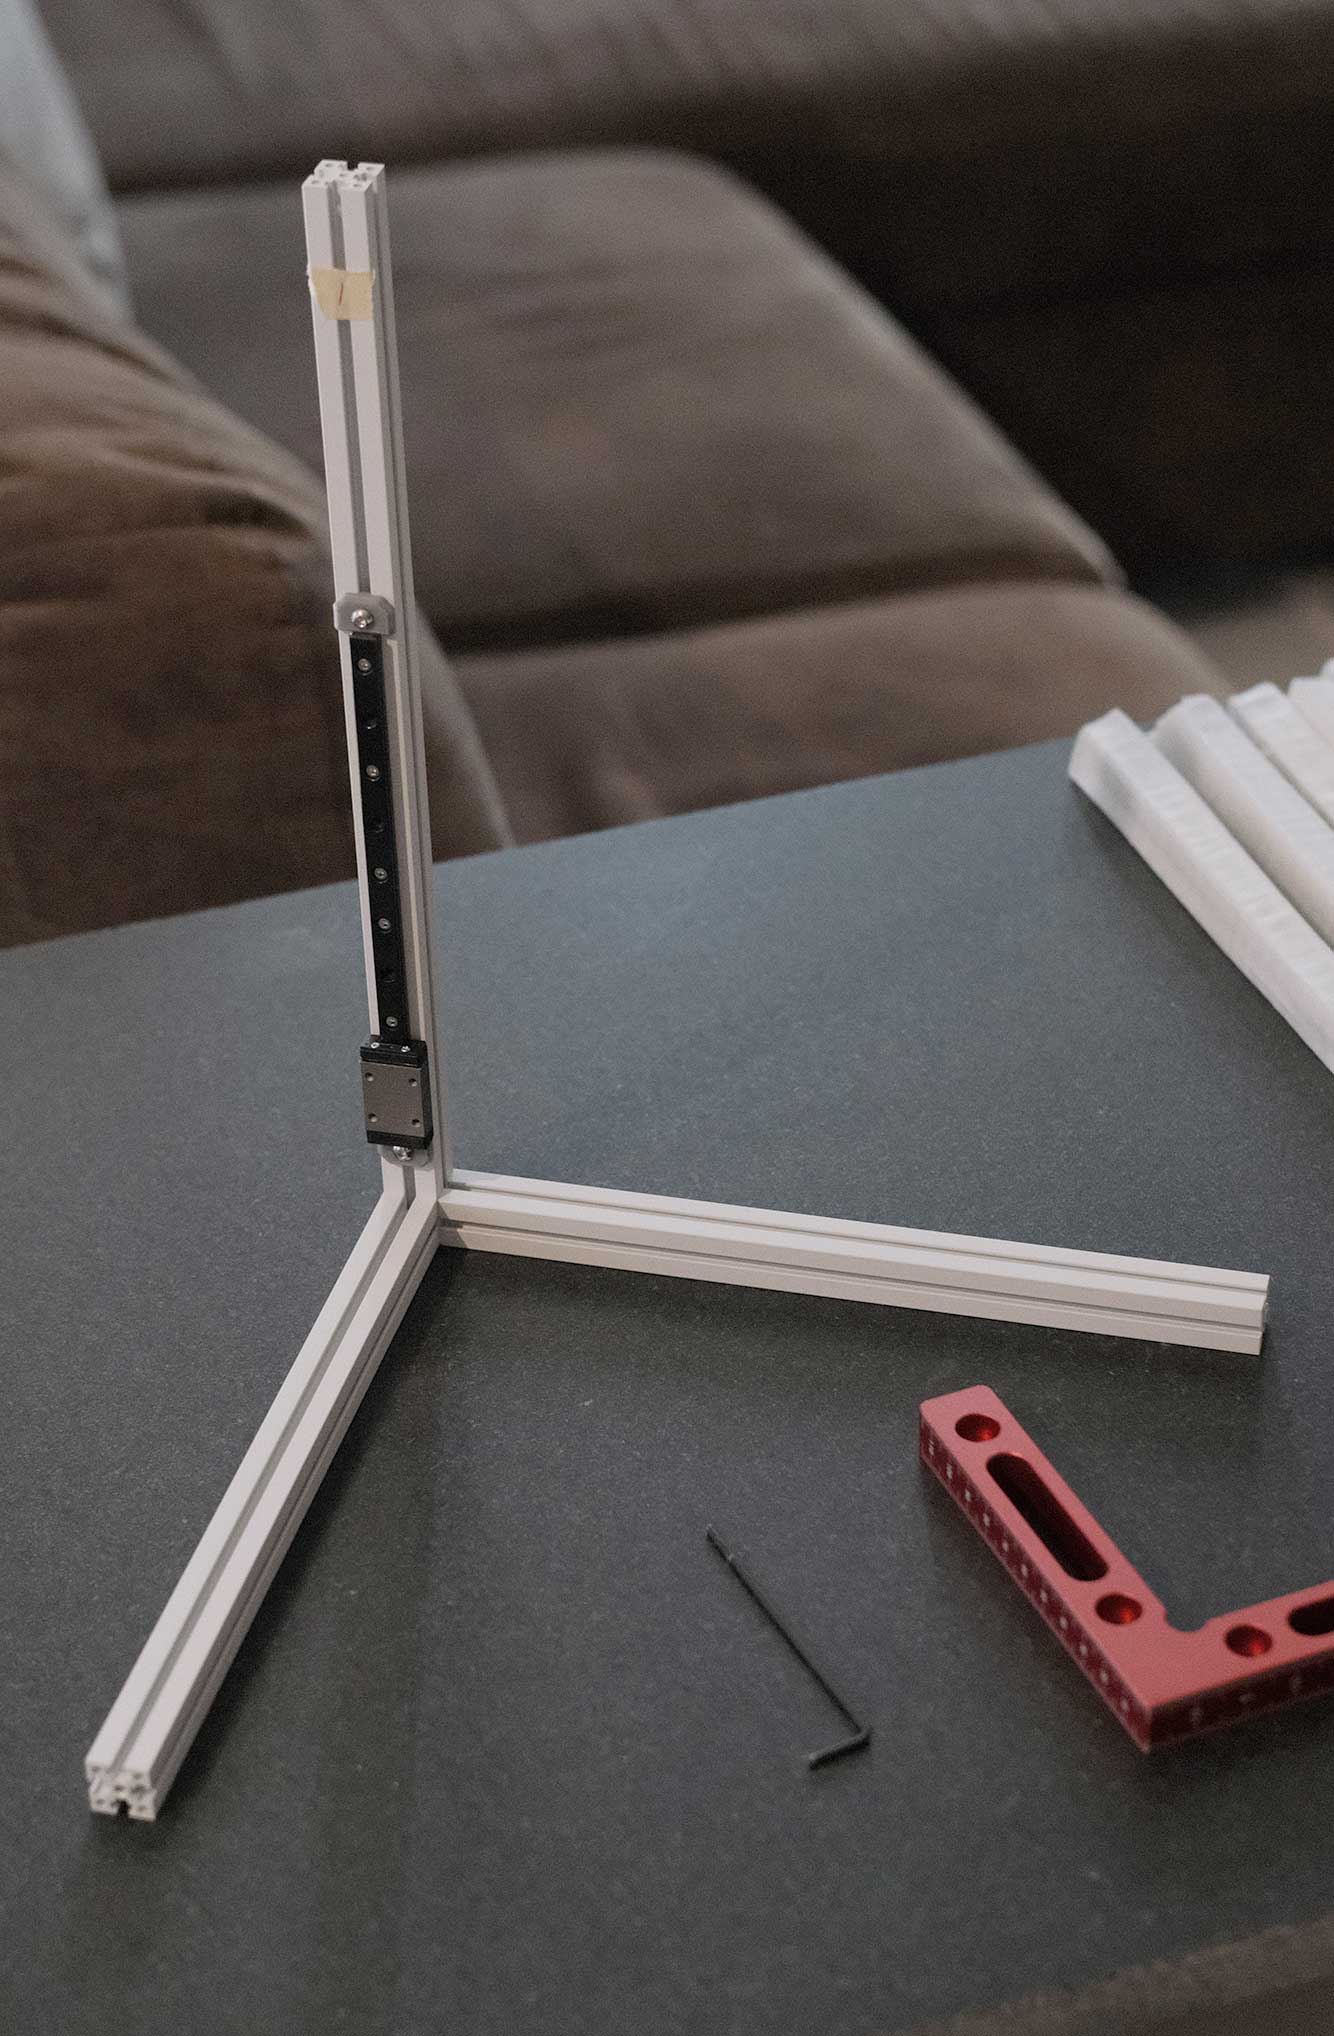 Frame Assembly - 3
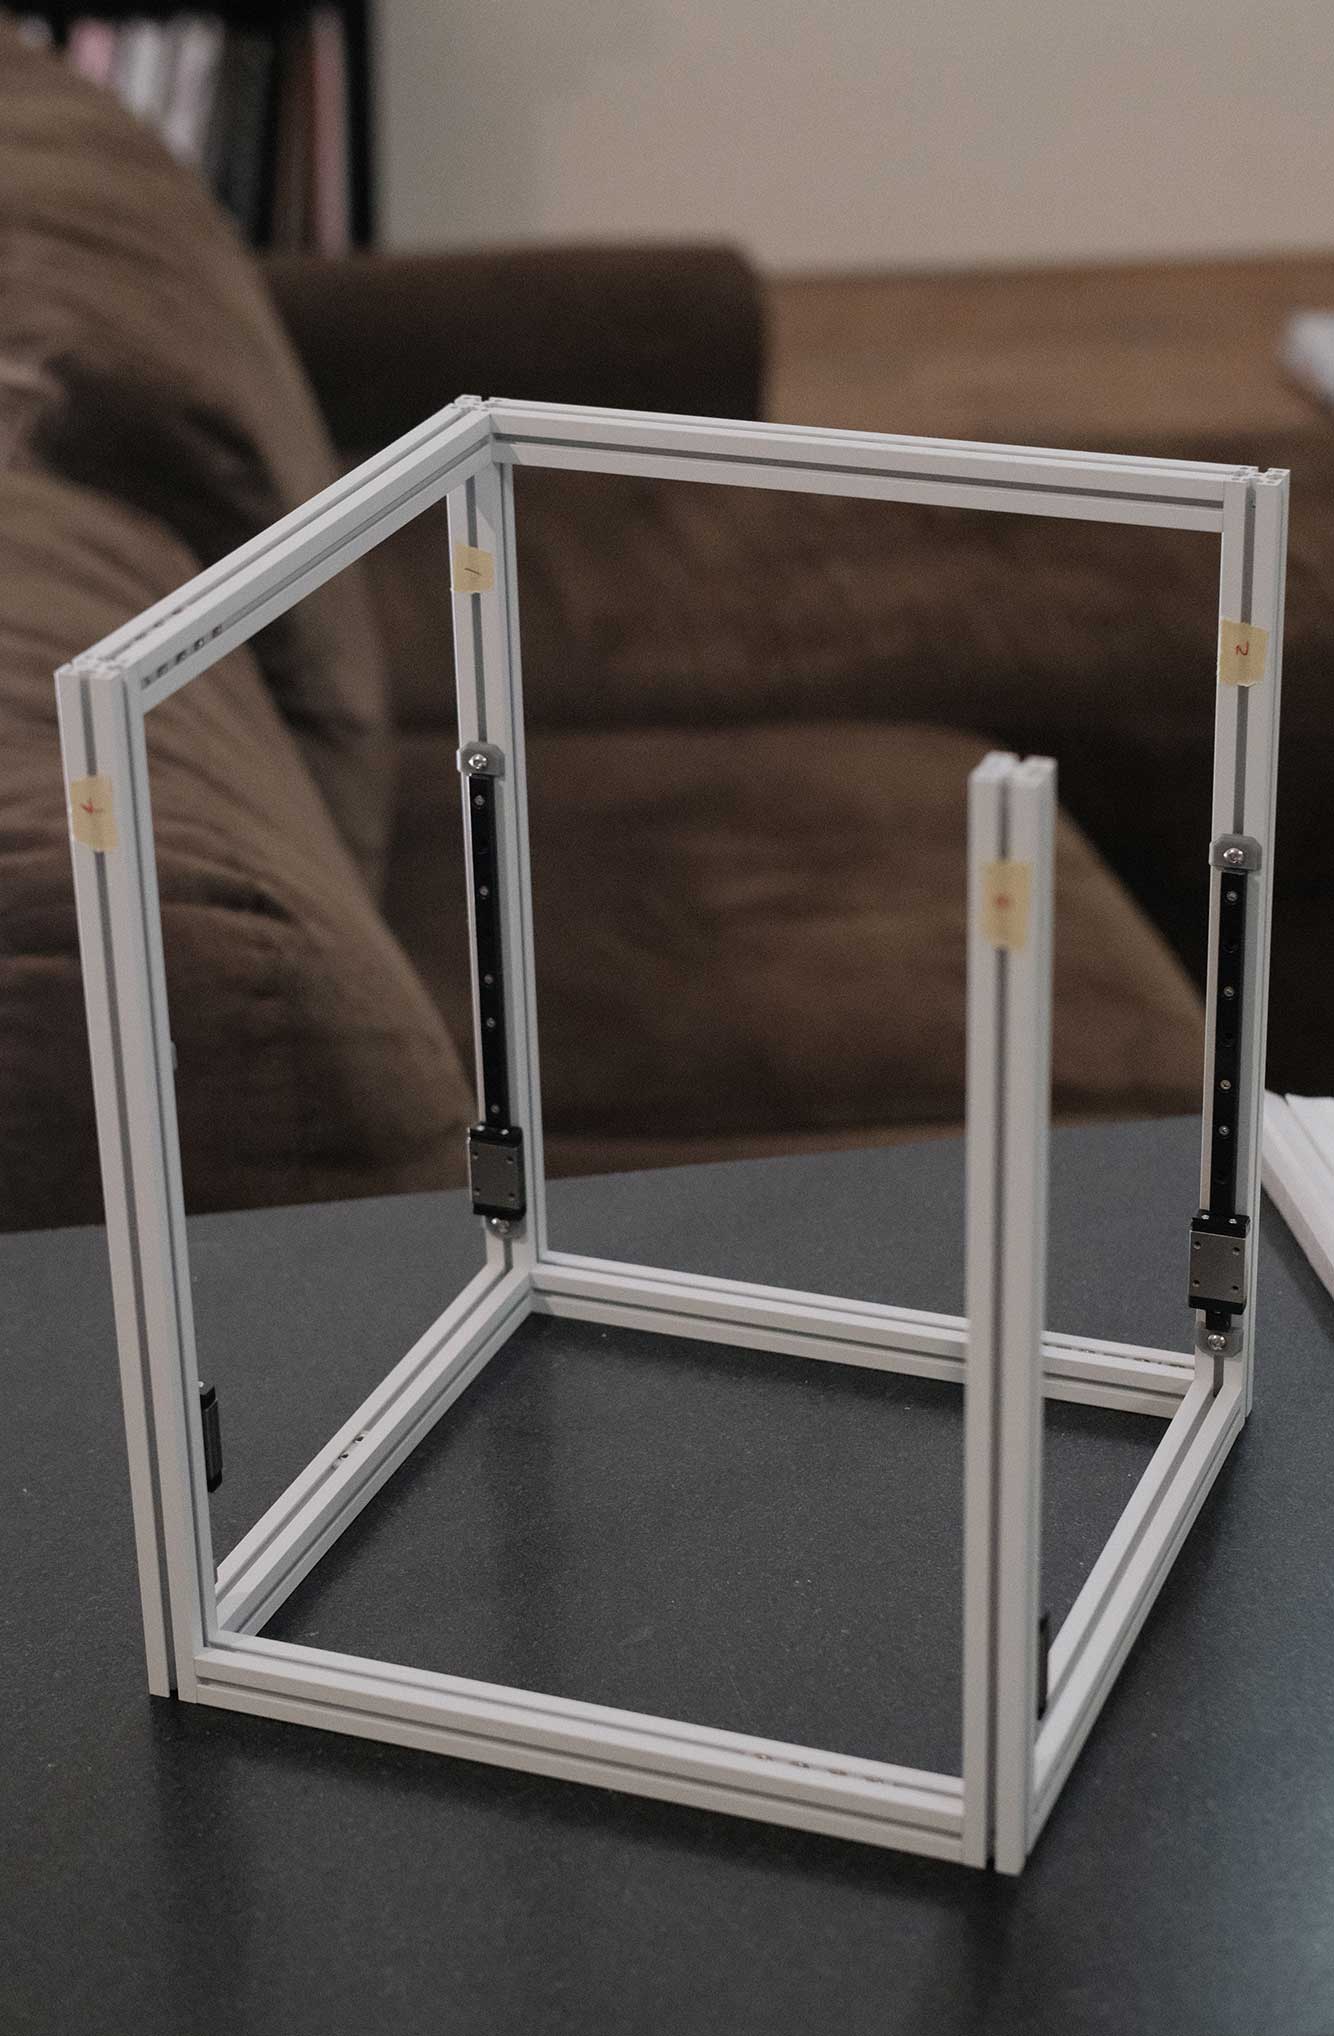
 Frame Assembly - 4
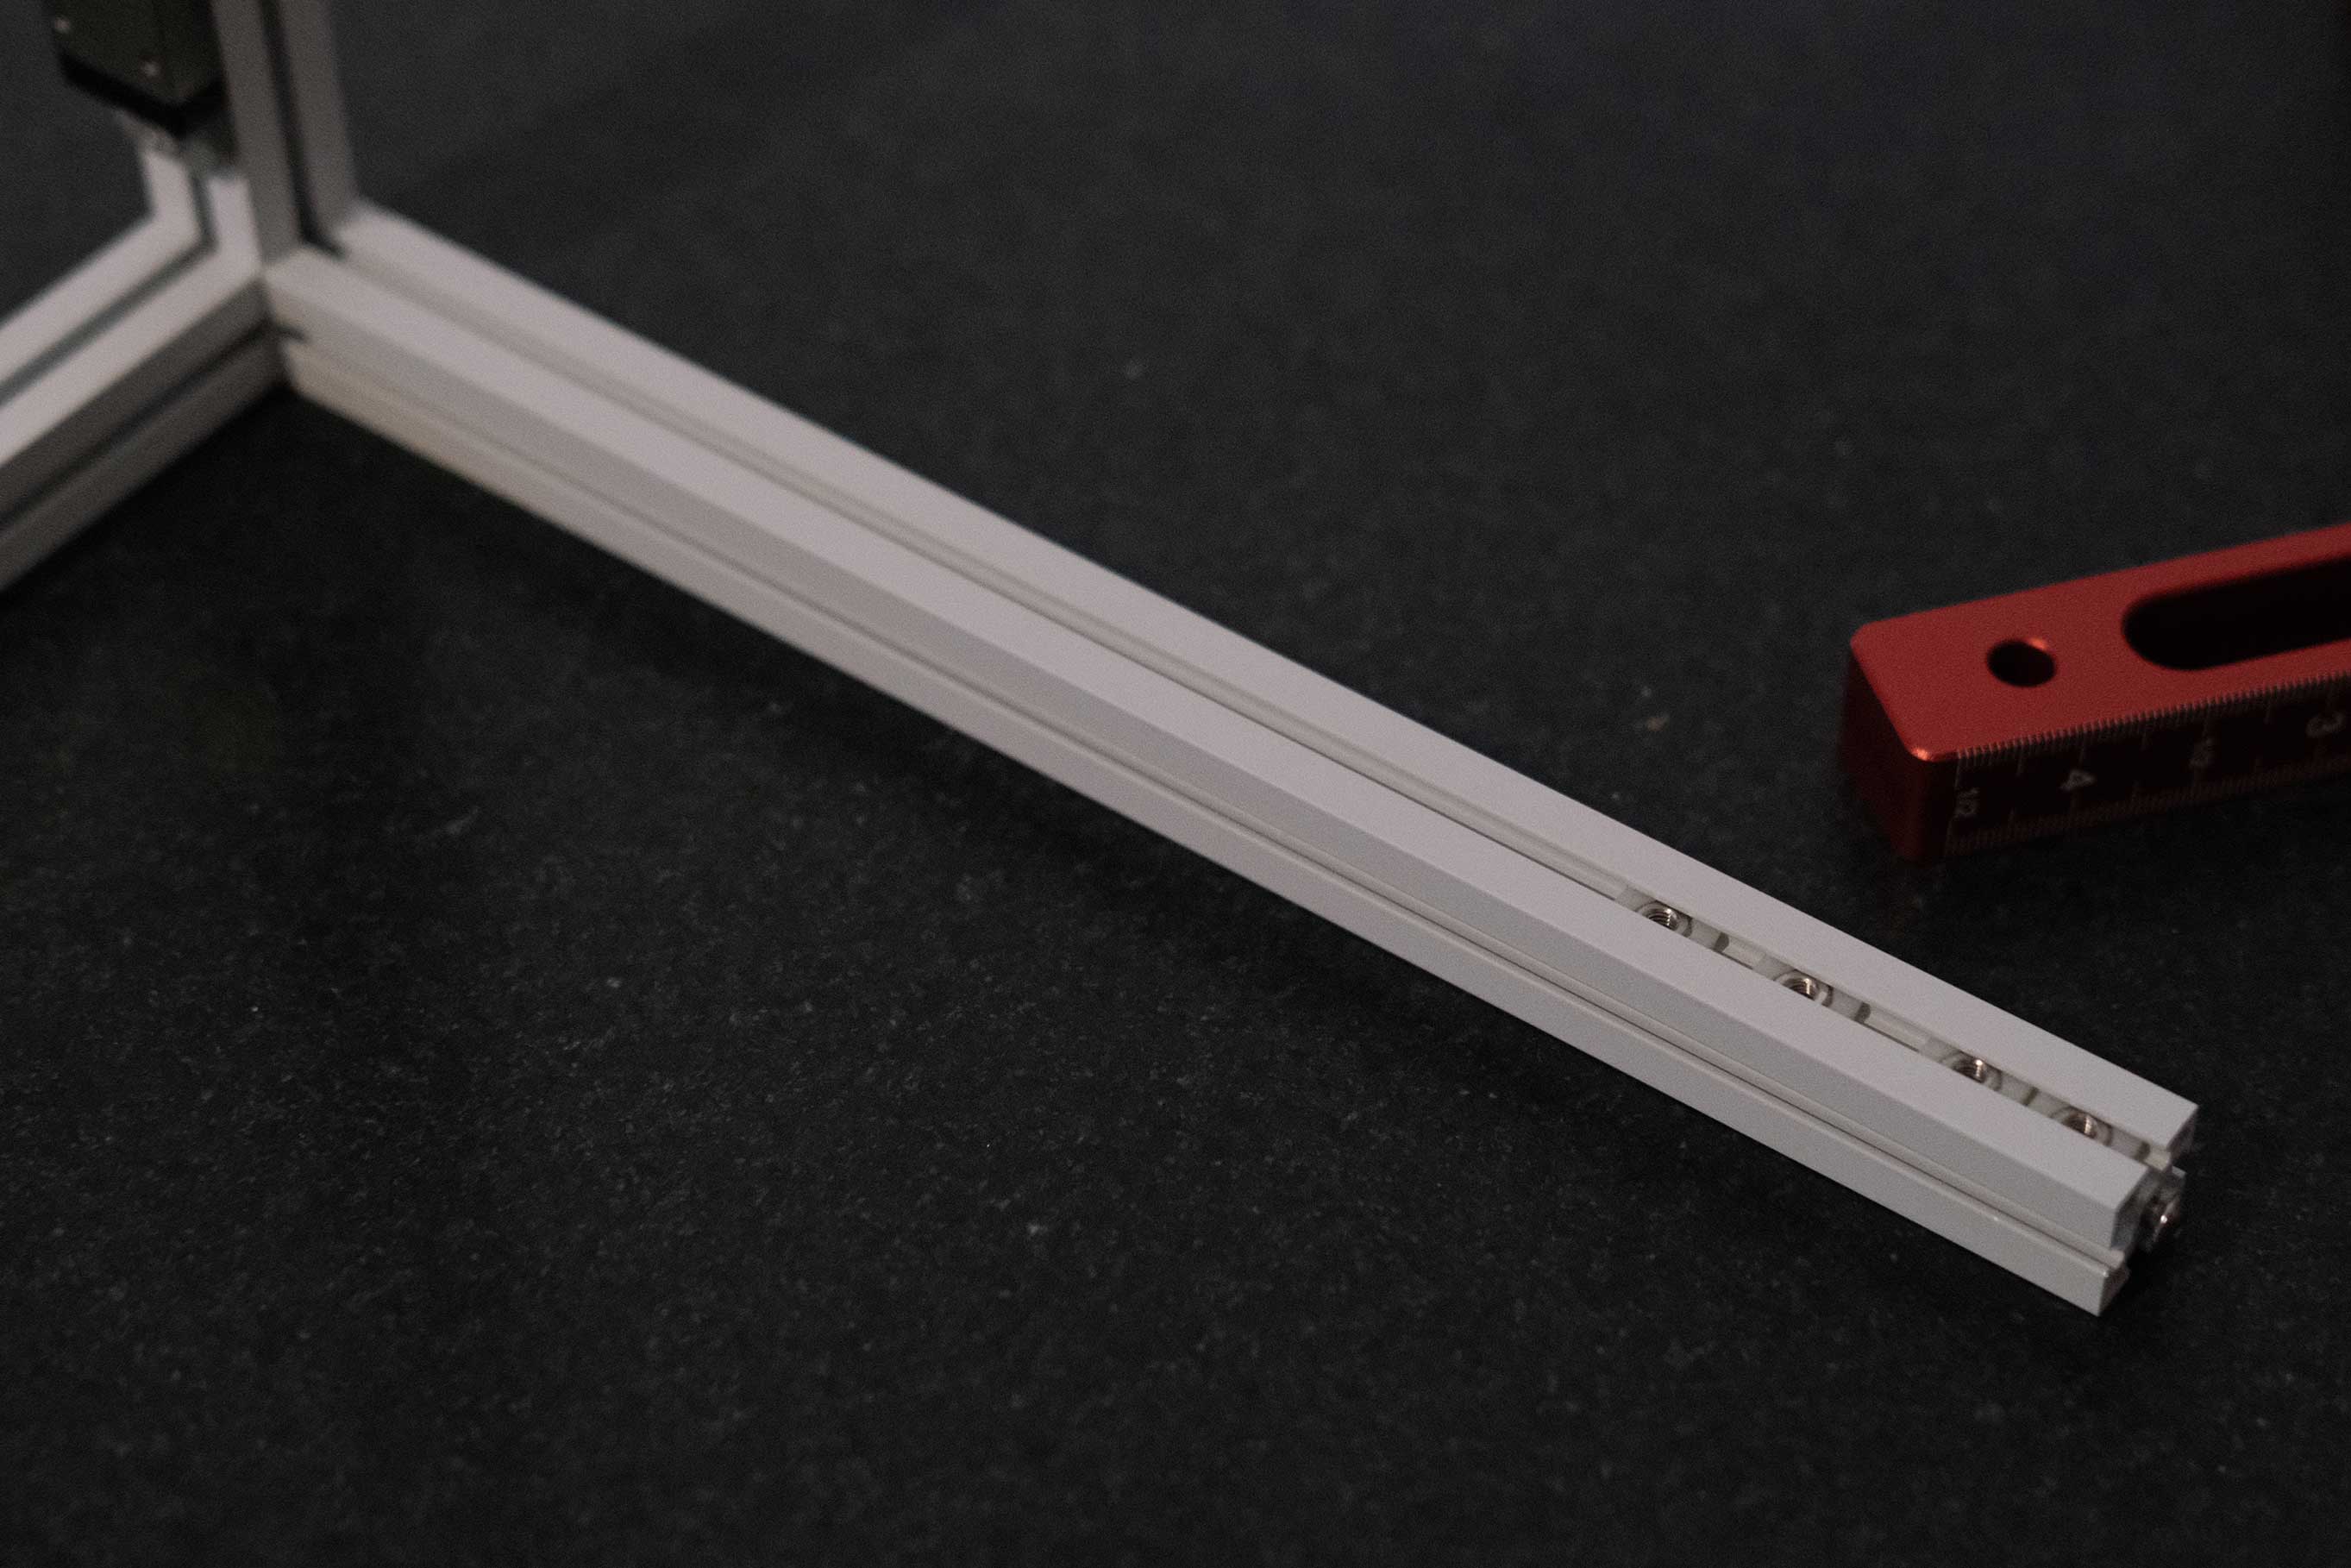
 Frame Assembly - 5
 Frame Assembly - 6
 Frame Assembly - 7
 Frame Assembly - 8
 Frame Assembly - 9
 Frame Assembly - 10
 Frame Assembly - 11
 Frame Assembly - 12
 Frame Assembly - 13
 Frame Assembly - 14
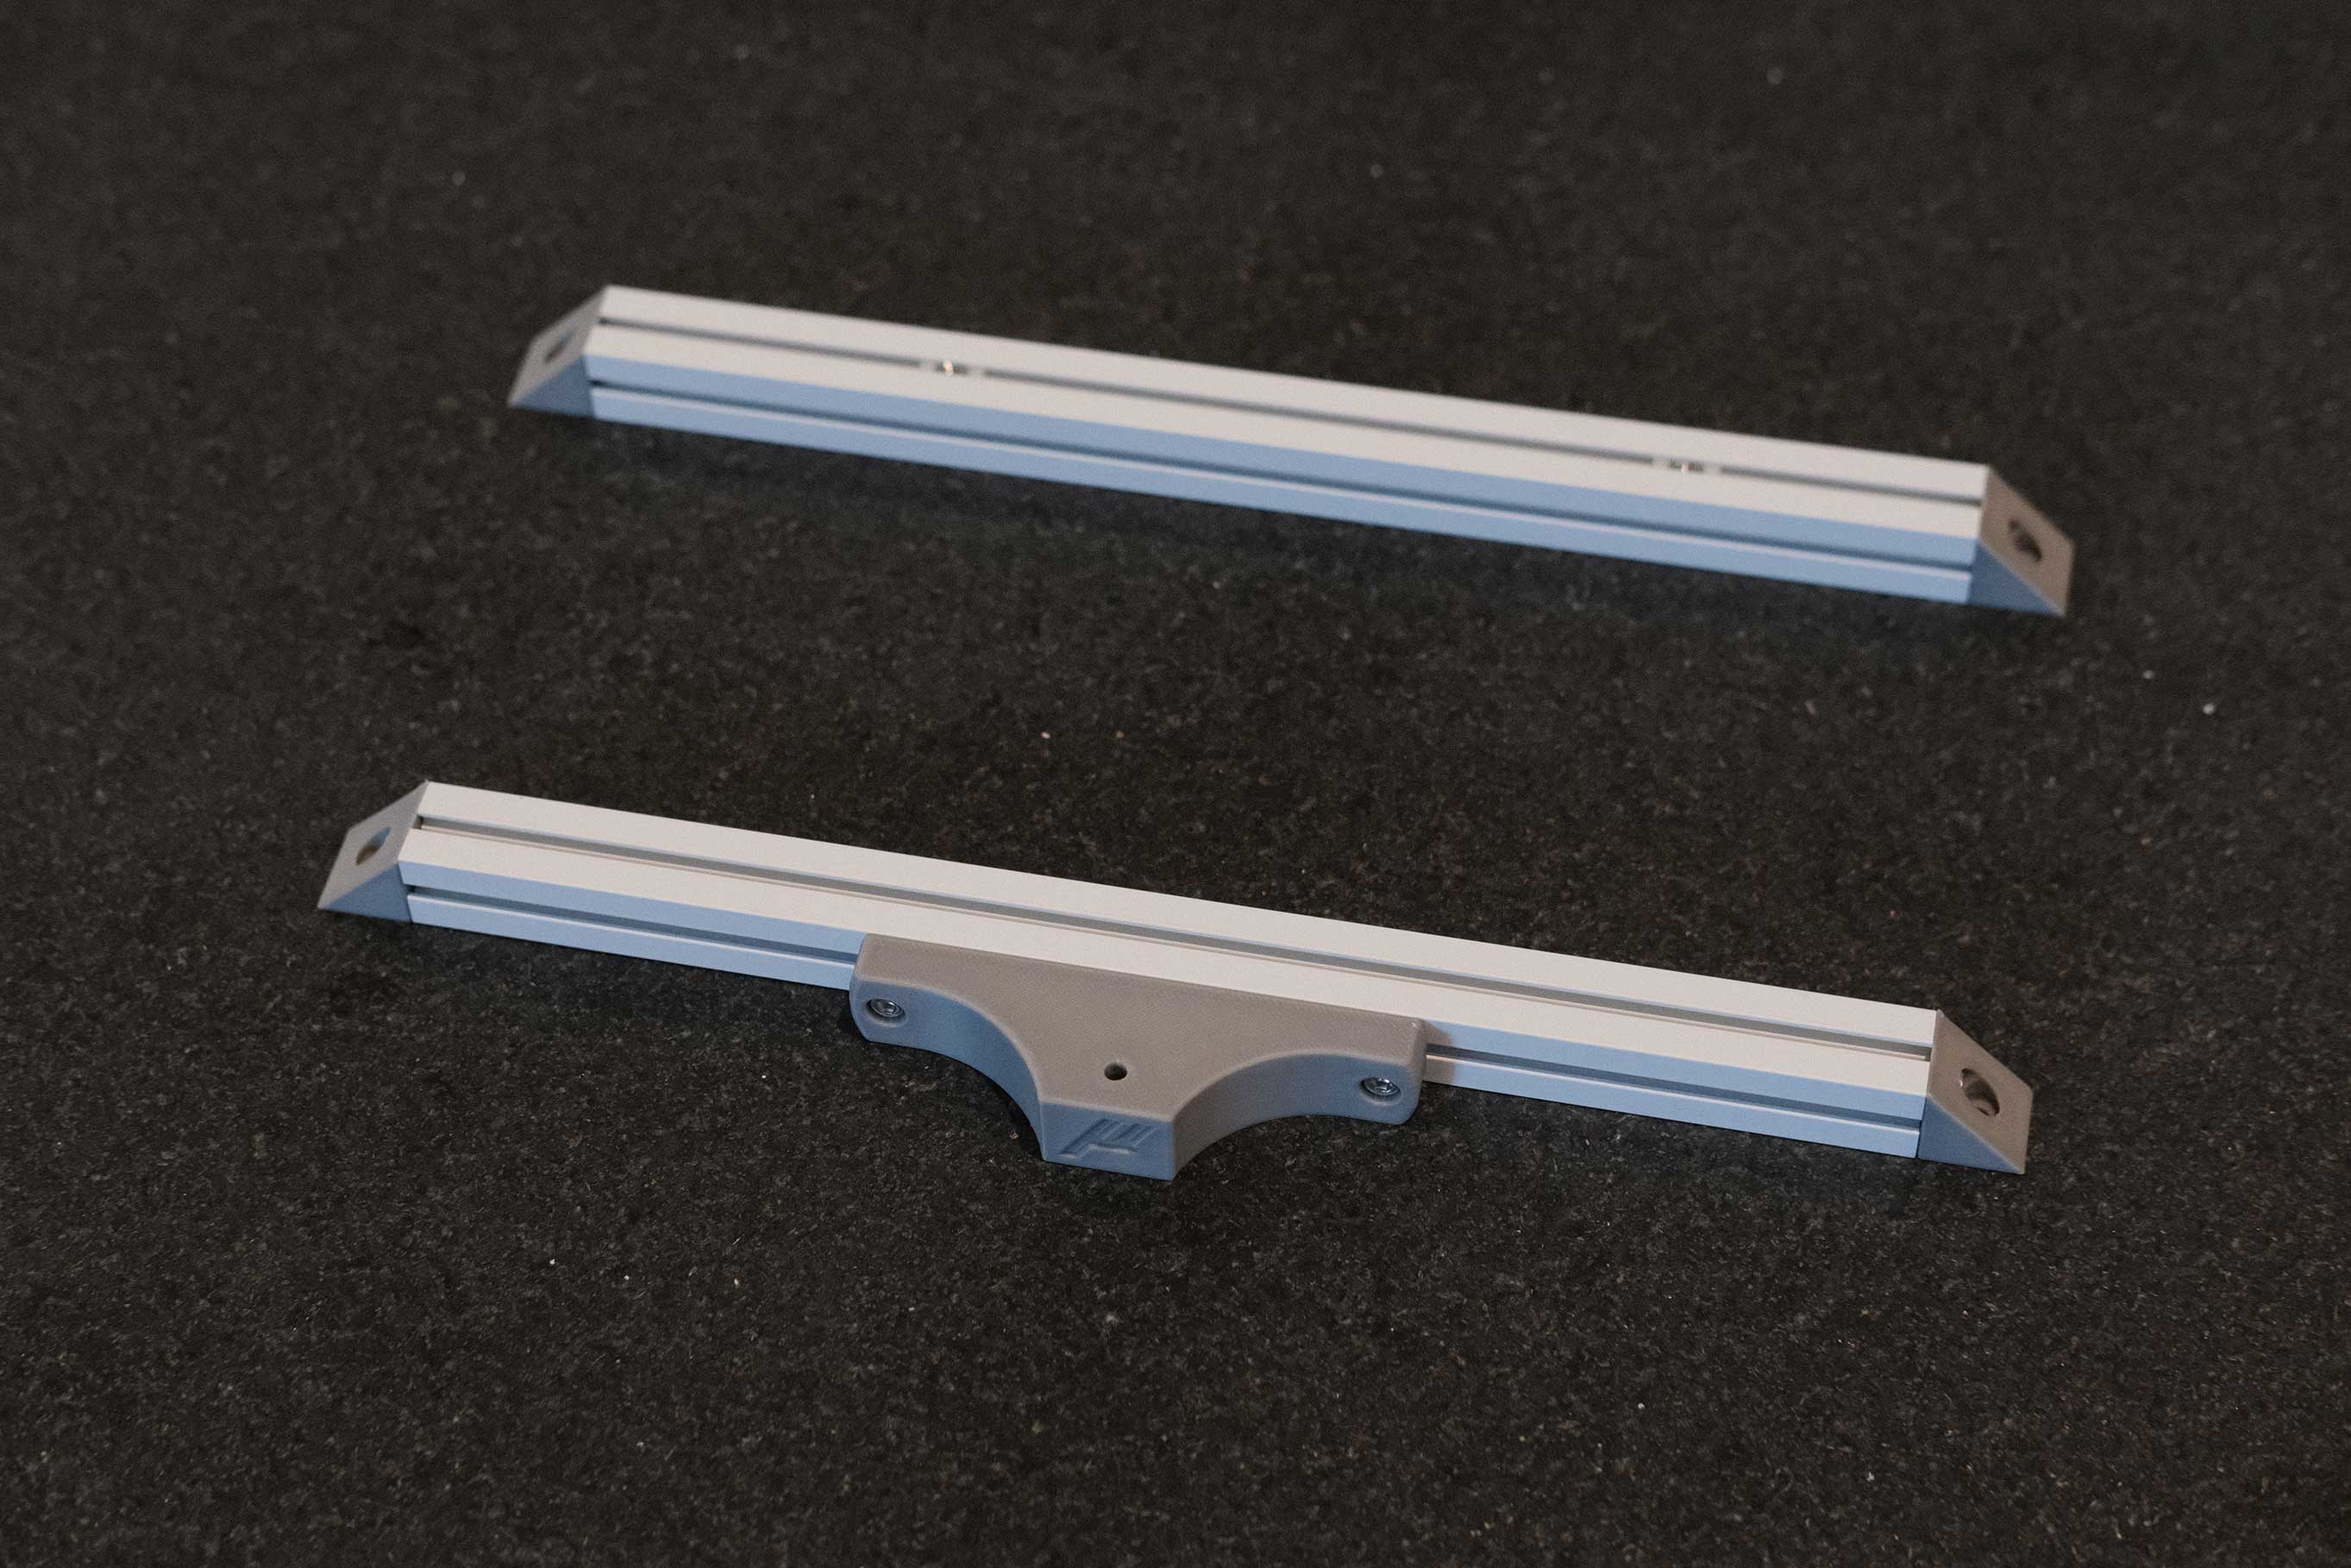
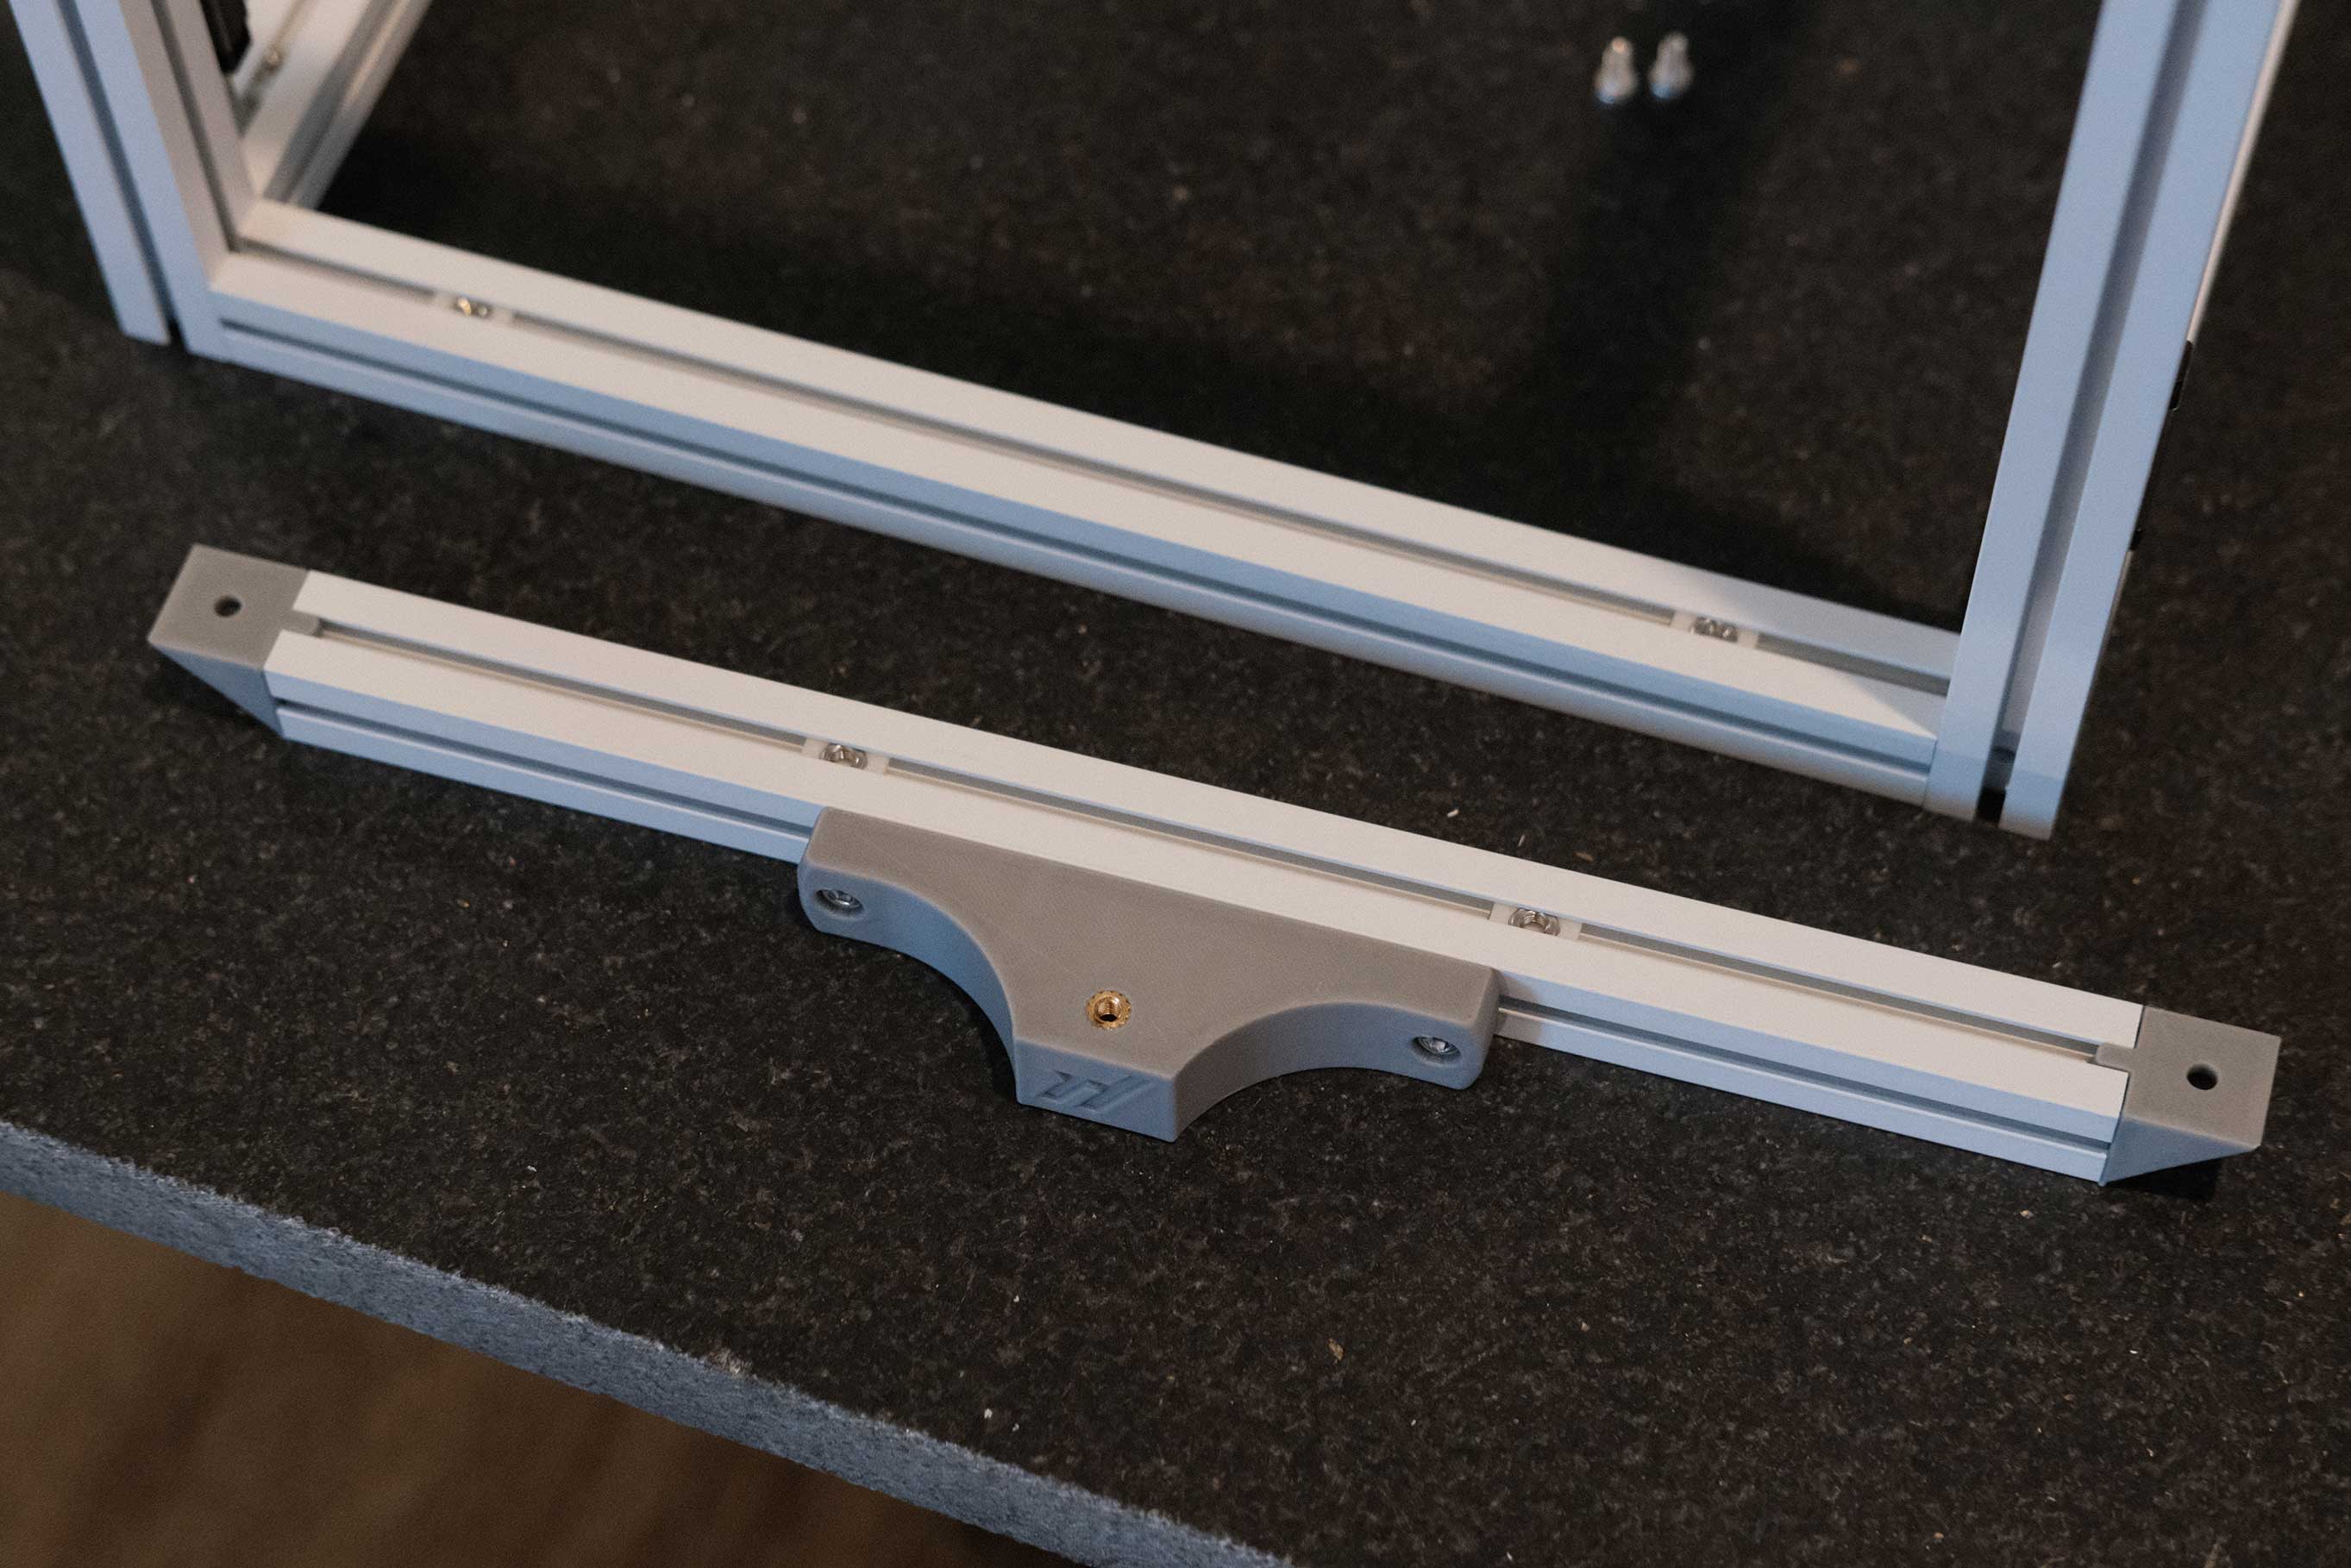
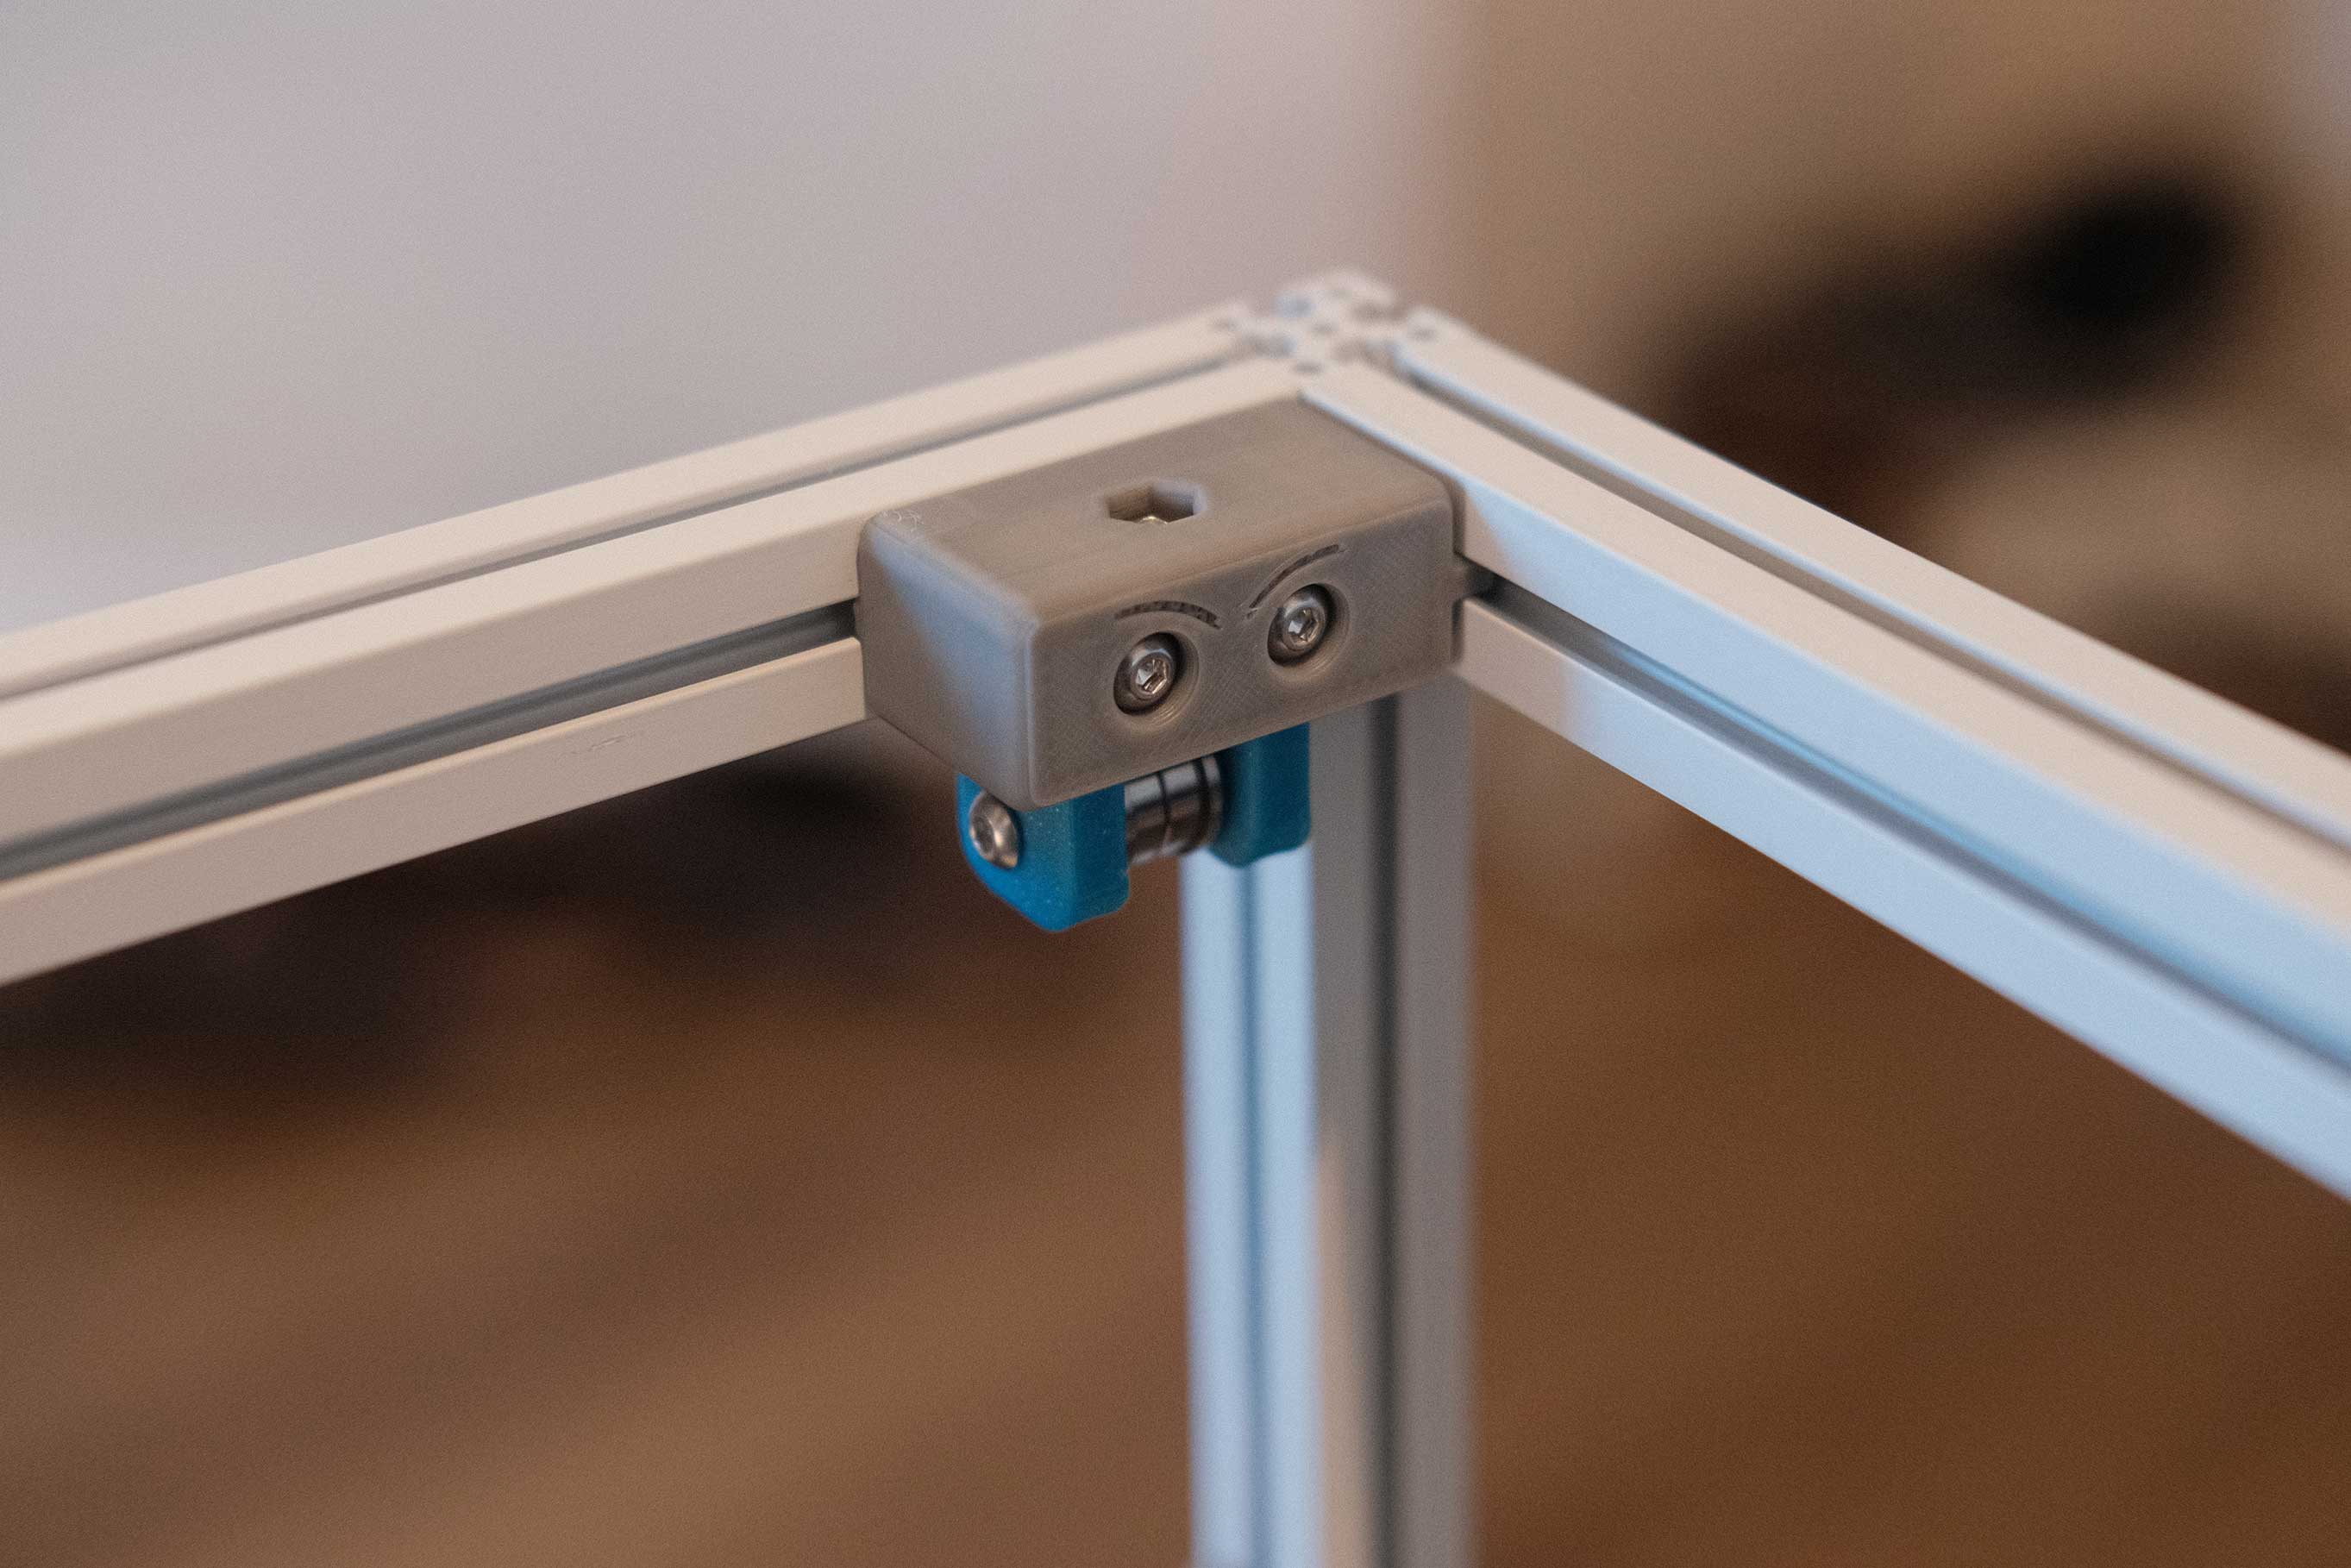
Z Joints
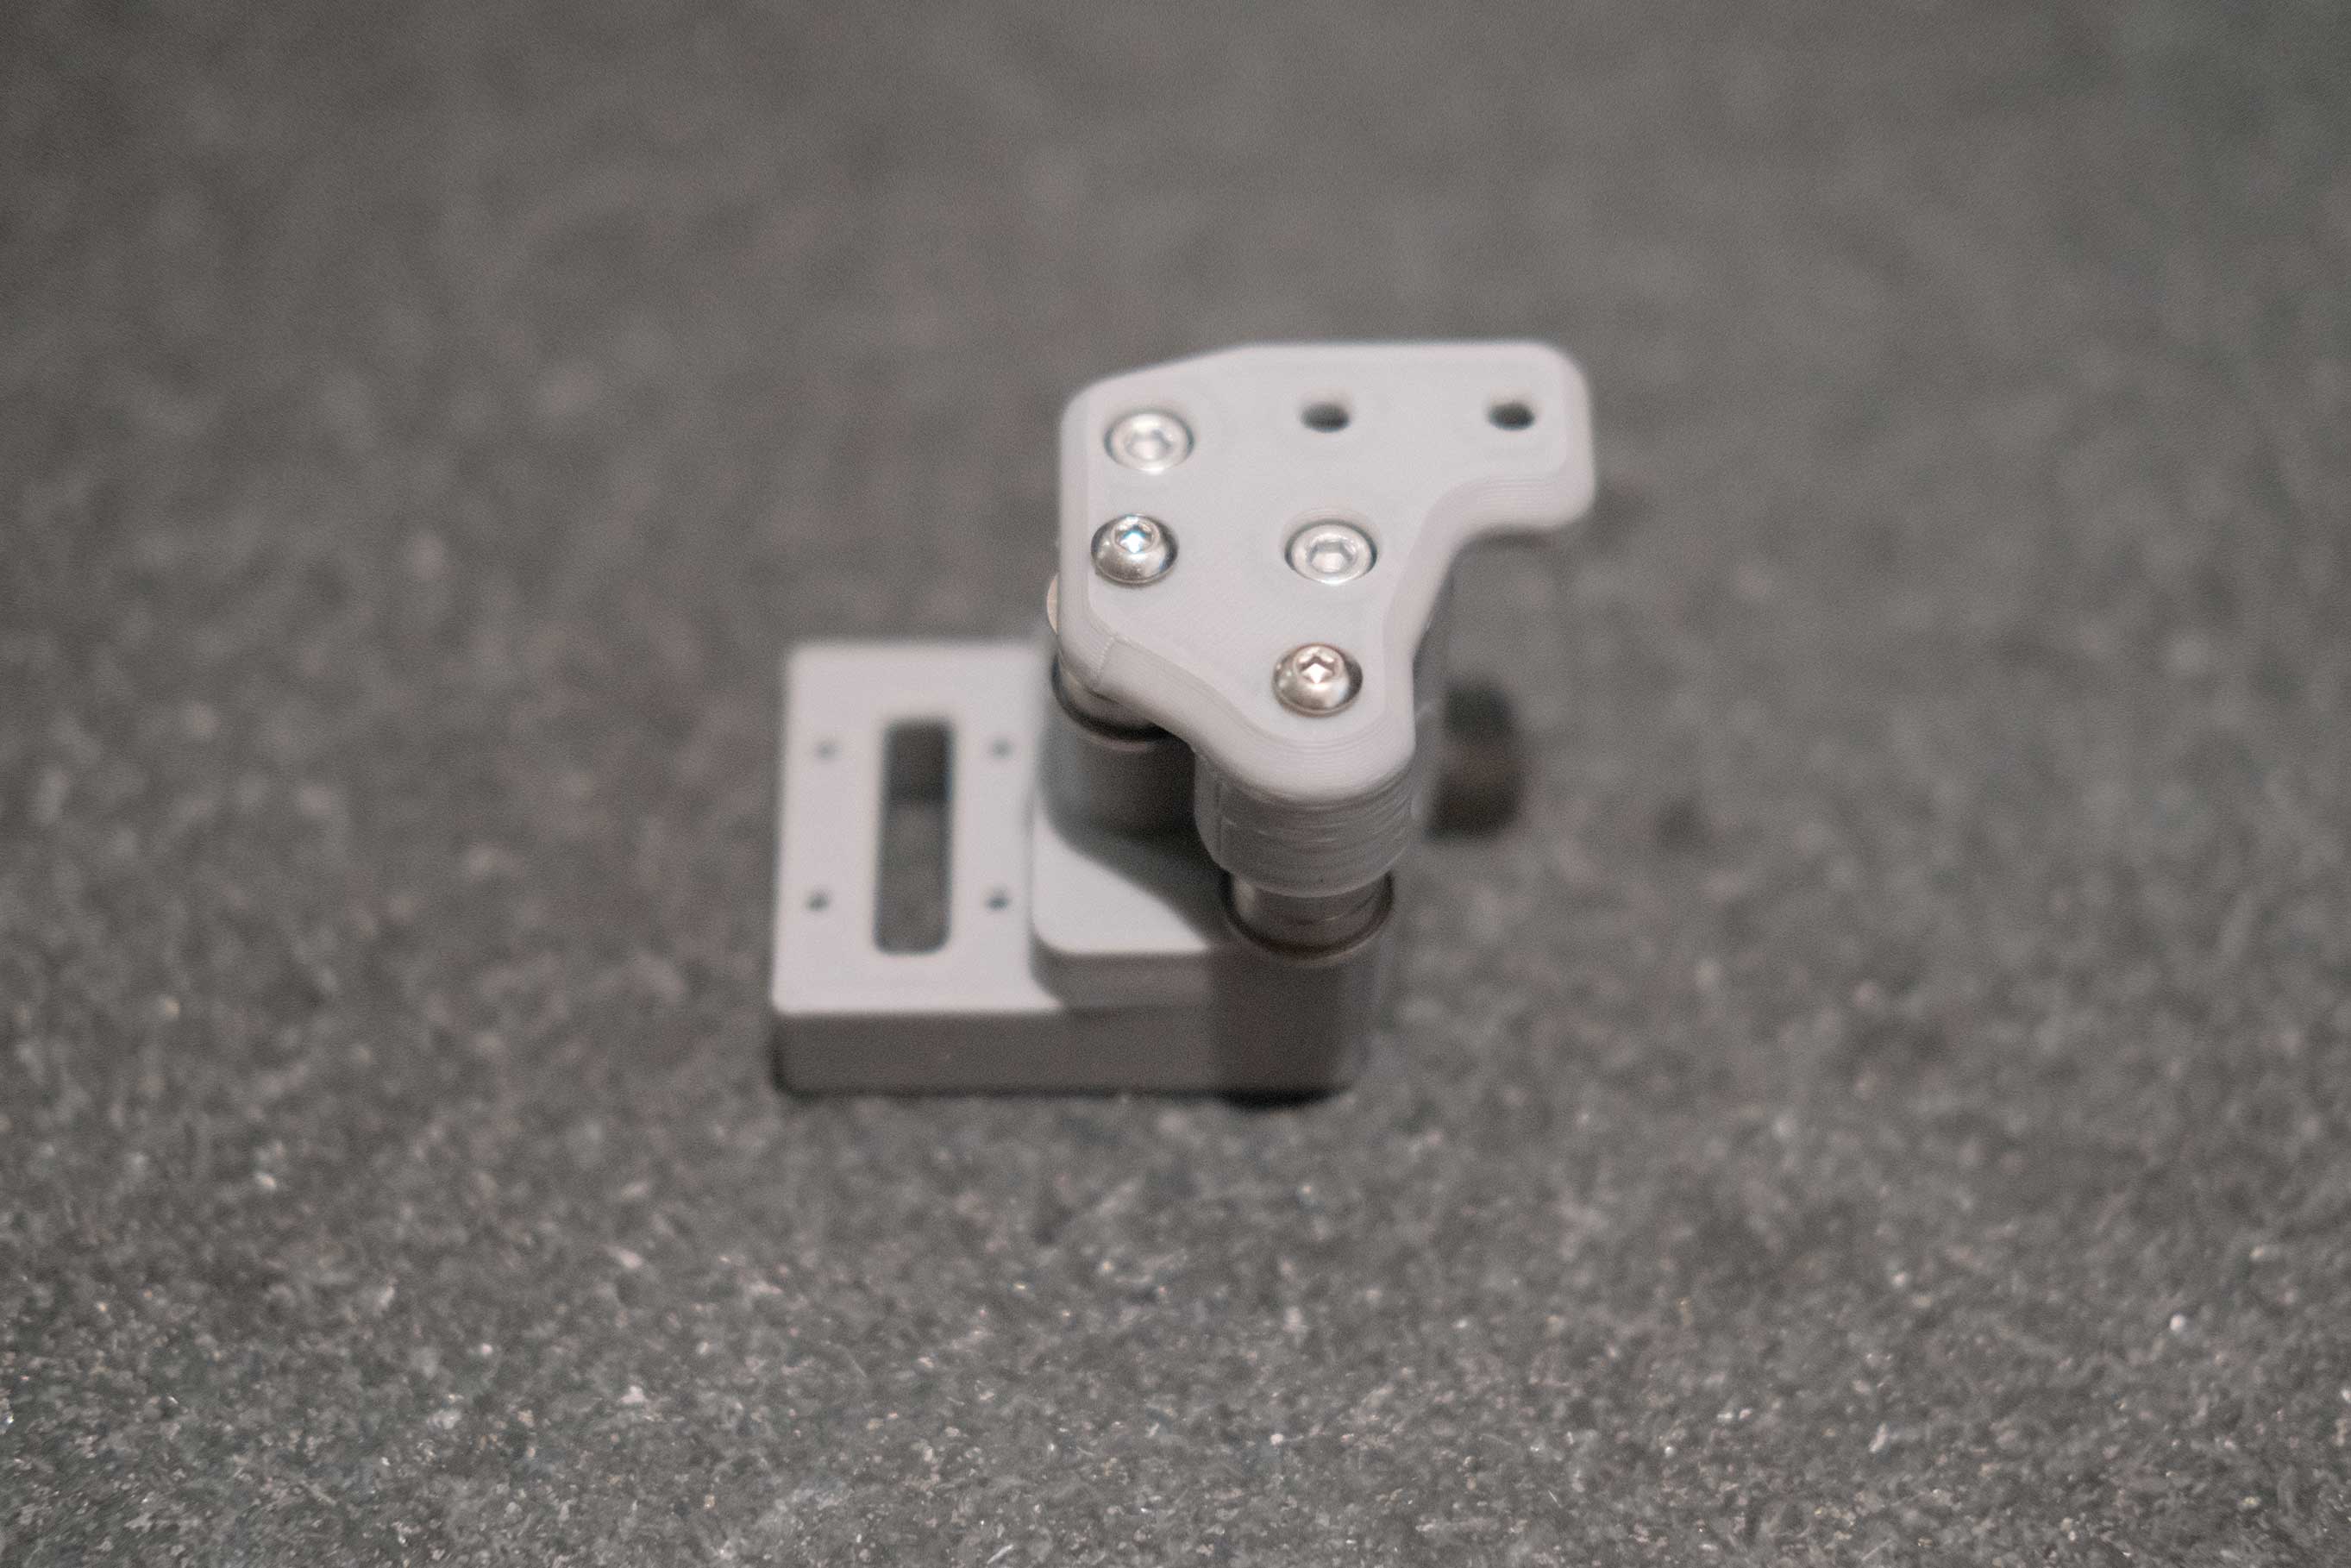
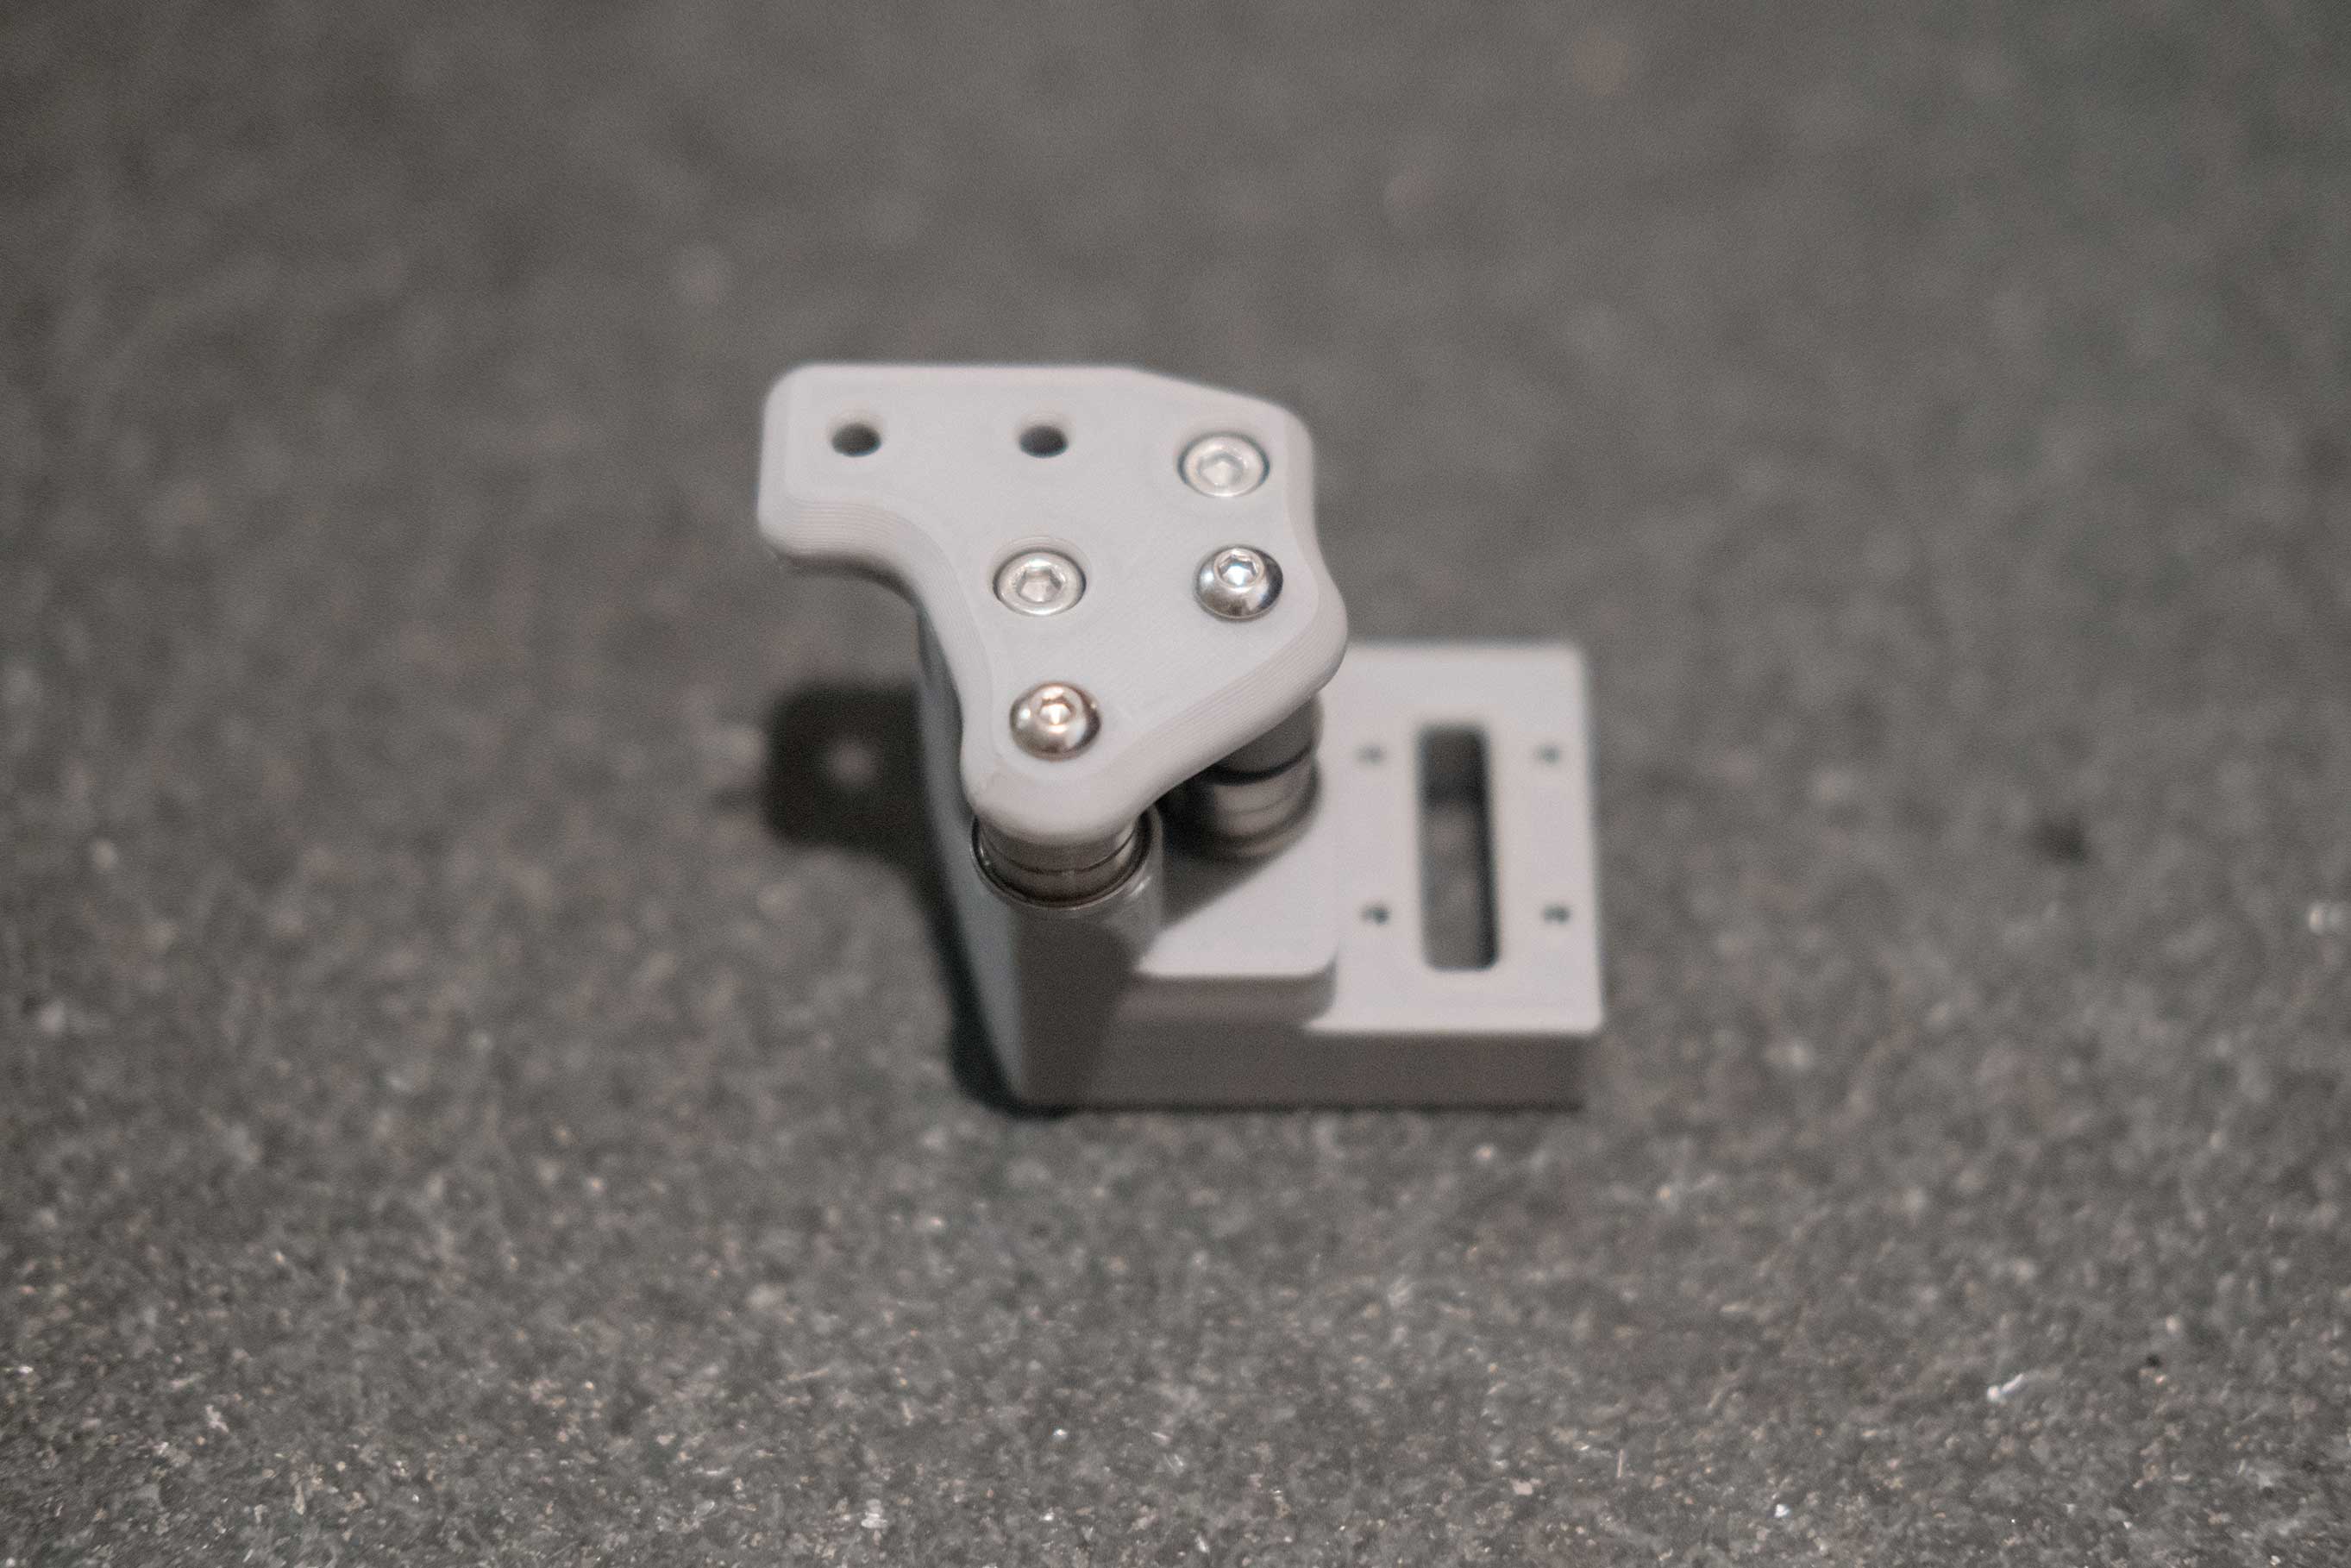
 Z Joints - 1
 Z Joints - 2
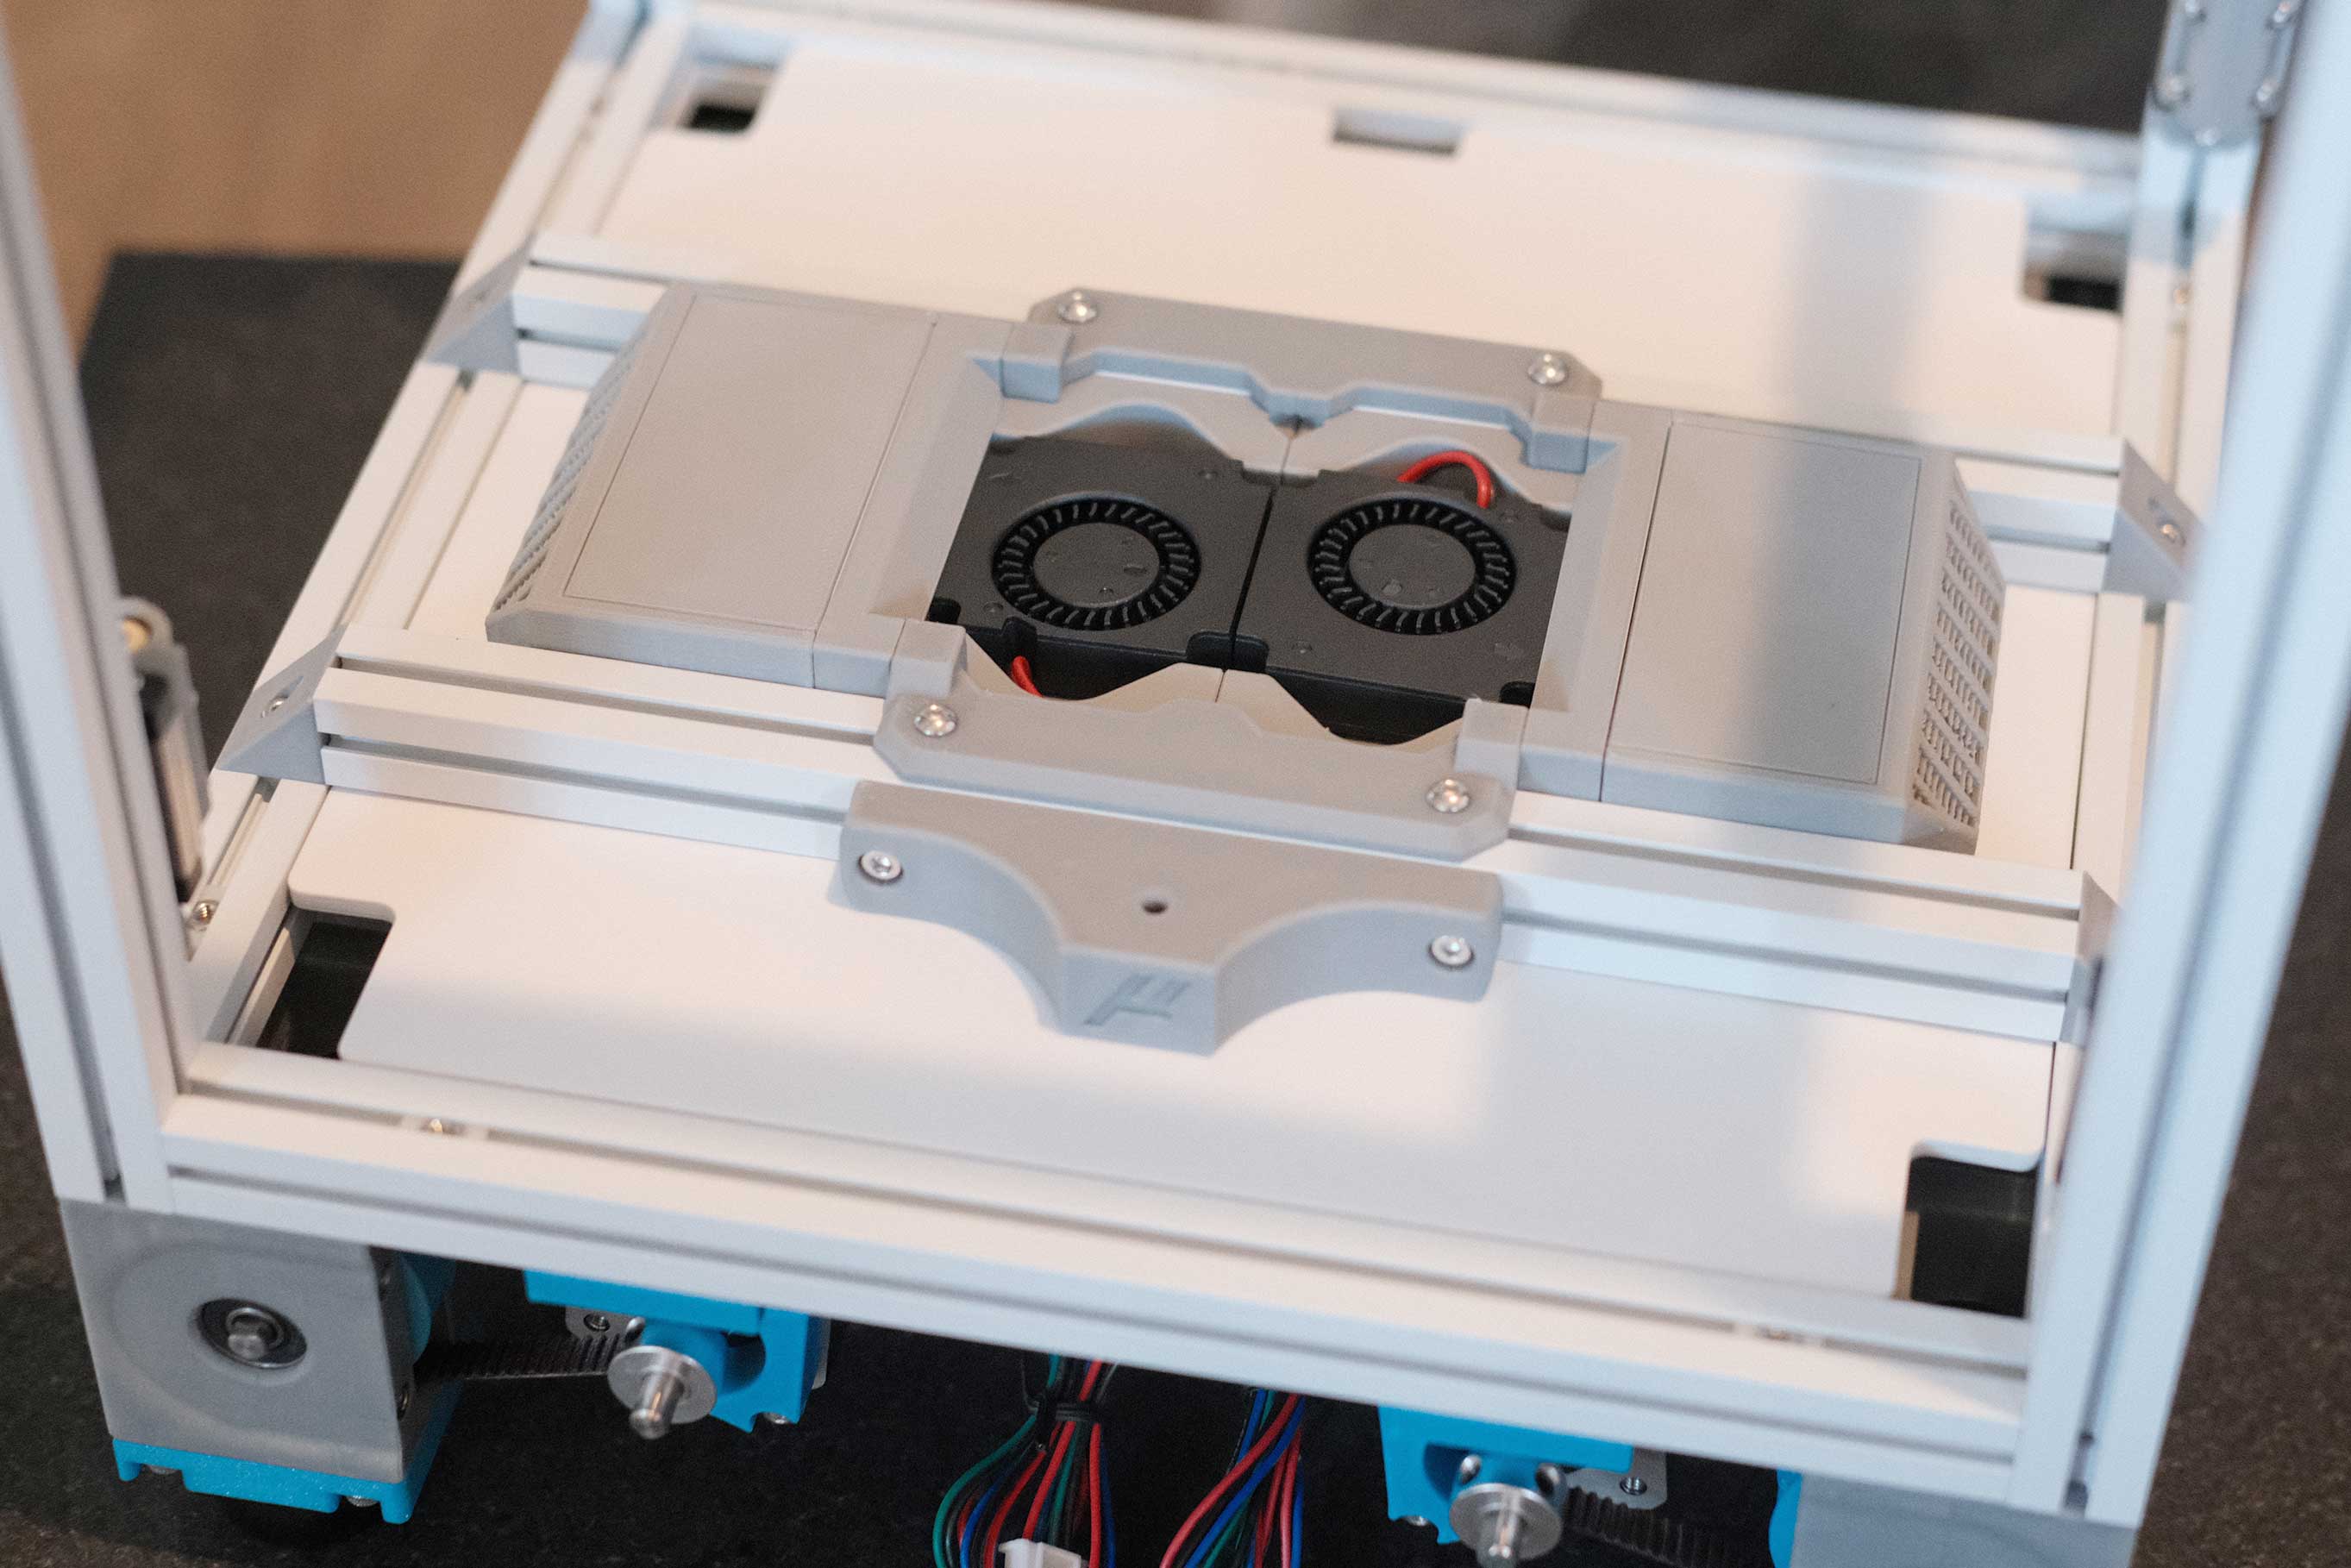
Deck
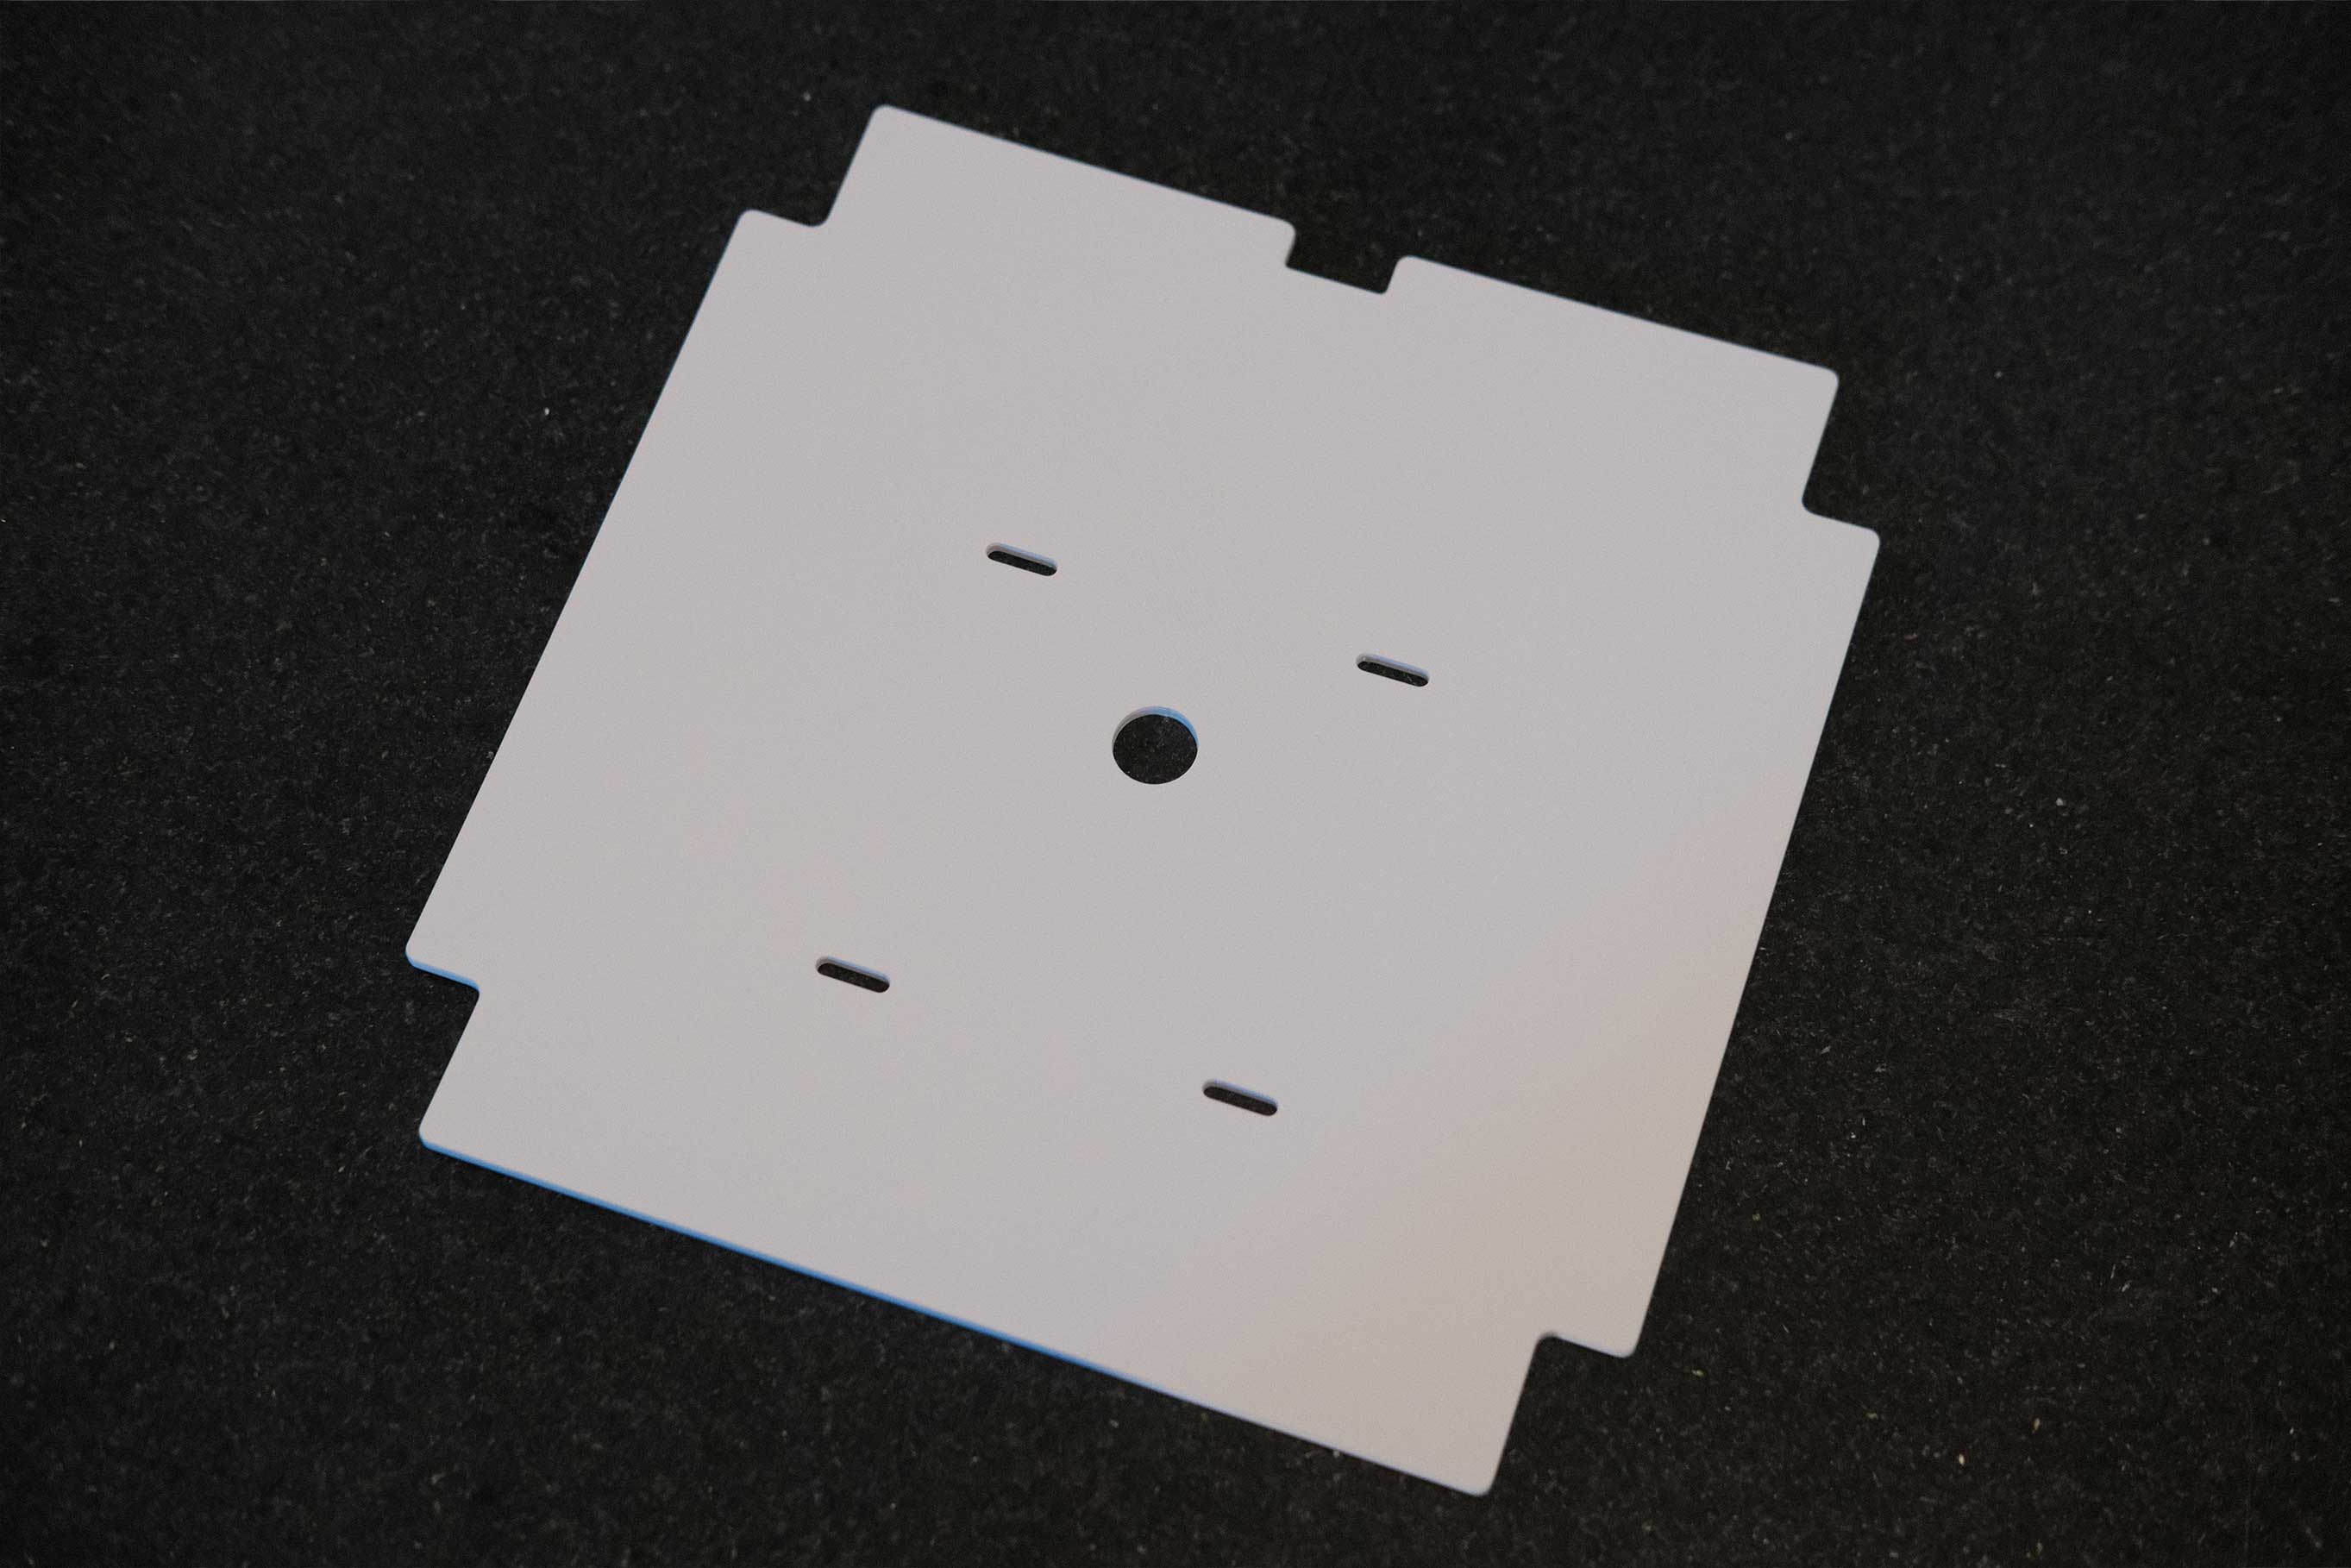
 Printed Deck - 1
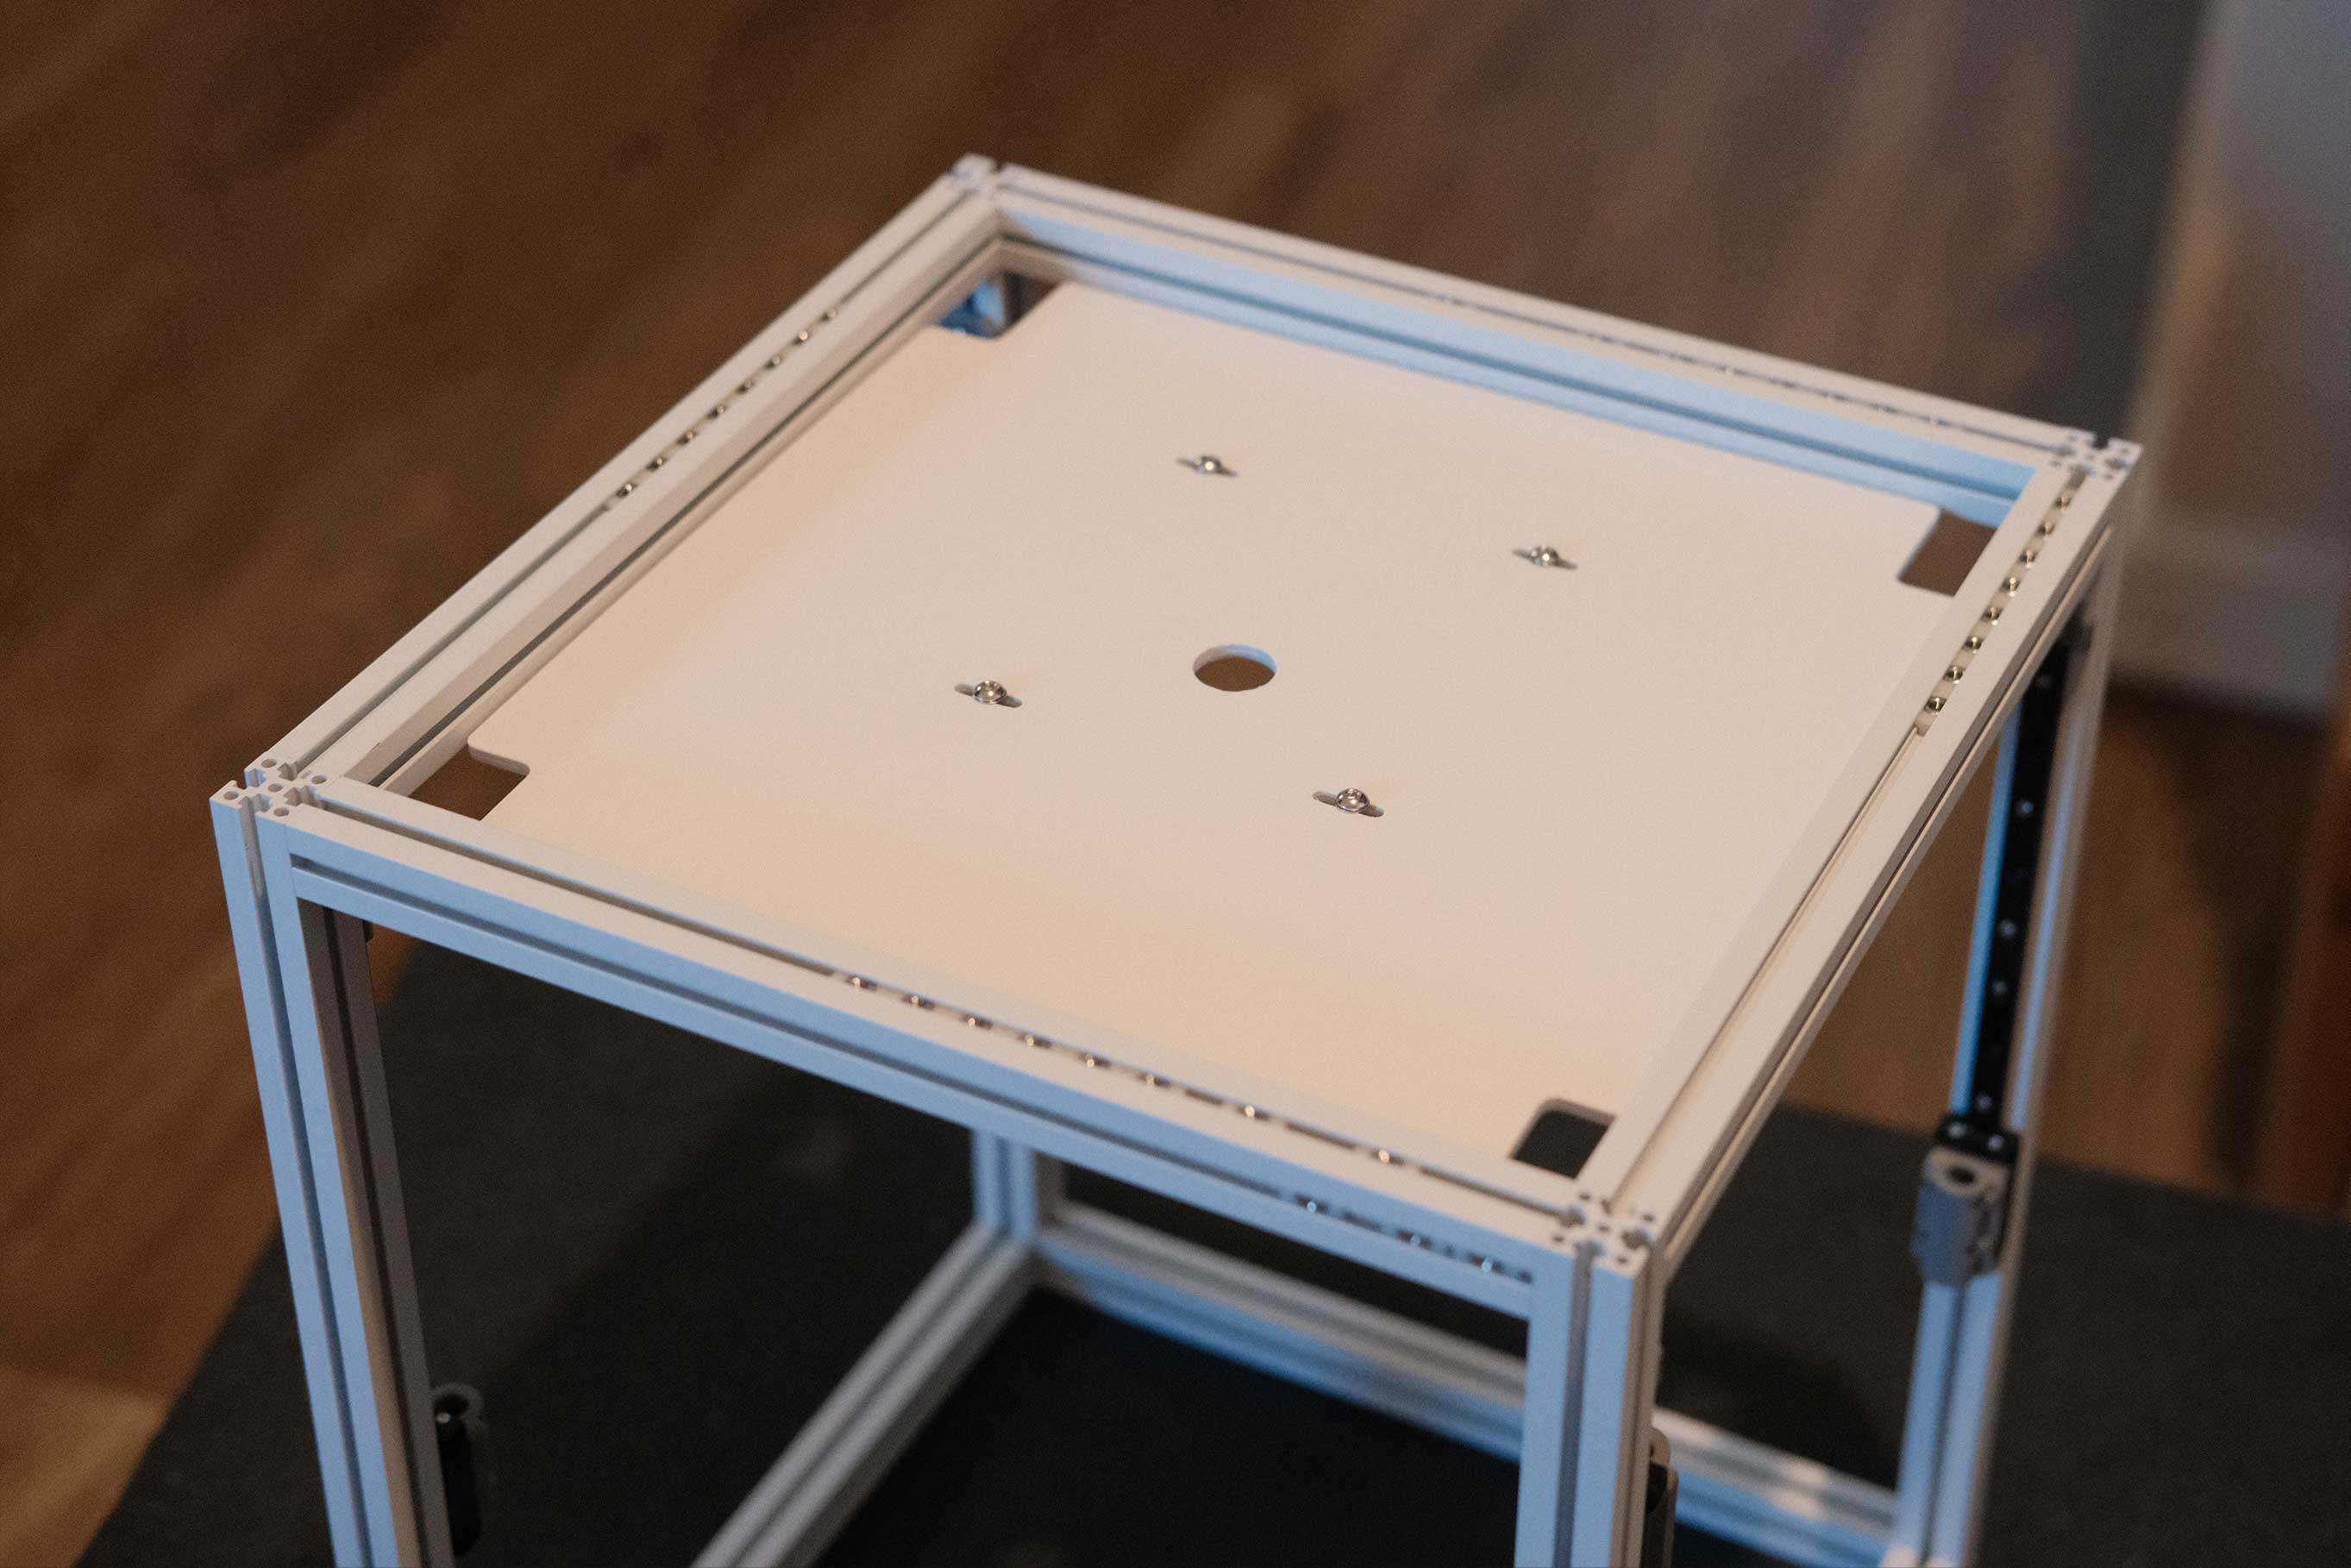
 Printed Deck - 2
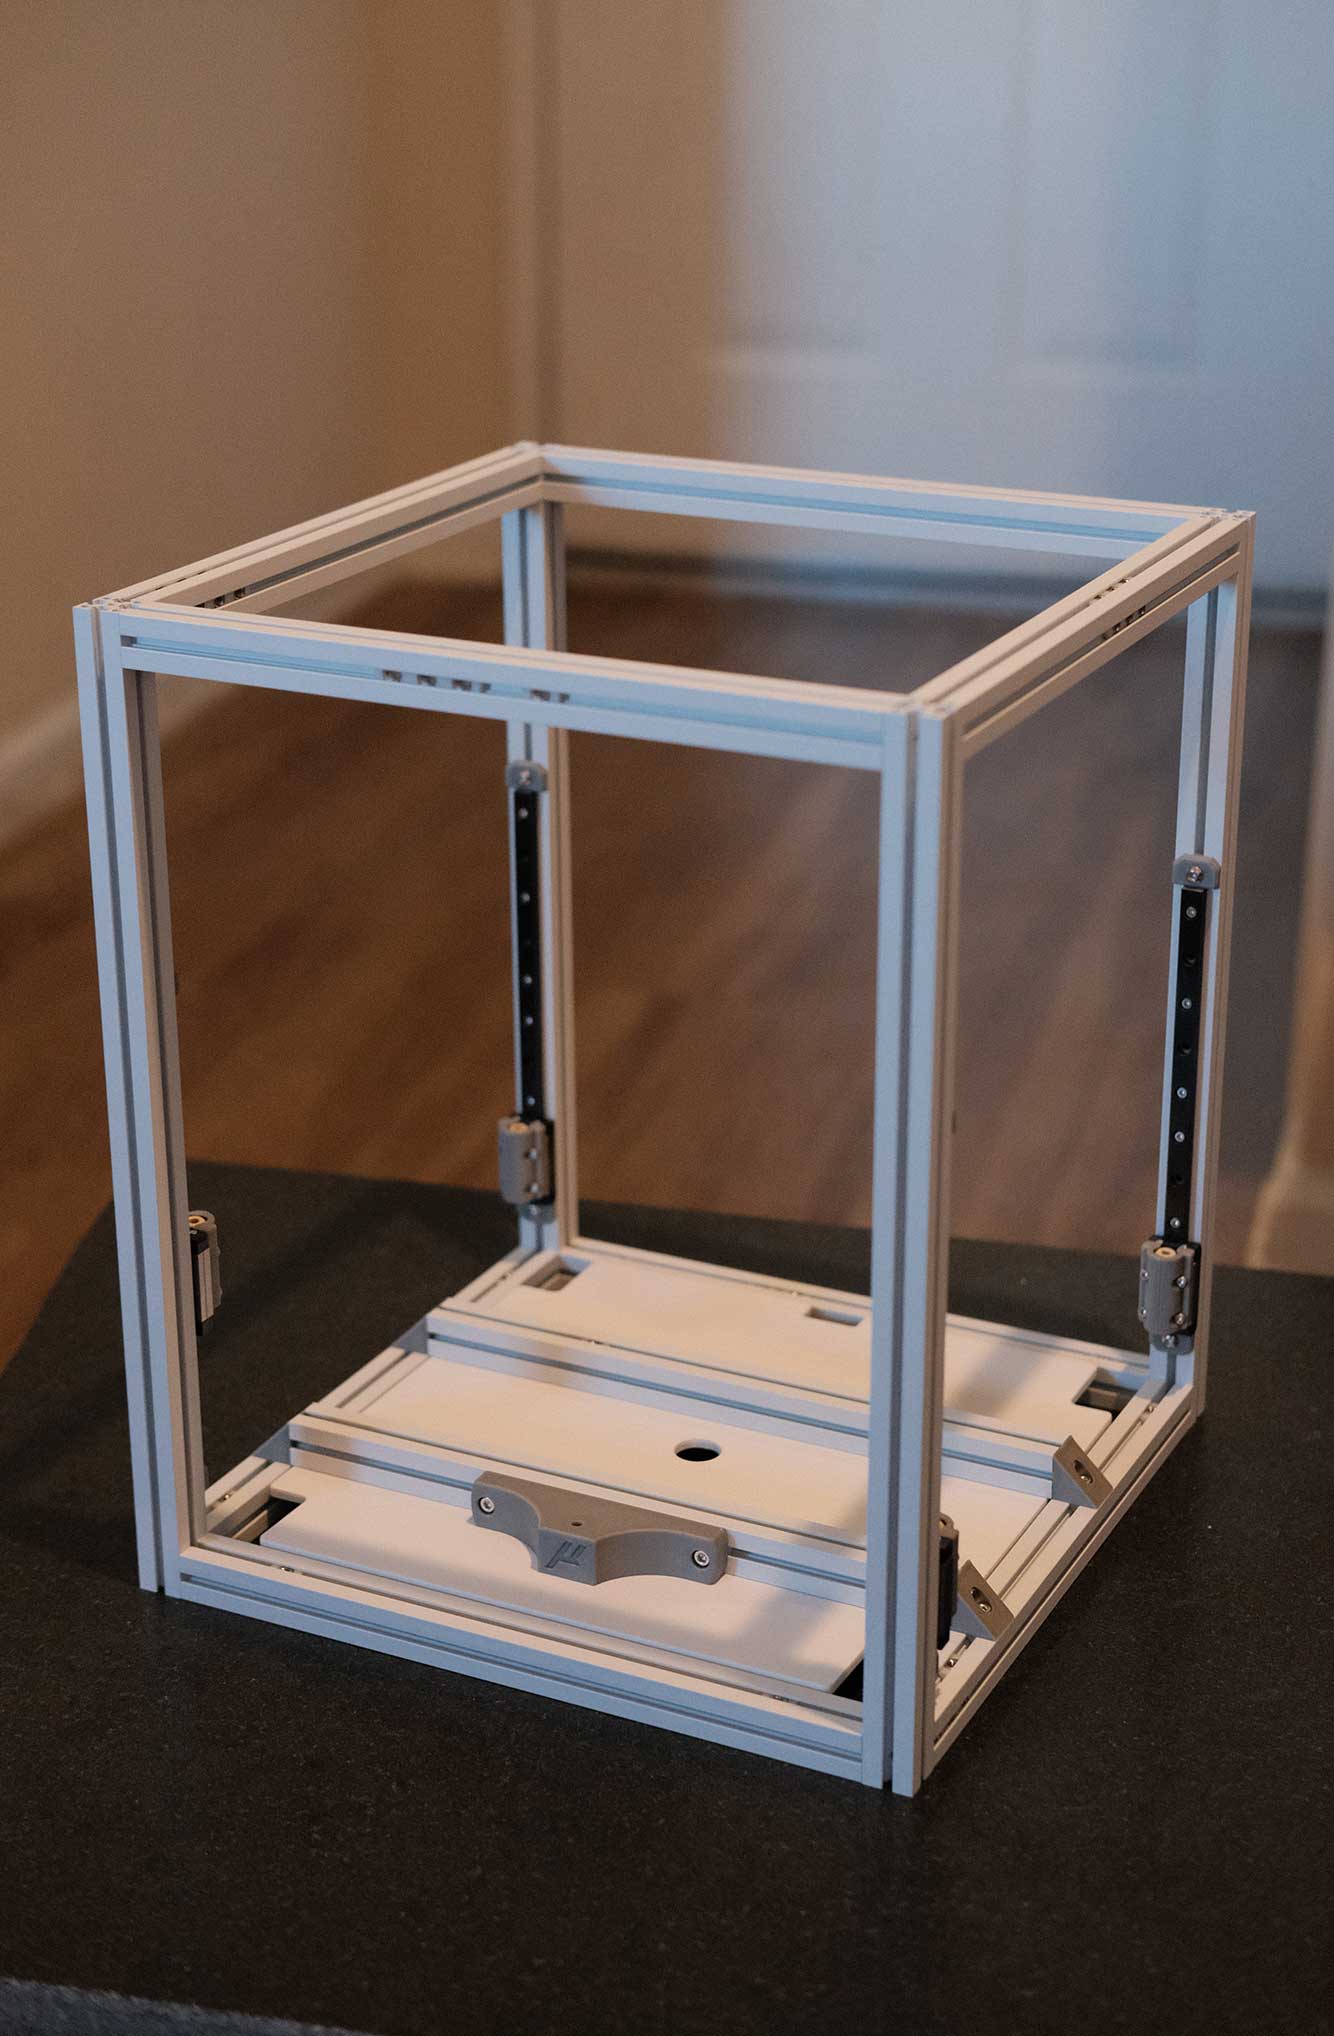
 Printed Deck - 3
 Printed Deck - 4
 Printed Back Panel - 1
 Printed Back Panel - 2
Z Drive
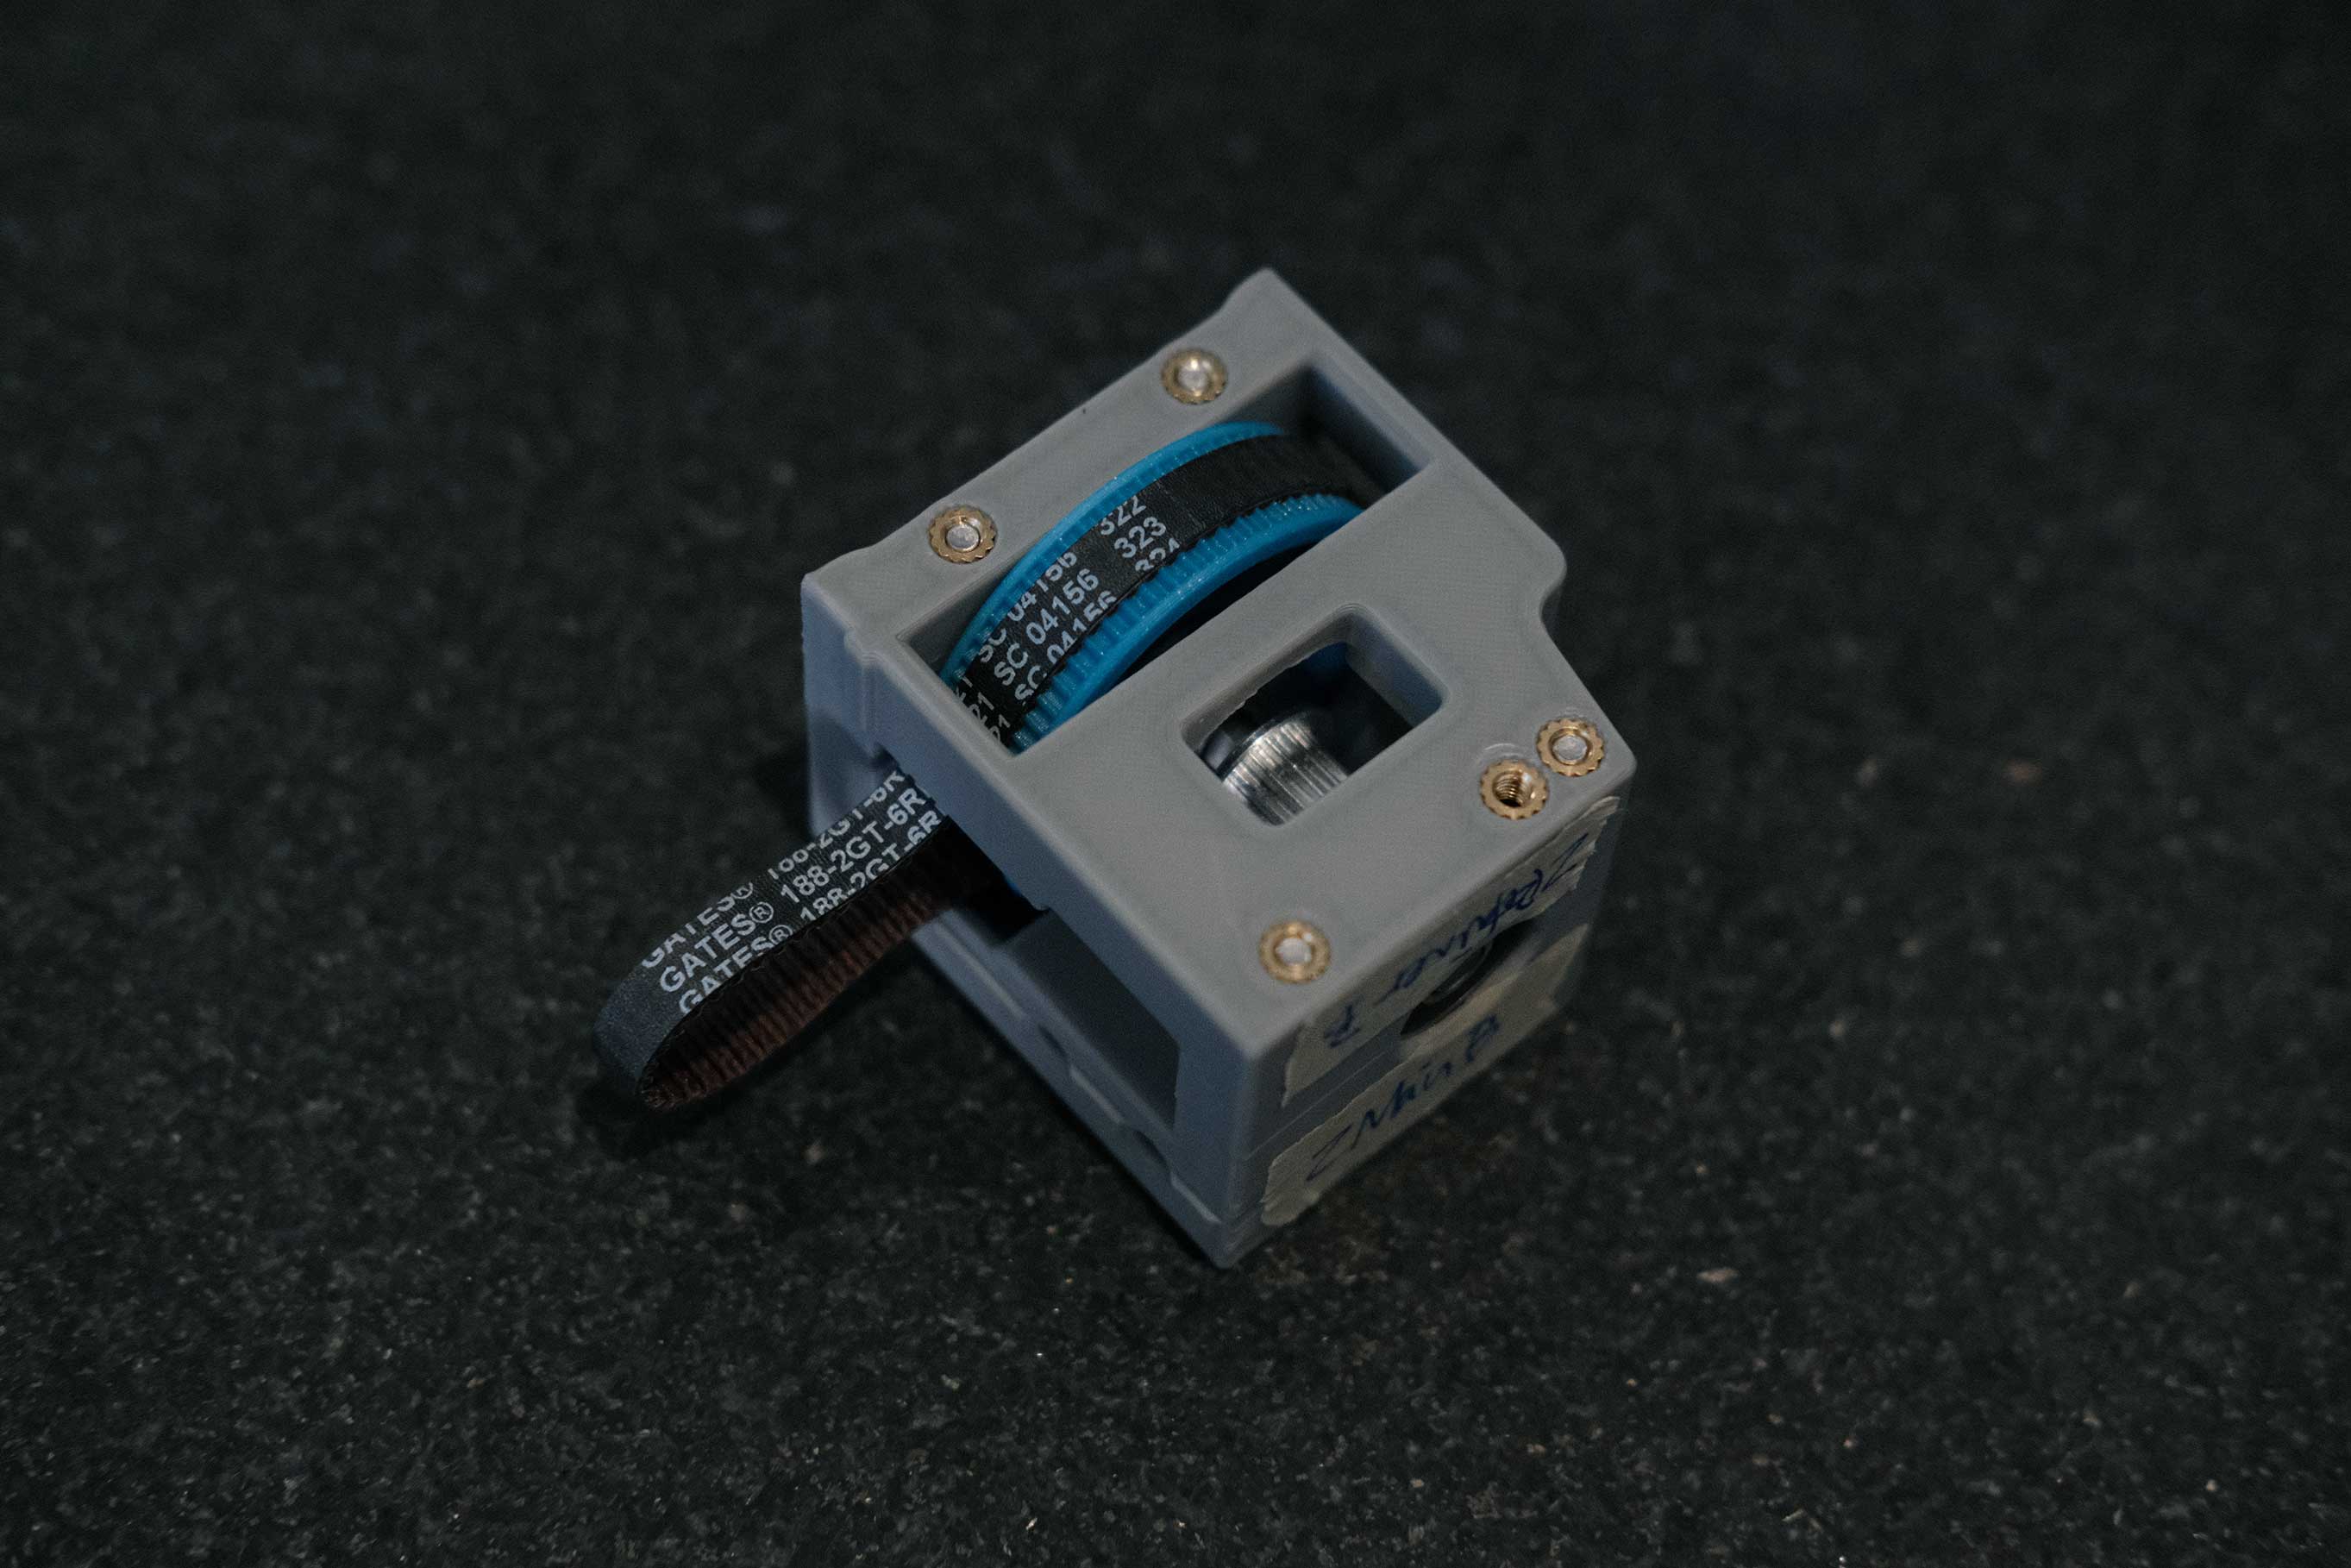
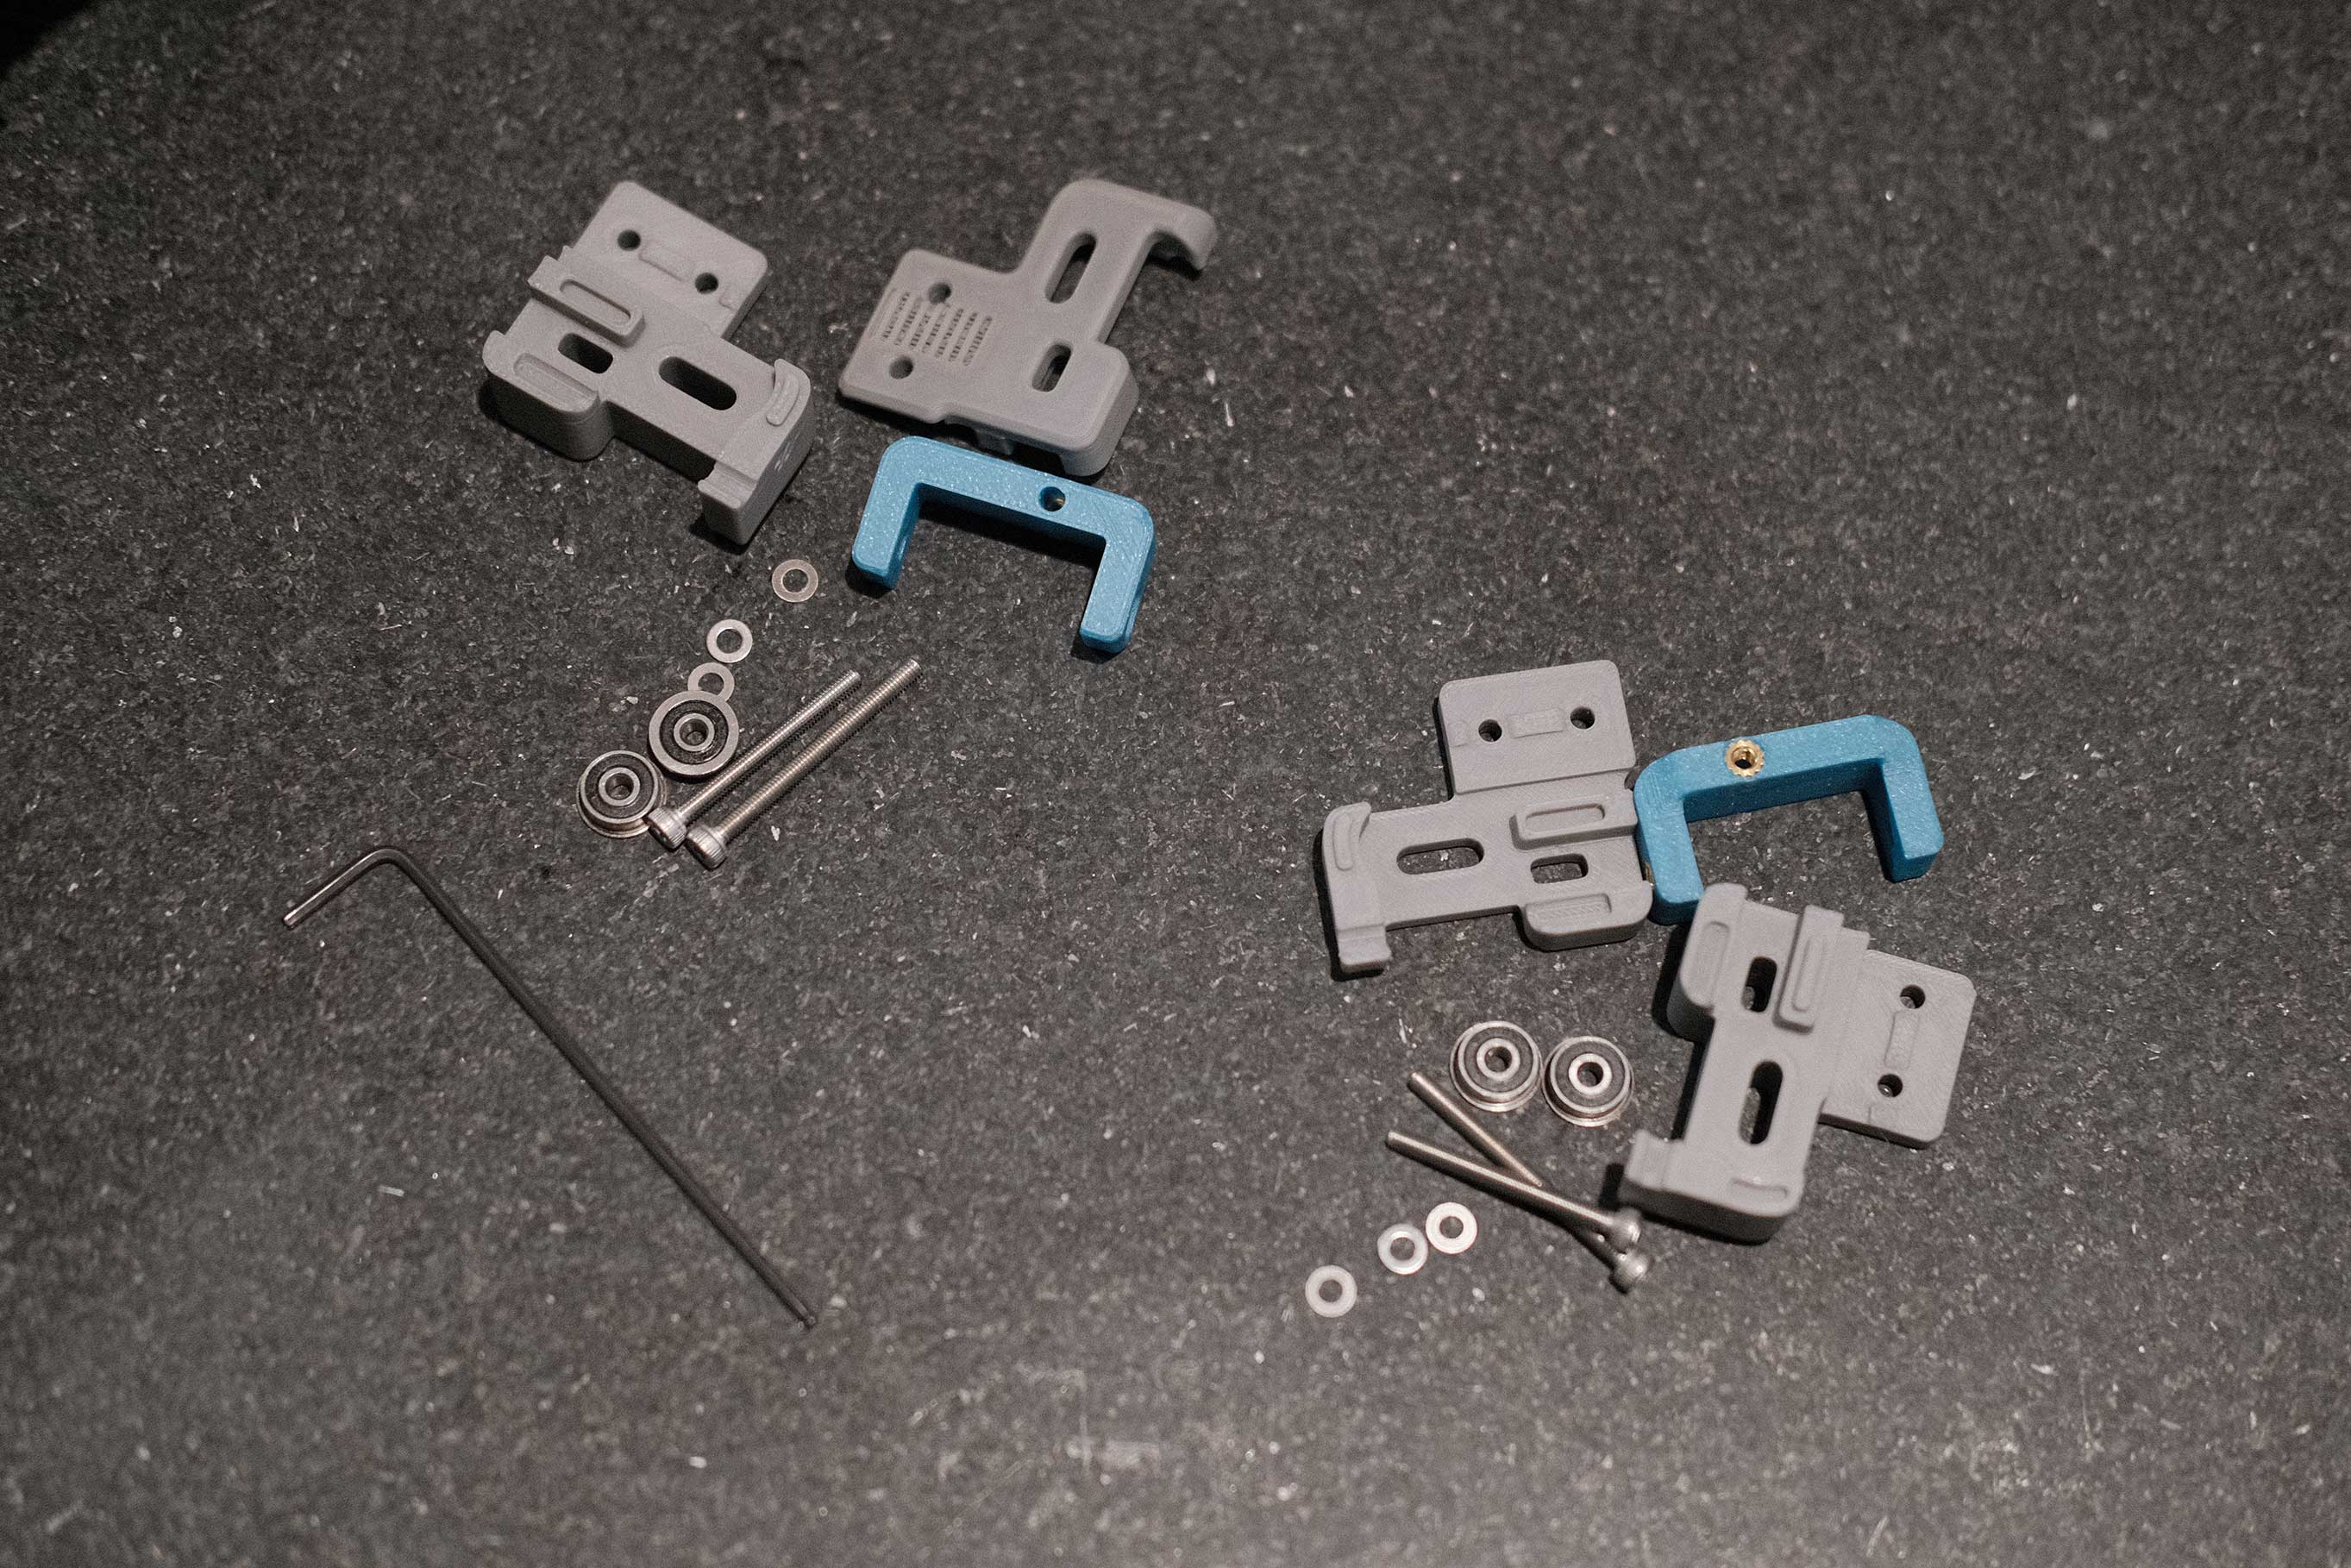
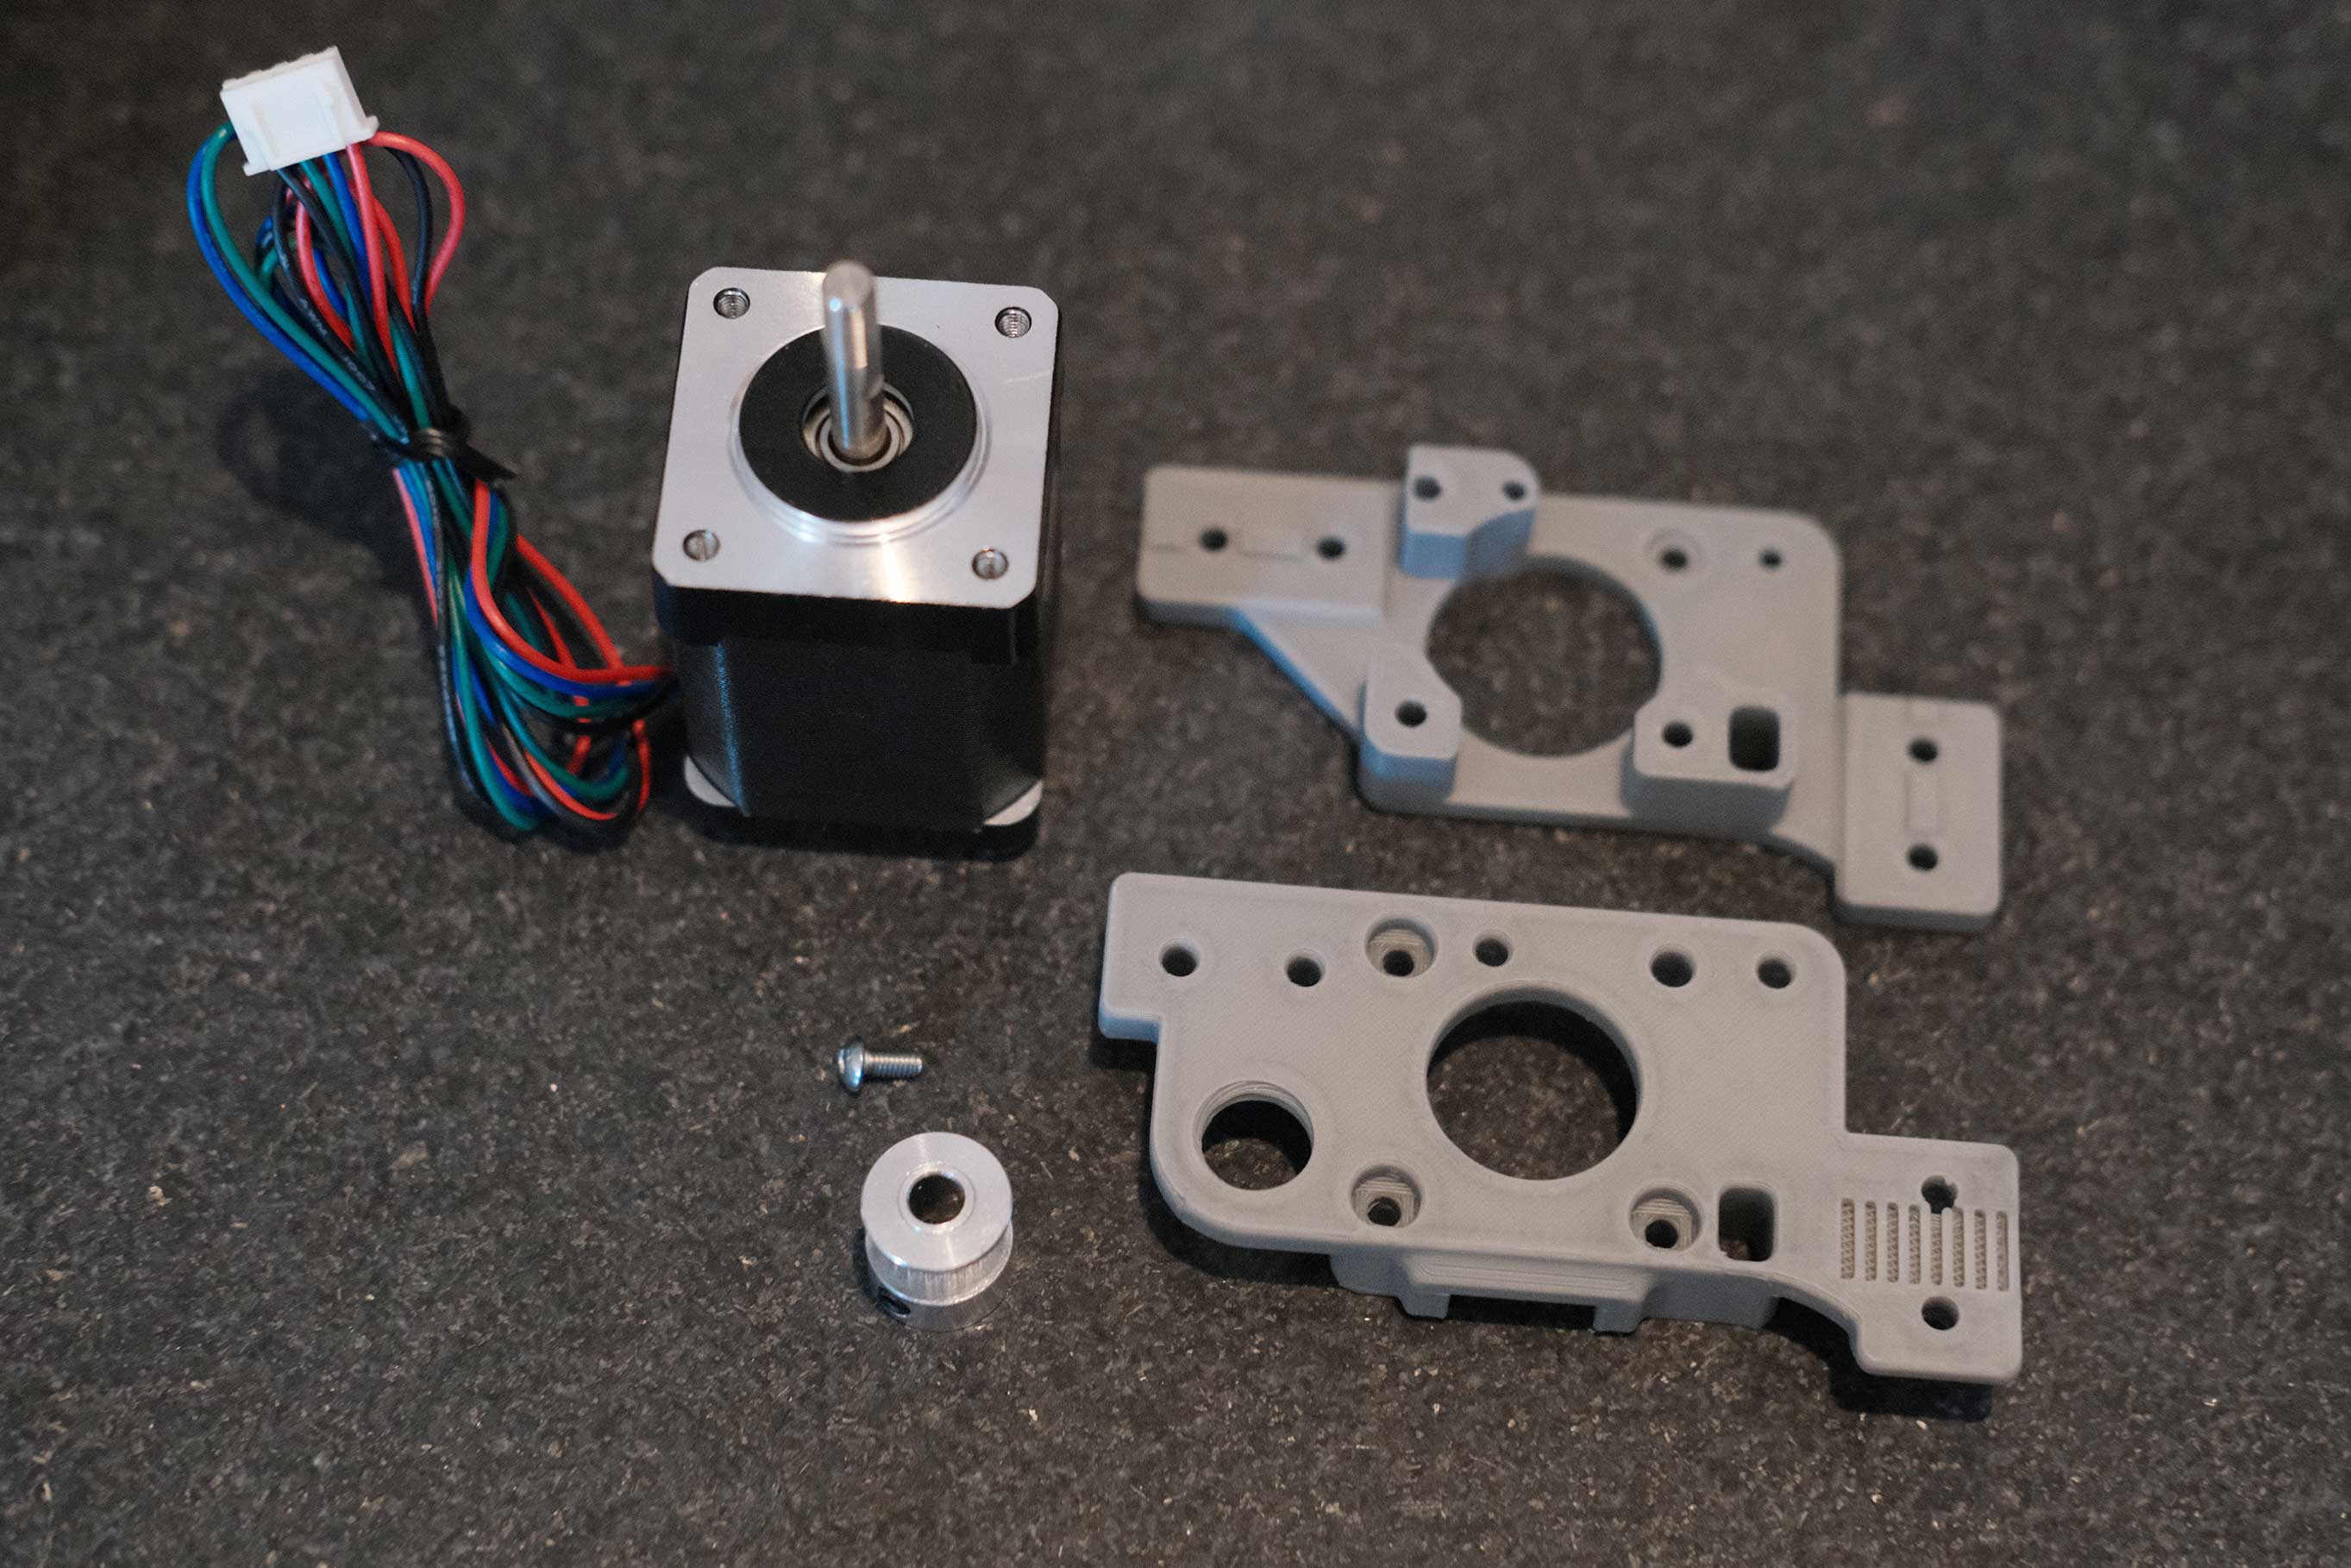
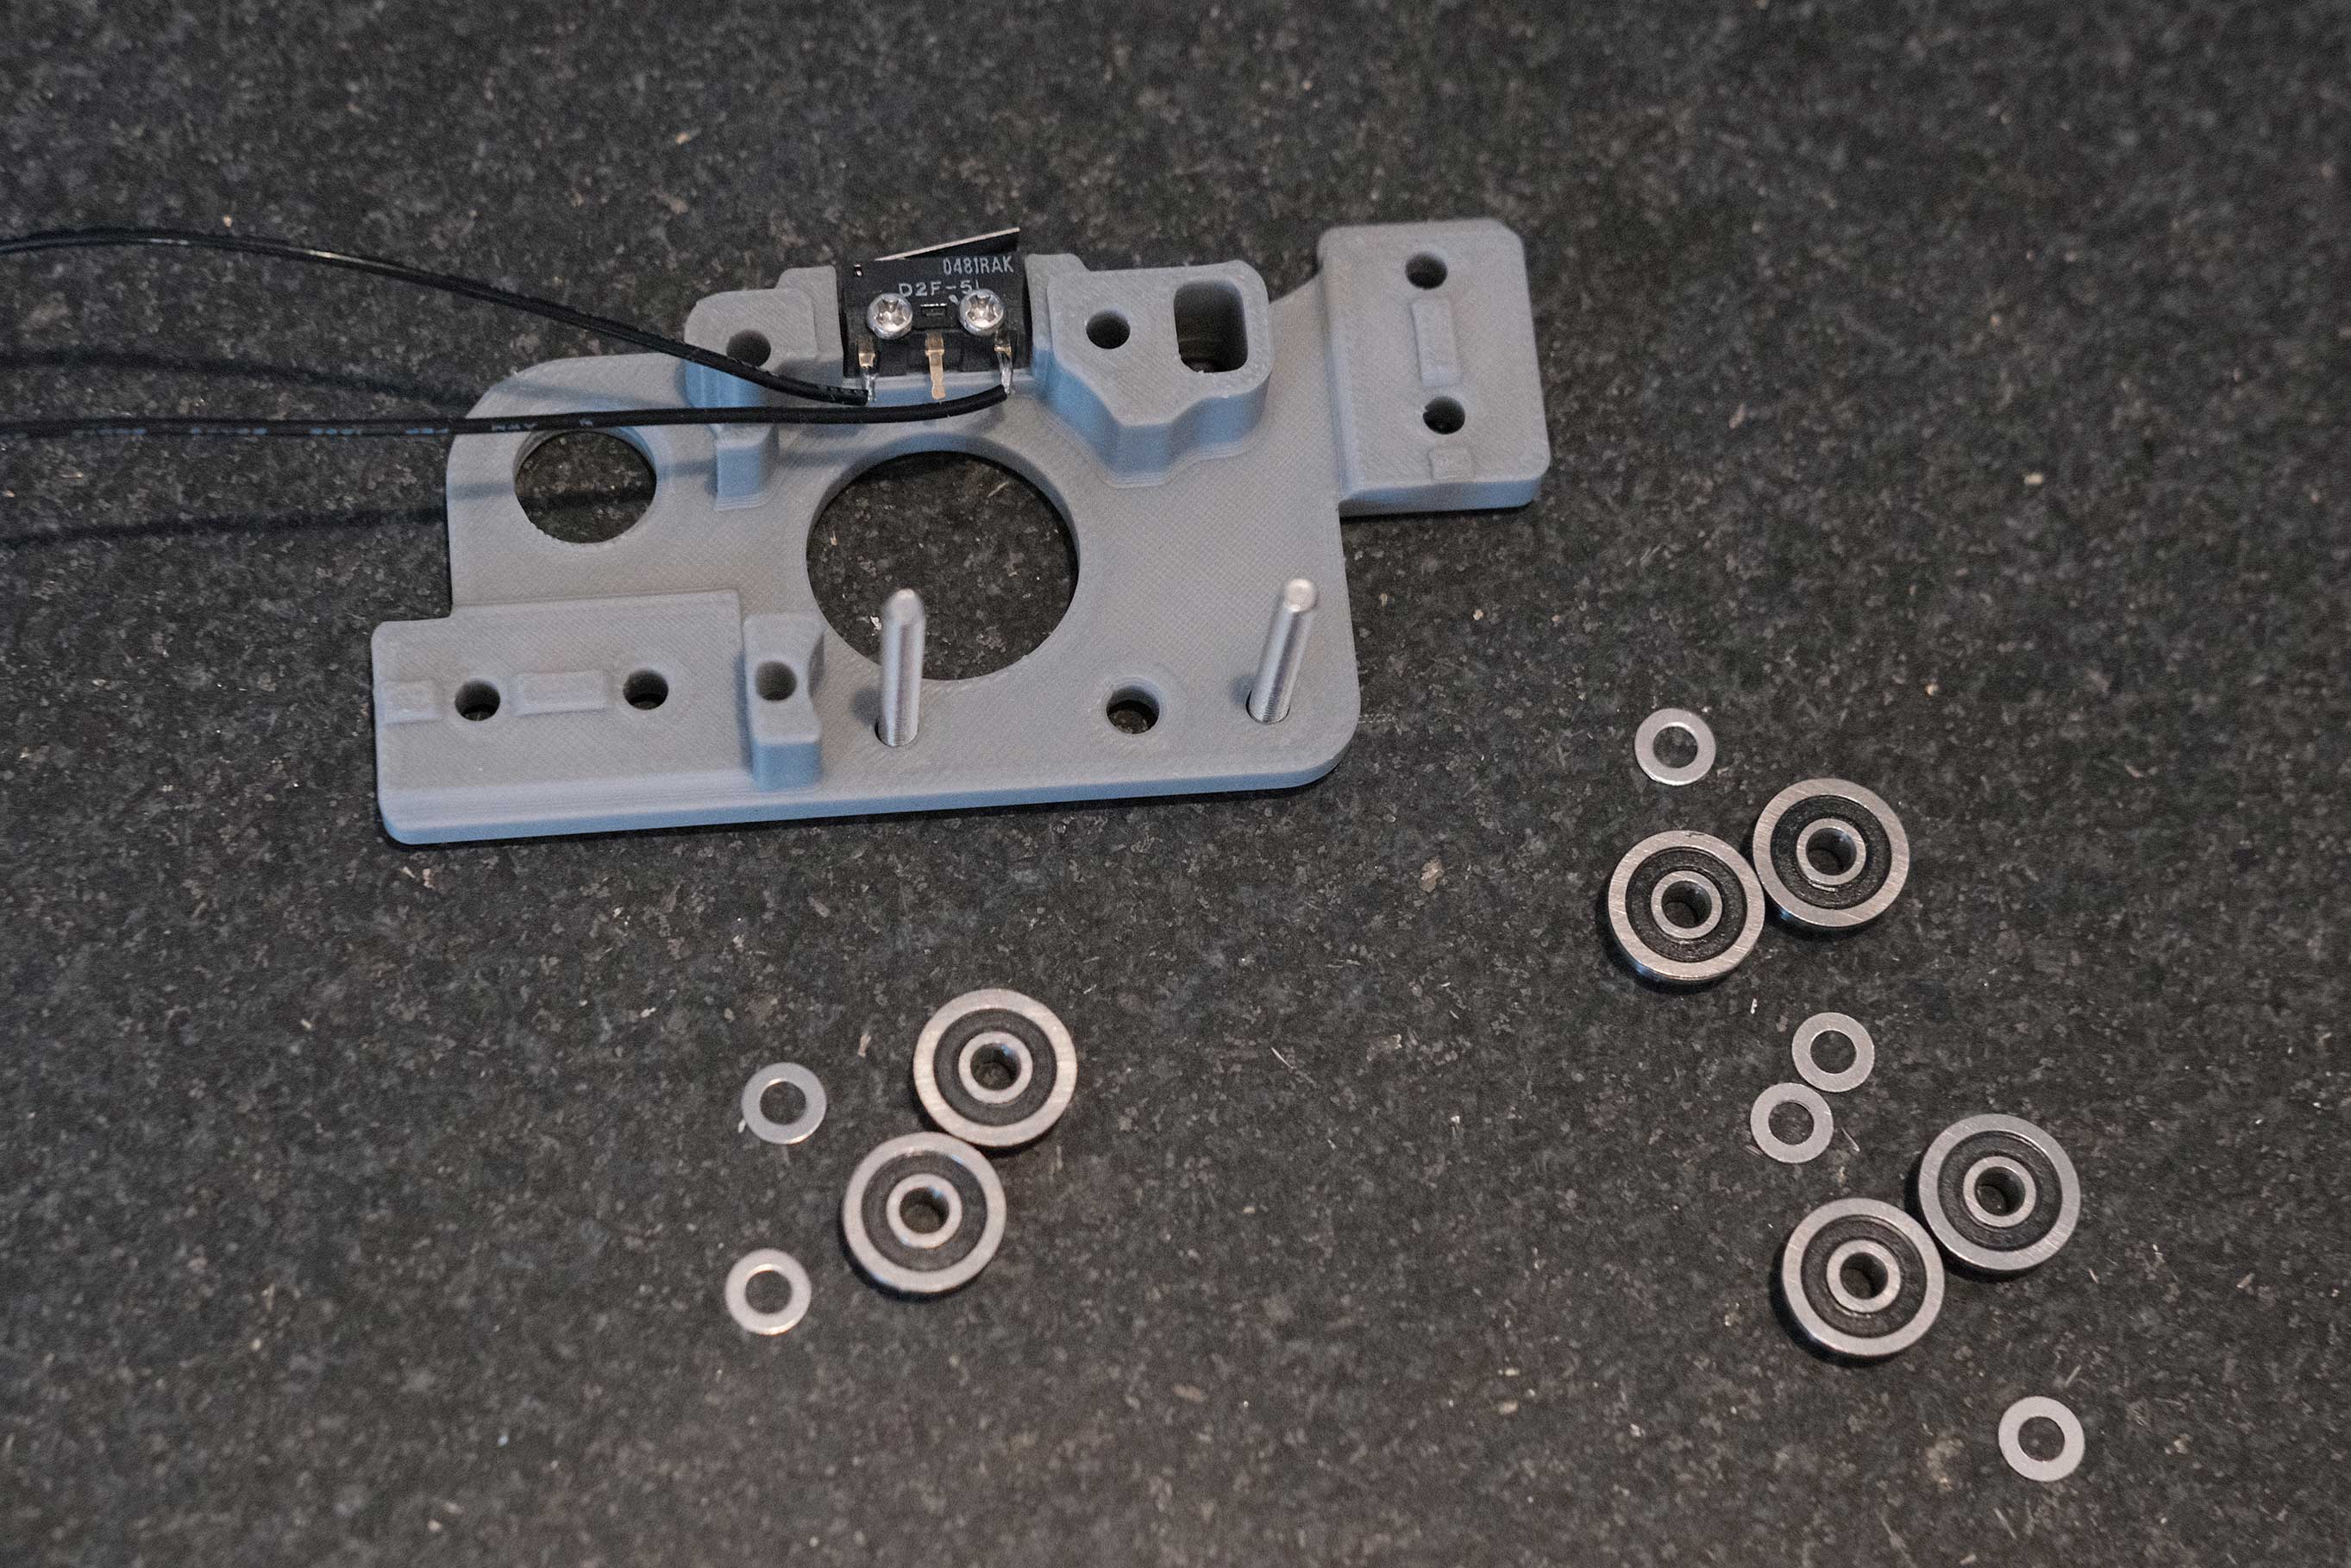
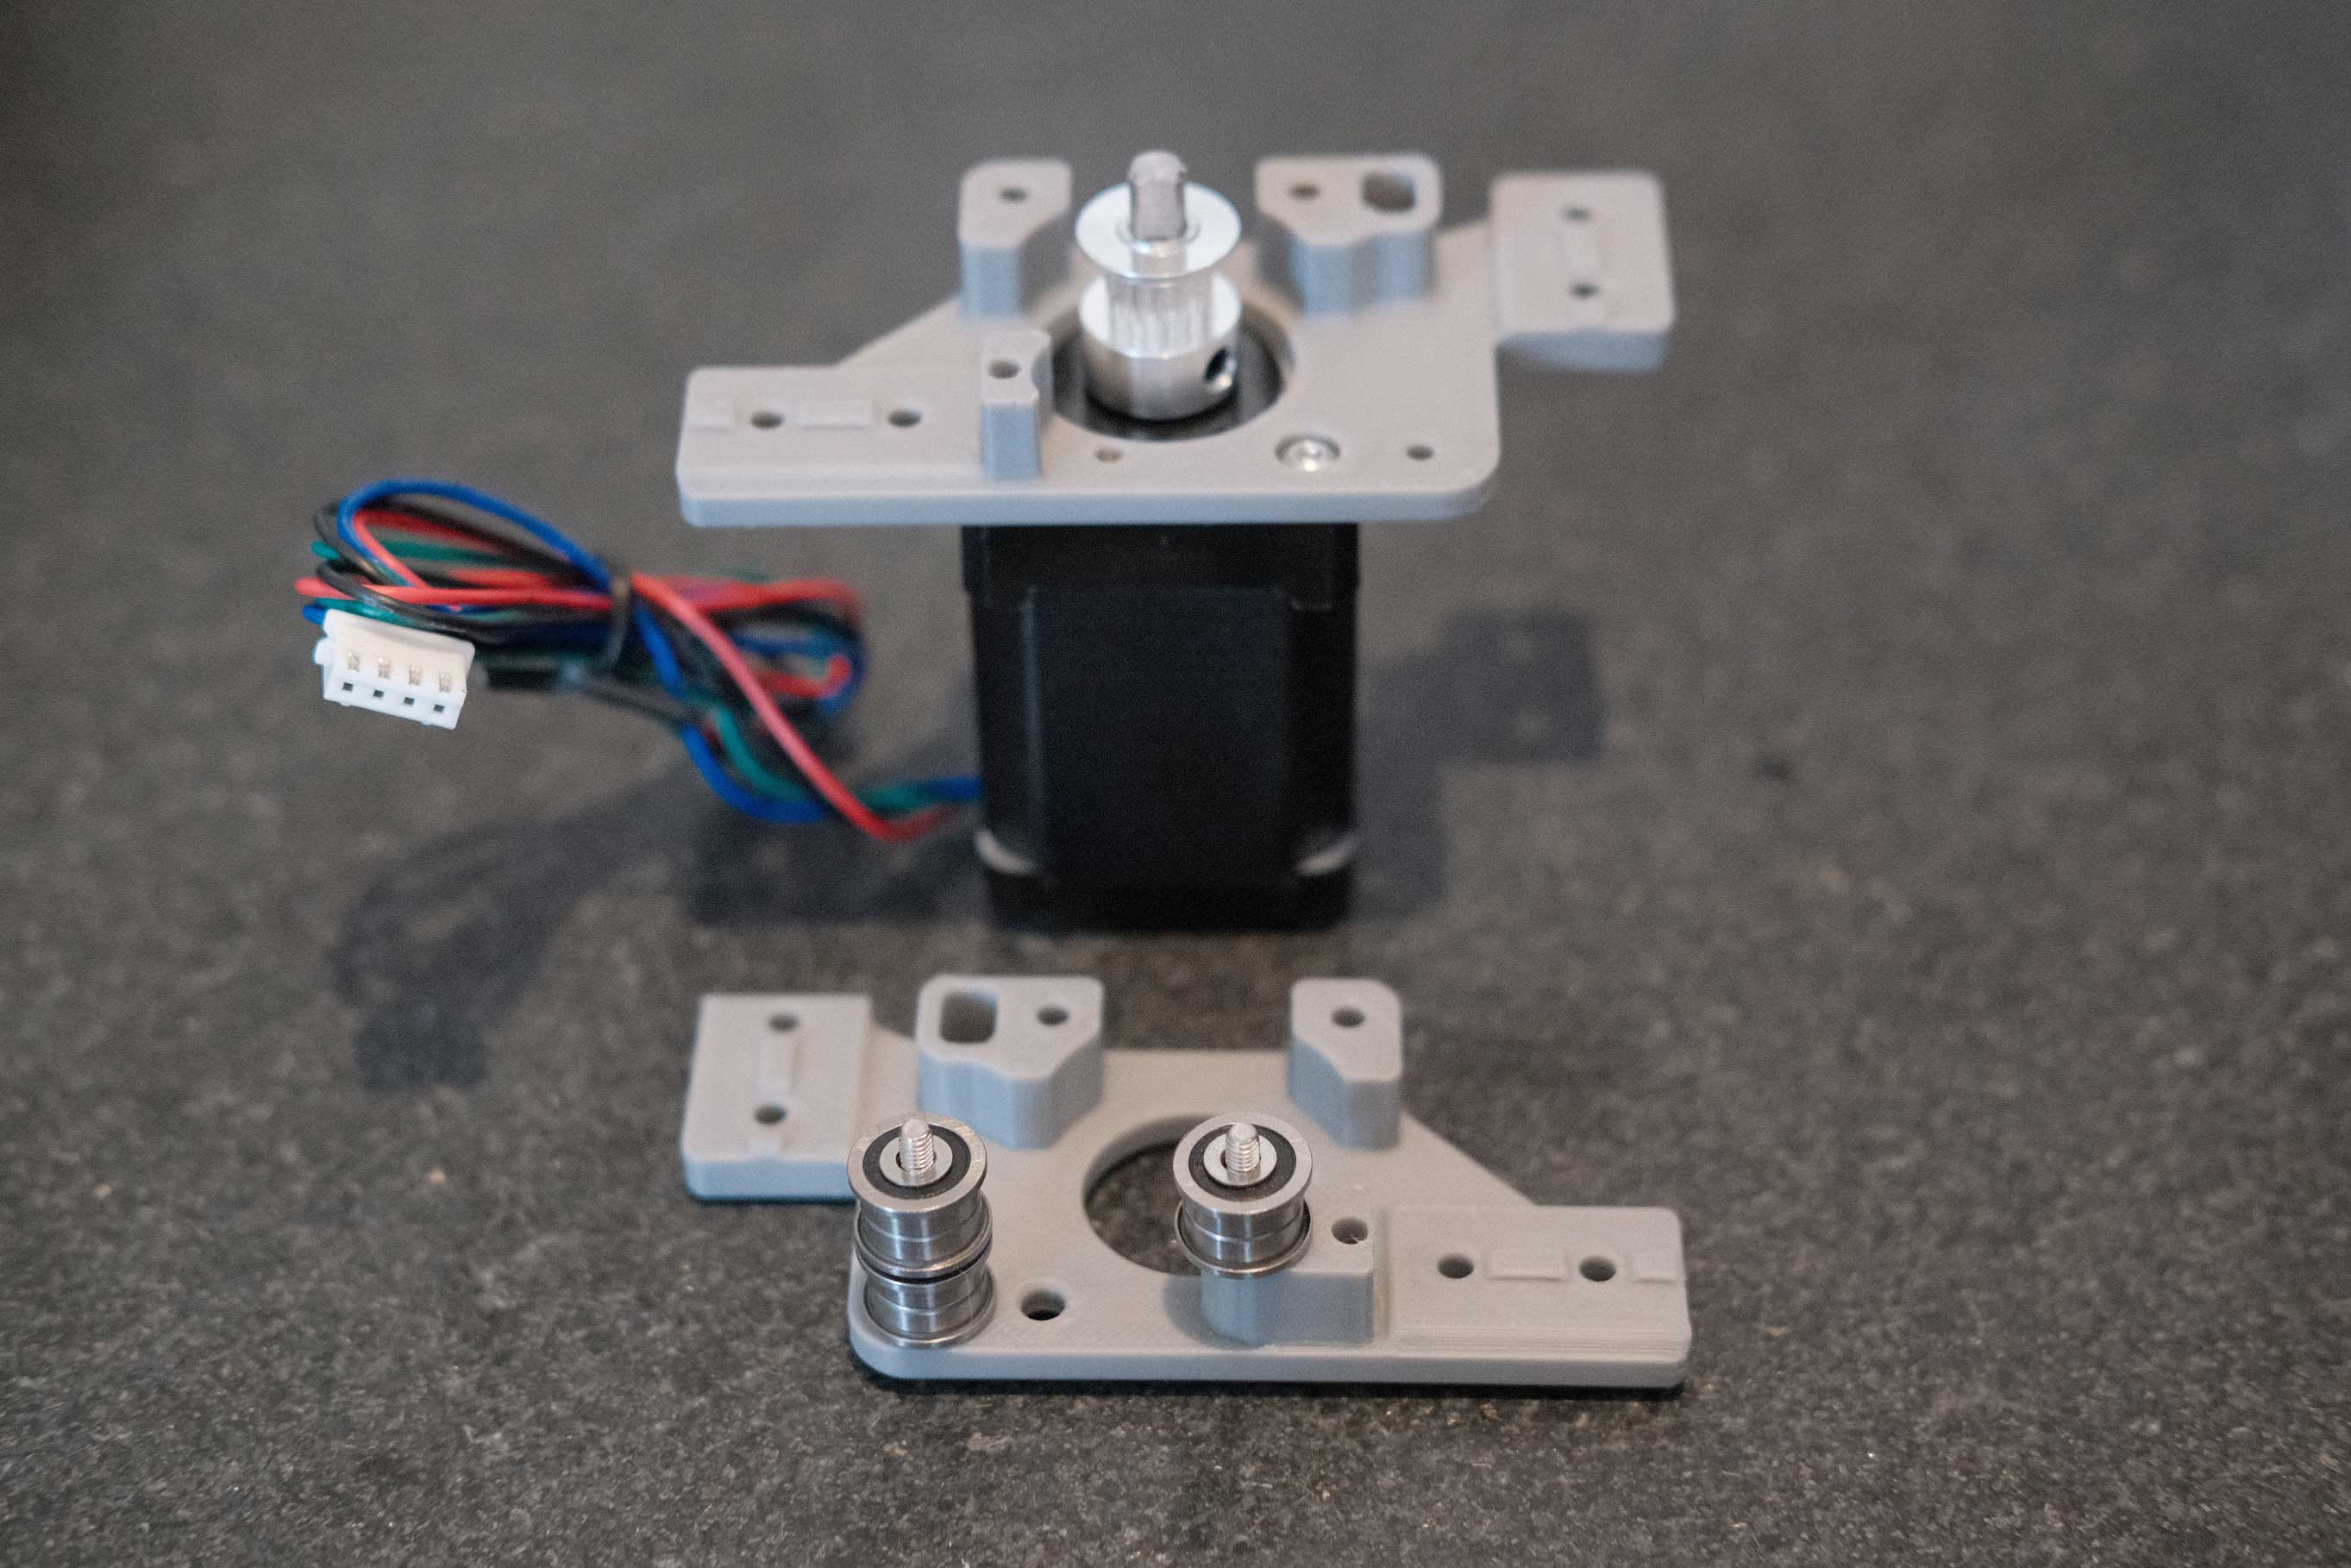
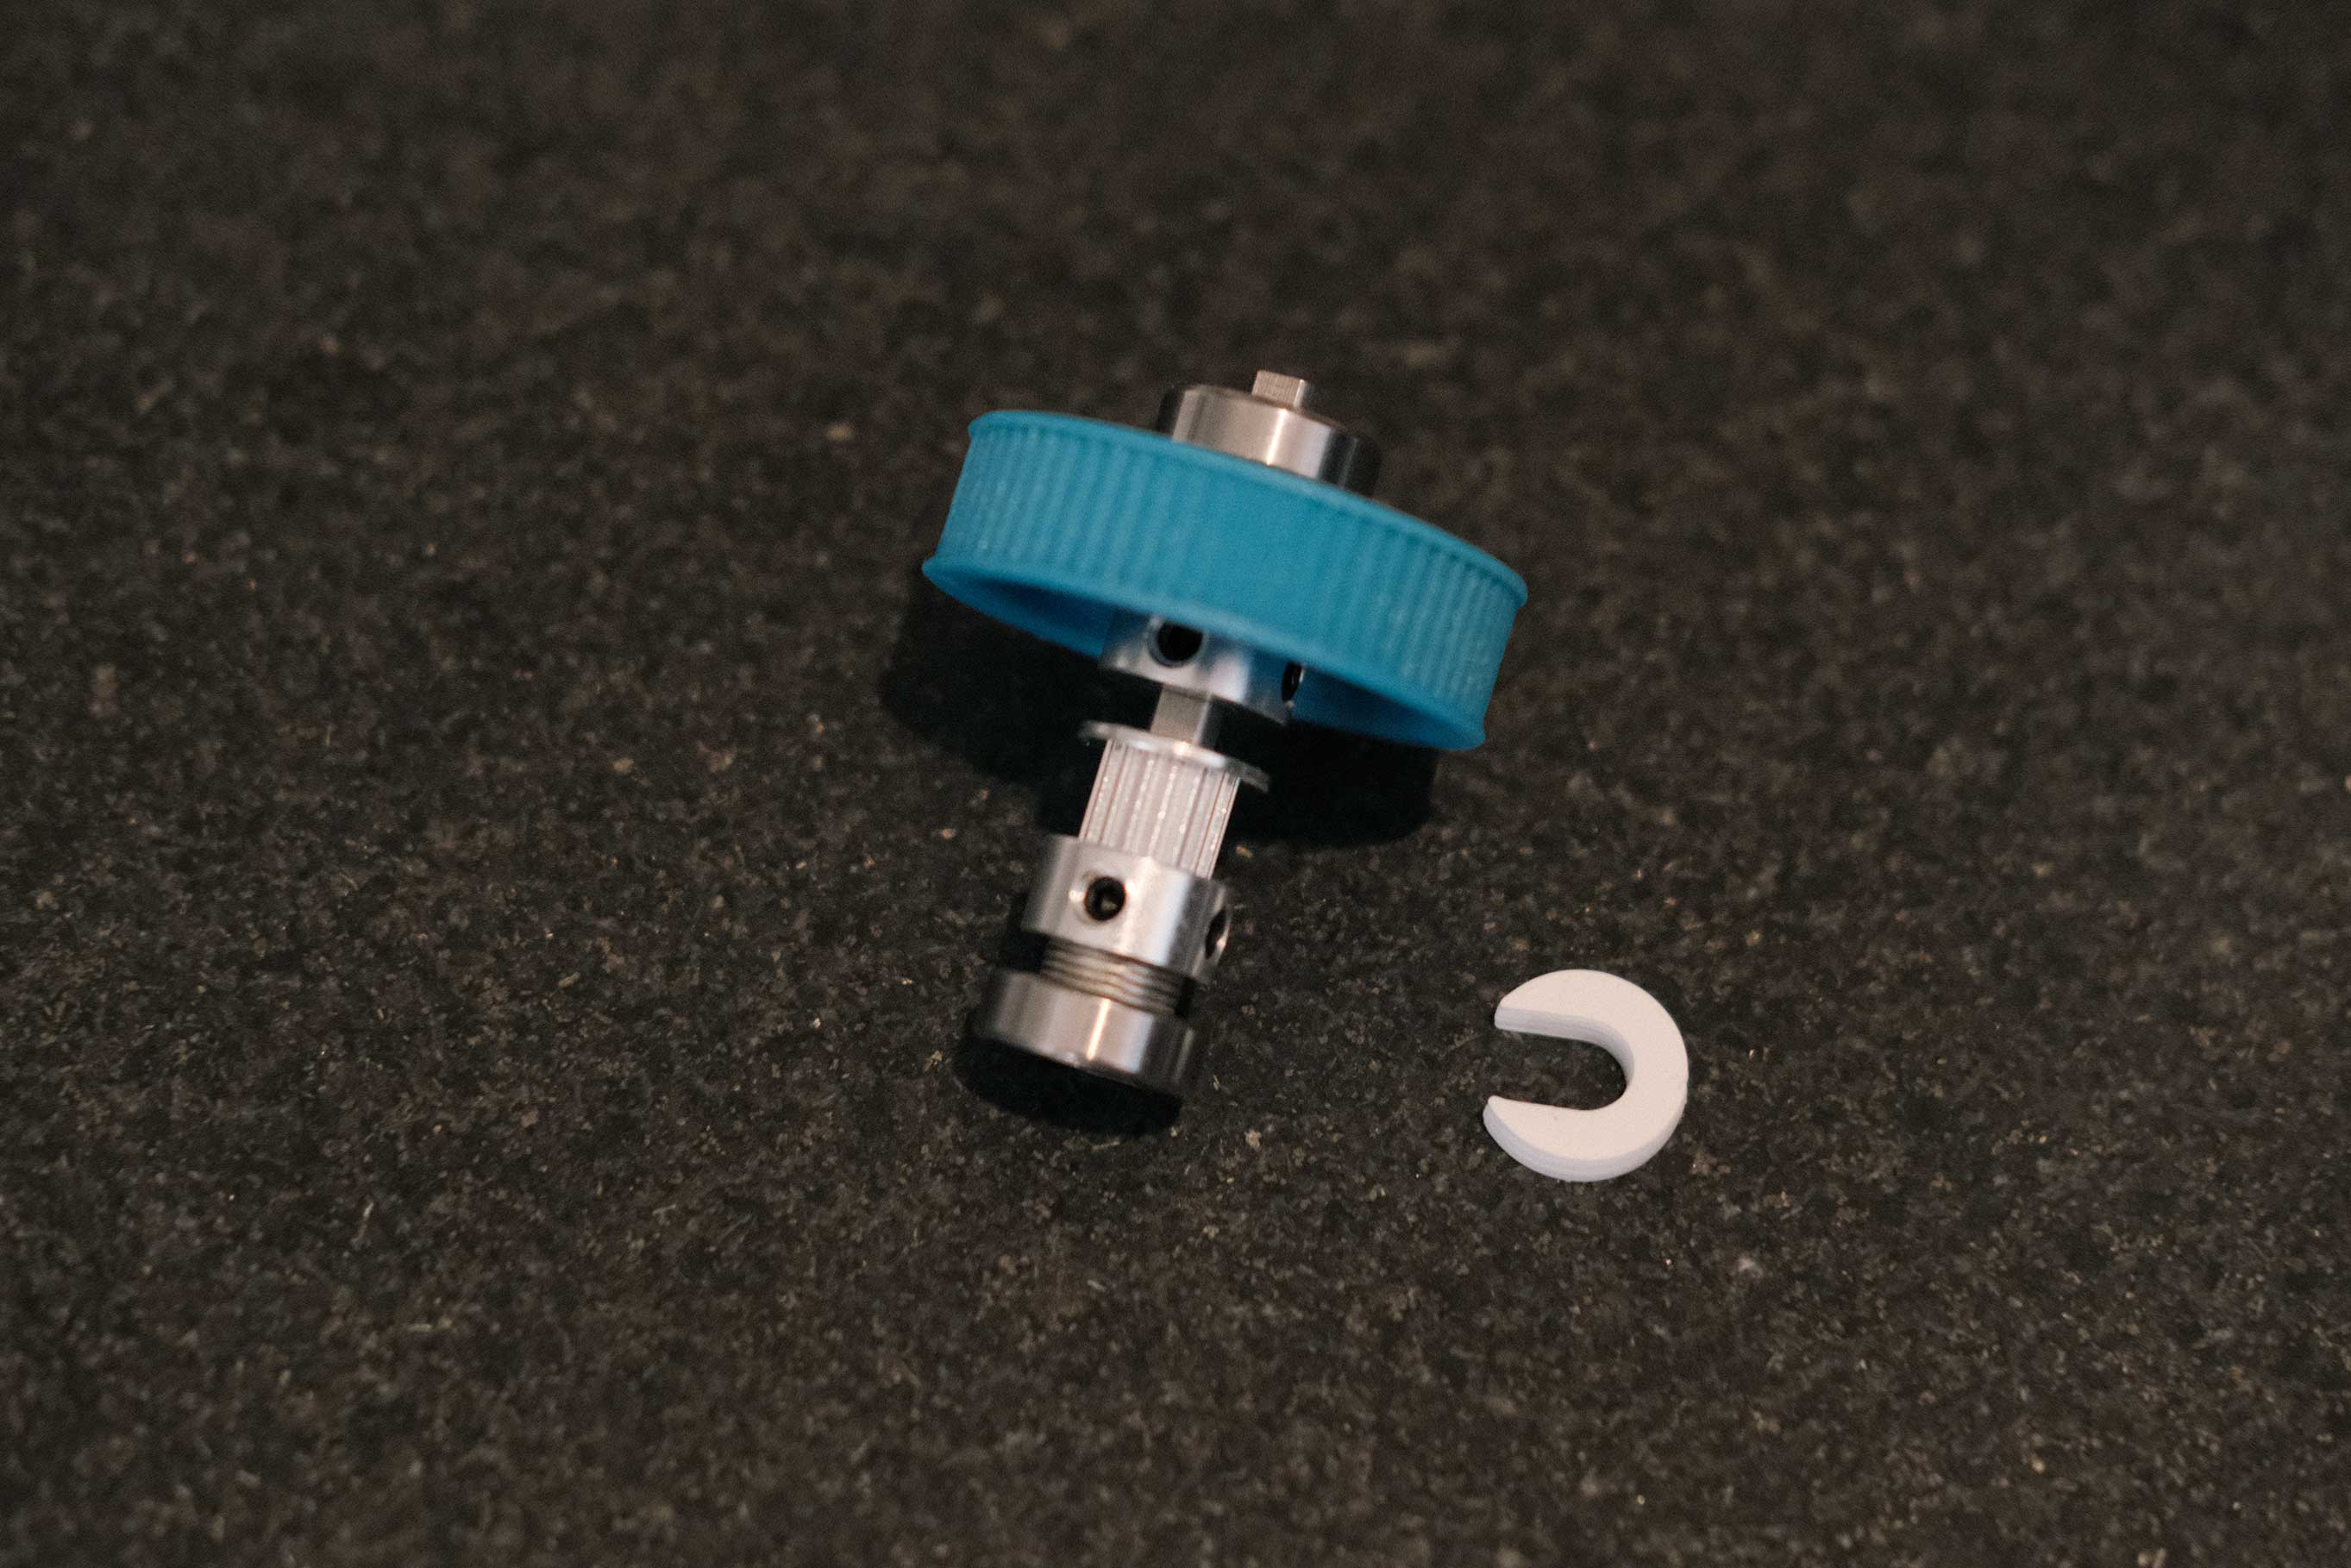 Z Drive - 1
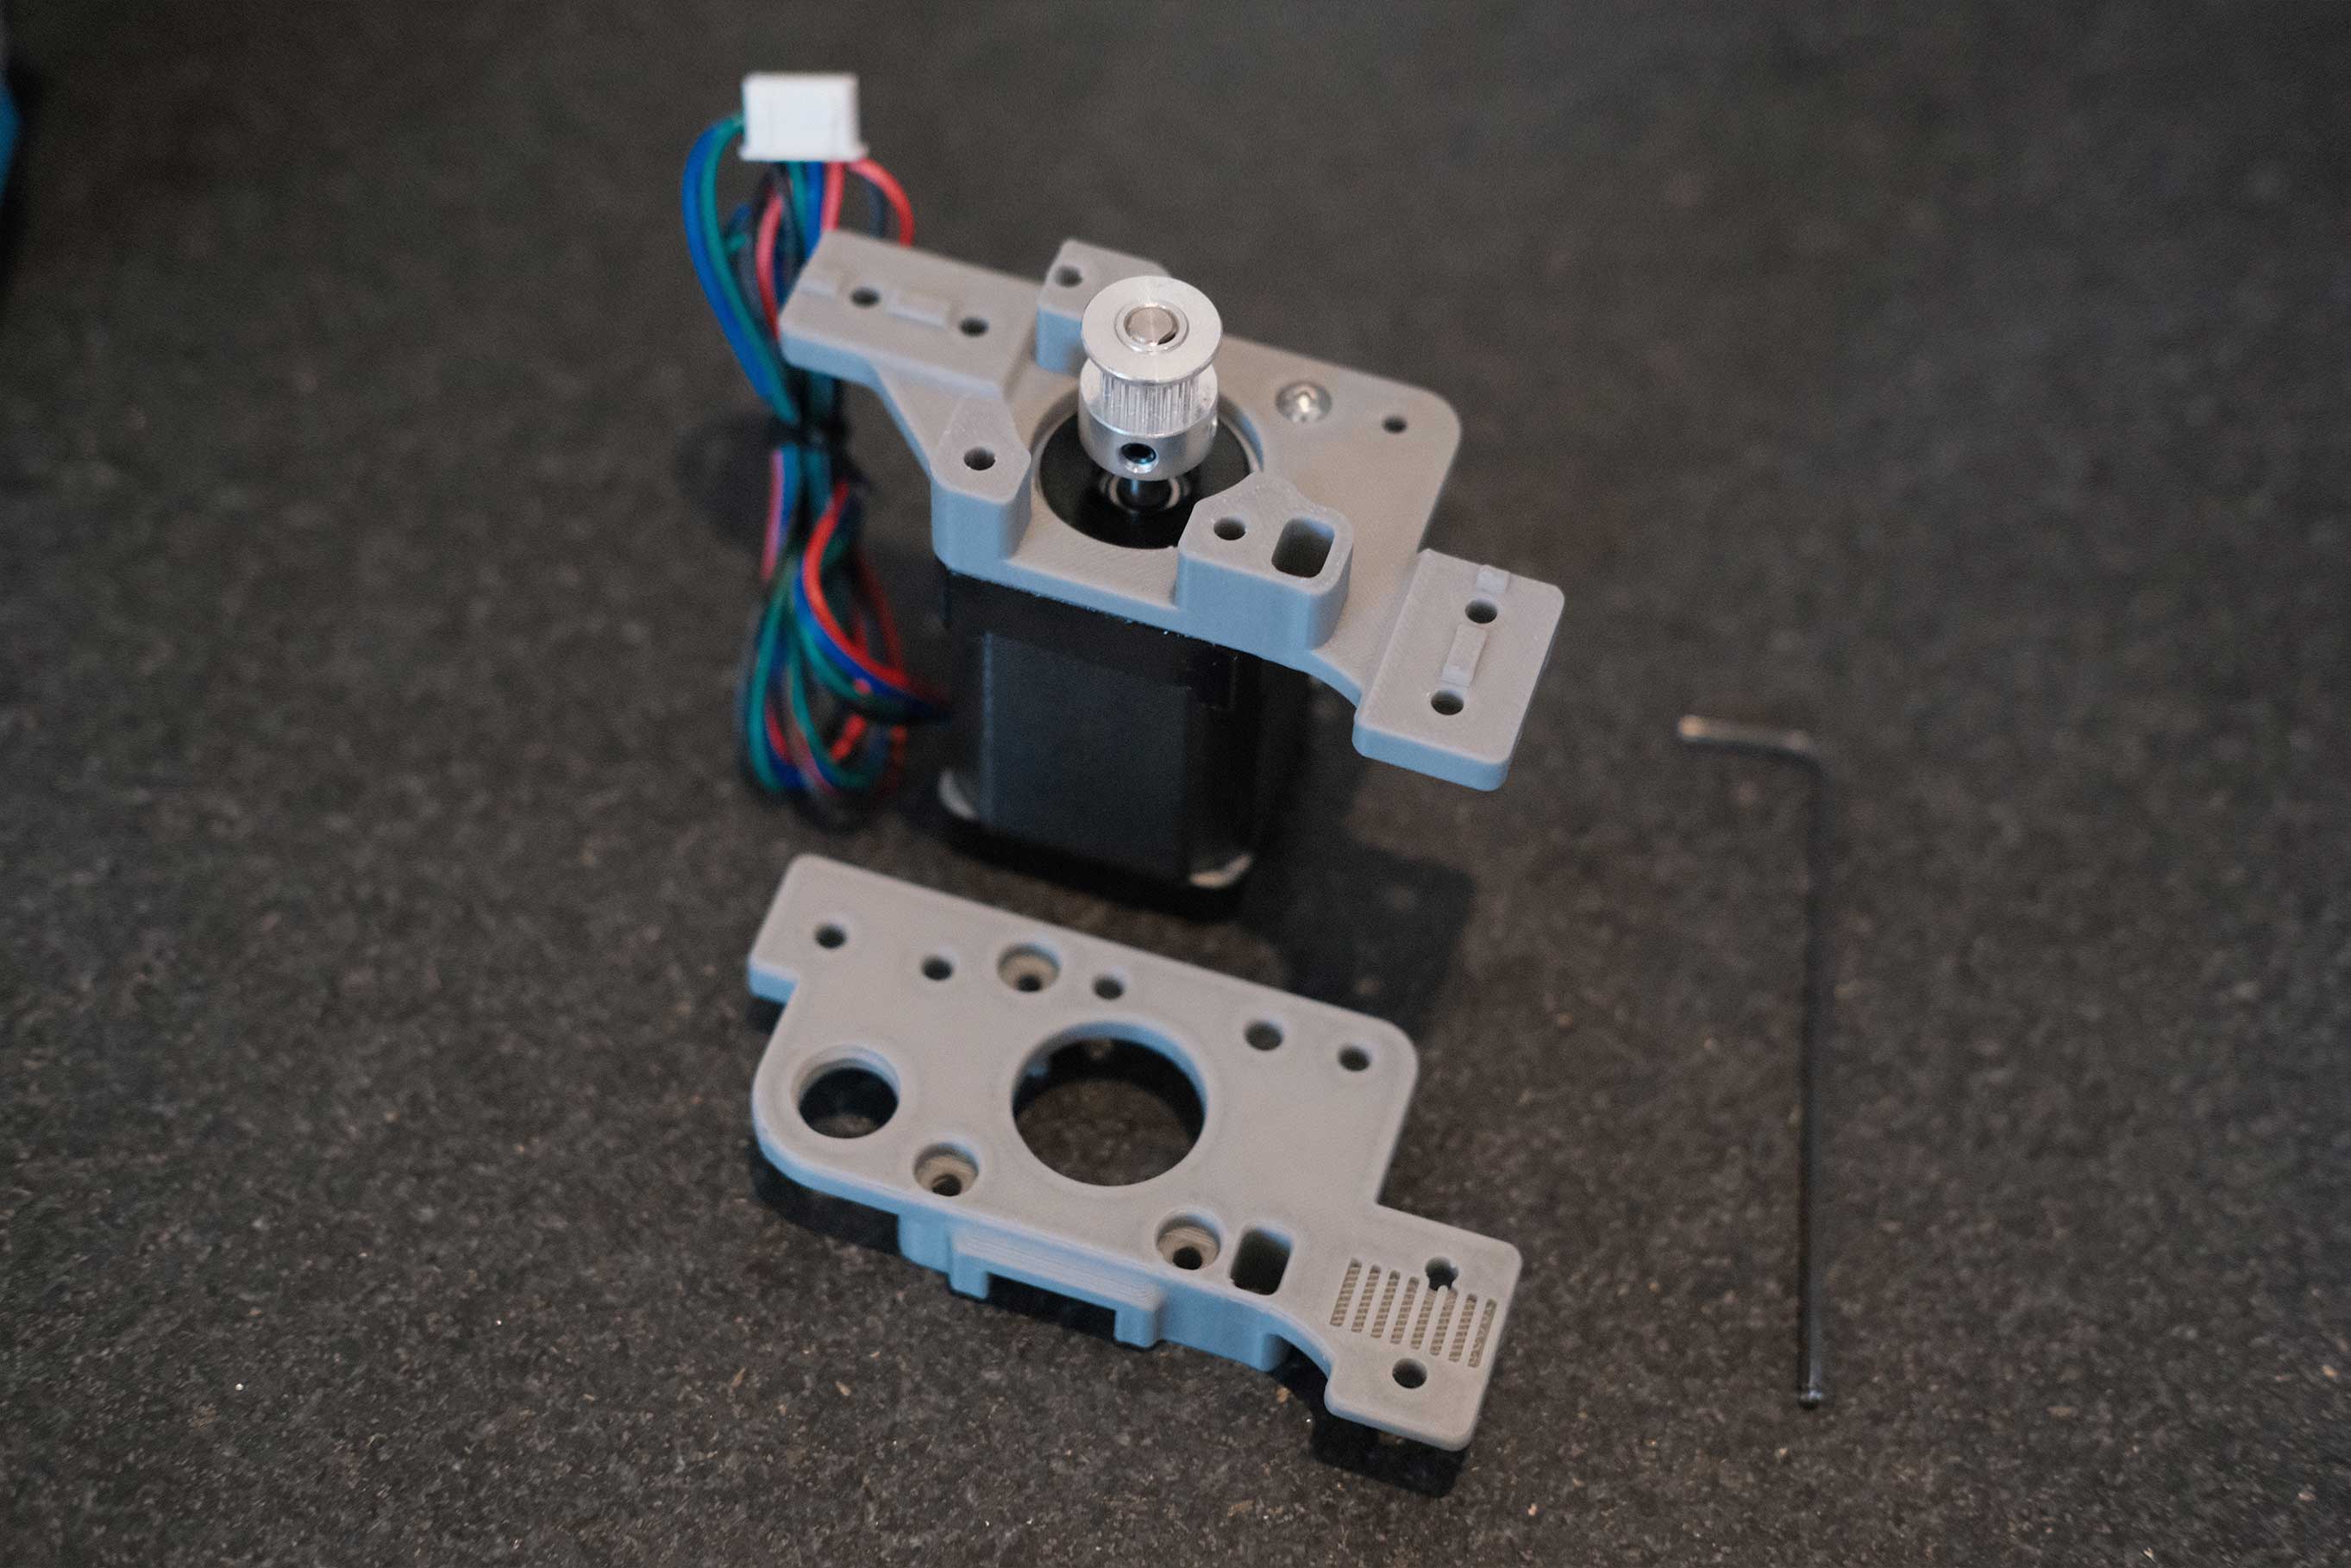
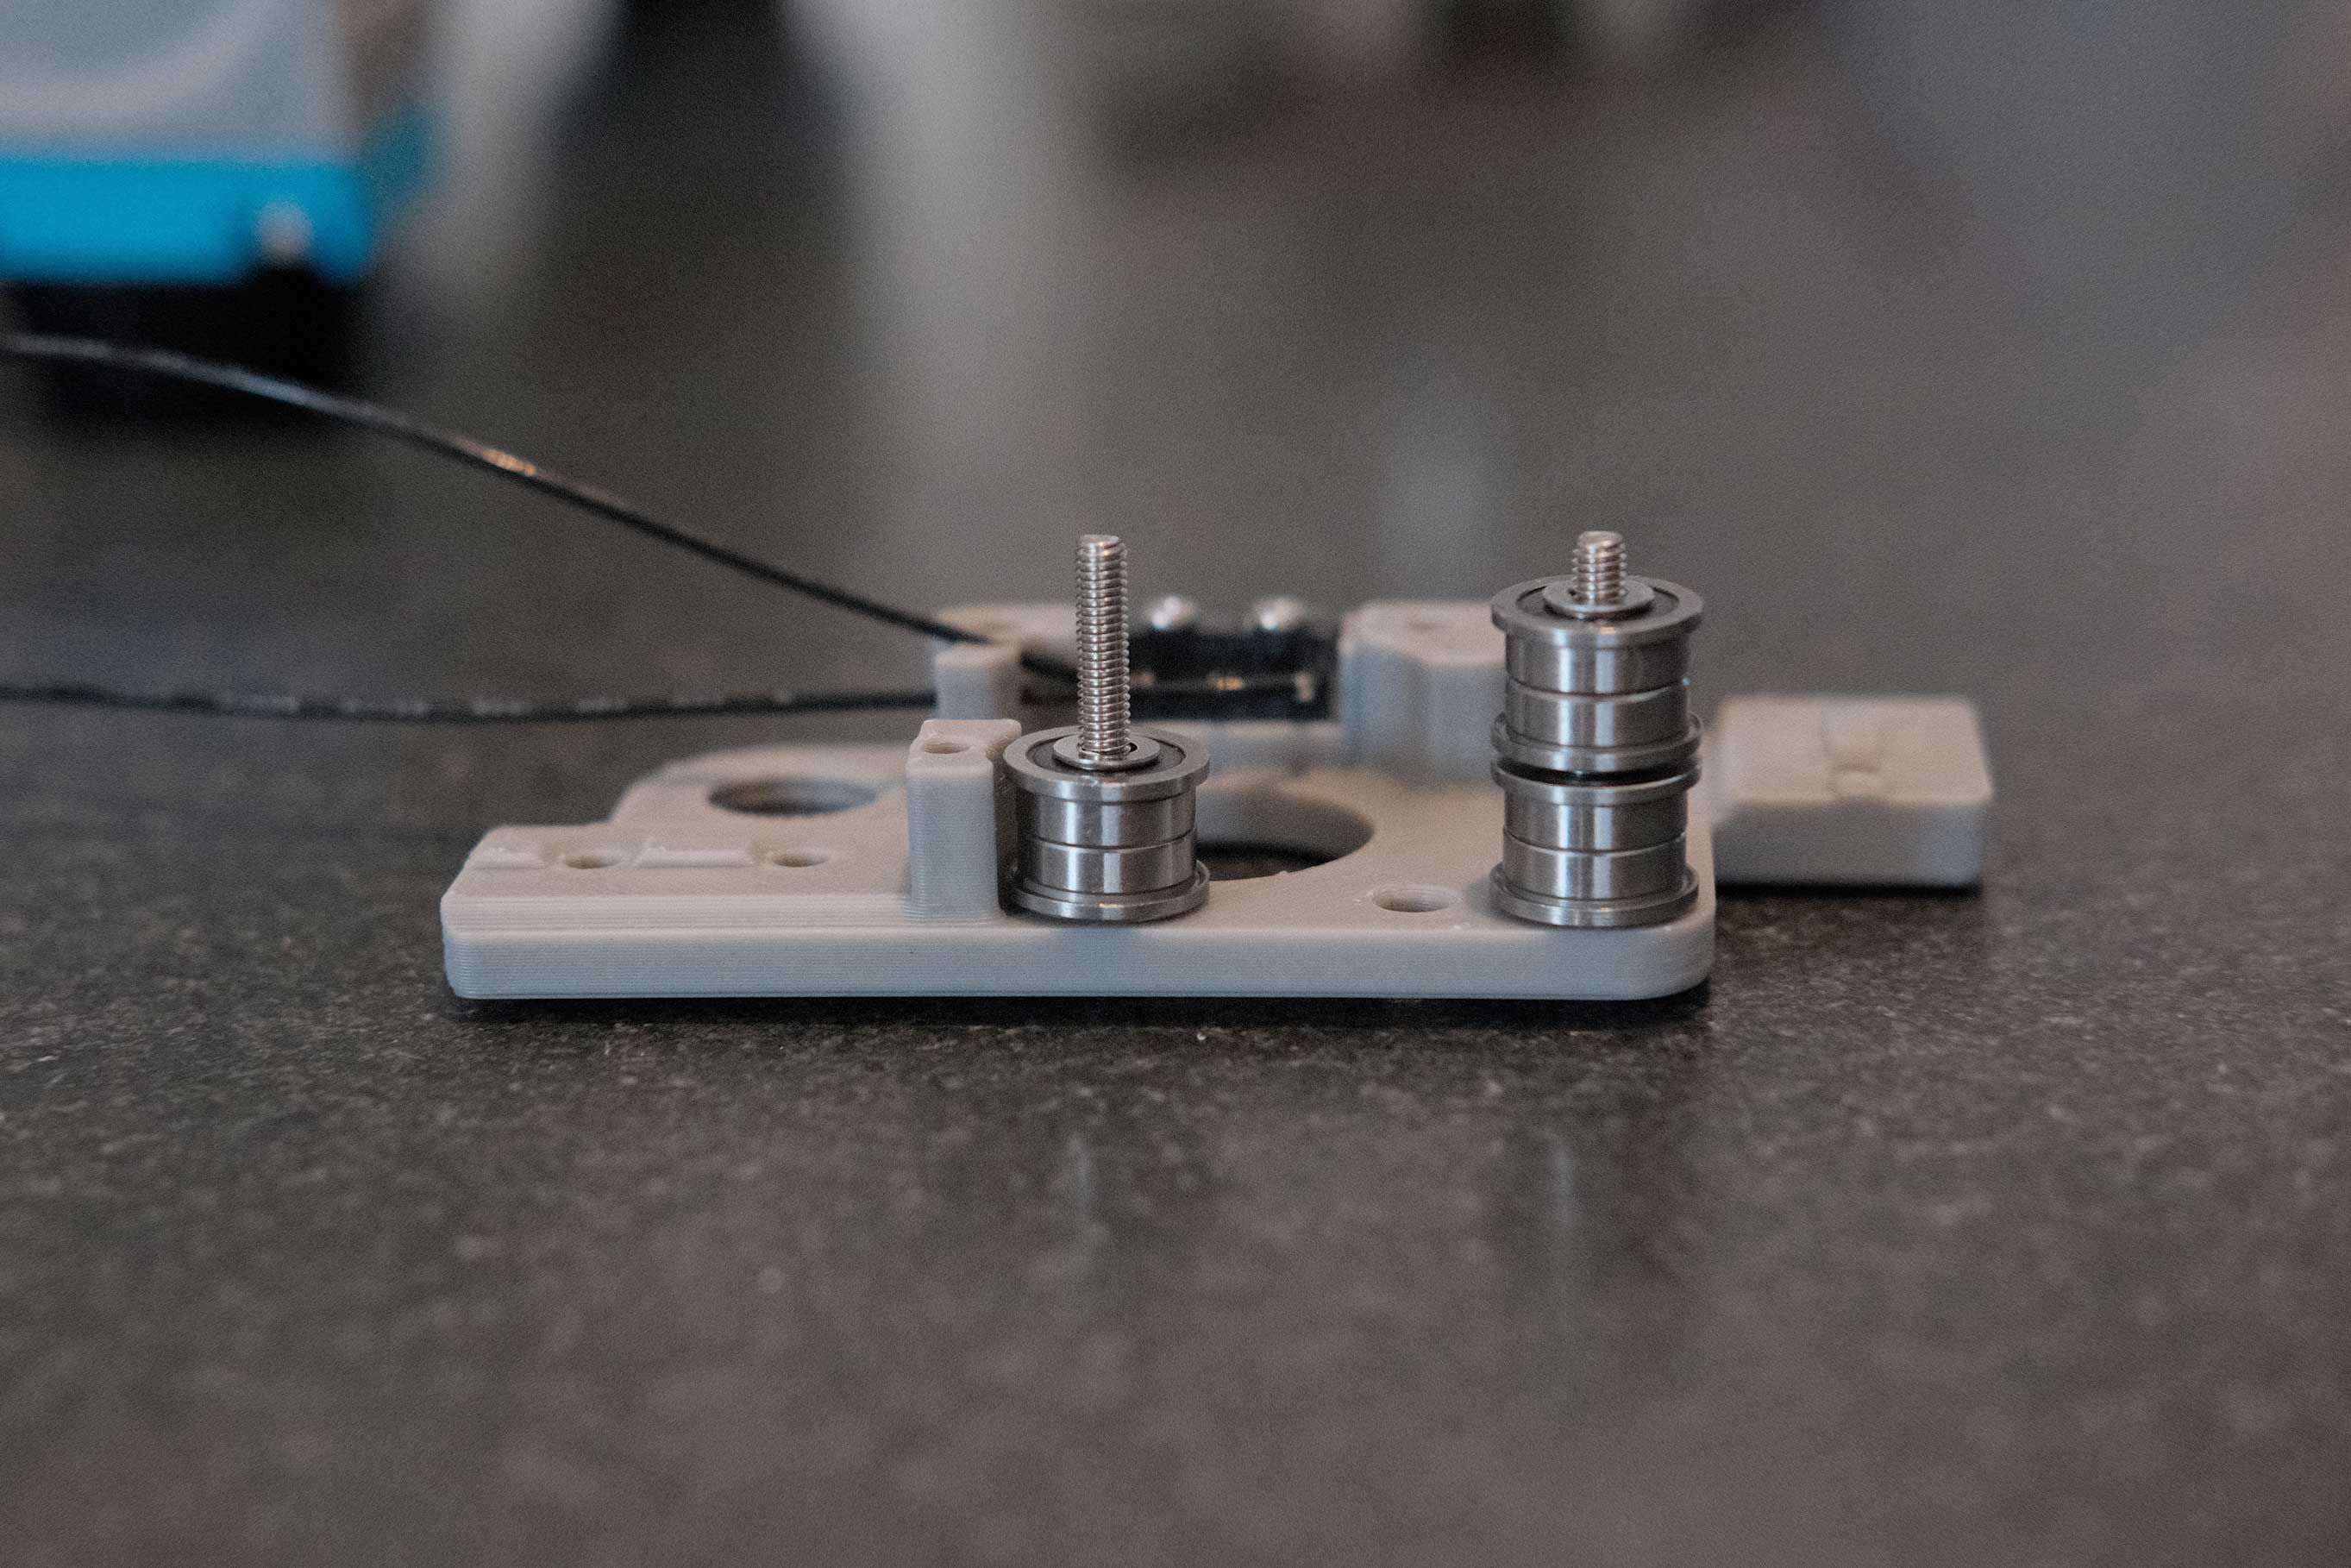
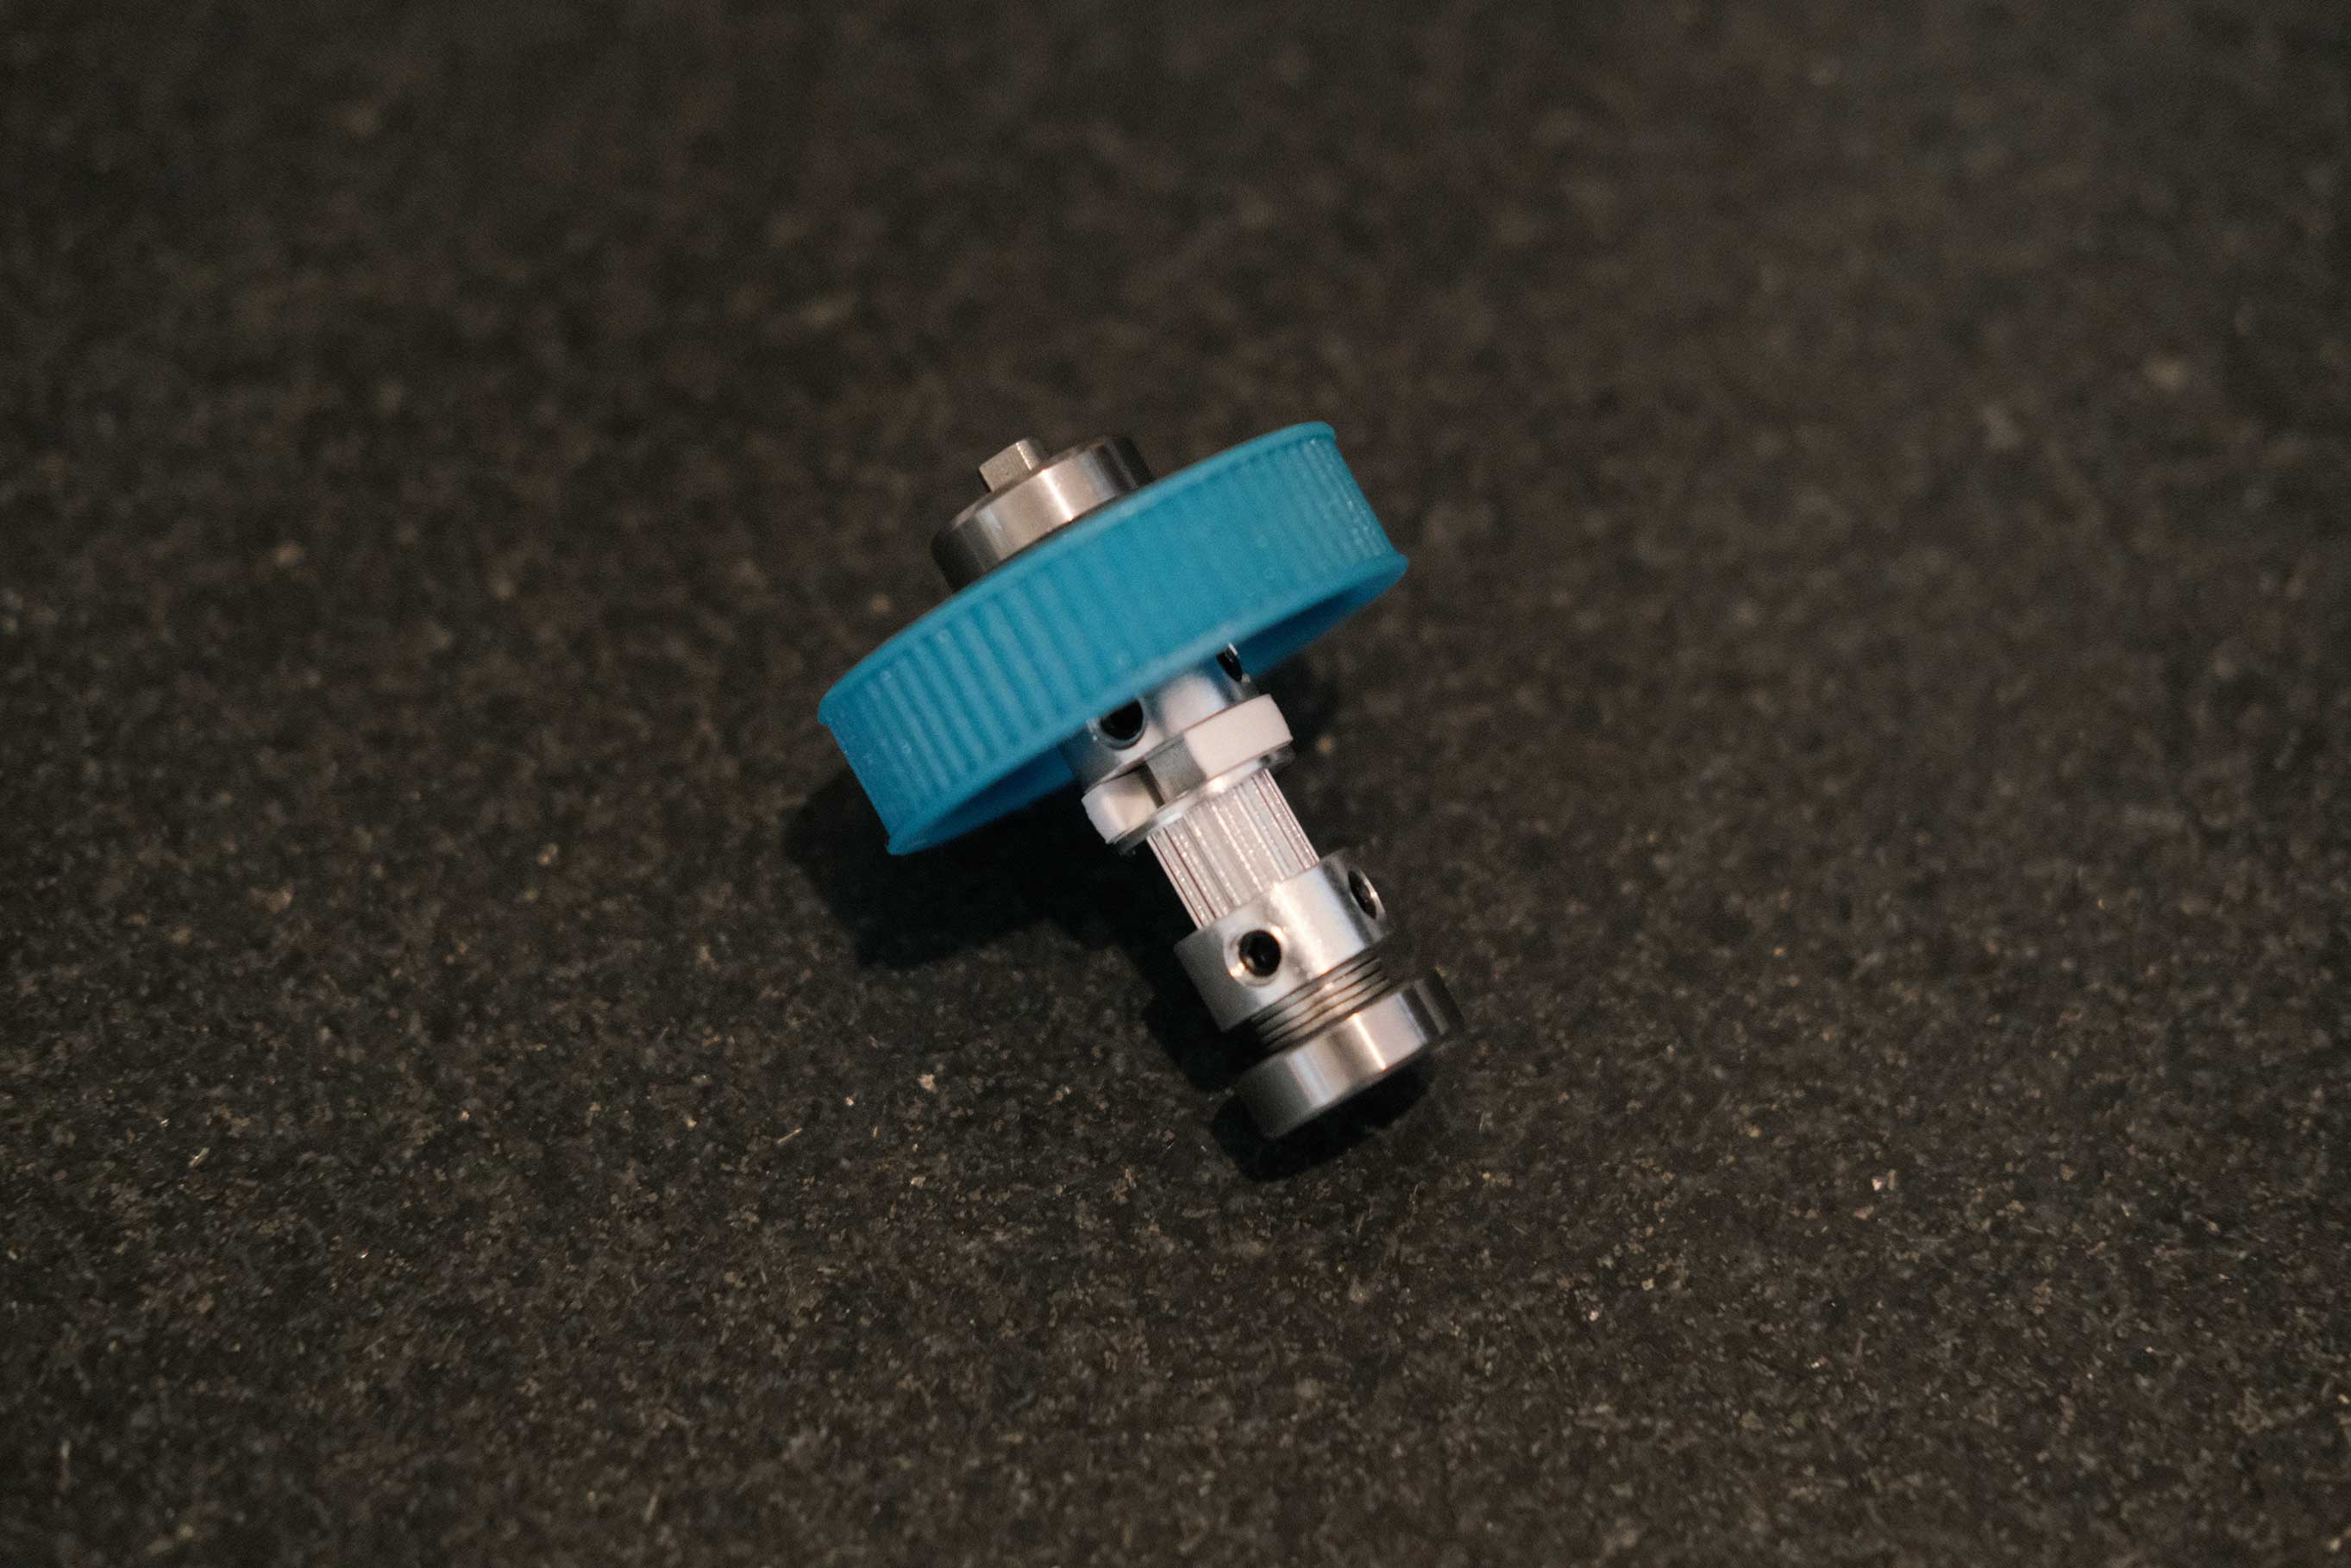 Z Drive - 2
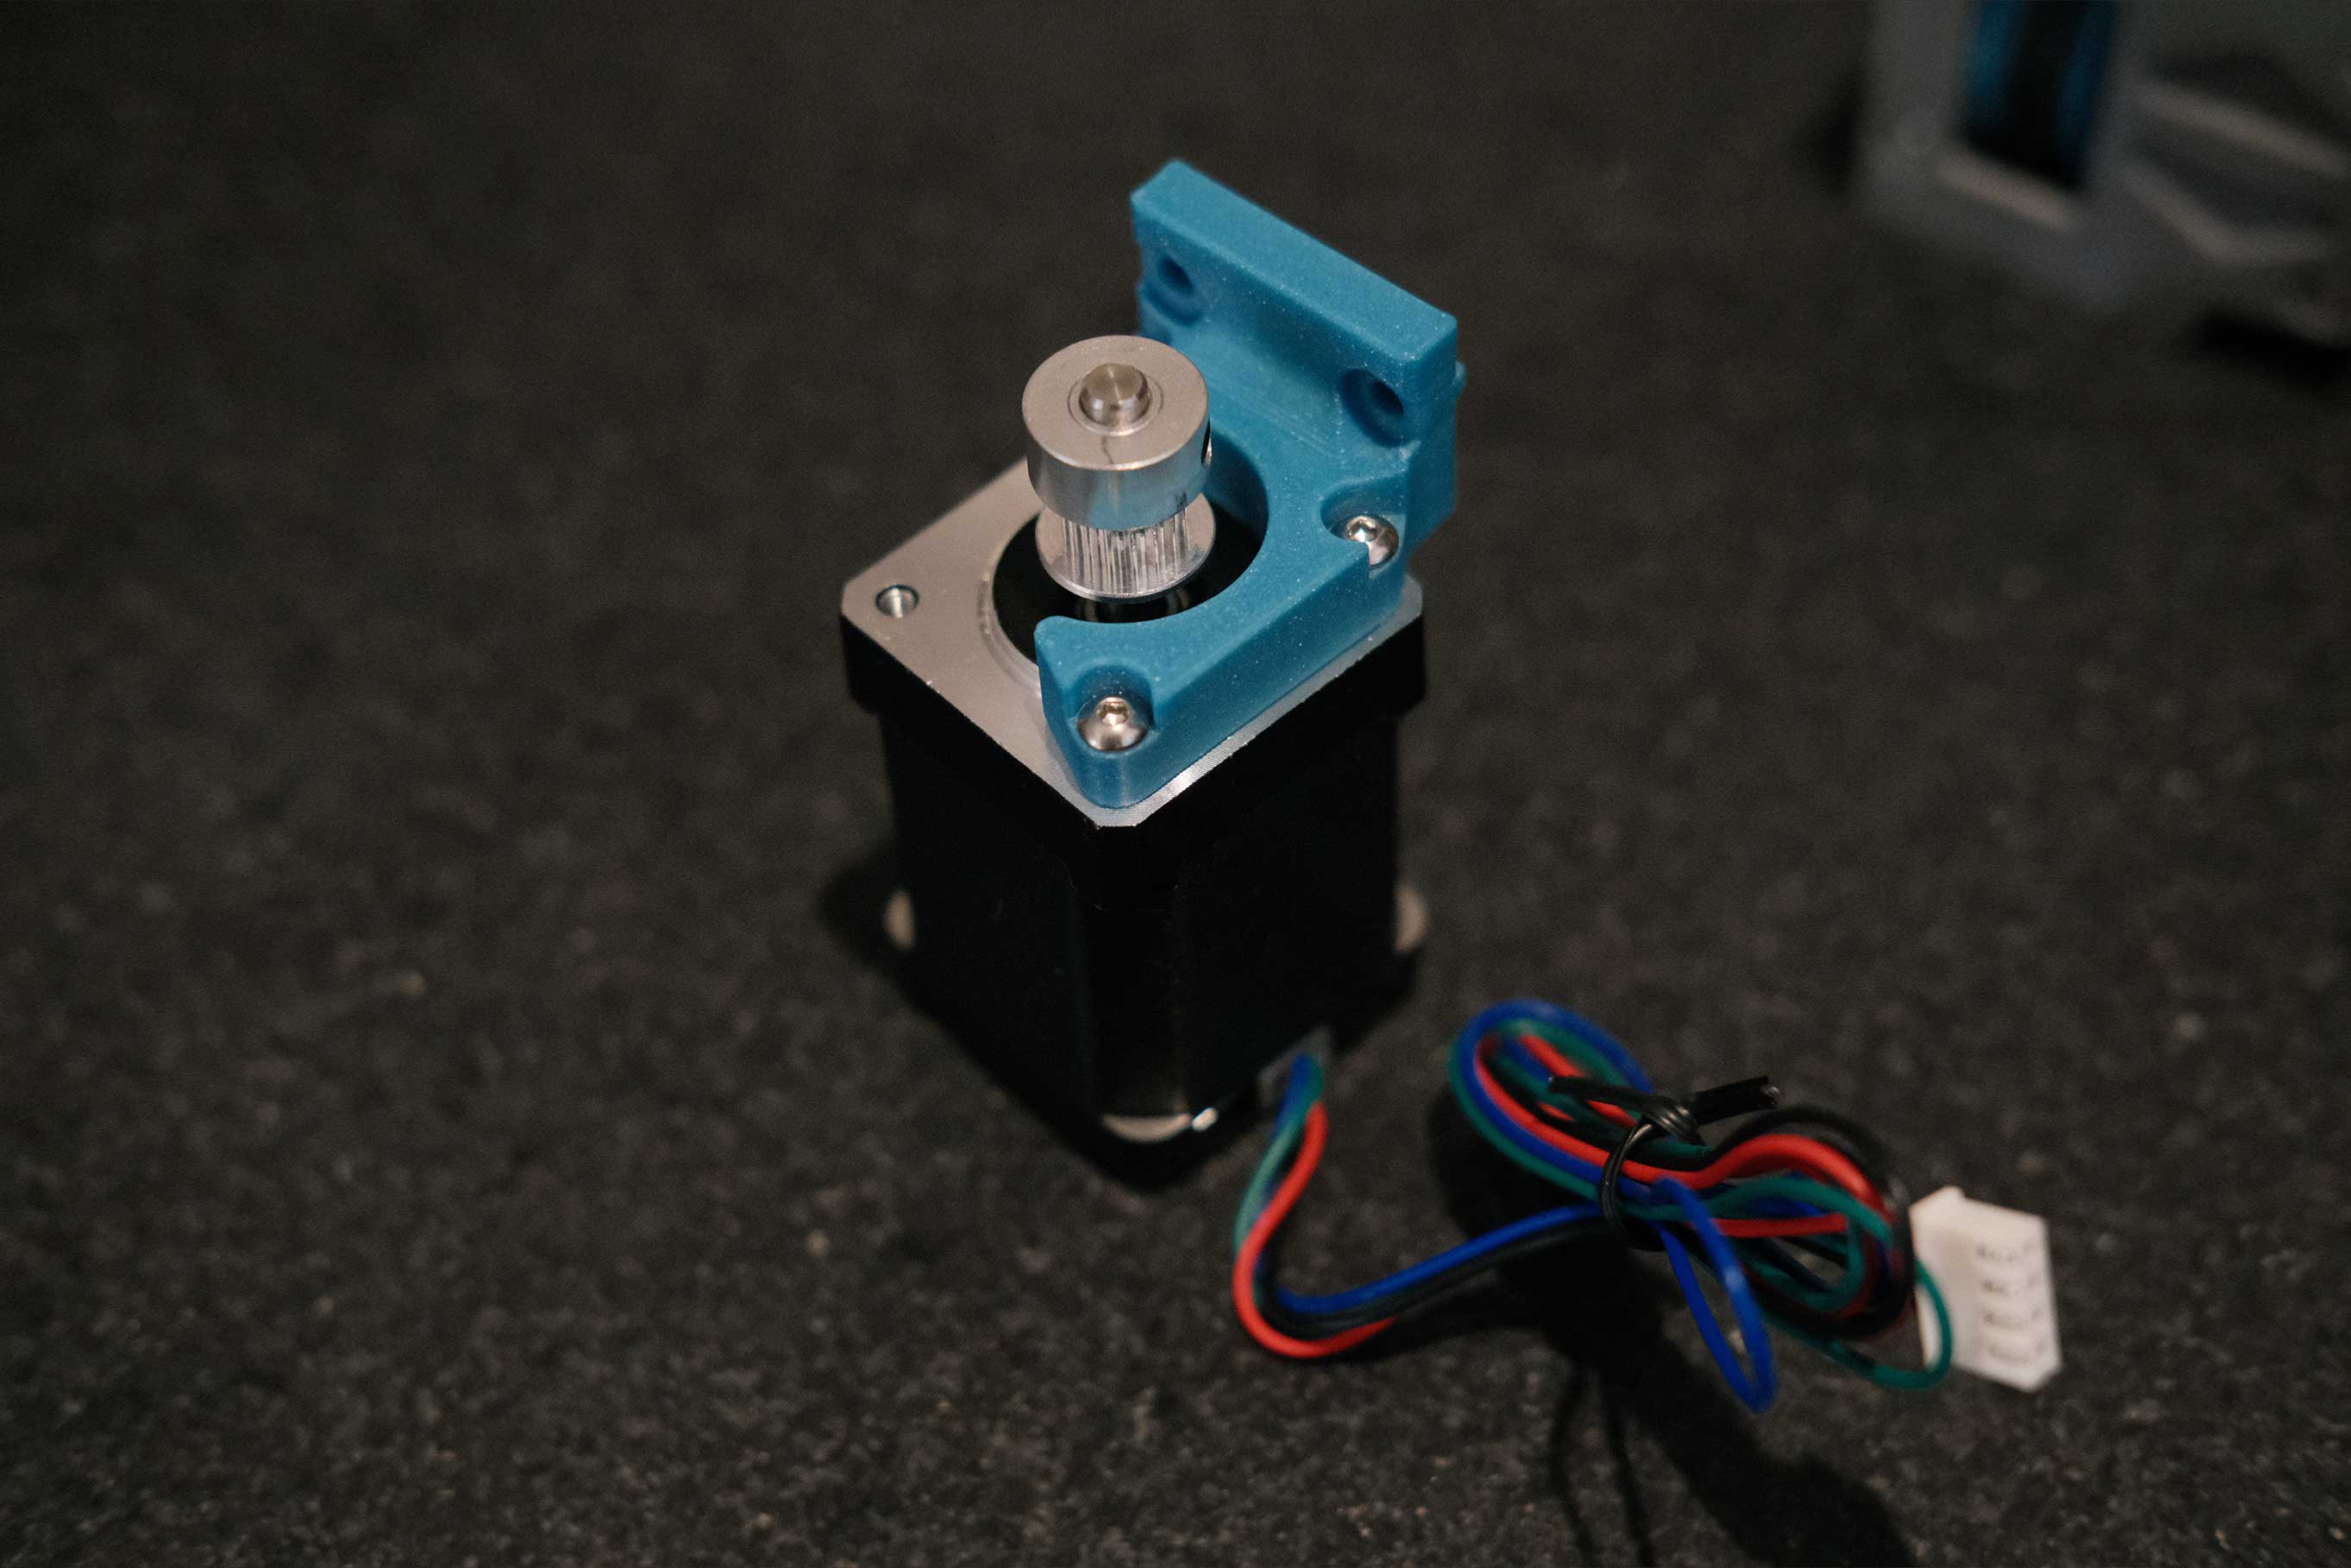
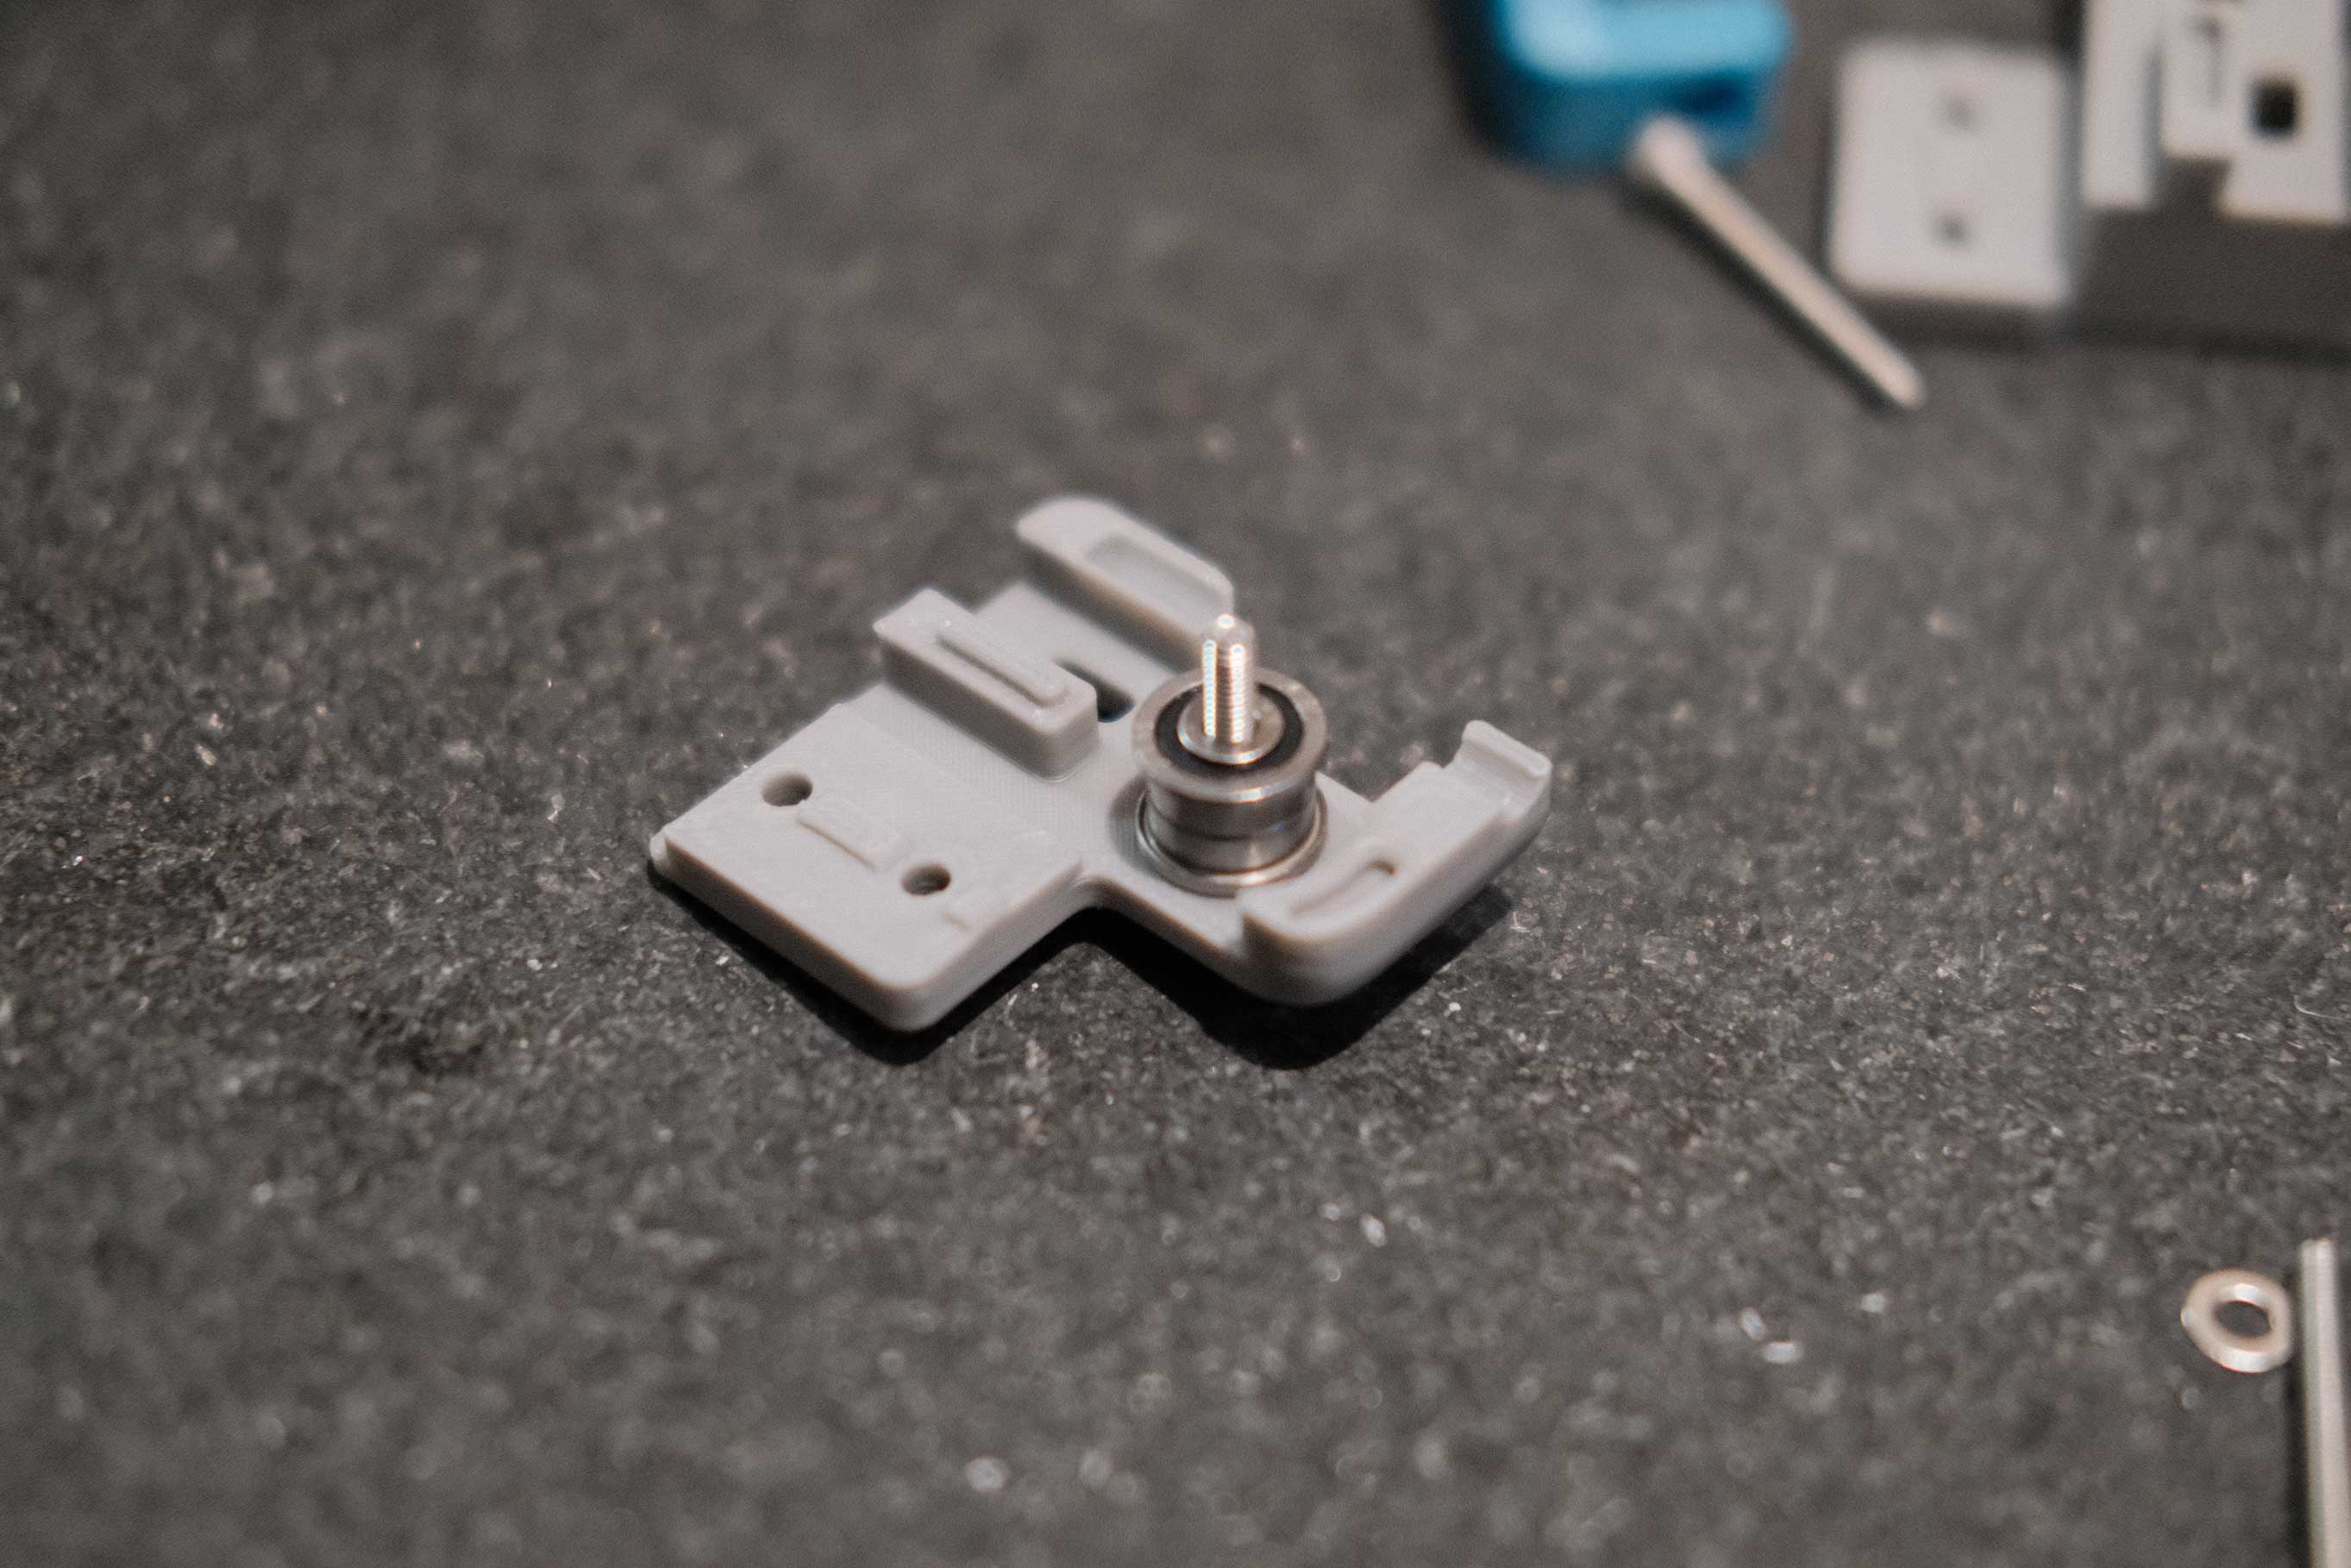
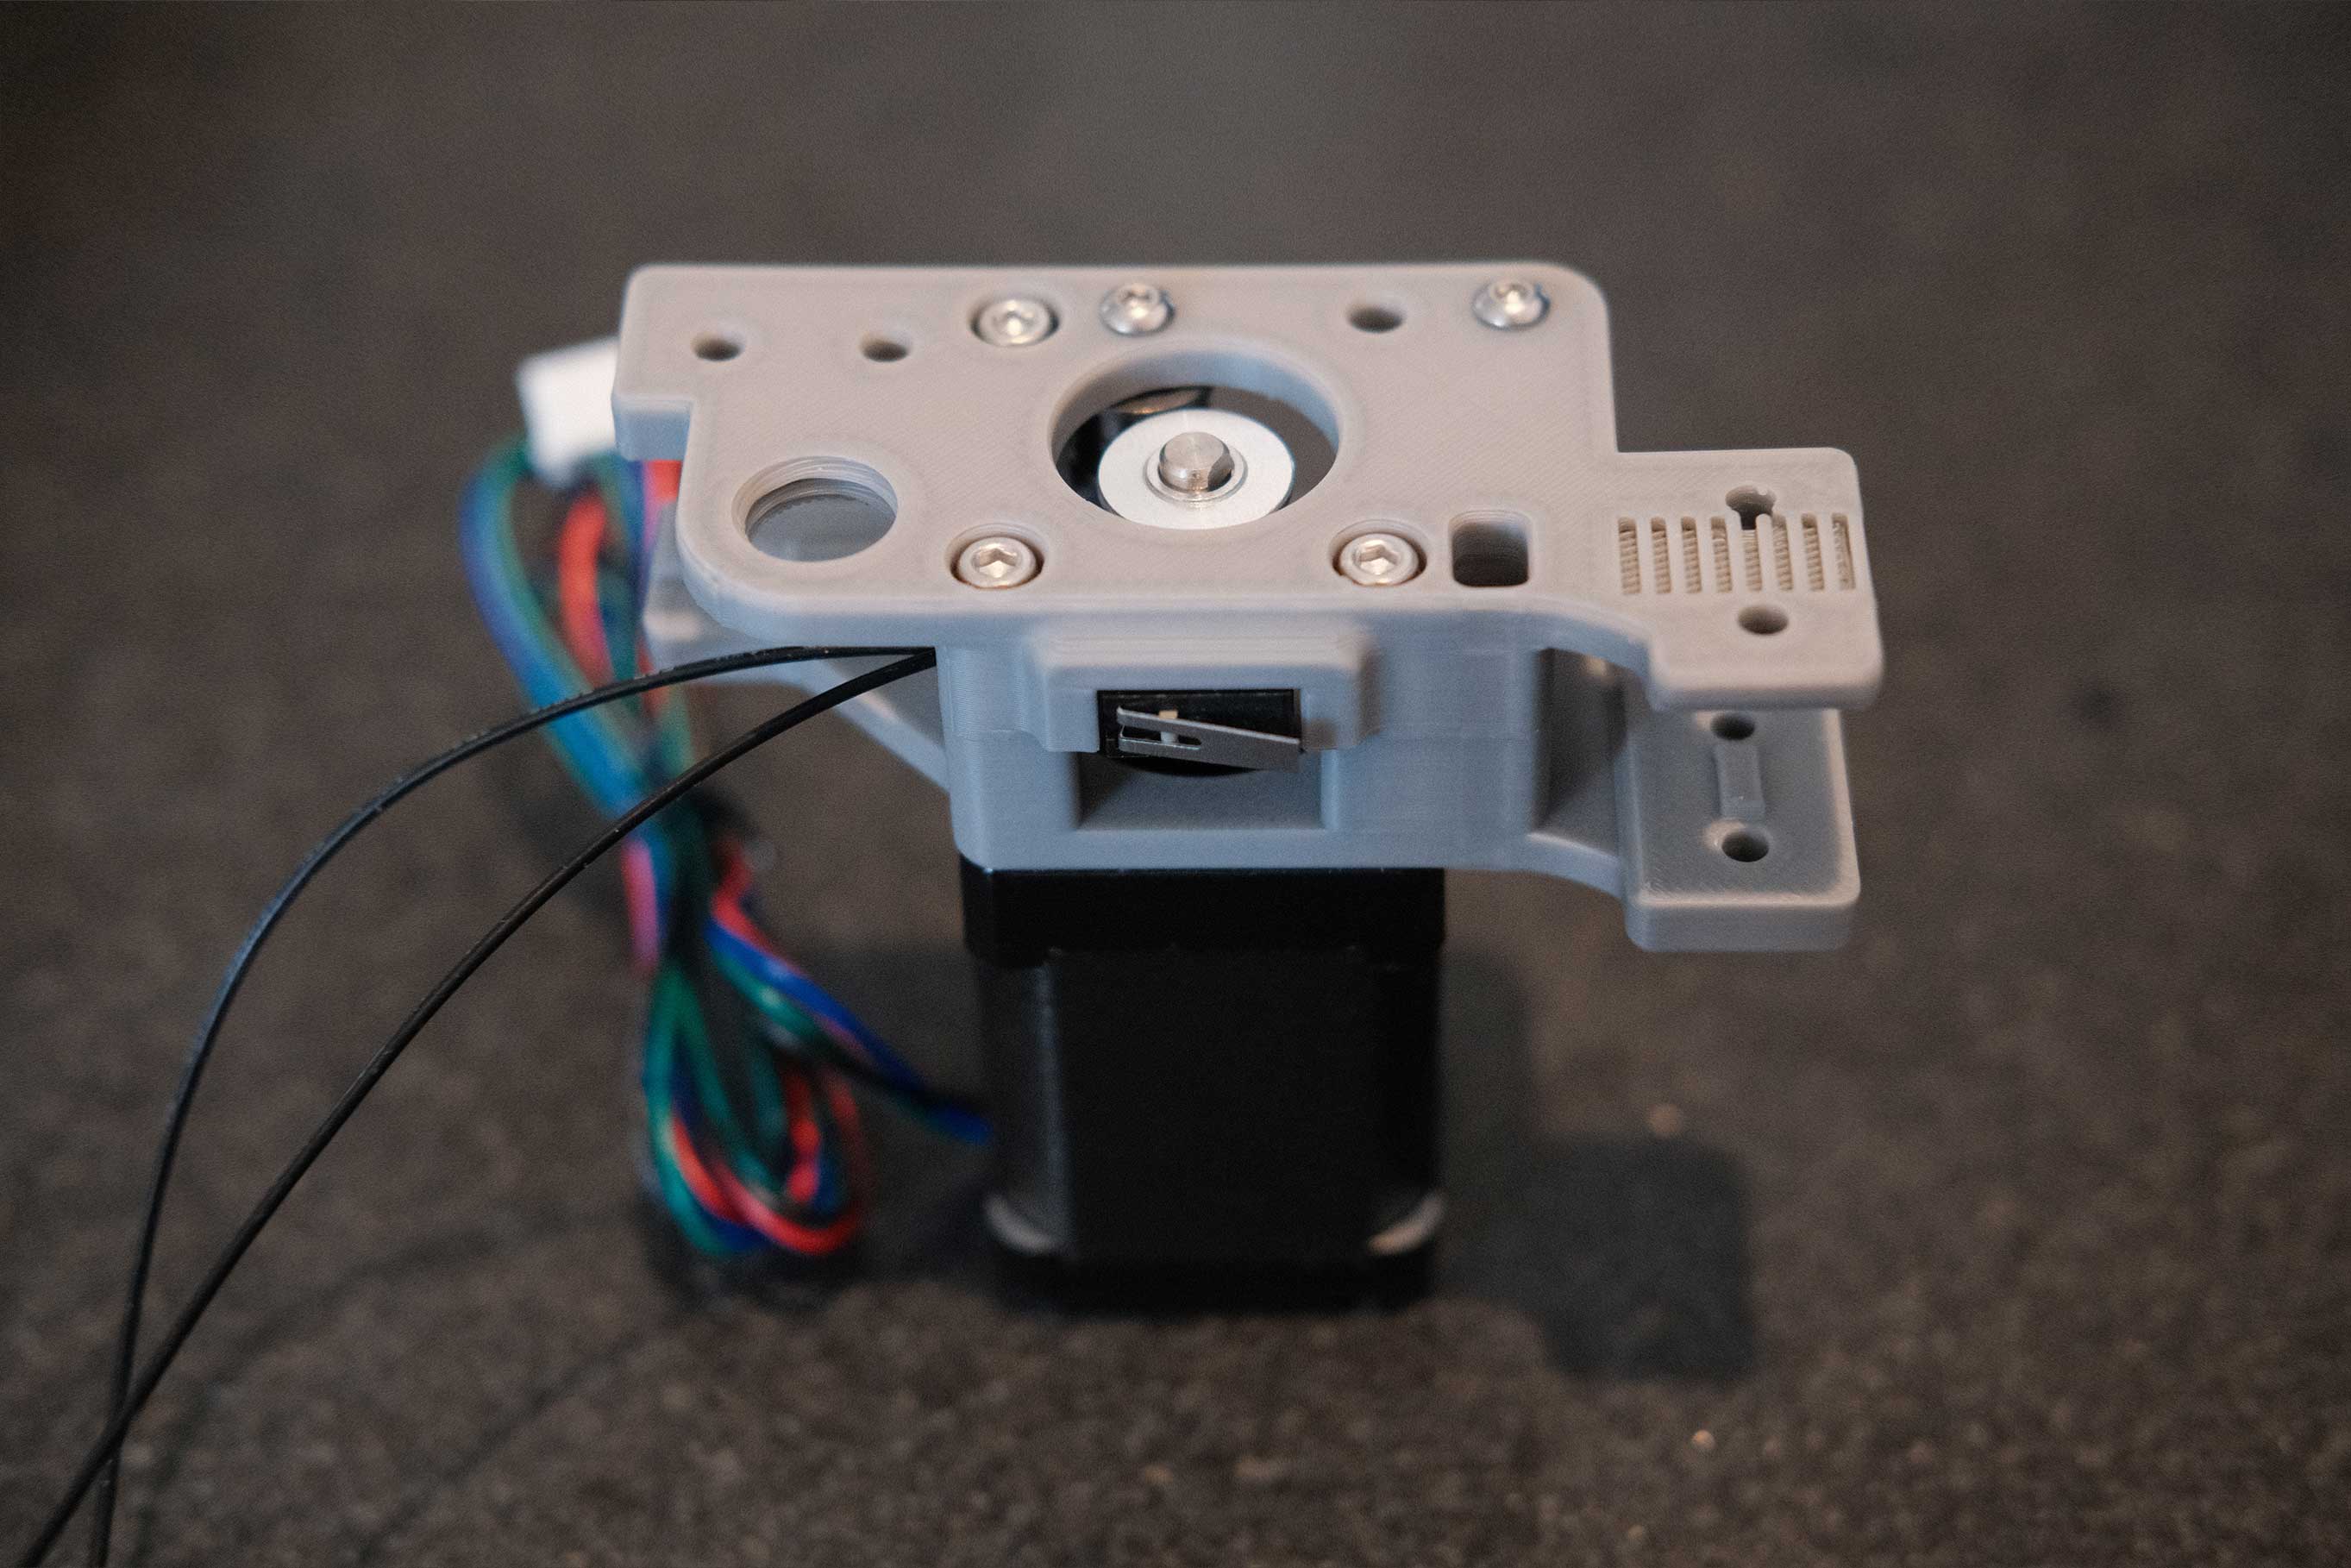
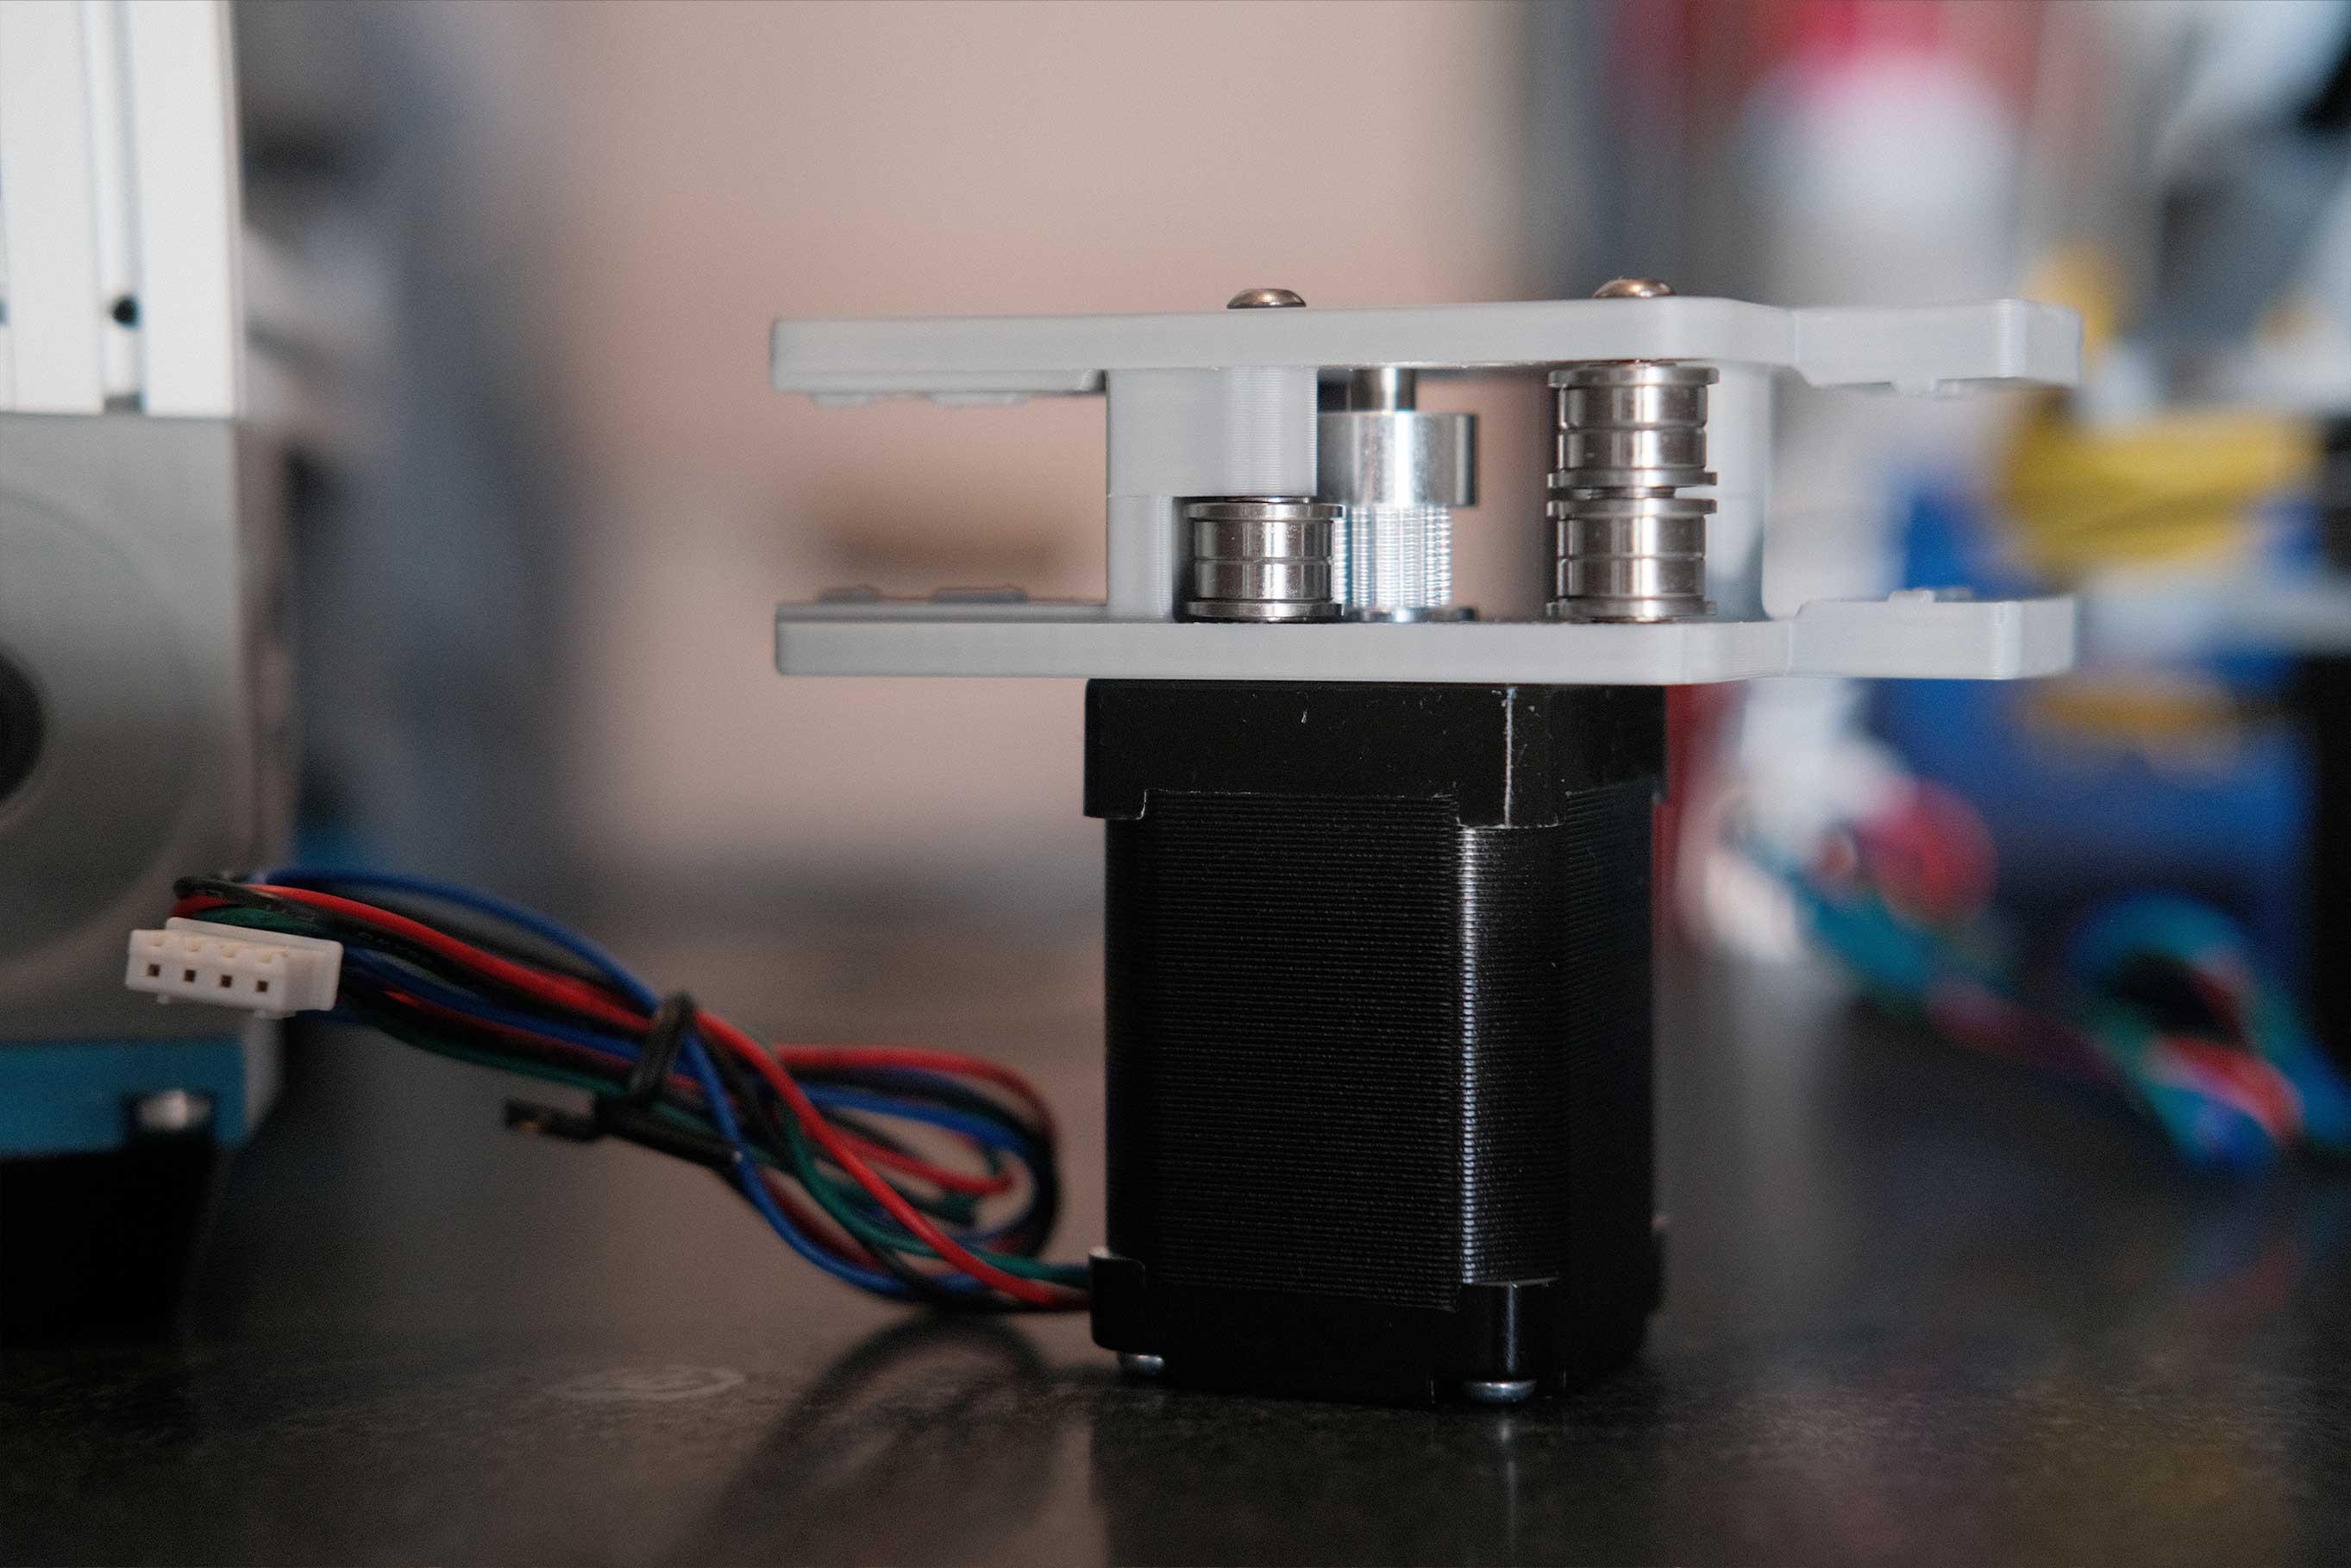
 Z Drive - 3
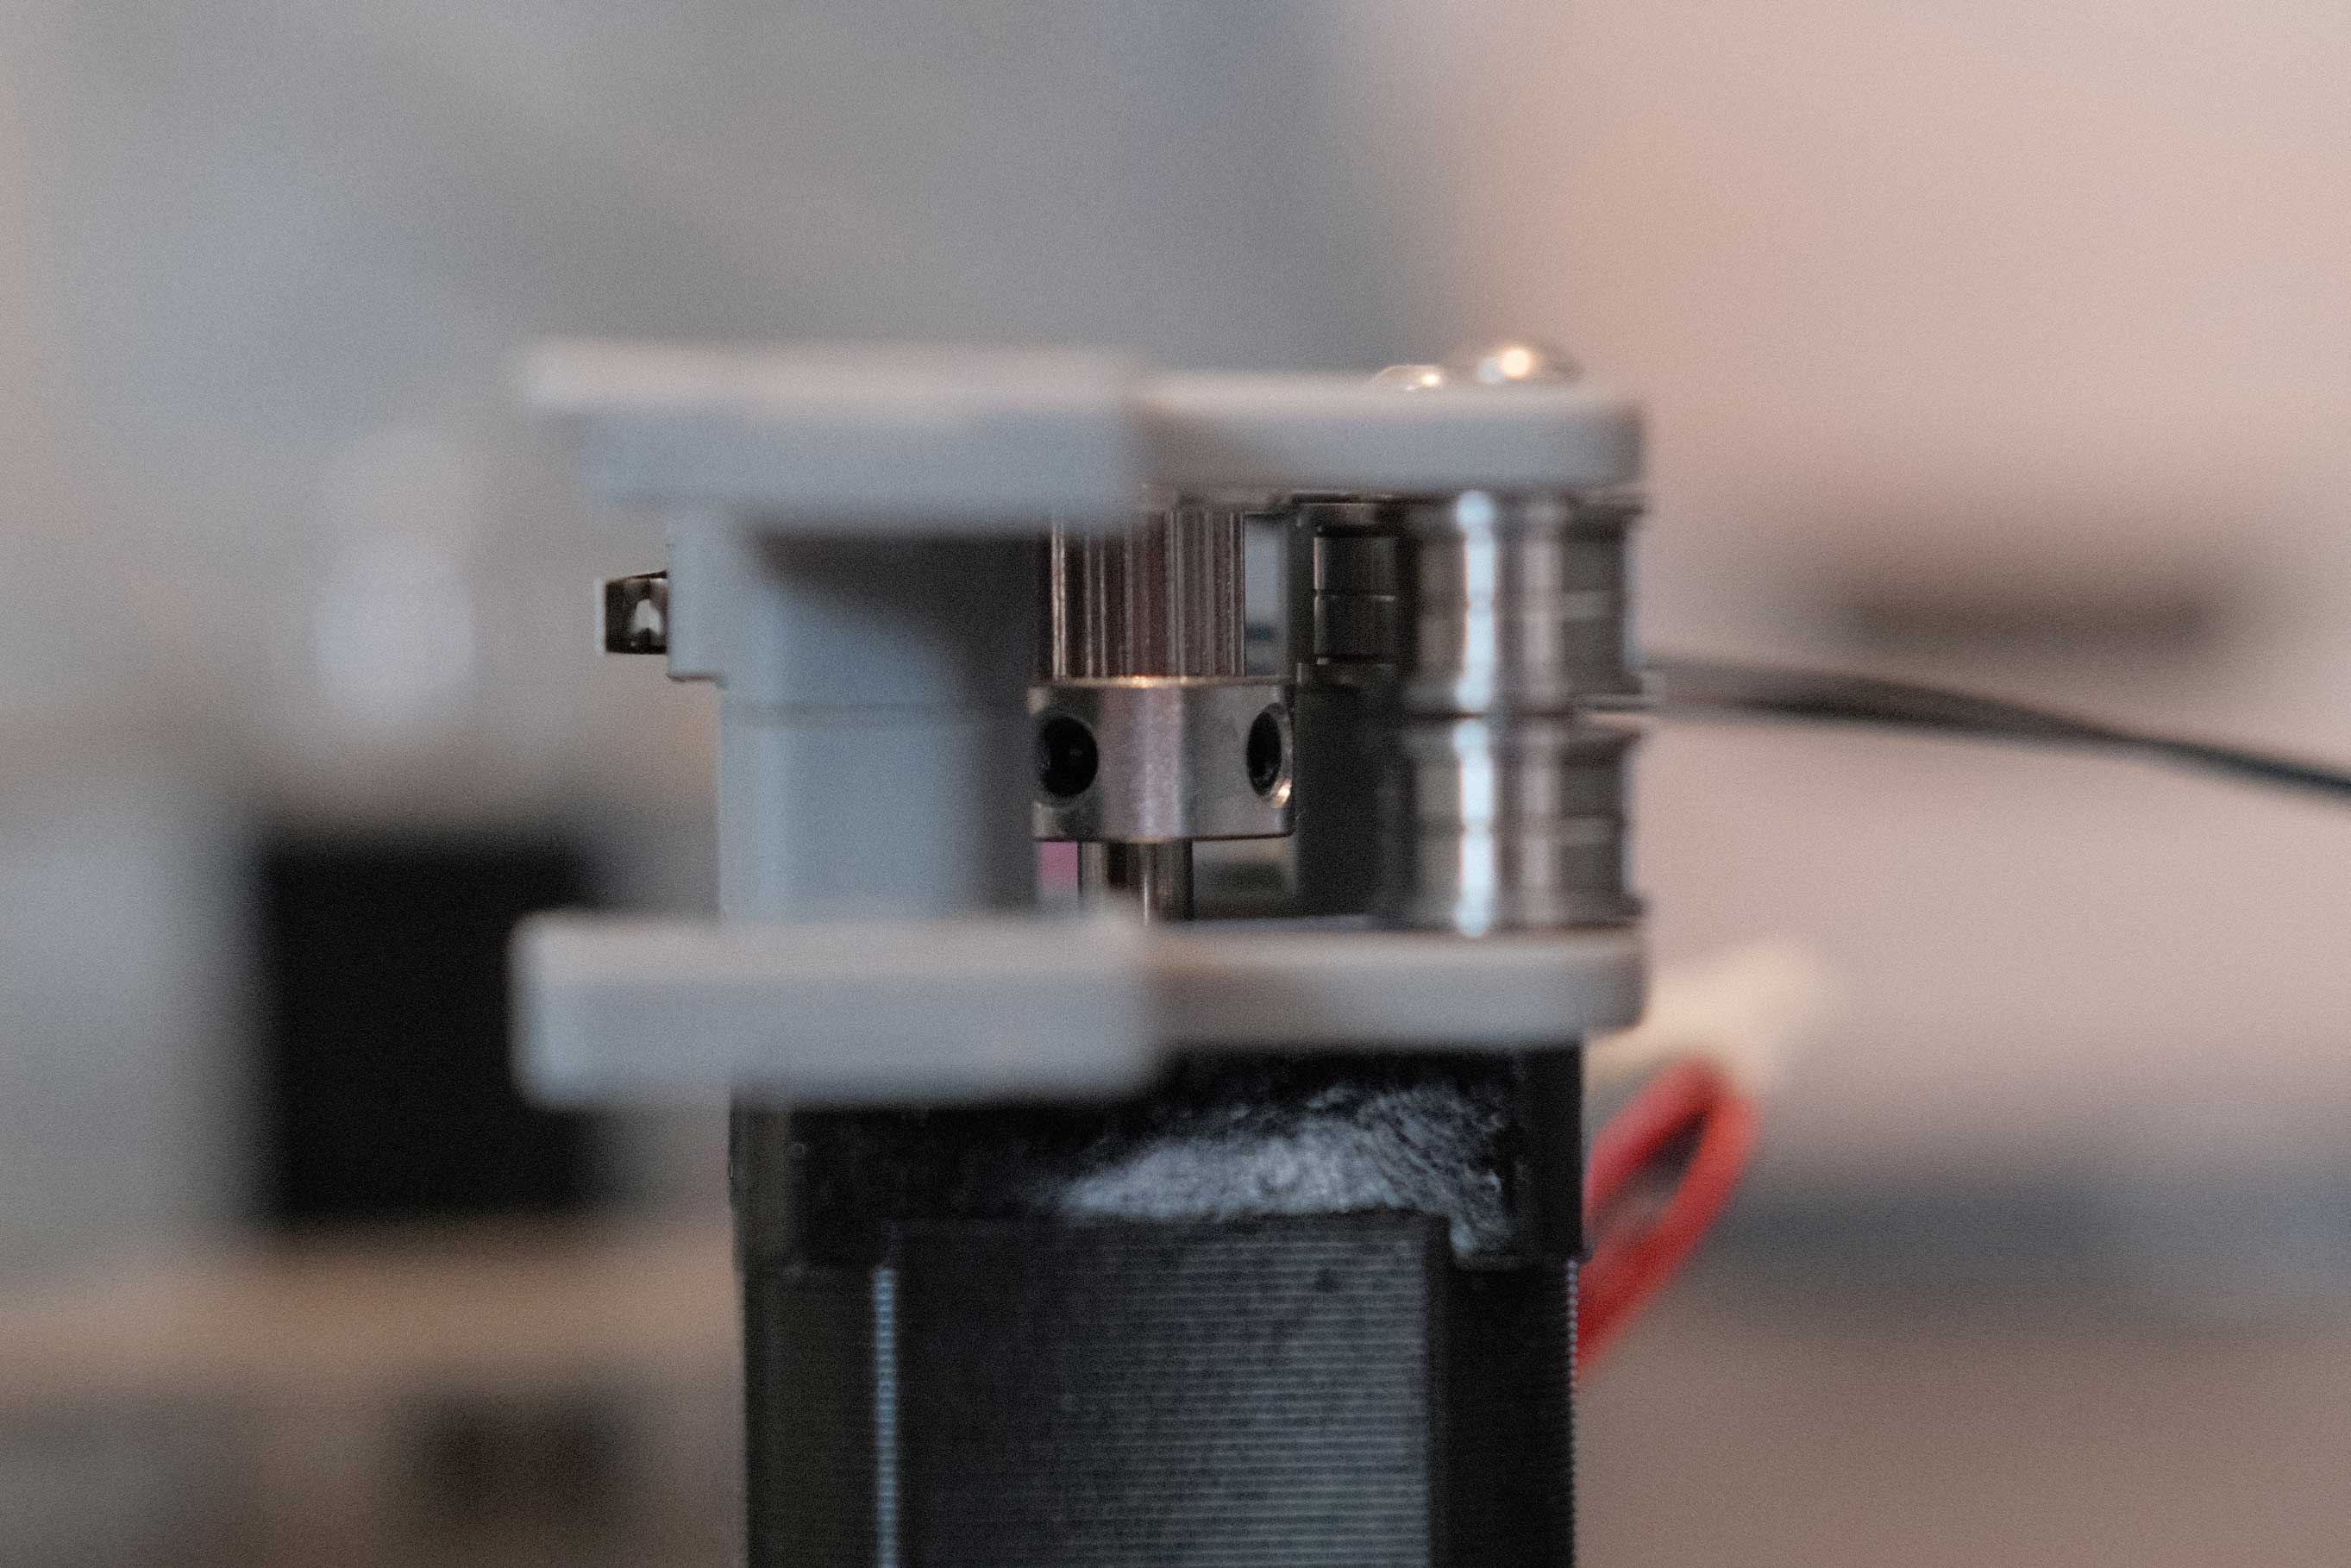
 Z Drive - 4
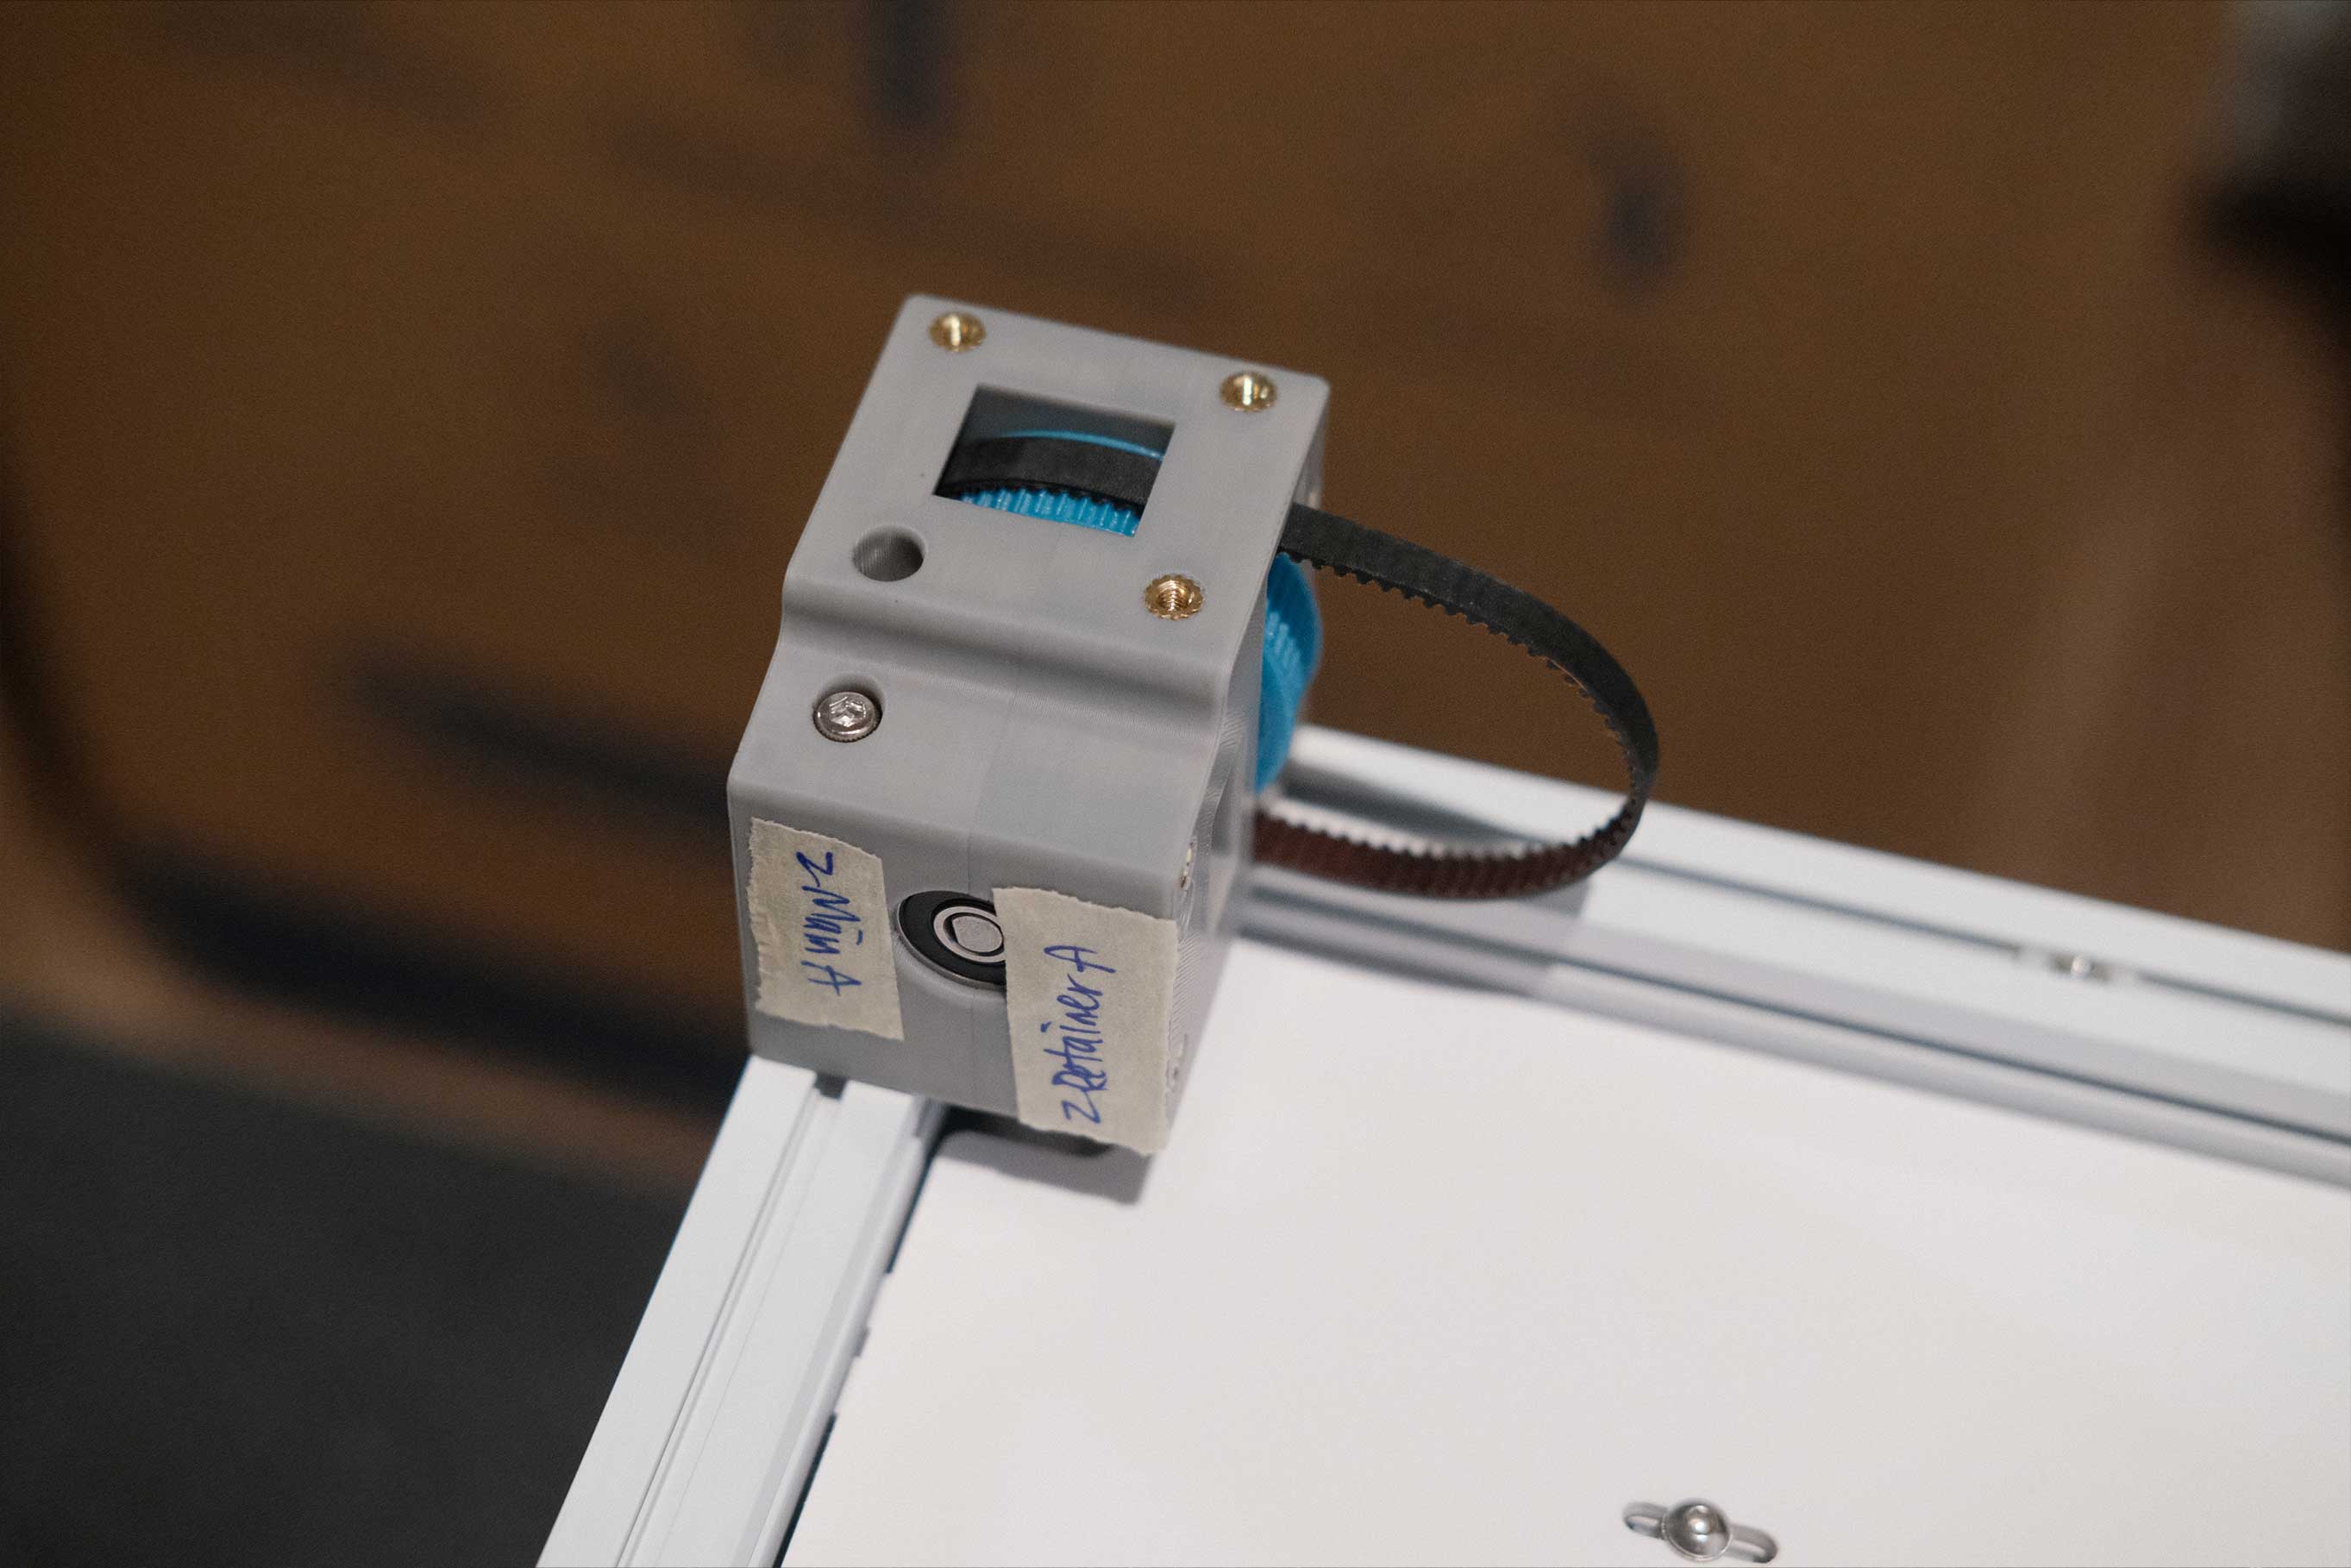
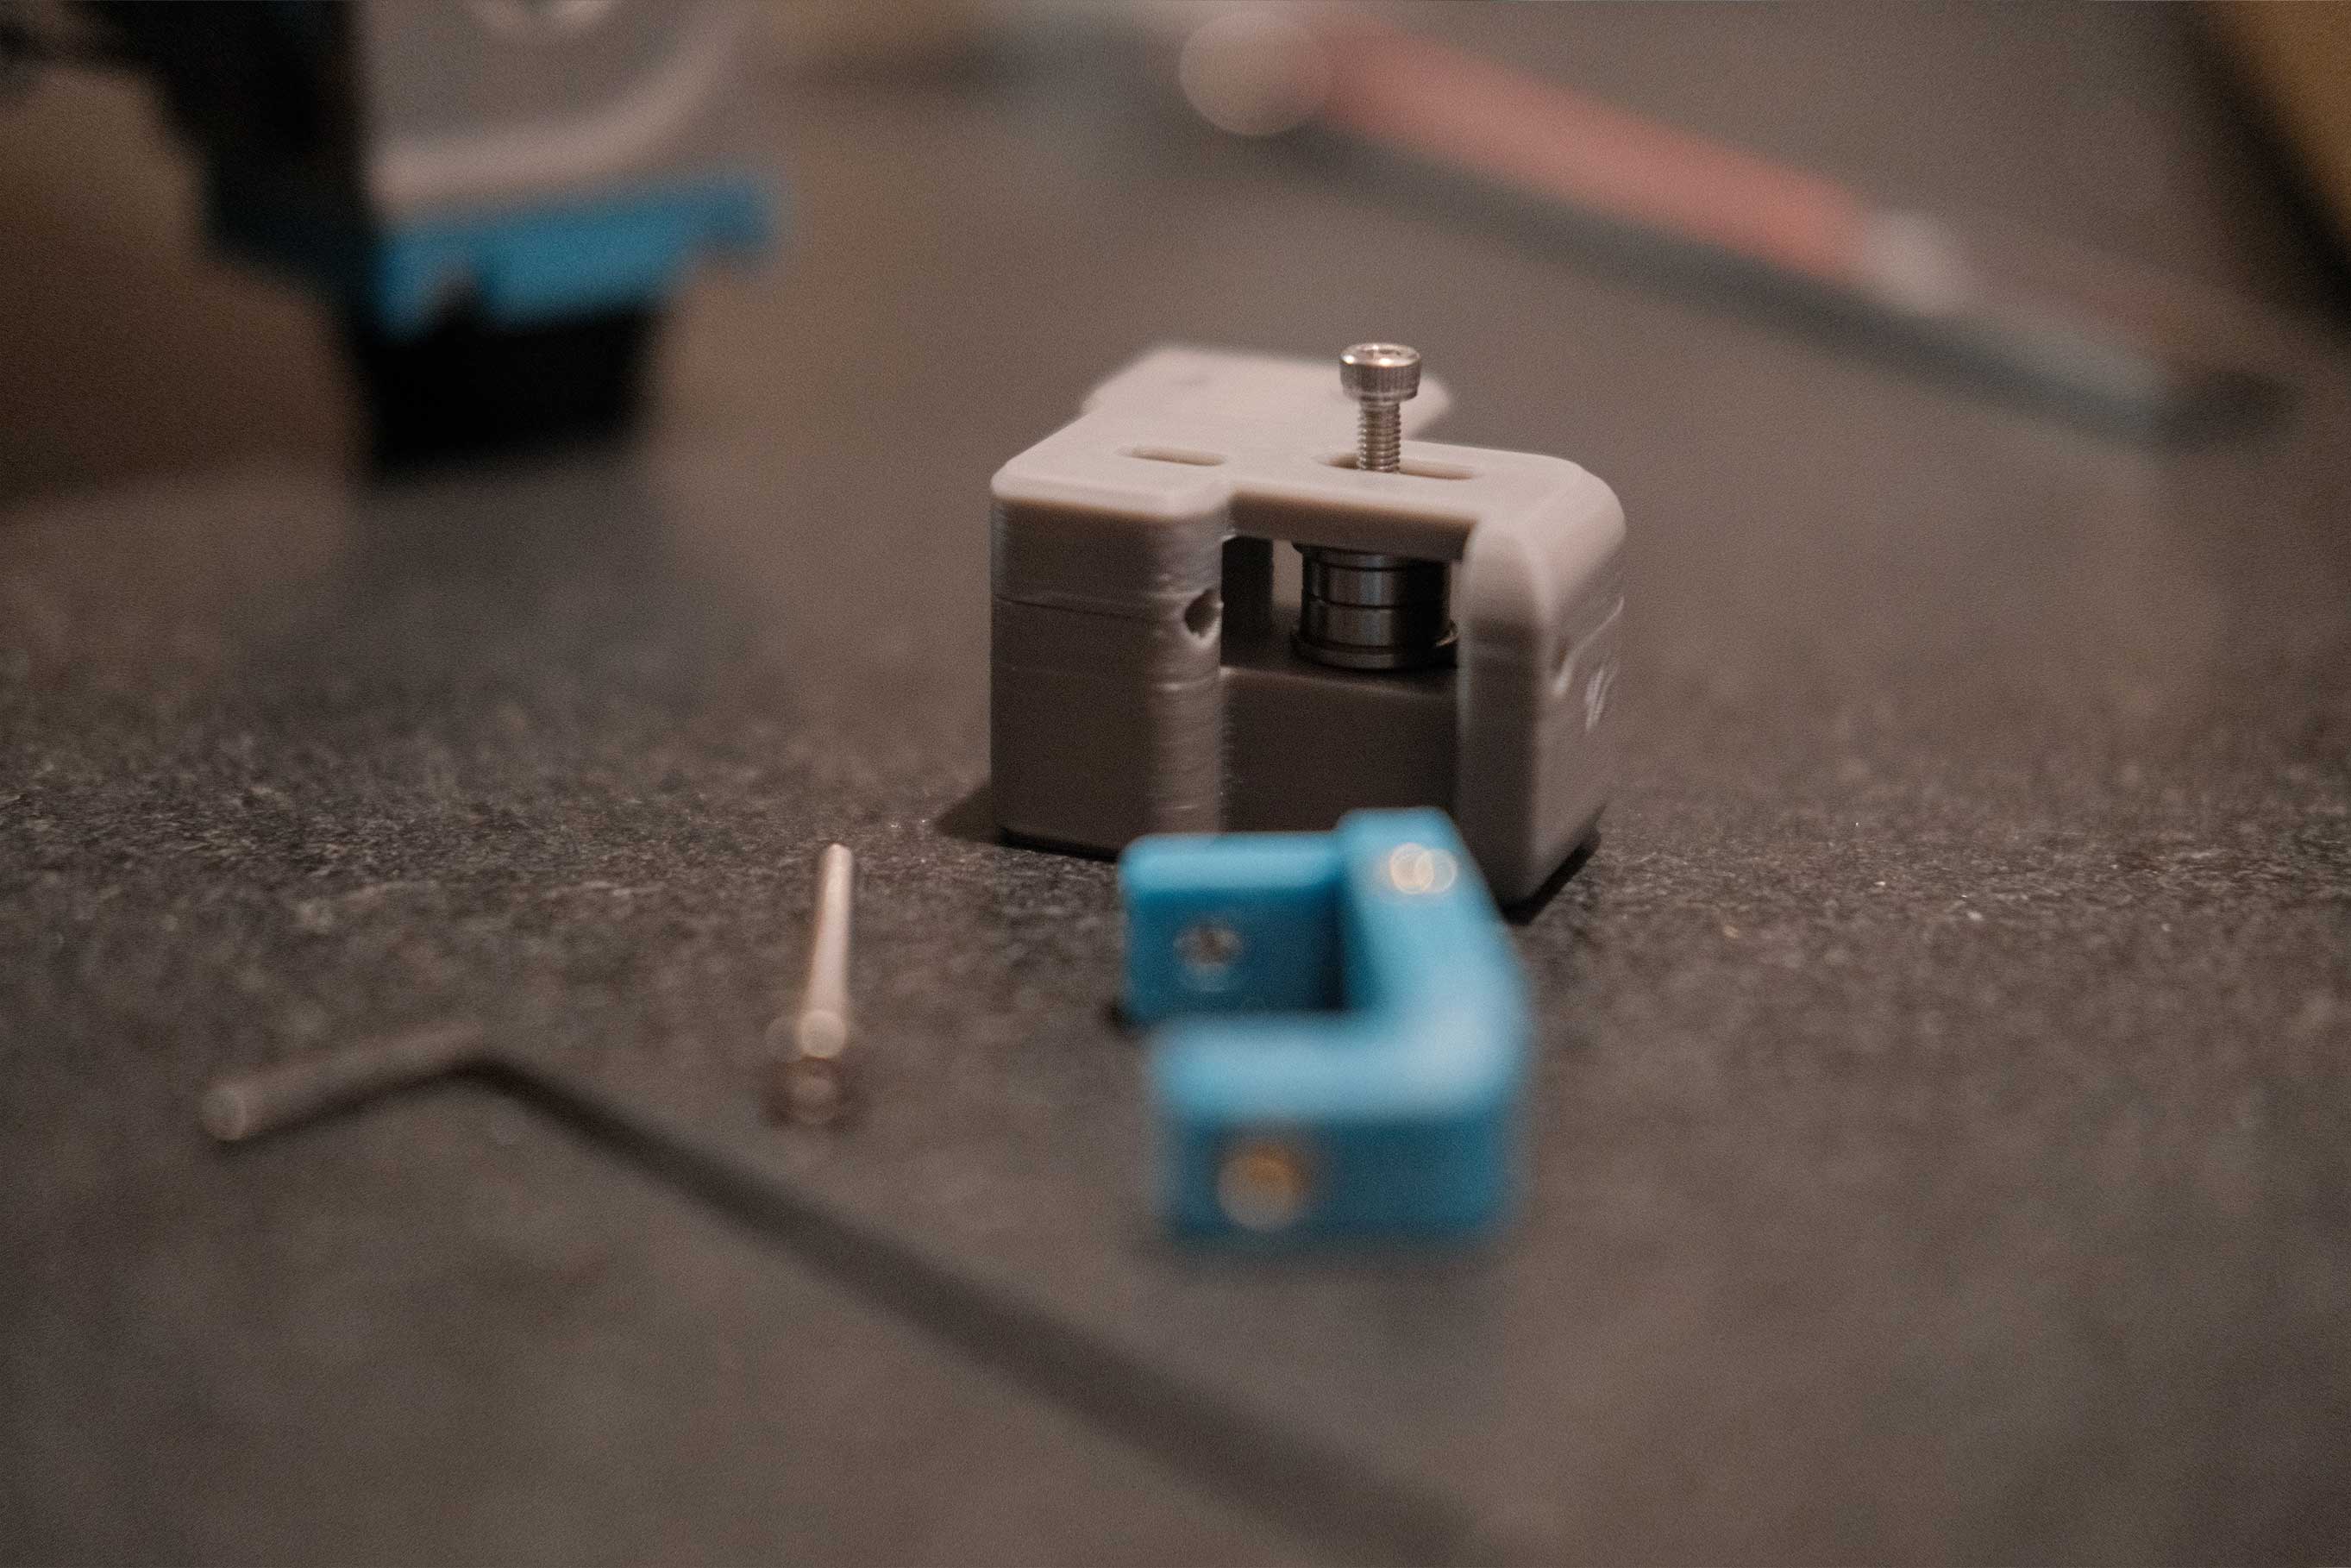
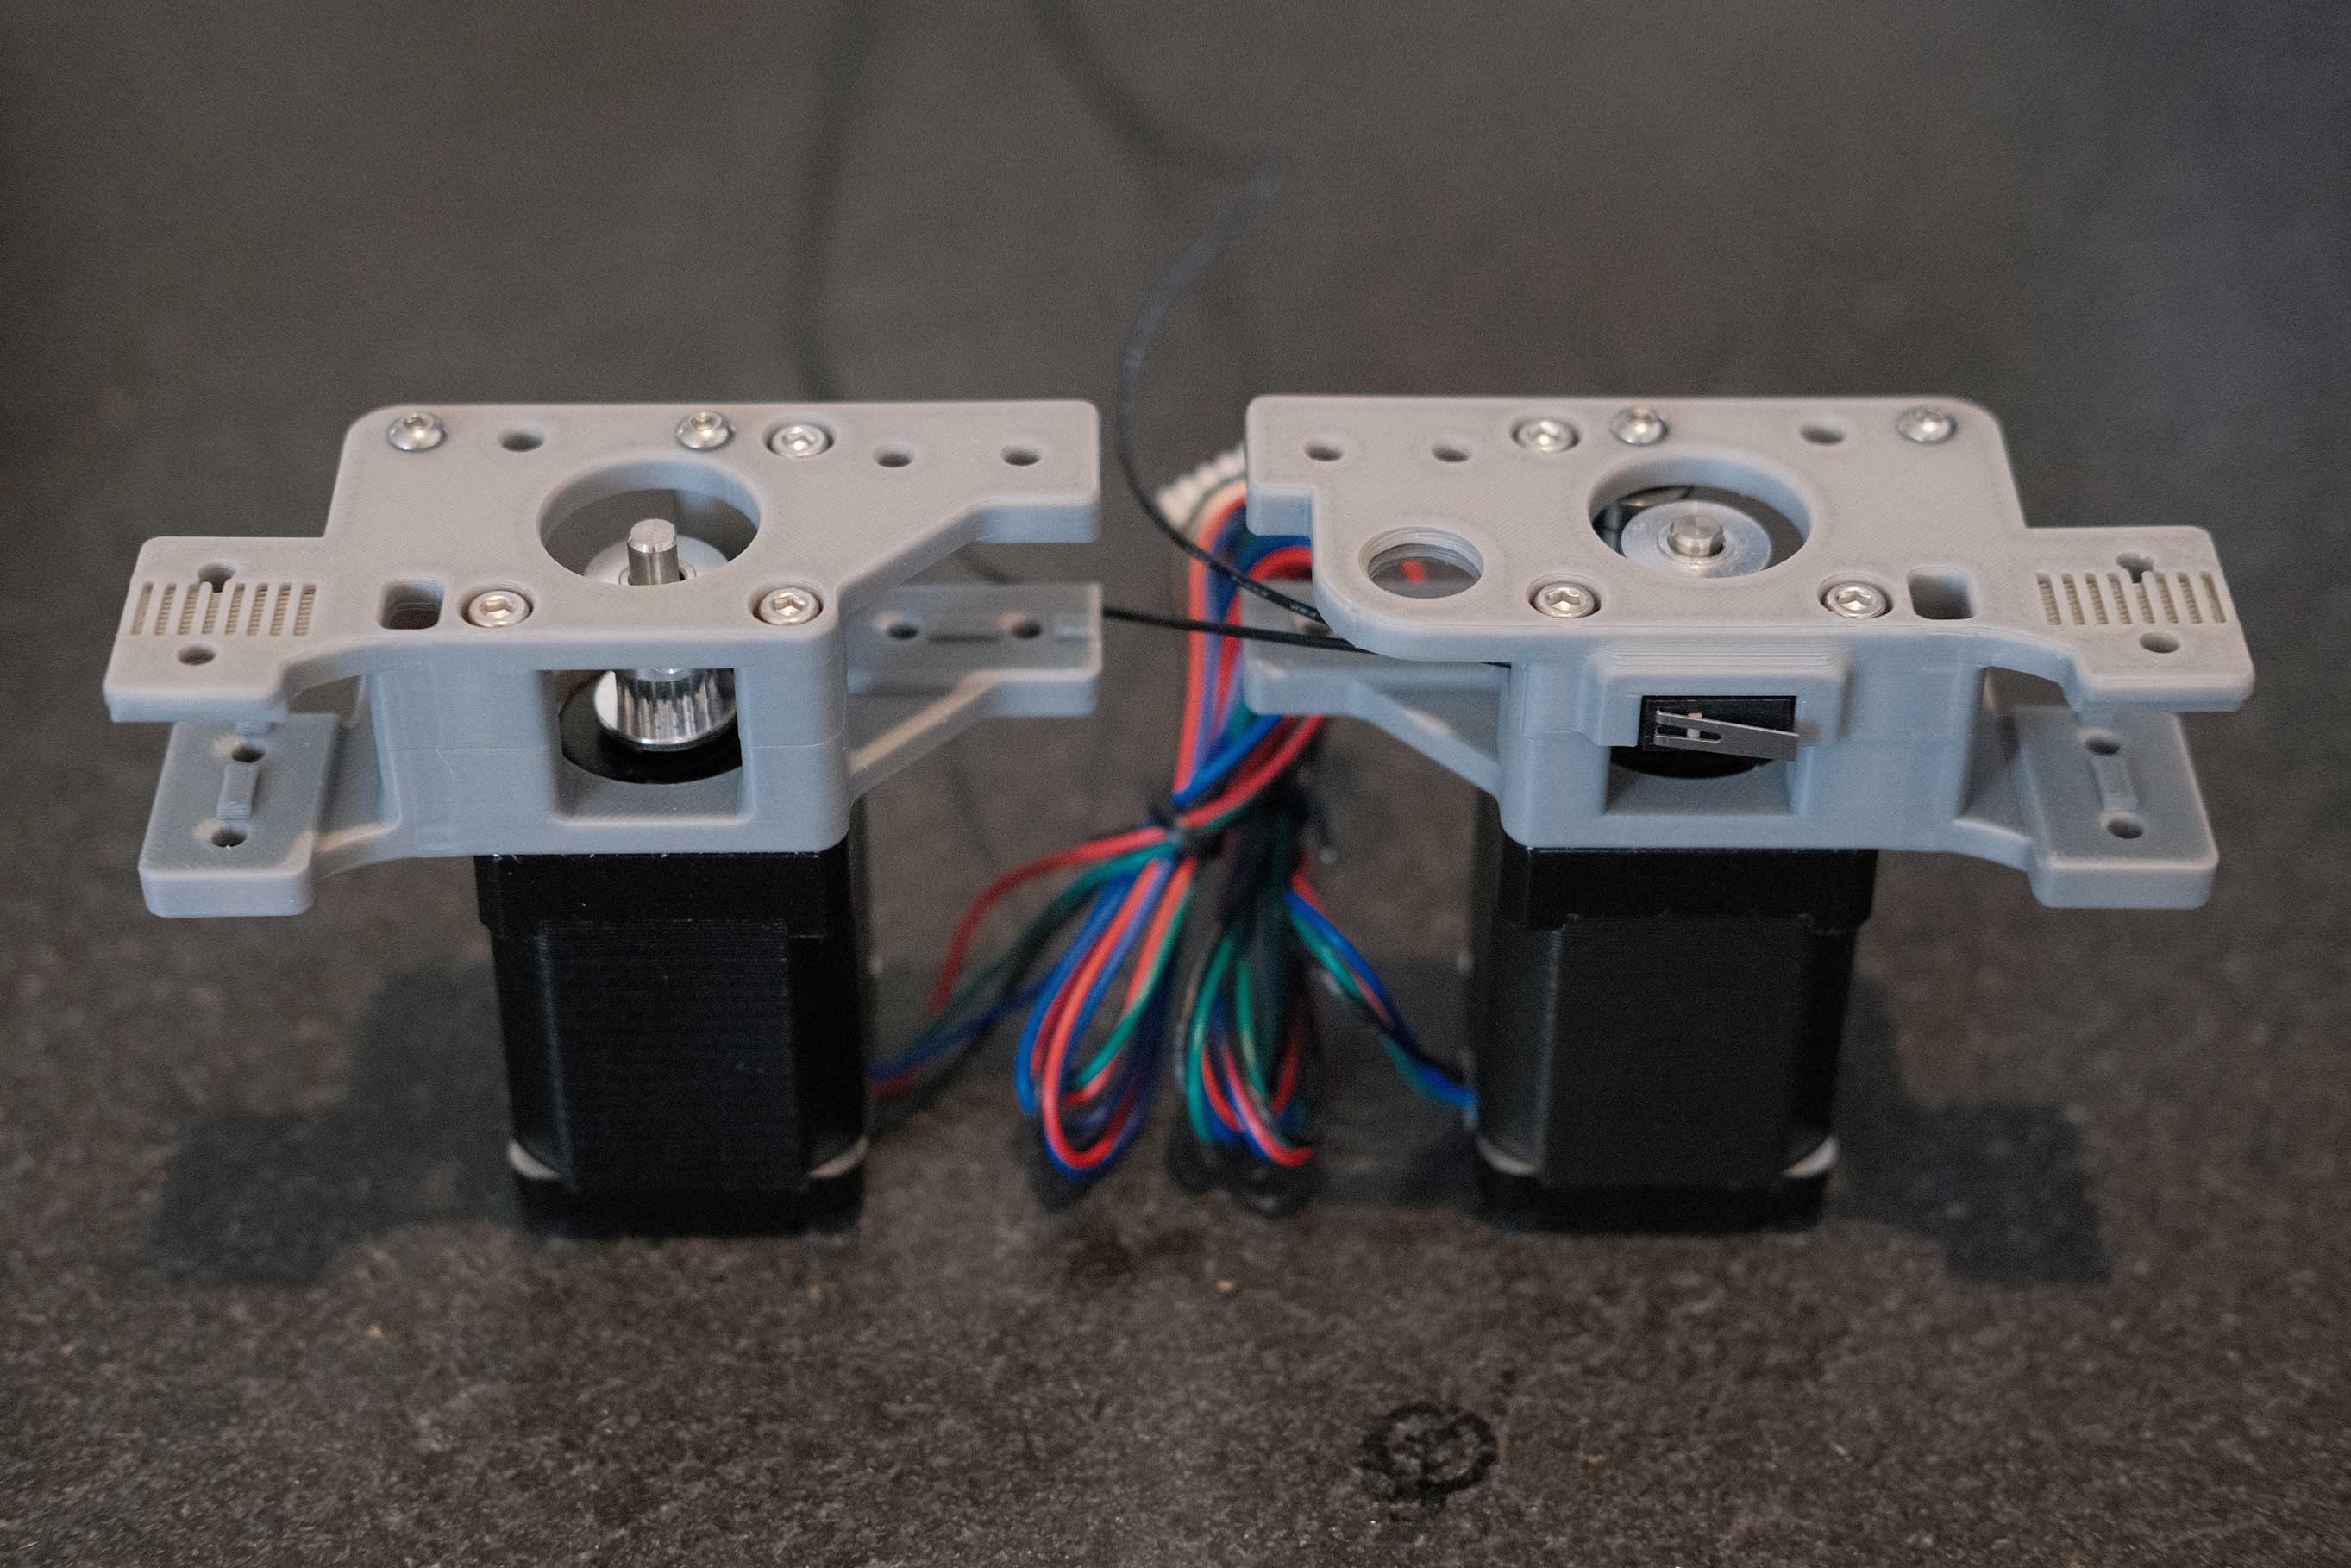
 Z Drive - 5
 Z Drive - 6
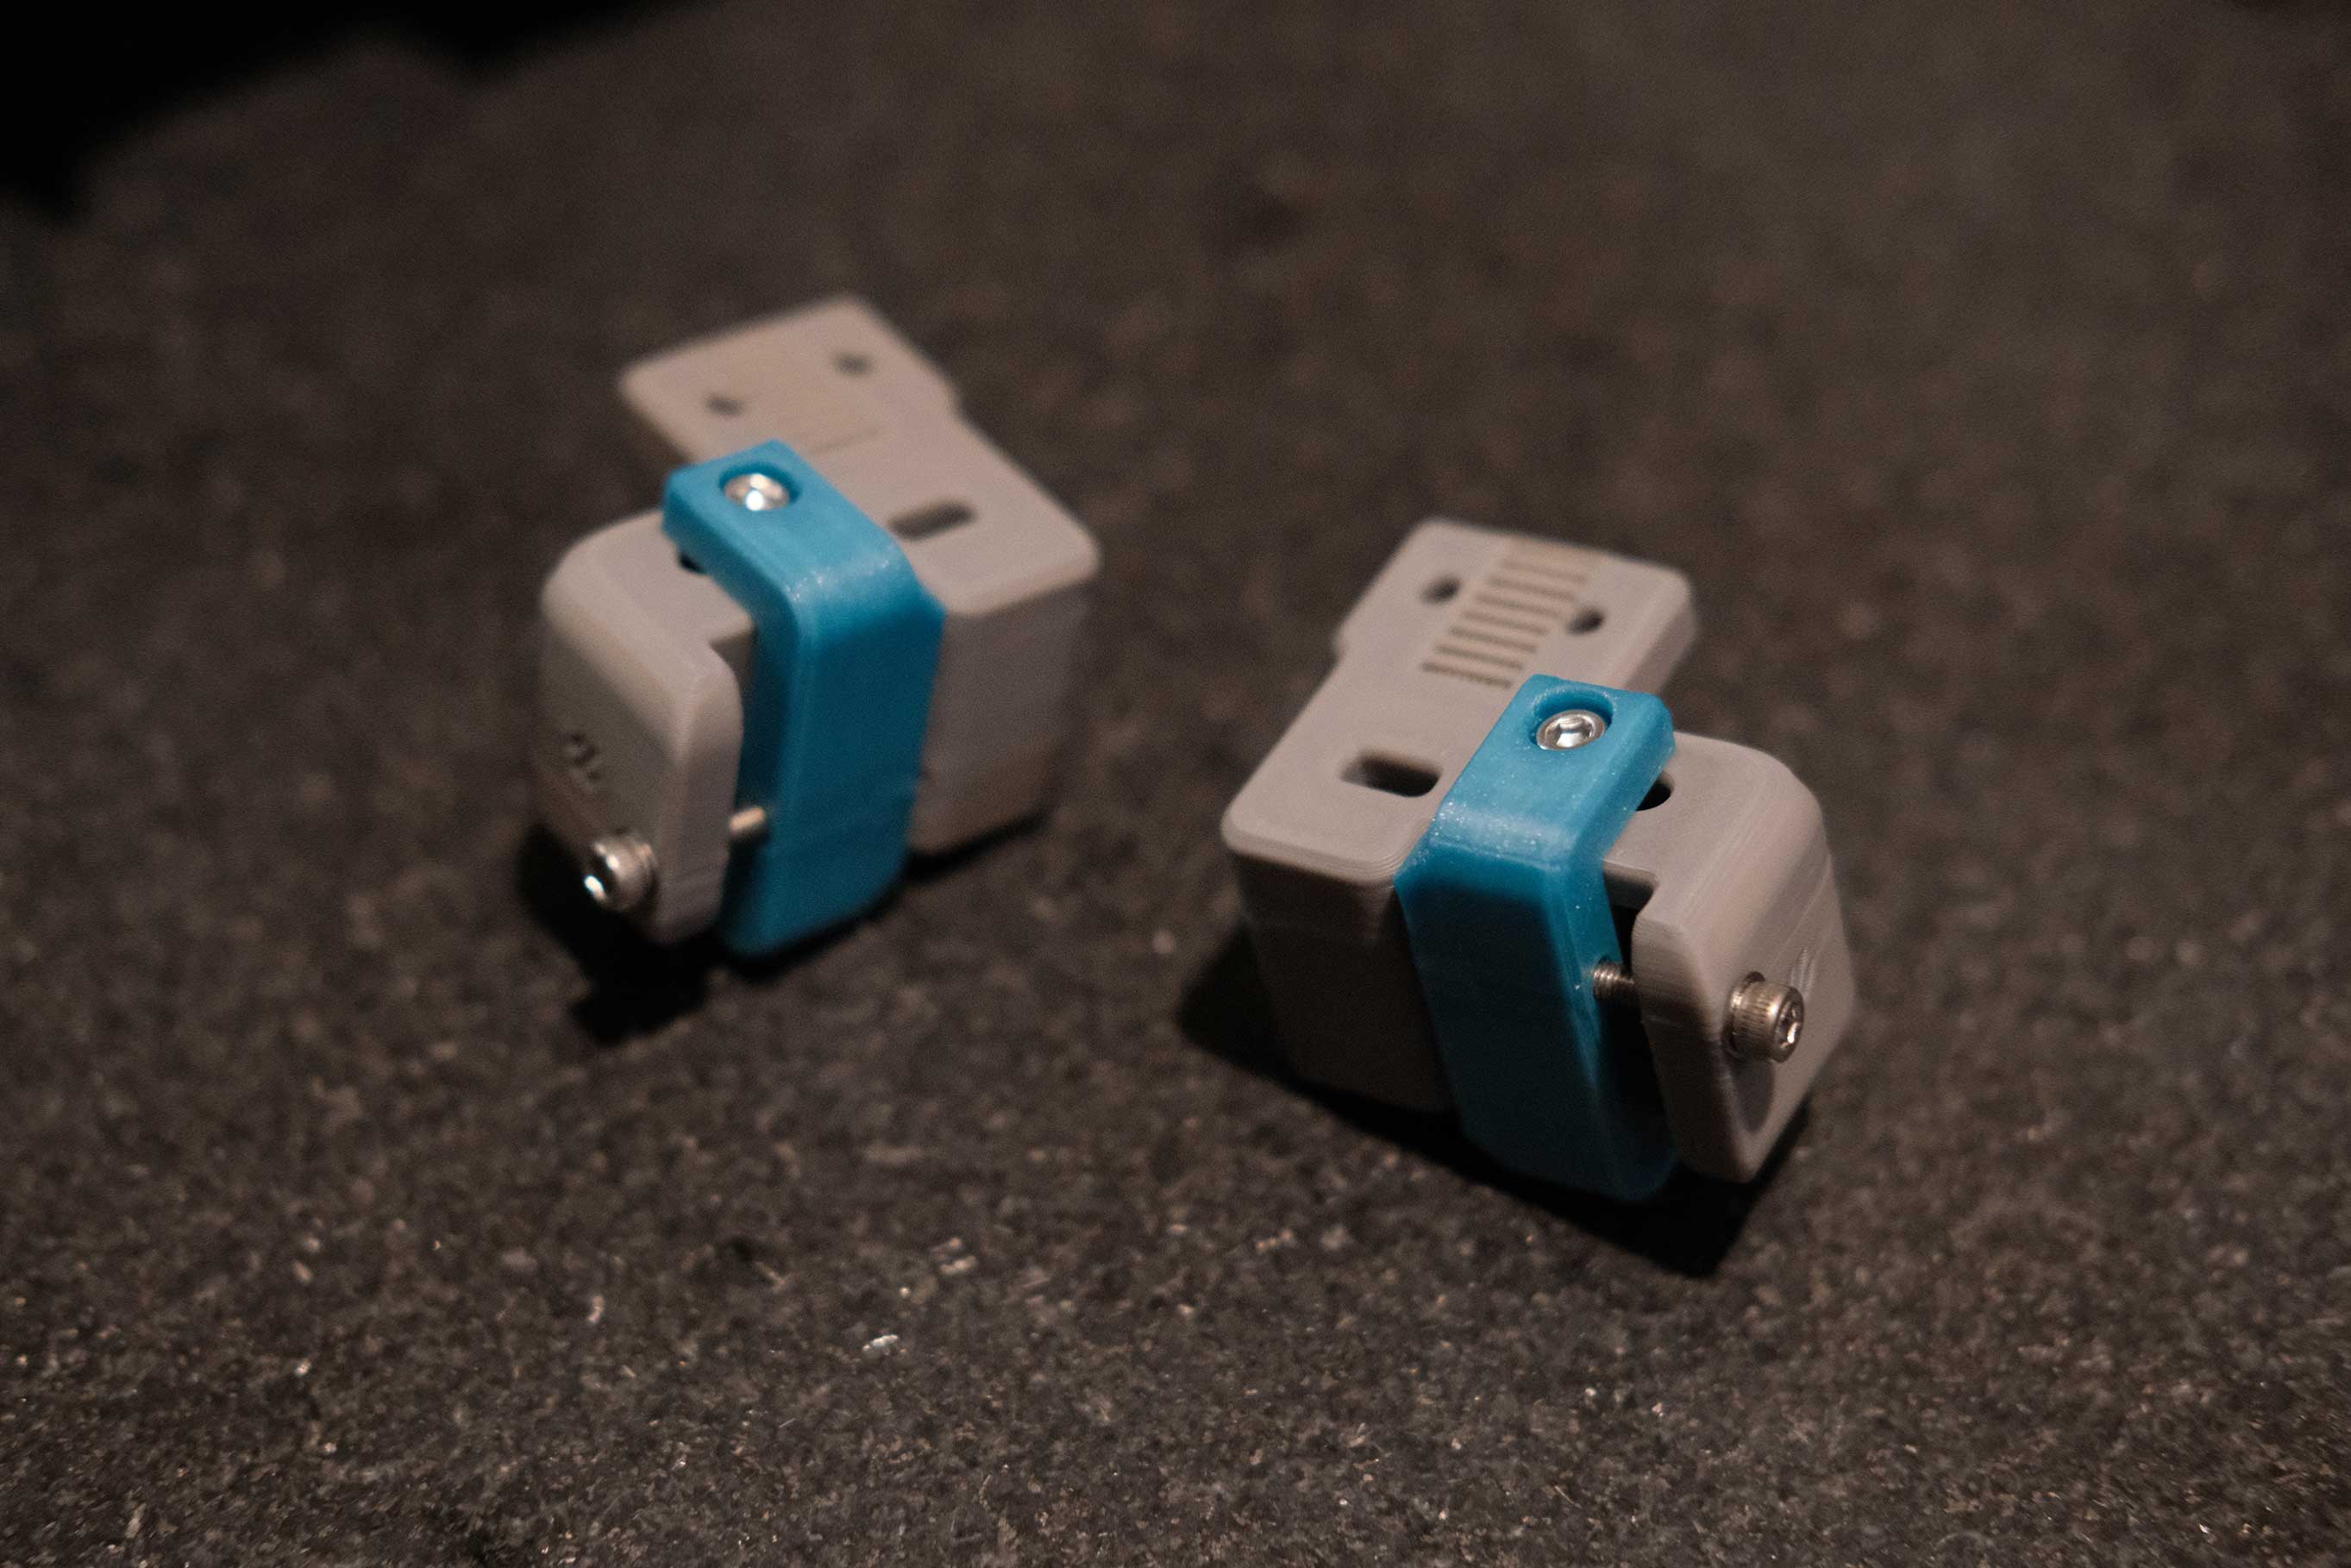
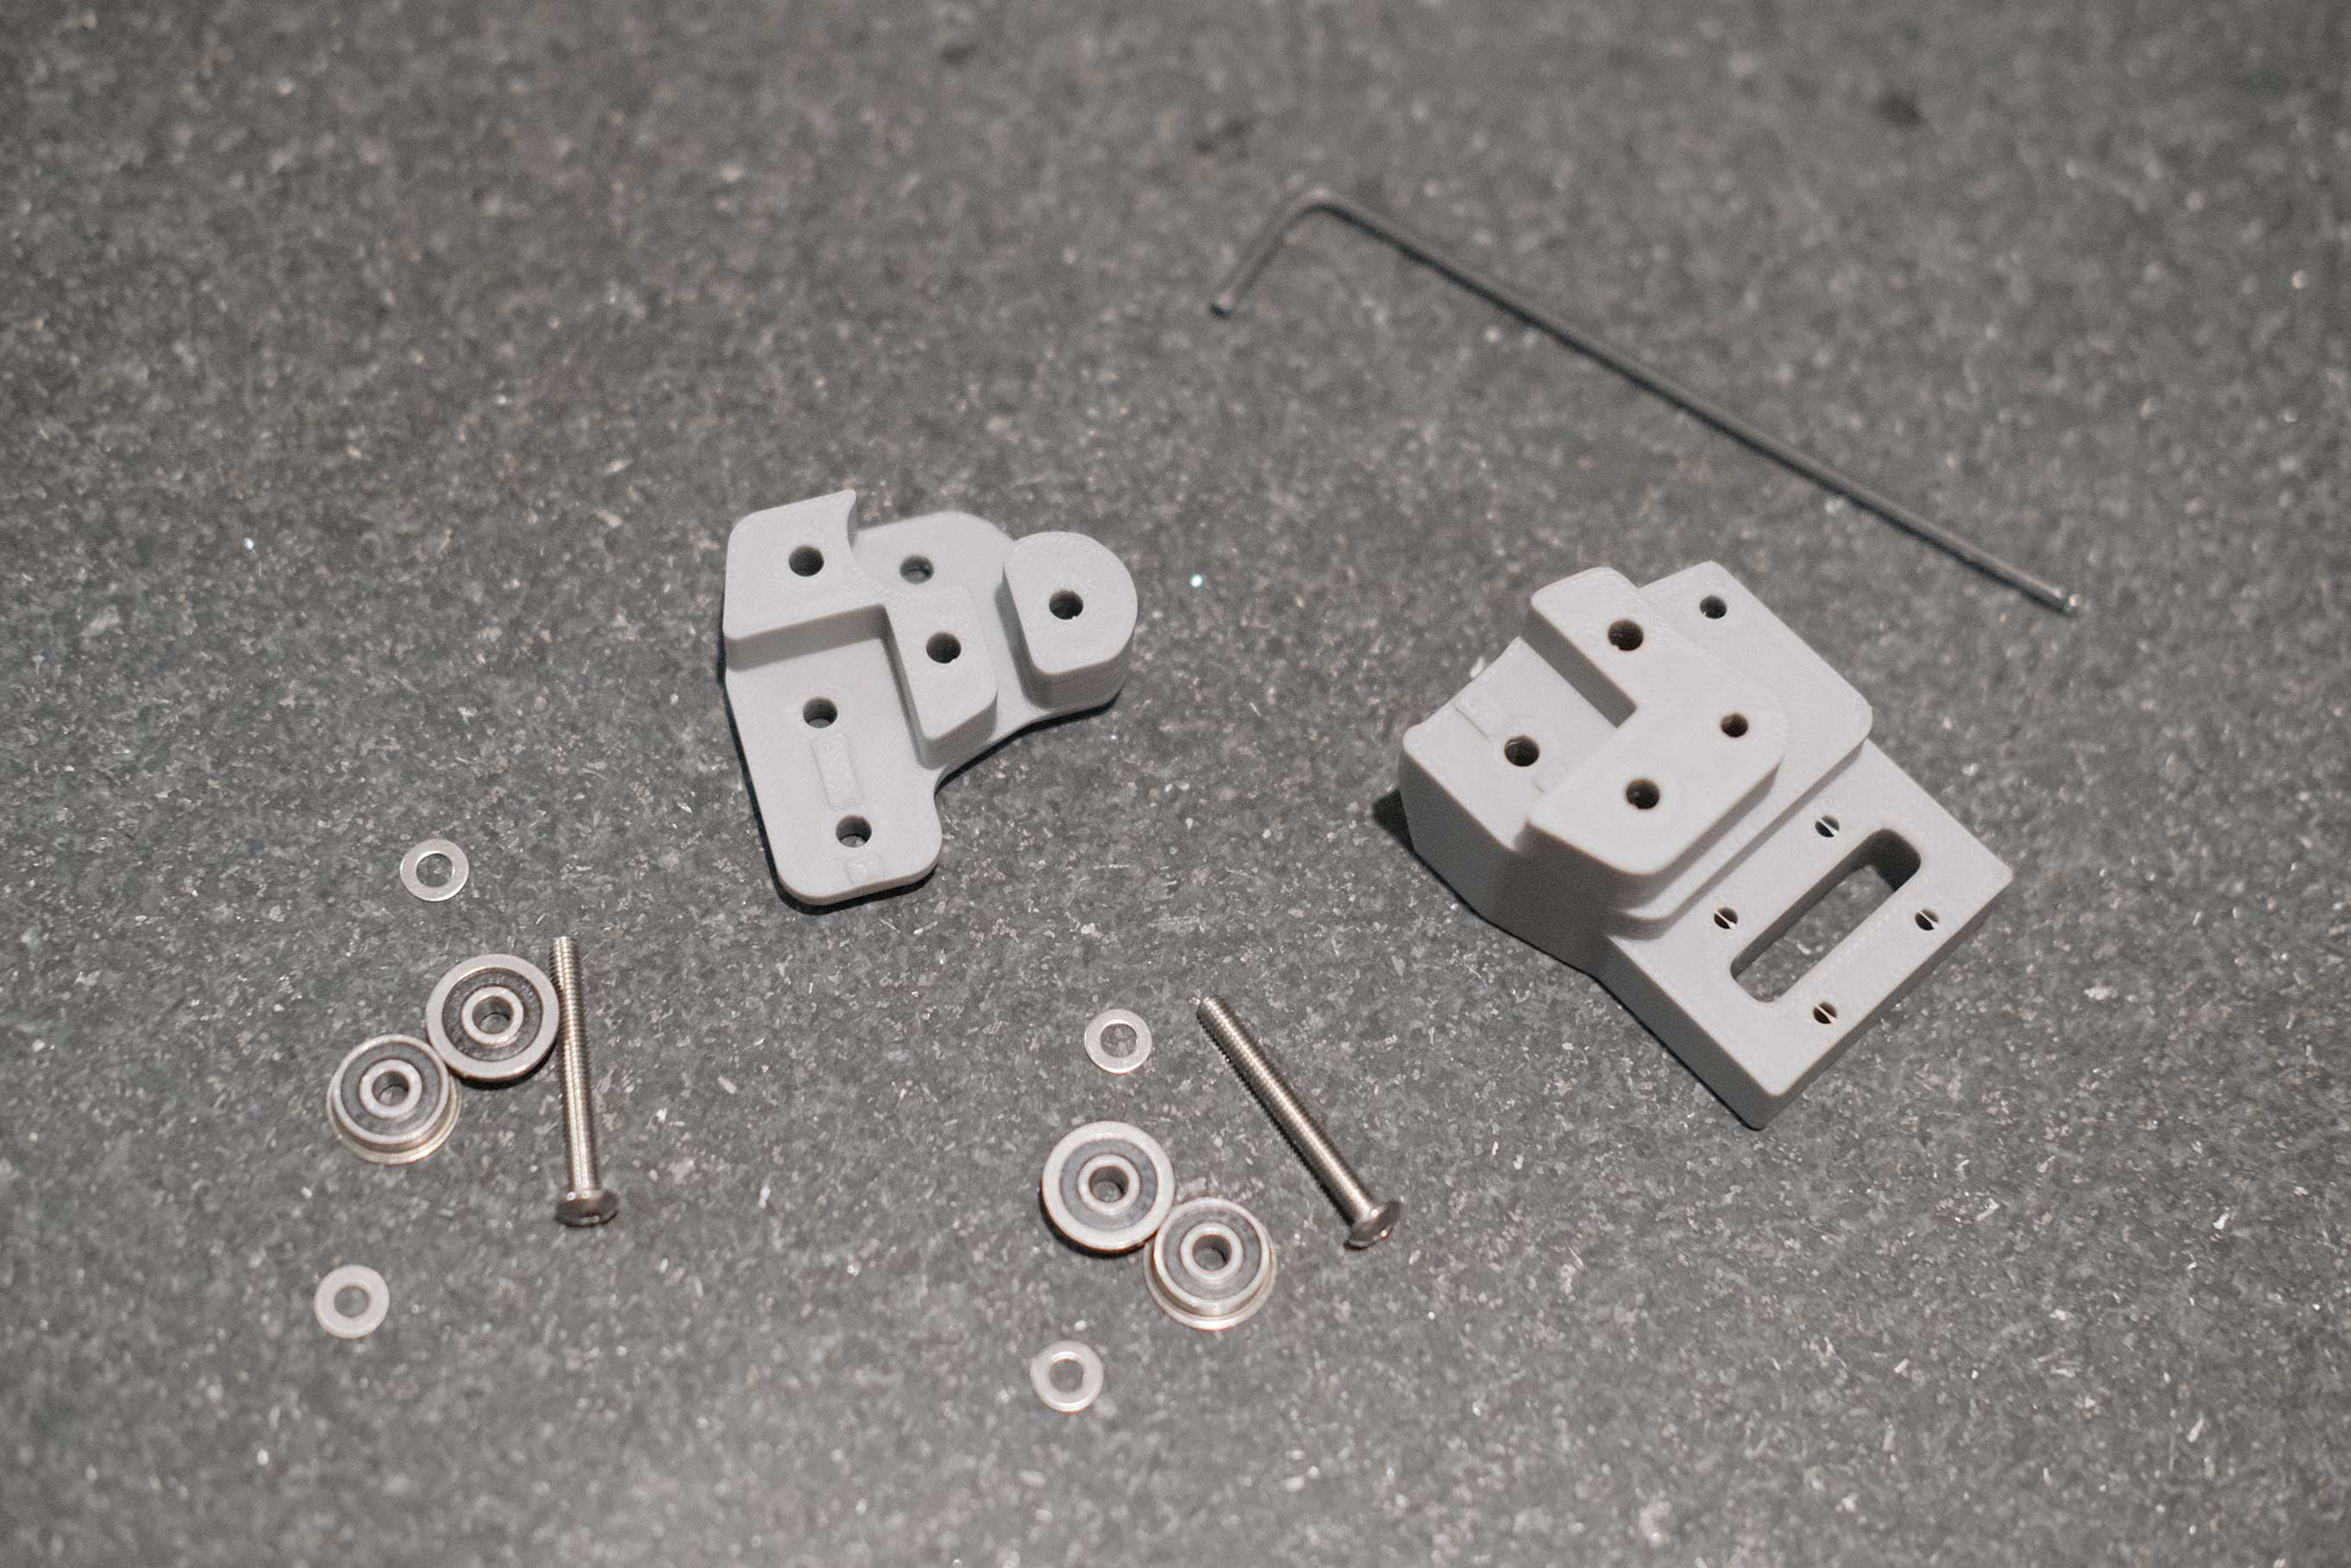
 Z Drive - 7
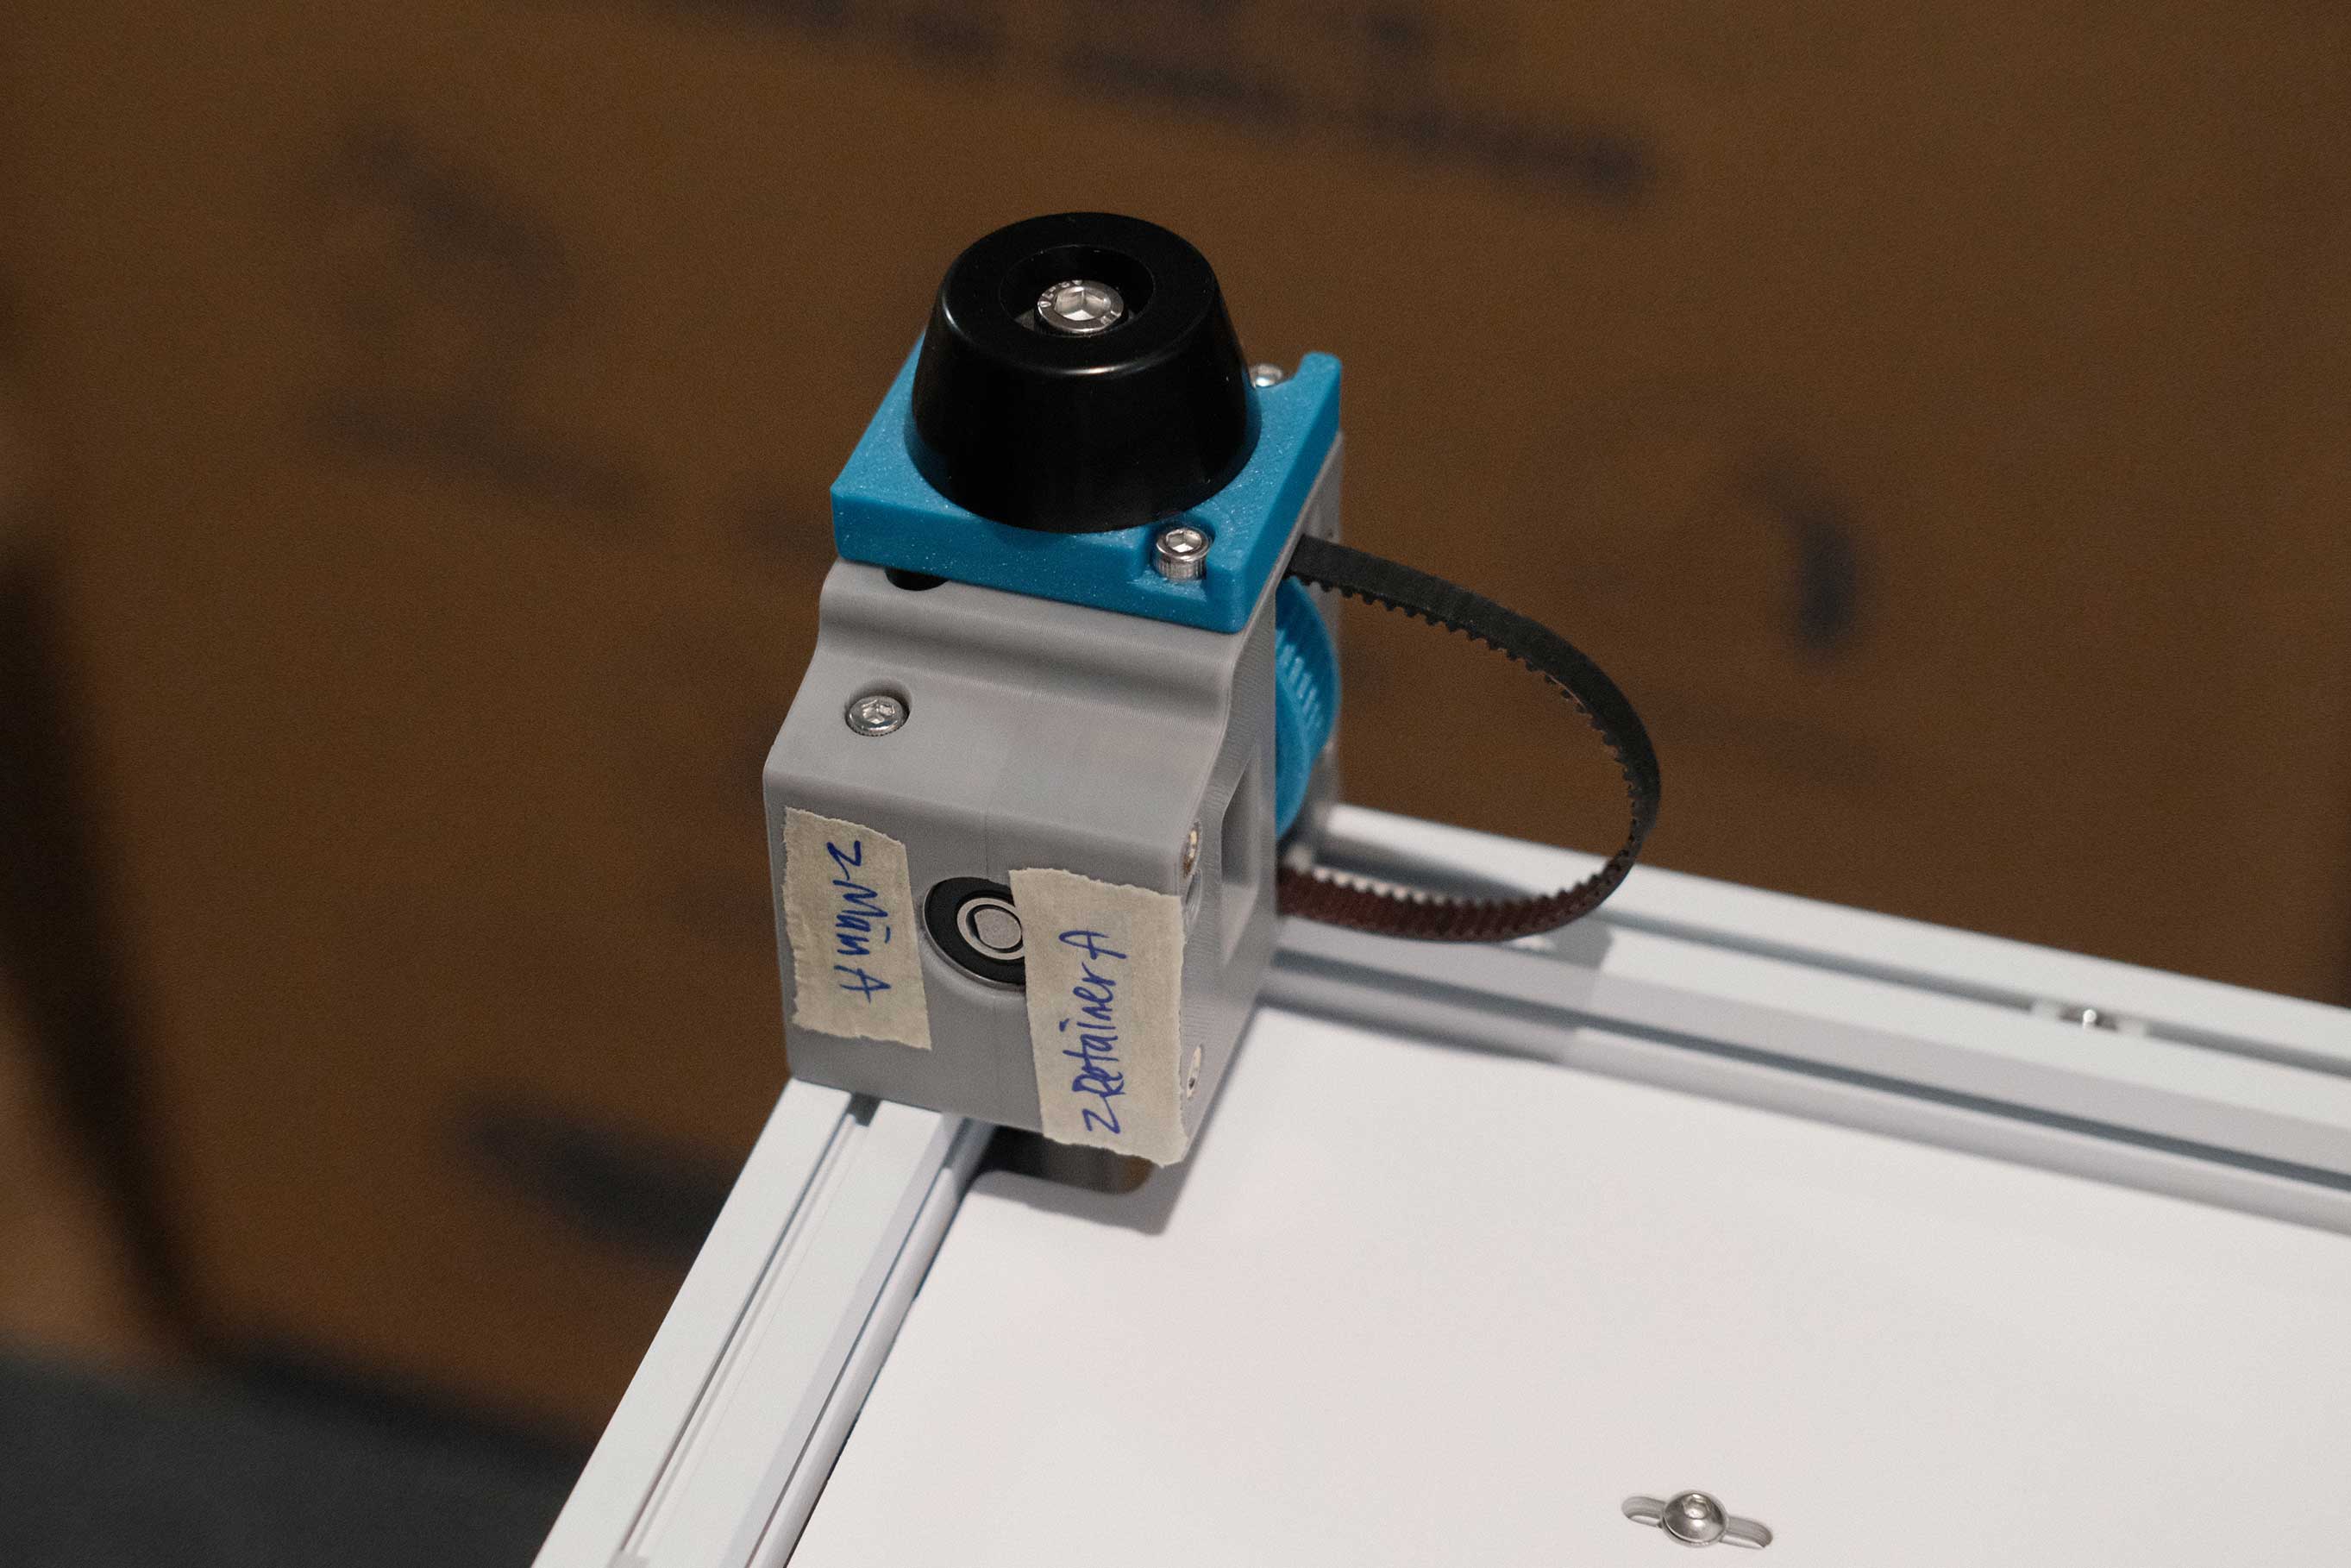 Z Drive - 8
 Z Drive - 9
 Z Drive - 10
 Z Drive - 11
 Z Drive - 12
 Z Drive - 13
Z Idlers
 Z Idlers - 1
 Z Idlers - 2
 Z Idlers - 3
 Z Idlers - 4
Z Endstop
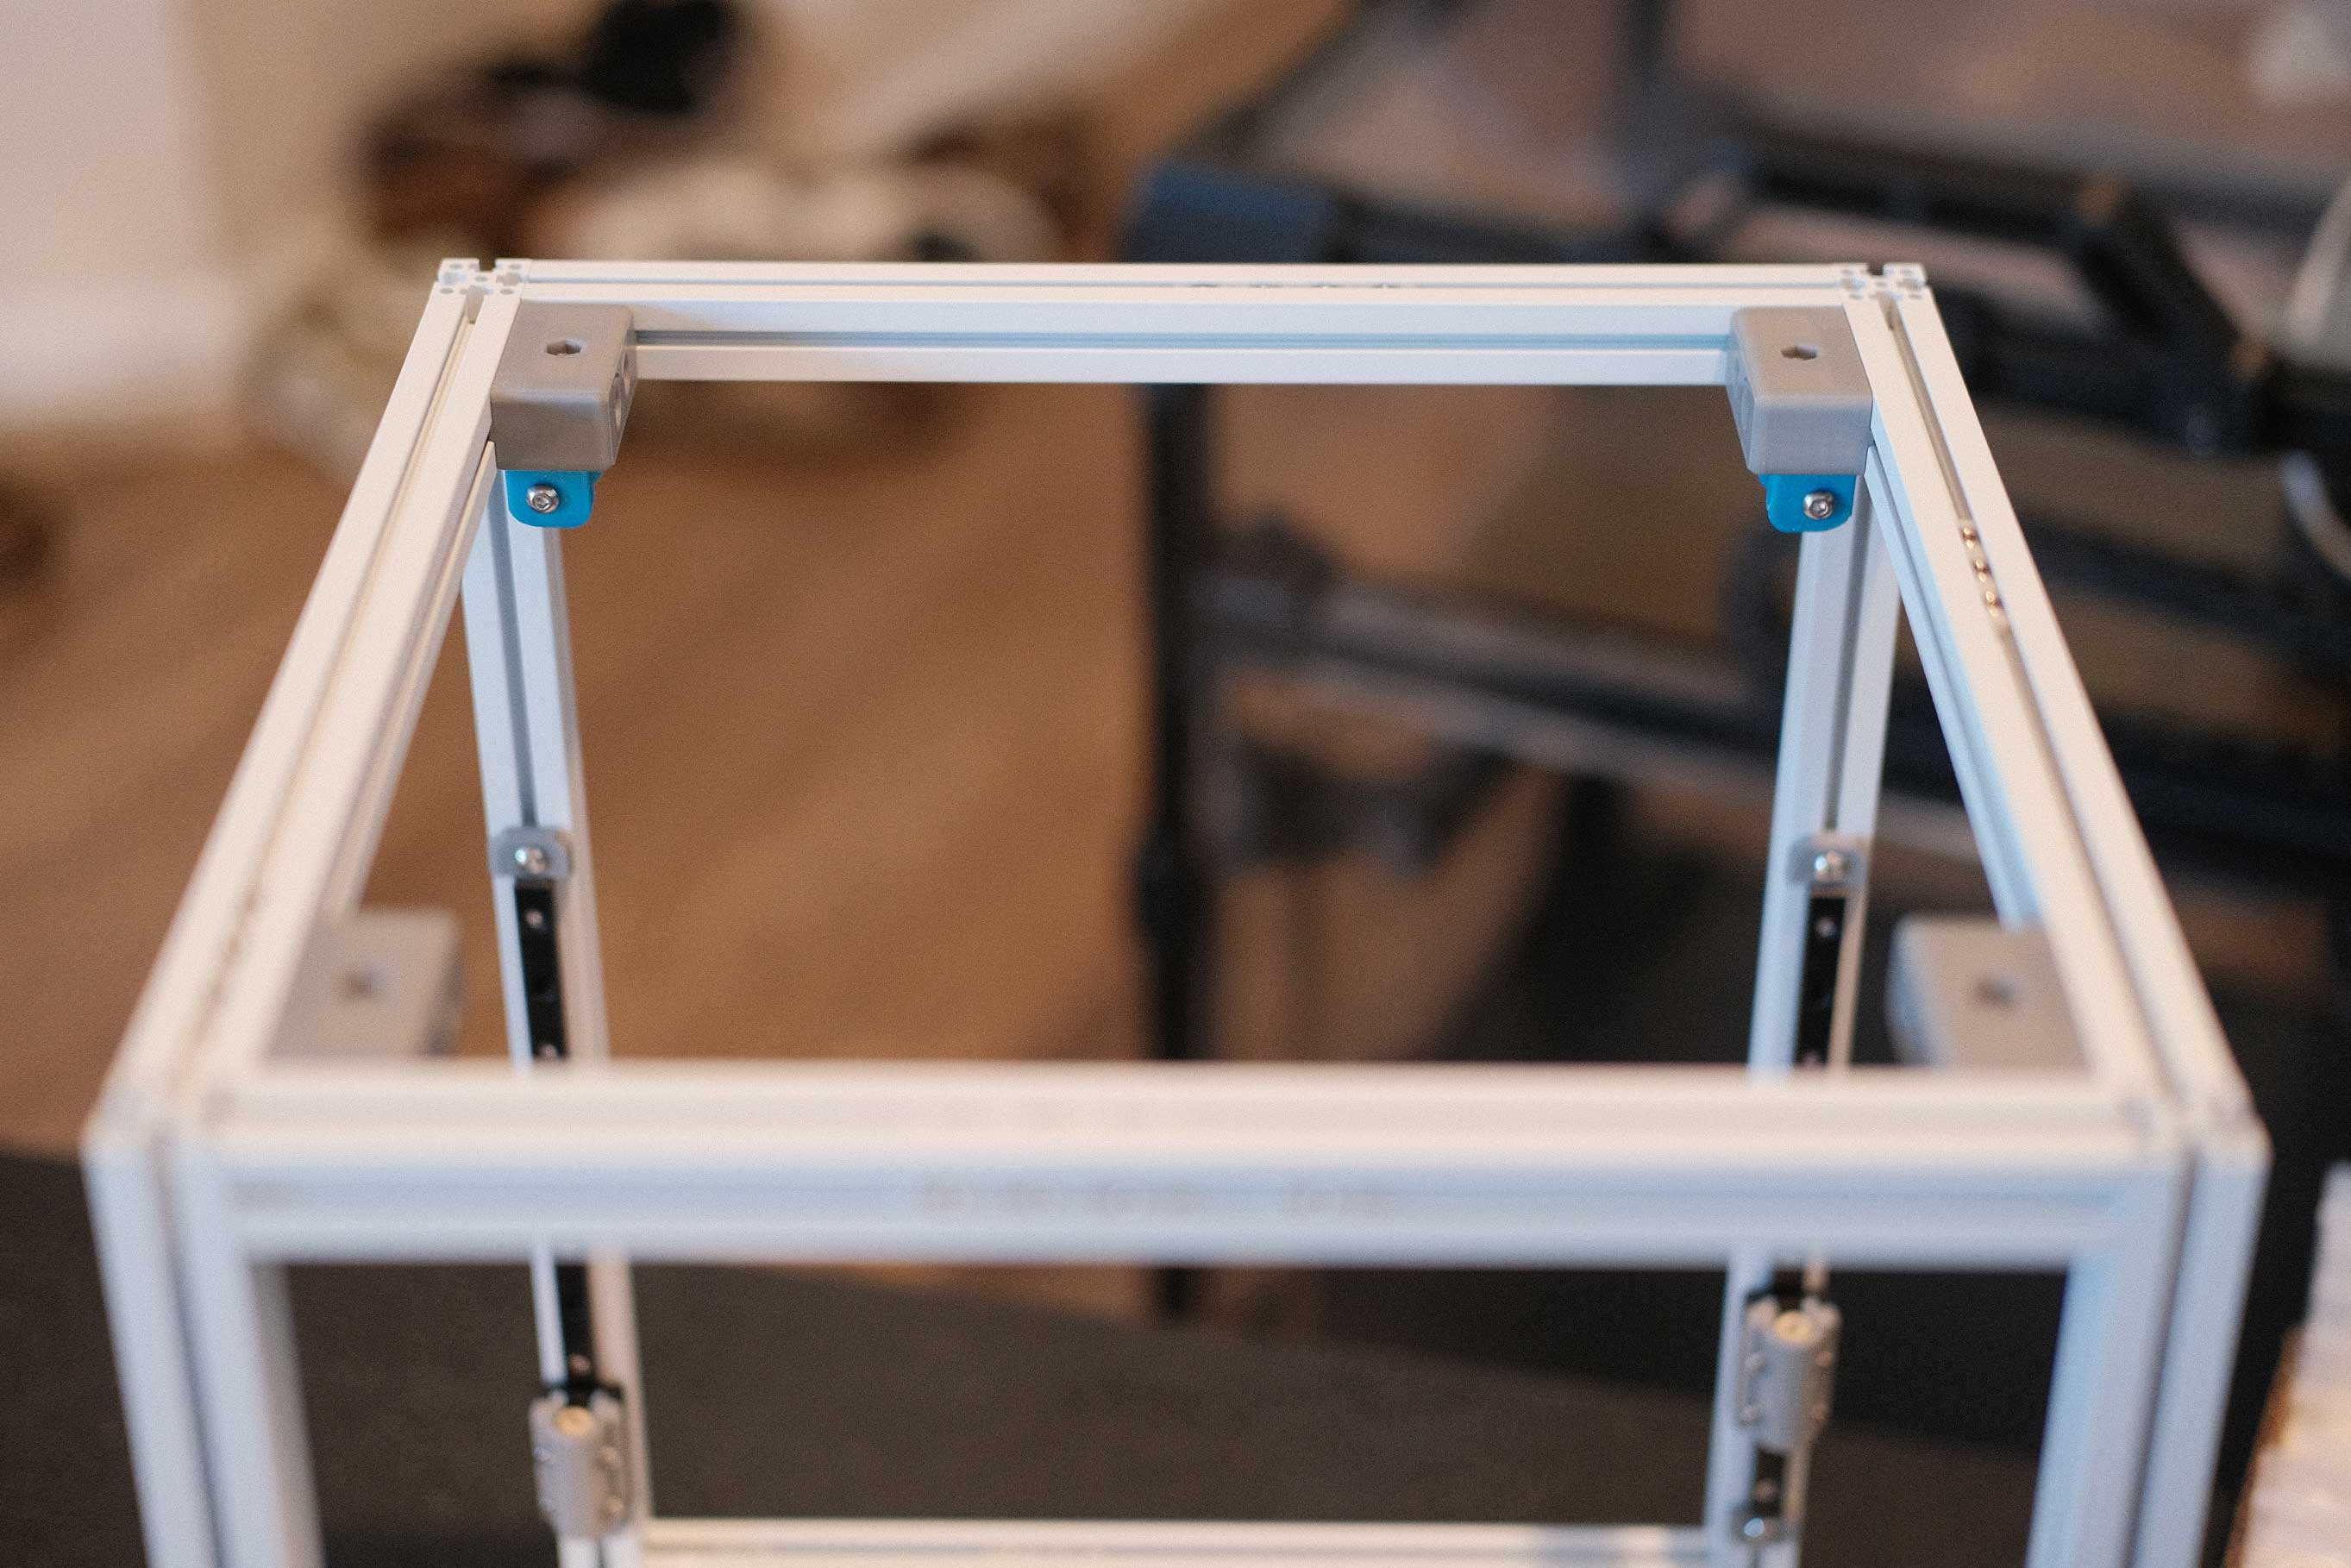
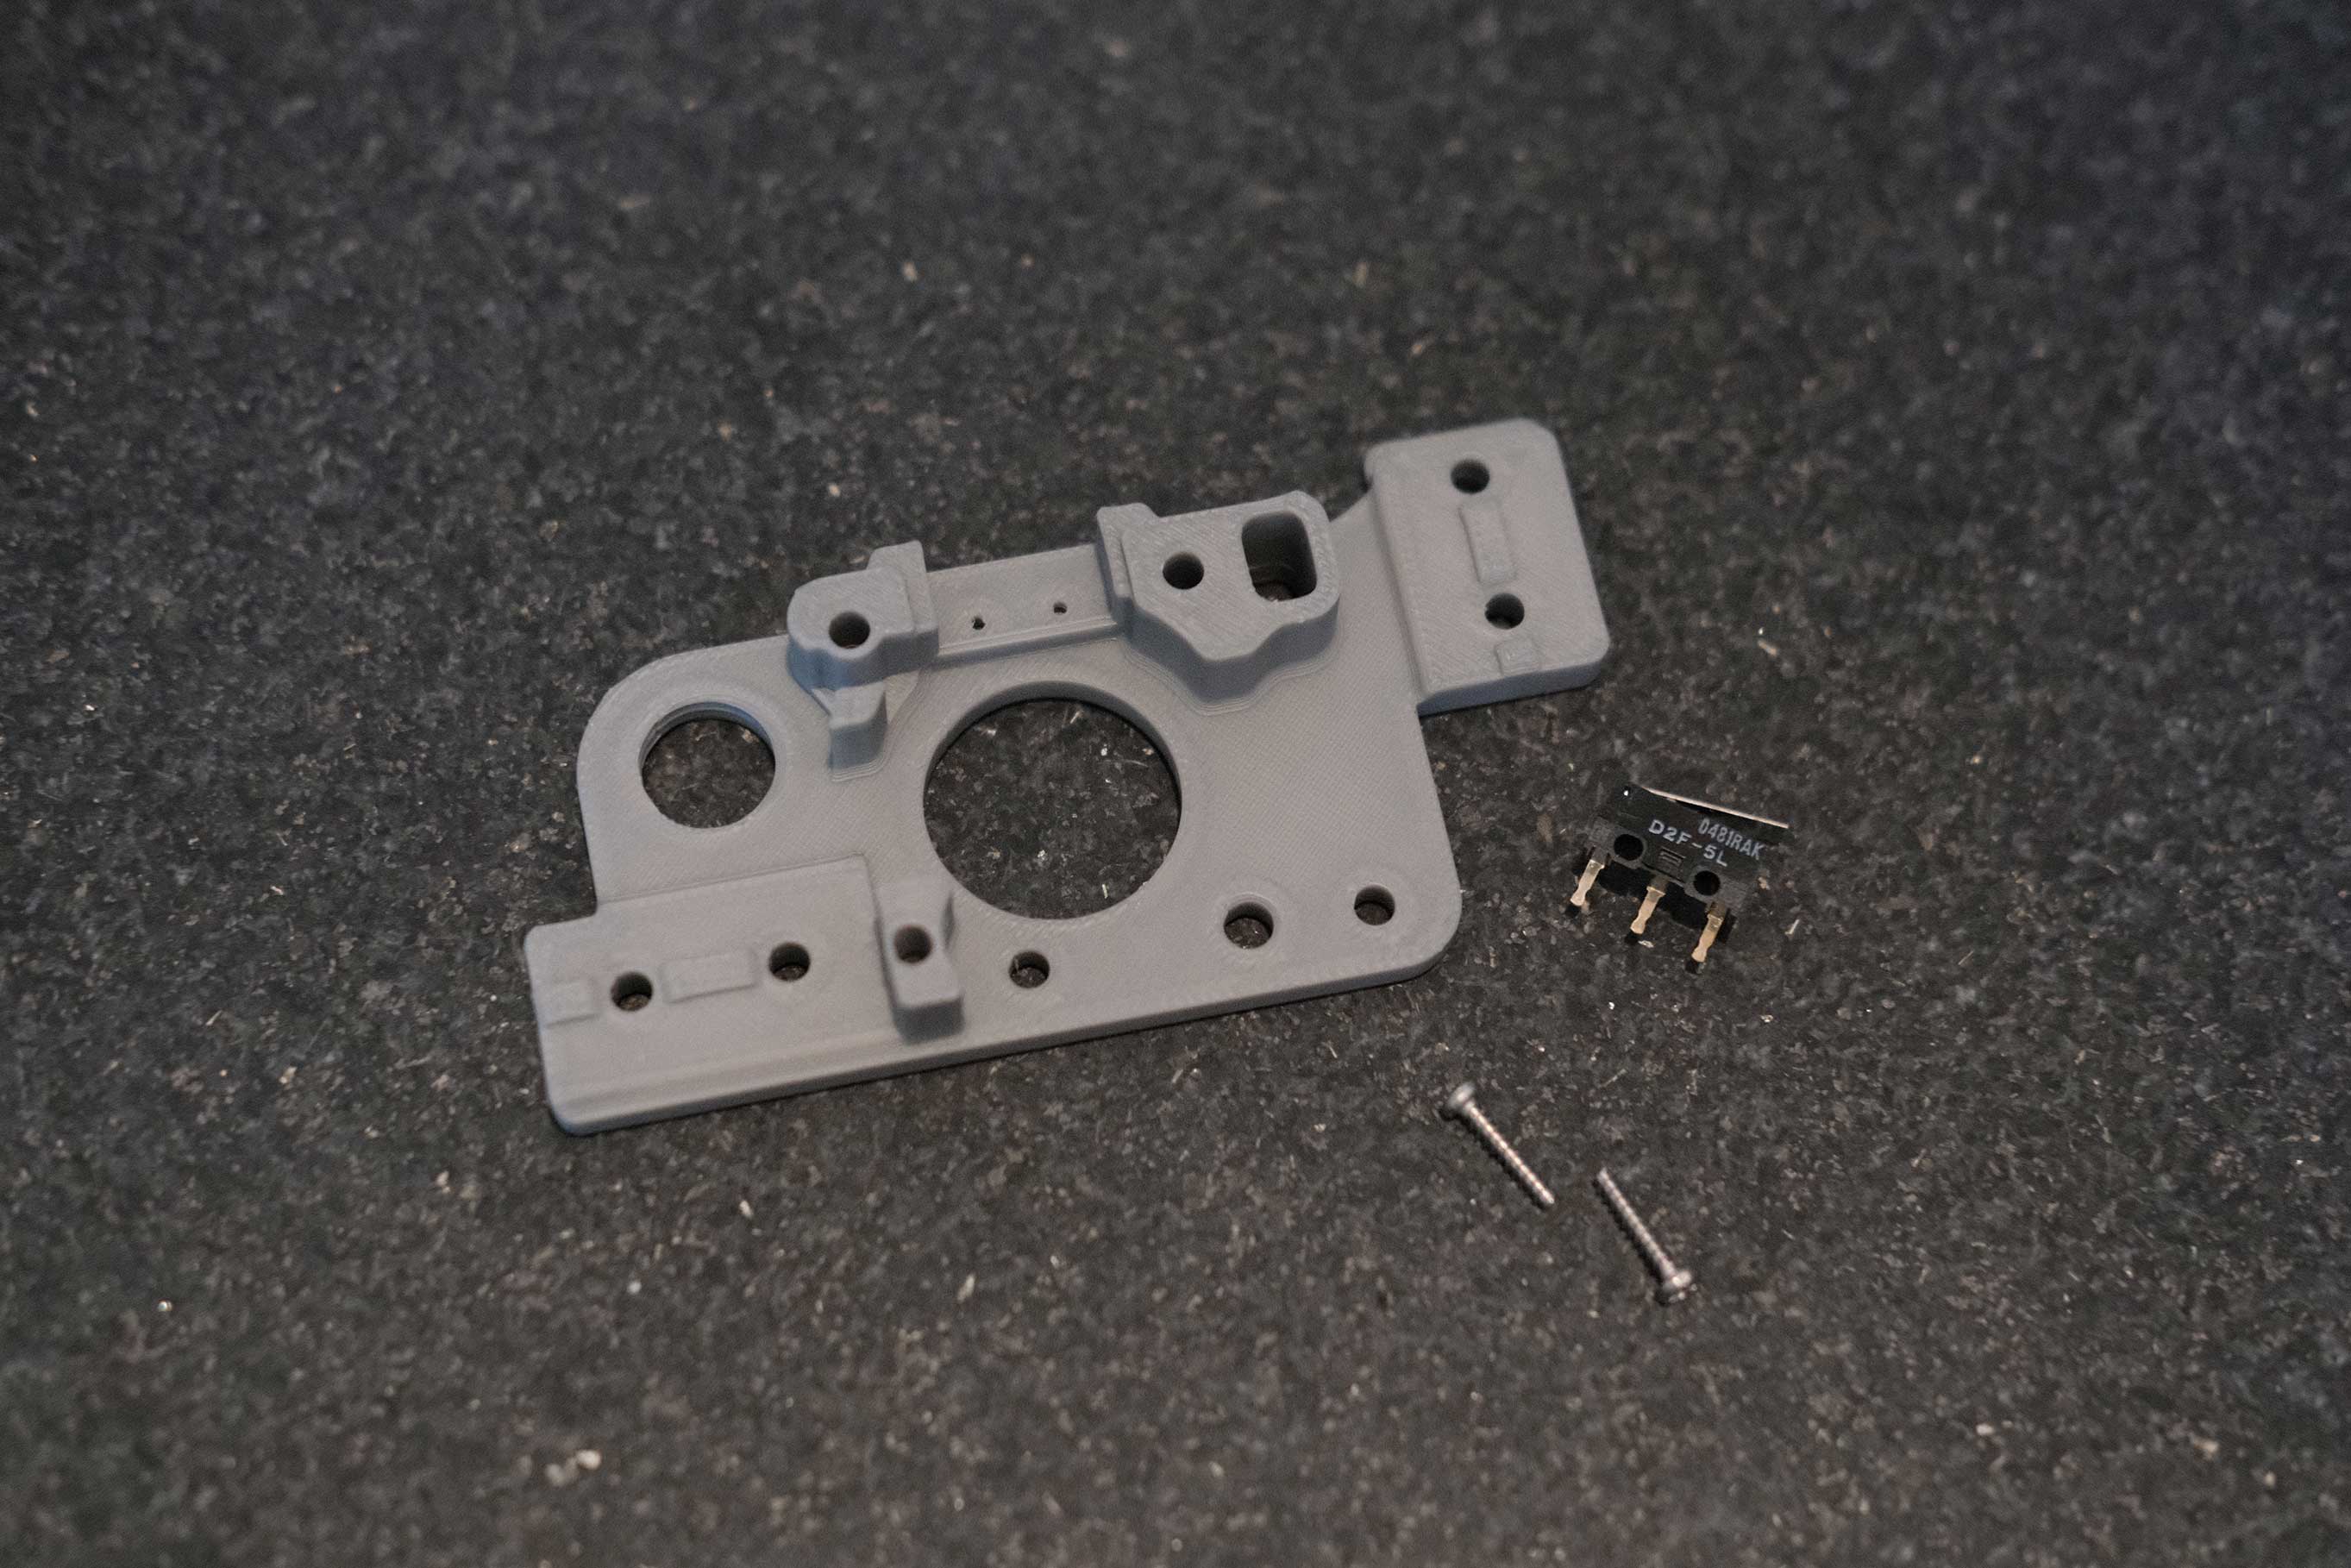
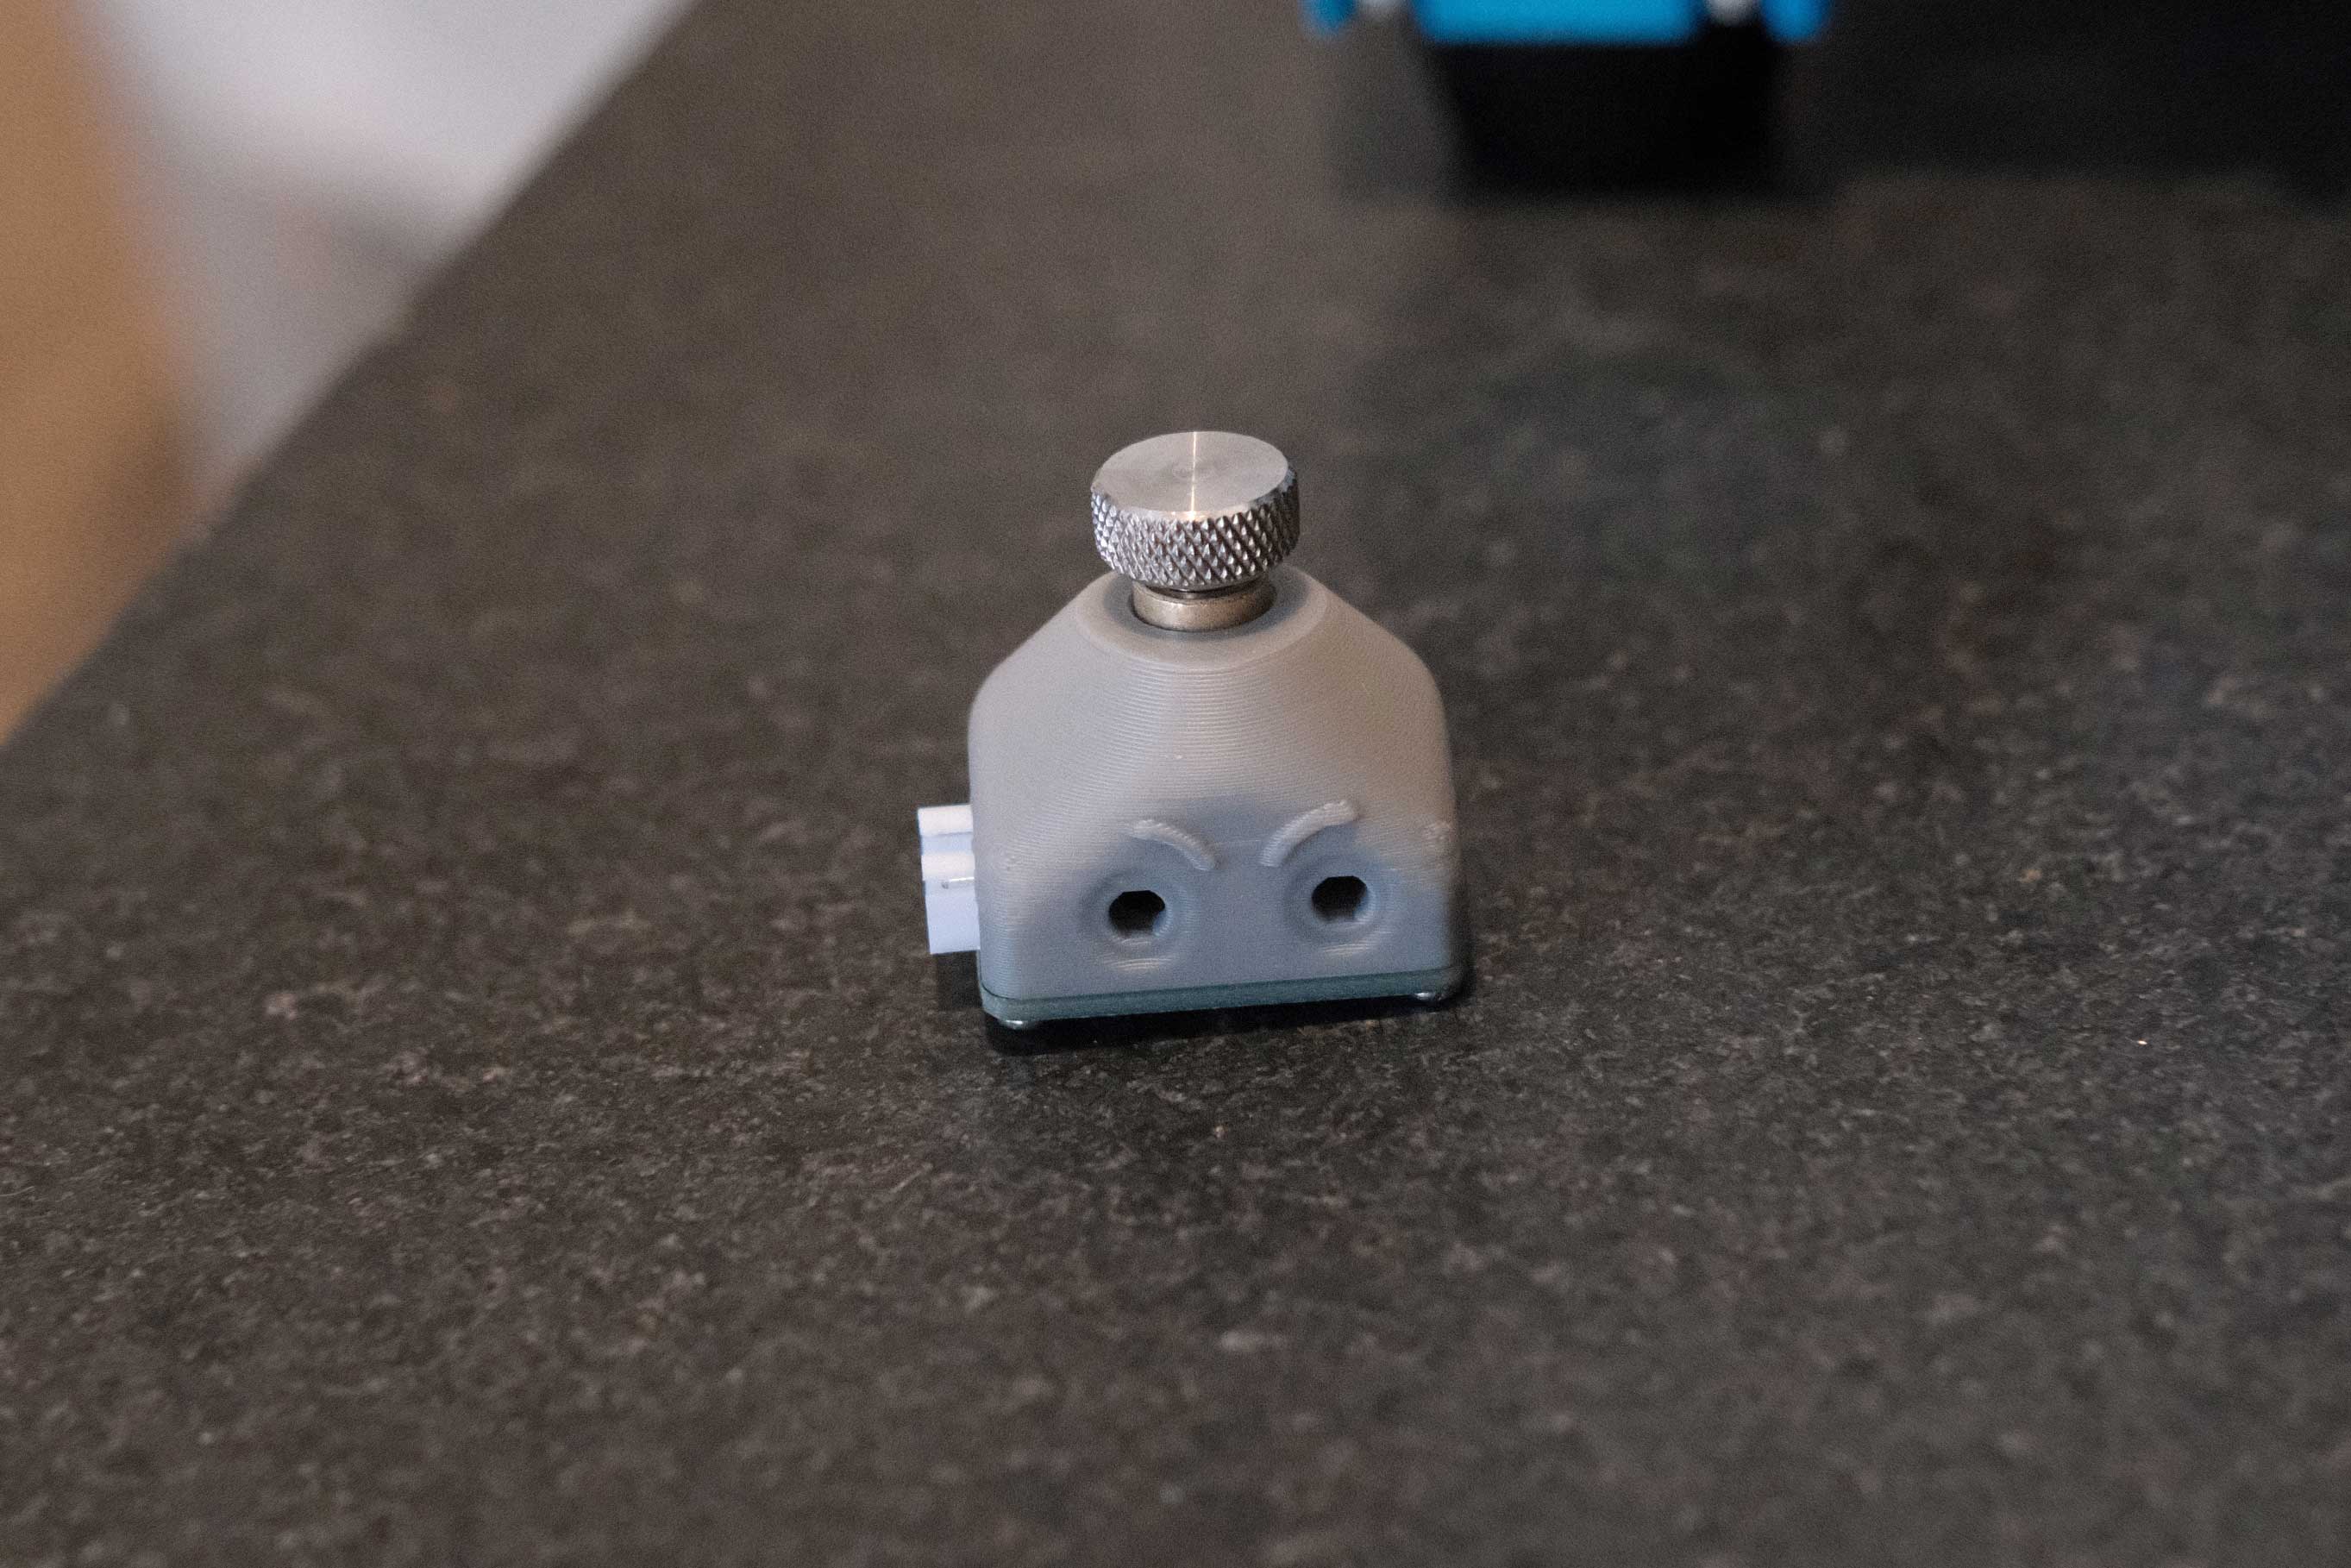 Z Endstop - 1
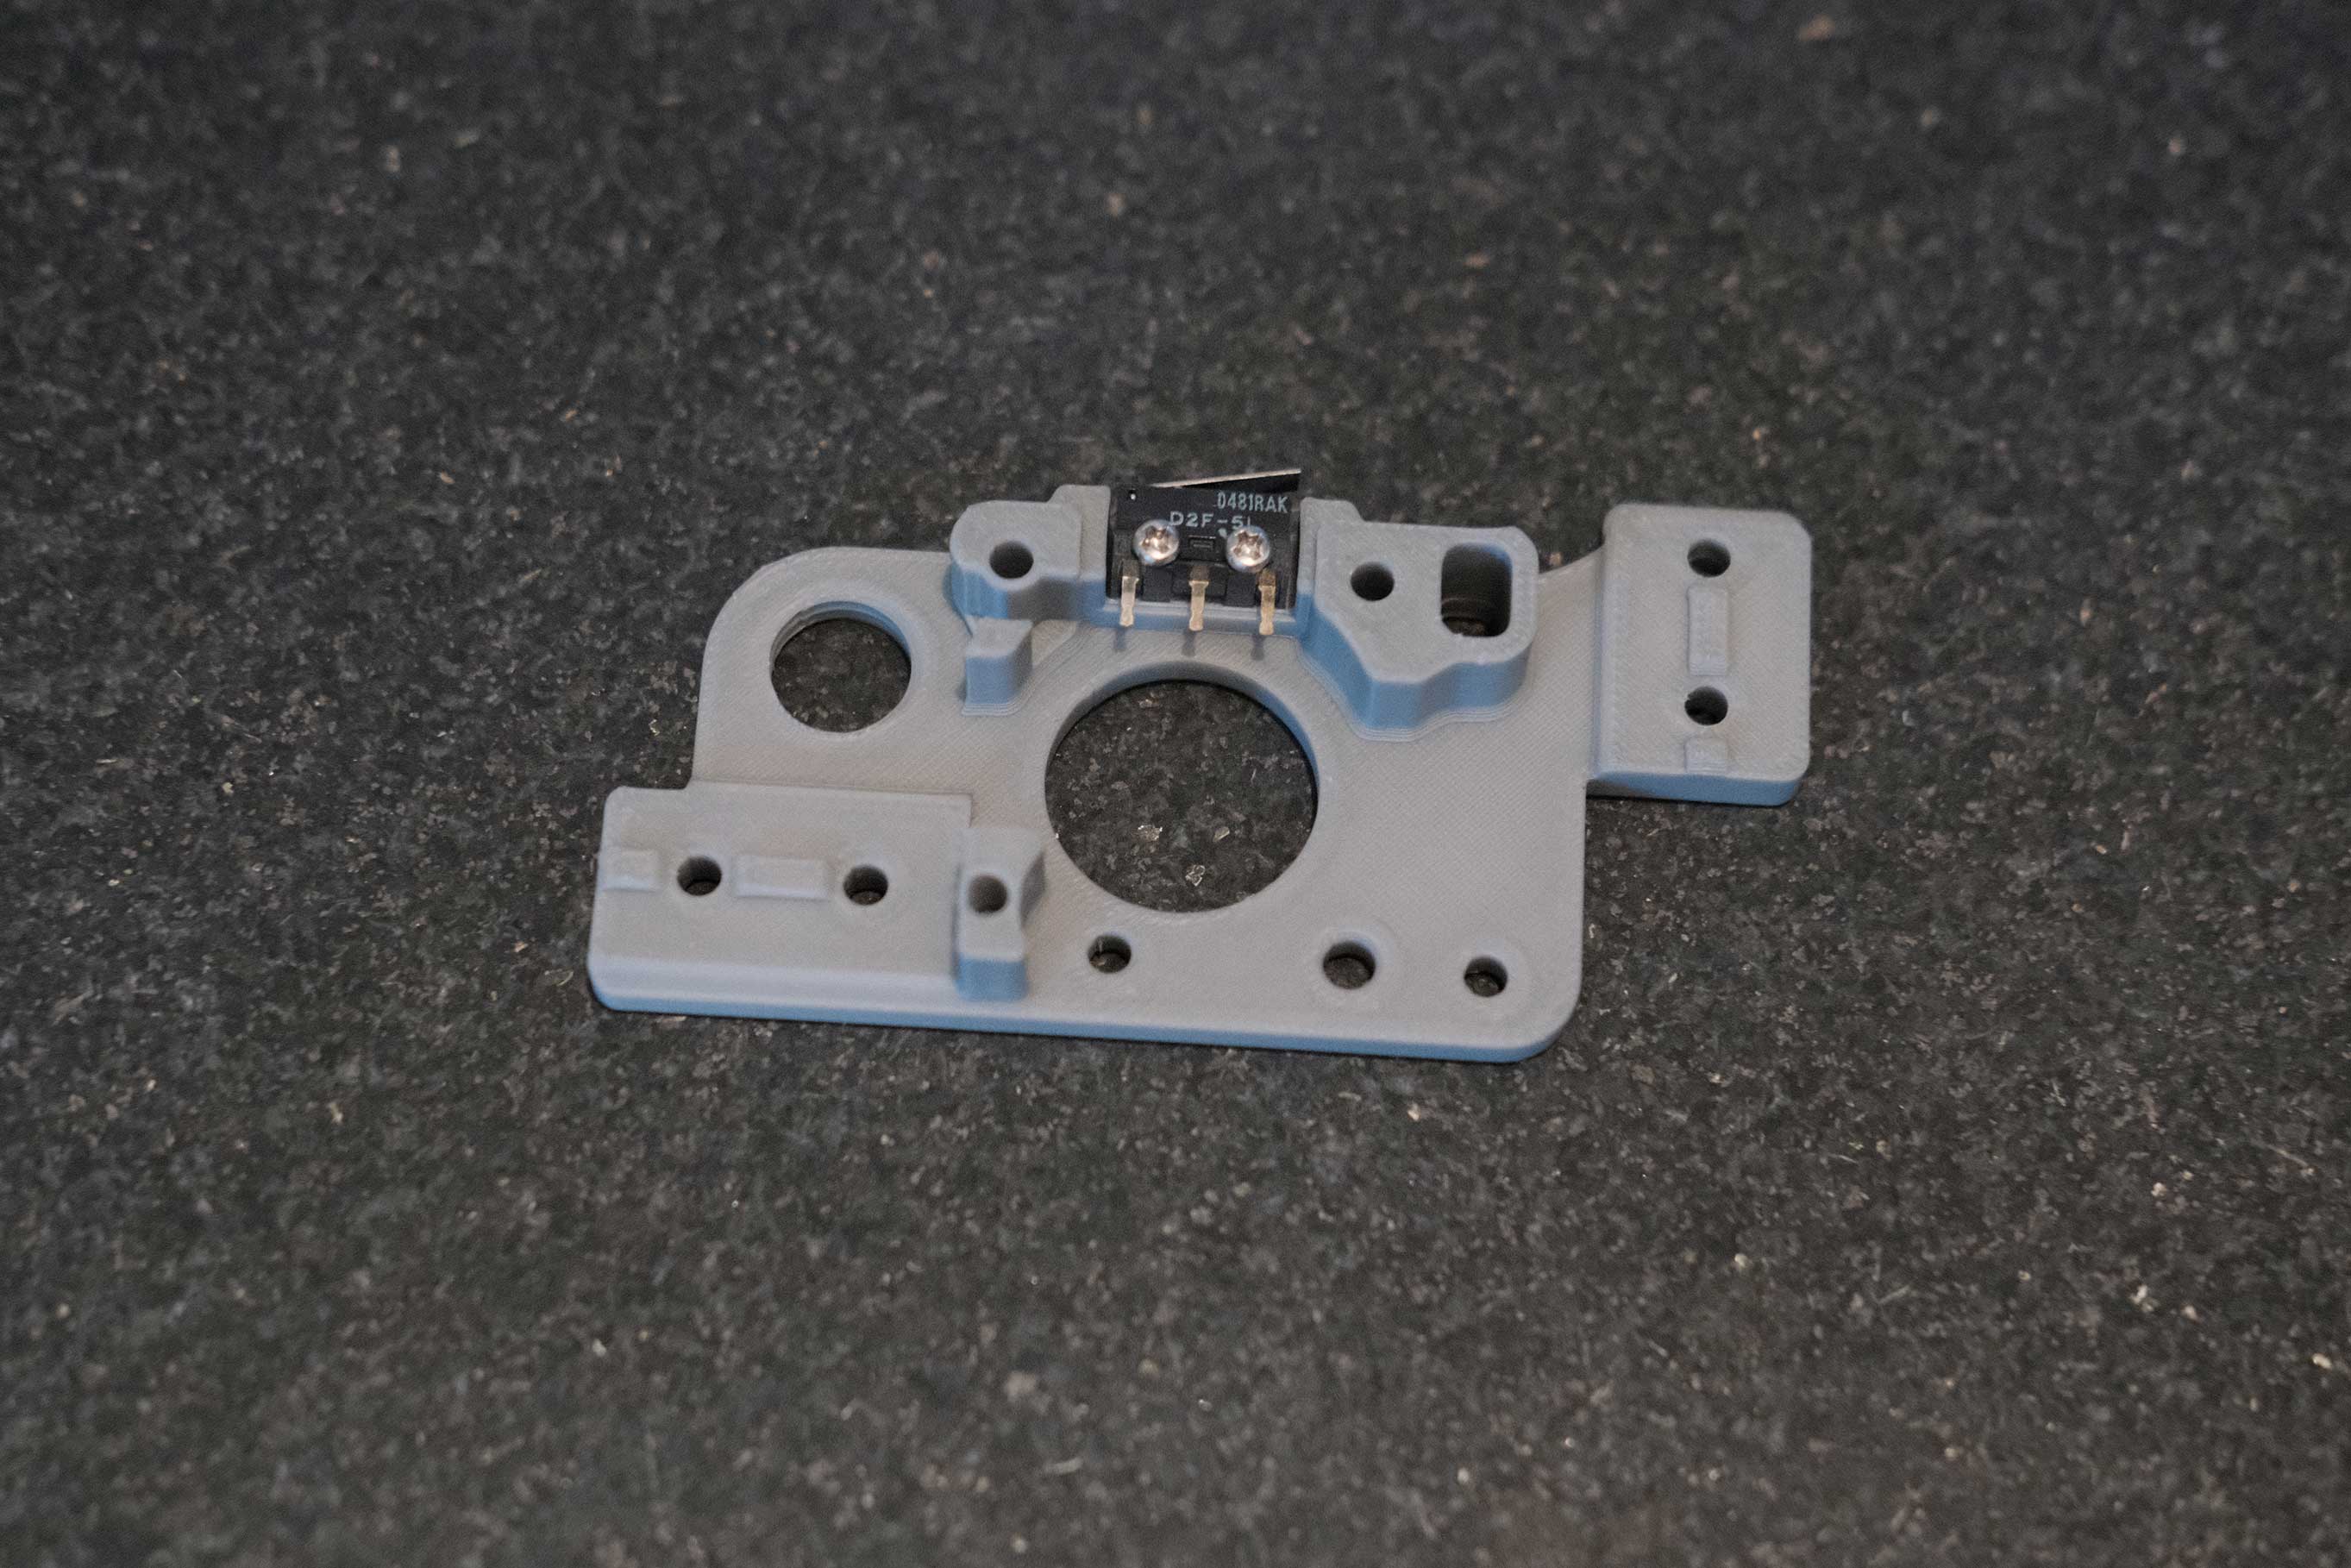
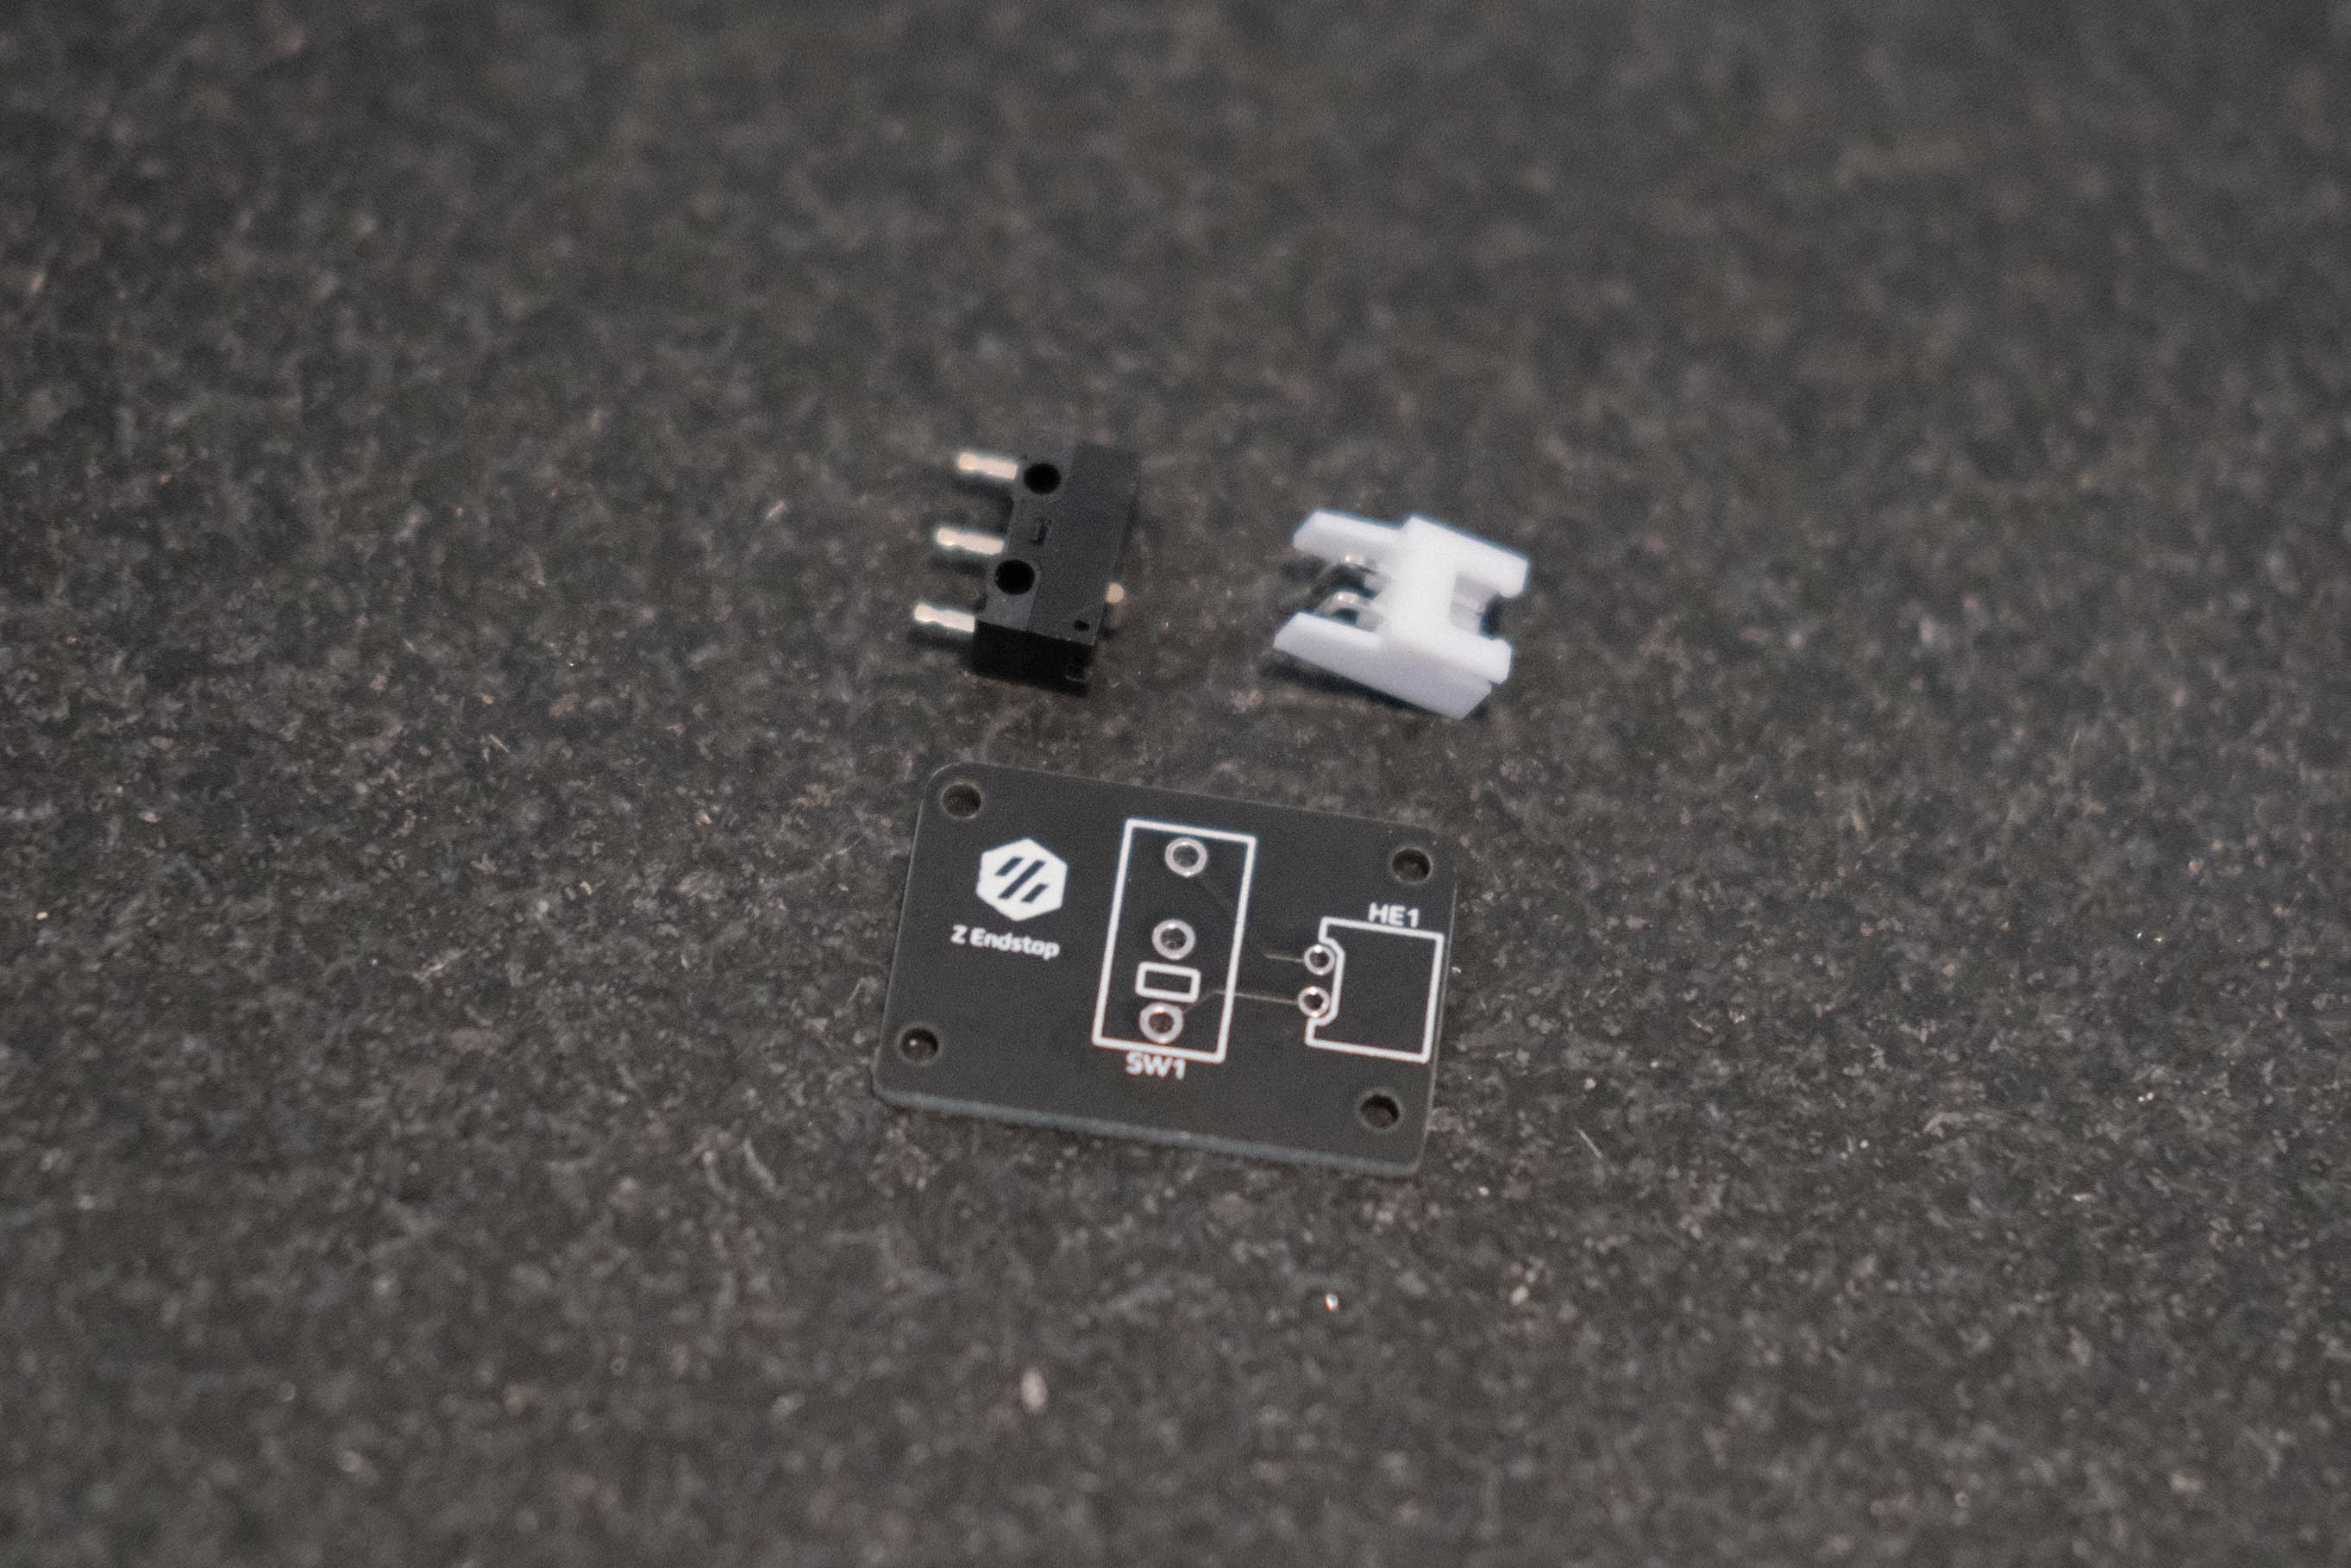 Z Endstop - 2
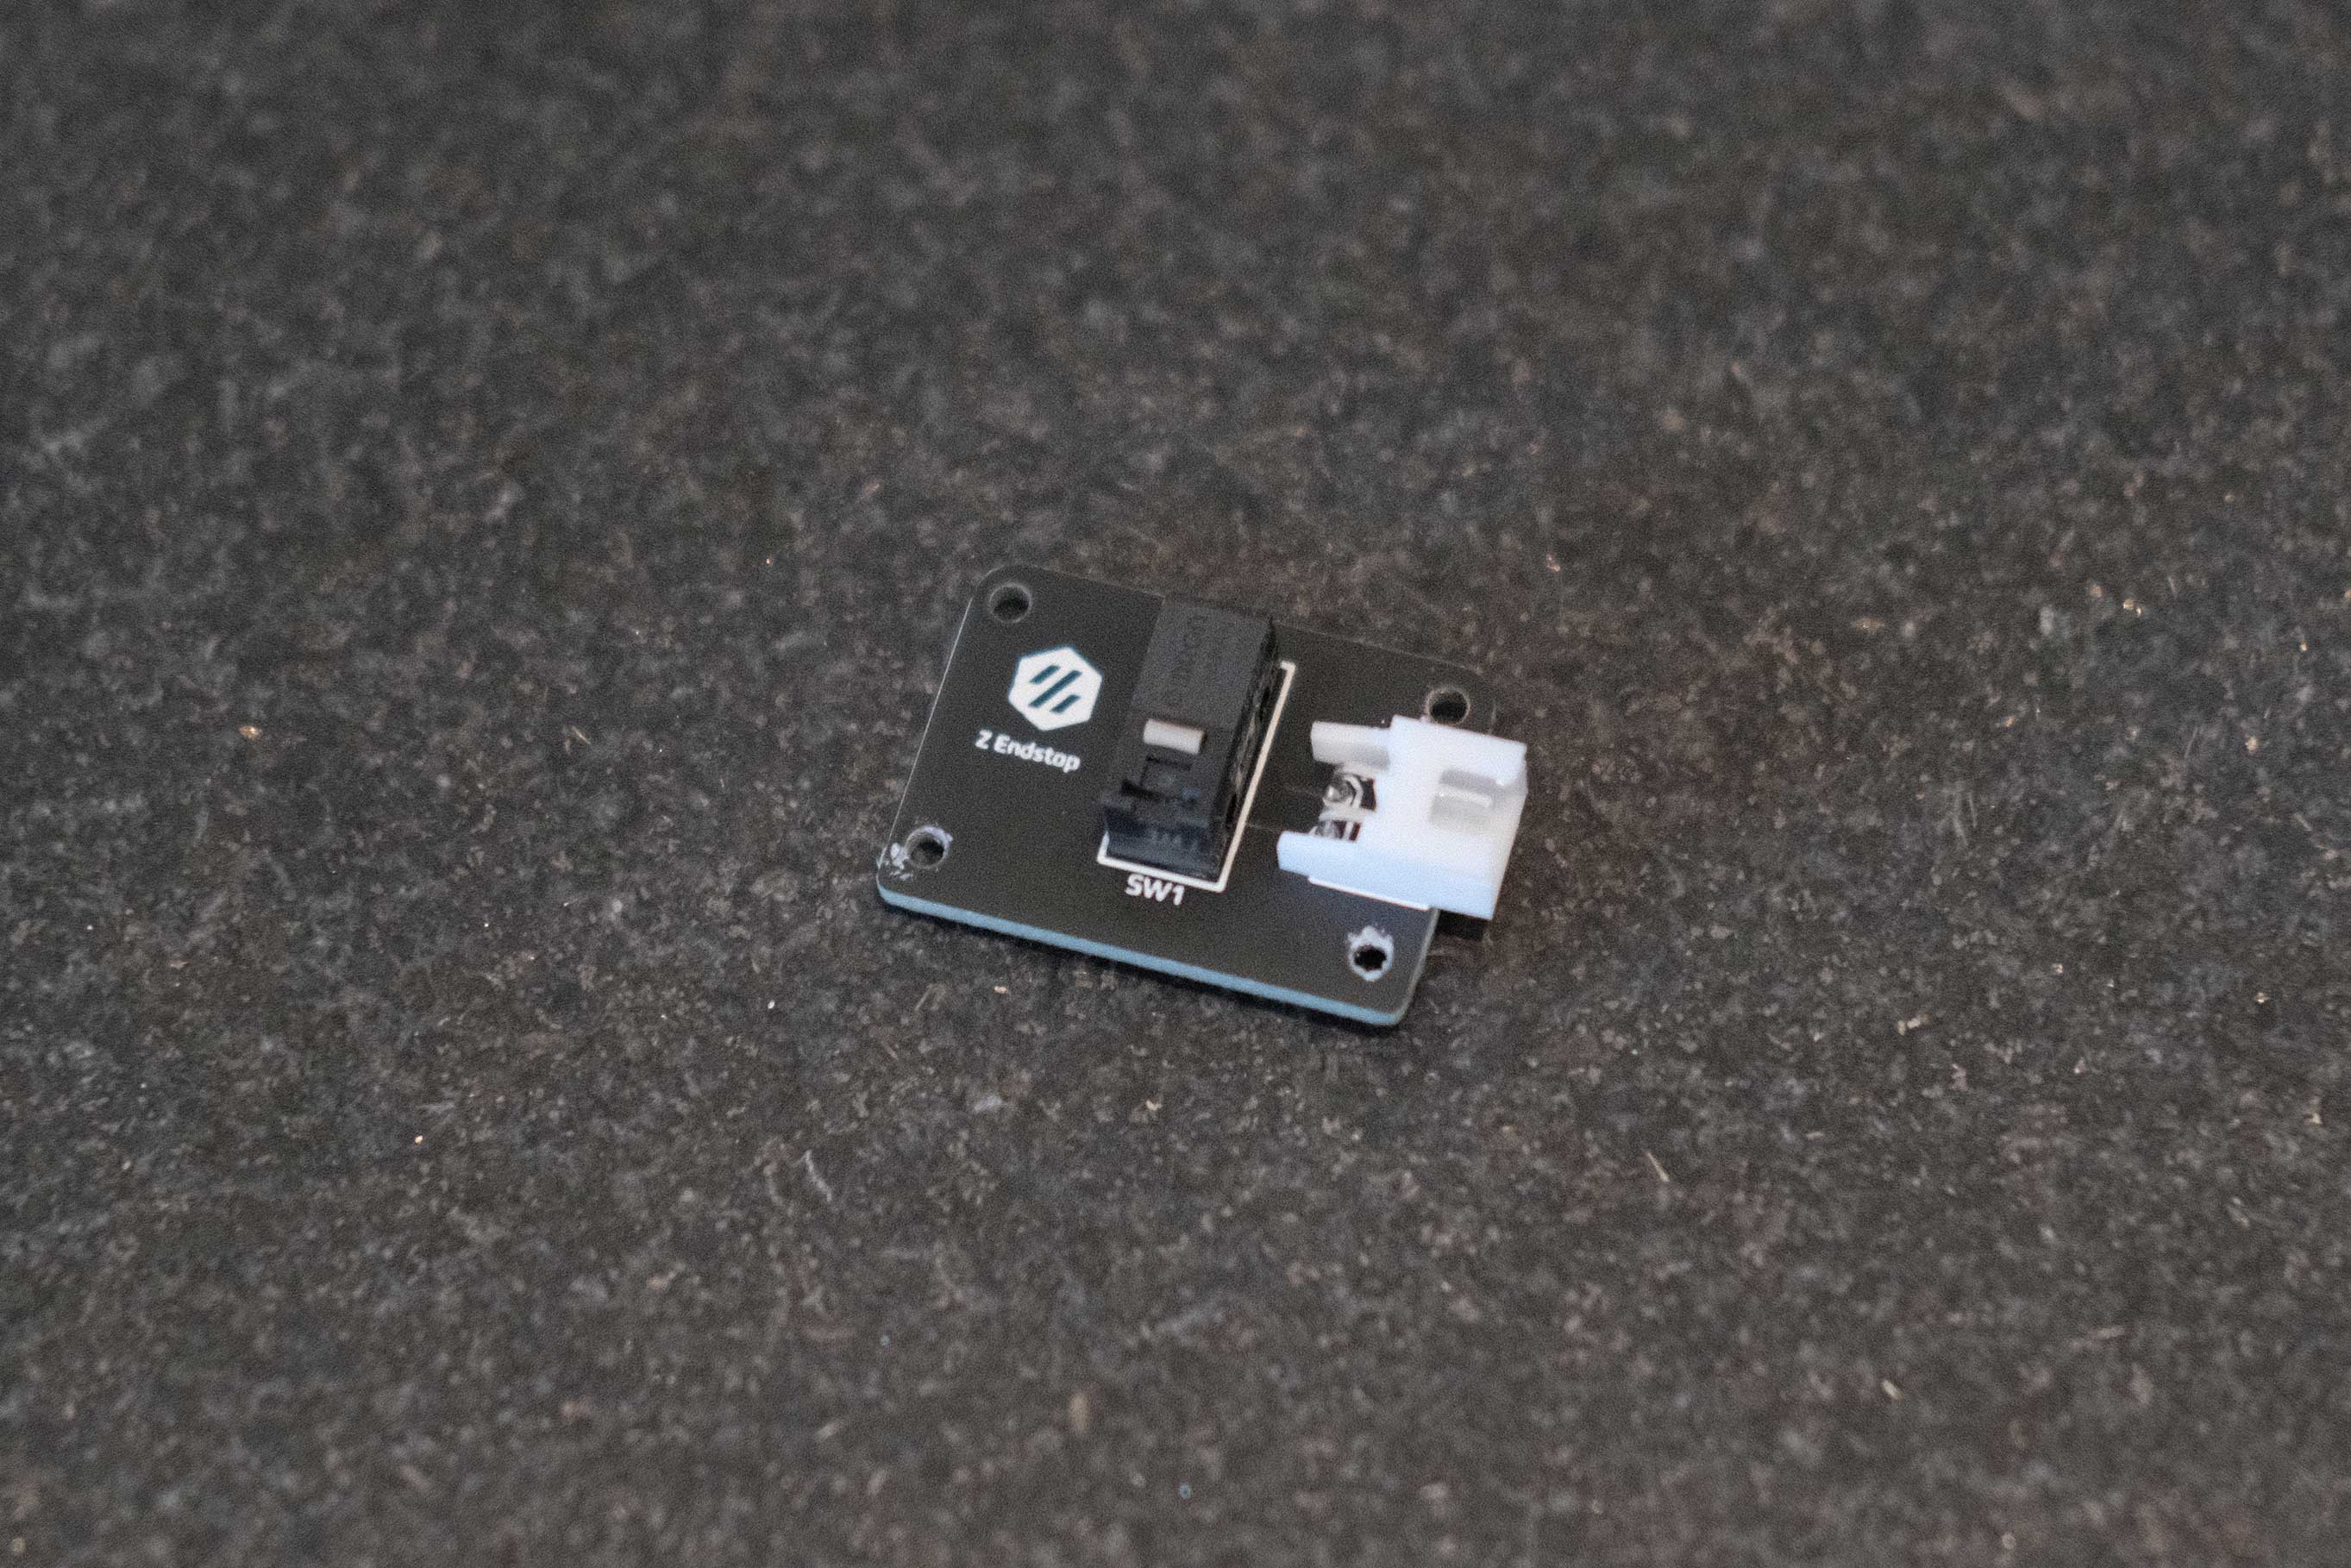 Z Endstop - 3
Bed
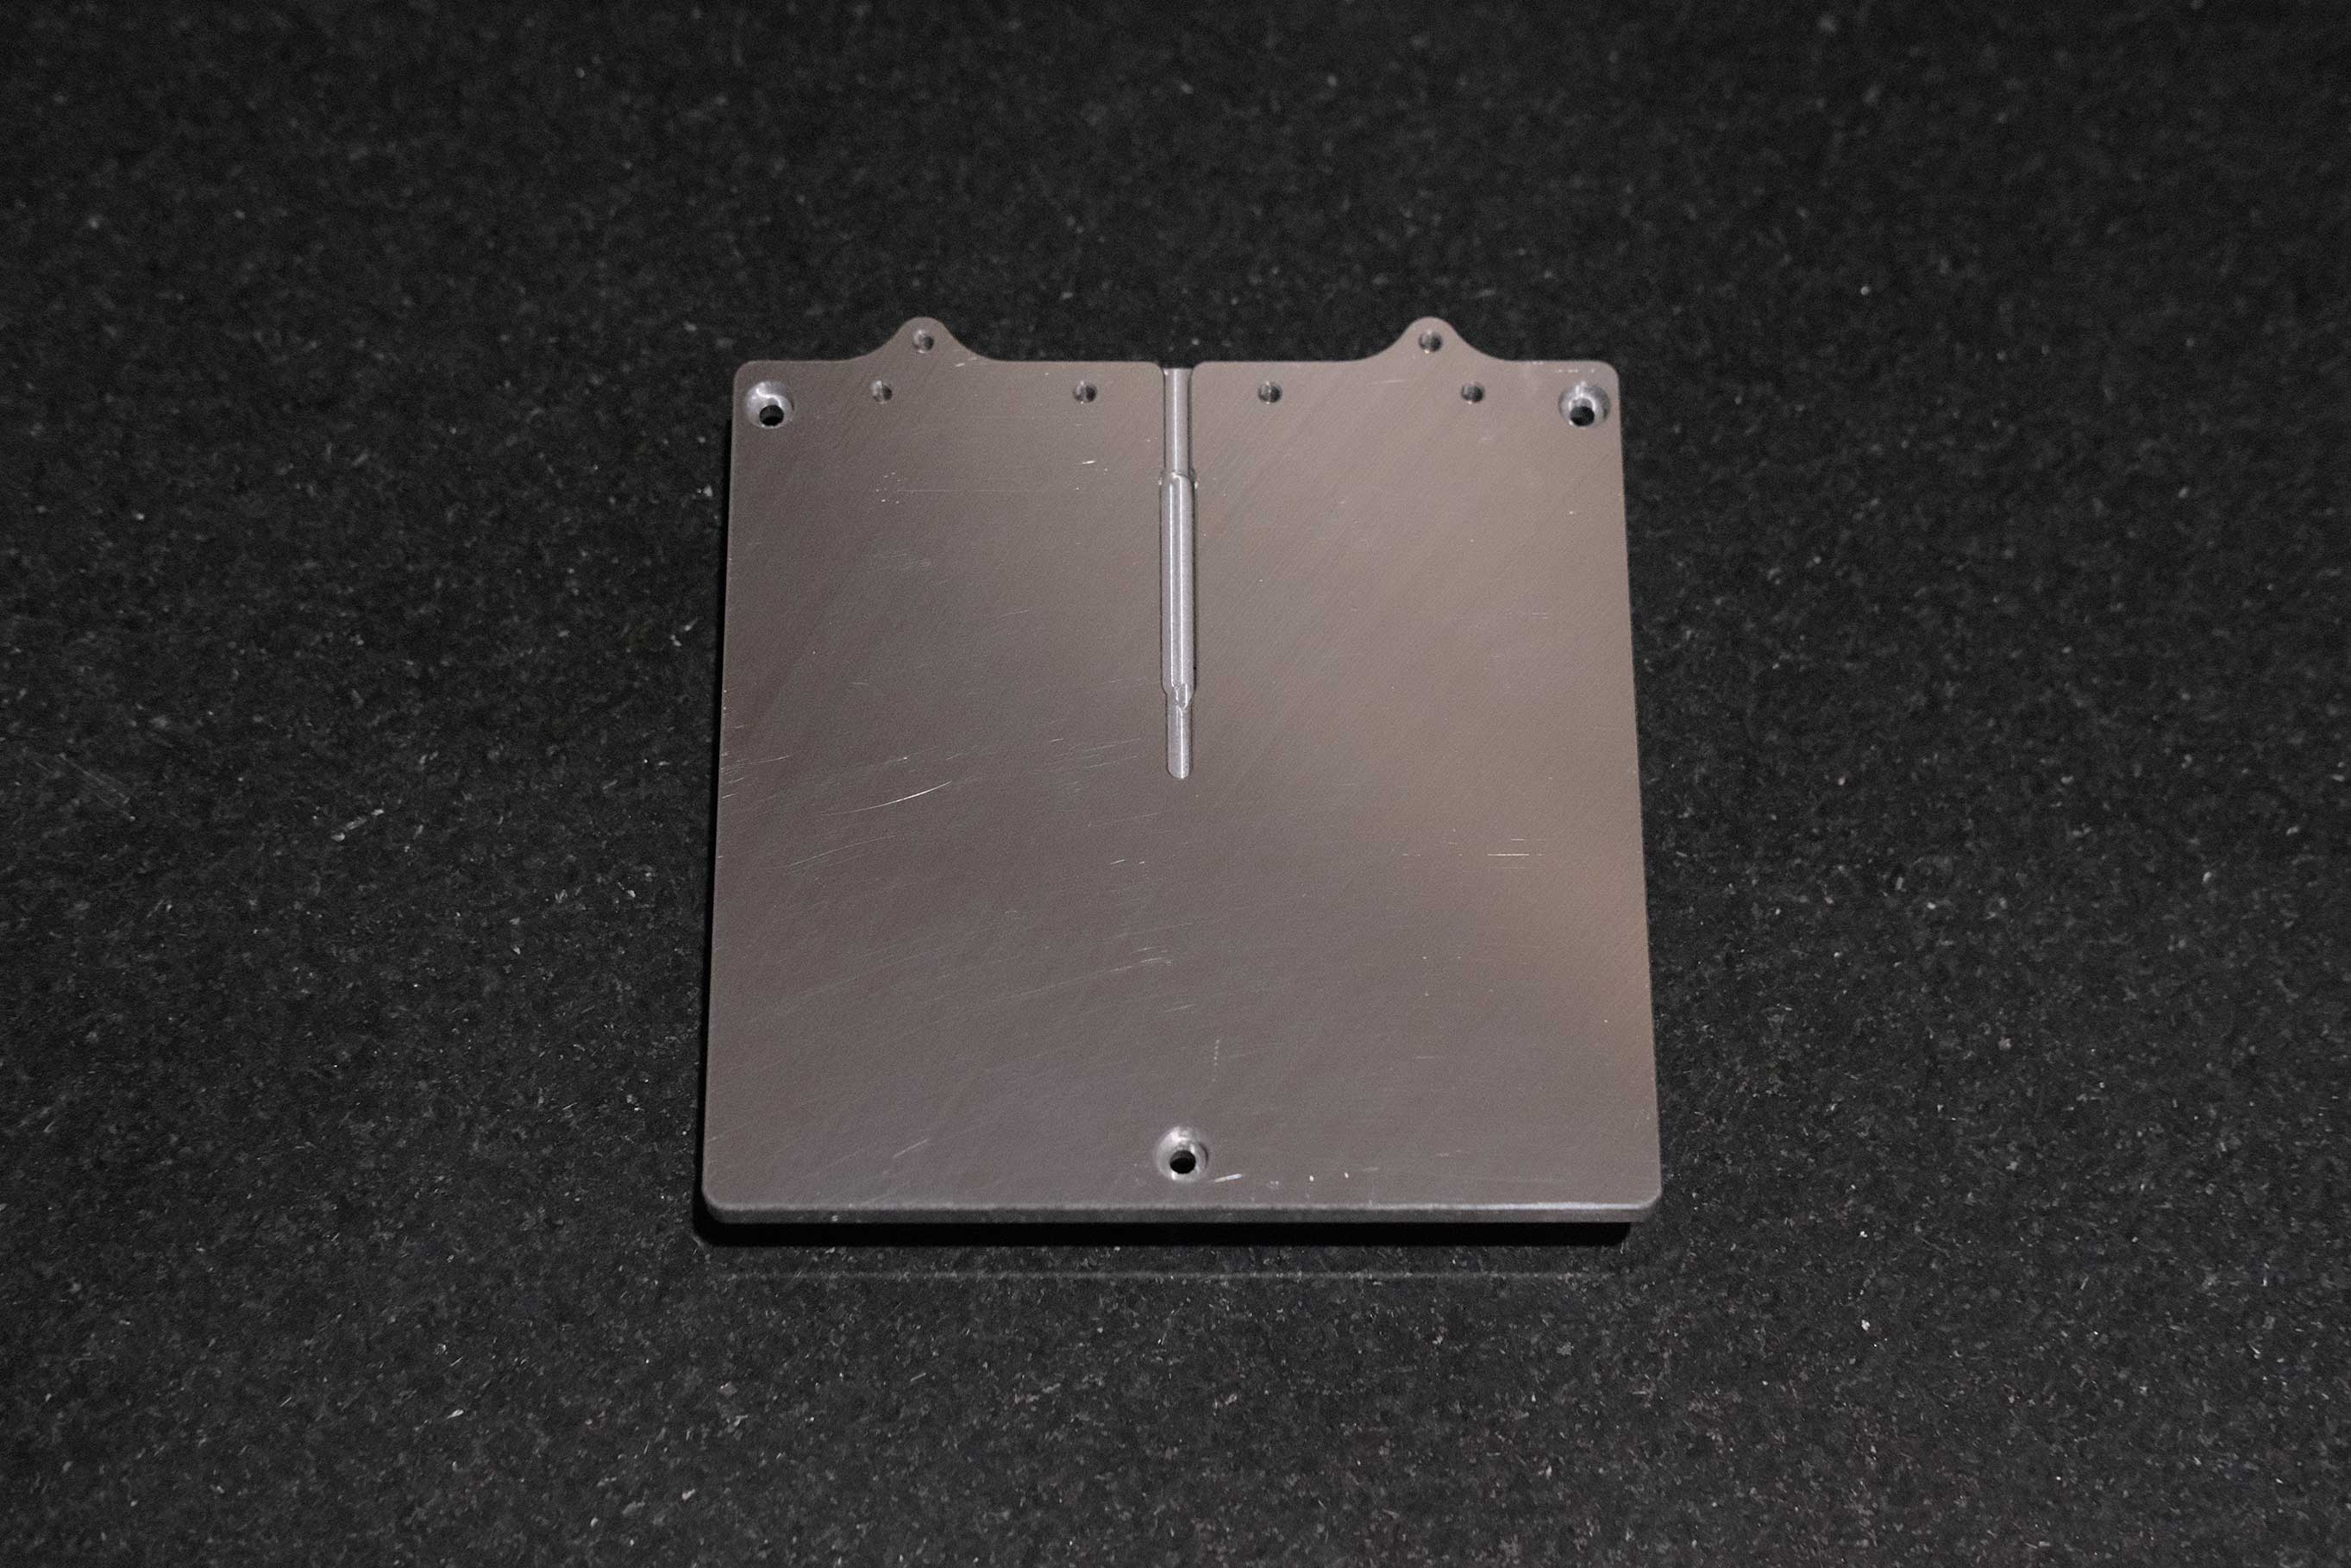 Bed - 1
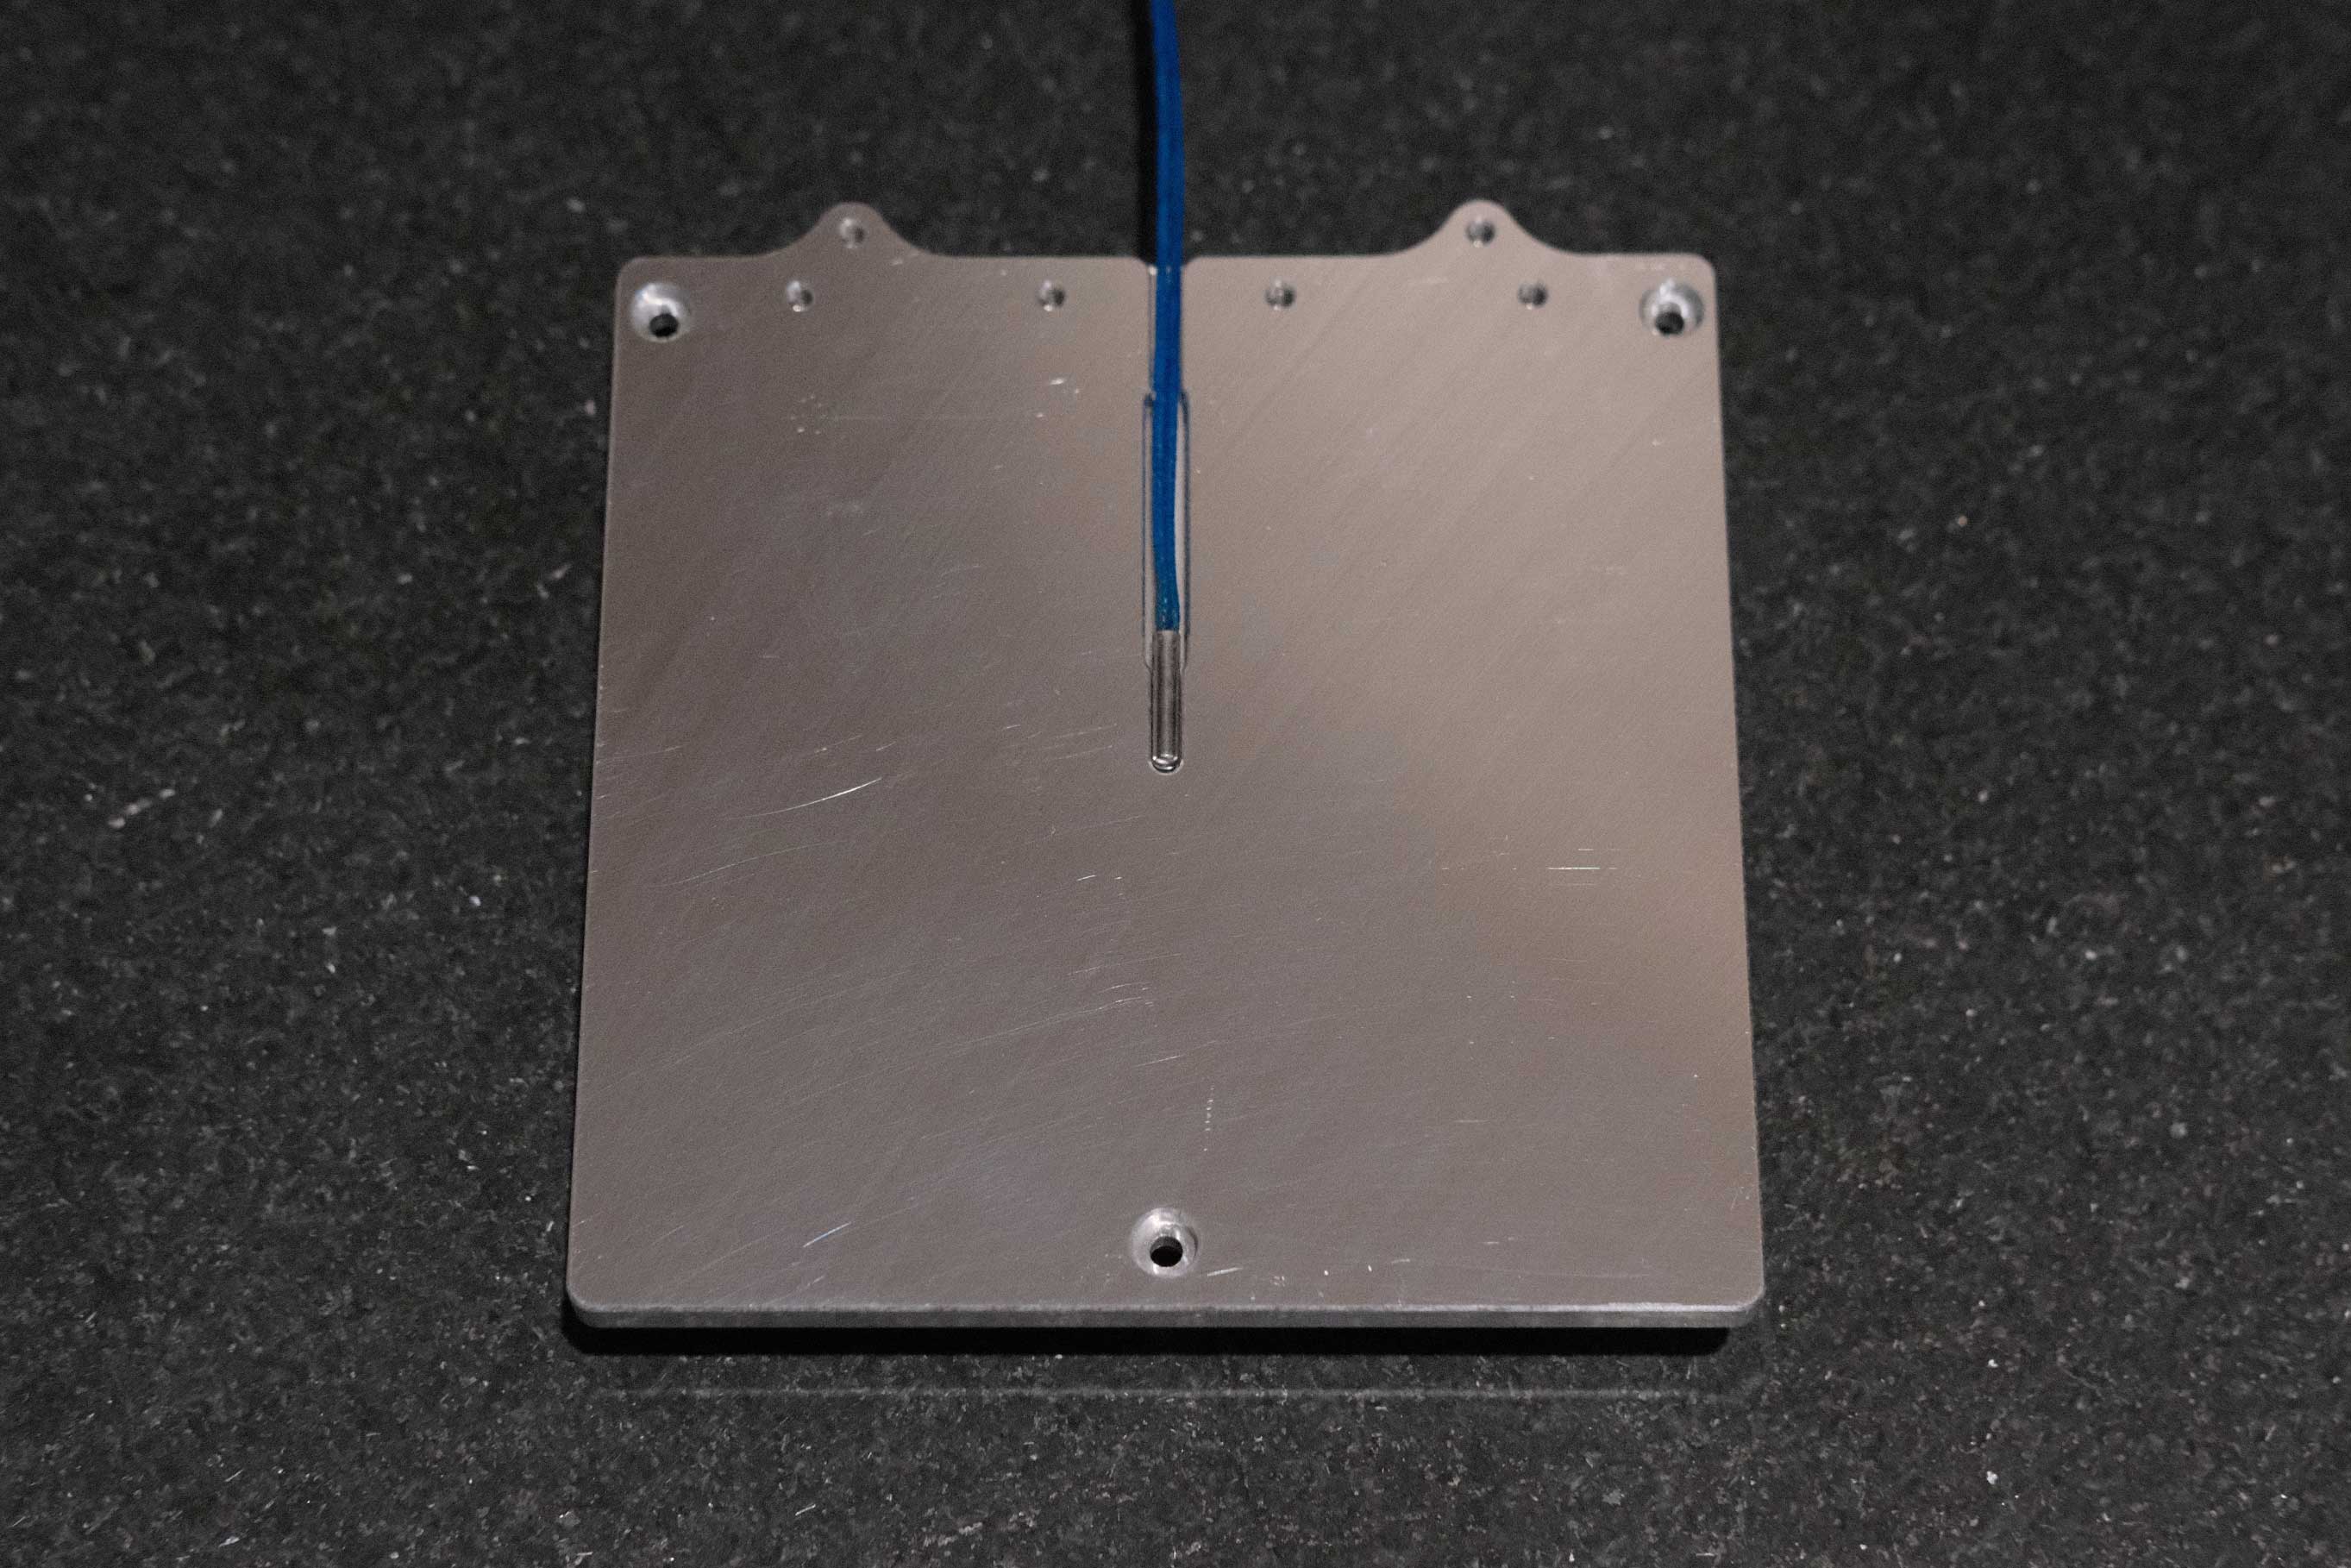 Bed - 2
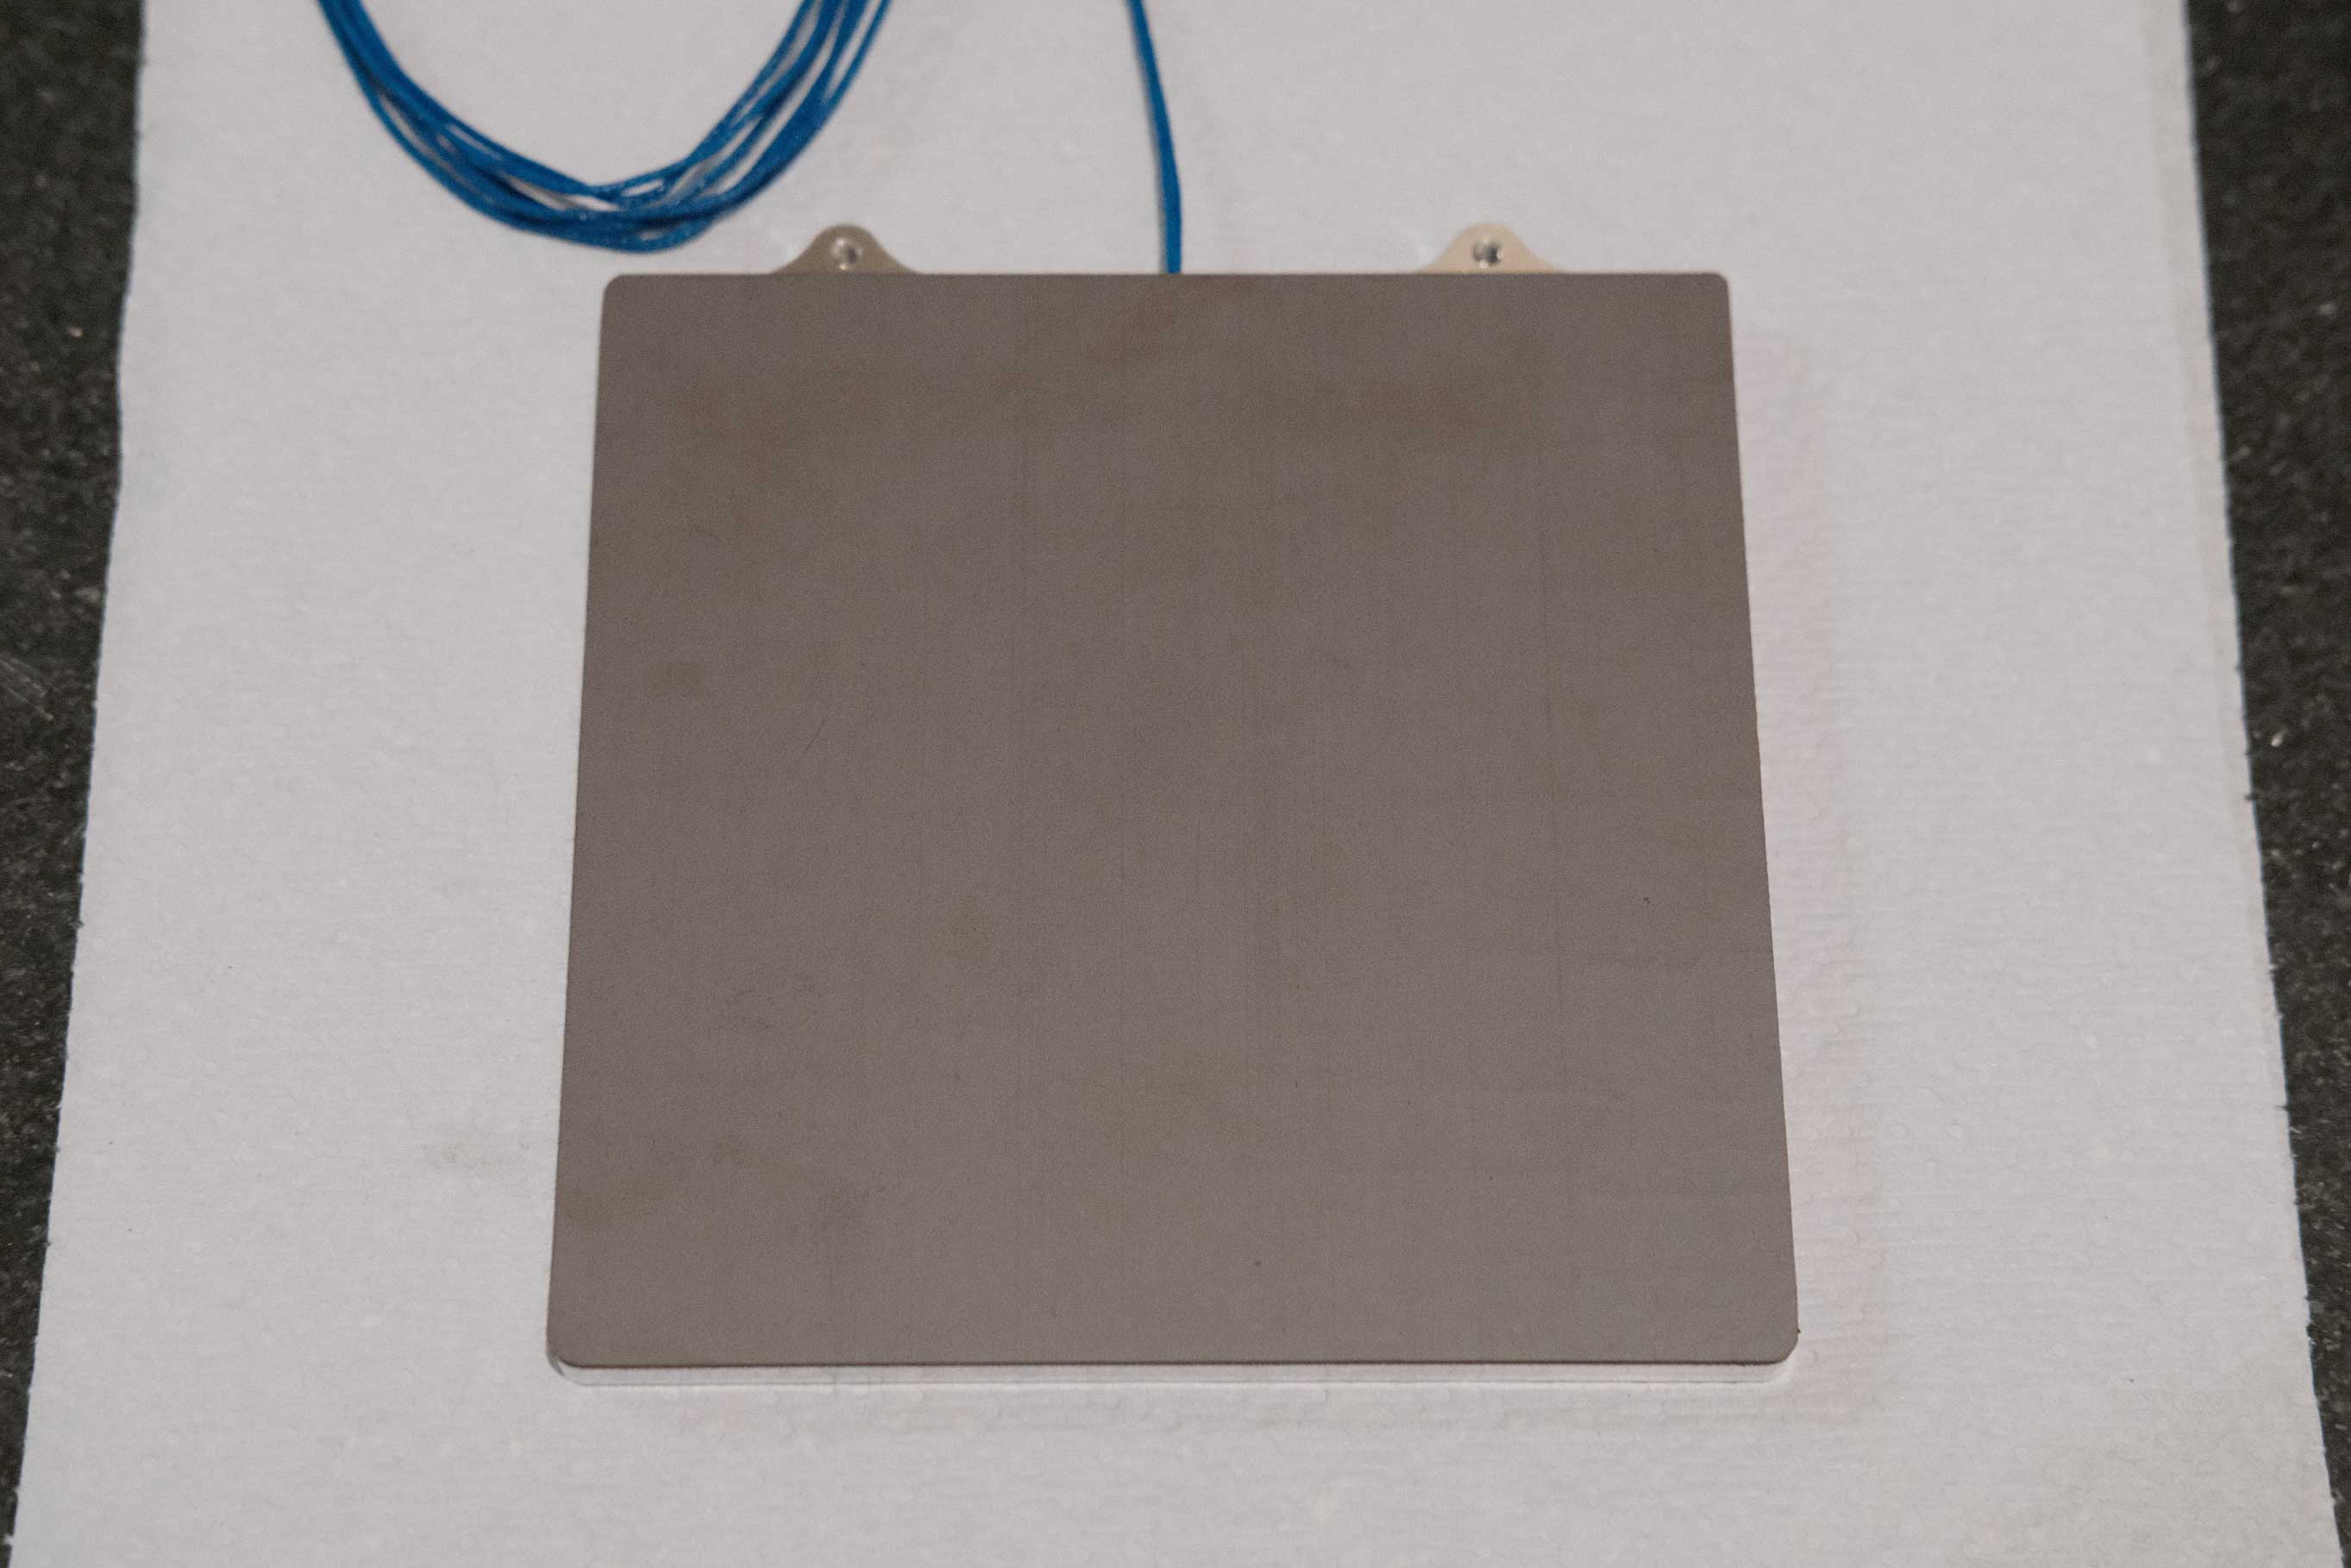 Bed - 3
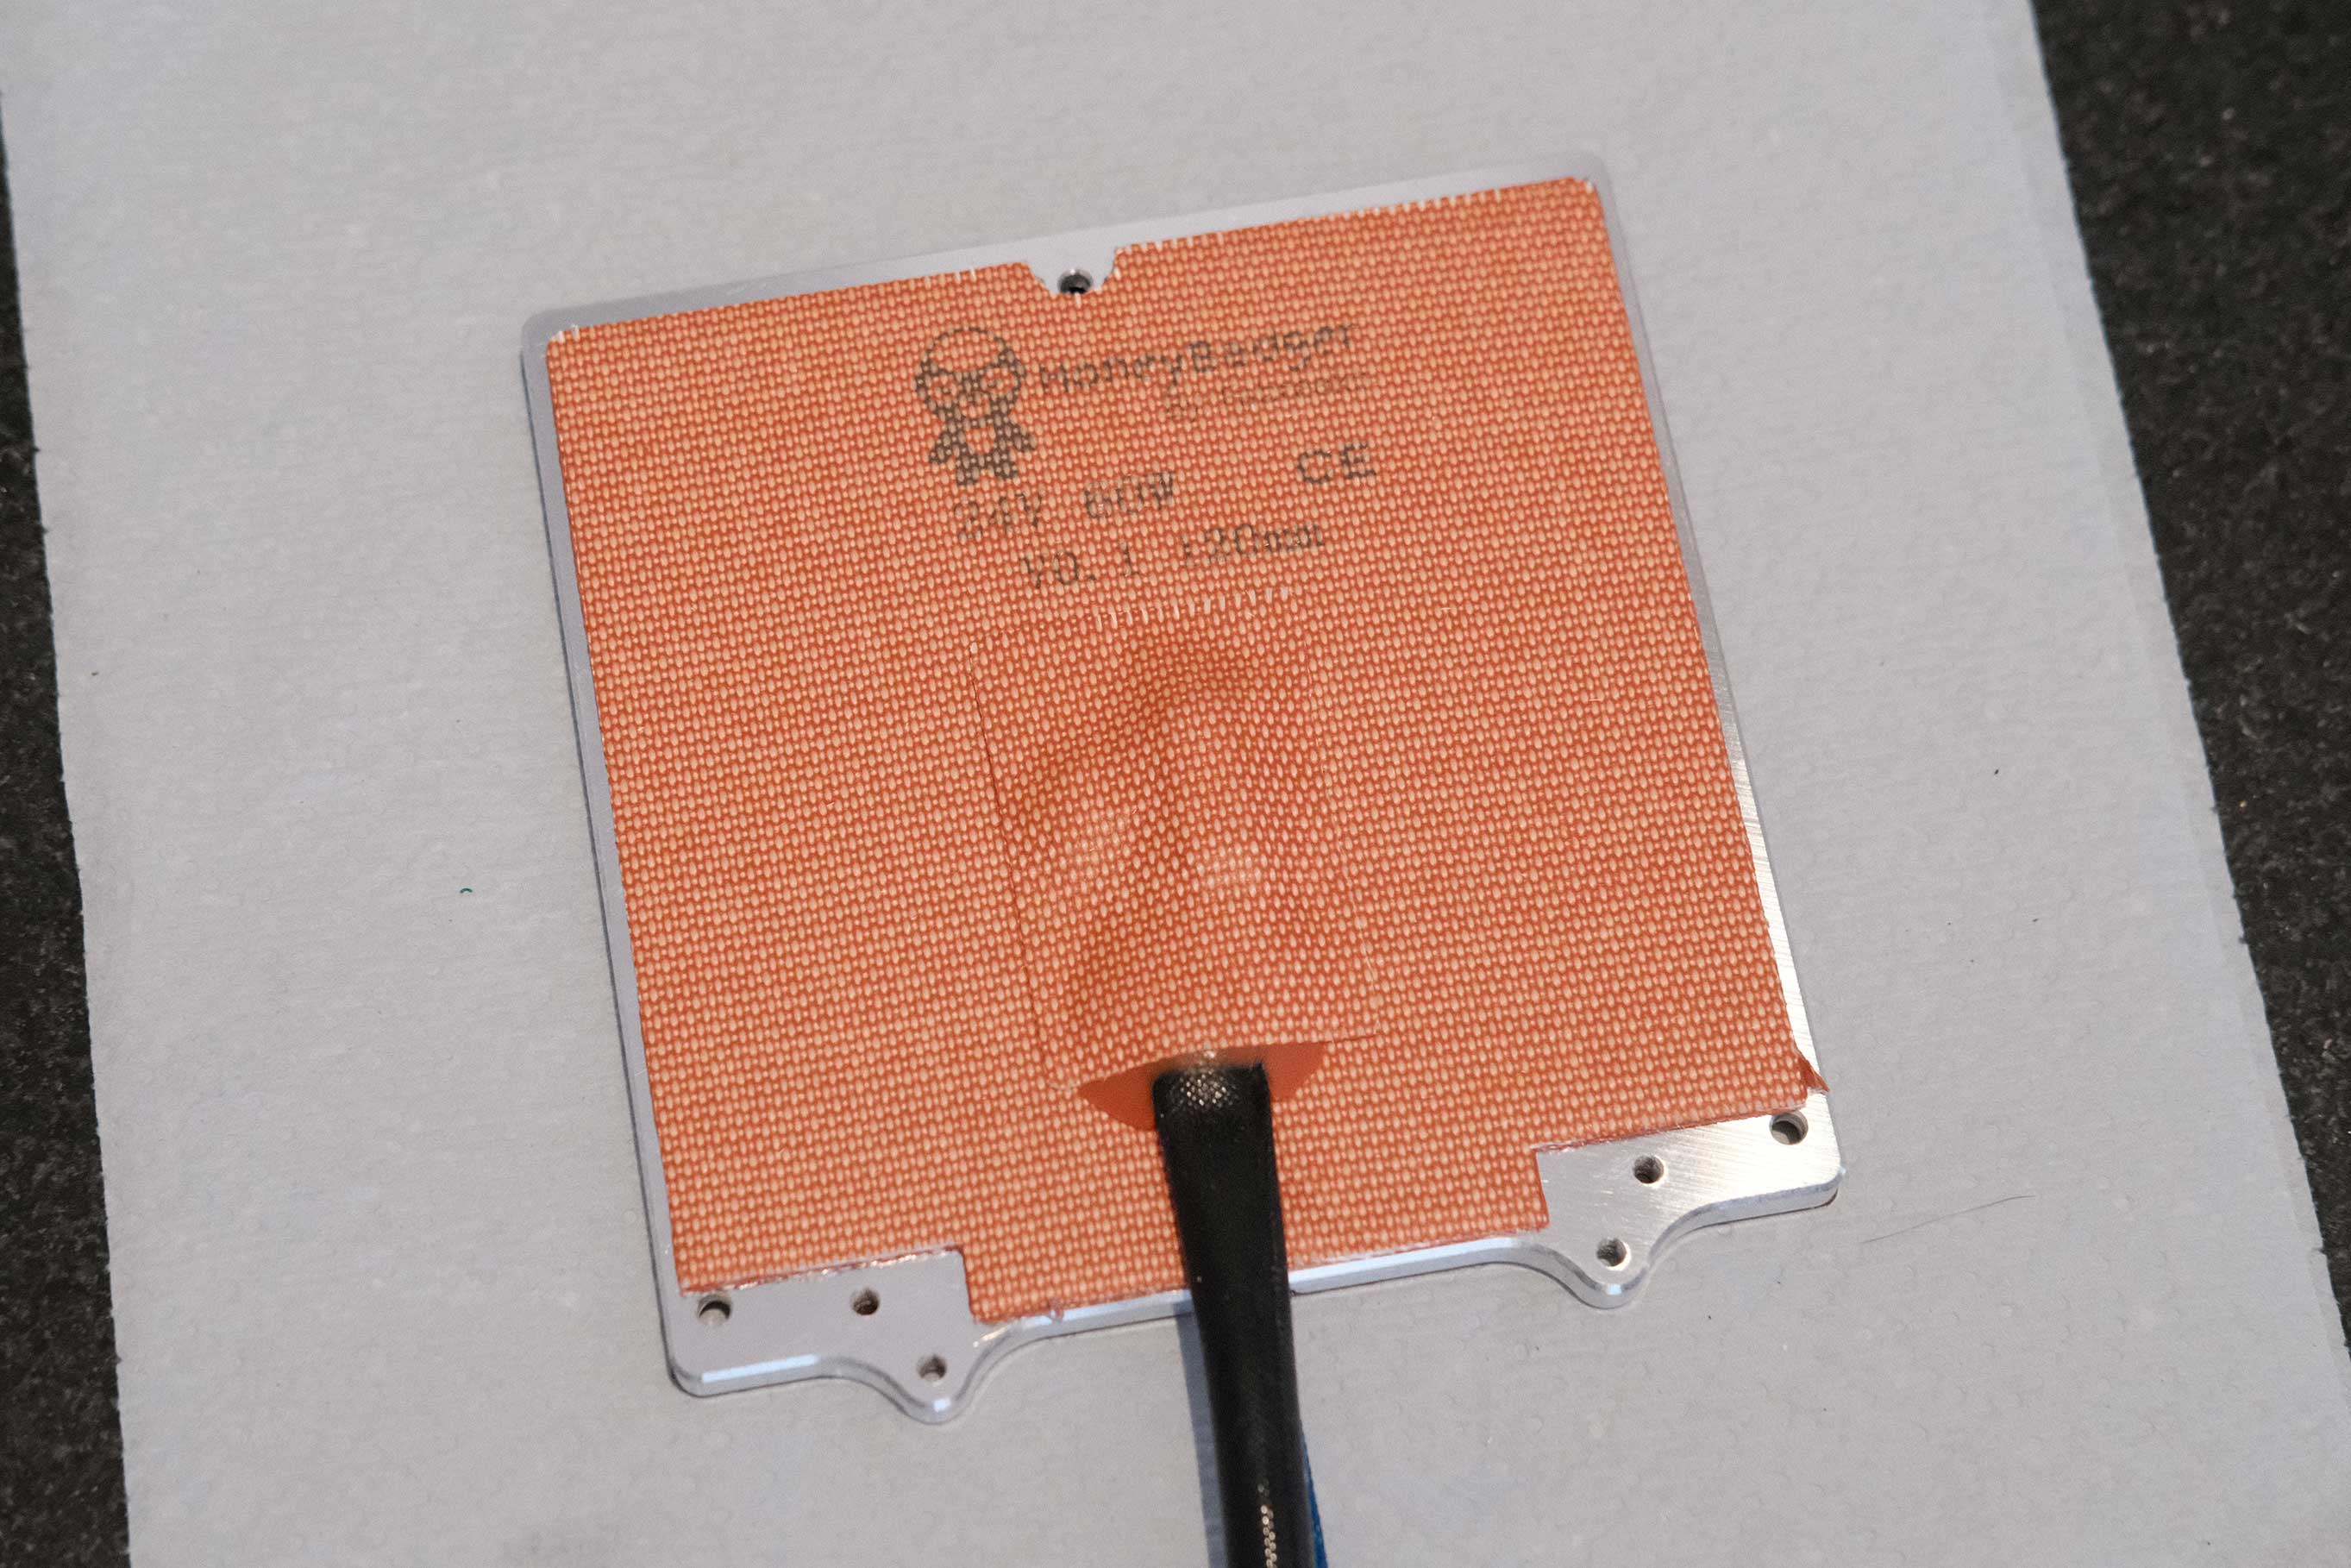
 Bed - 4
 Bed - 5
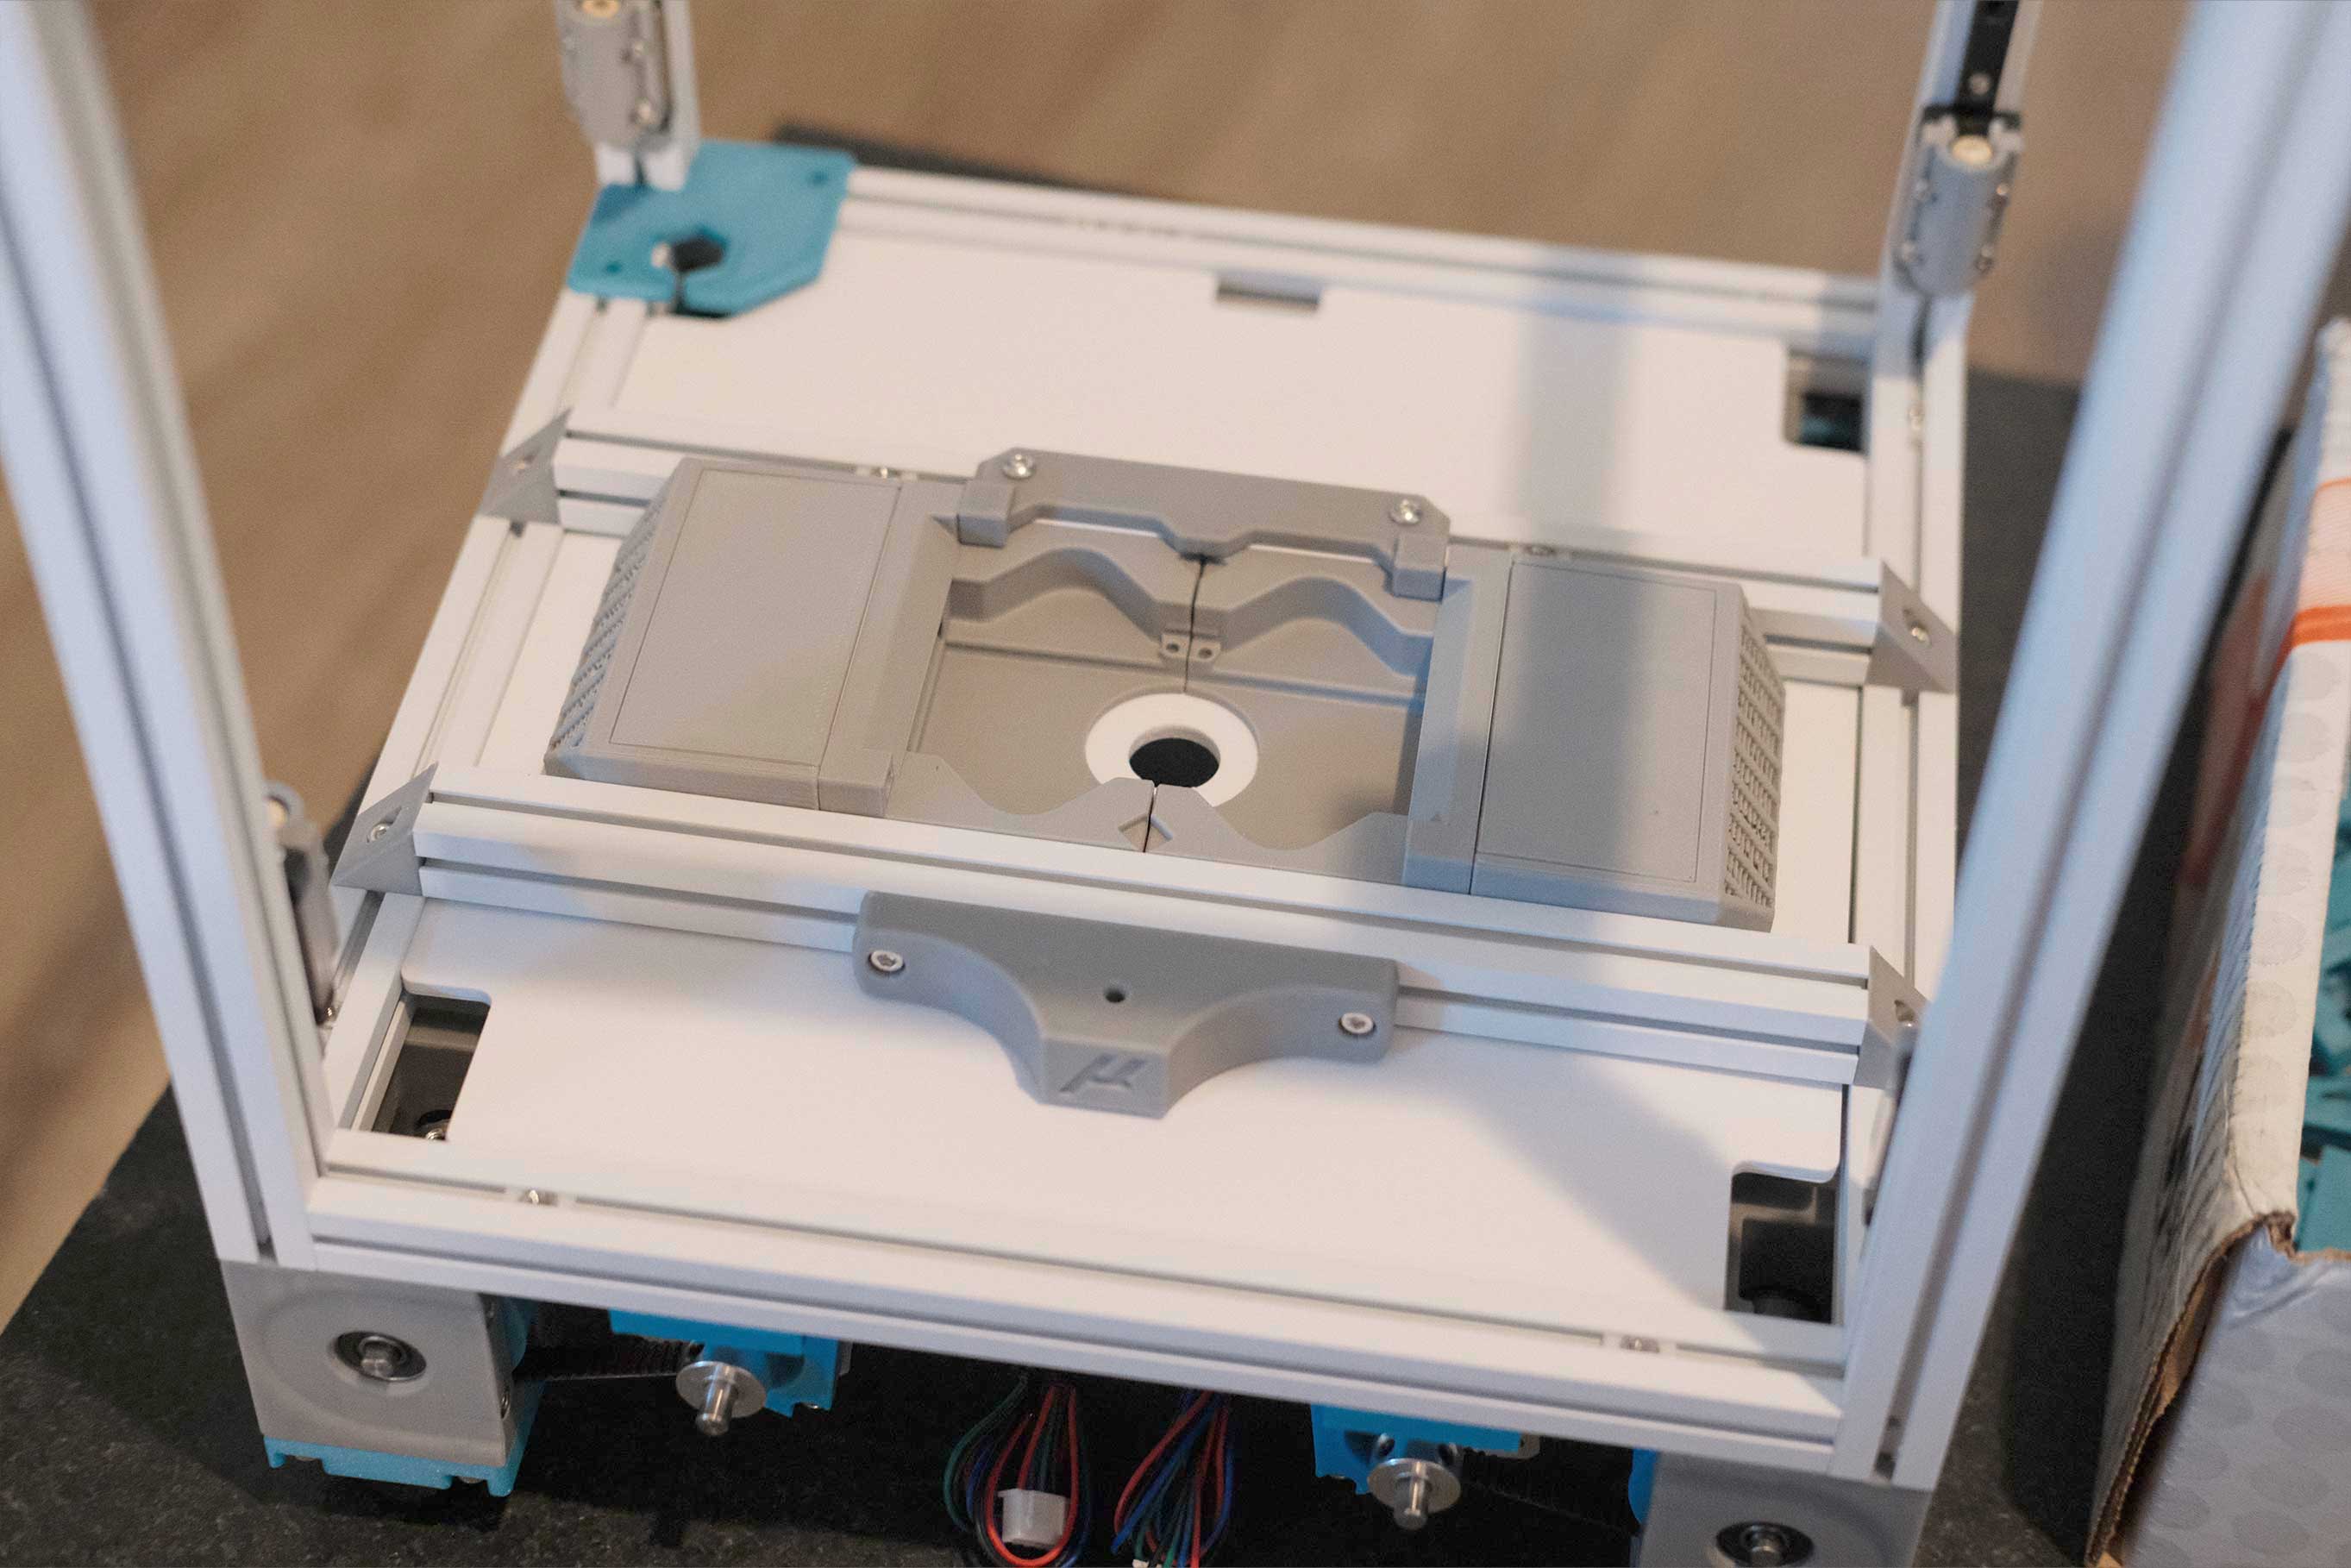
ZeroFilter
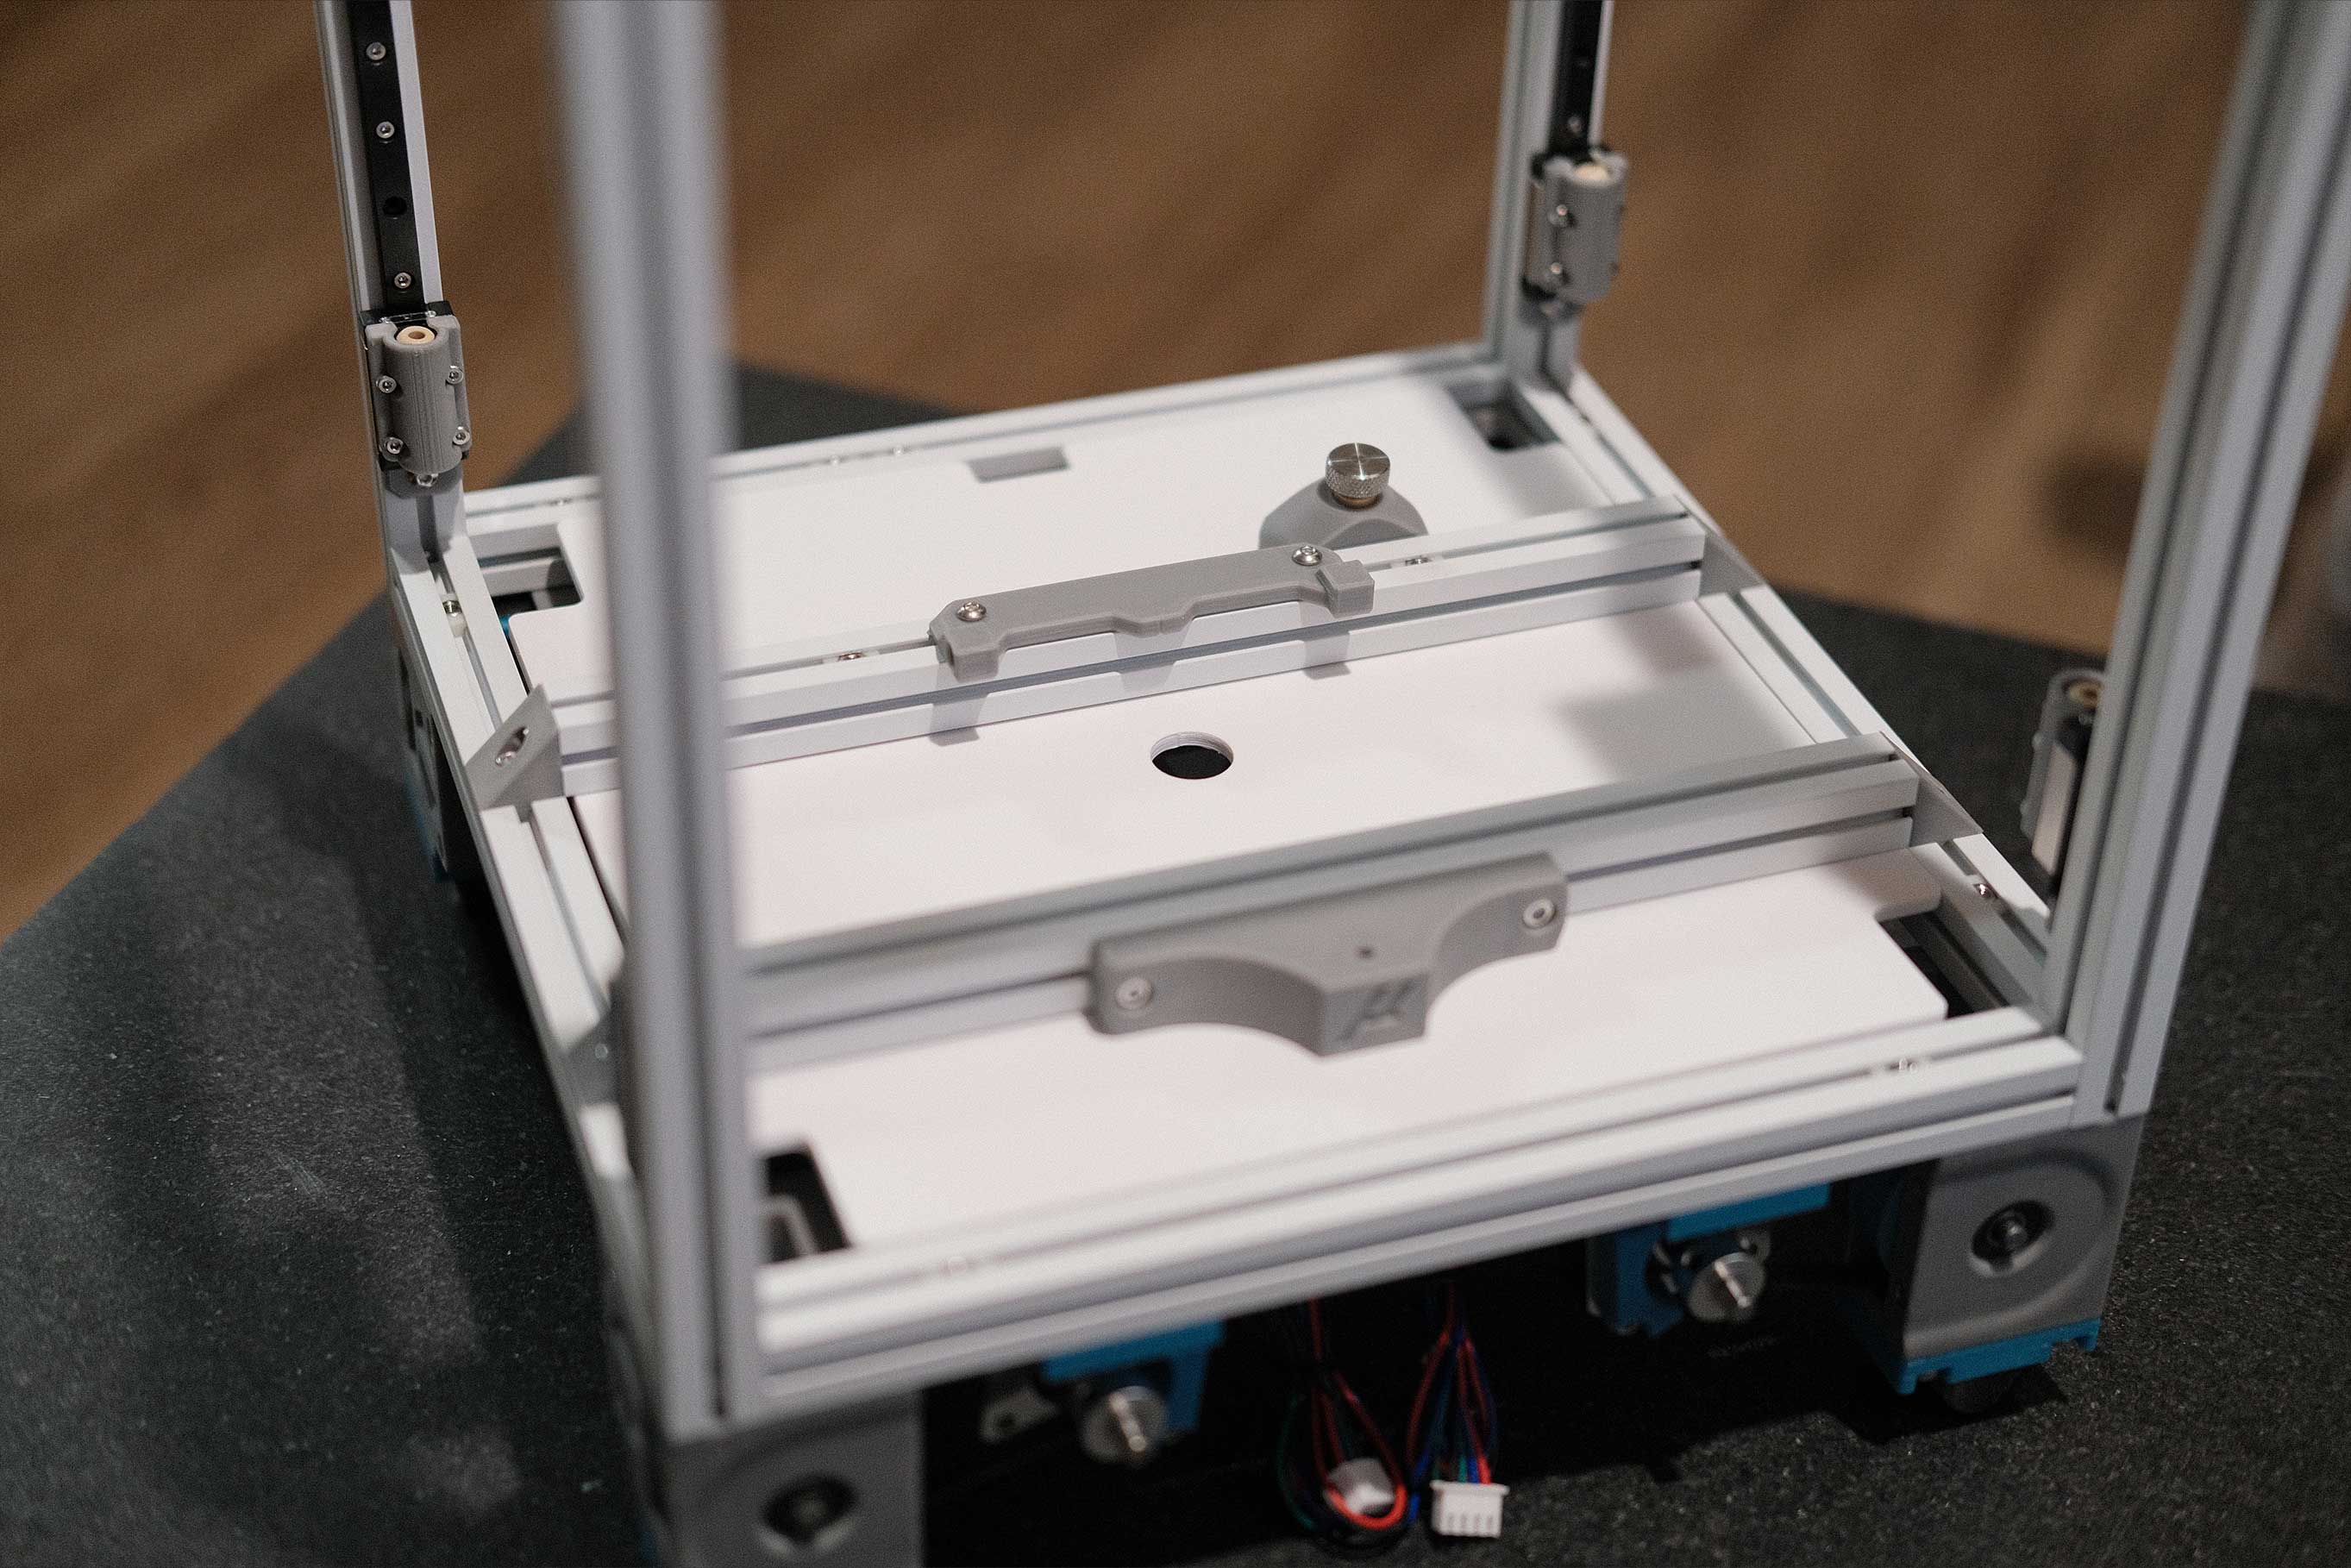 ZeroFilter - 1
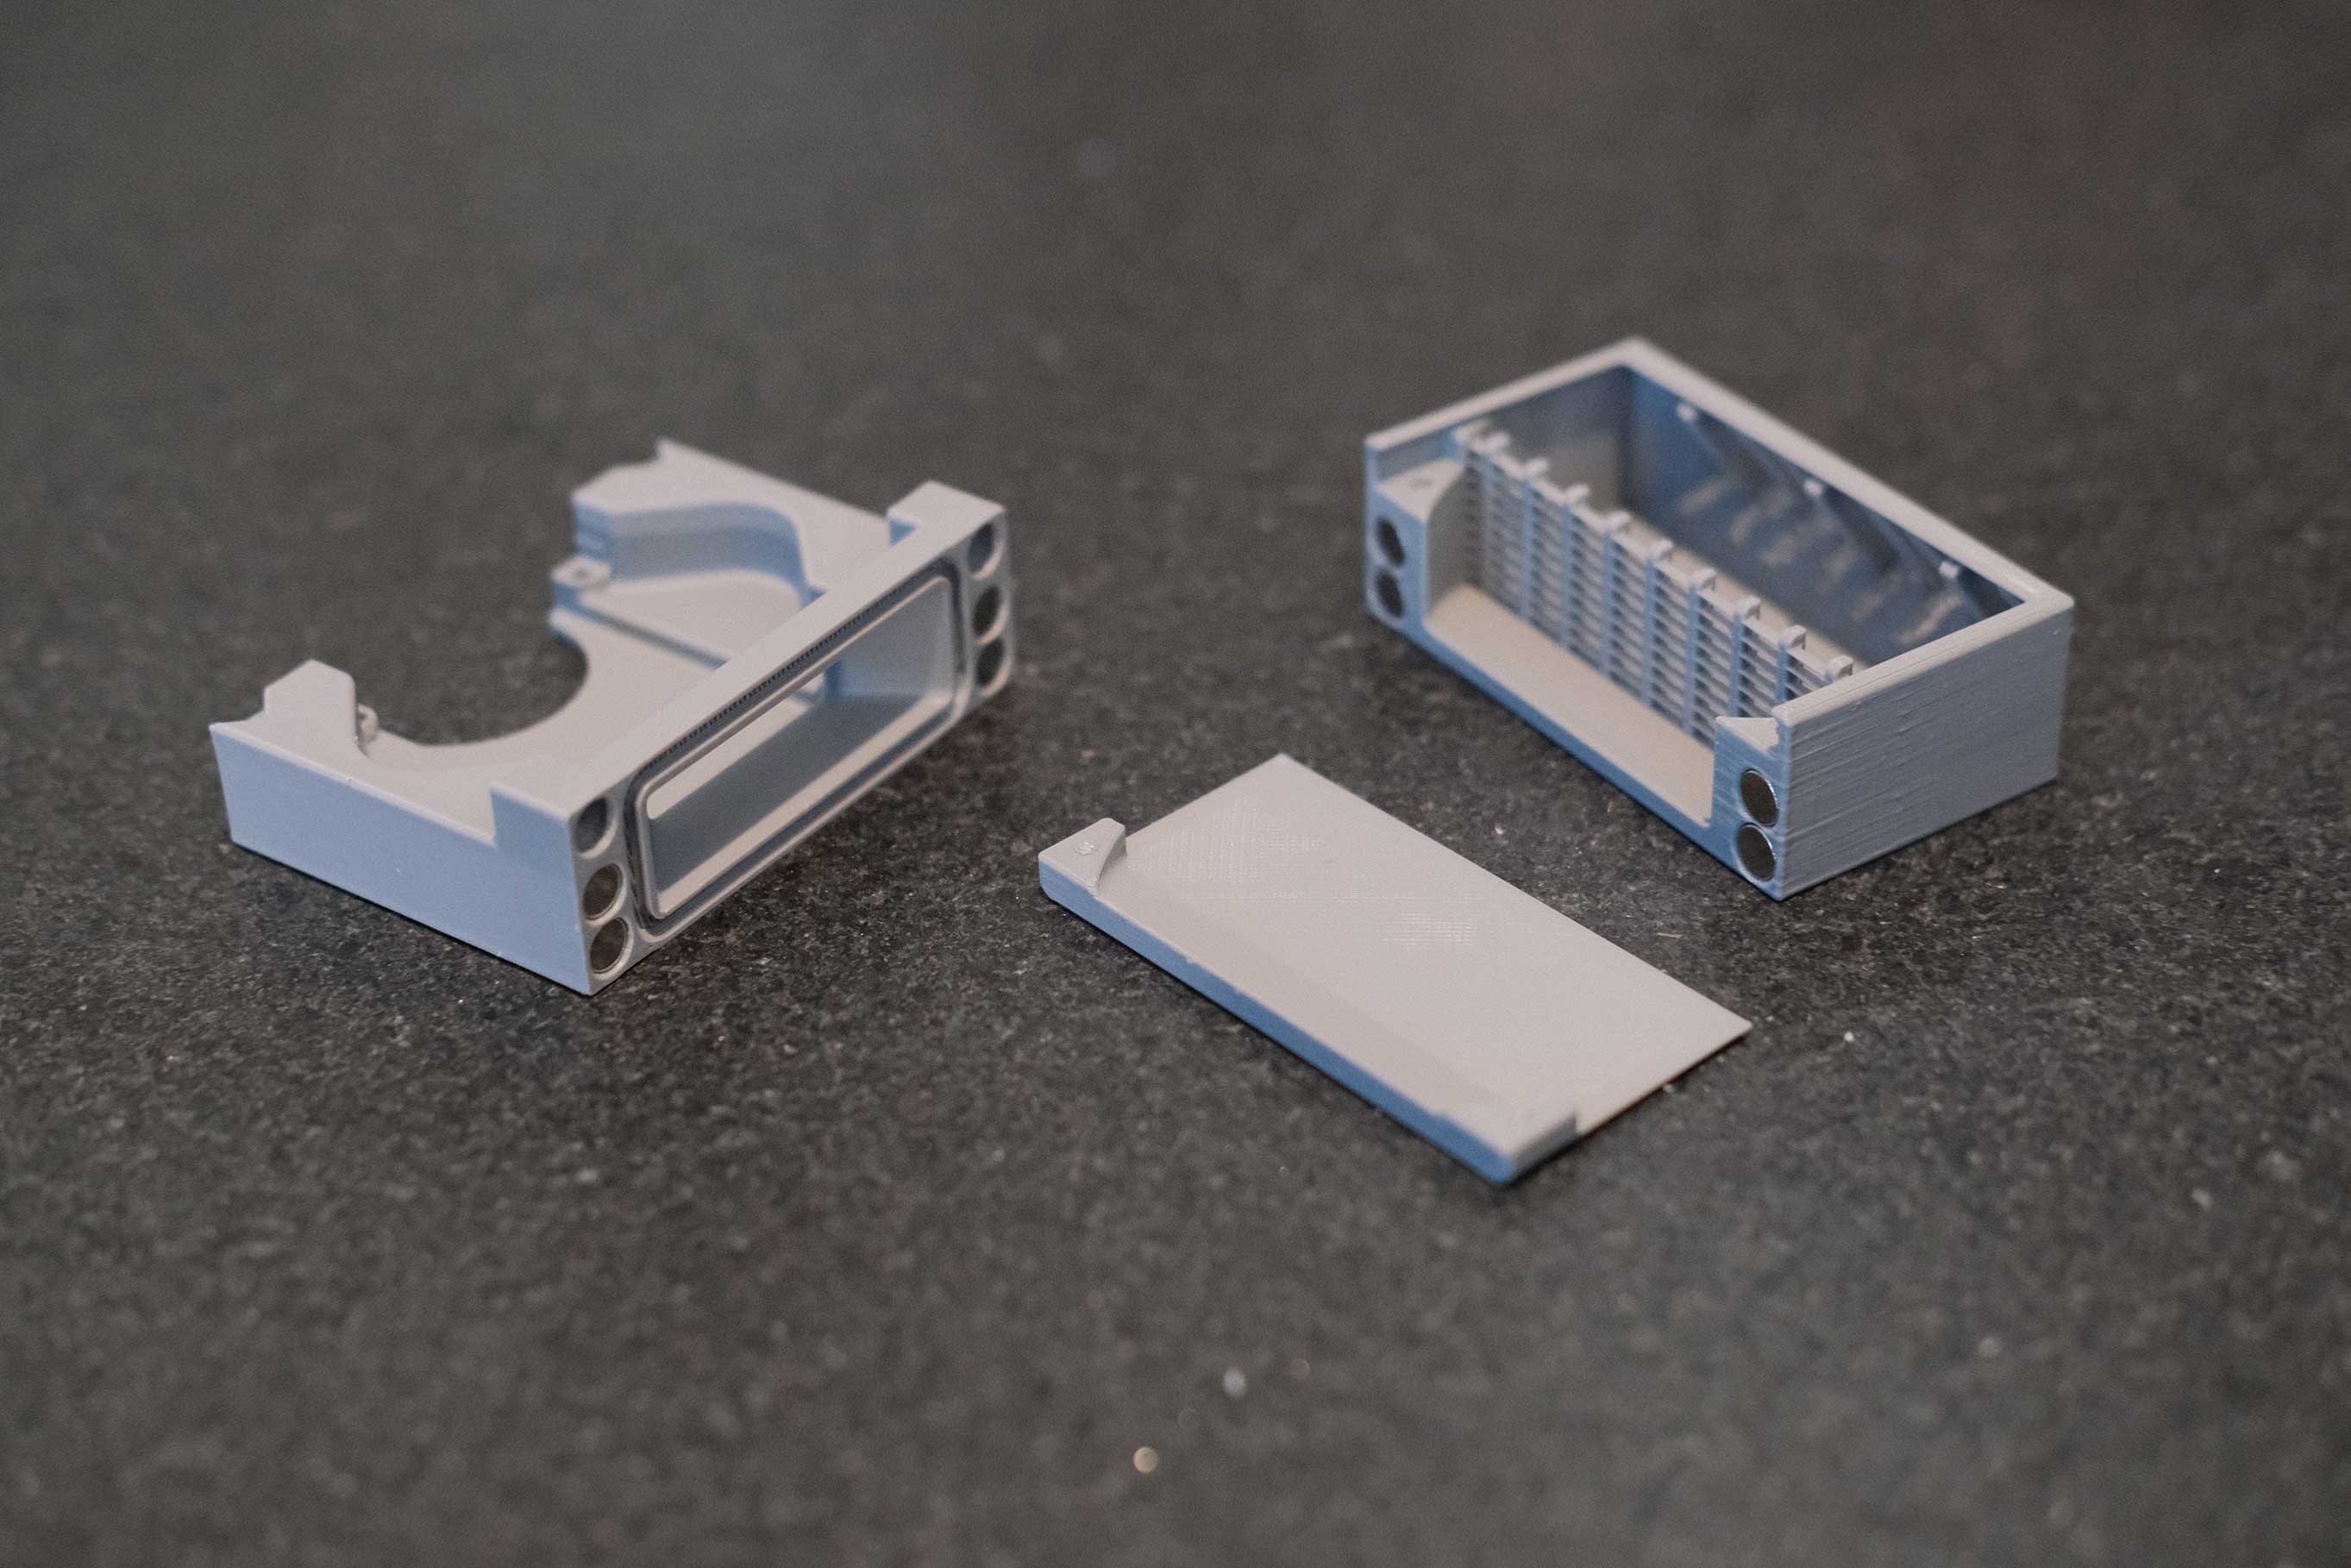 ZeroFilter - 2
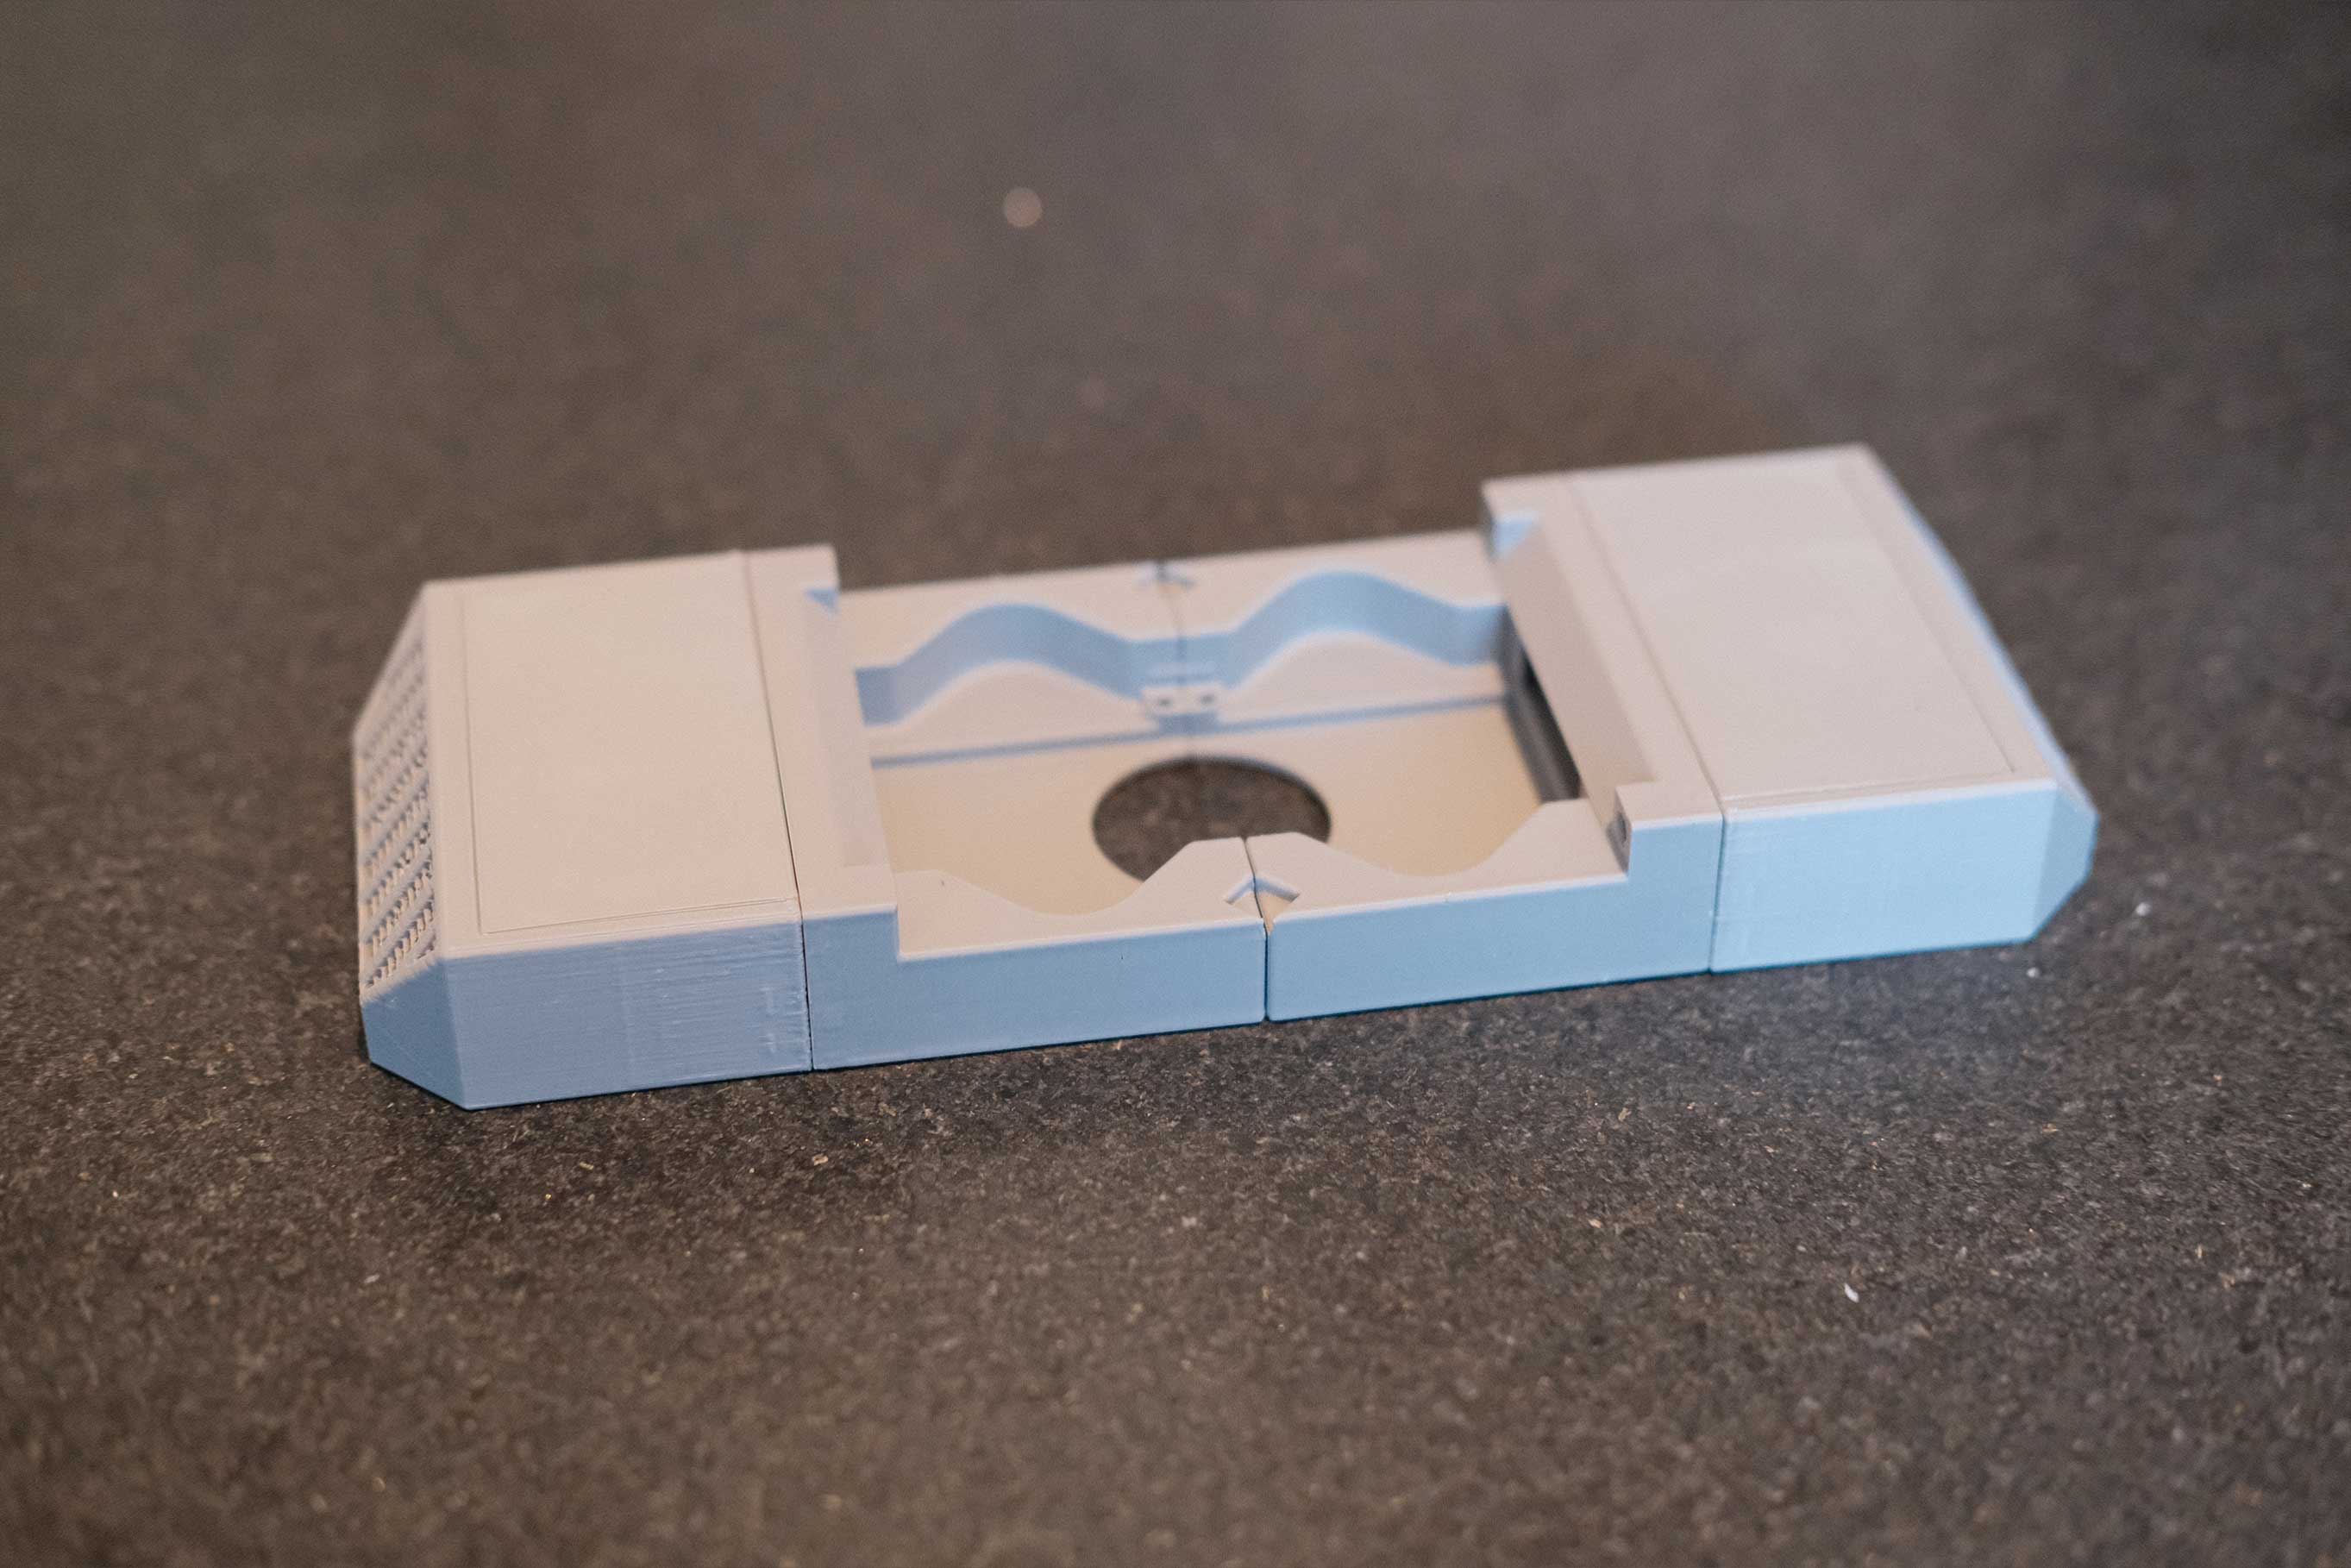 ZeroFilter - 3
 ZeroFilter - 4
 ZeroFilter - 5
Y Axis
 Y Axis - 1
 Y Axis - 2
 Y Axis - 3
 Y Axis - 4
 Y Axis - 5
X Axis
 X Axis - 1
 X Axis - 2
 X Axis - 3
 X Axis - 4
 X Axis - 5
 X Axis - 6
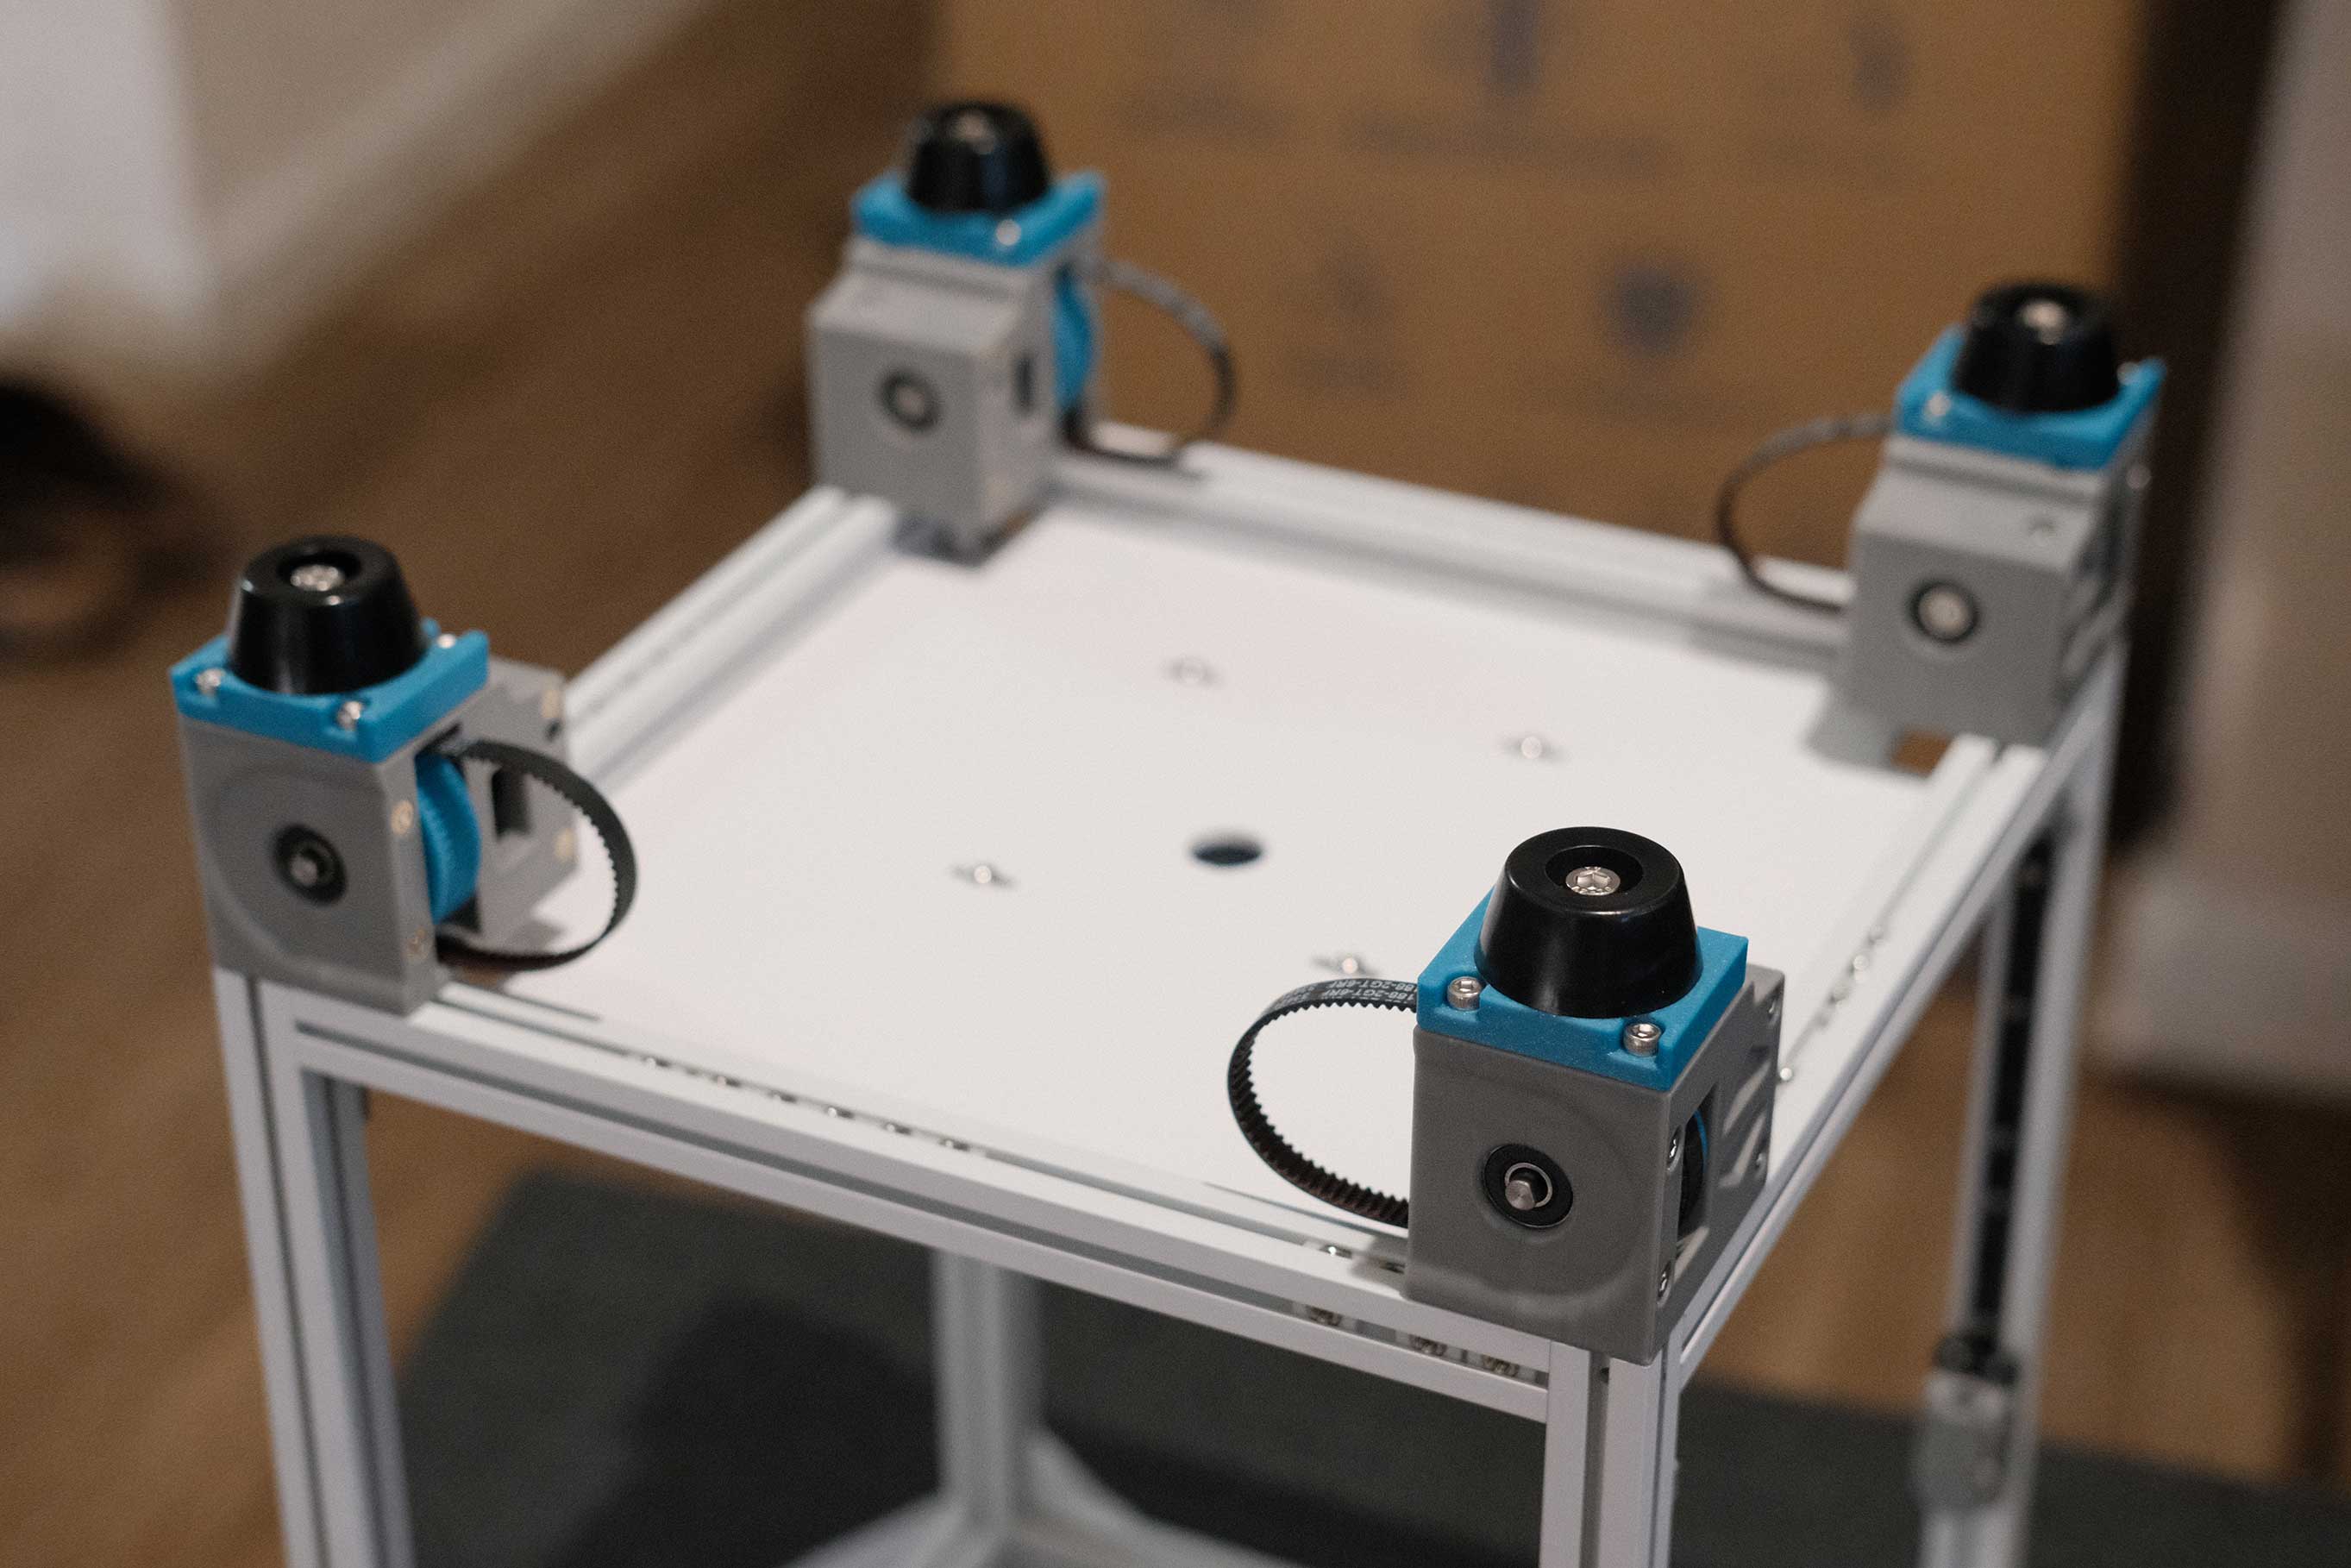
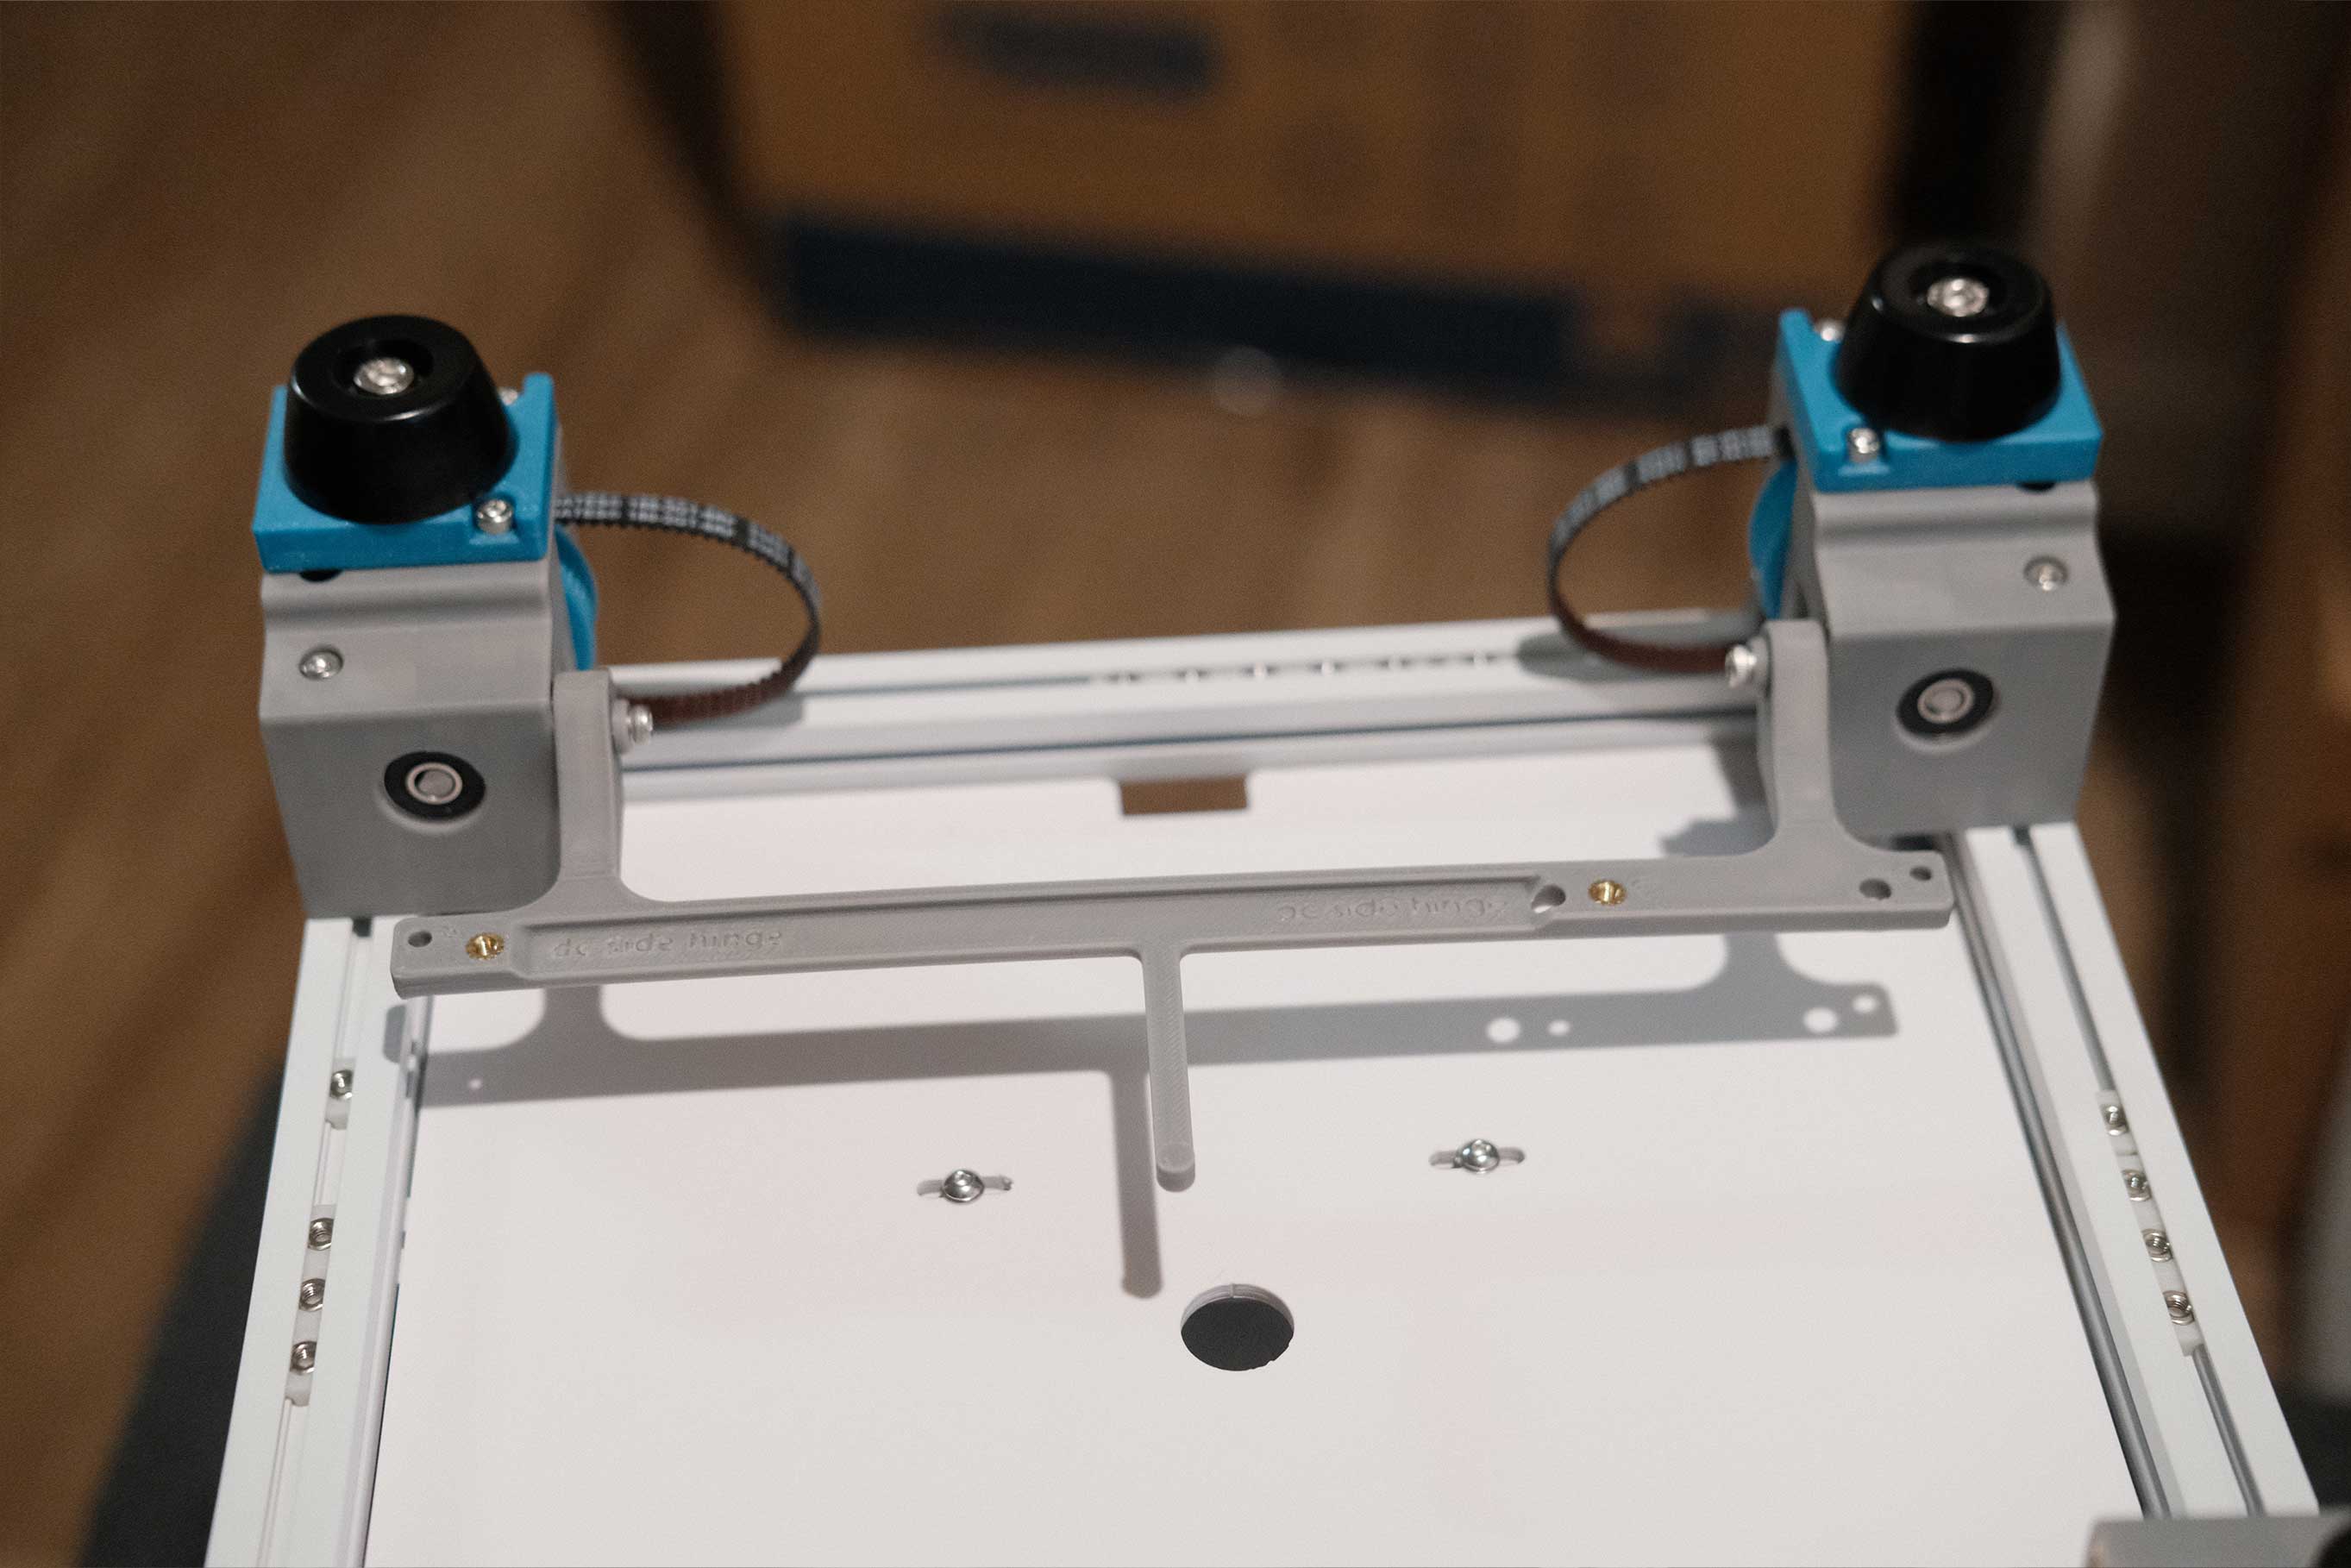
A/B Idlers
 A/B Idlers - 1
 A/B Idlers - 2
 A/B Idlers - 3
 A/B Idlers - 4
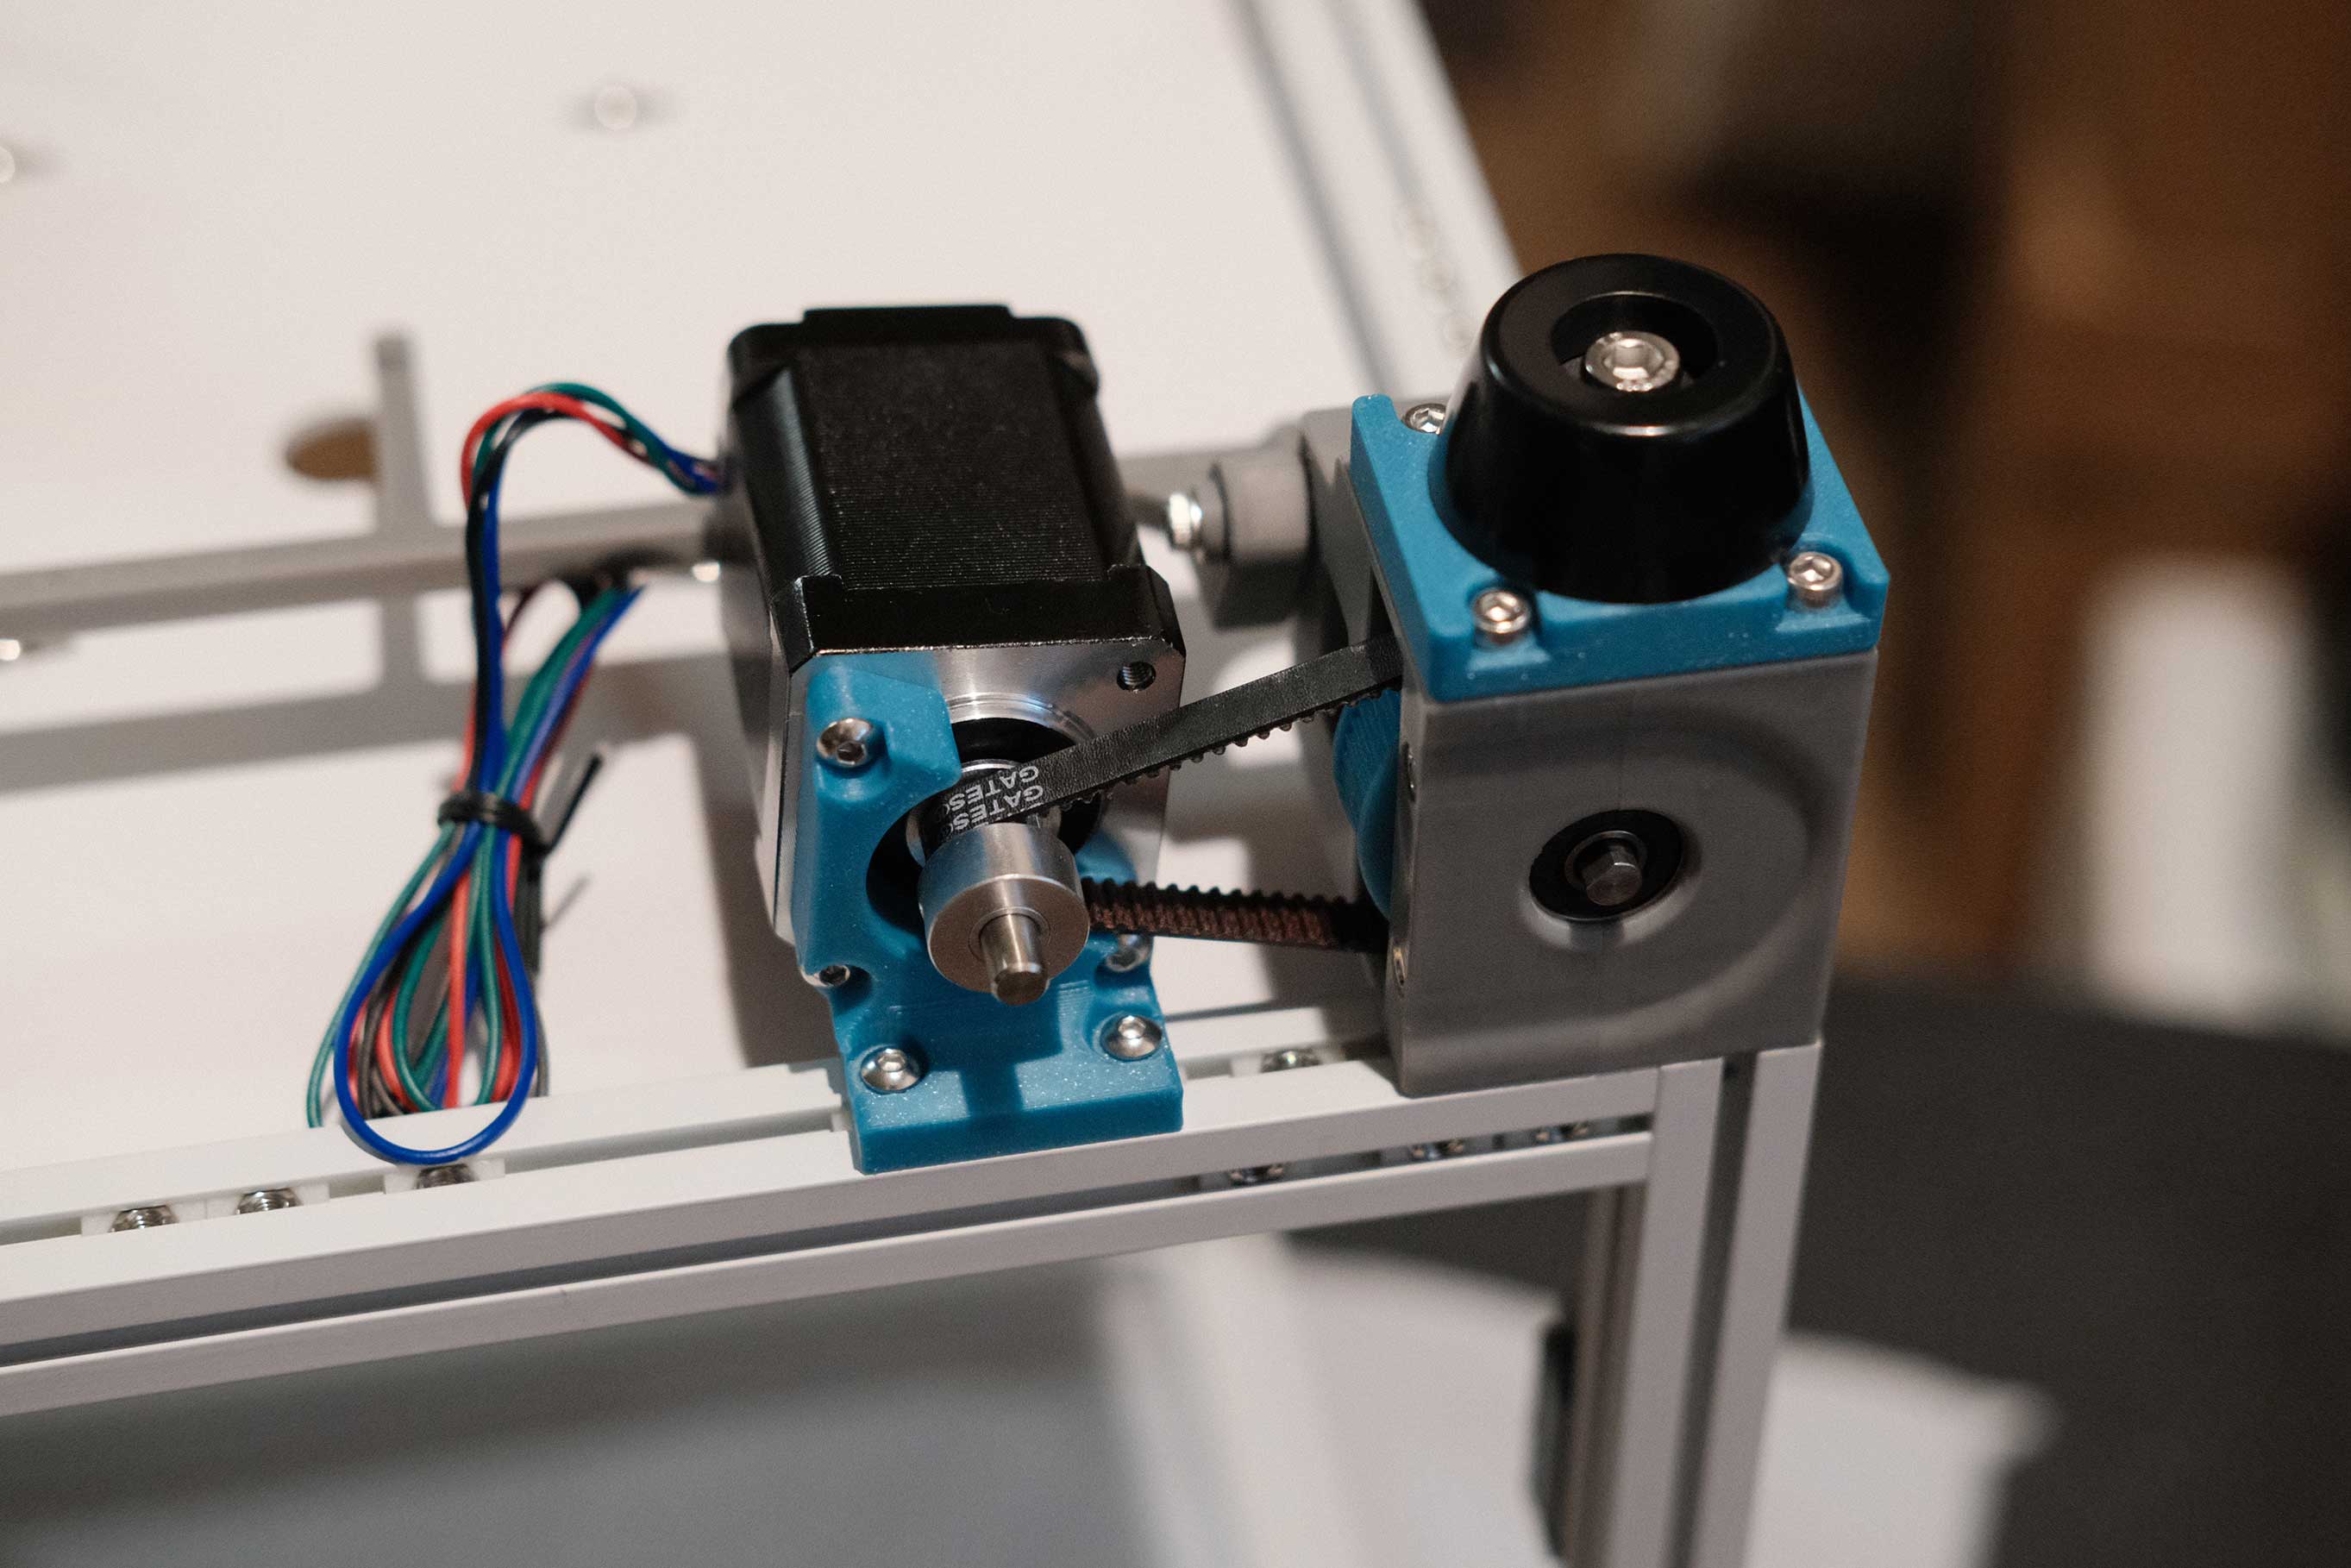
A/B Drives
 A Drive - 1
 A Drive - 2
 A Drive Top - 1
 A Drive Top - 2
 A Drive Top - 3
 A Drive - 4
 A Drive - 5
 A Drive Top - 6
 B Drive - 1
 B Drive - 2
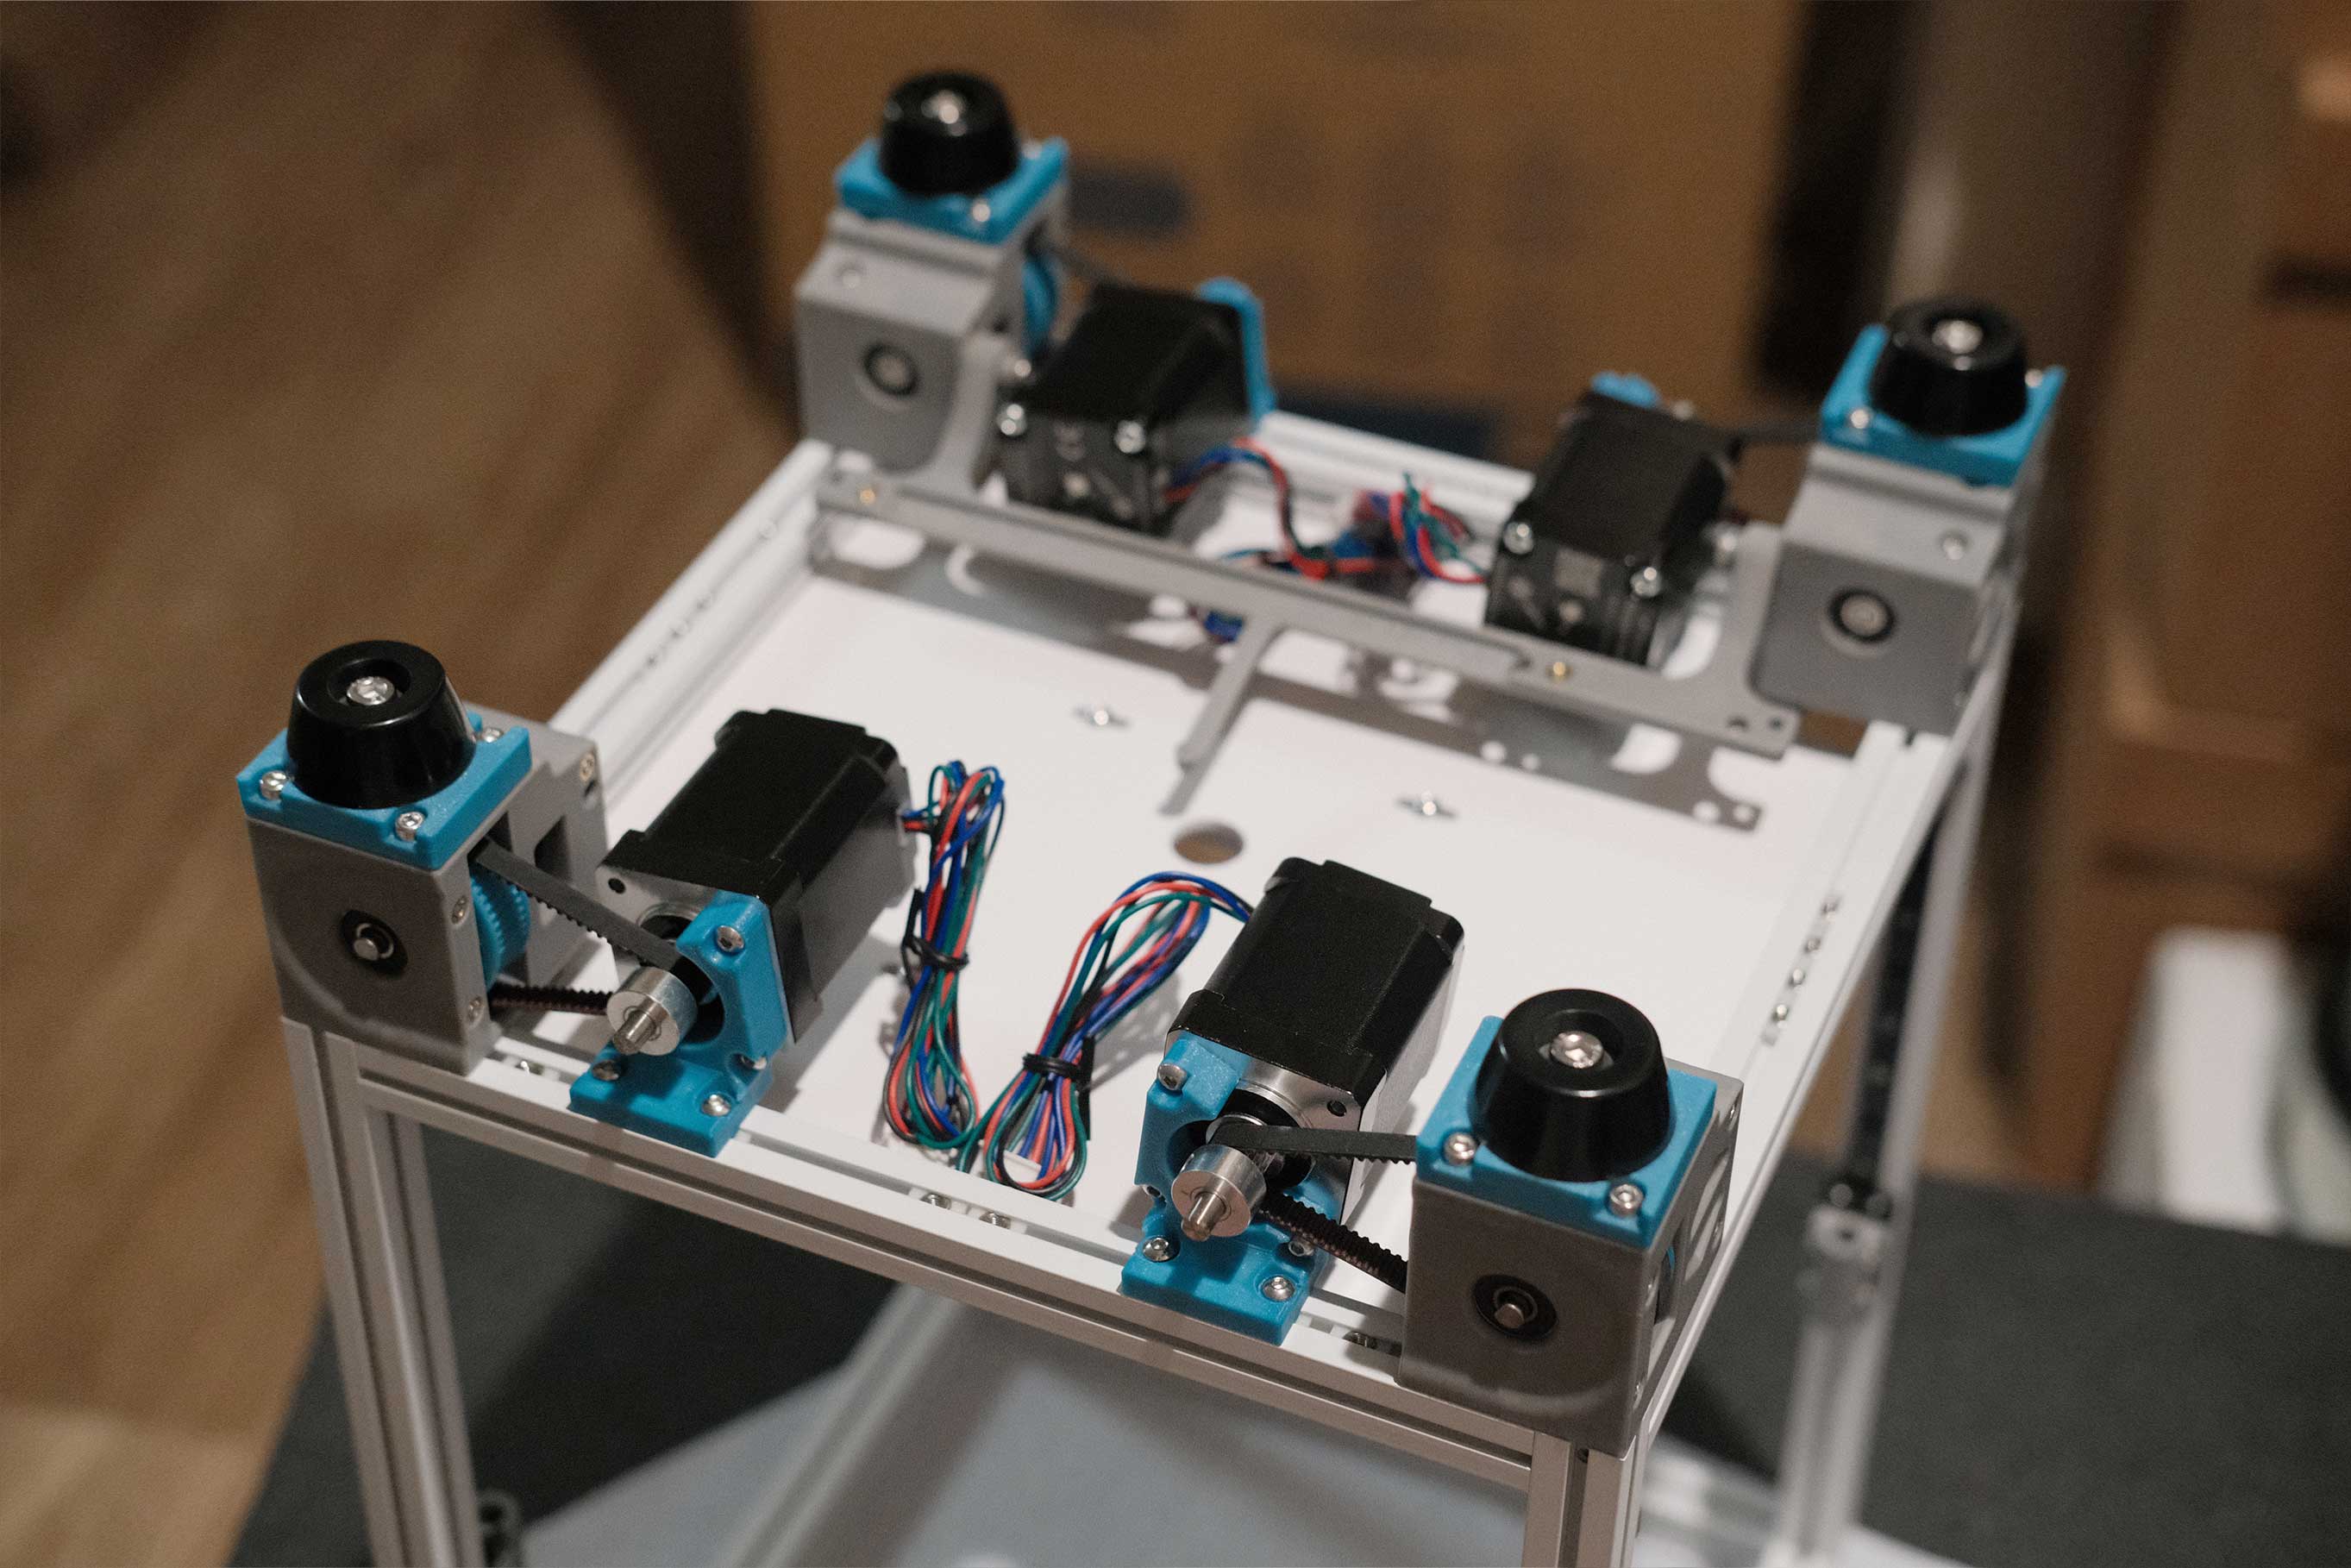
 A/B Drives - 1
X/Y Joint Assemblies
 XY Joint Assemblies - 1
 XY Joint Assemblies - 2
 XY Joint Assemblies - 3
 XY Joint Assemblies - 4
 XY Joint Assemblies - 5
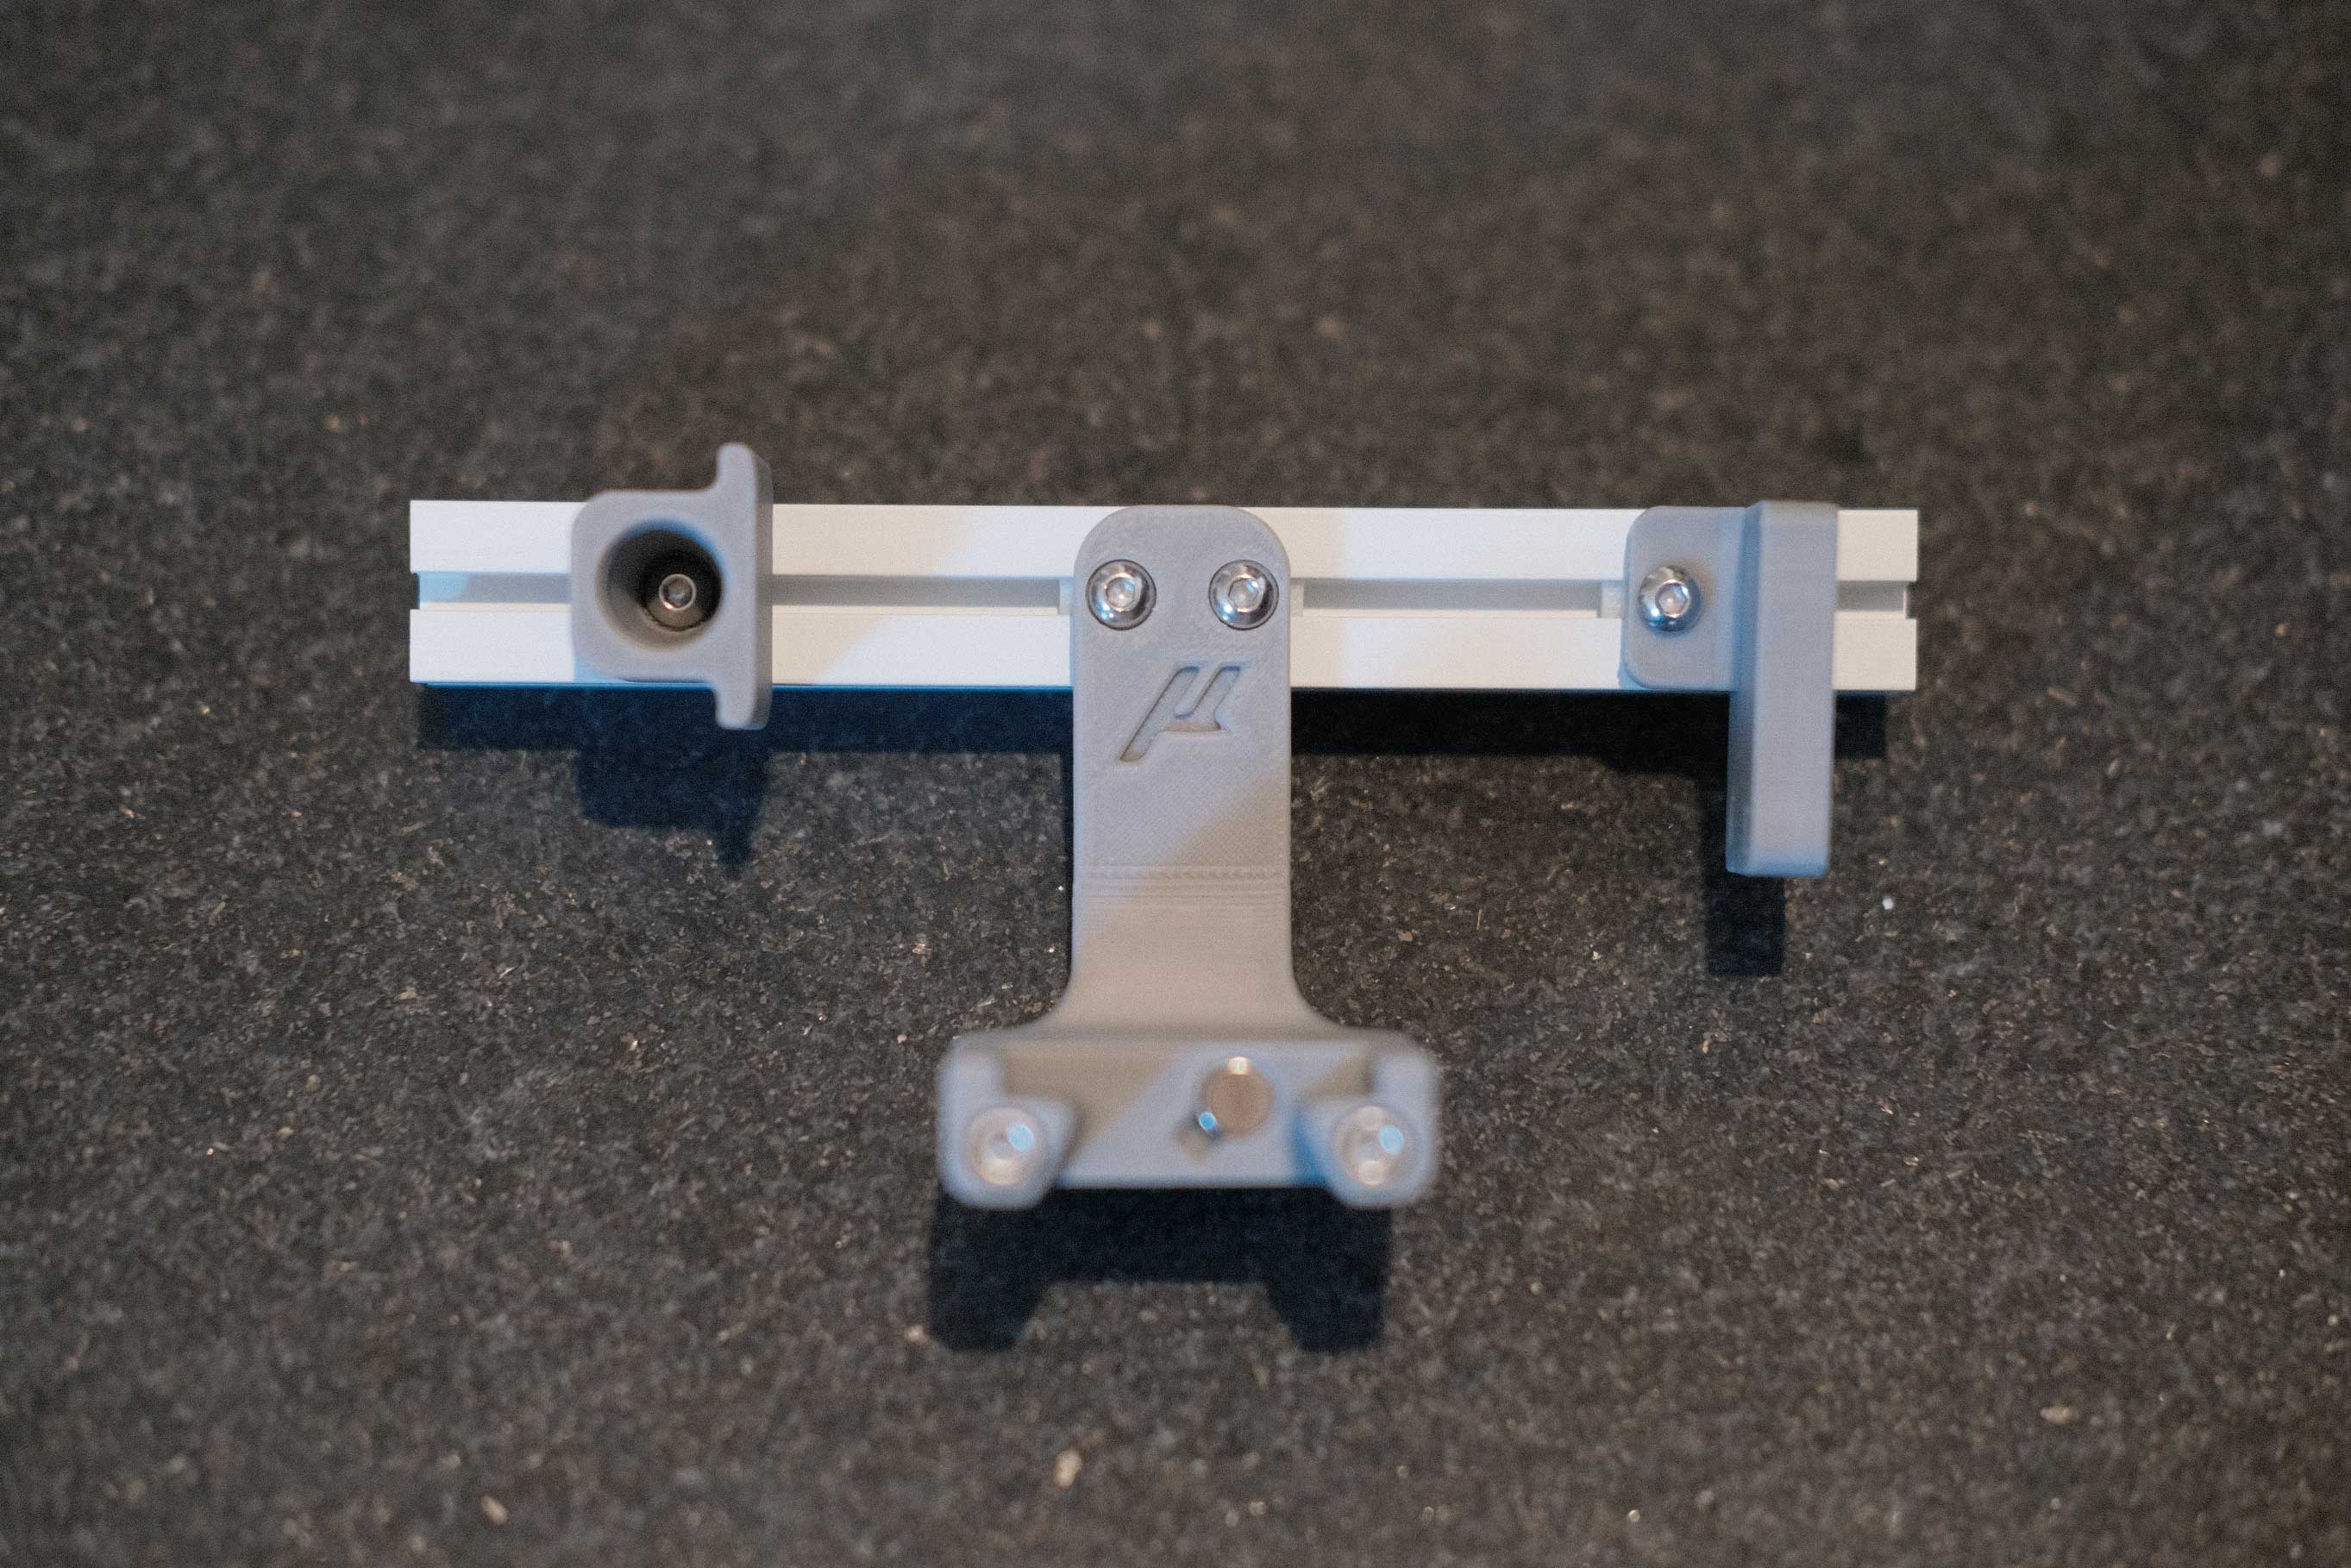
Y Endstop
 Y Endstop - 1
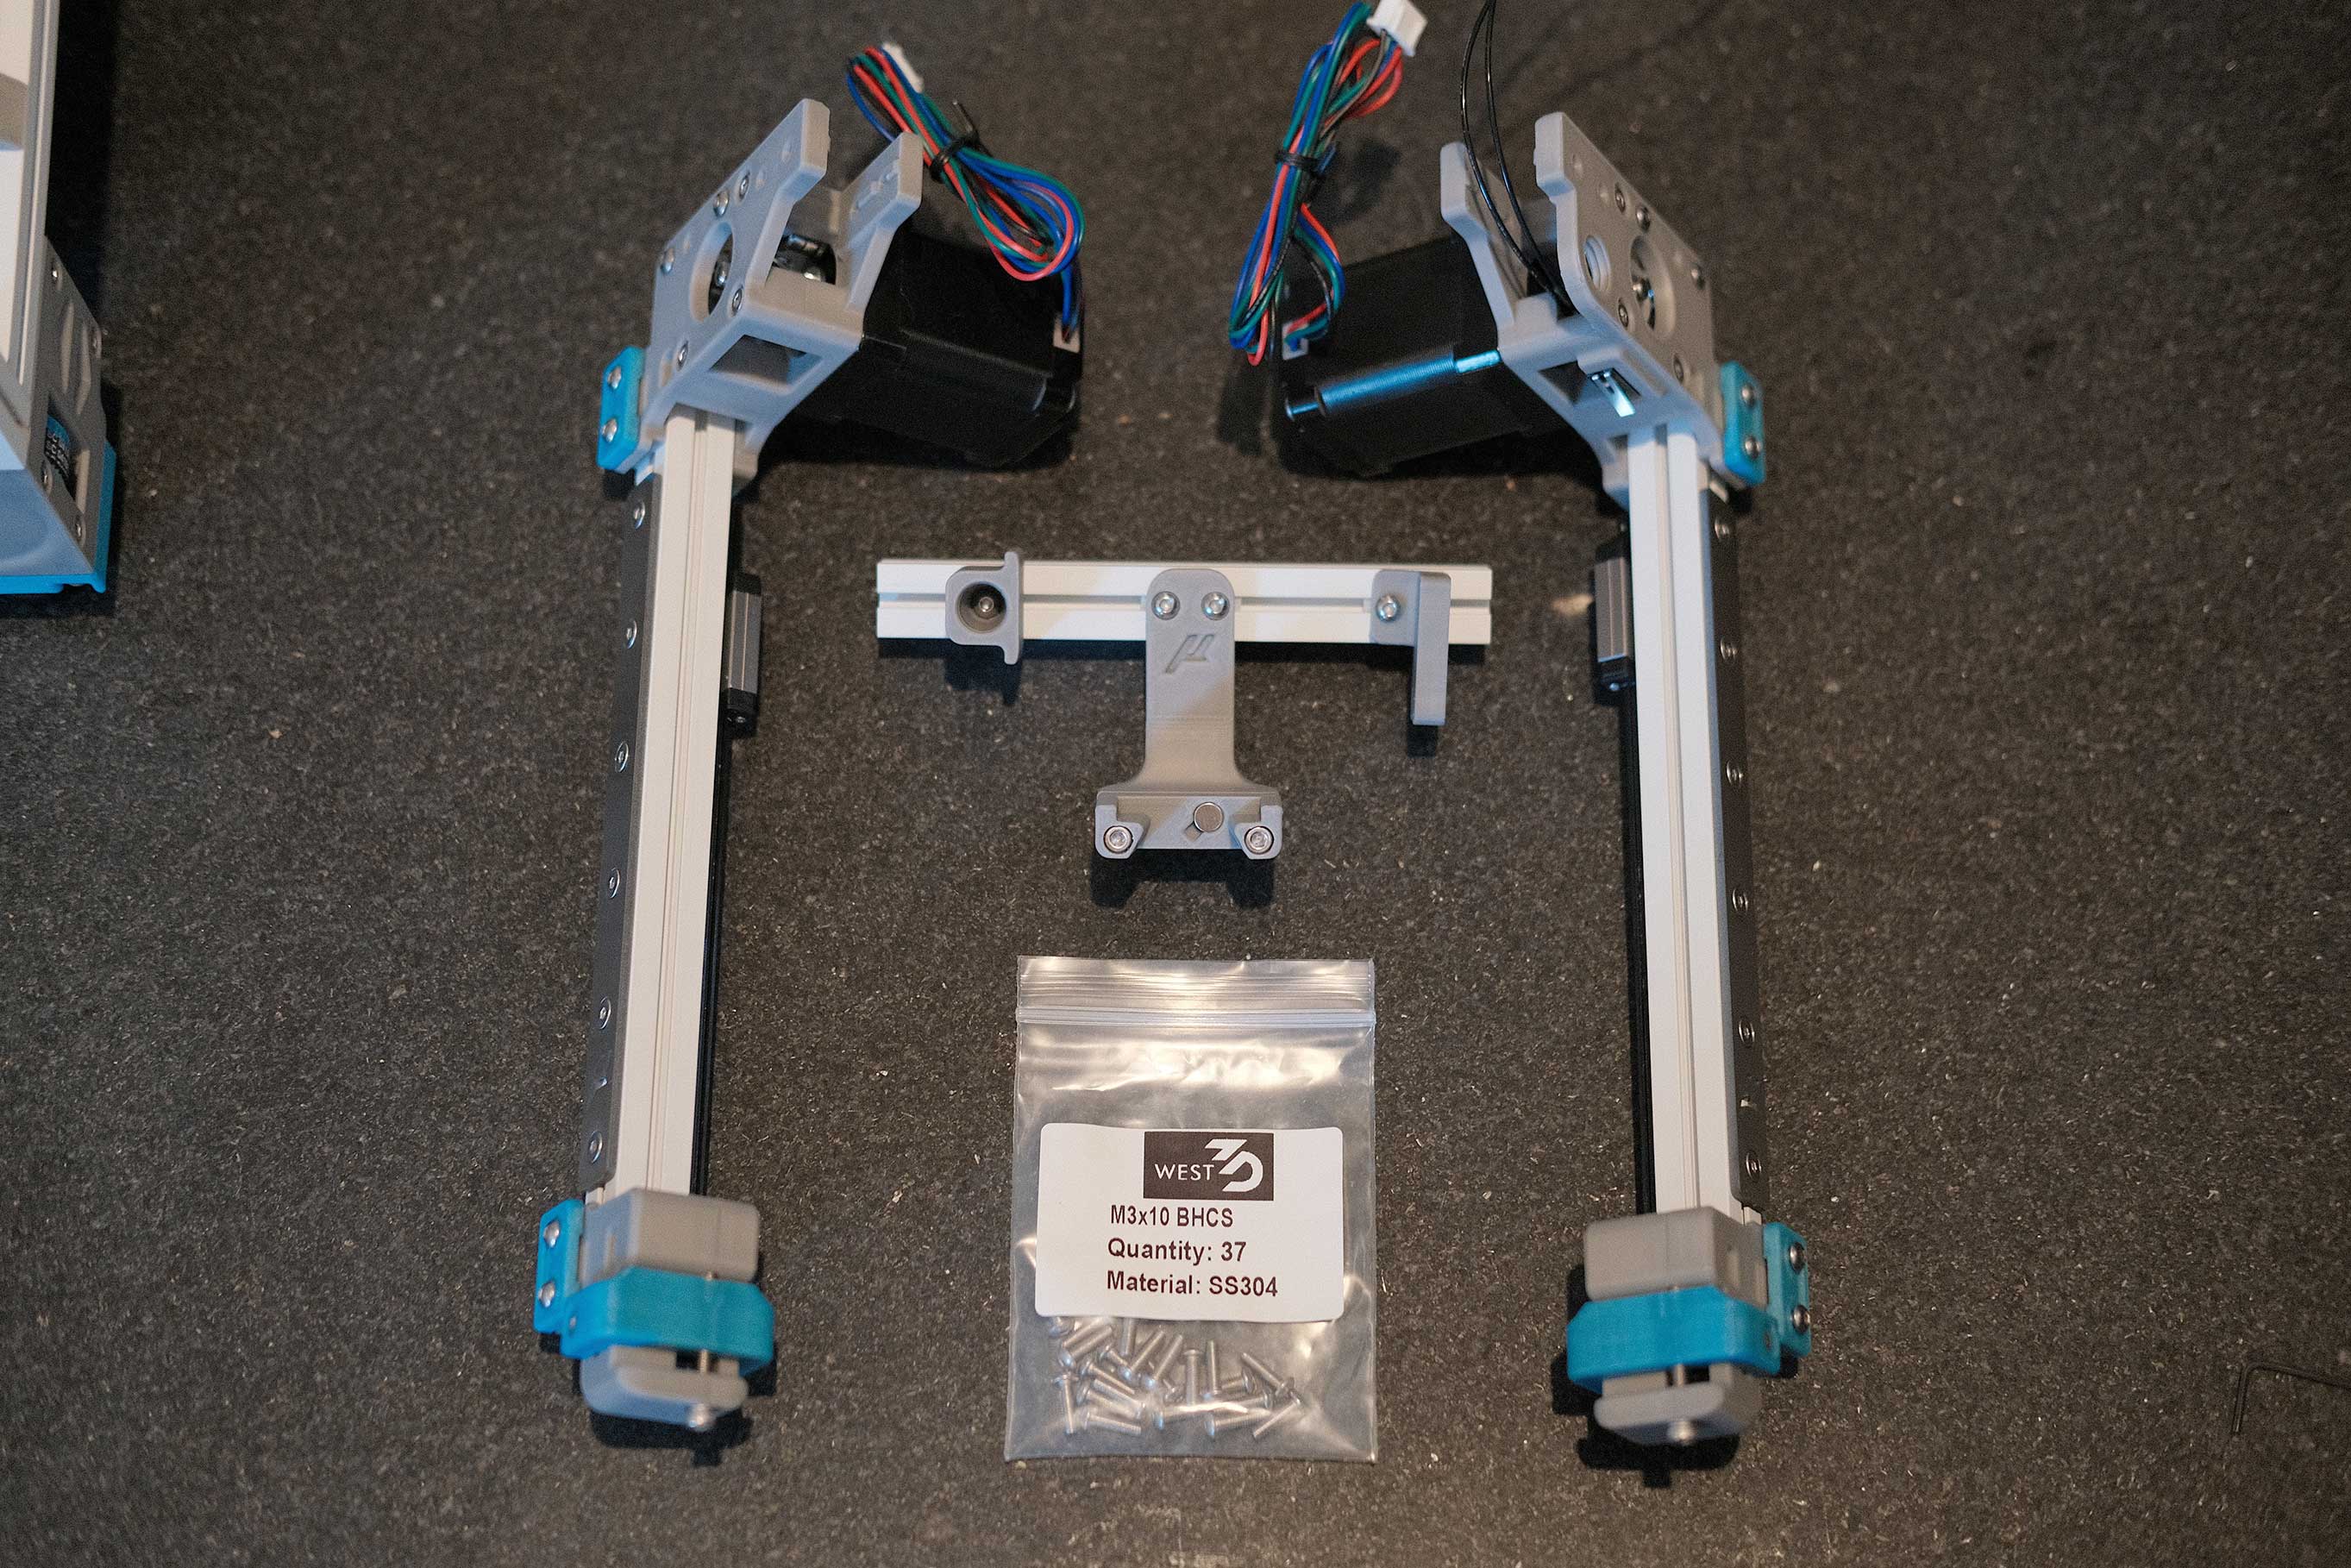
Gantry - Mounting A/B Idlers
 Gantry - Mounting A/B Idlers - 1
 Gantry - Mounting A/B Idlers - 2
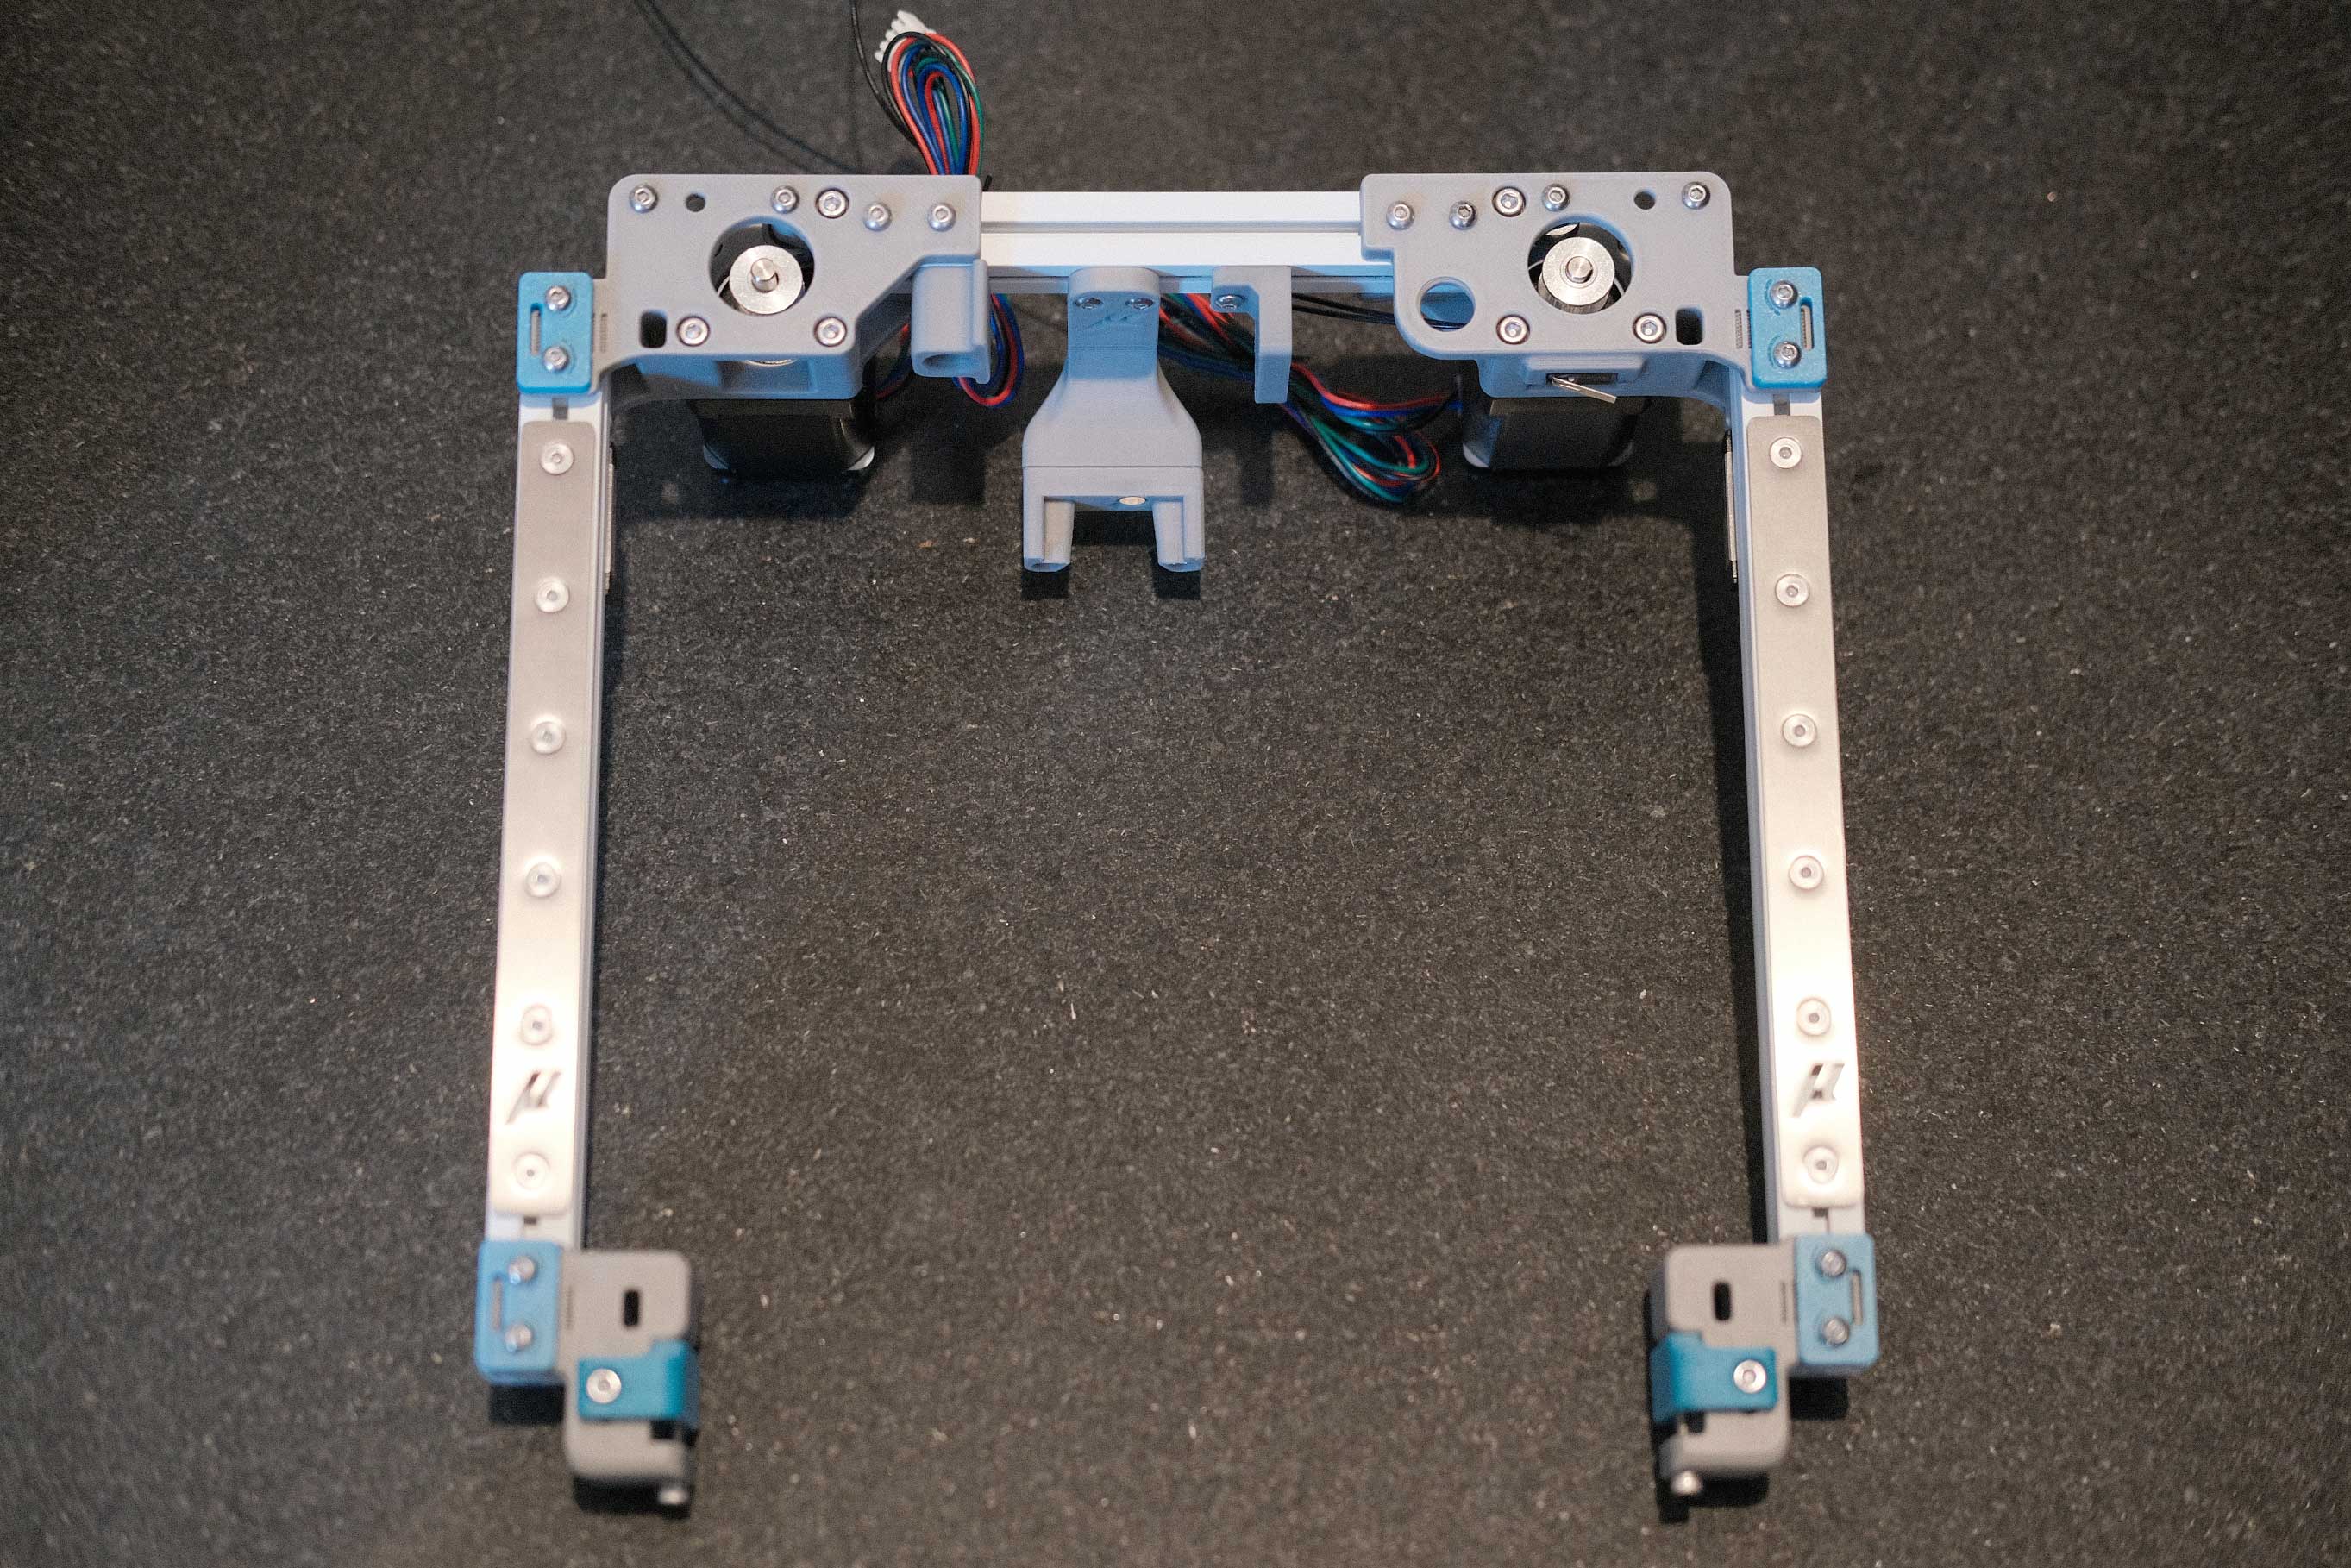
Mounting A/B Drives
 Mounting A/B Drives - 1
Klicky
 Klicky - 1
 Klicky - 2
 Klicky - 3
 Klicky - 4
 Klicky - 5
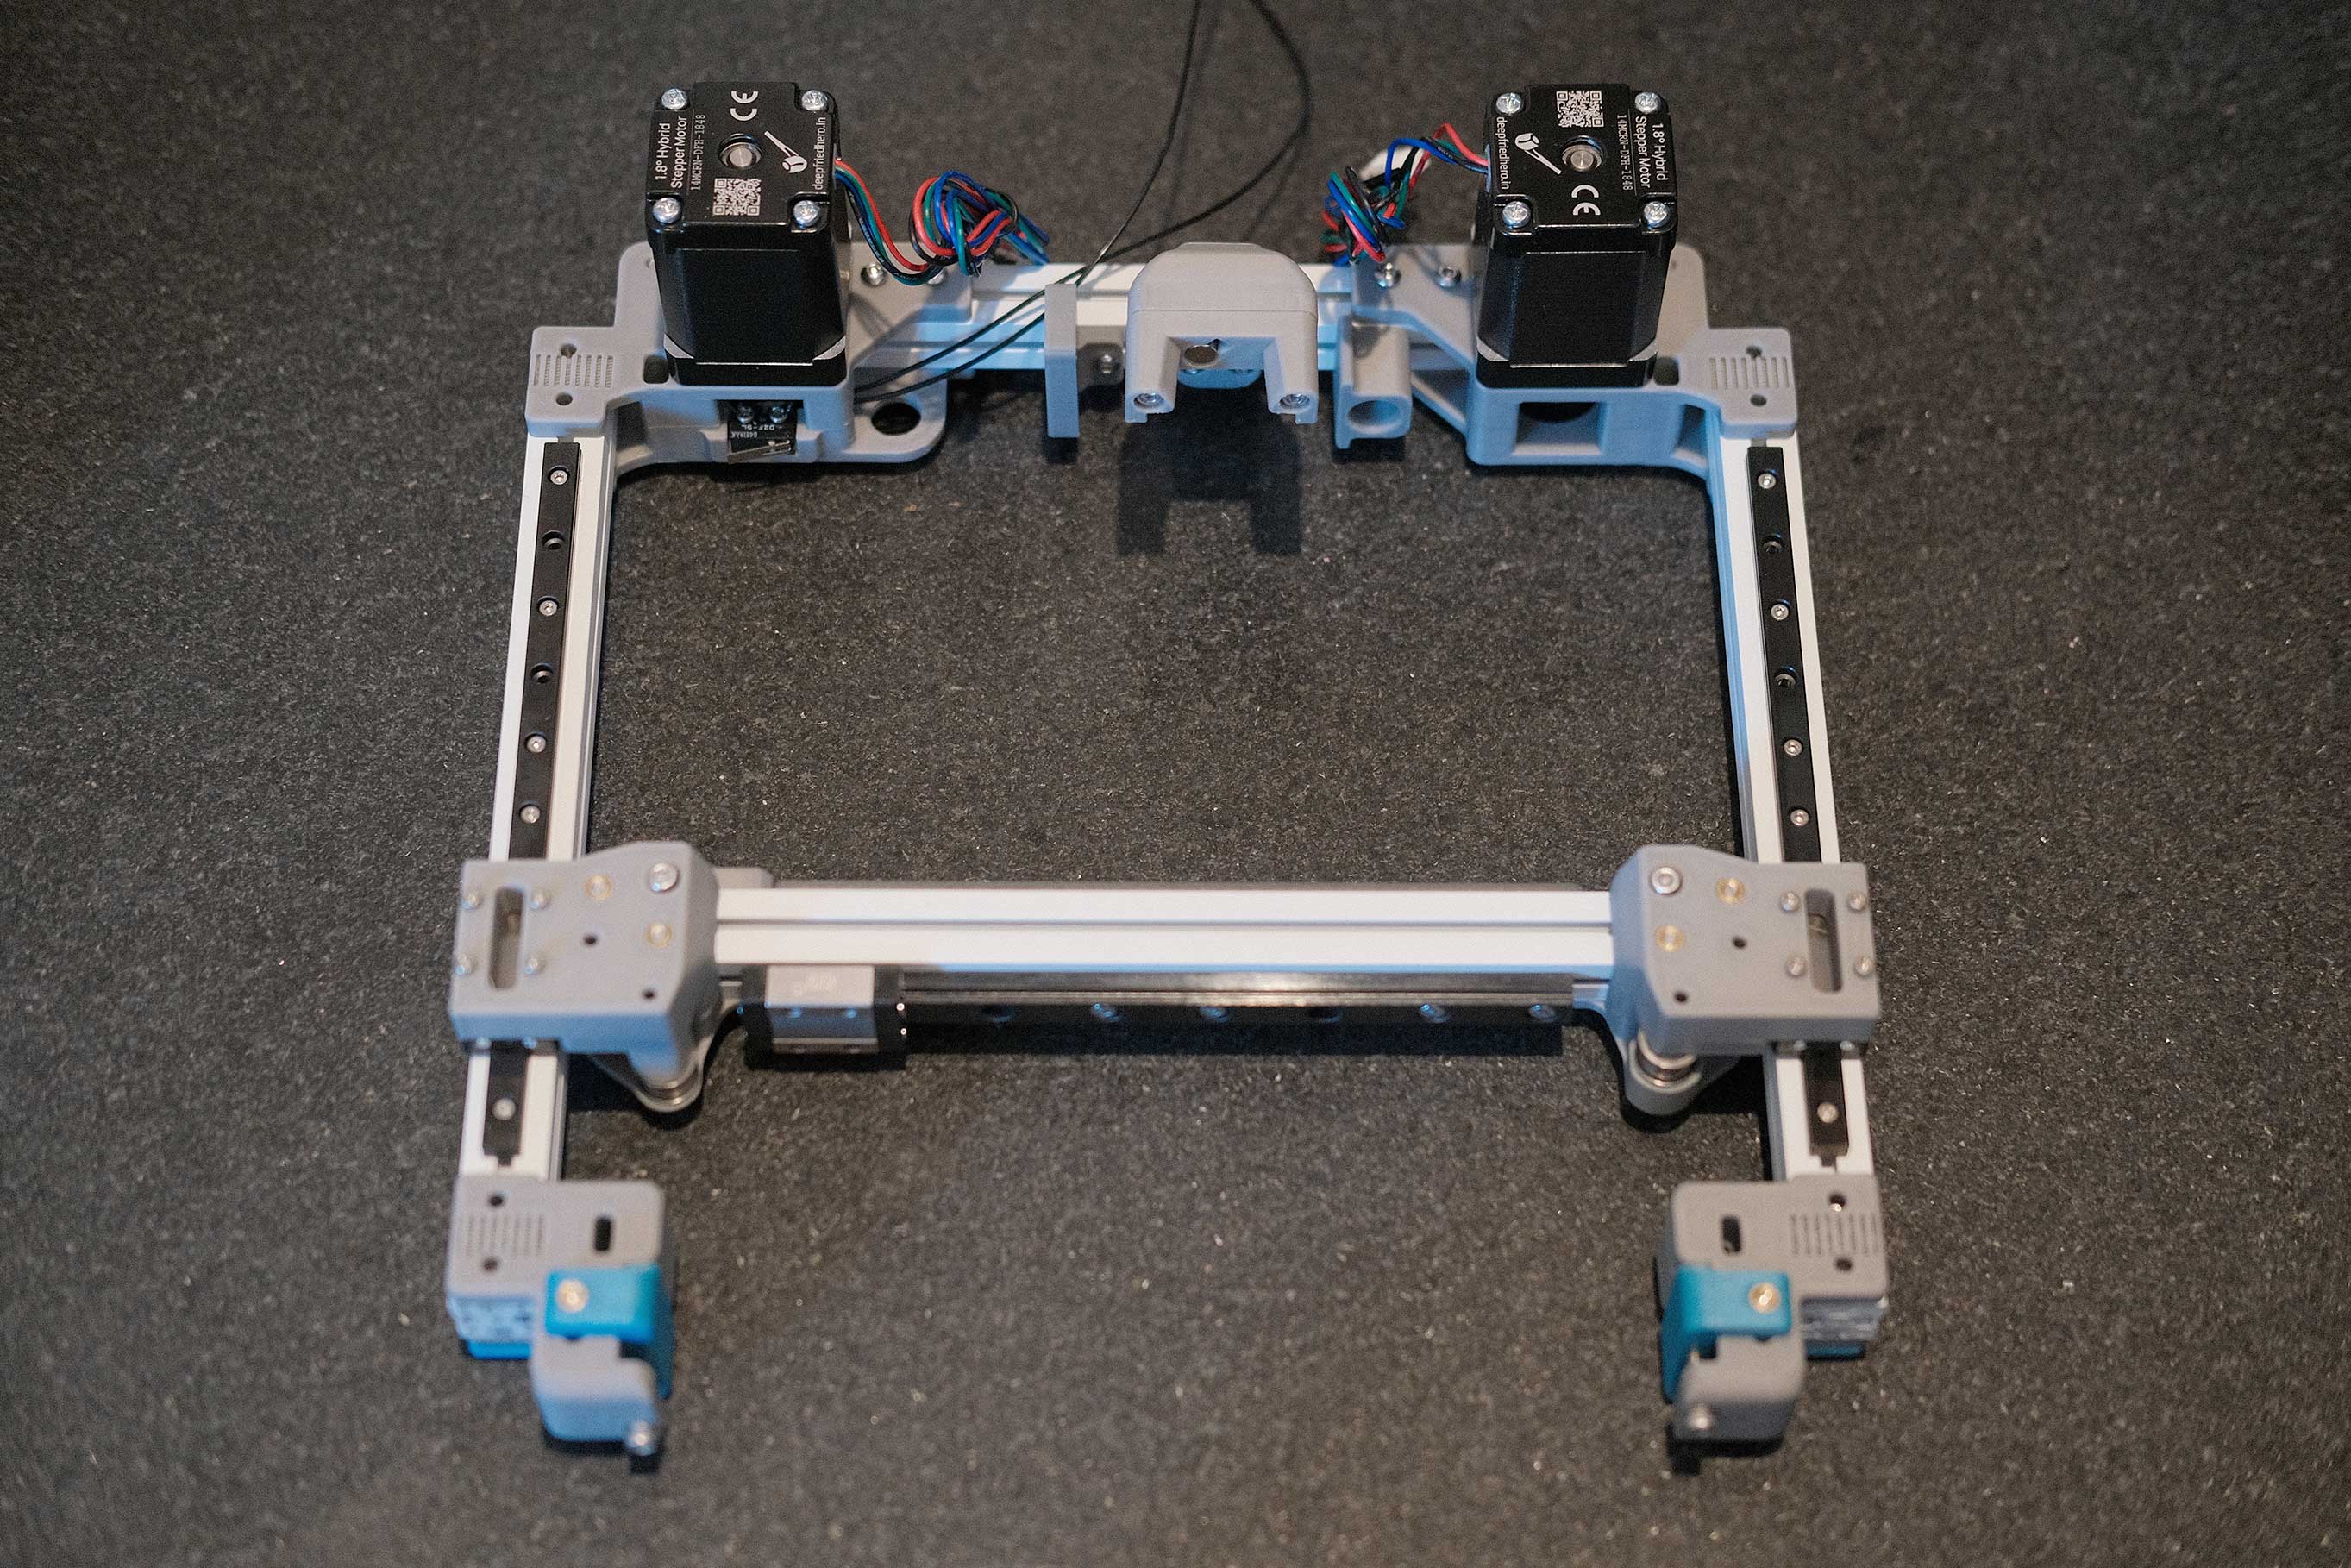
Rear Gantry
 Rear Gantry - 1
 Rear Gantry - 2
 Rear Gantry - 3
 Rear Gantry - 4
Mounting X Axis
 Mounting X Axis - 1
 Mounting X Axis - 2
X/Y Belts
 X/Y Belts - 1
 X/Y Belts - 2
Mini Afterburner
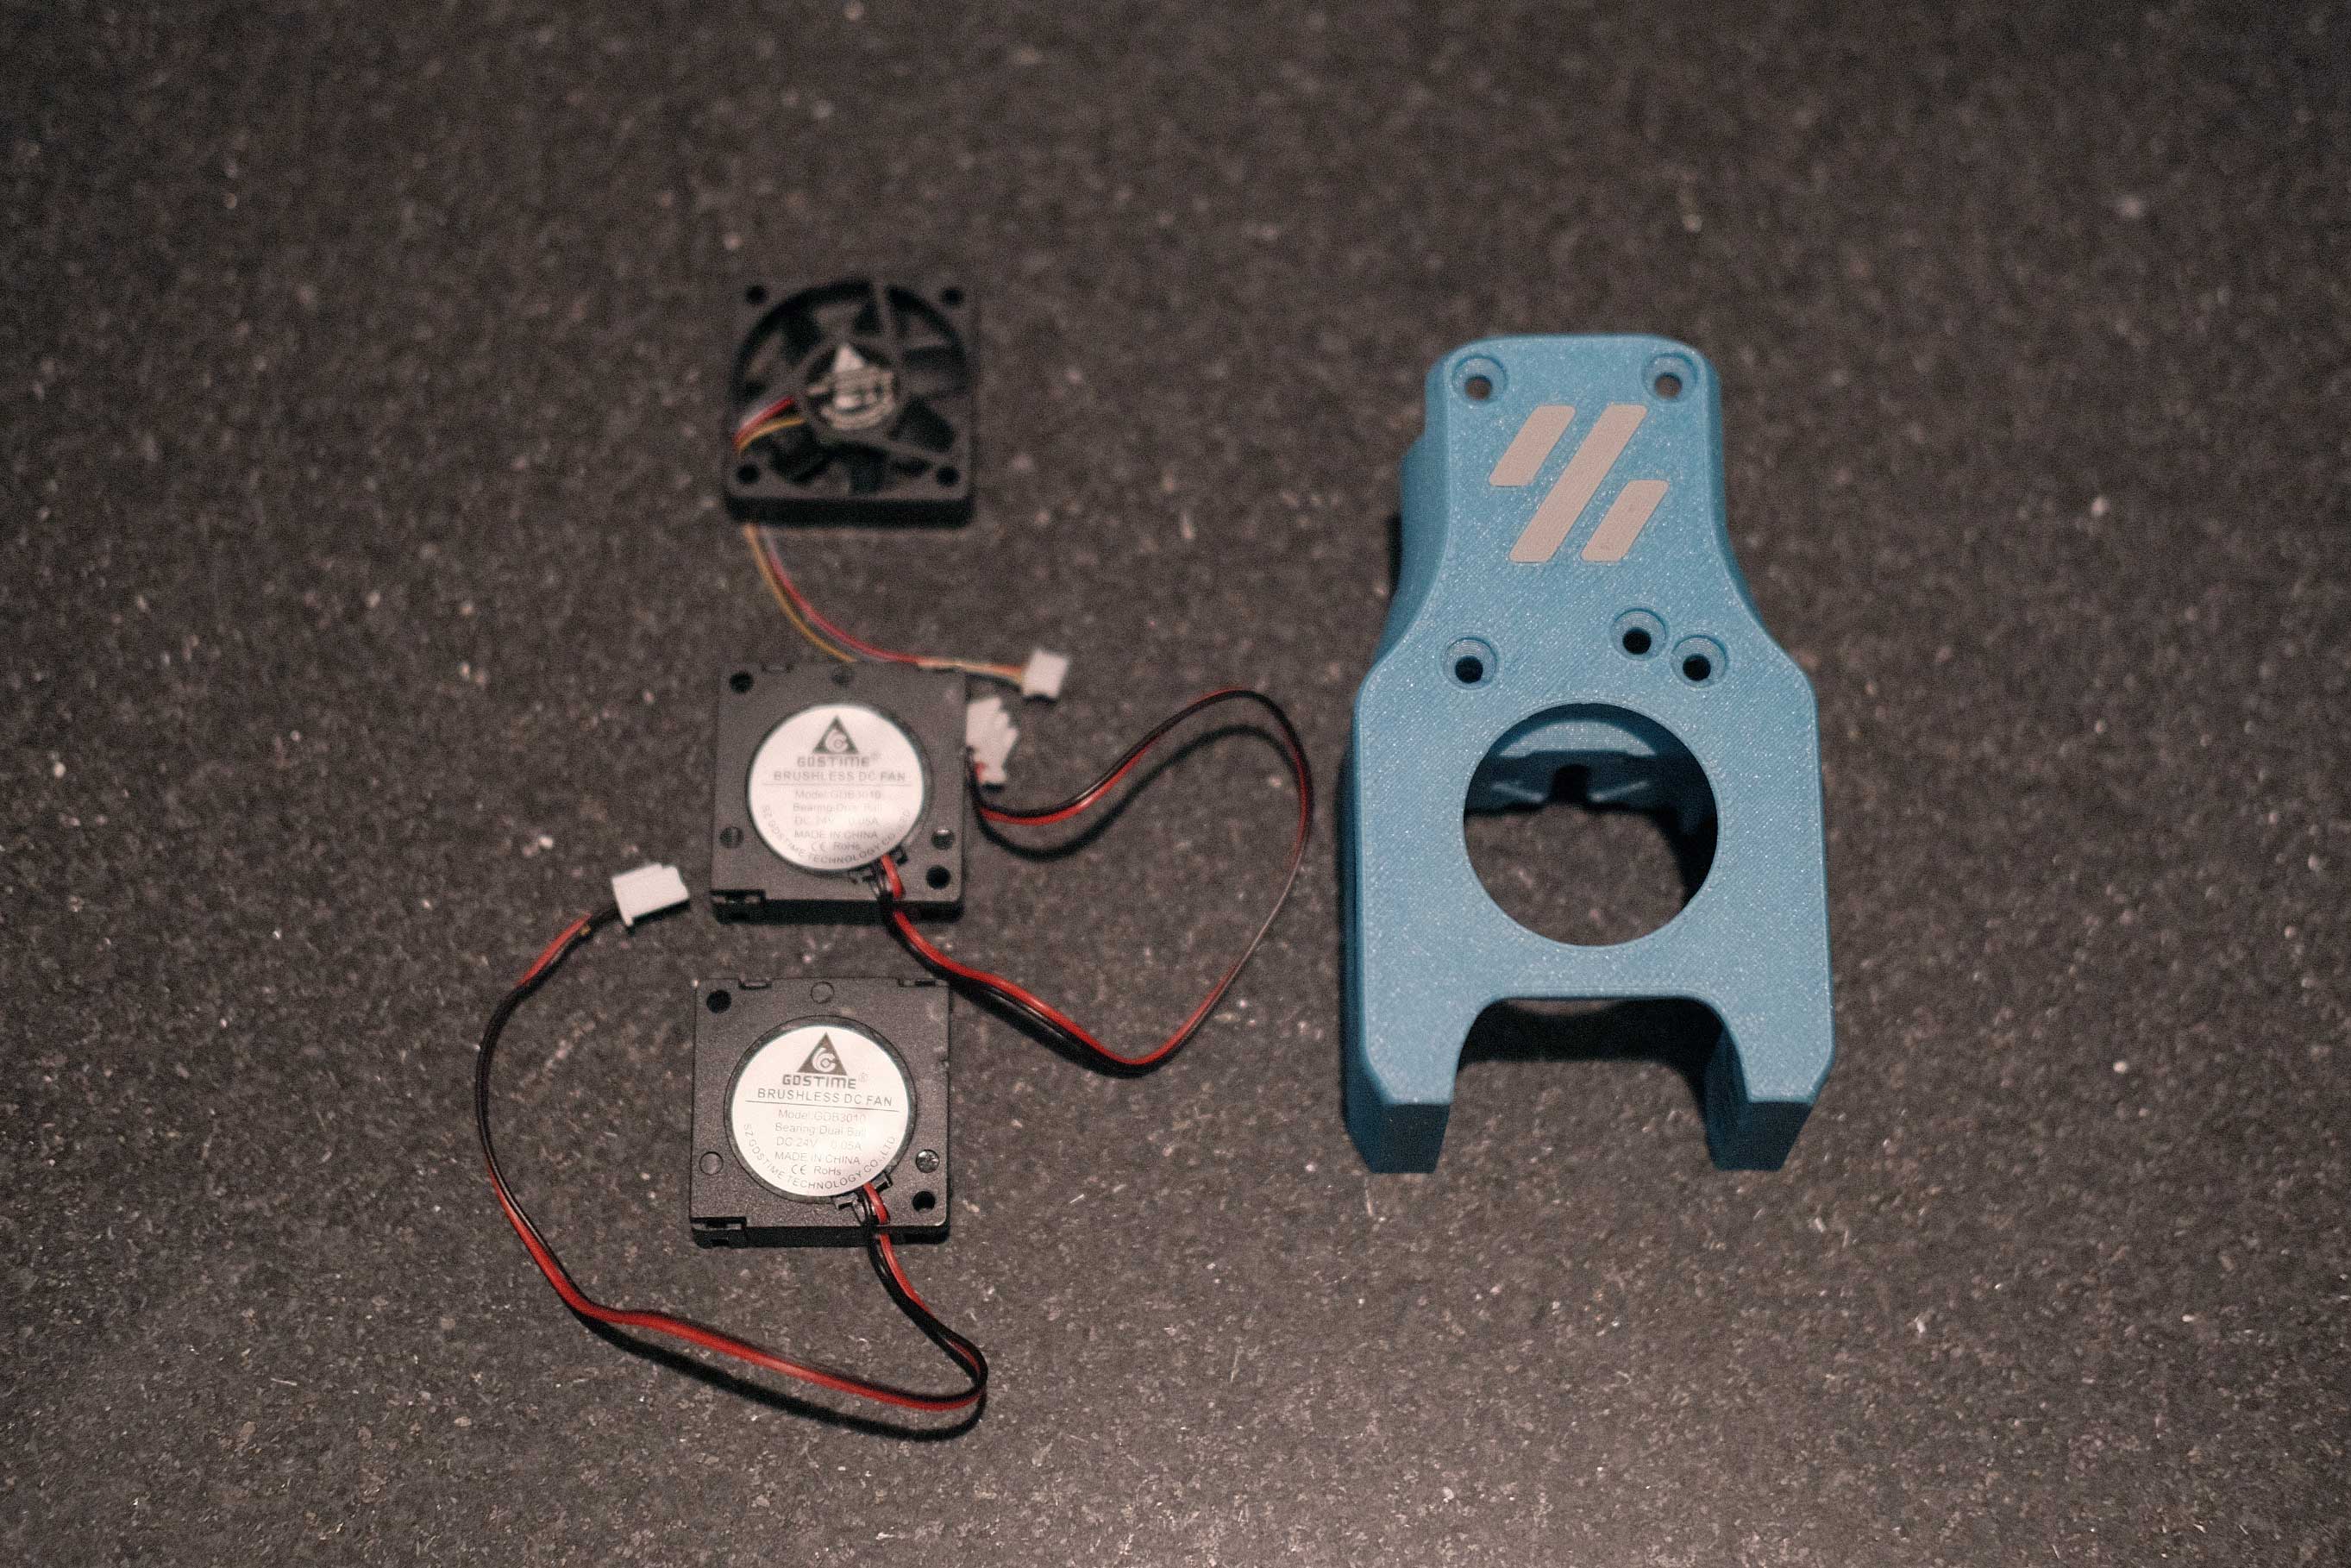
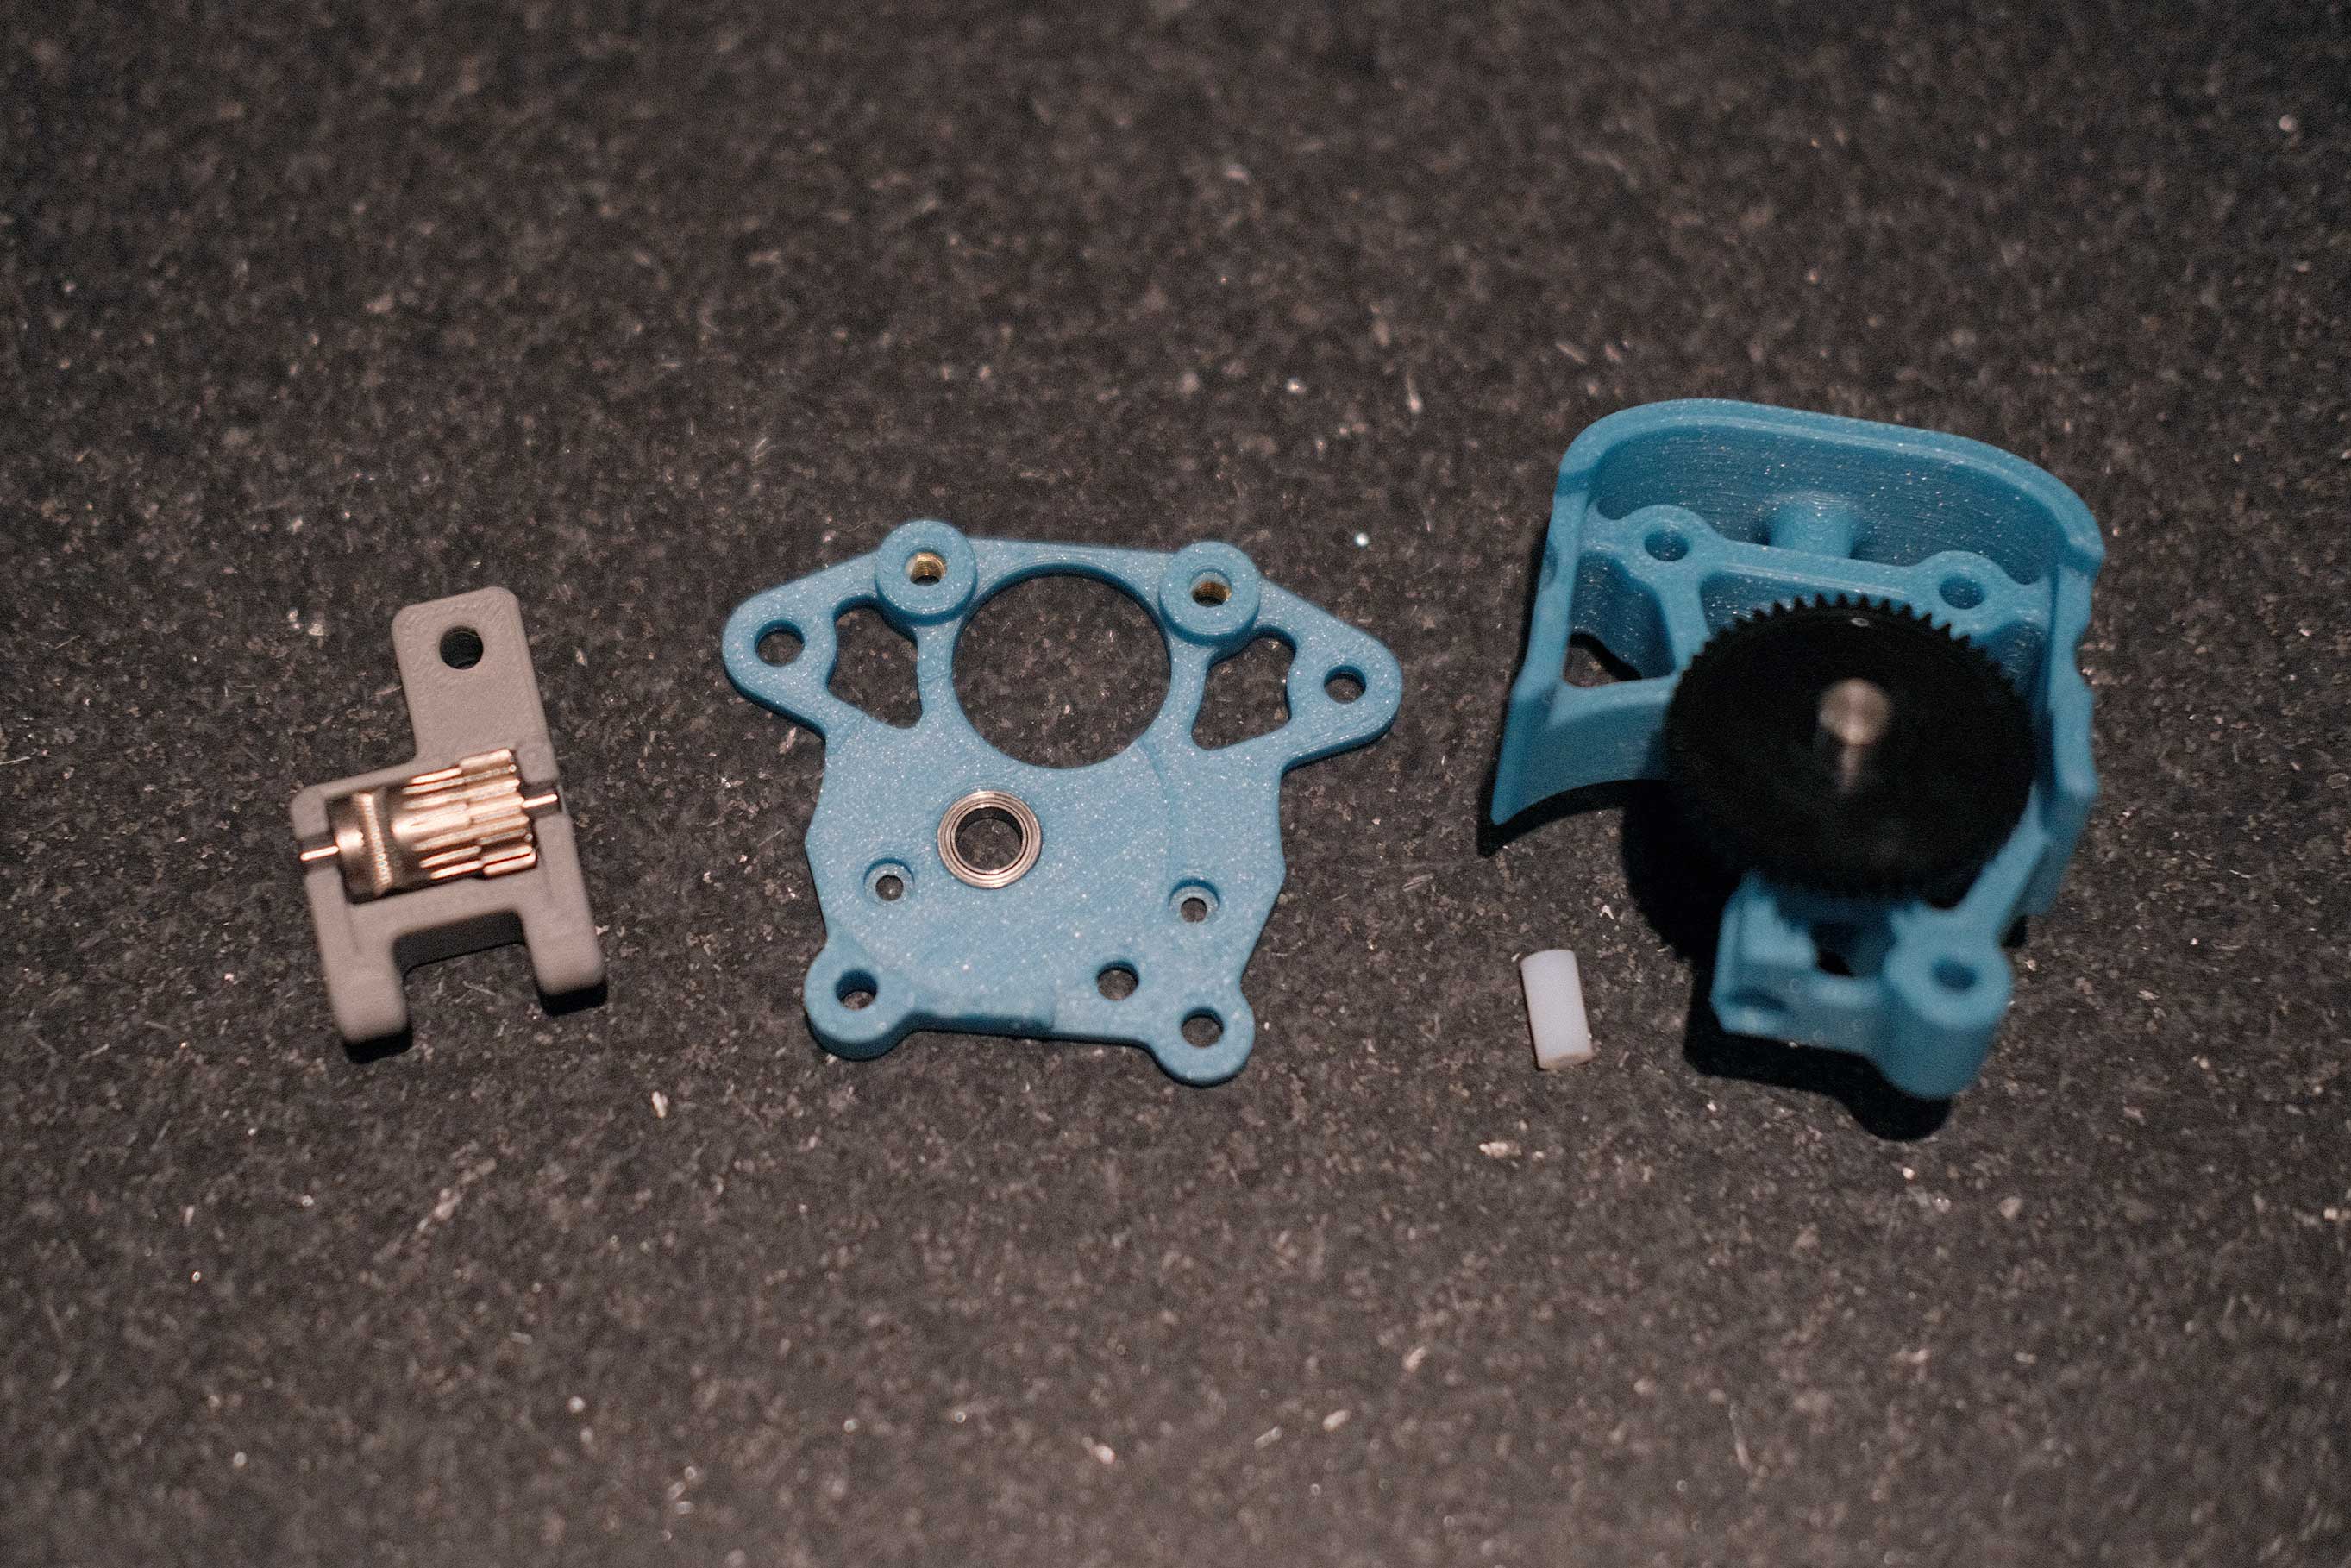 Mini Afterburner - 1
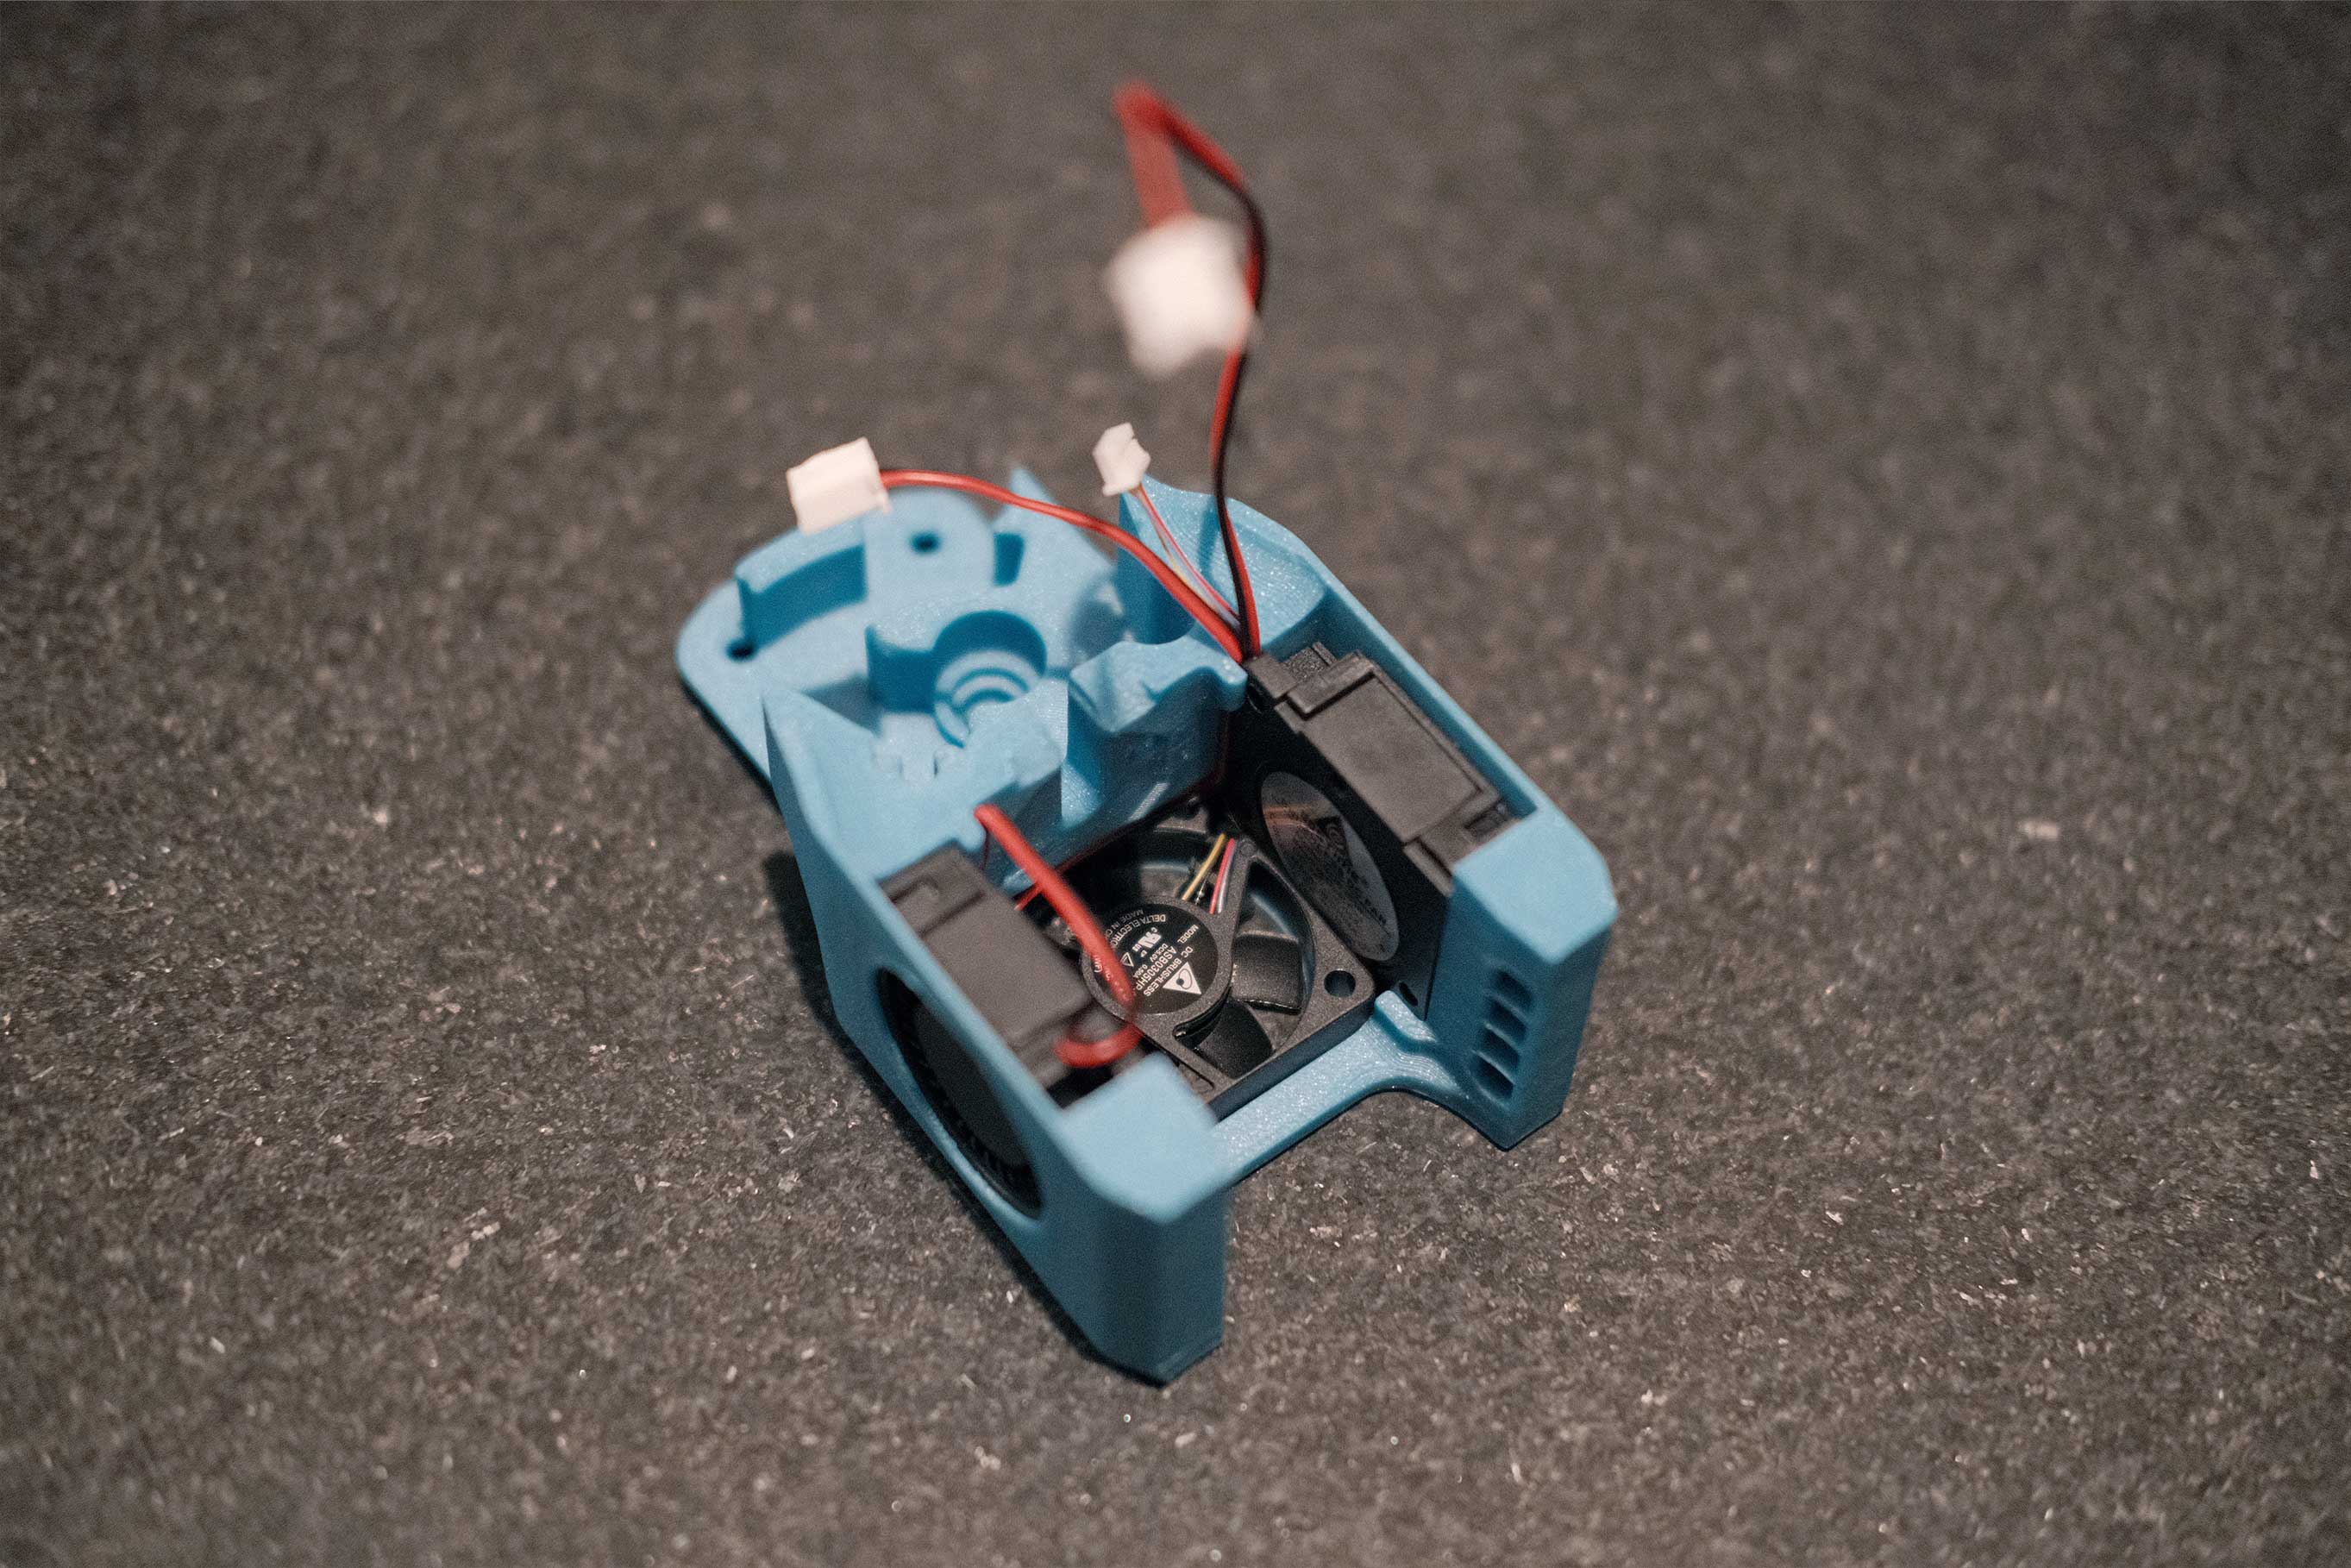
 Mini Afterburner - 2
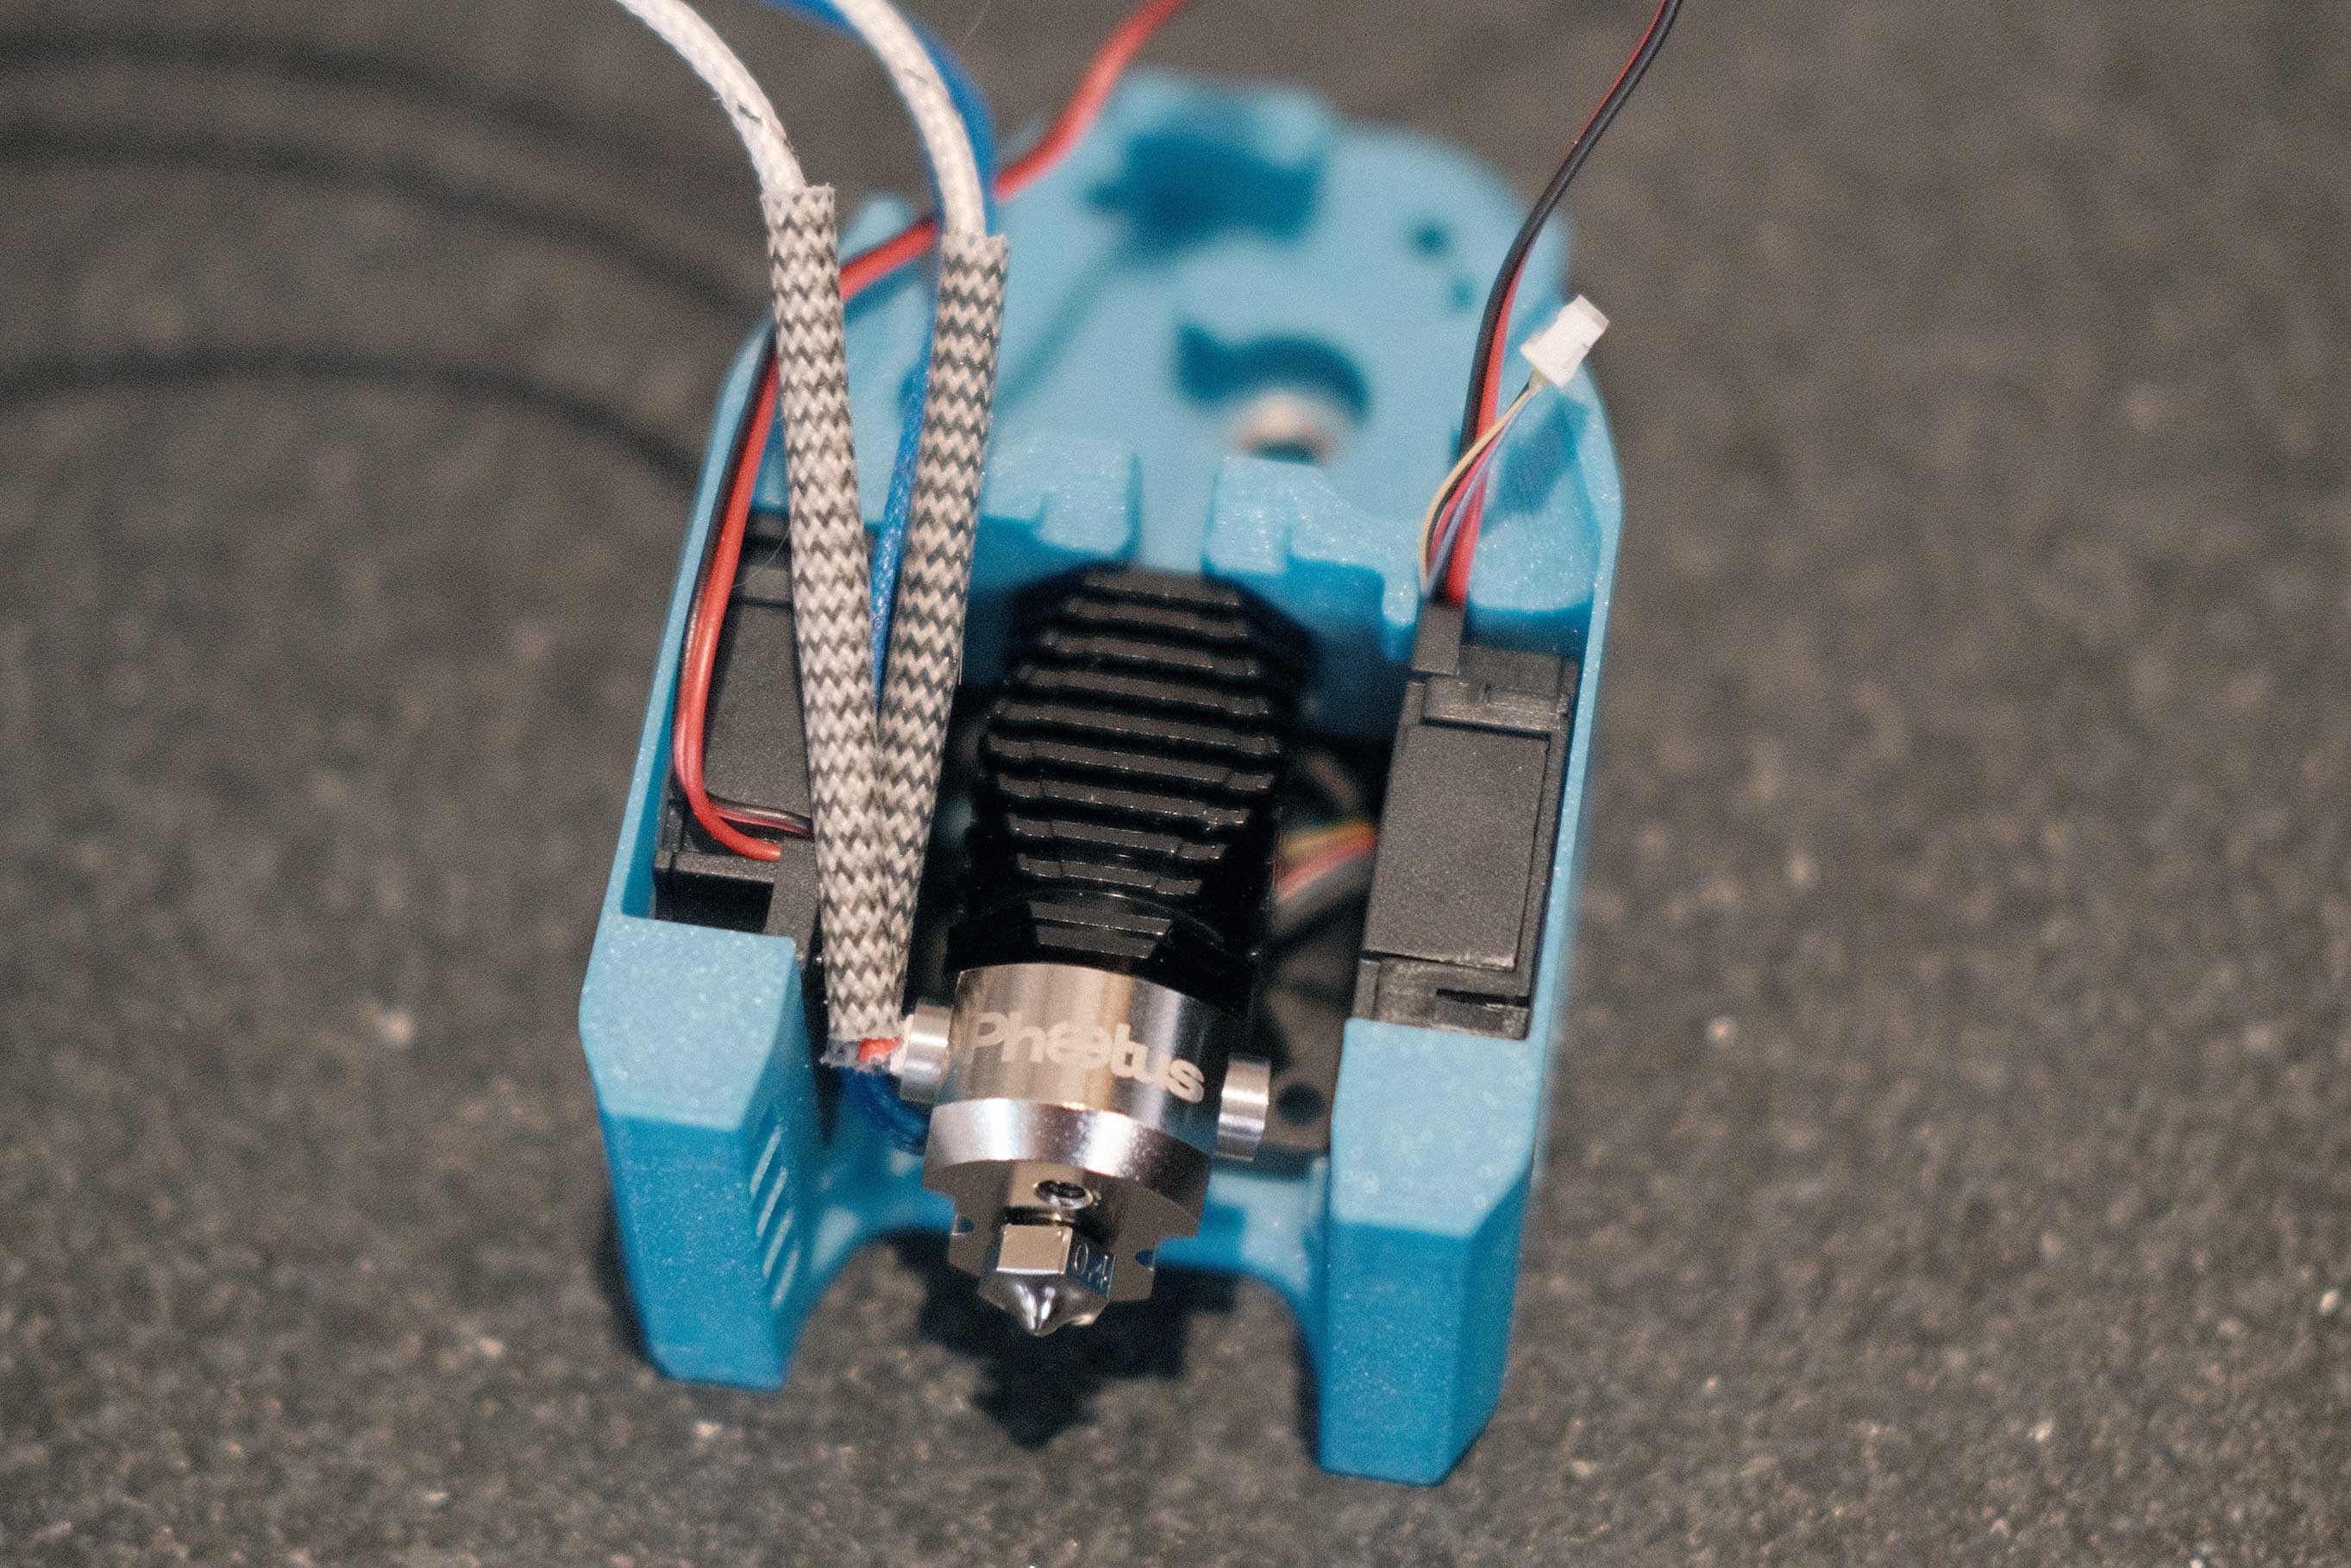
 Mini Afterburner - 3
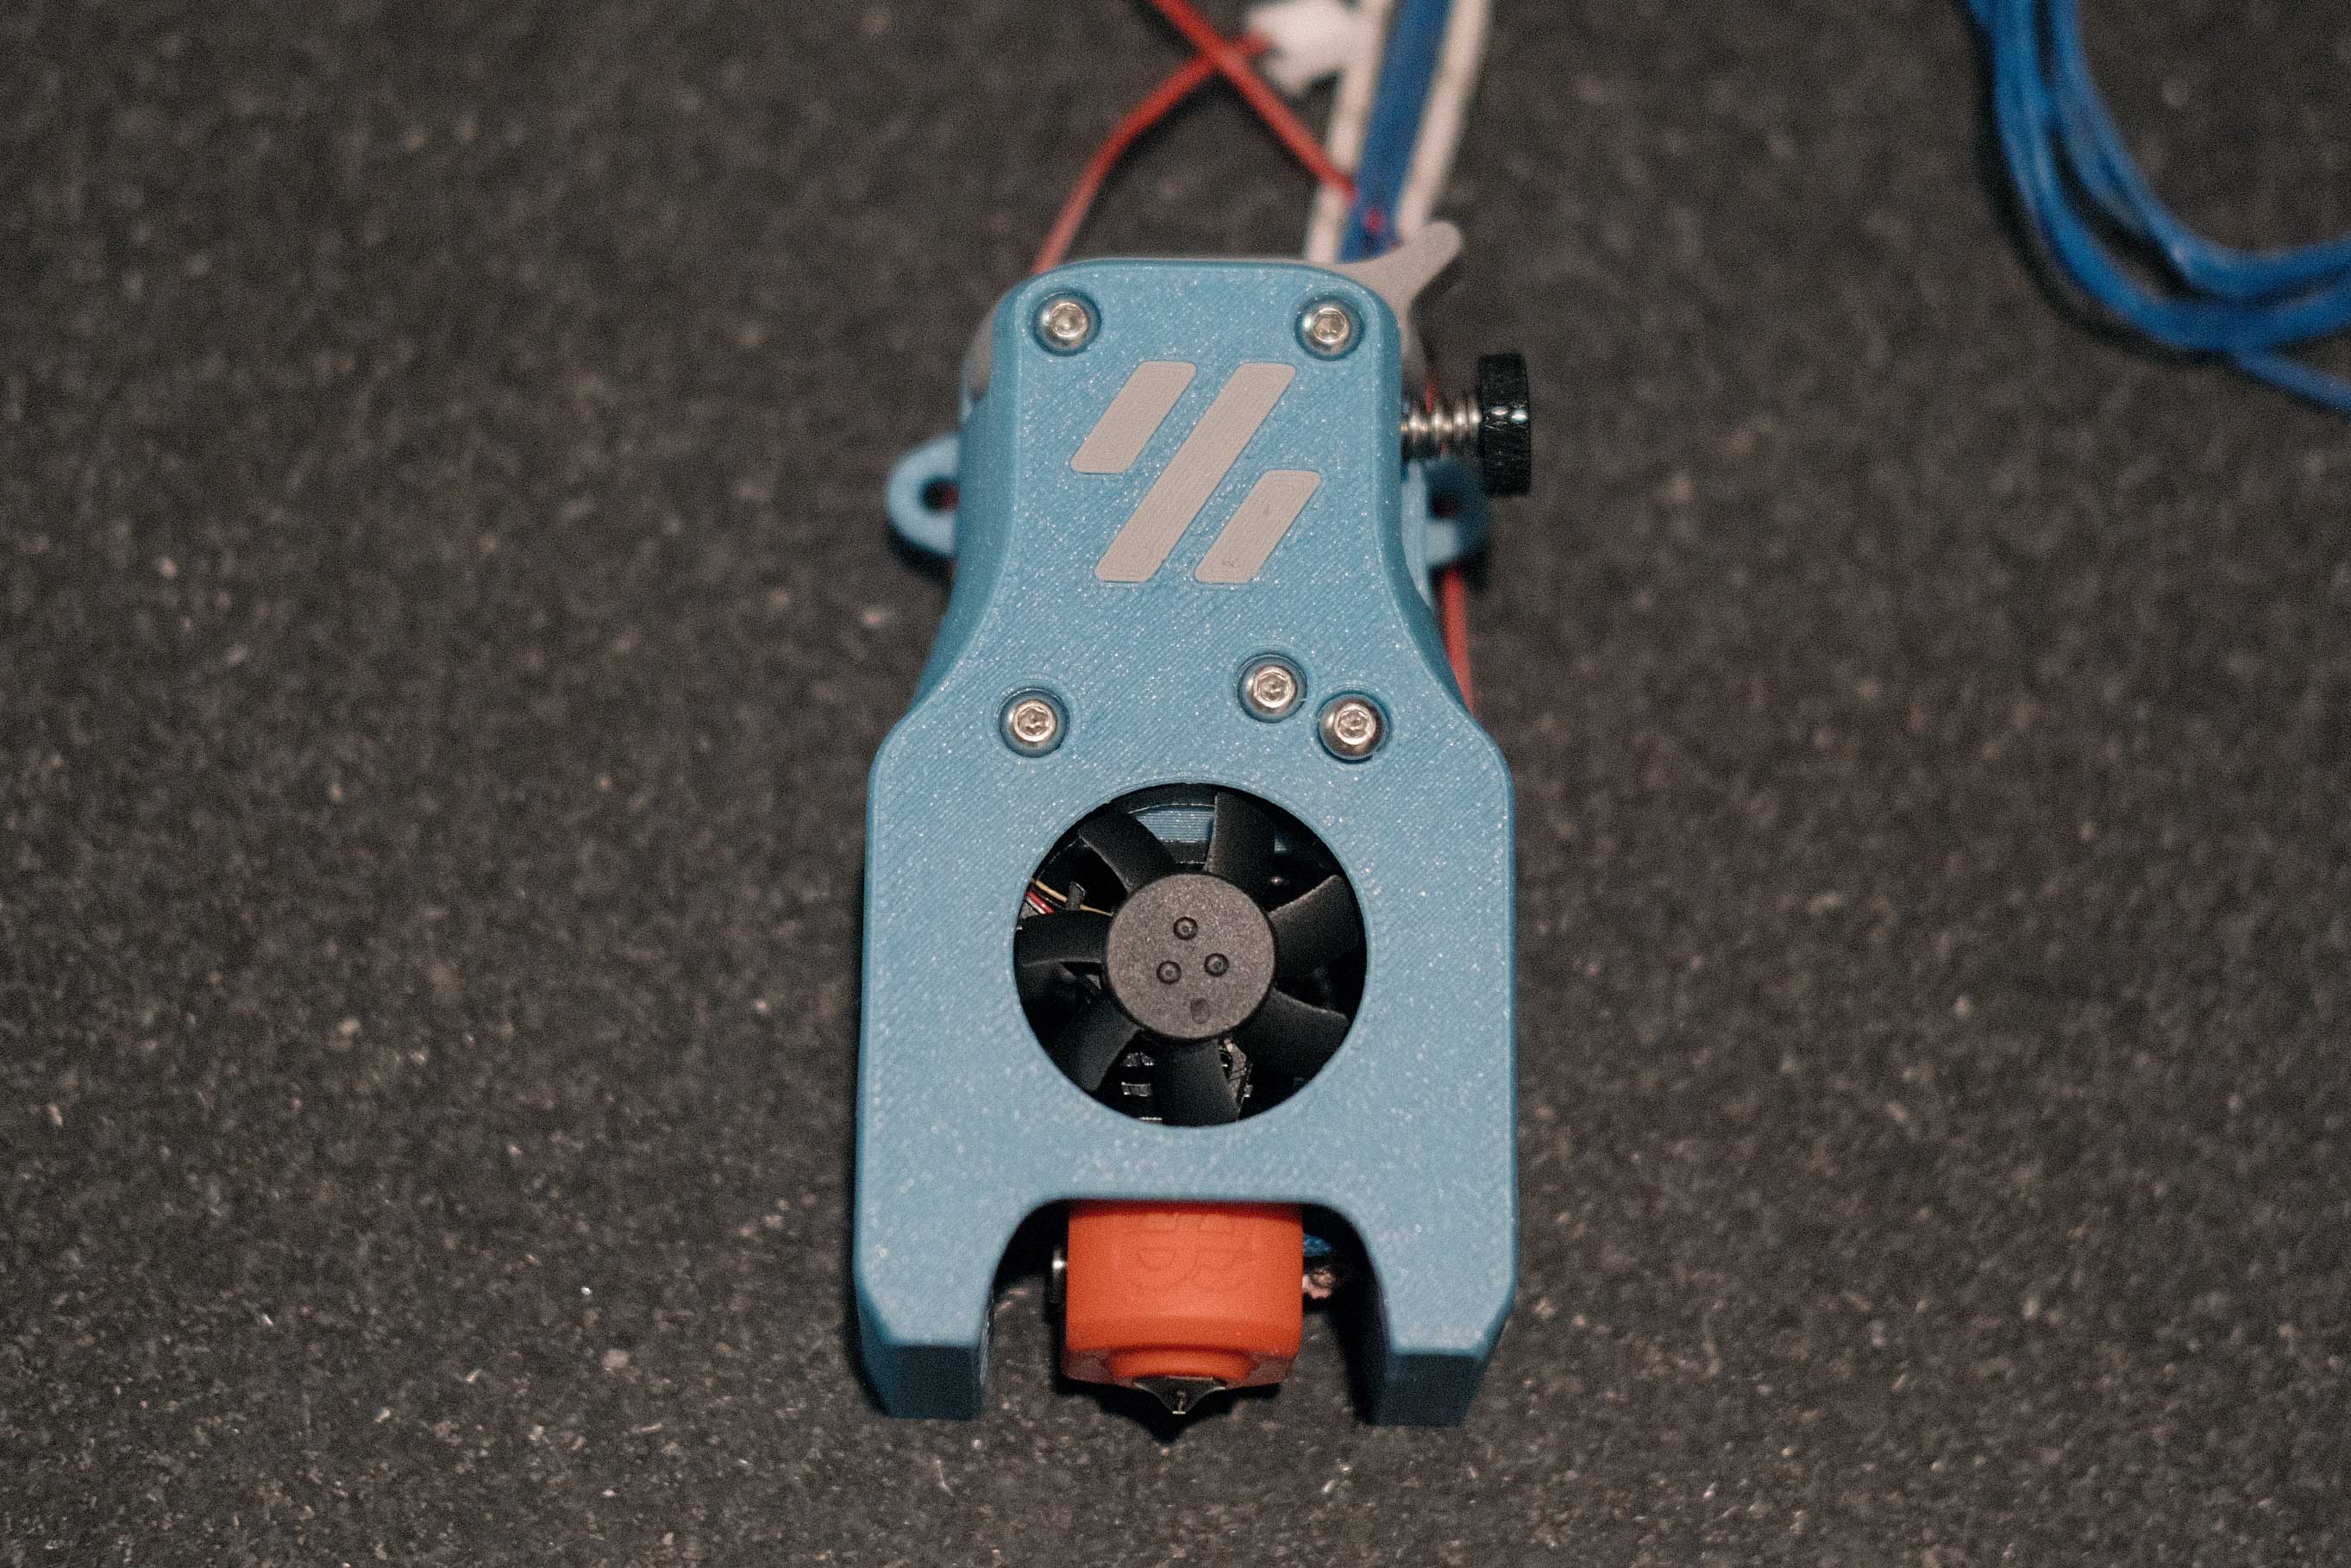
 Mini Afterburner - 4
 Mini Afterburner - 5
Gantry Install
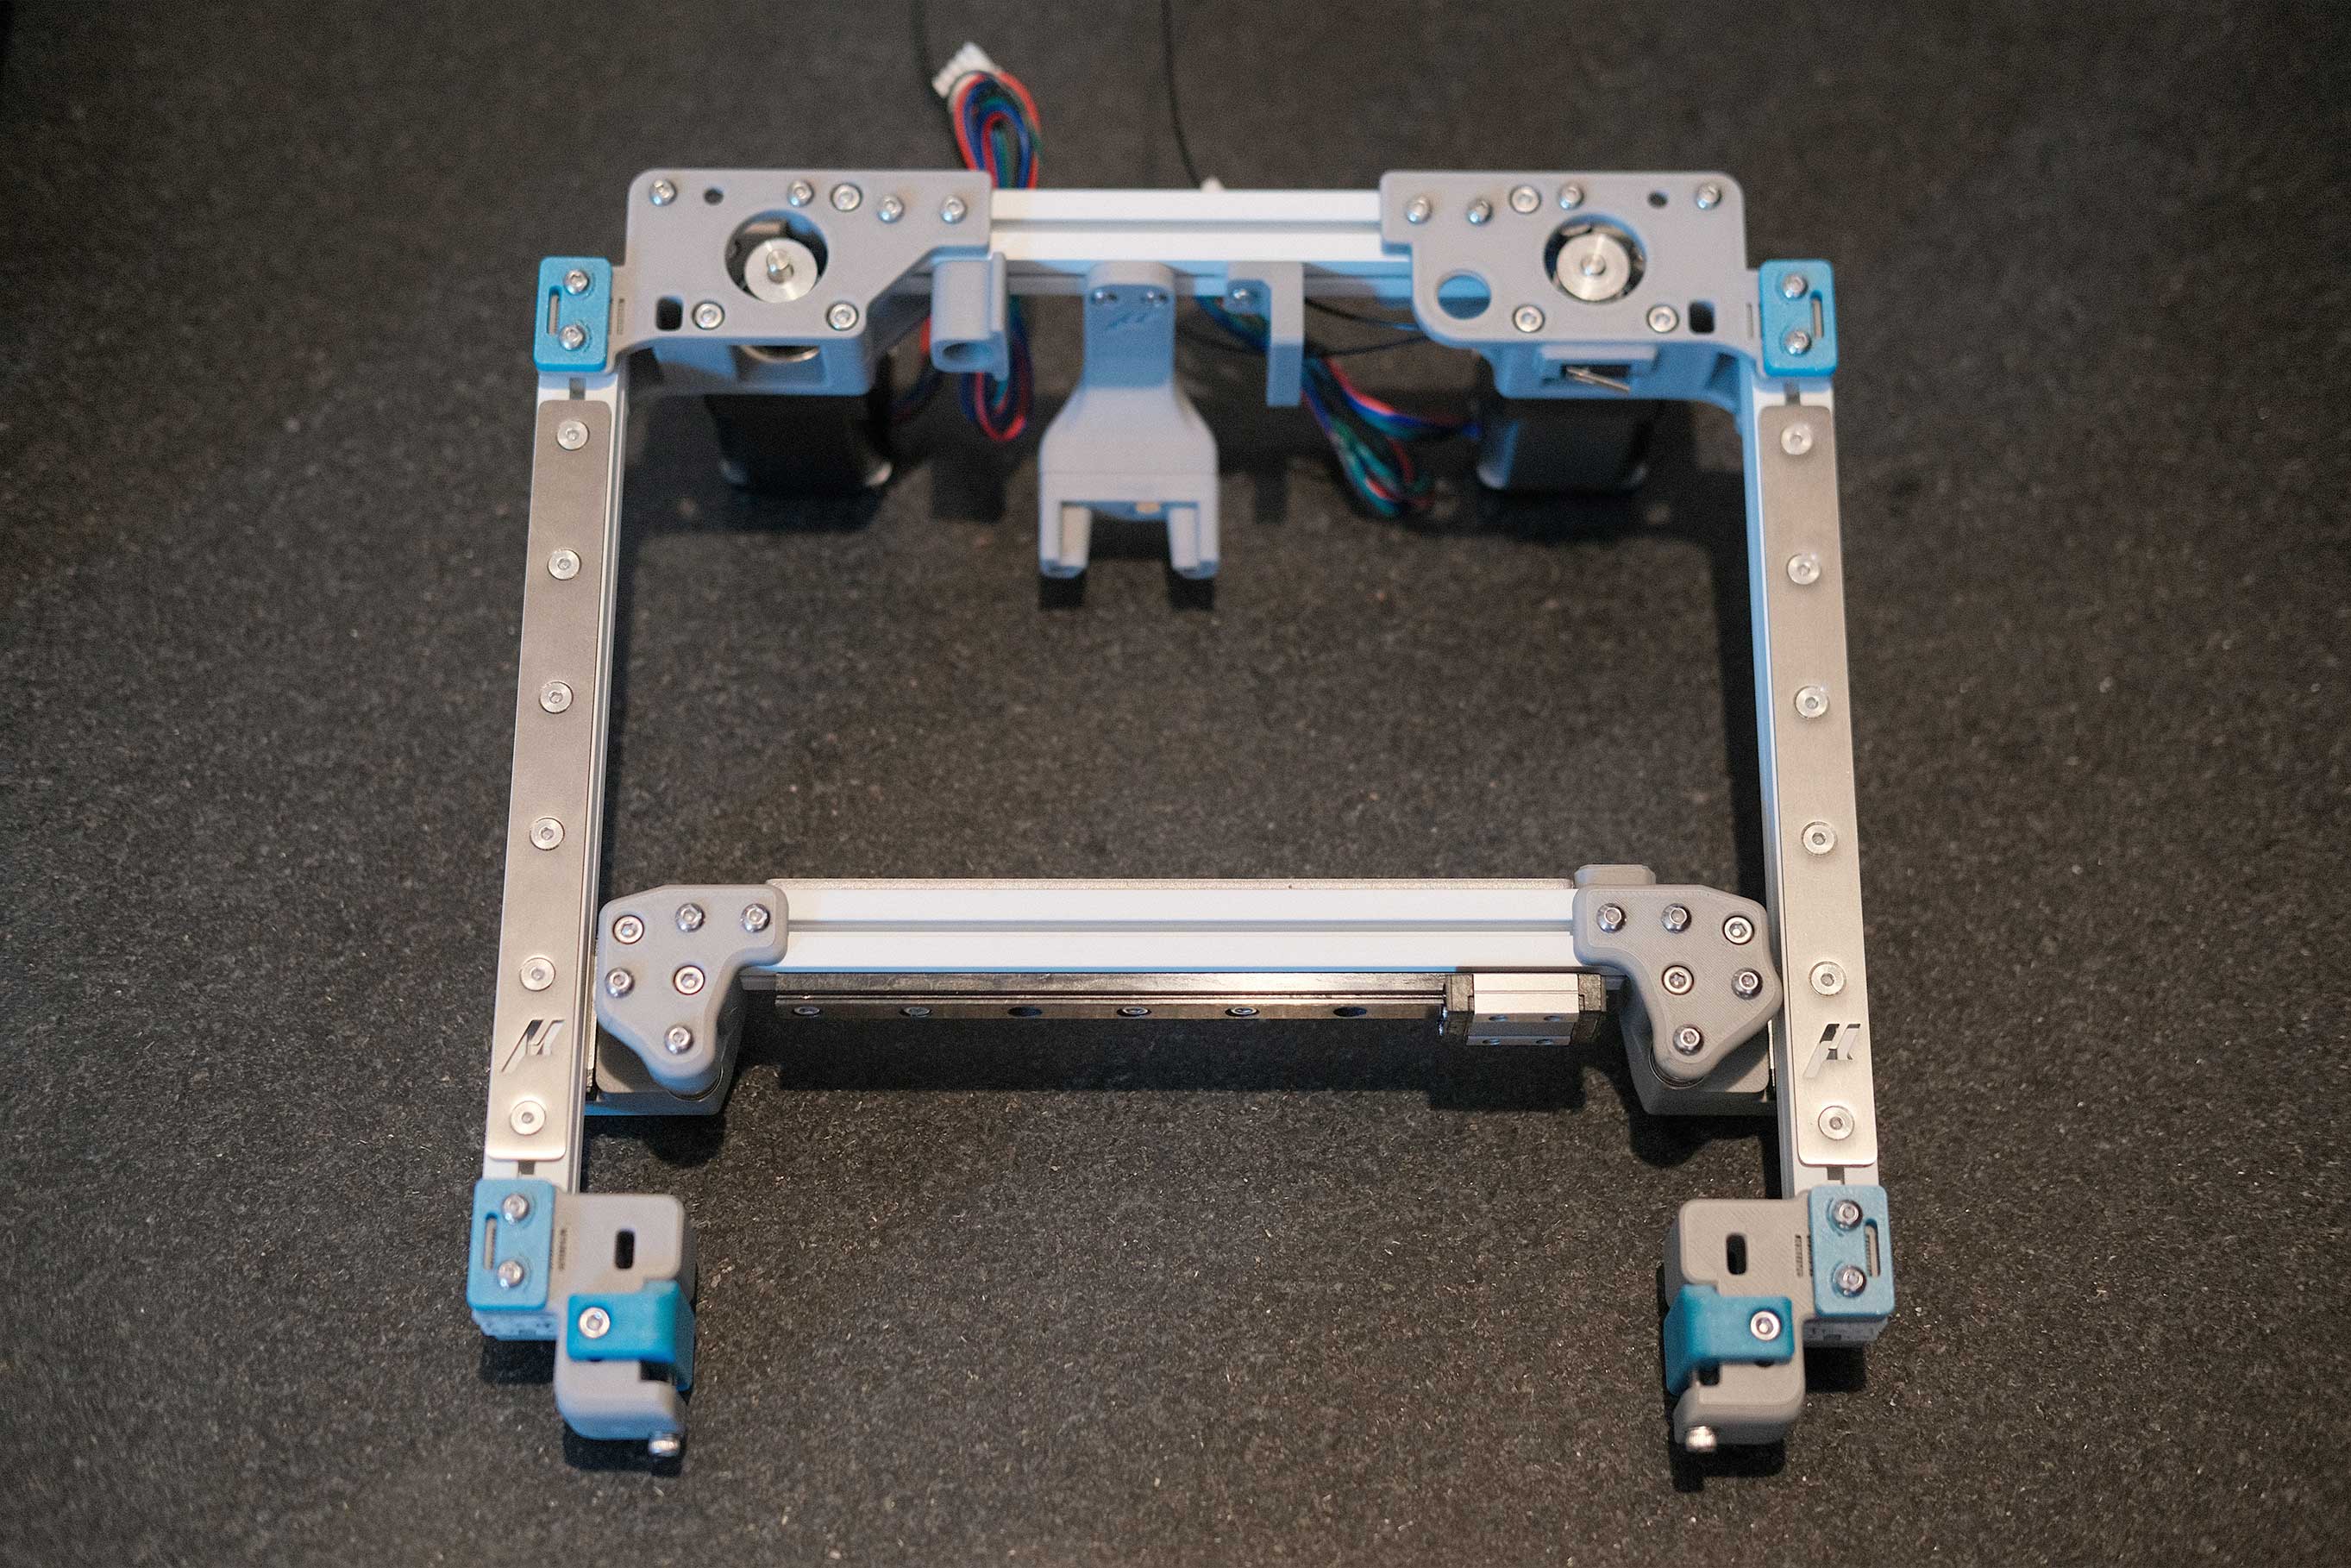
 Gantry Install - 1
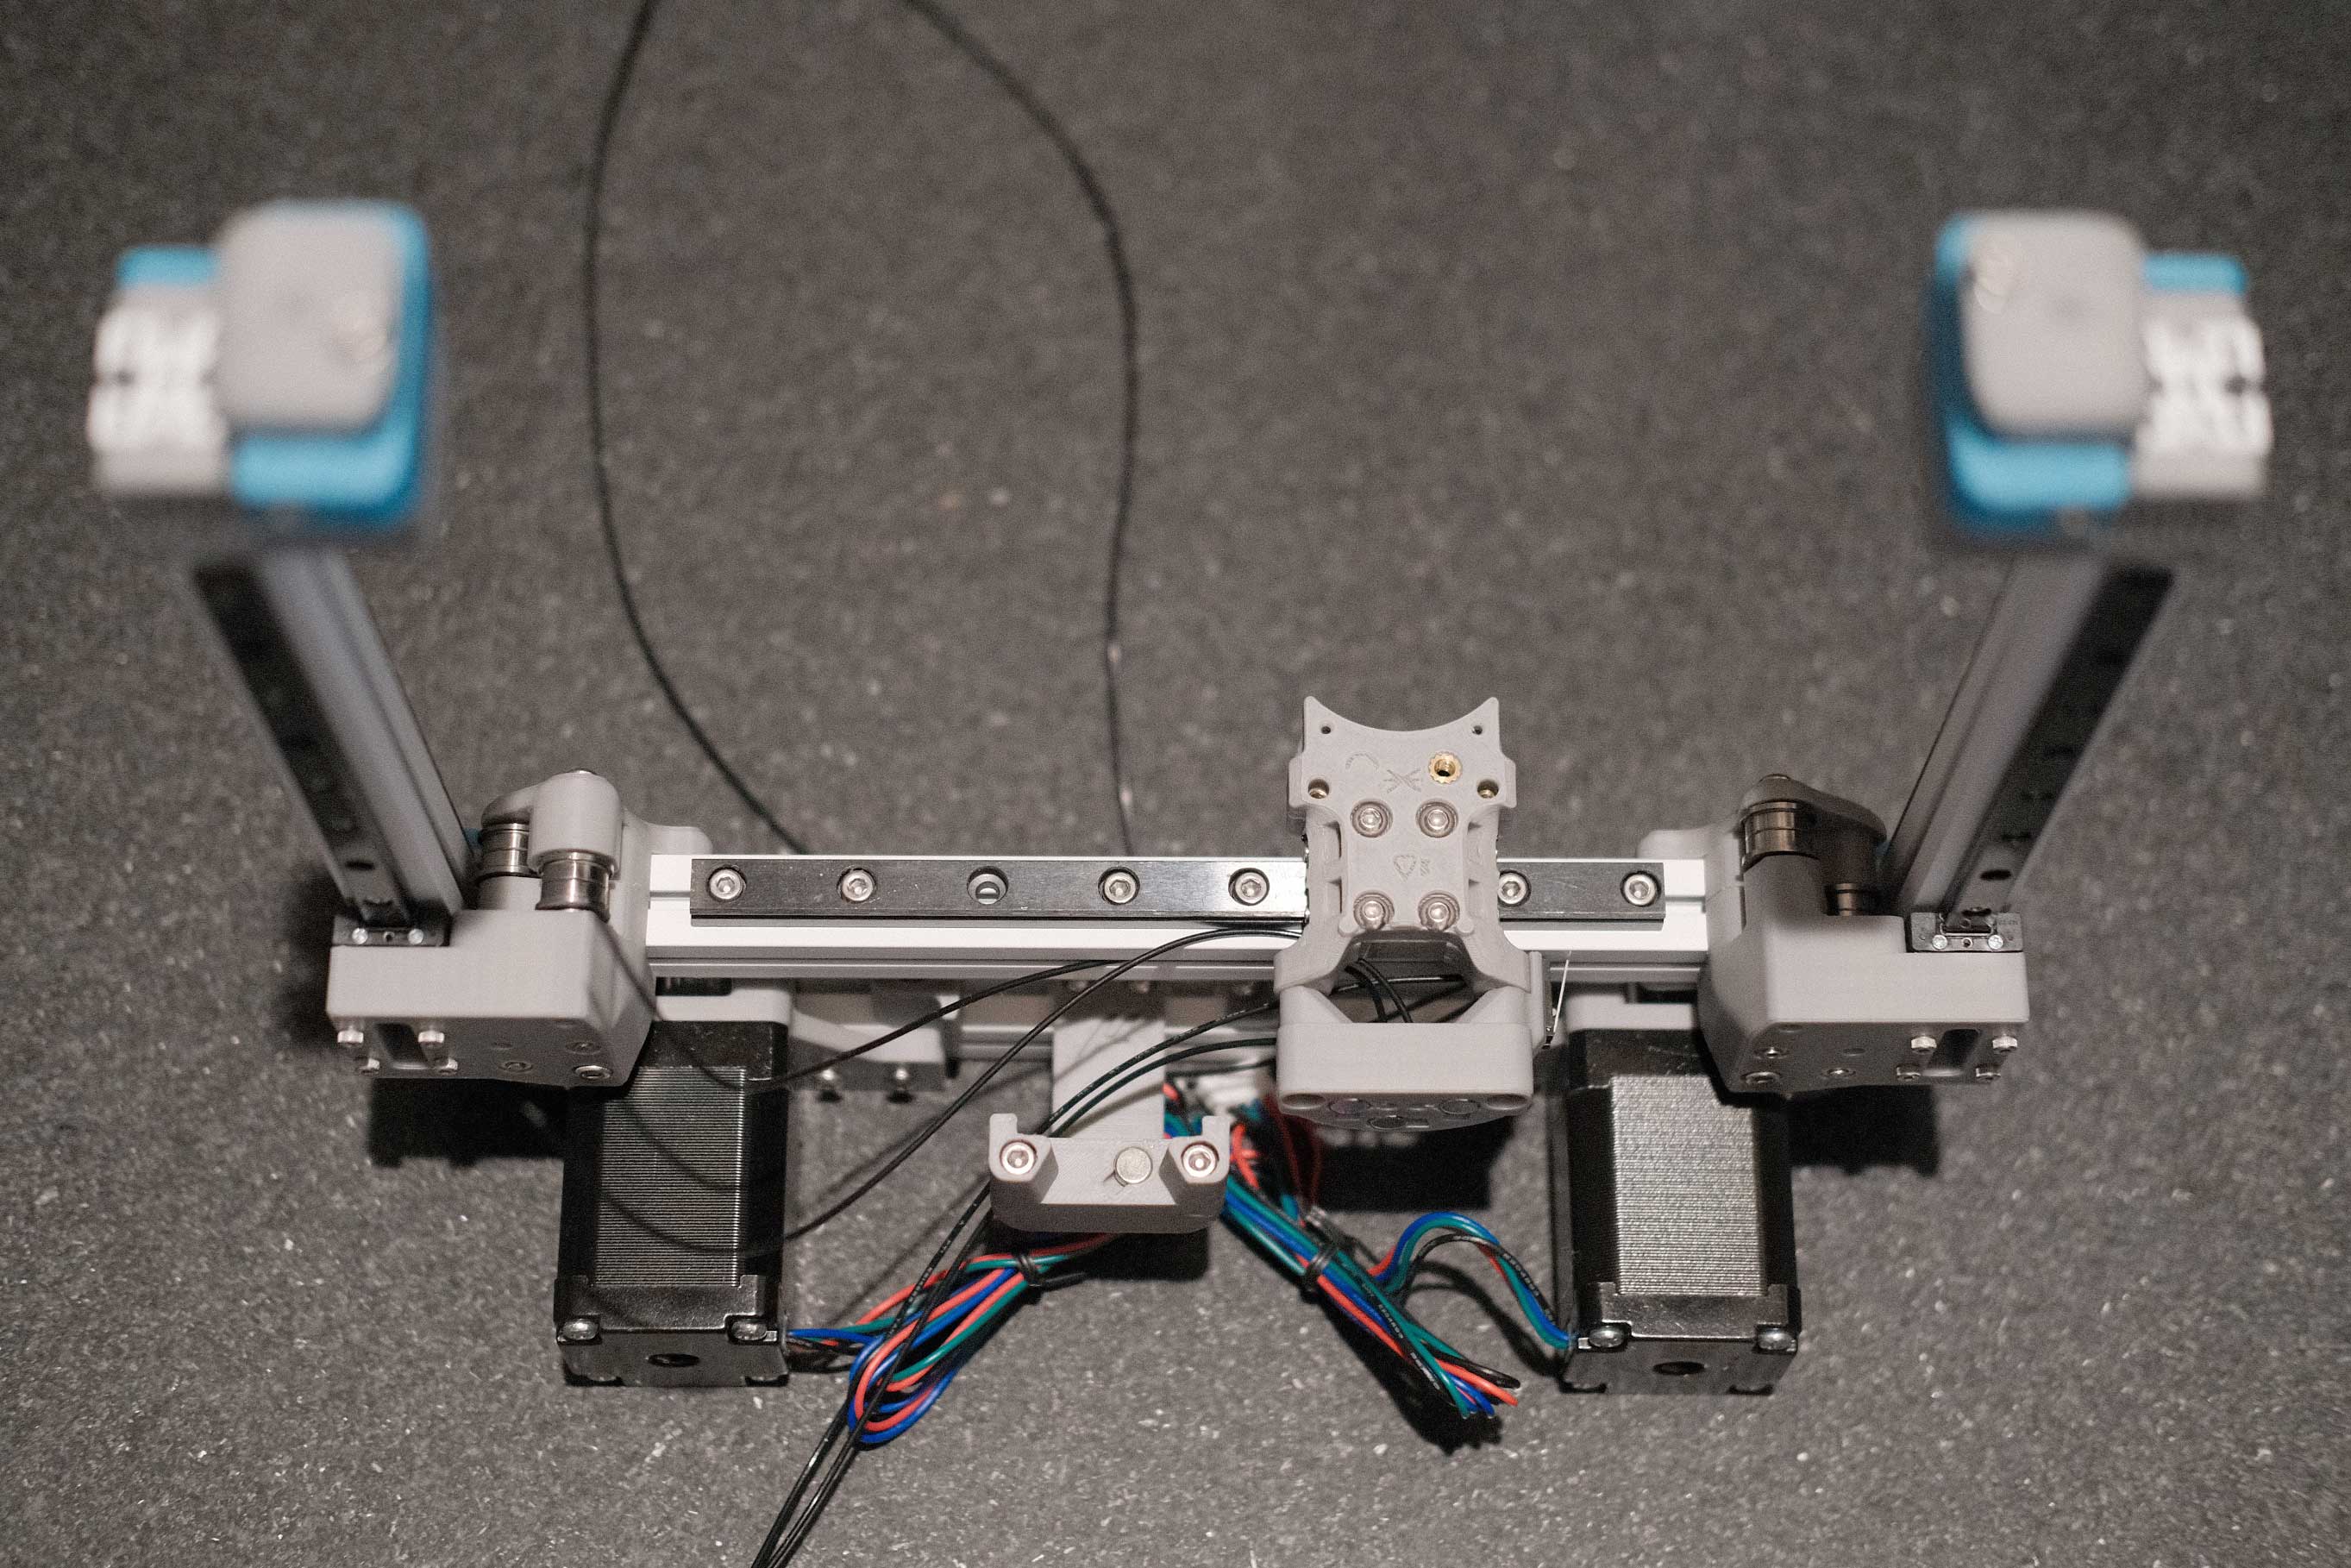
 Gantry Install - 2
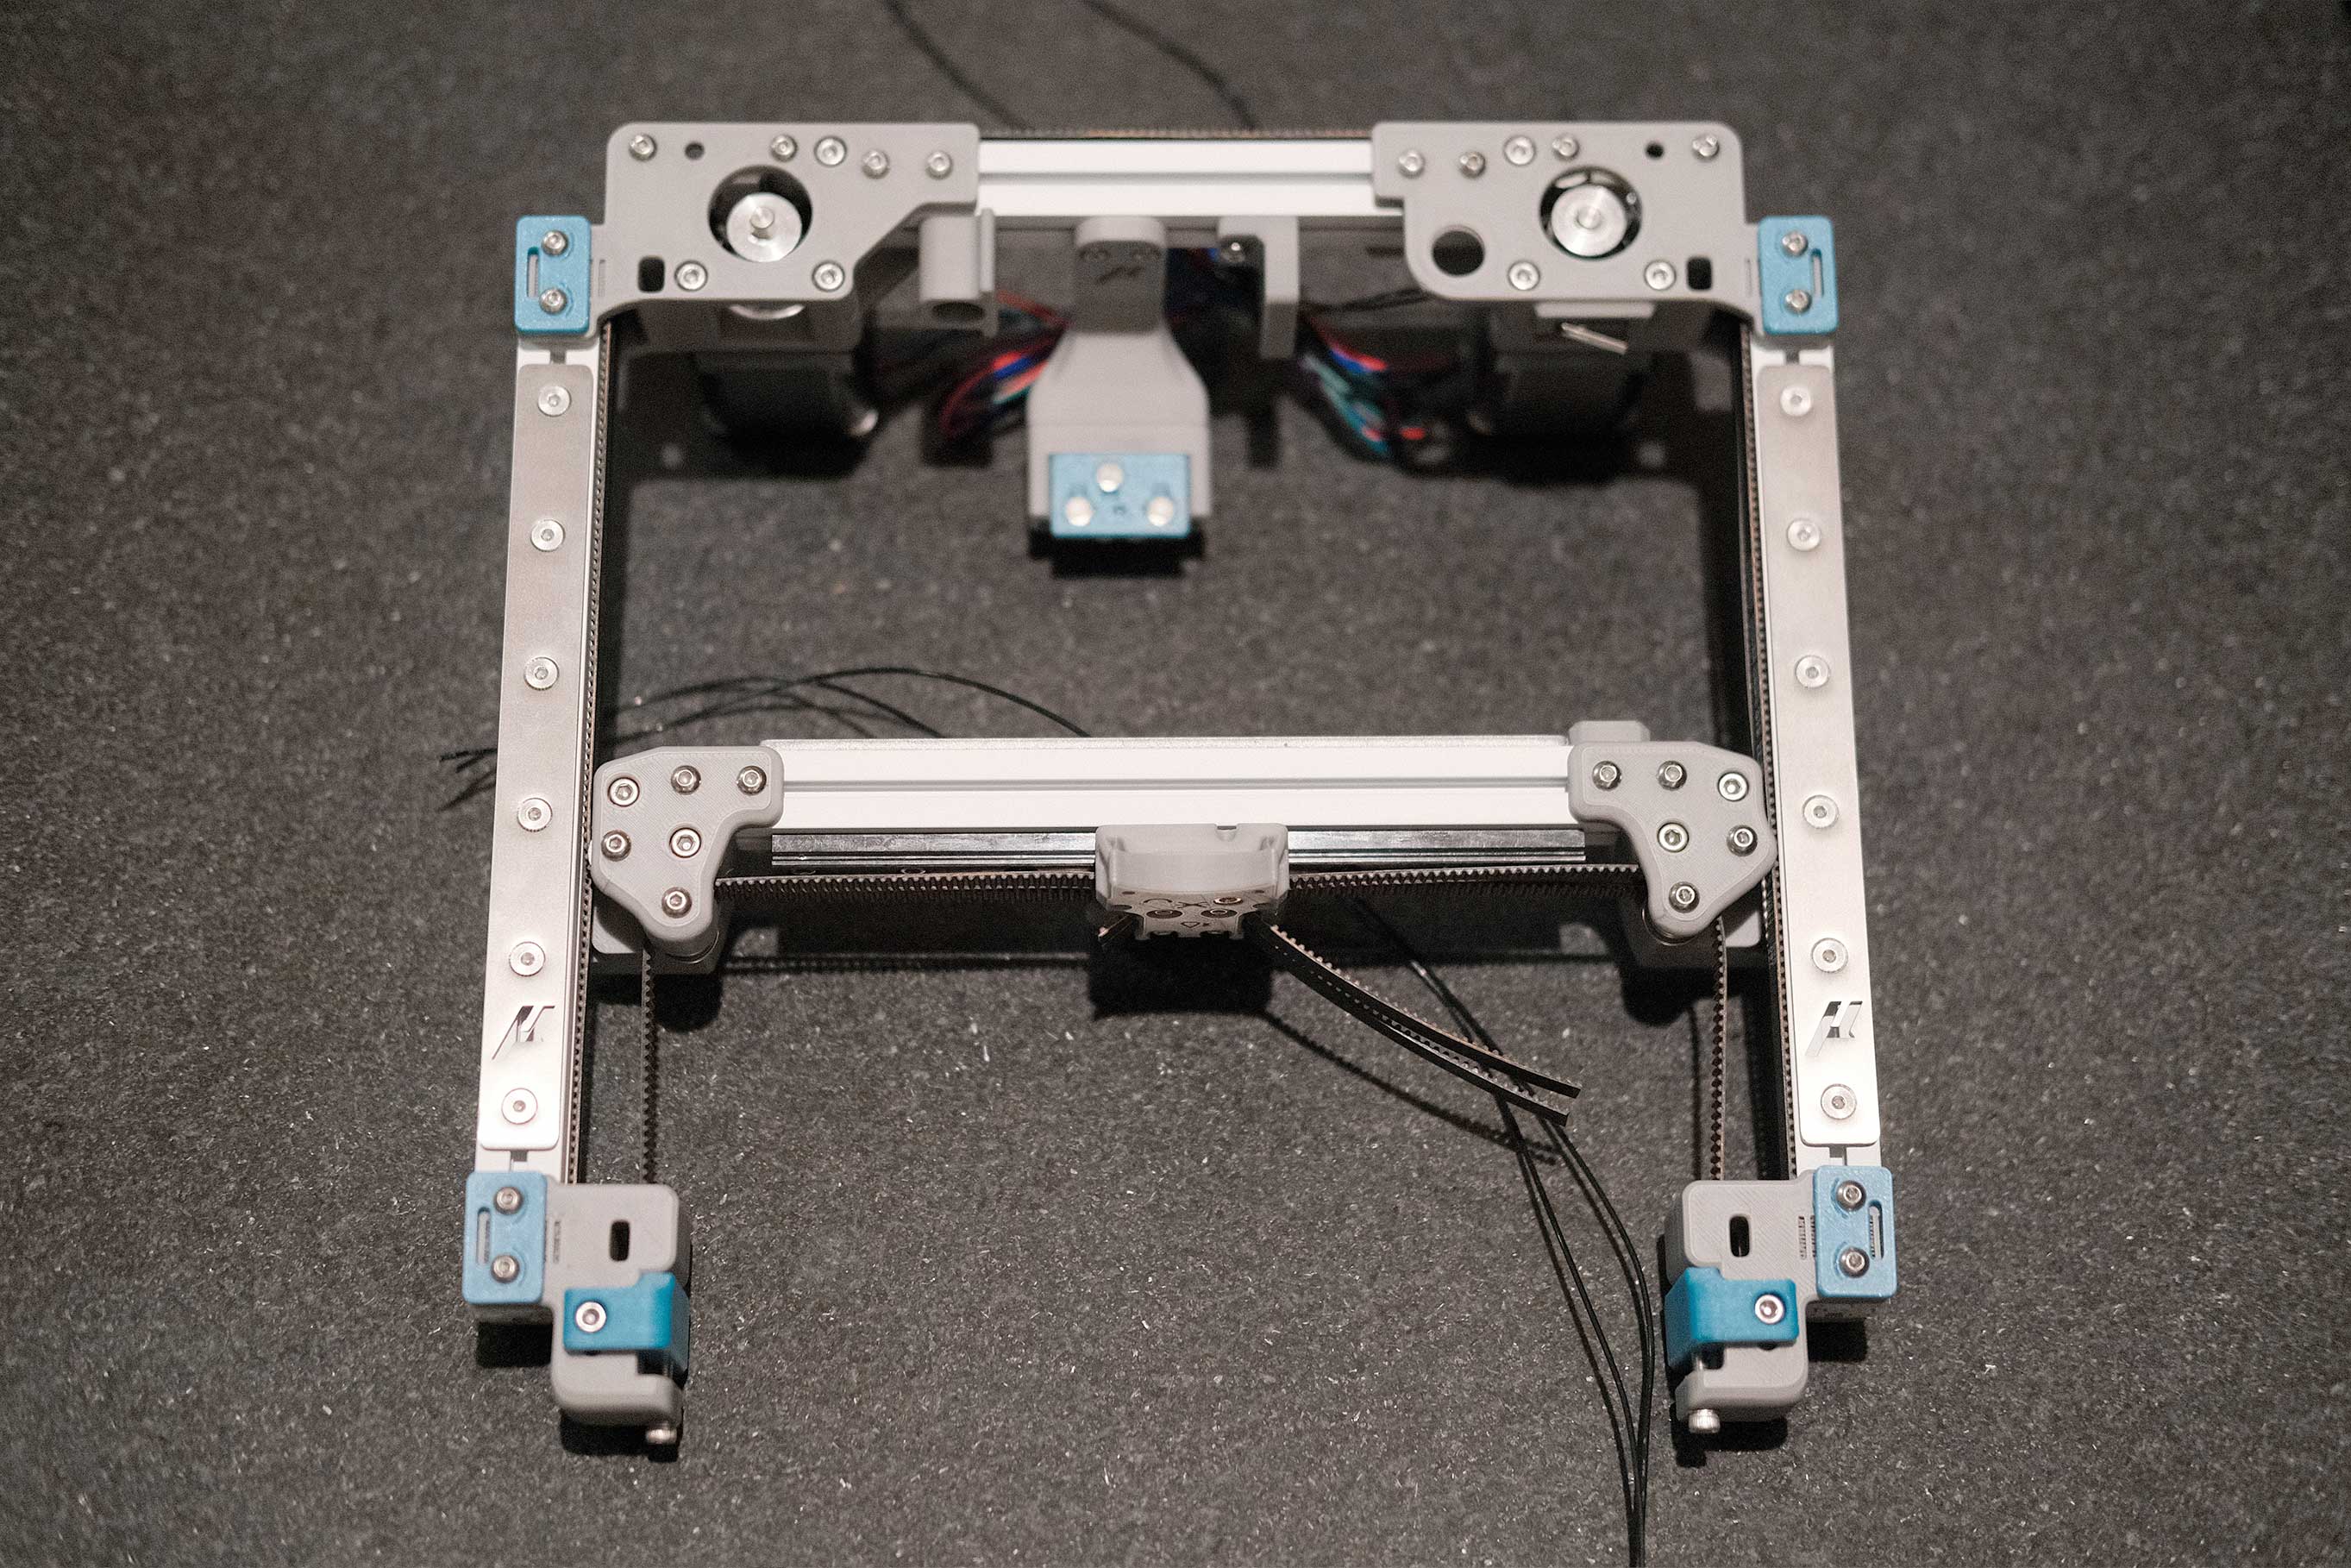
 Gantry Install - 3
Z Belts
 Z Belts - 1
 Z Belts - 2
 Z Belts - 3
X/Y Belts (Revisited)
 X/Y Belts (Revisited) - 1
All Belts Done
 All Belts Done - 1
Mini Afterburner (Revisited)
 Mini Afterburner (Revisited) - 1
 Mini Afterburner (Revisited) - 2
Front Skirt
 Front Skirt - 1
 Front Skirt - 2
 Front Skirt - 3
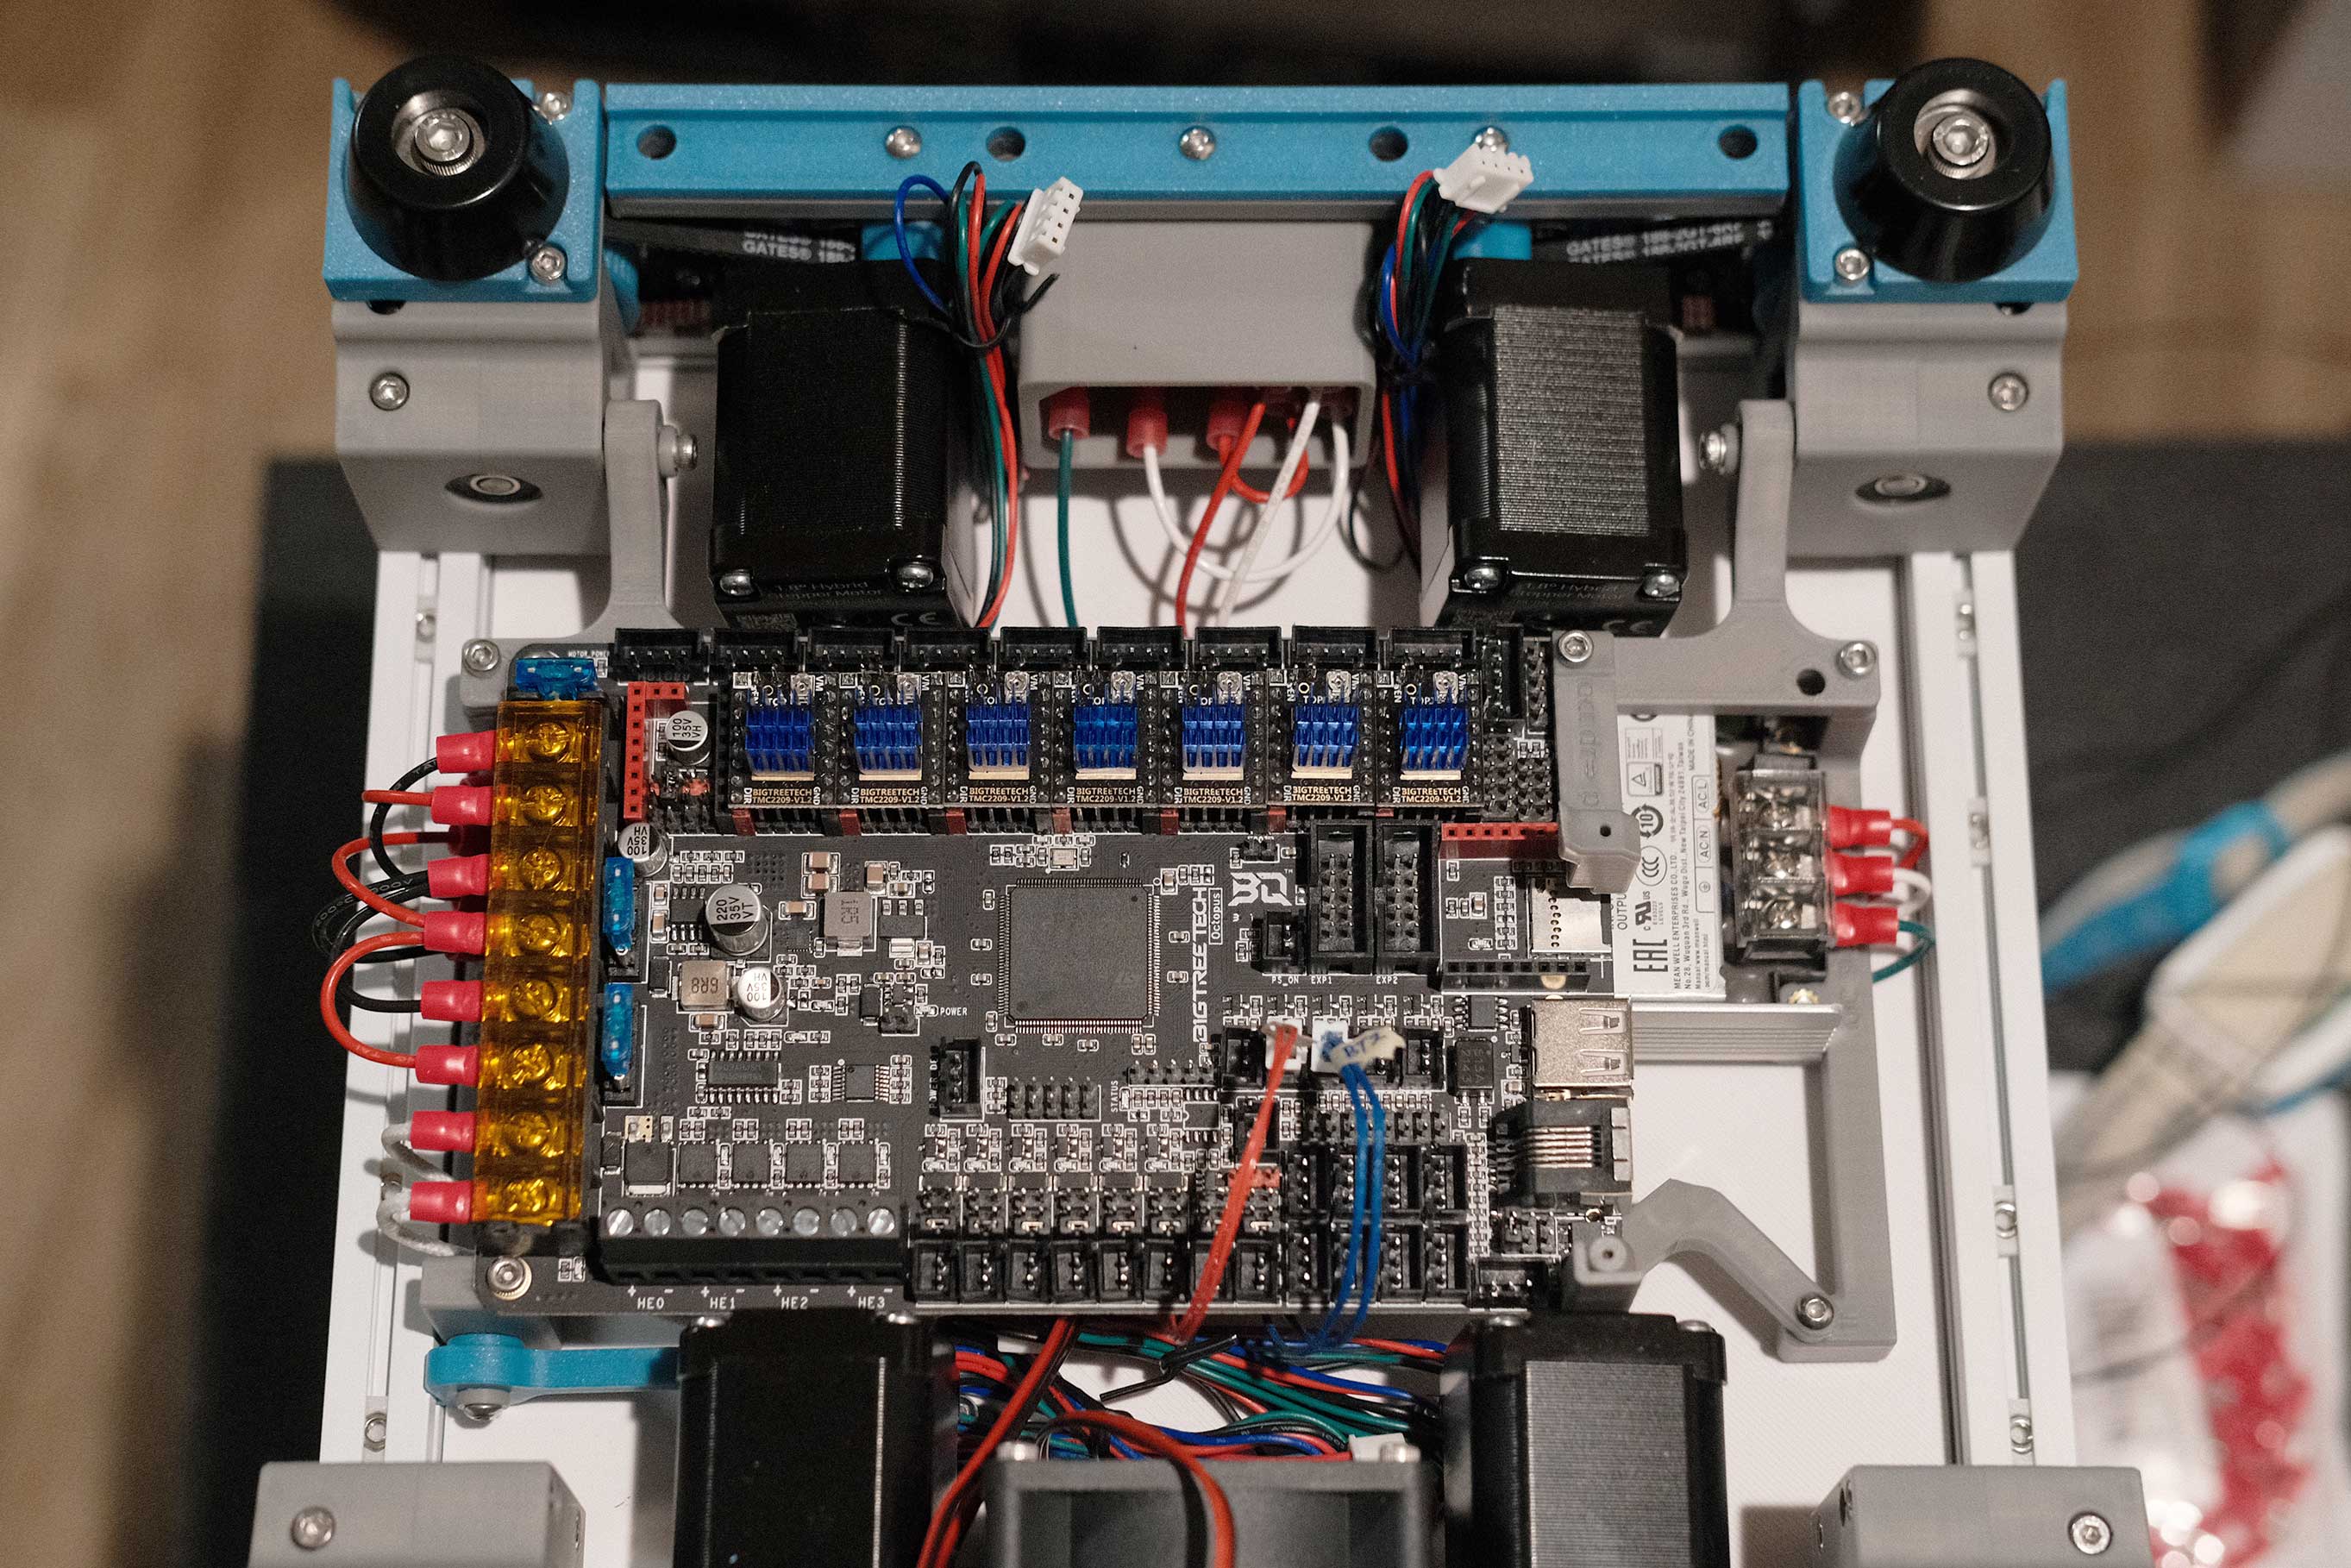
Electronics
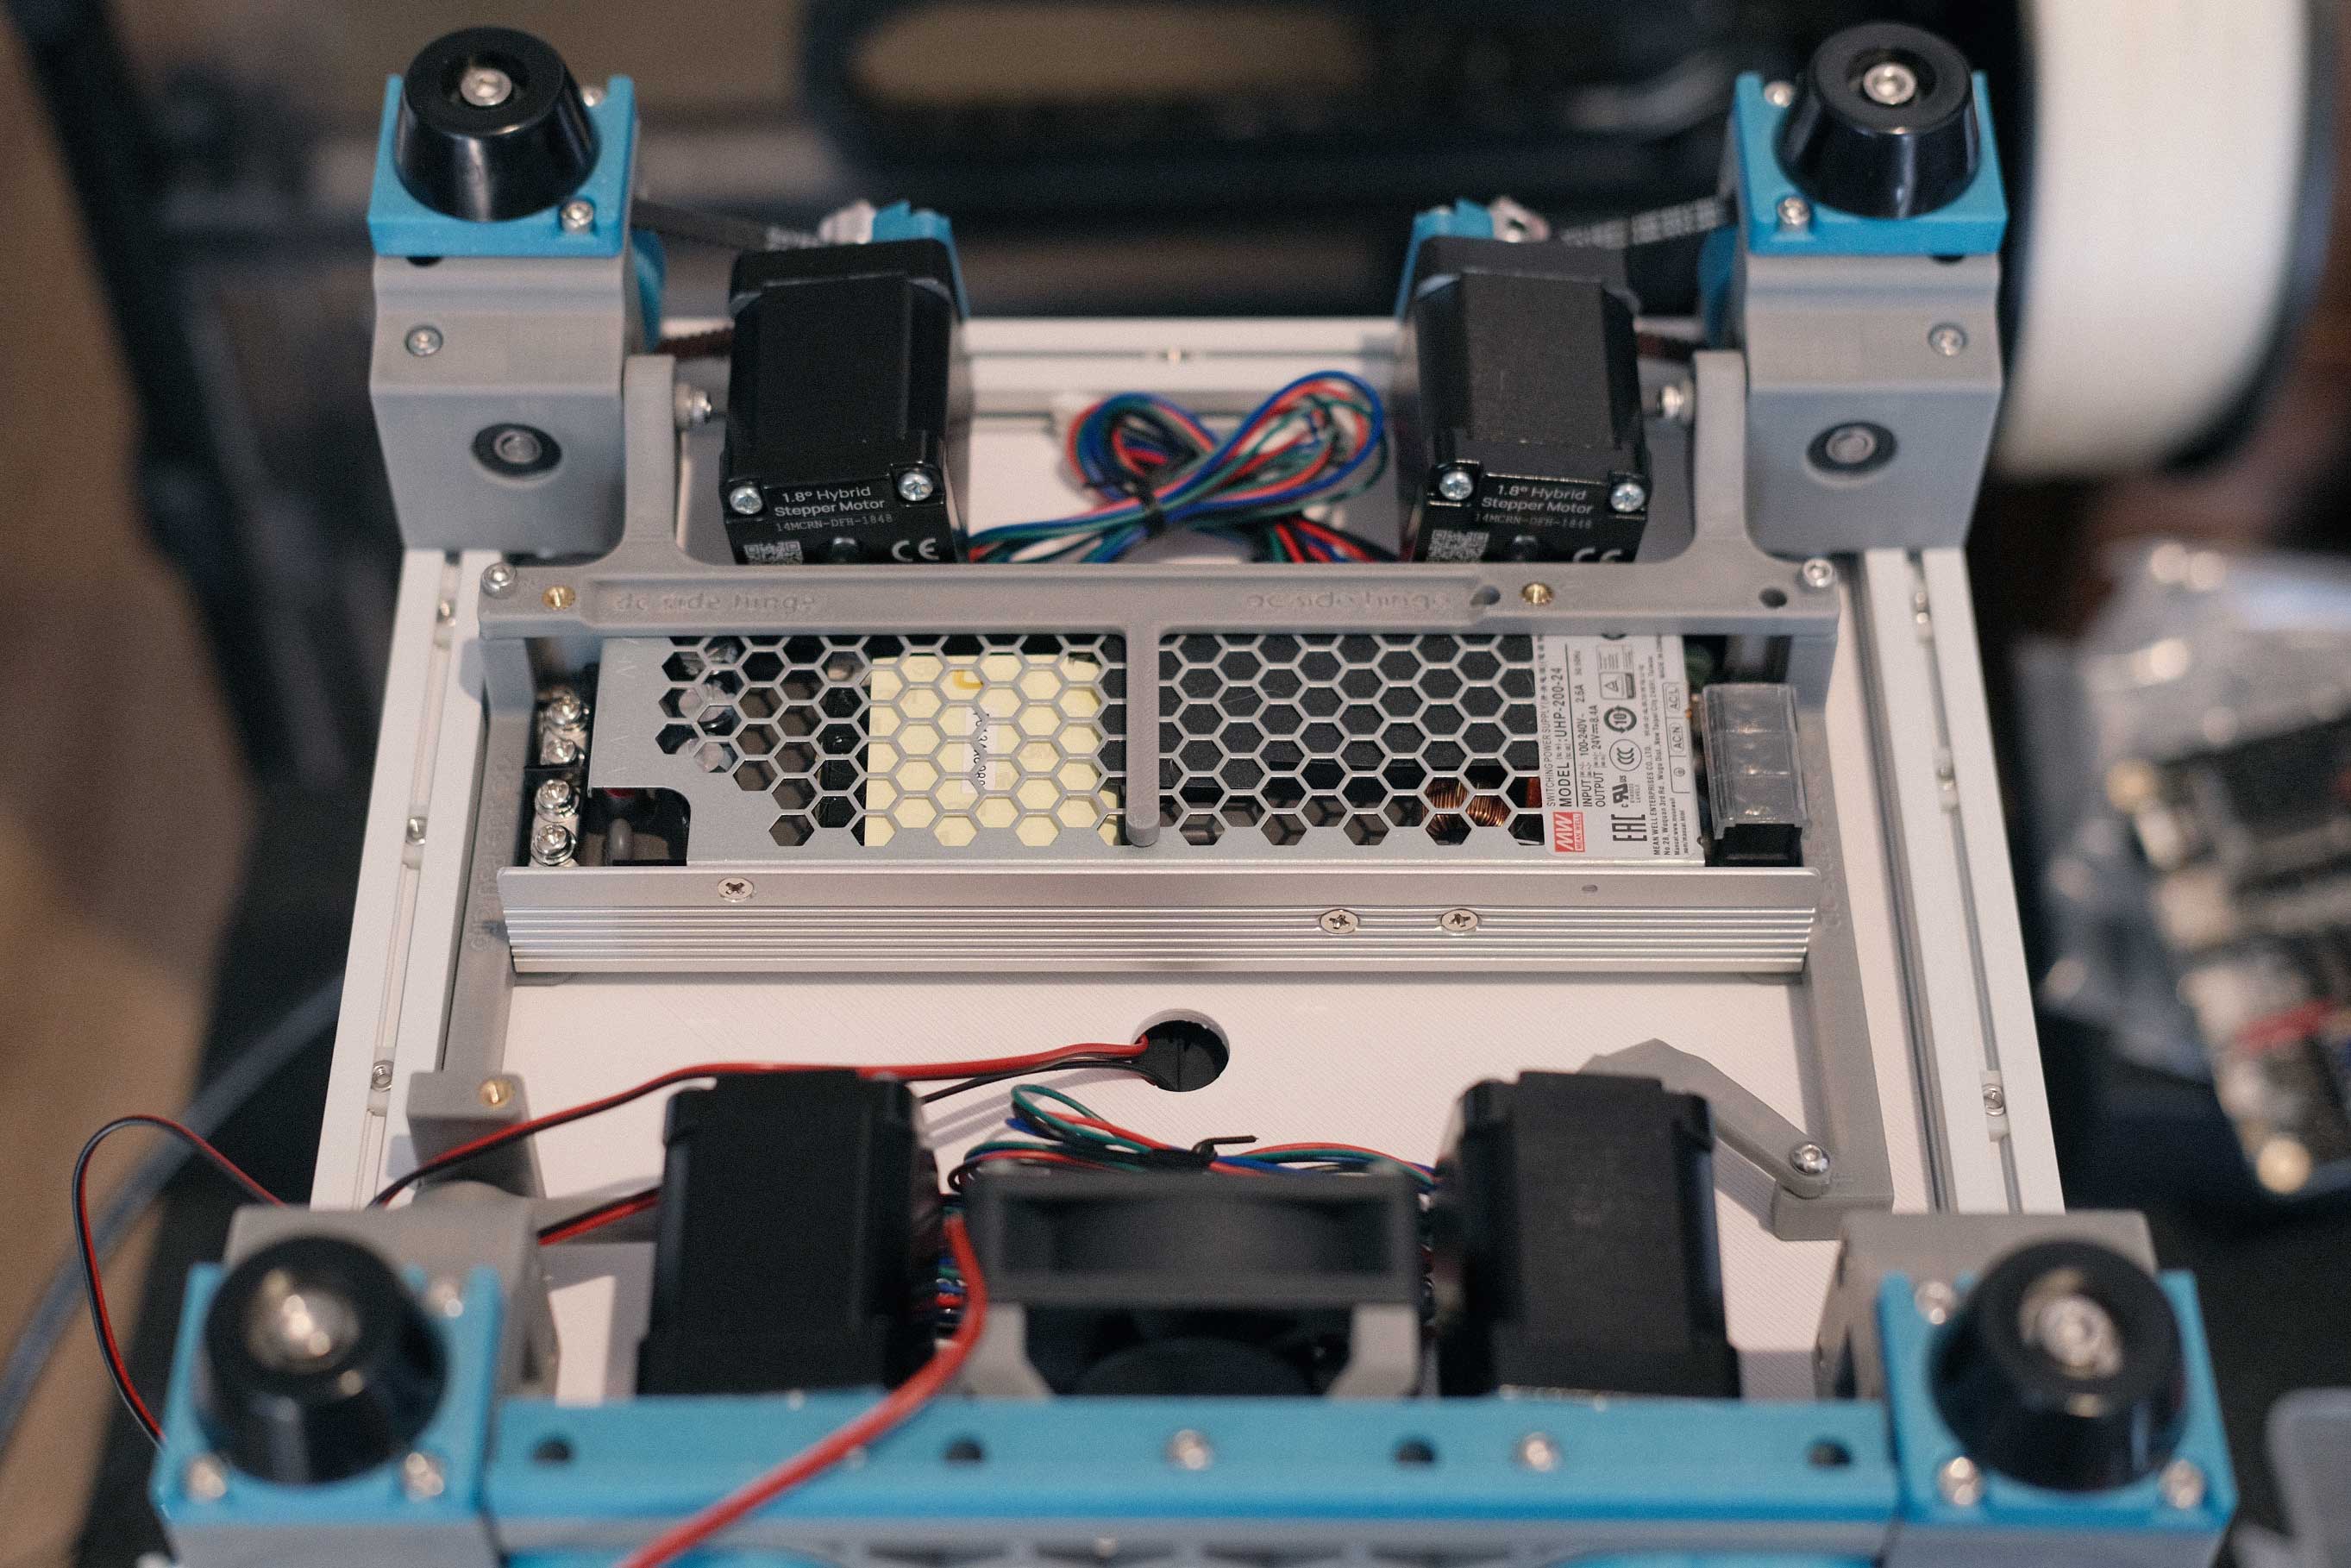
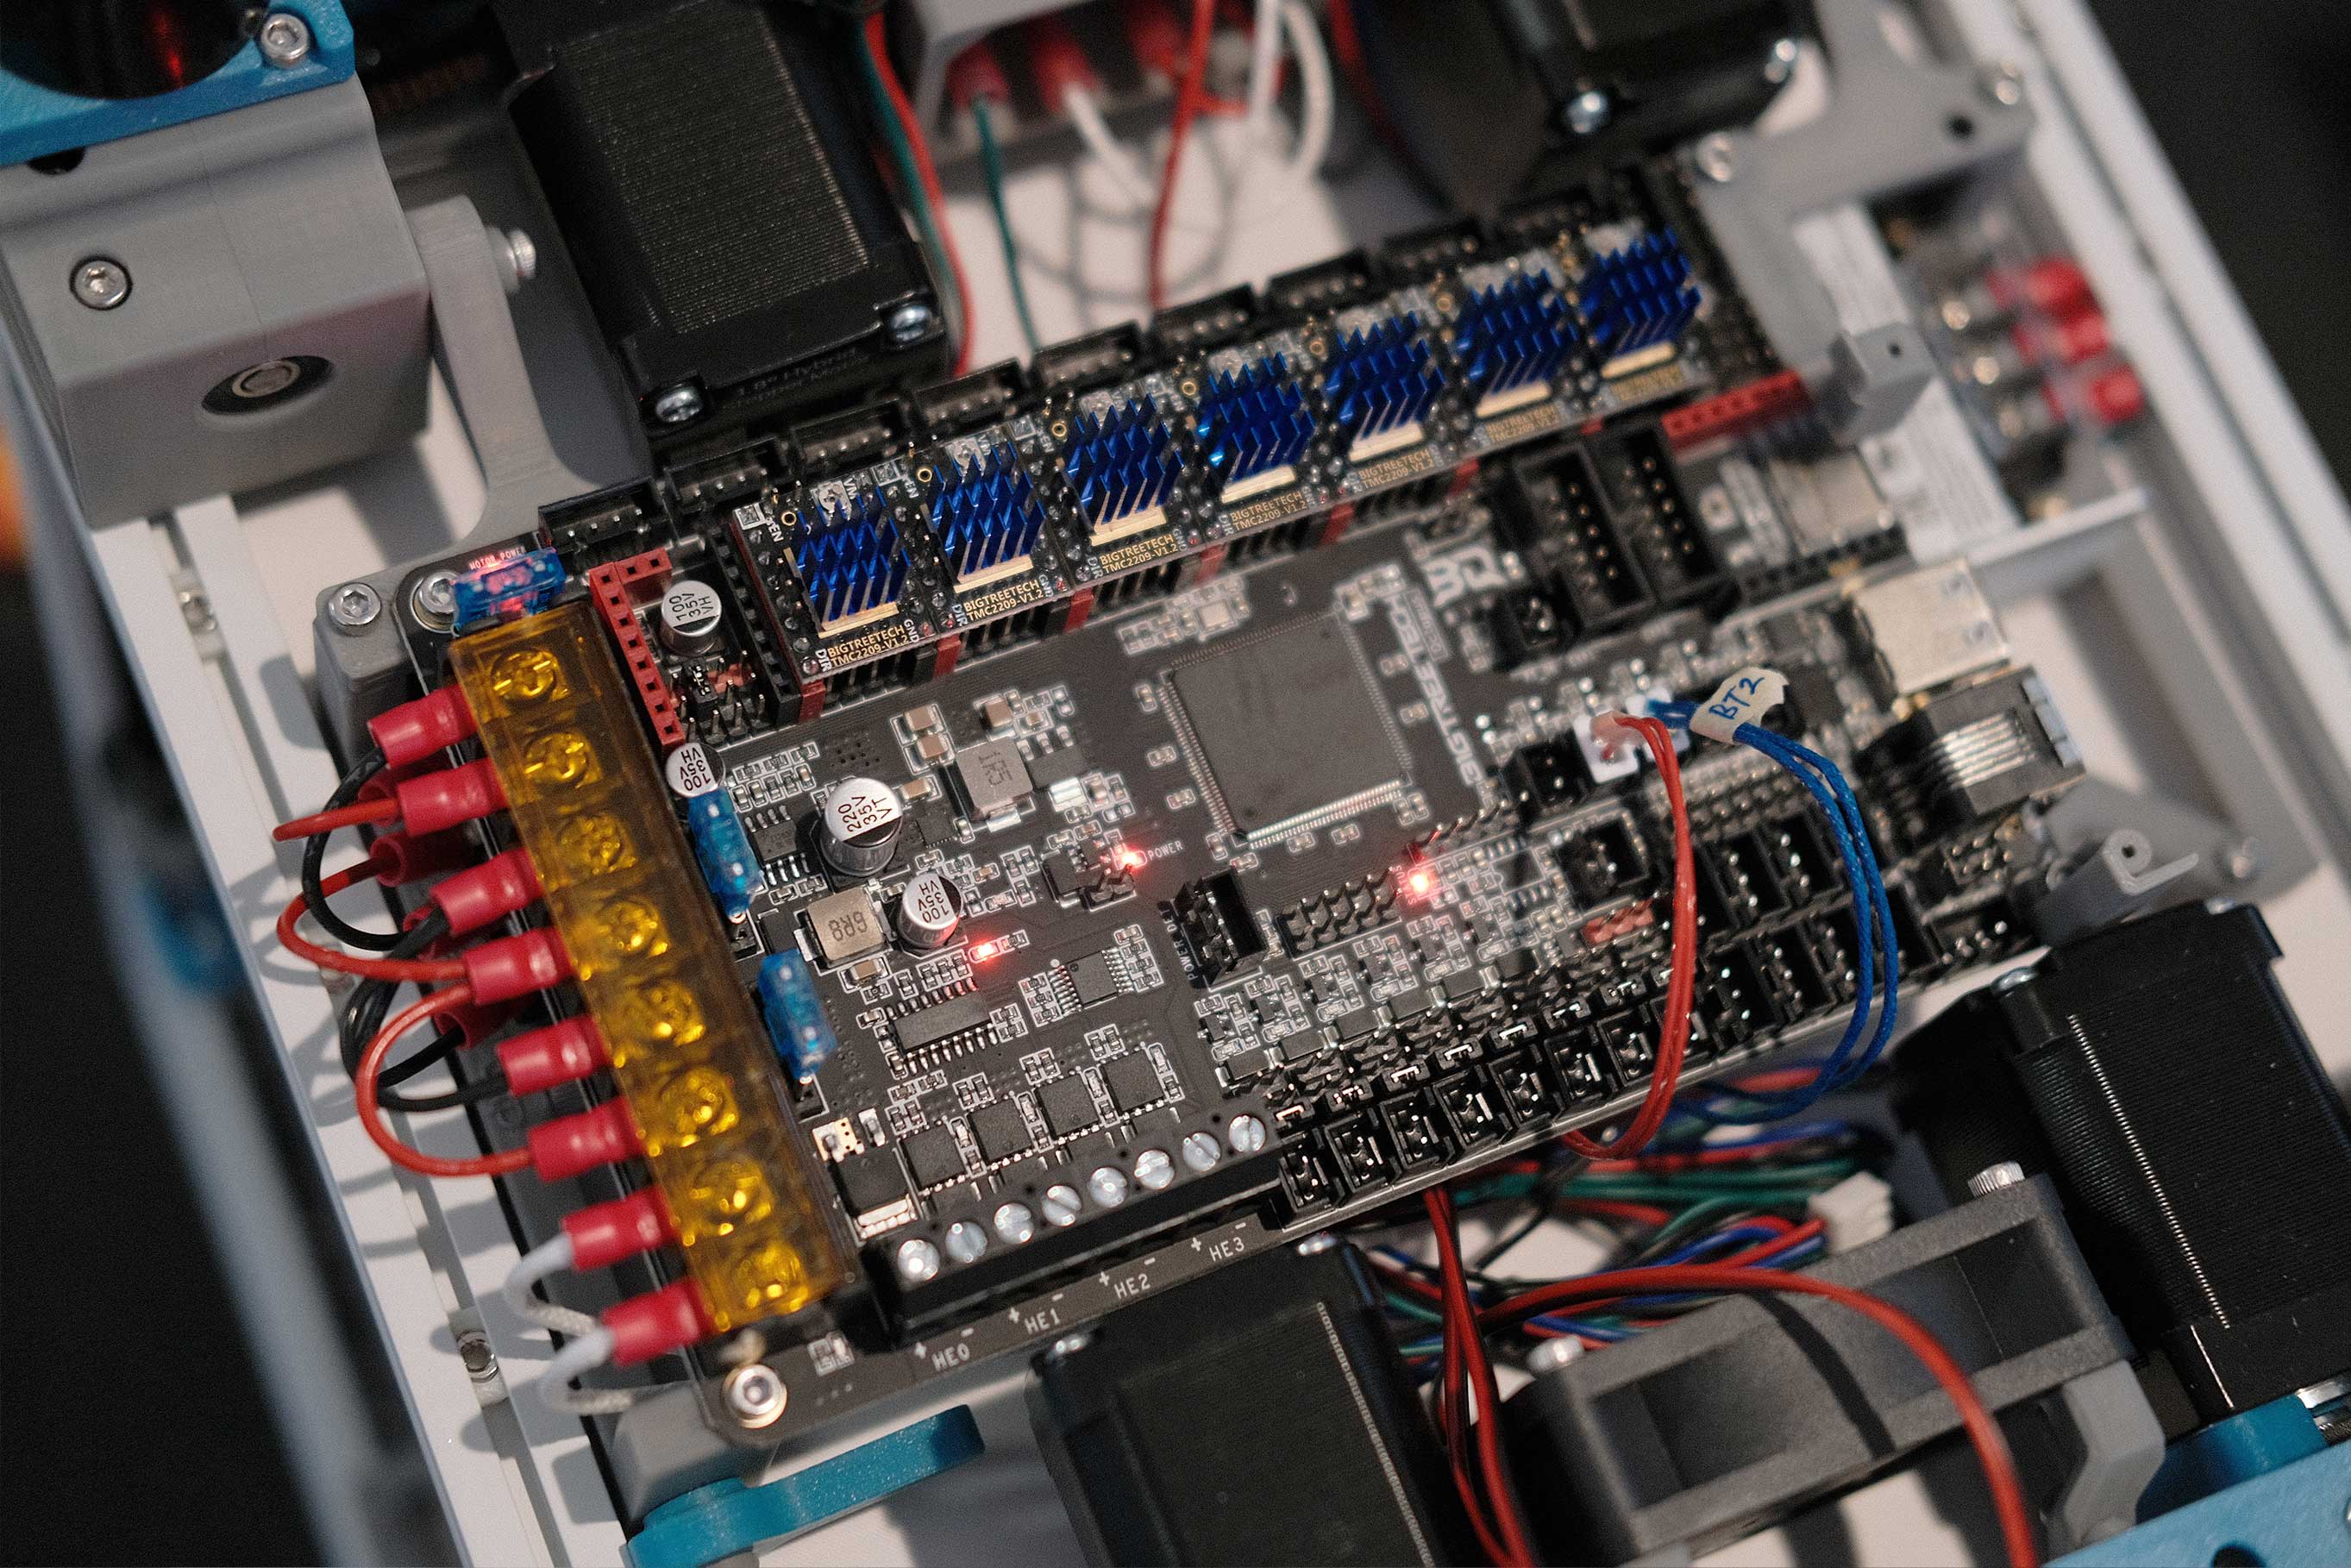
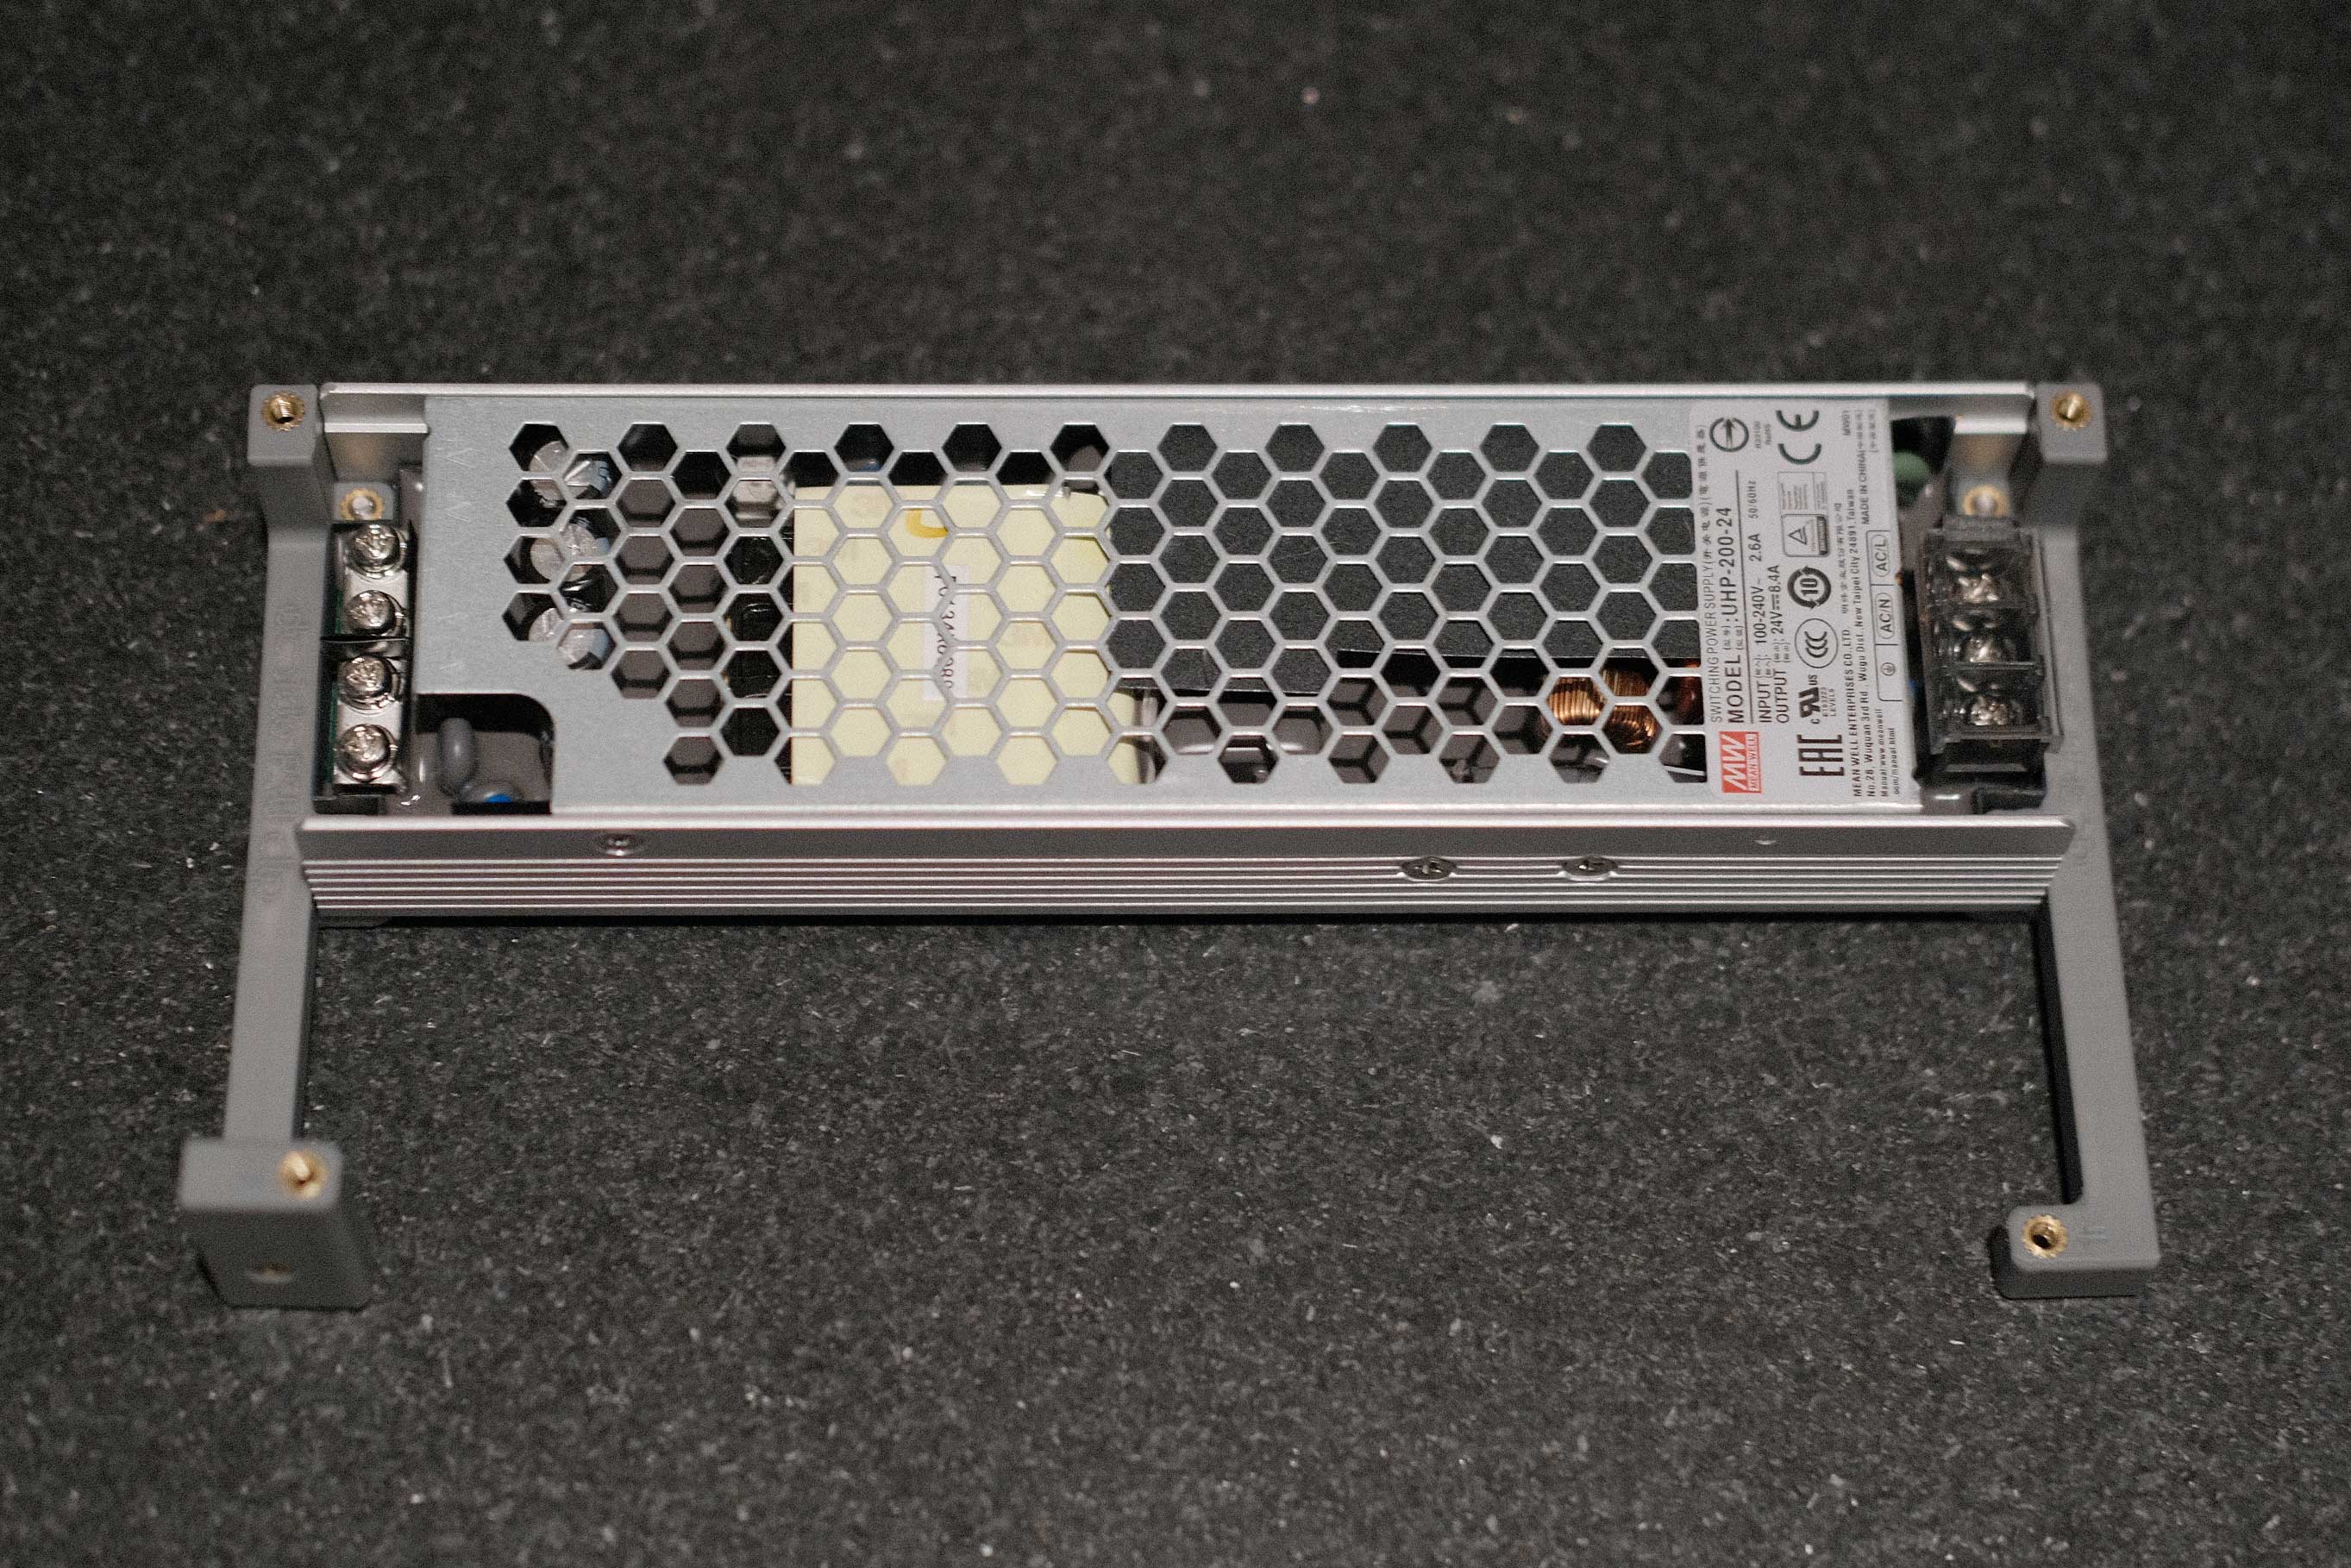 Electronics - 1
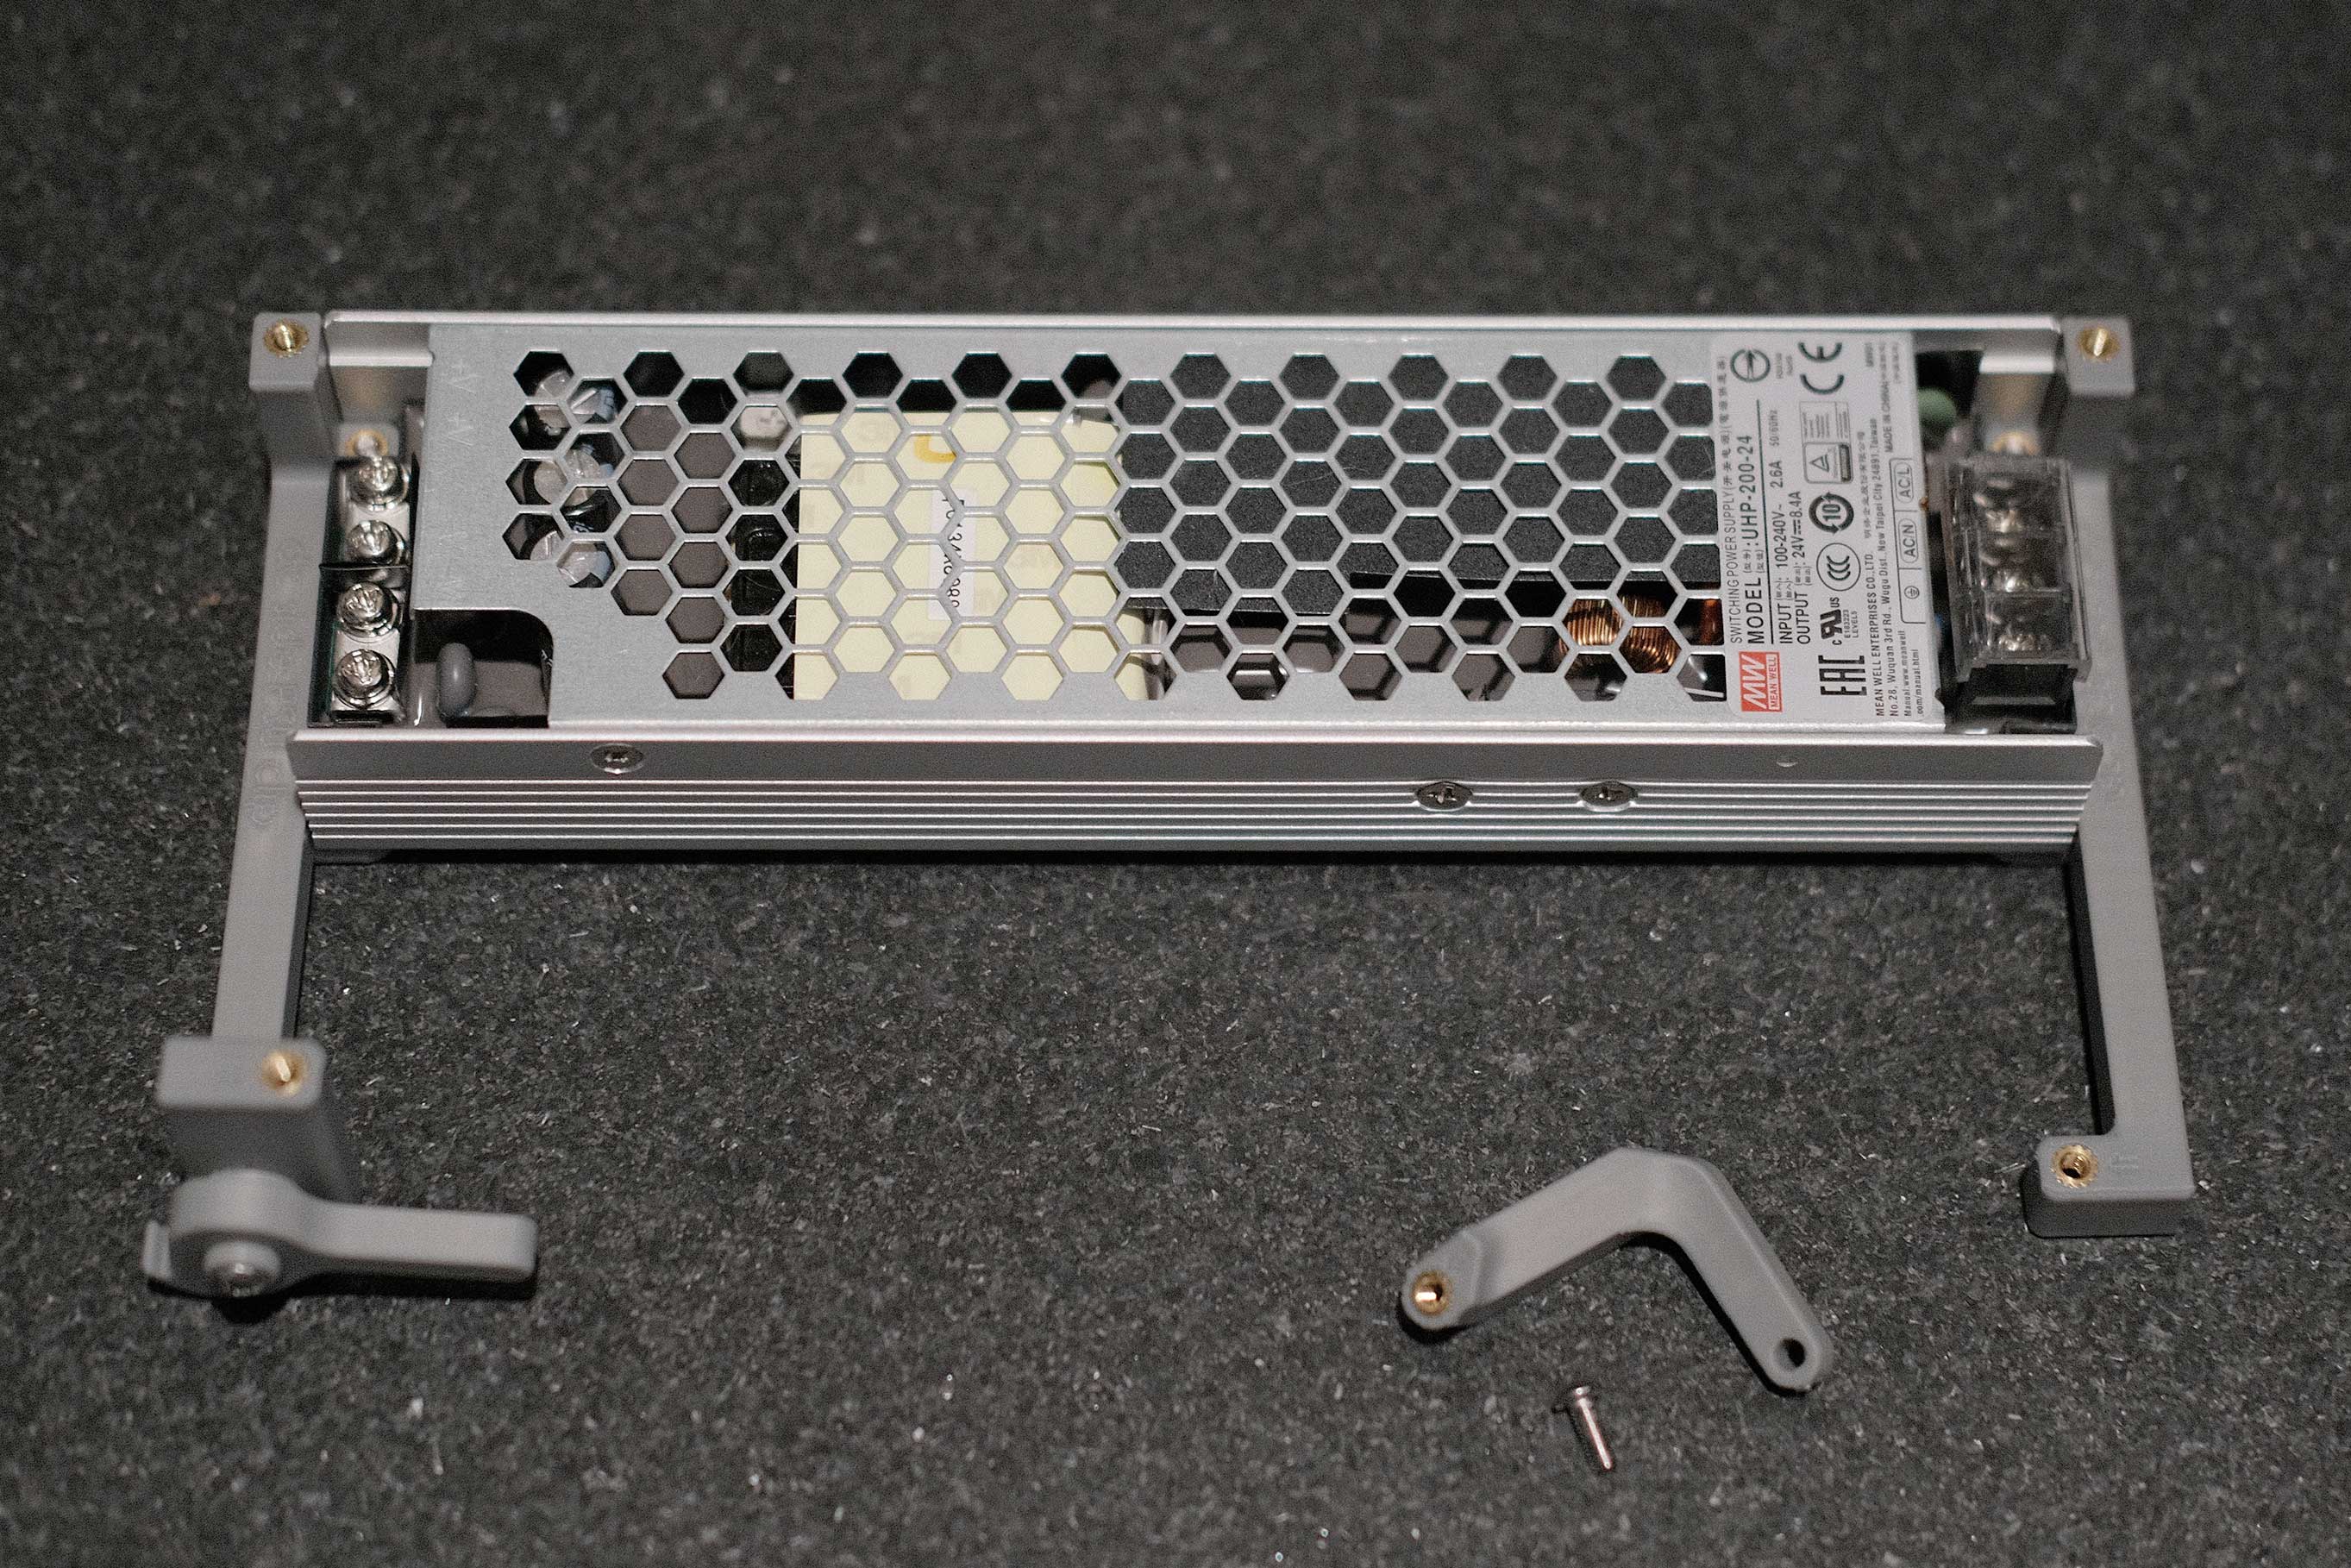
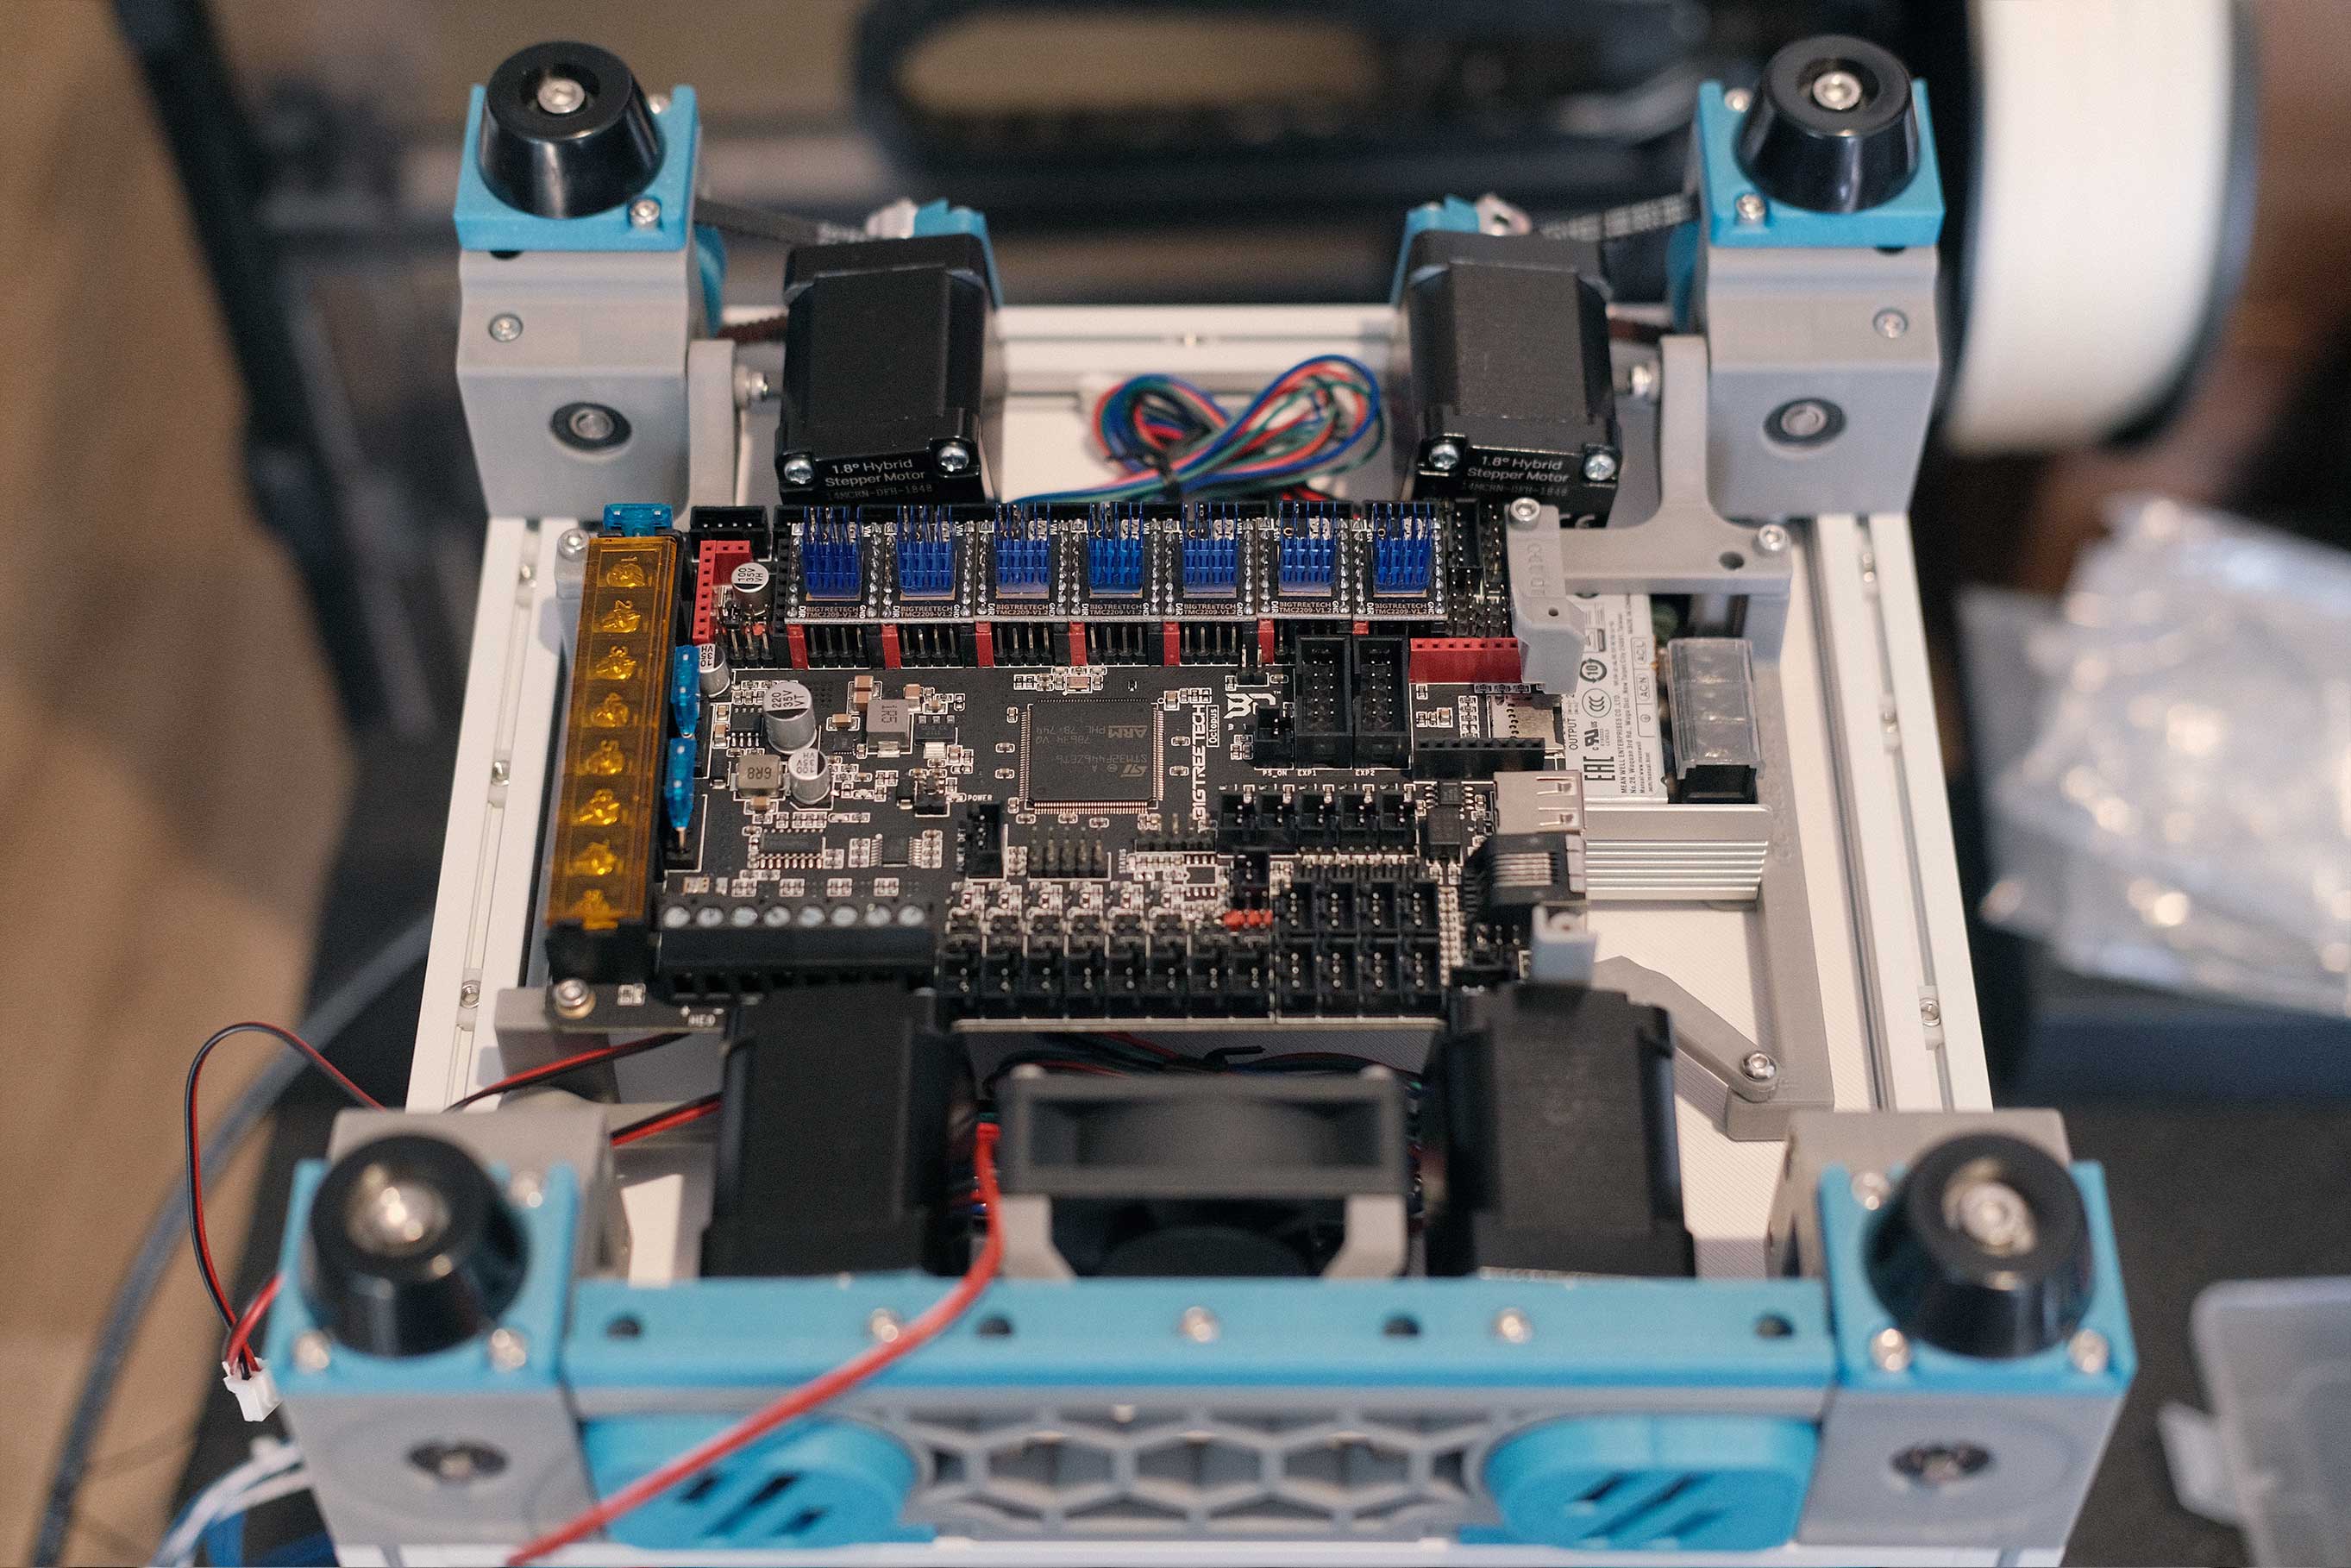
 Electronics - 2
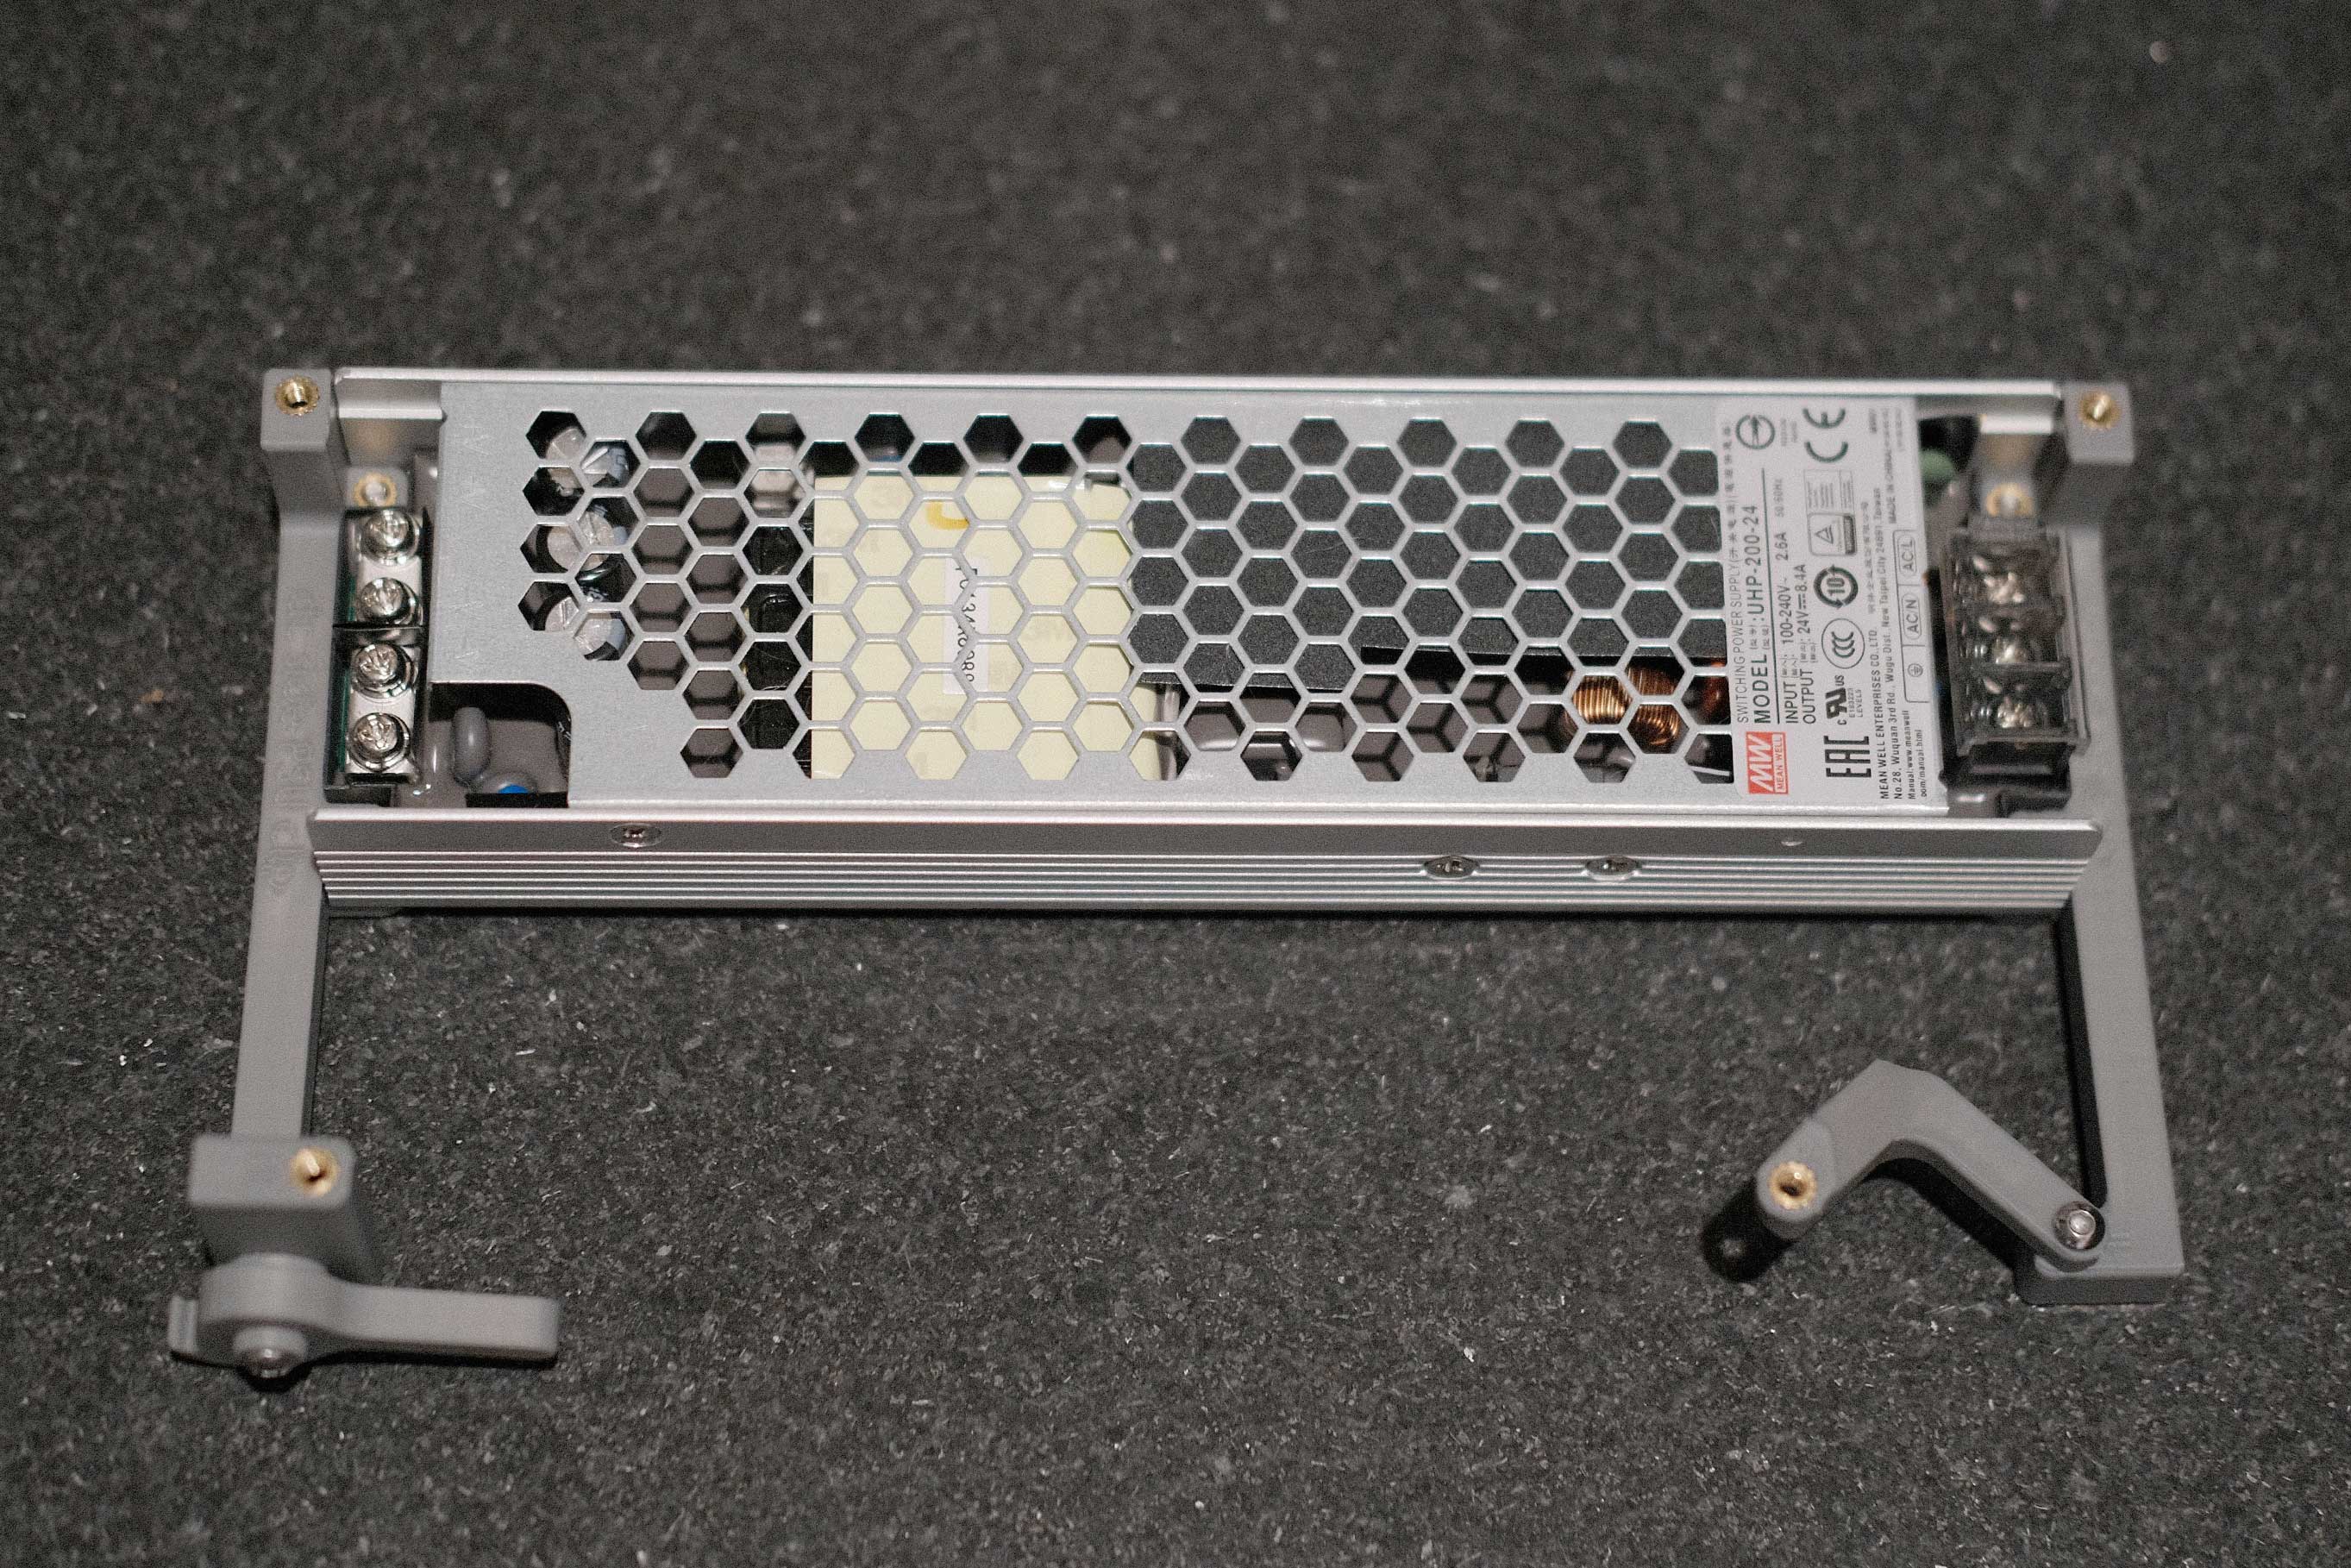
 Electronics - 3
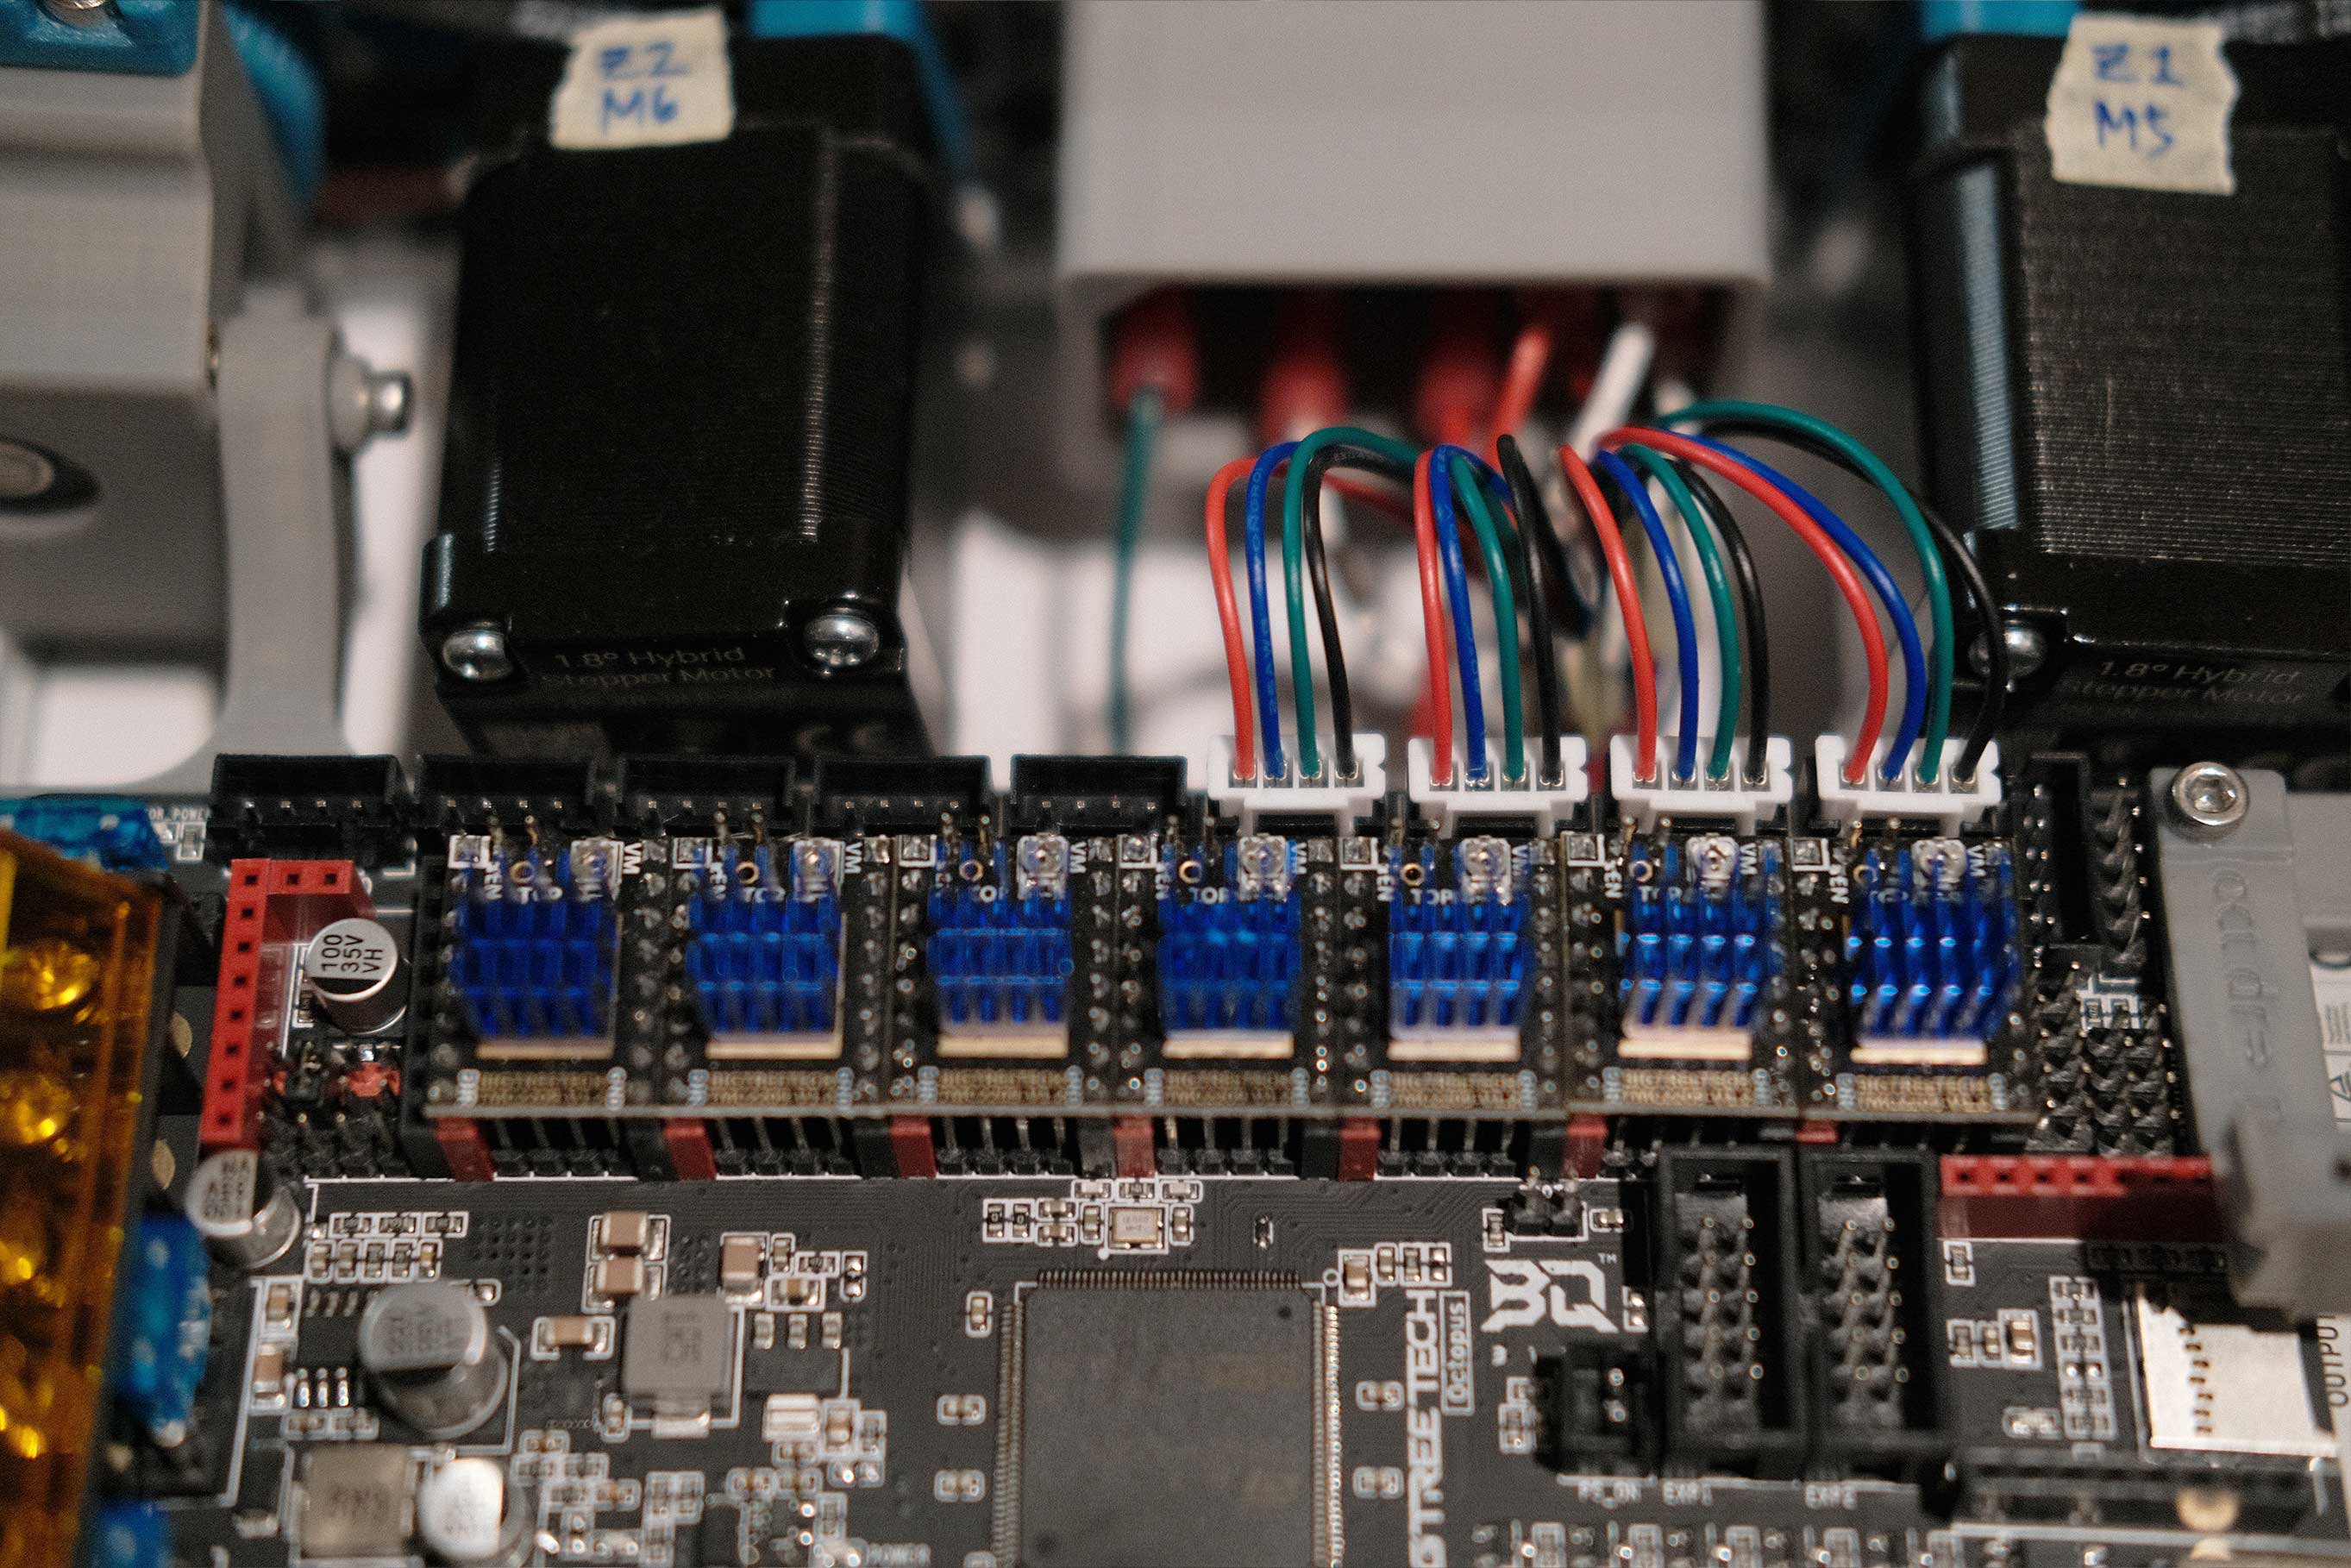
 Electronics - 4
 Electronics - 5
 Electronics - 6
Wiring
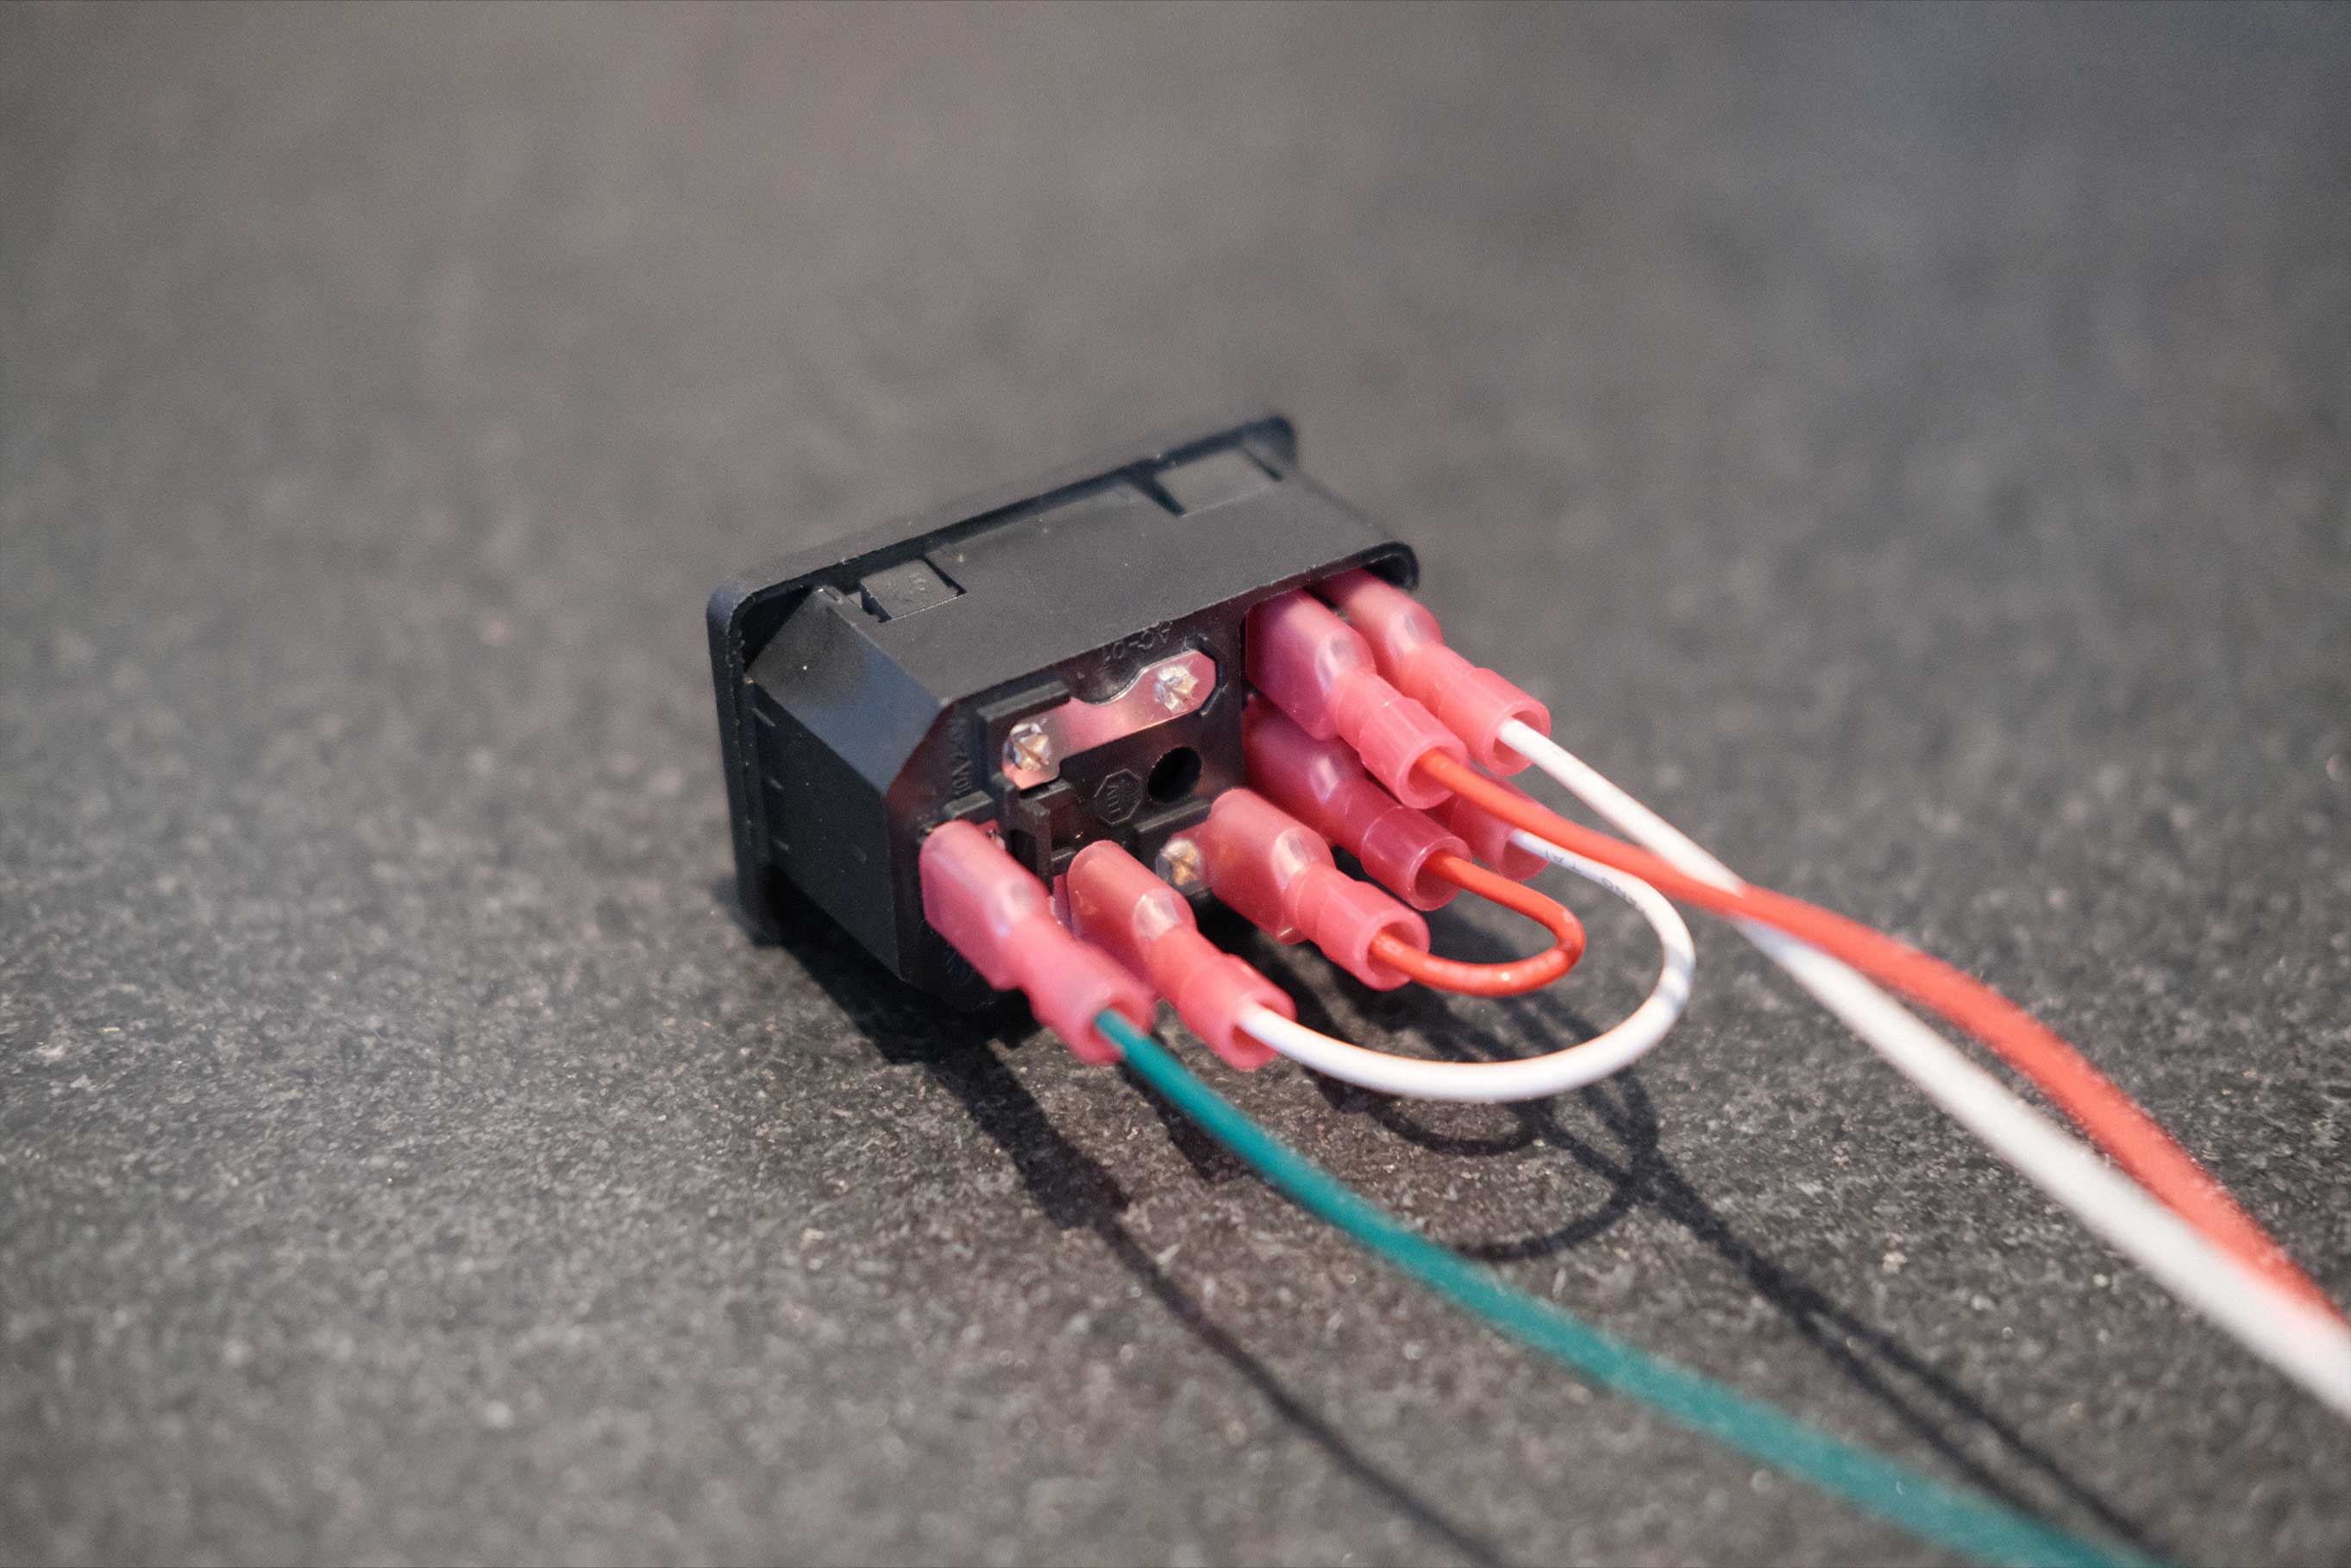 AC - 1
 AC - 2
 Bed - 1
 Bed - 2
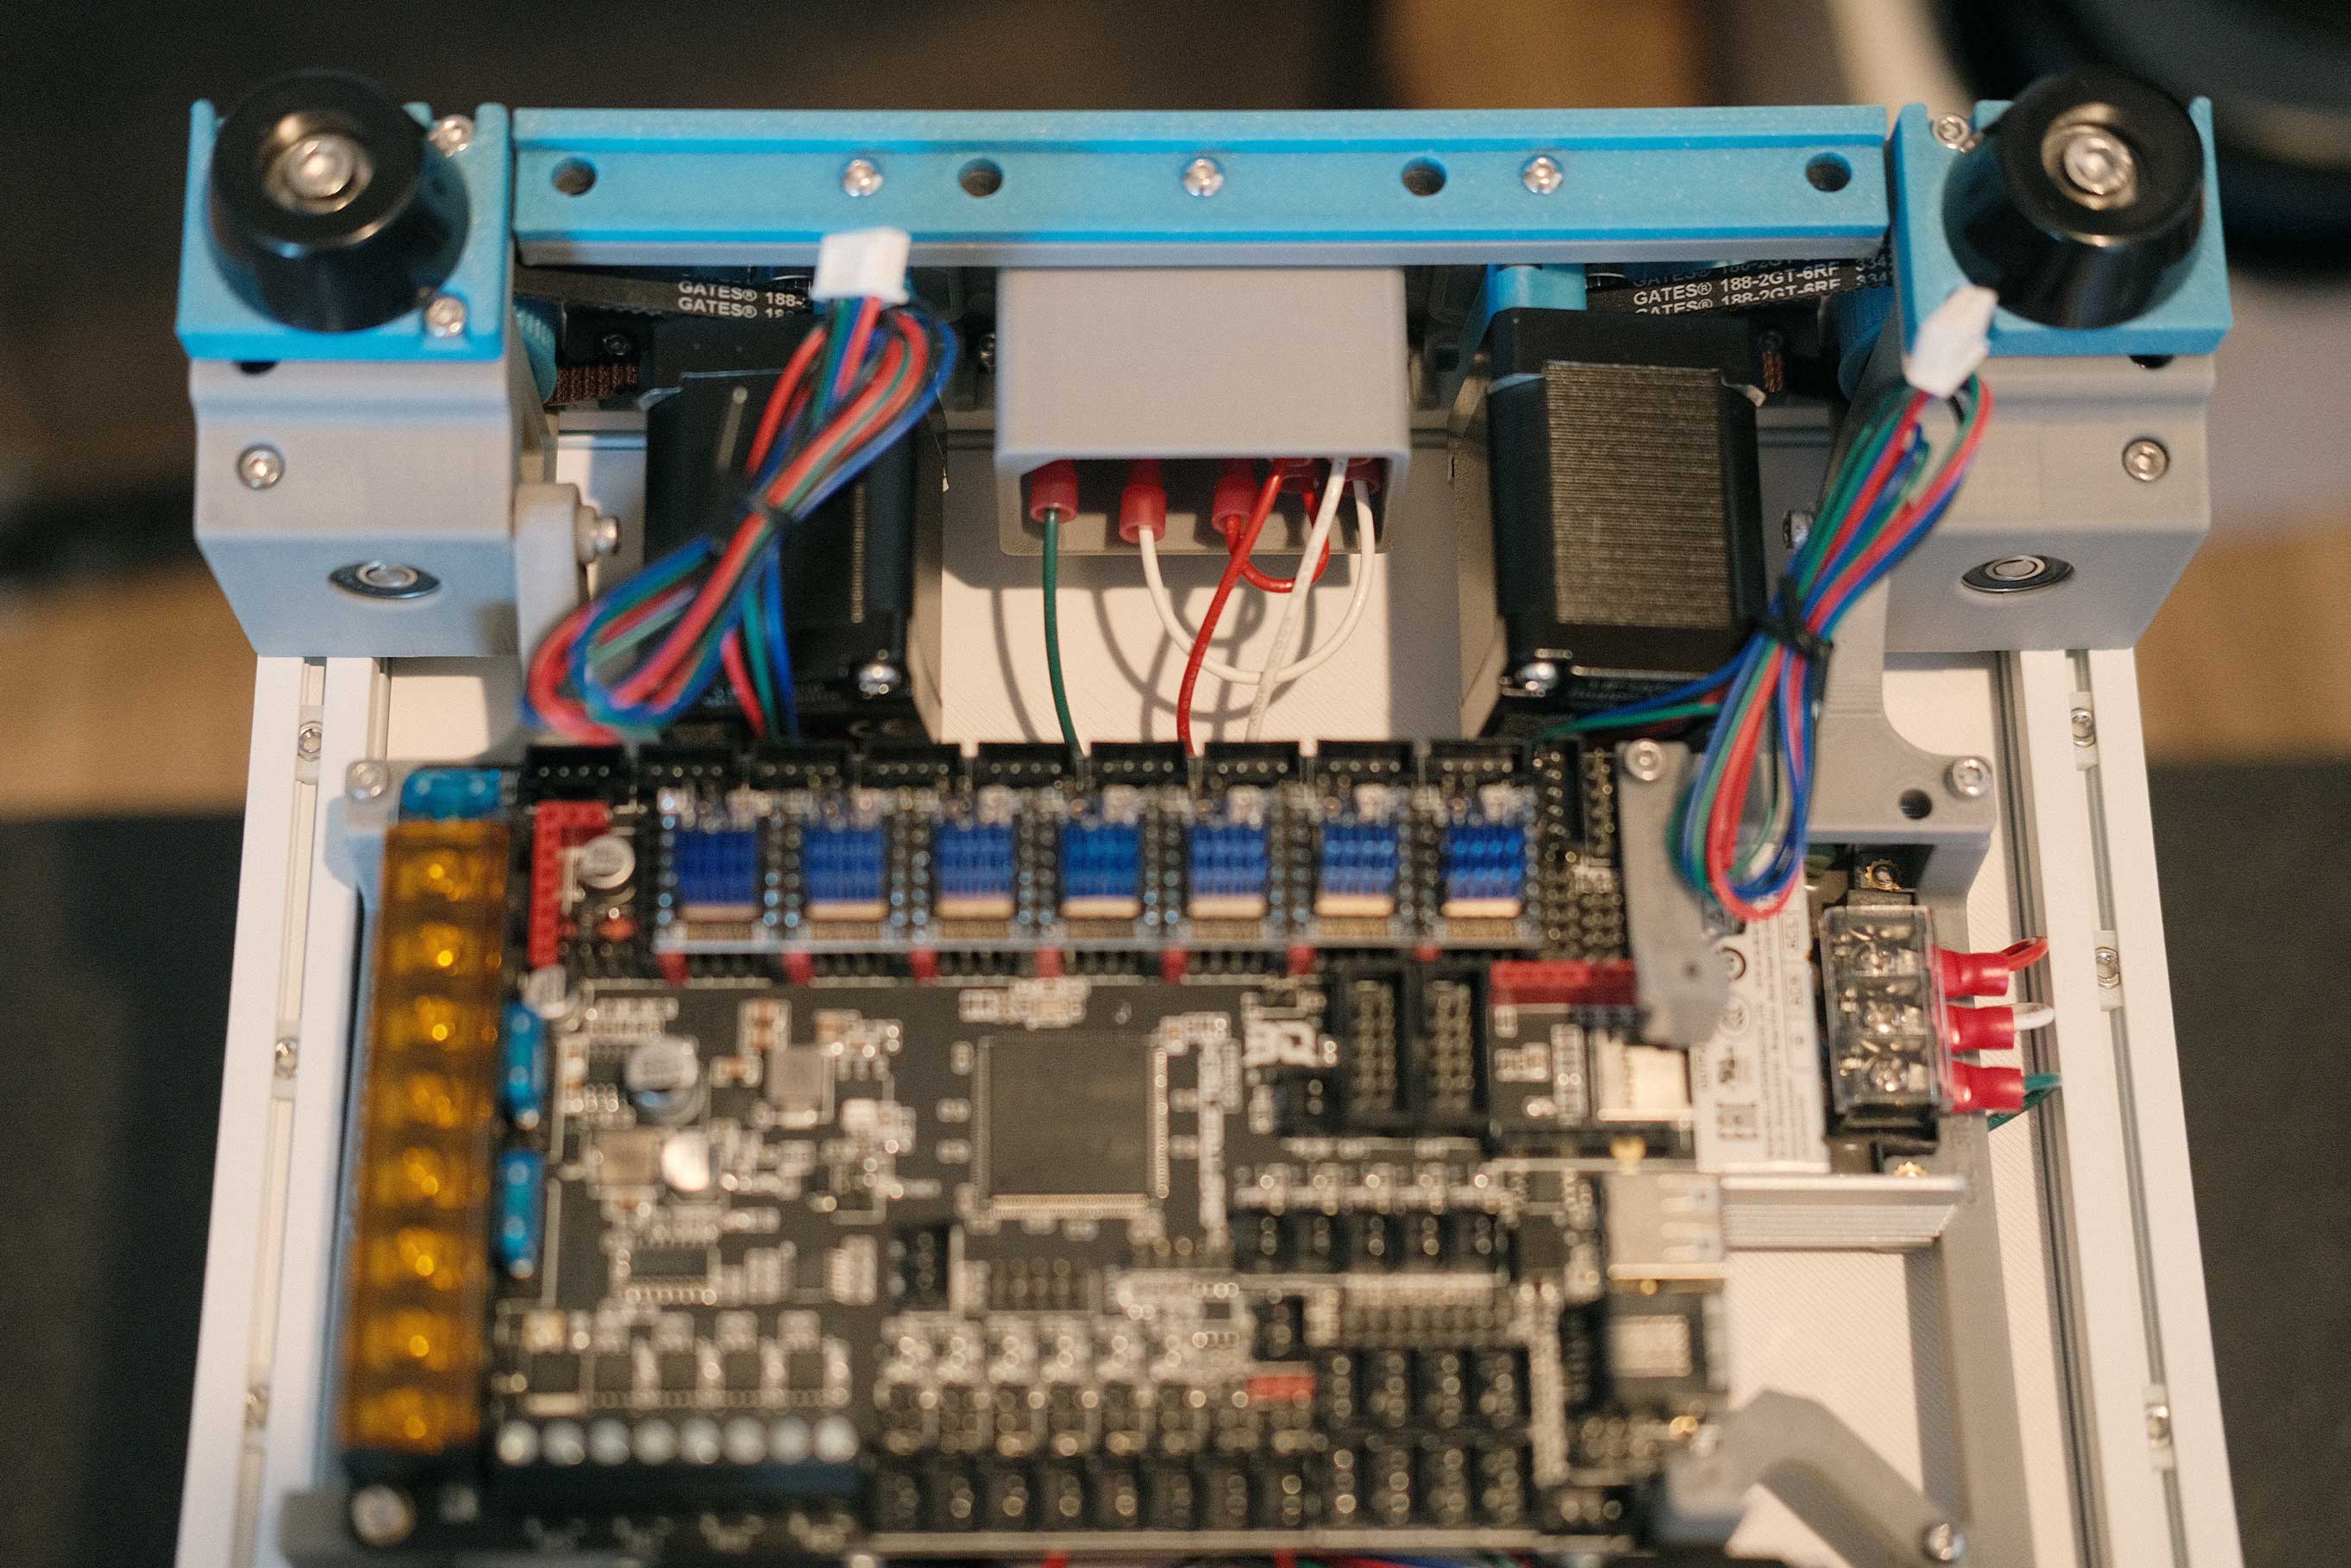
 DC - 1
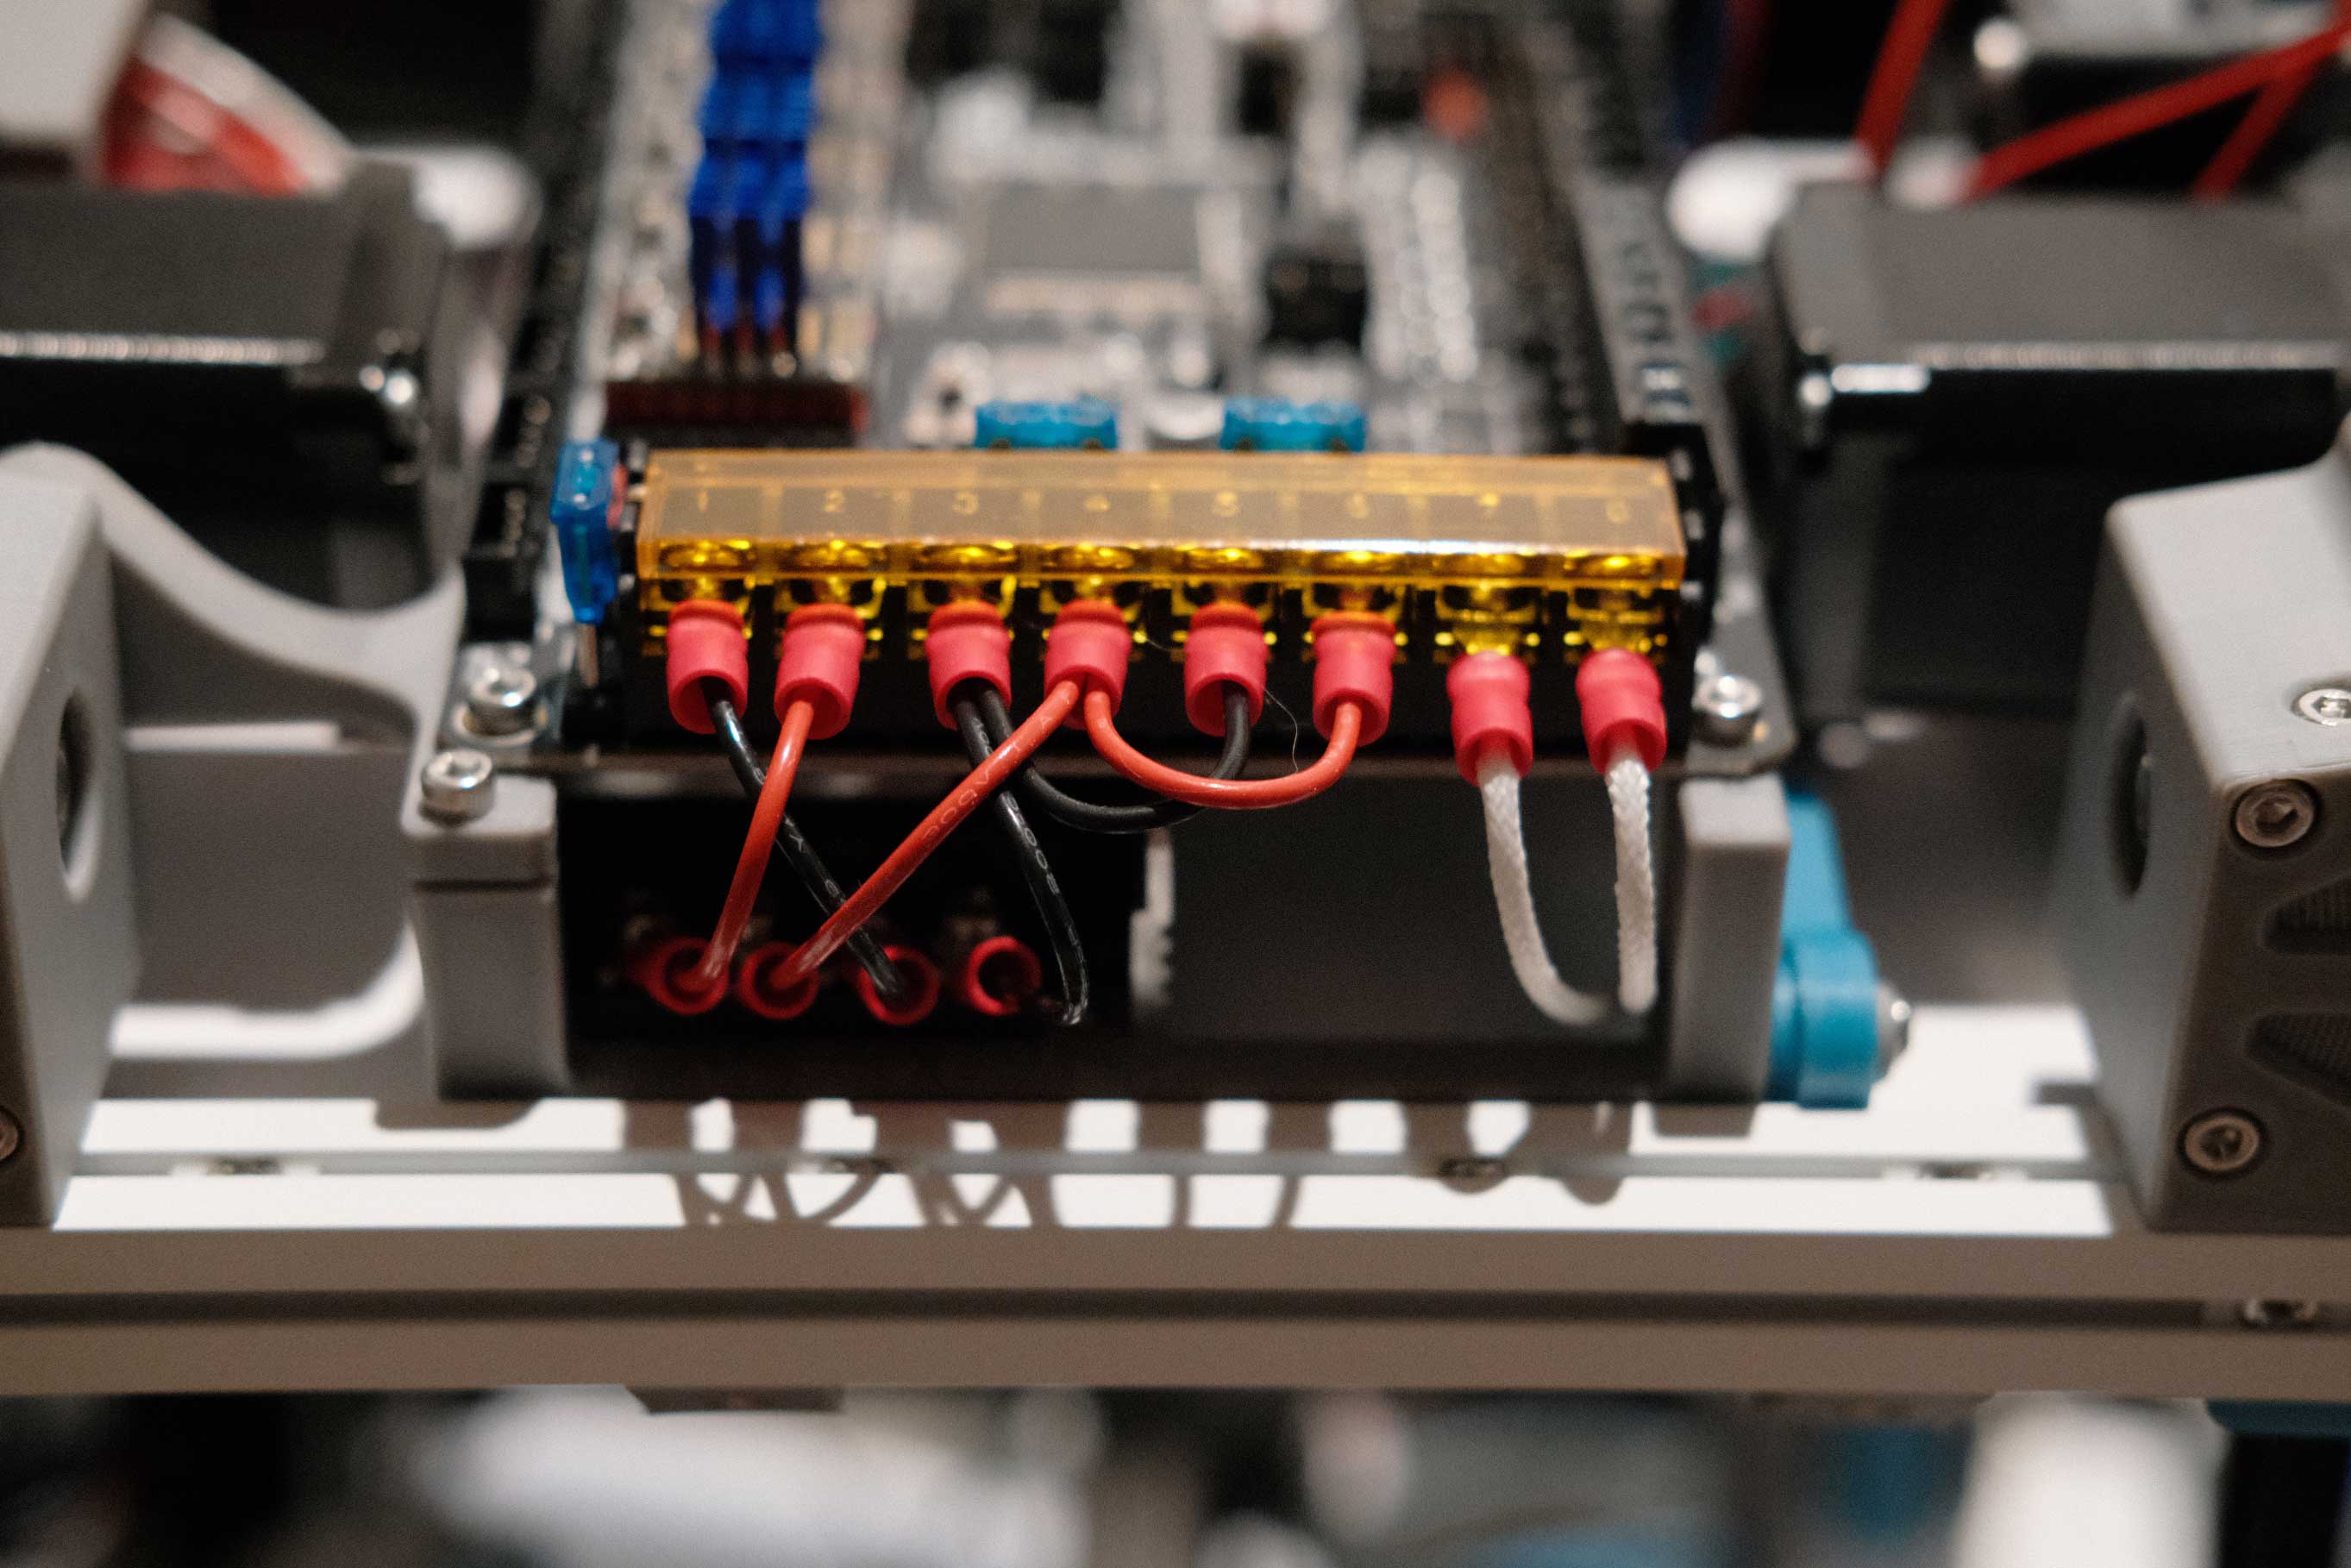 DC - 2
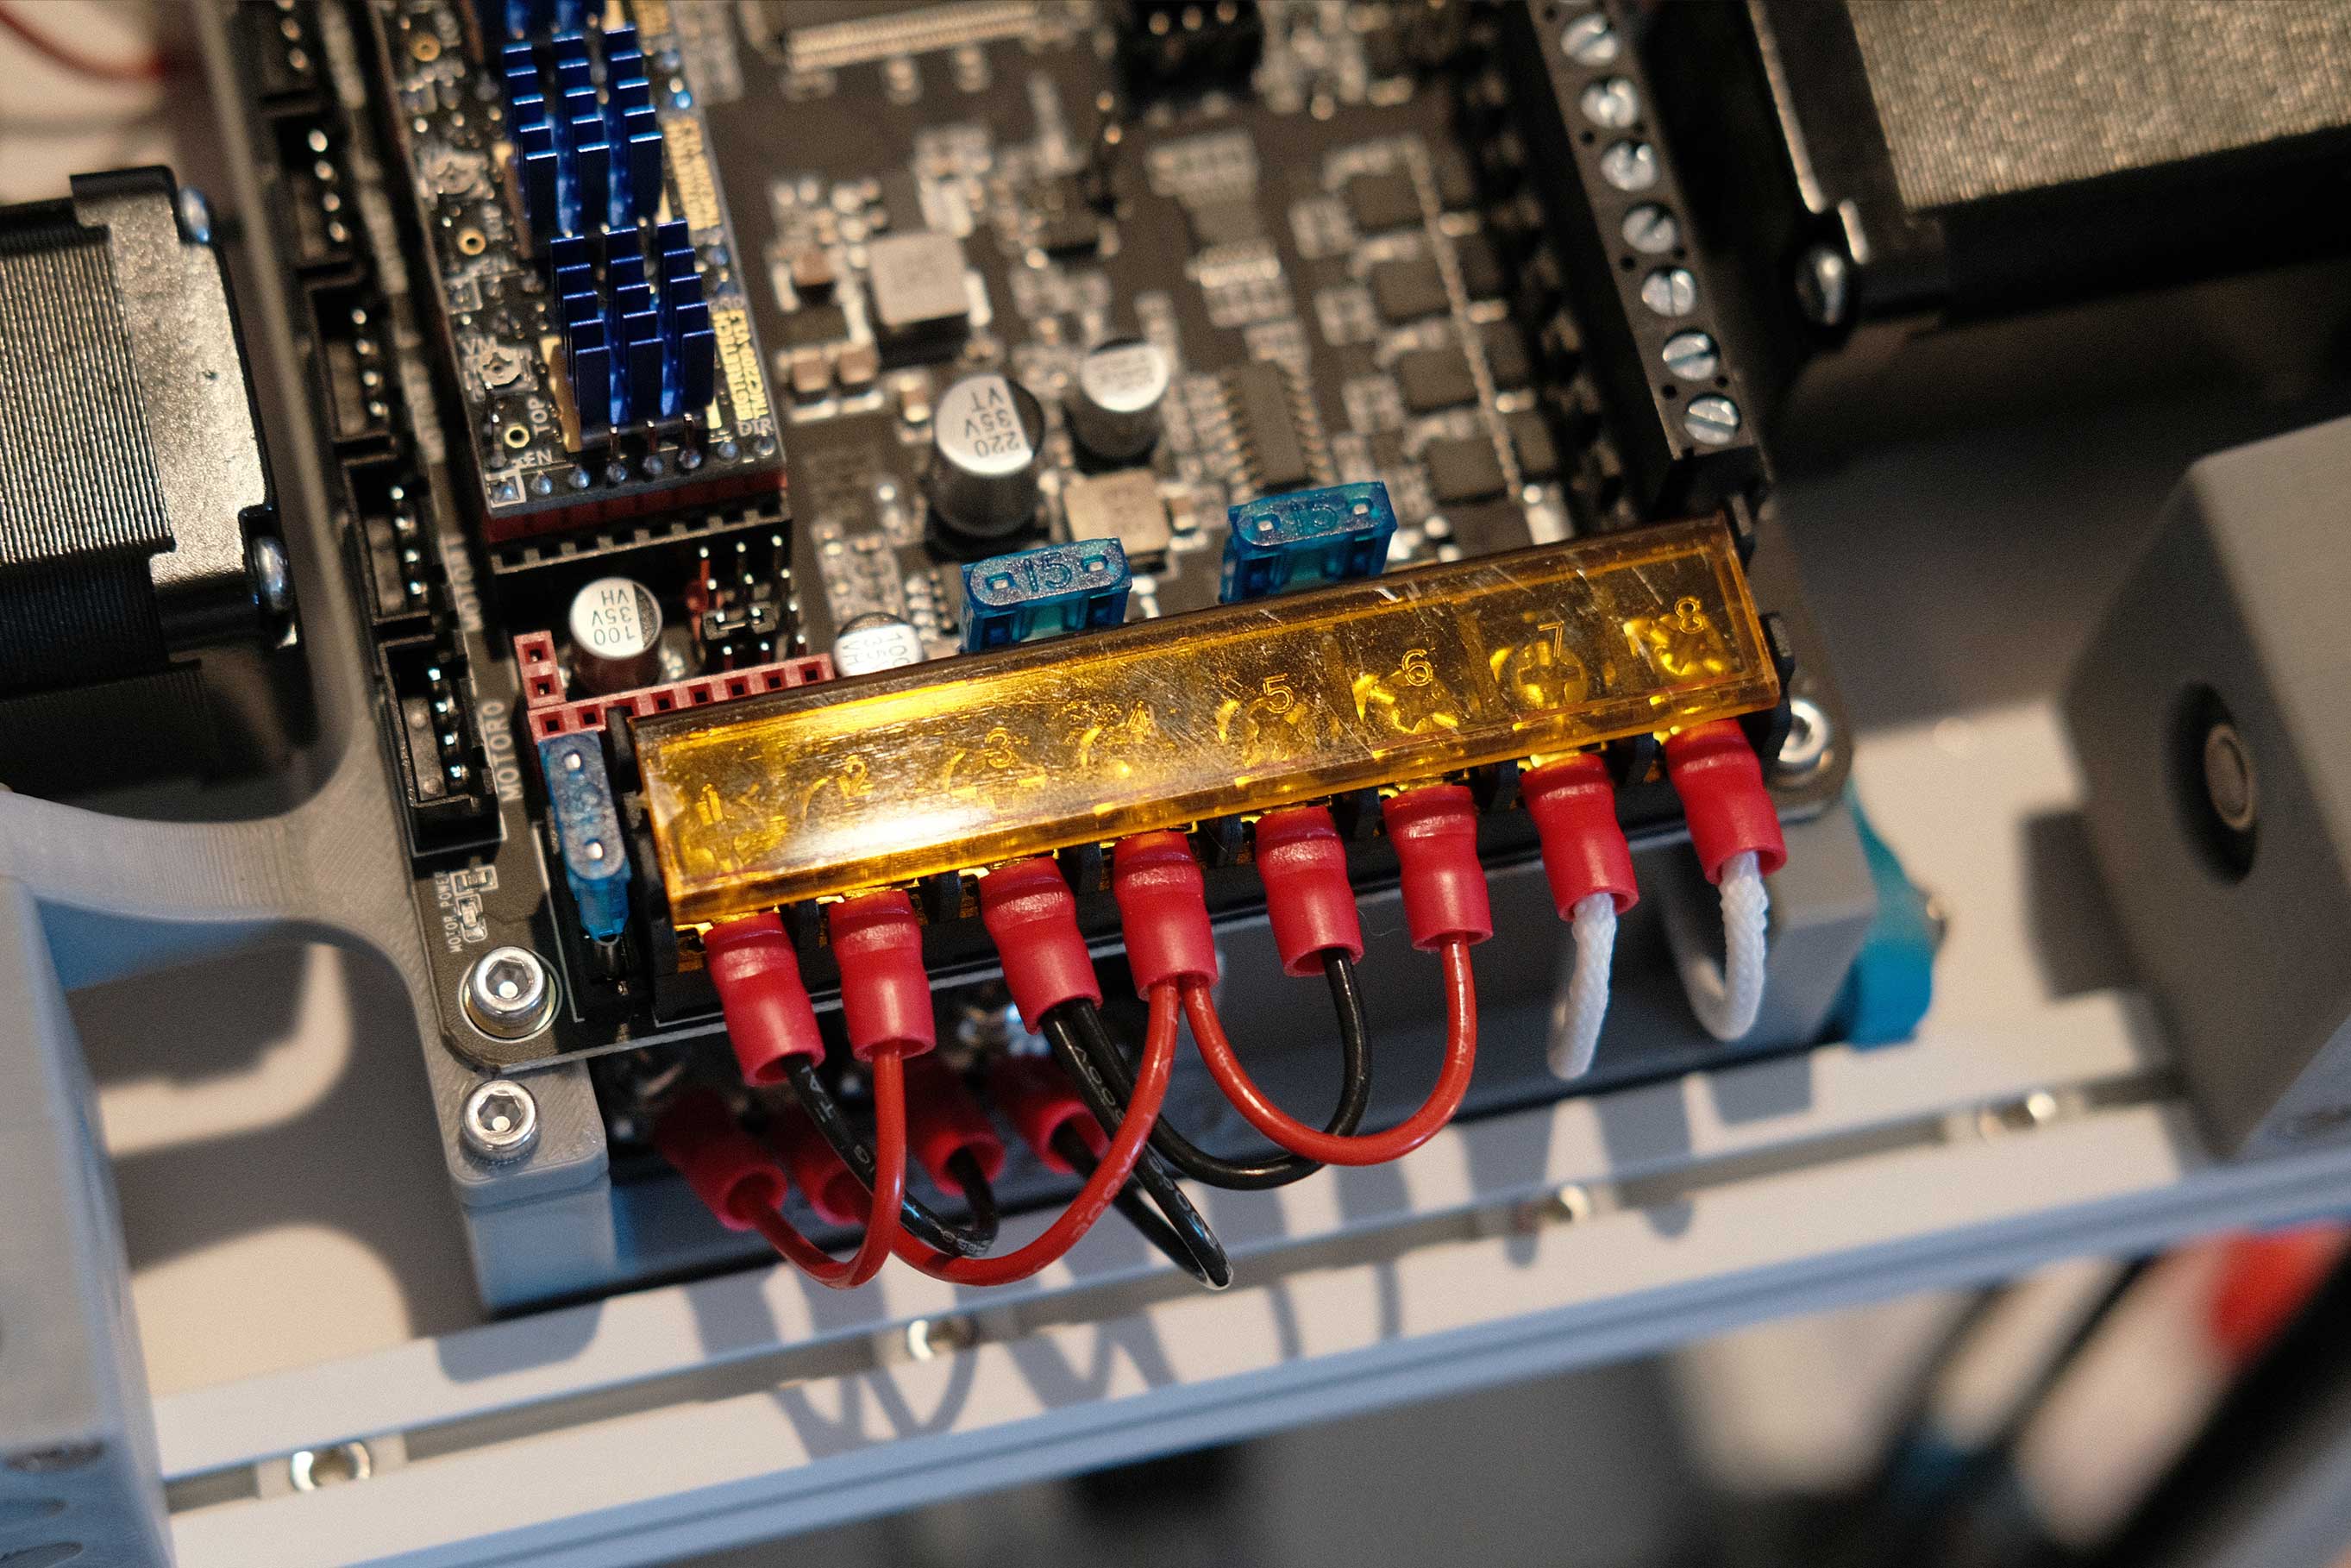 DC - 3
 DC - 4
 Z Motors - 1
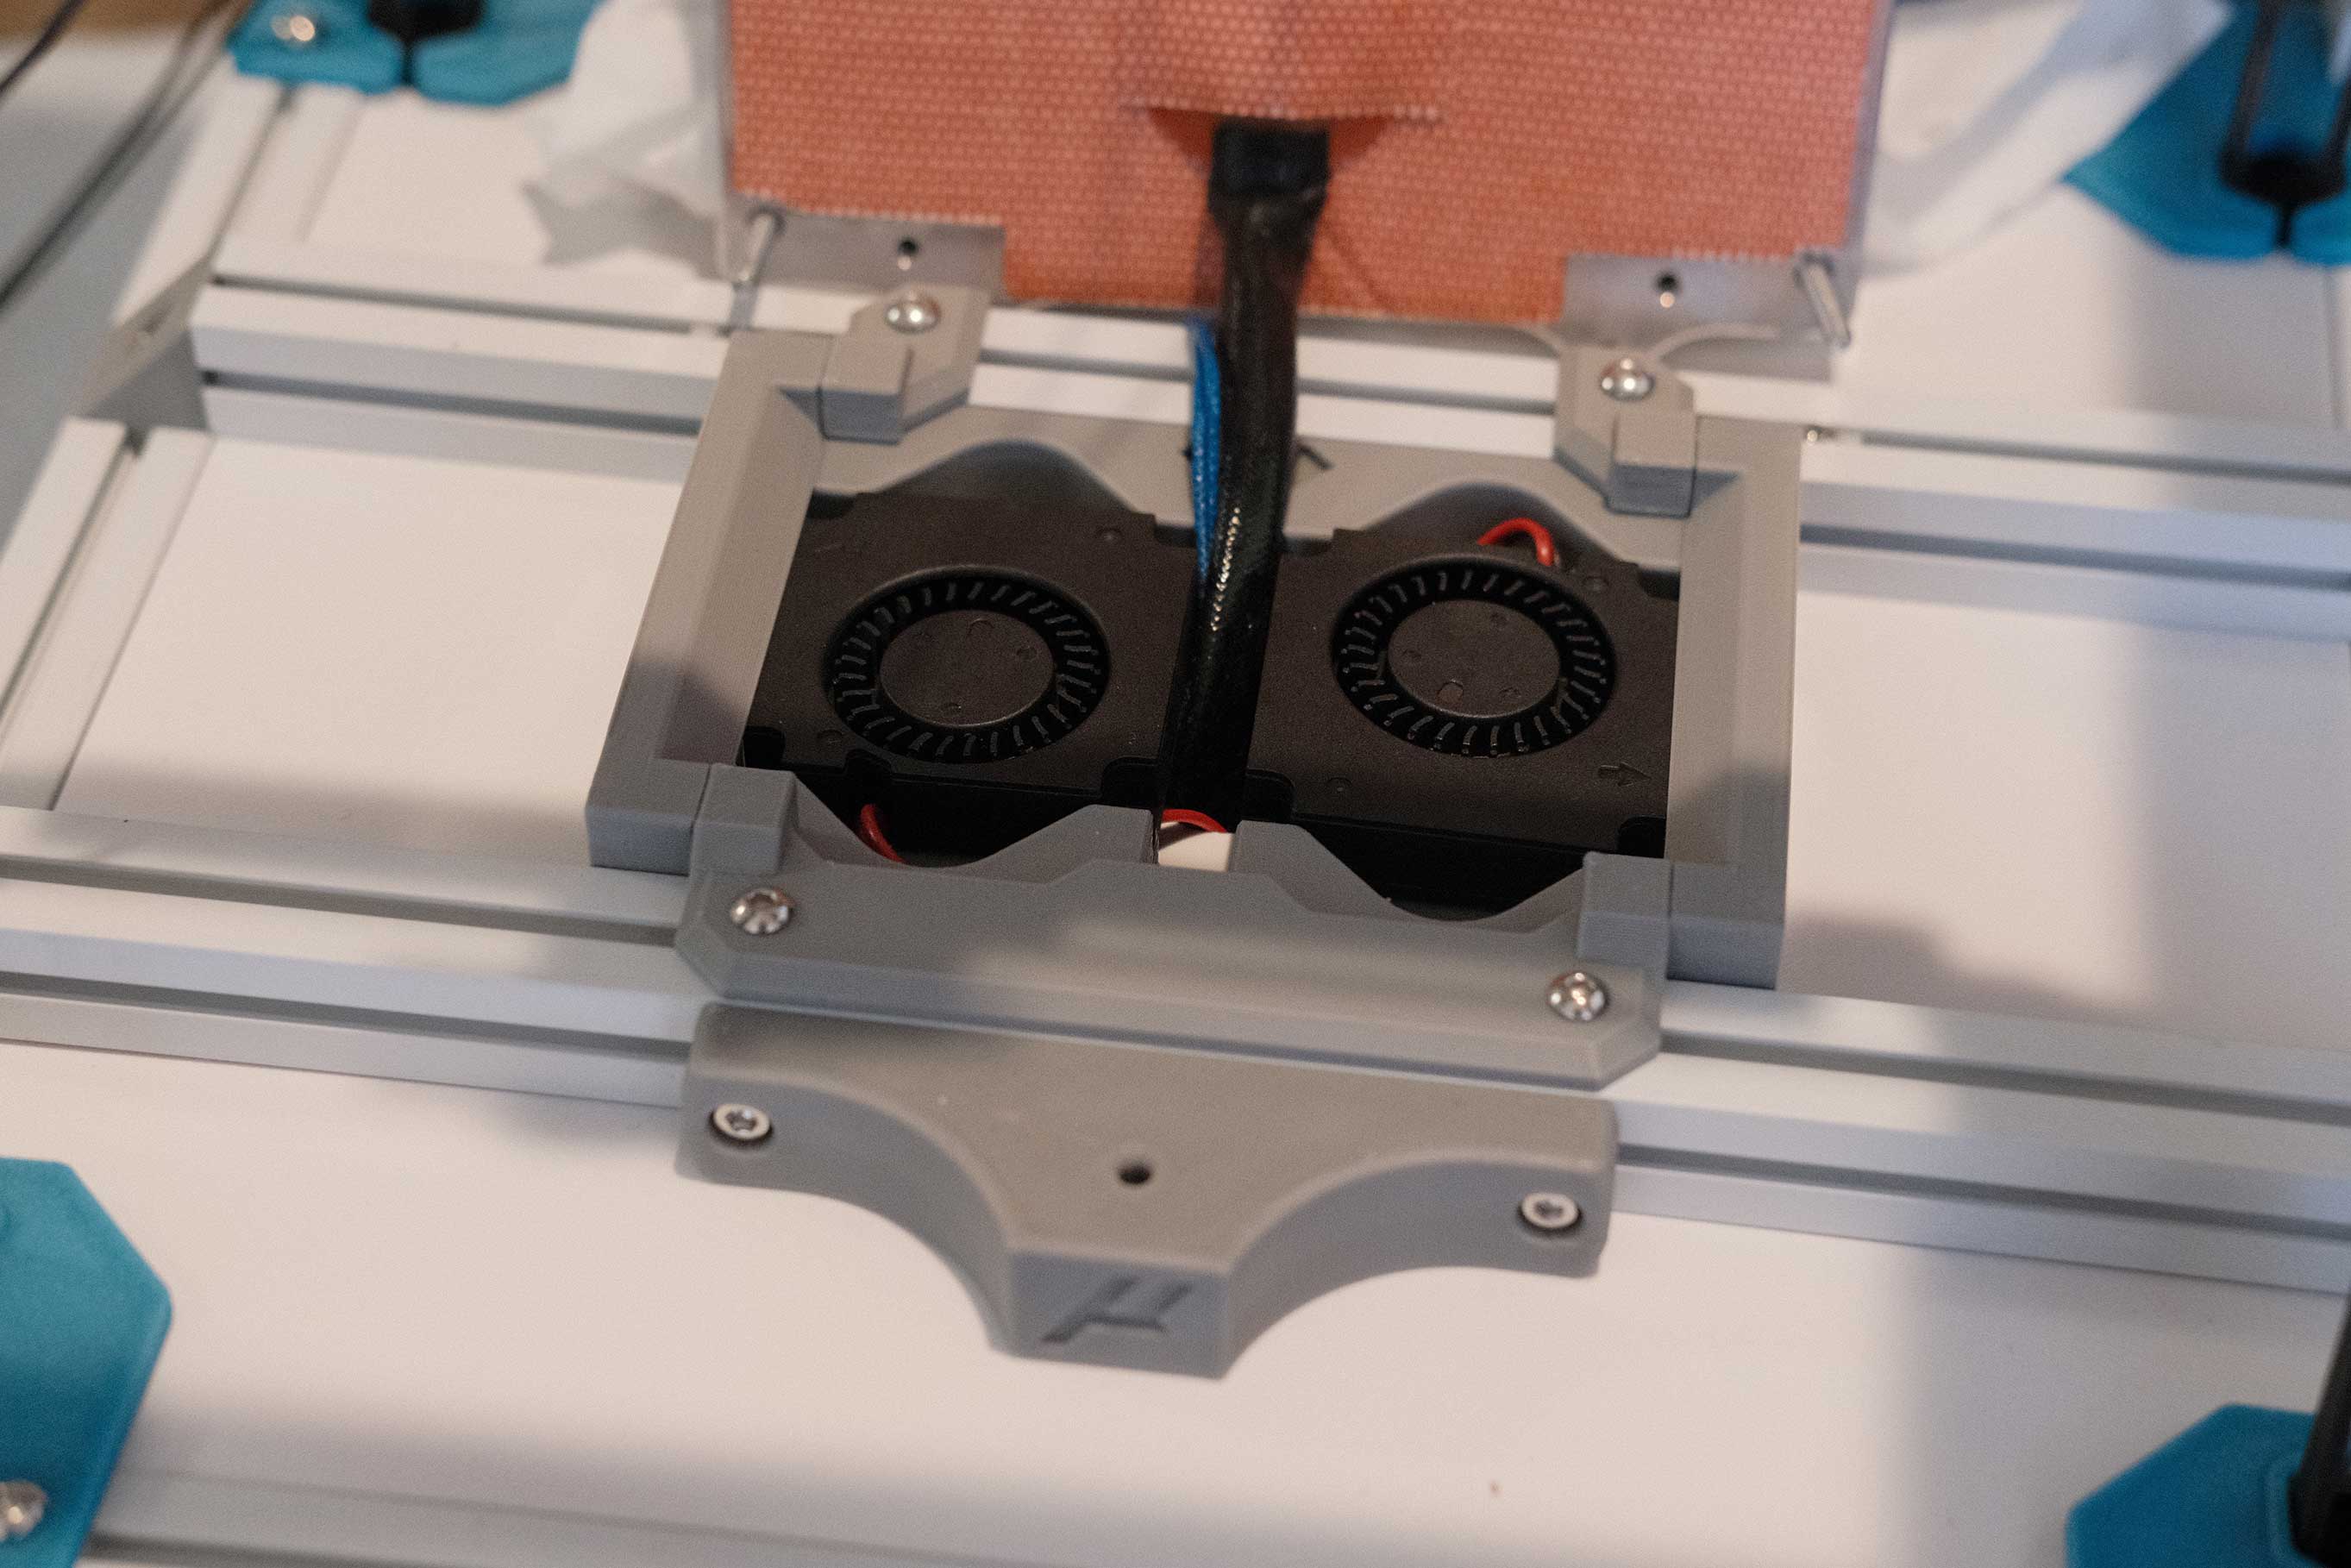
Mini Afterburner (Revisited)
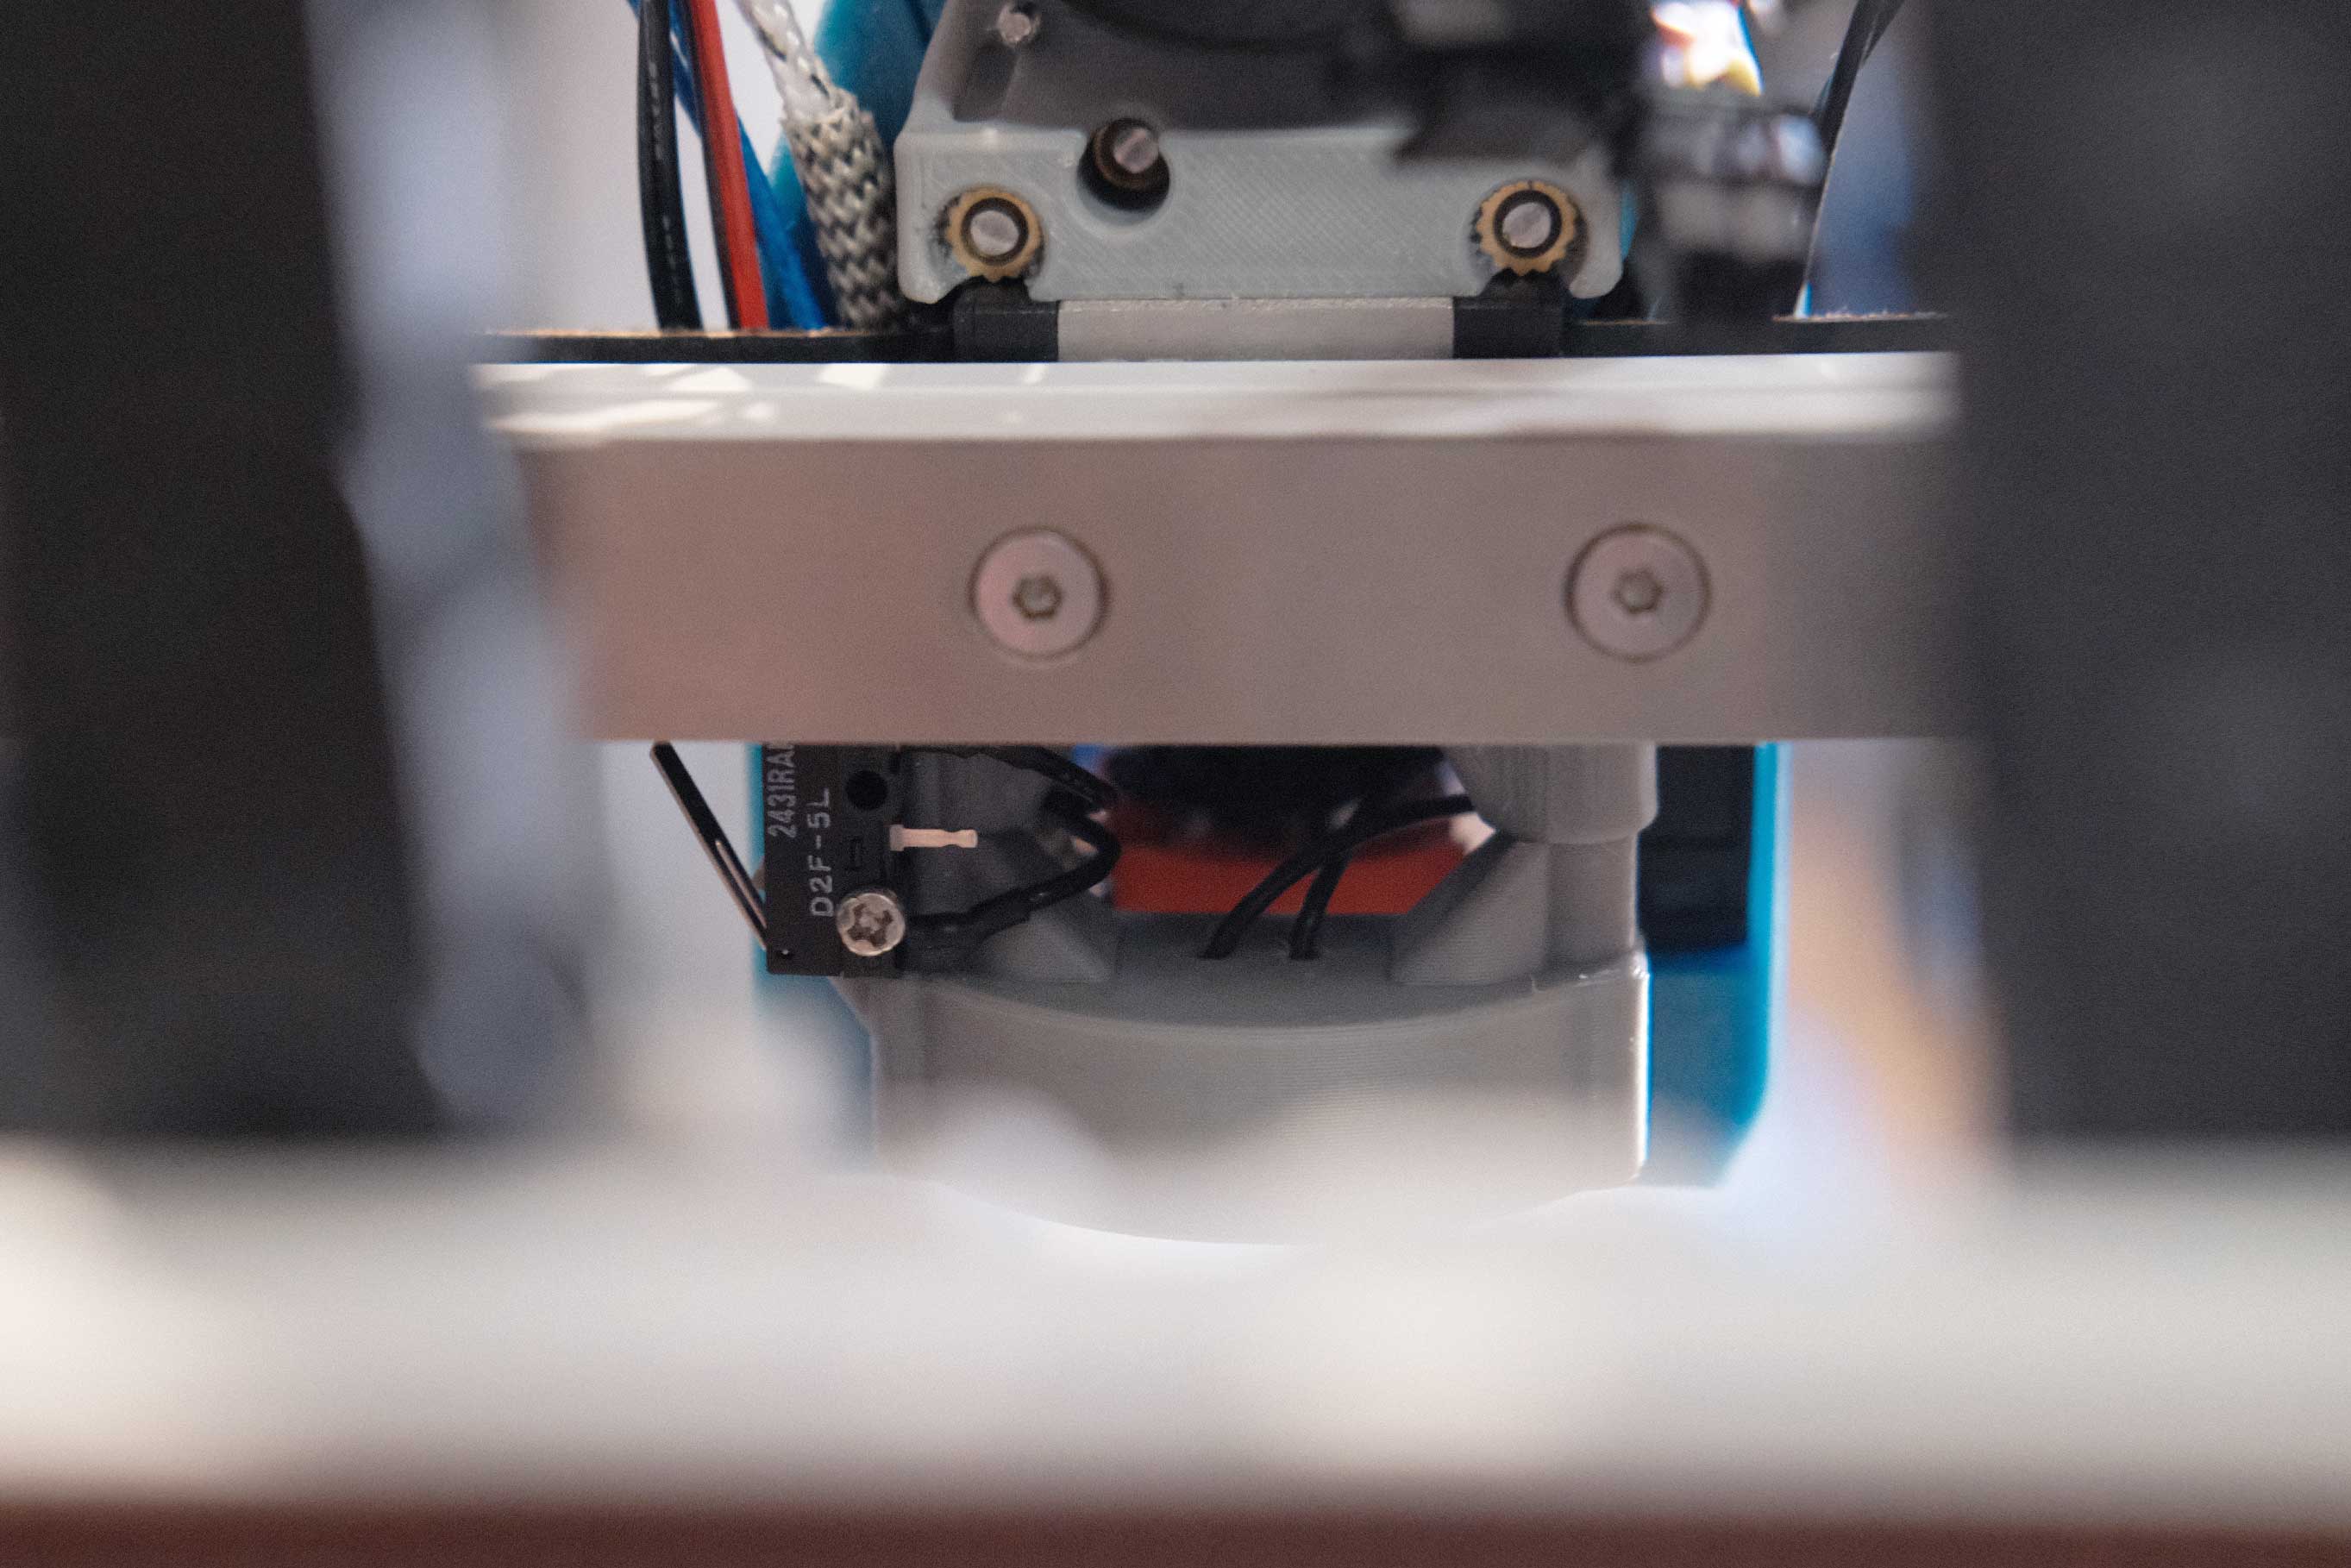
 Mini Afterburner - 1
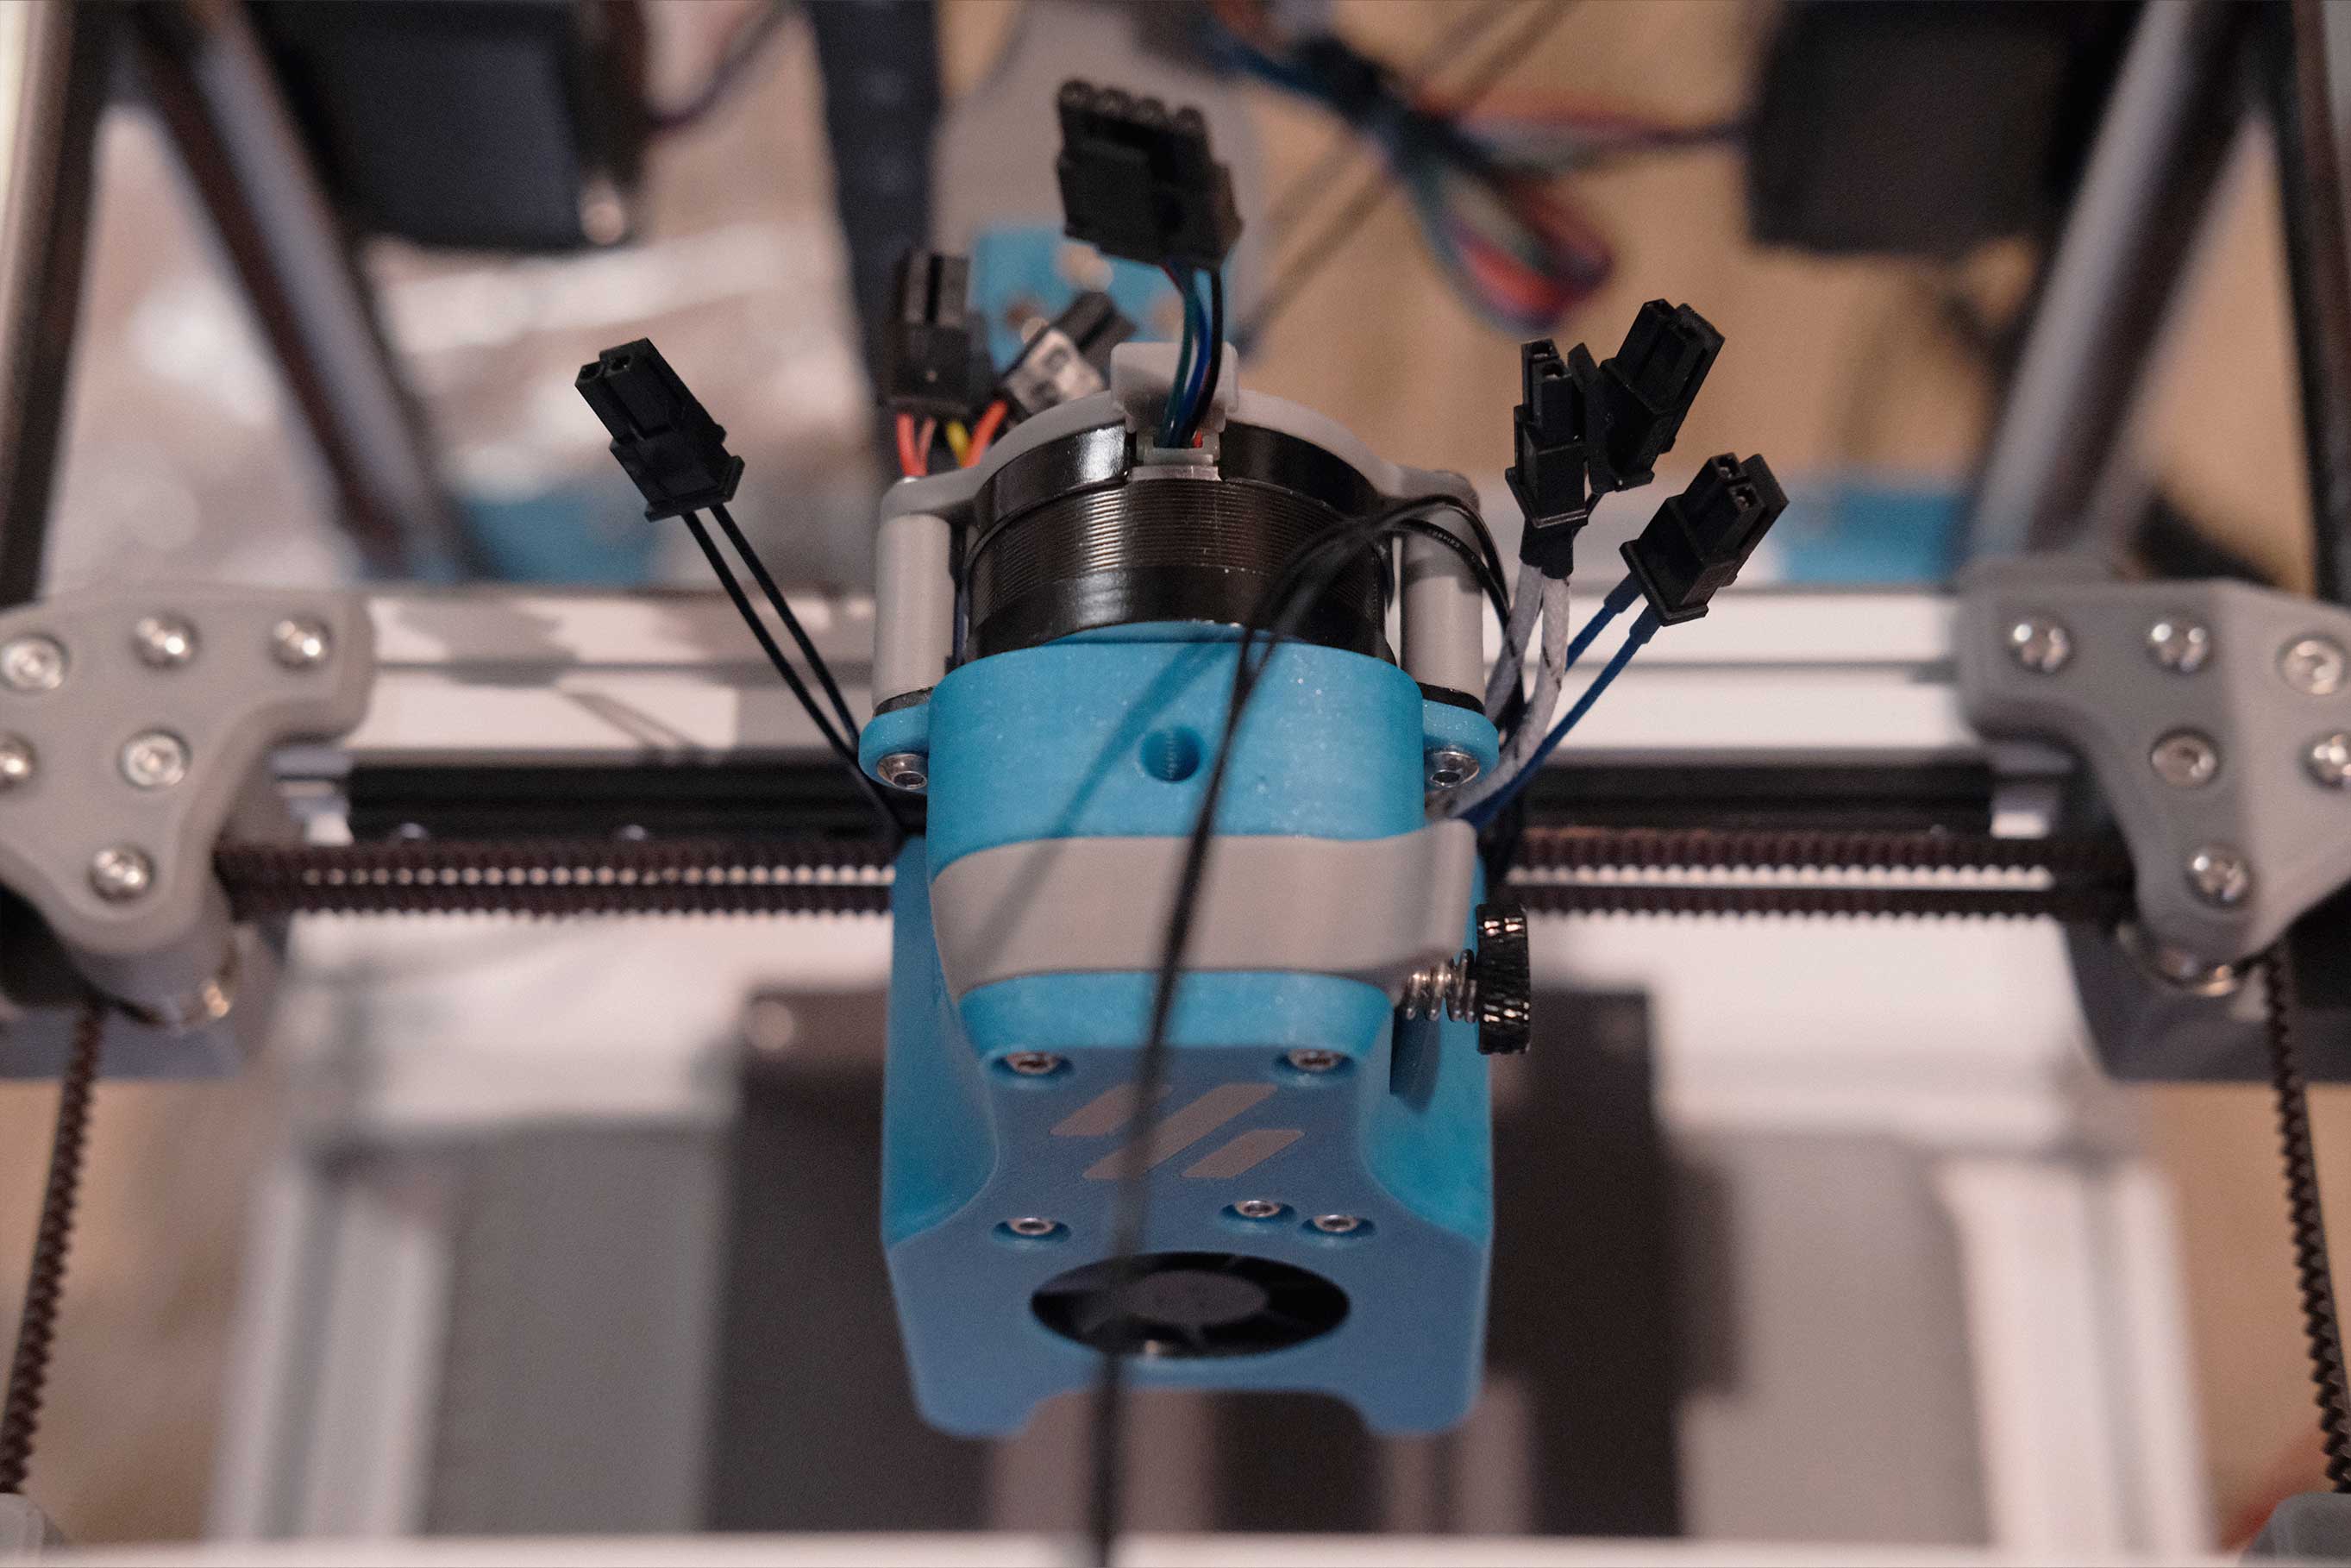 Mini Afterburner - 2
 Mini Afterburner - 3
 Mini Afterburner - 4
 Mini Afterburner - 5
 Mini Afterburner - 6
 Mini Afterburner - 7
 Mini Afterburner - 8
 Mini Afterburner - 9
Umbilical/Cable Chain
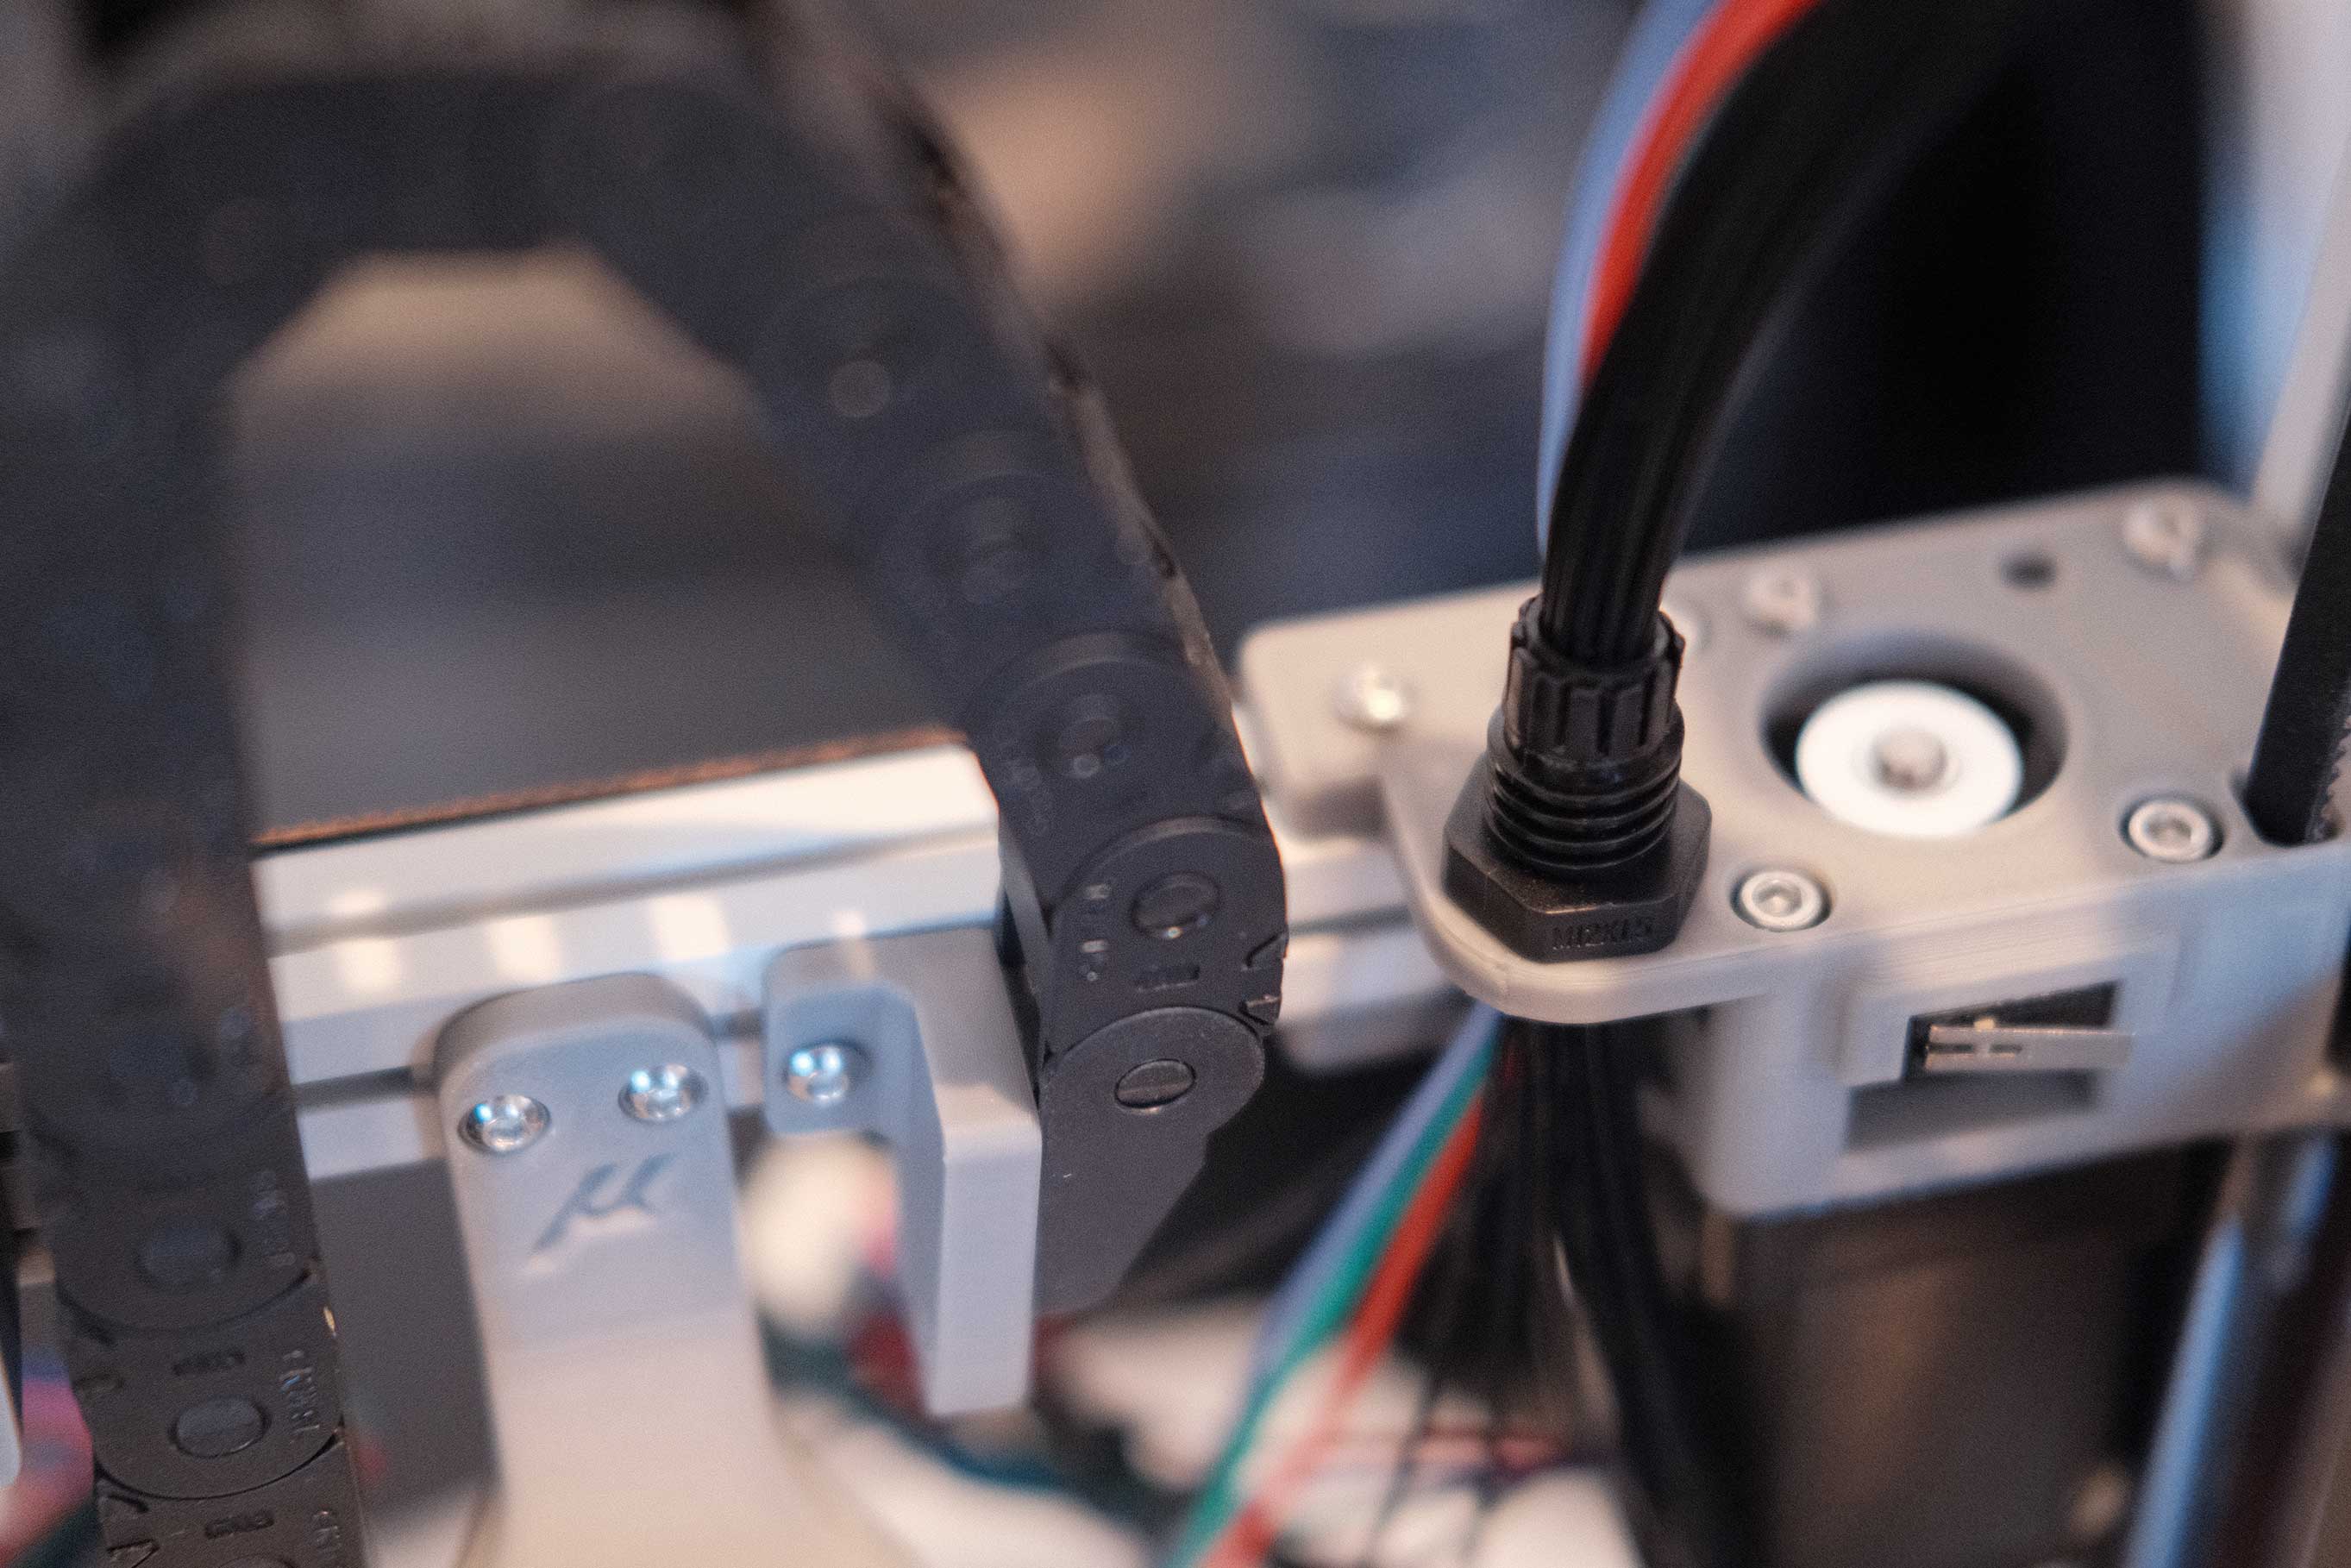
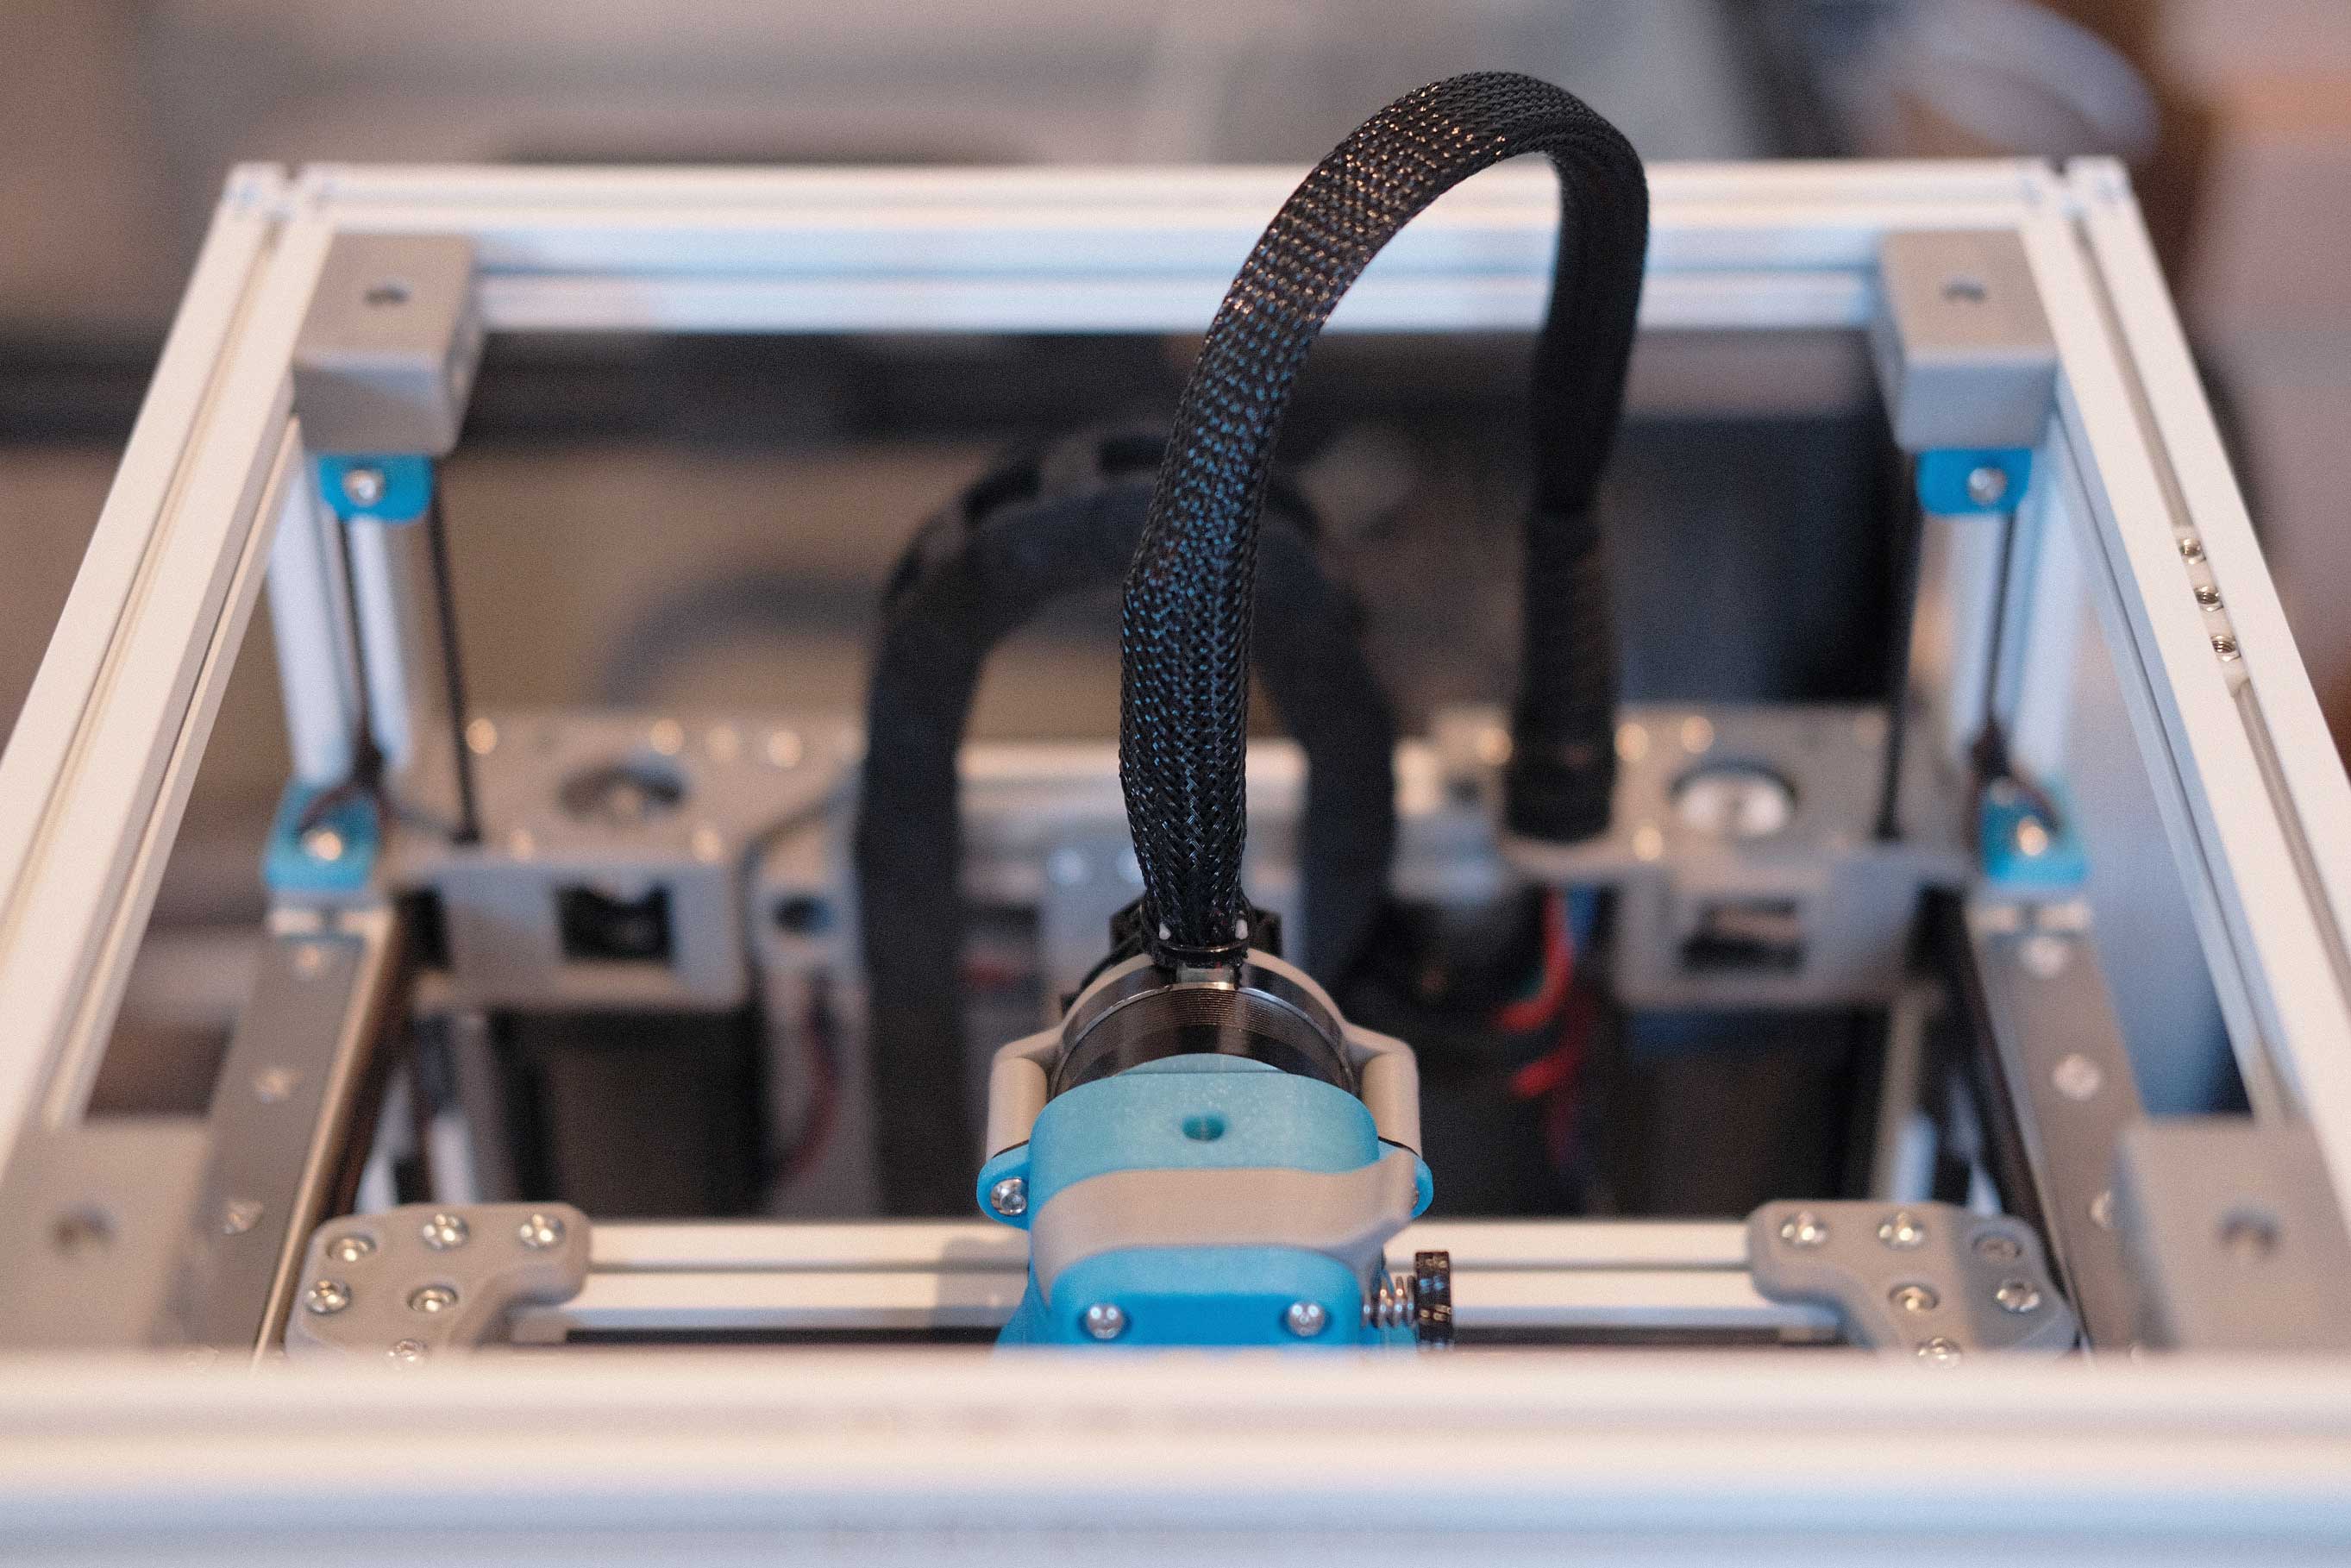
 Umbilical/Cable Chain - 1
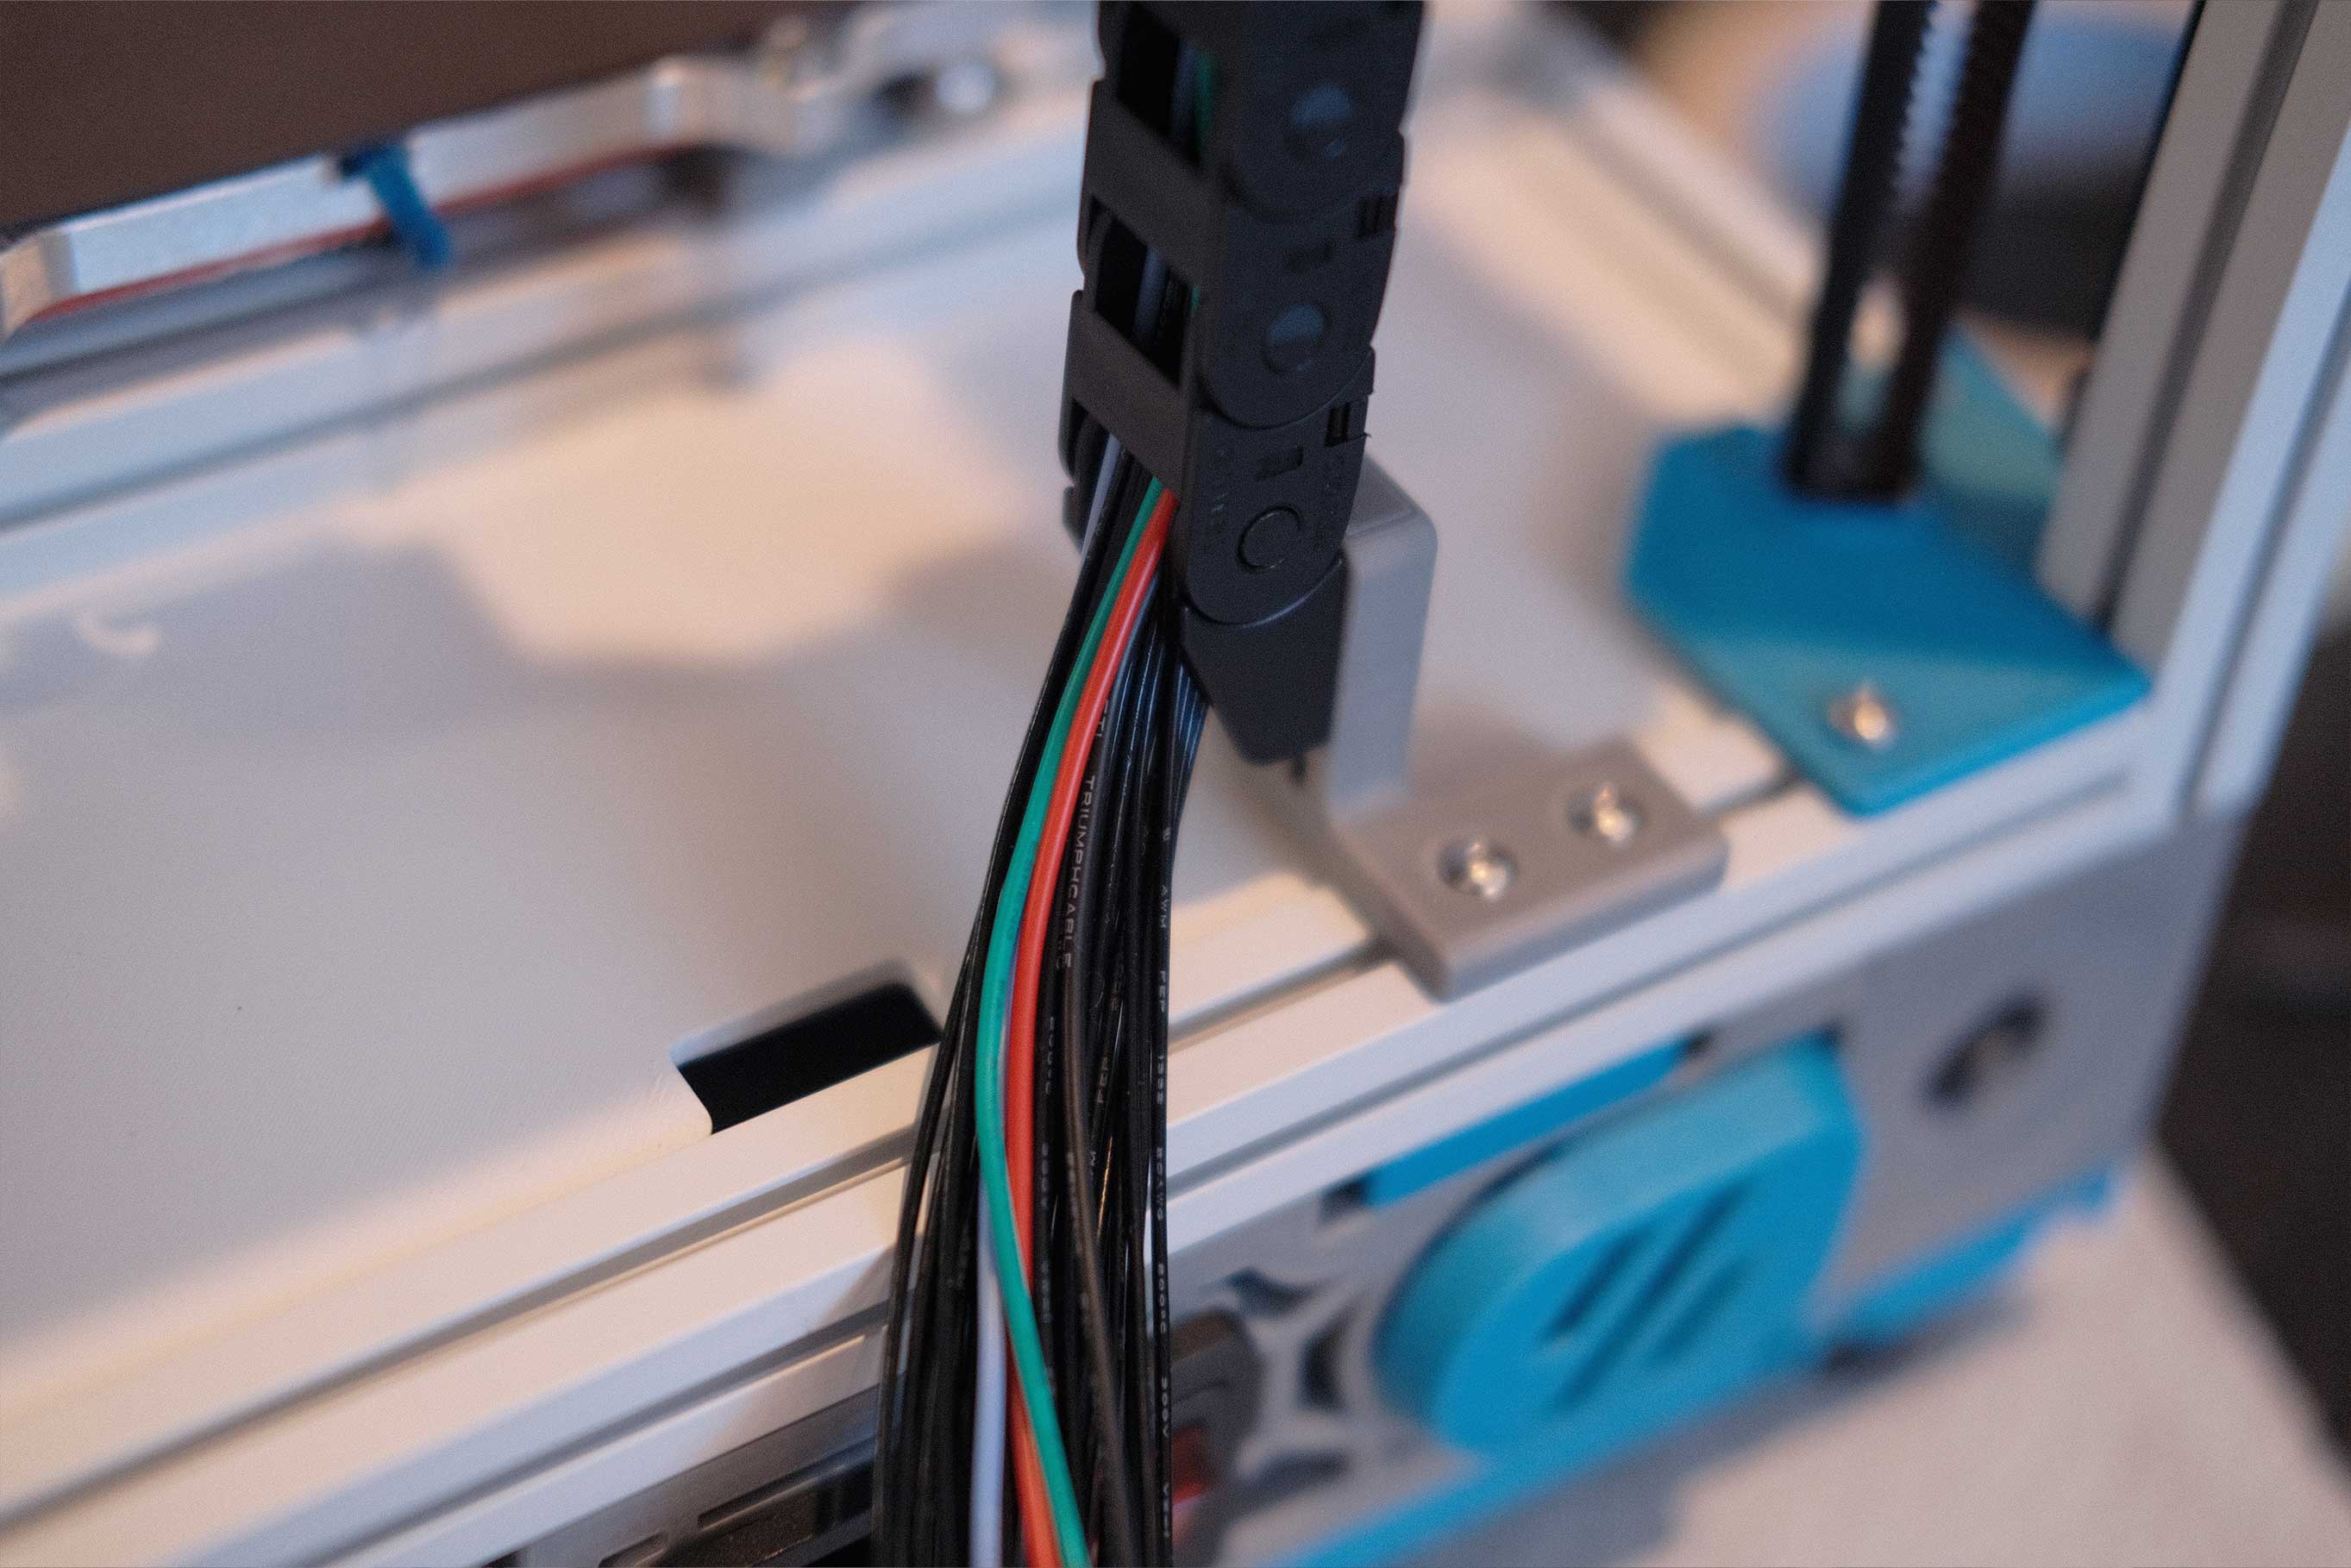 Umbilical/Cable Chain - 2
Wiring
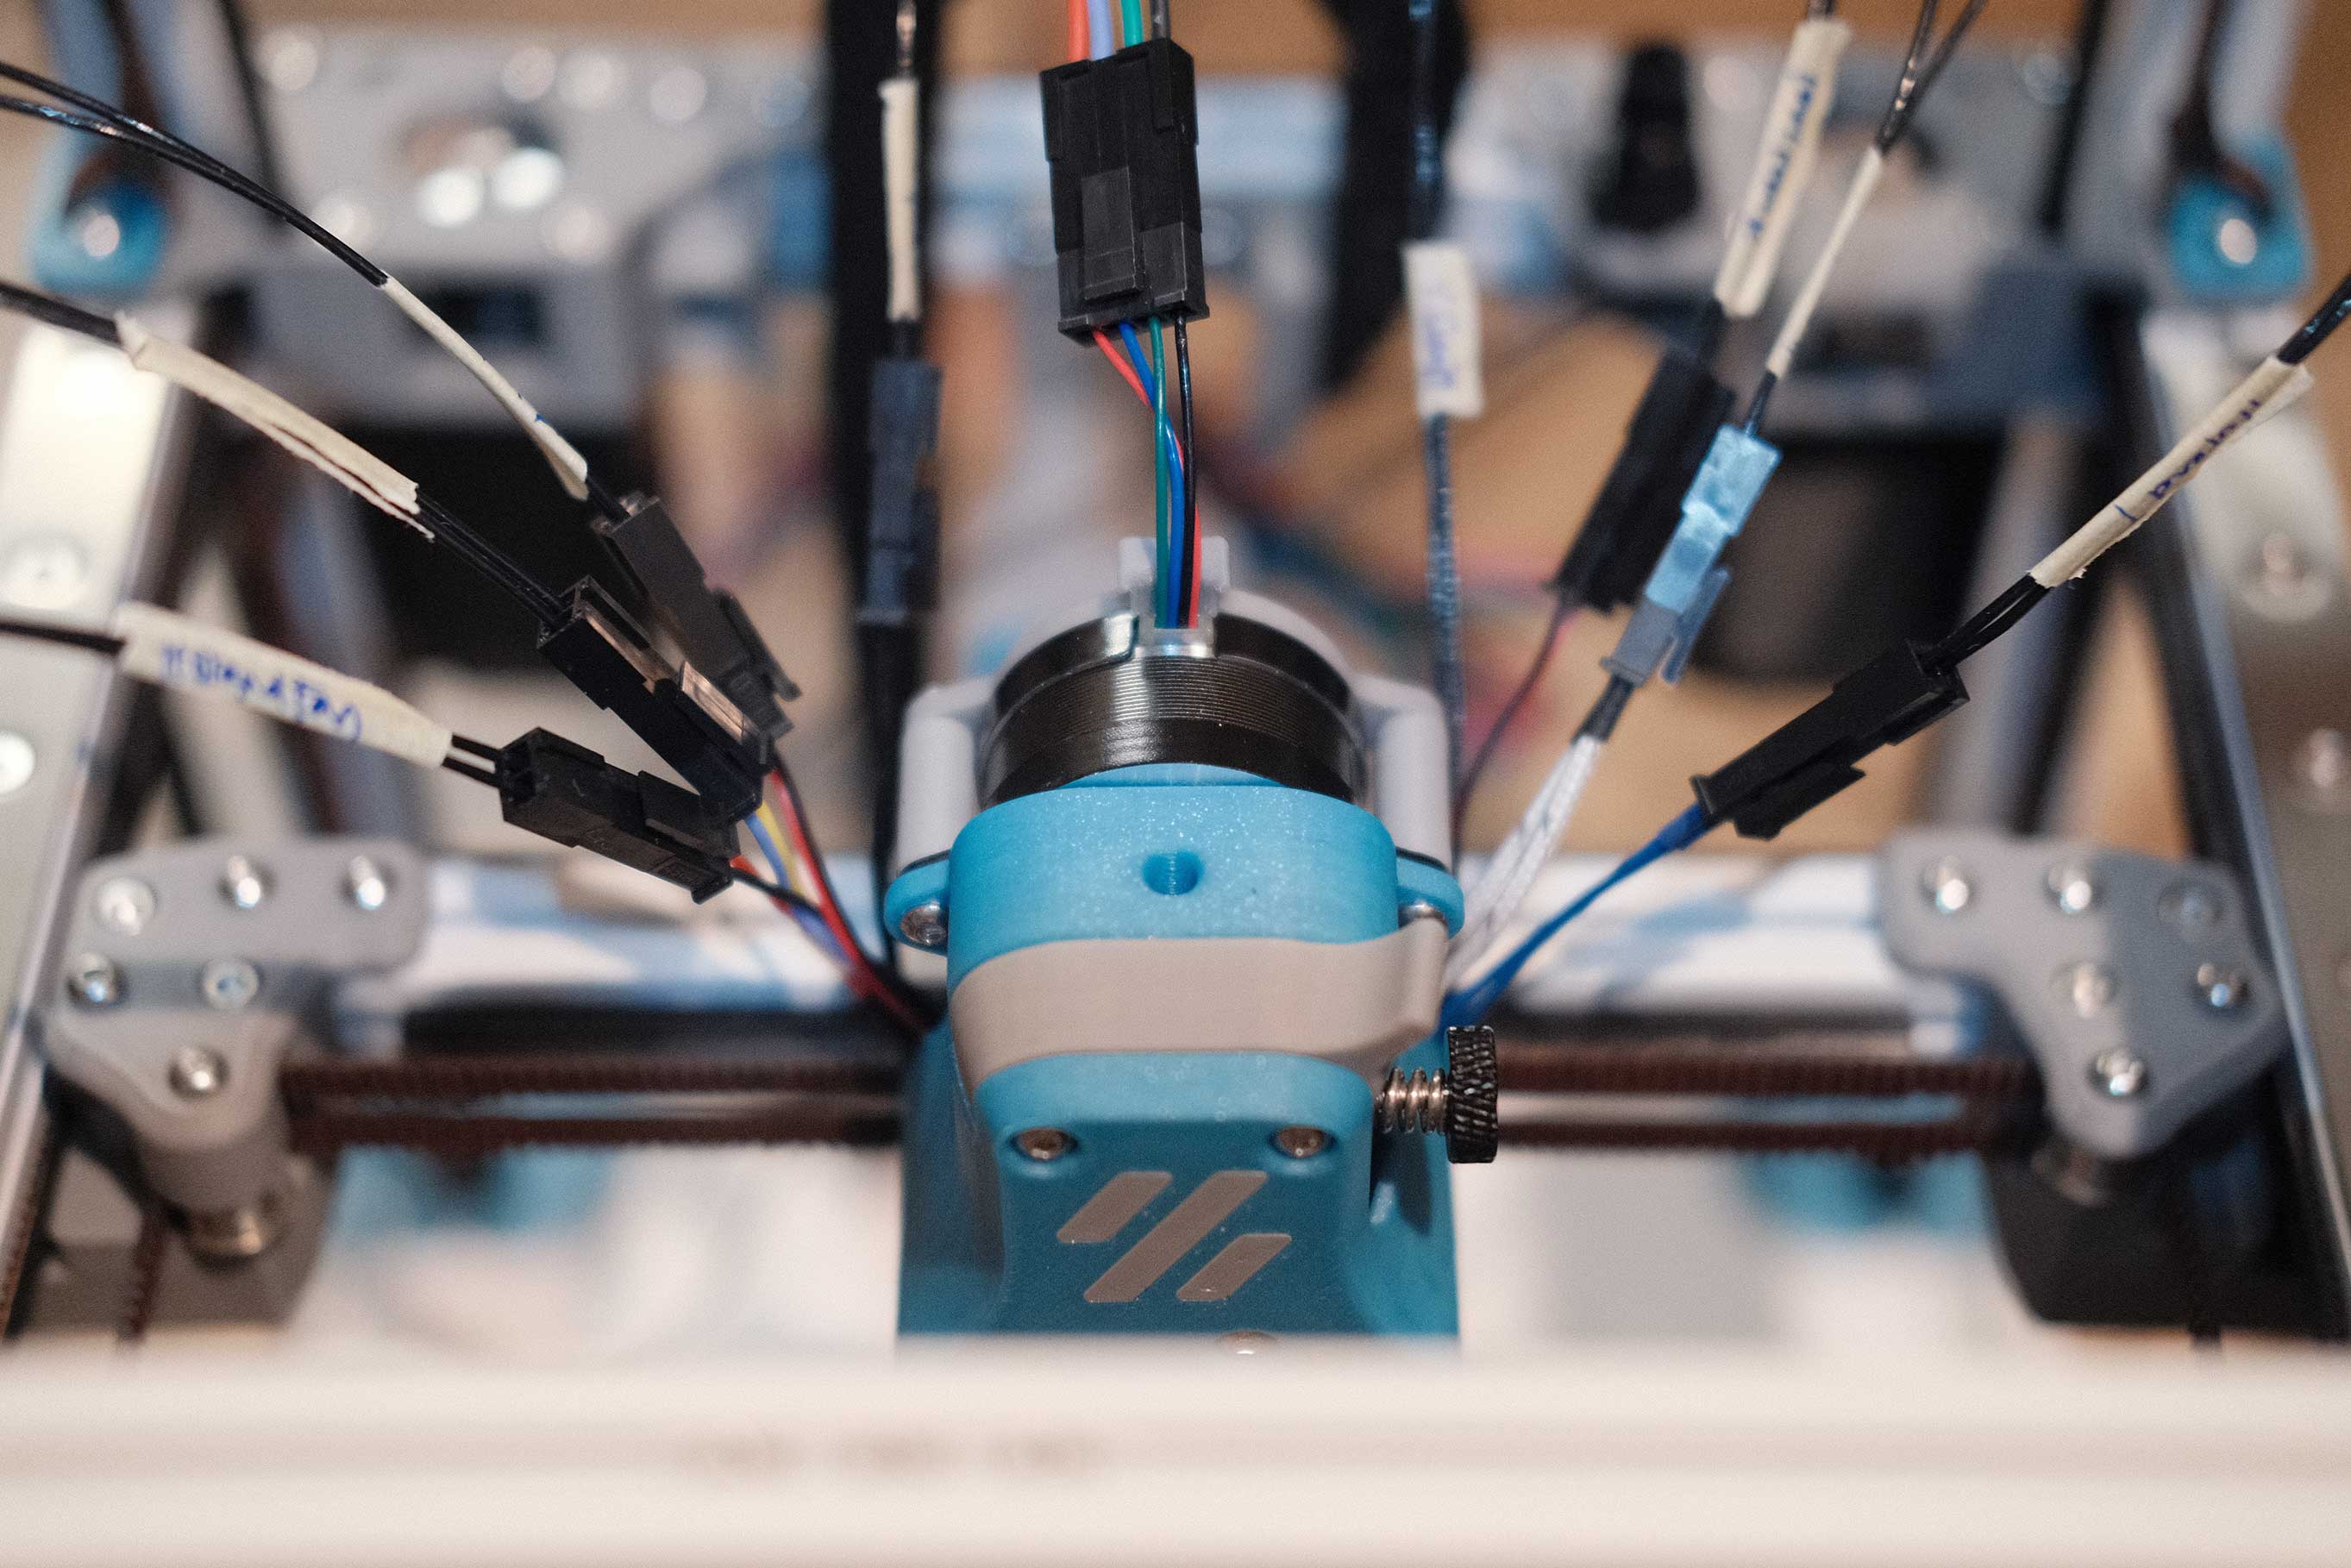
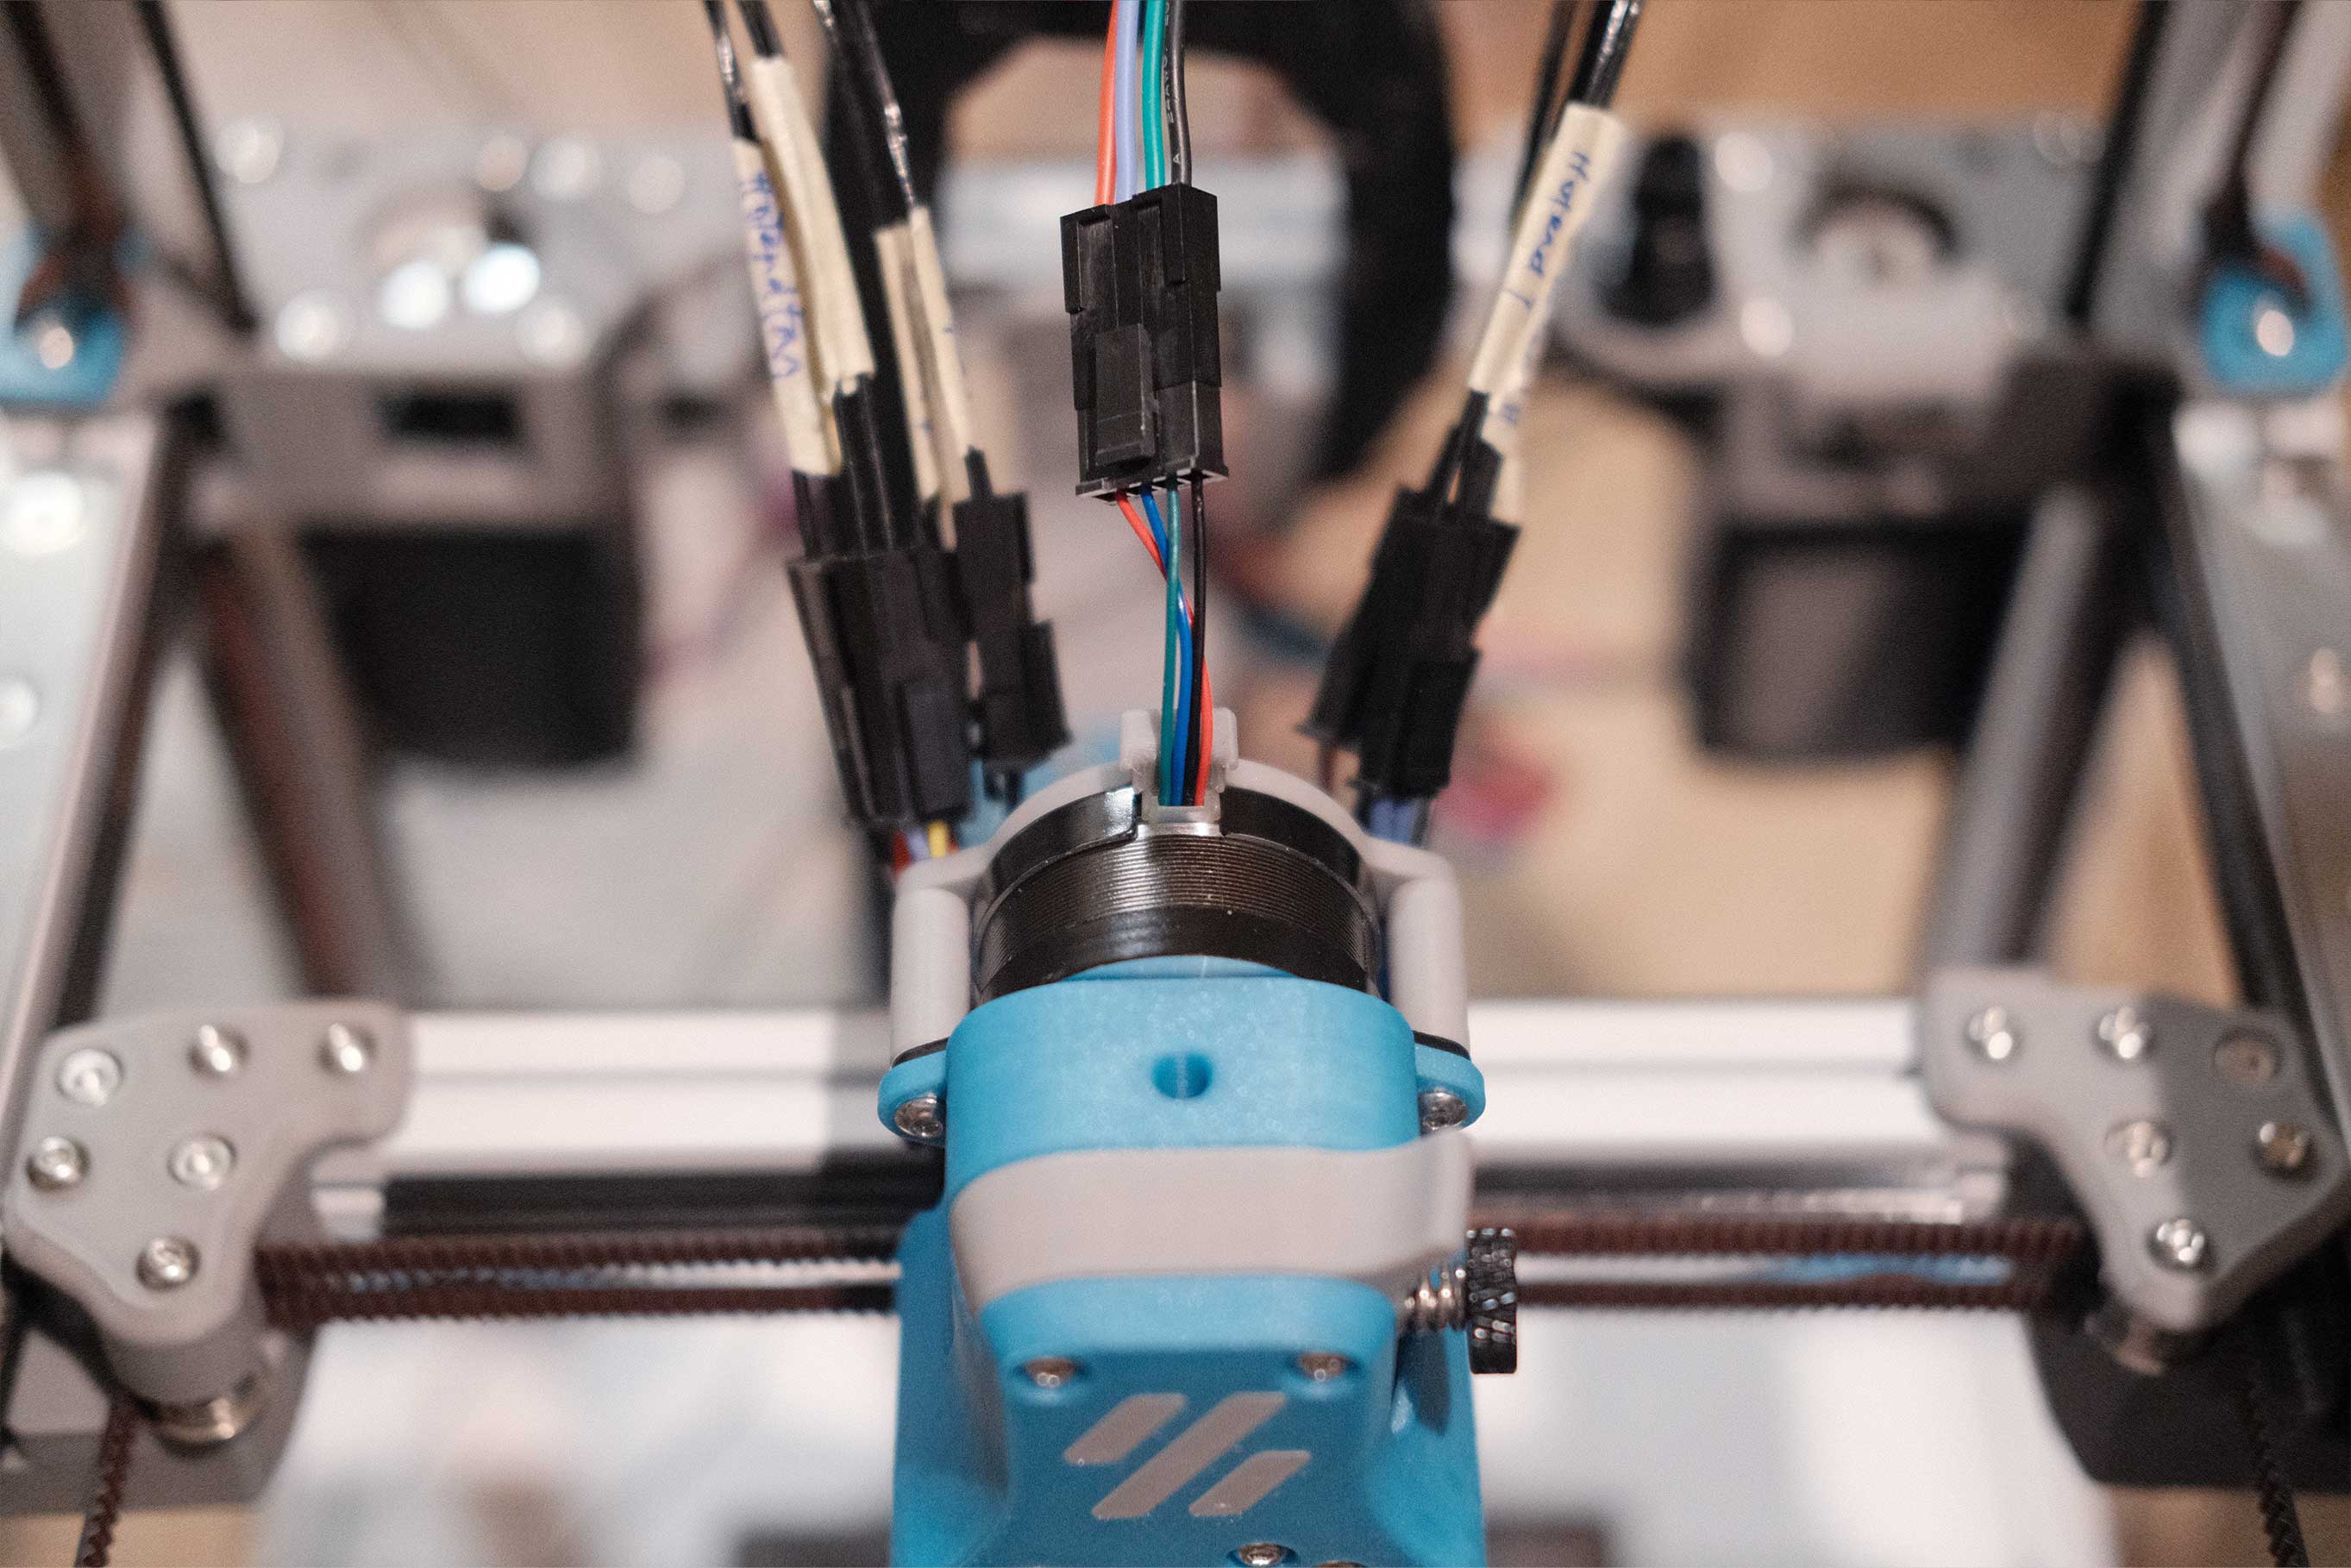
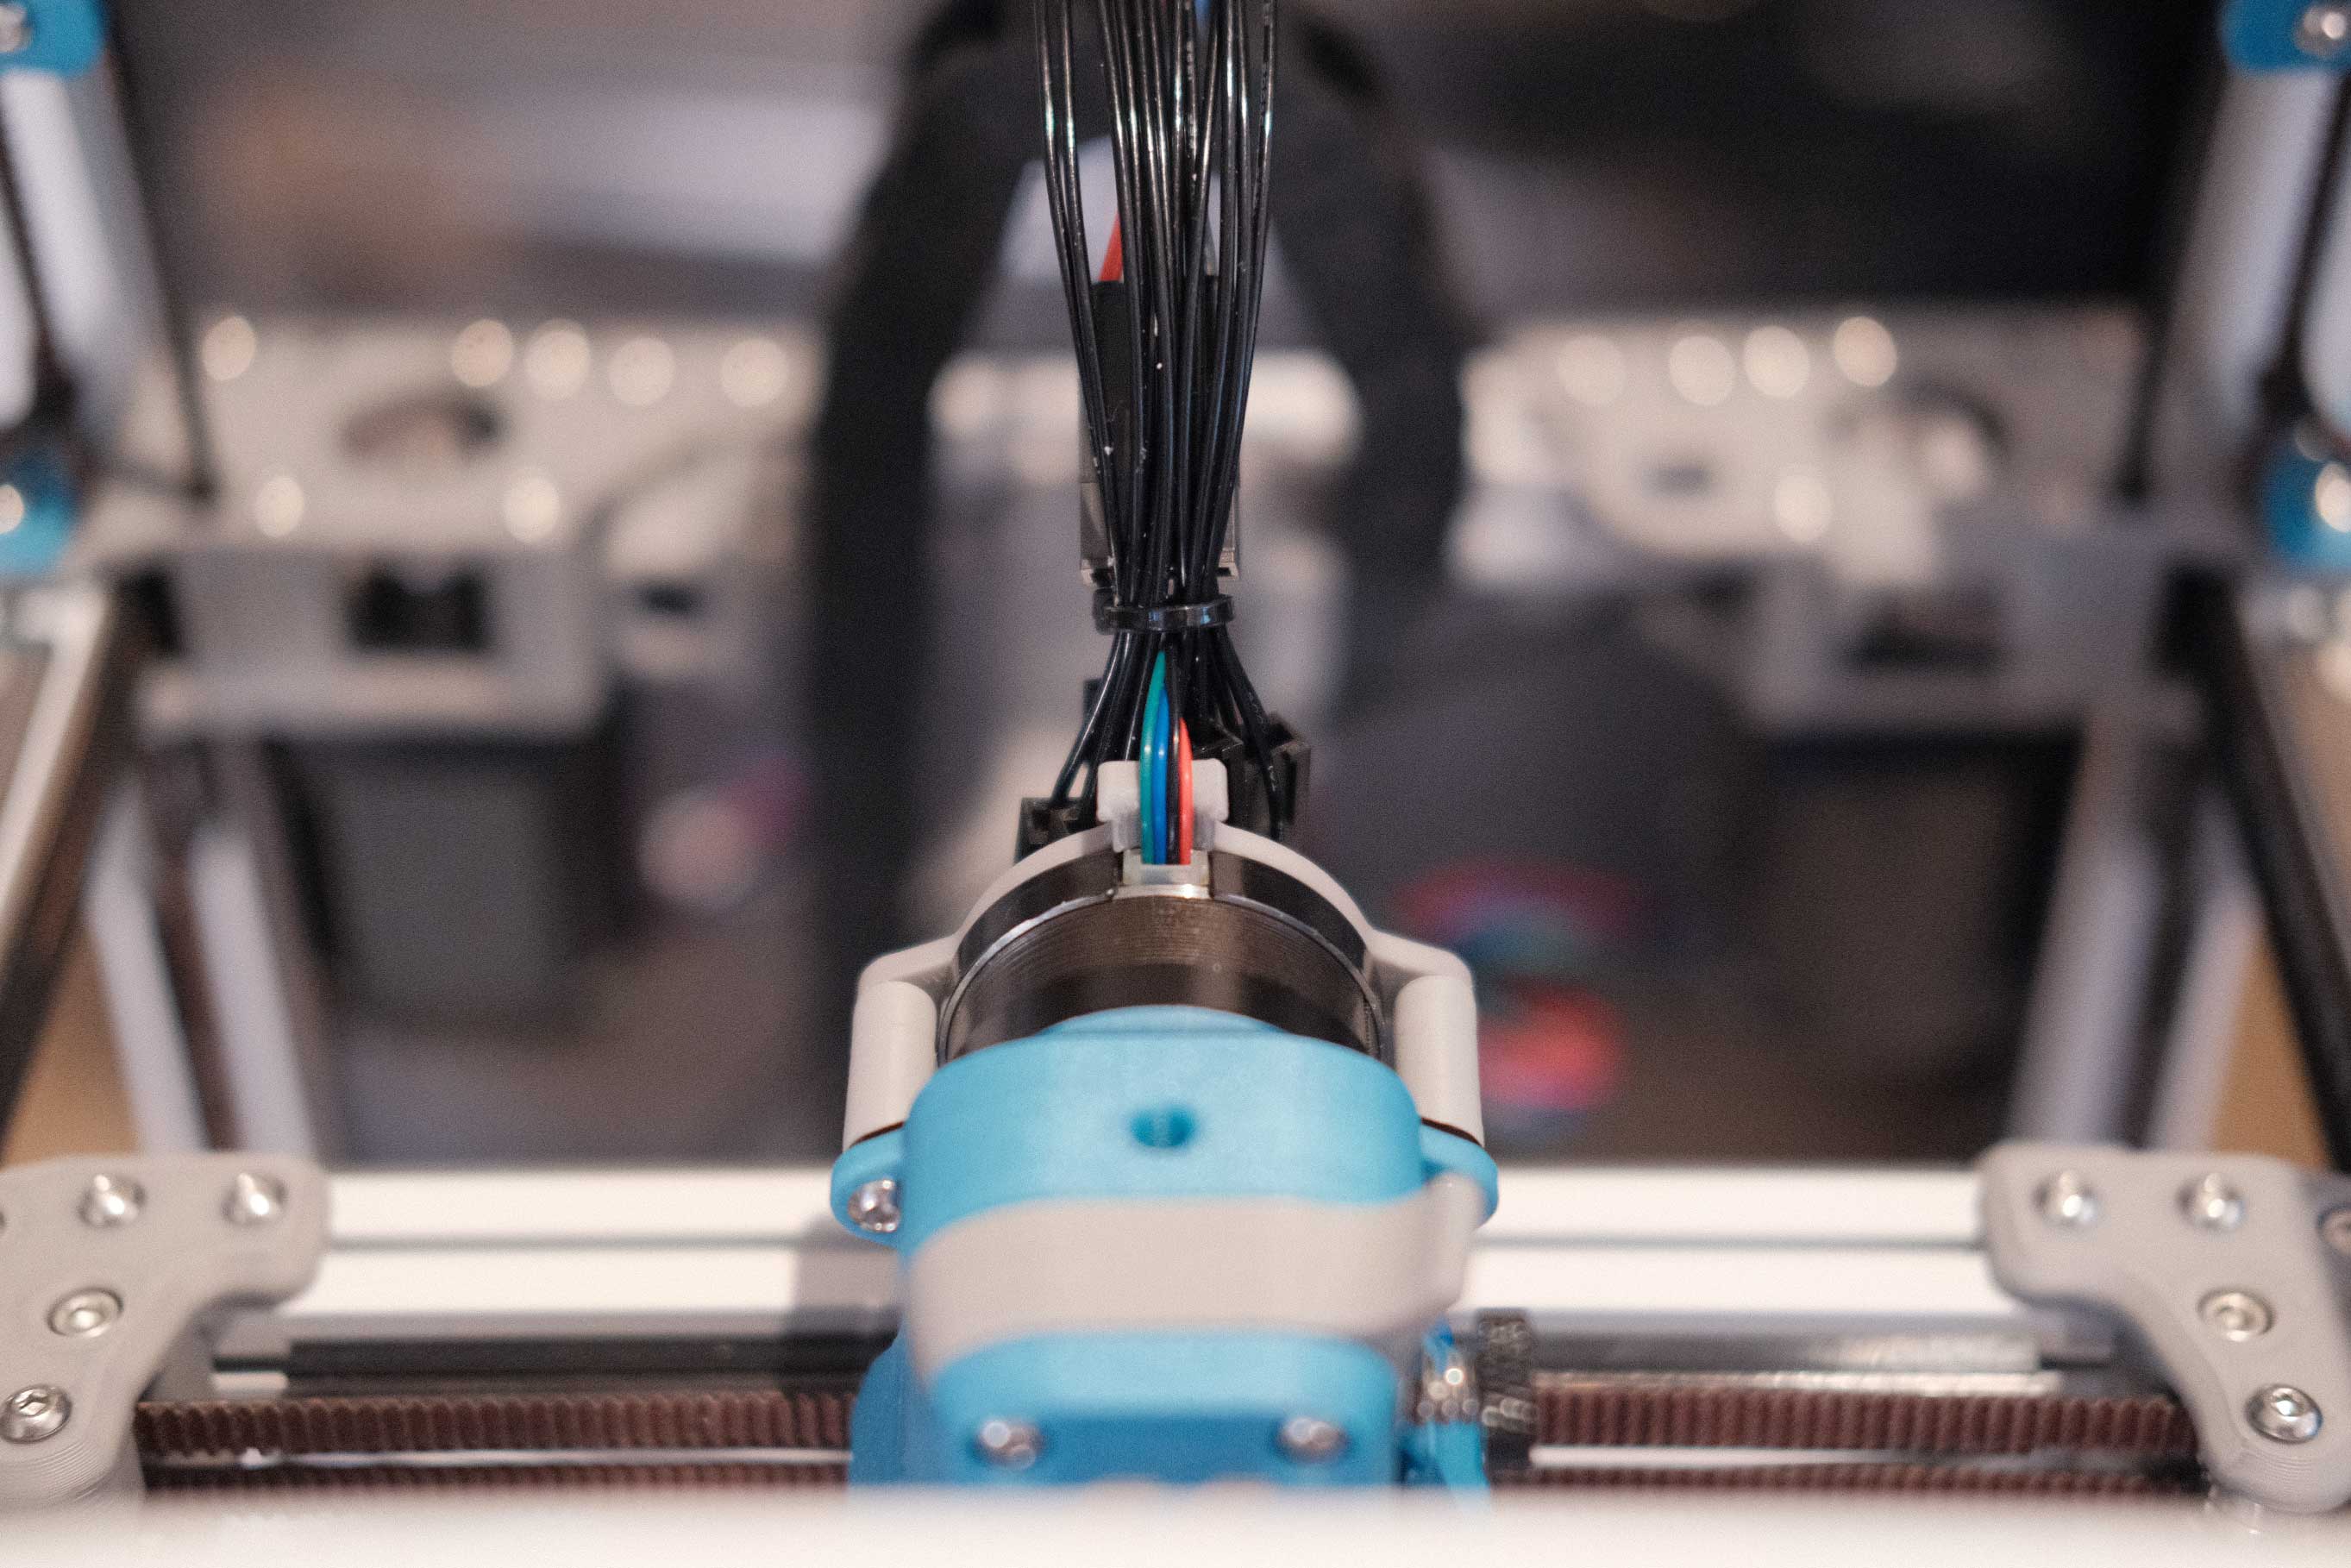
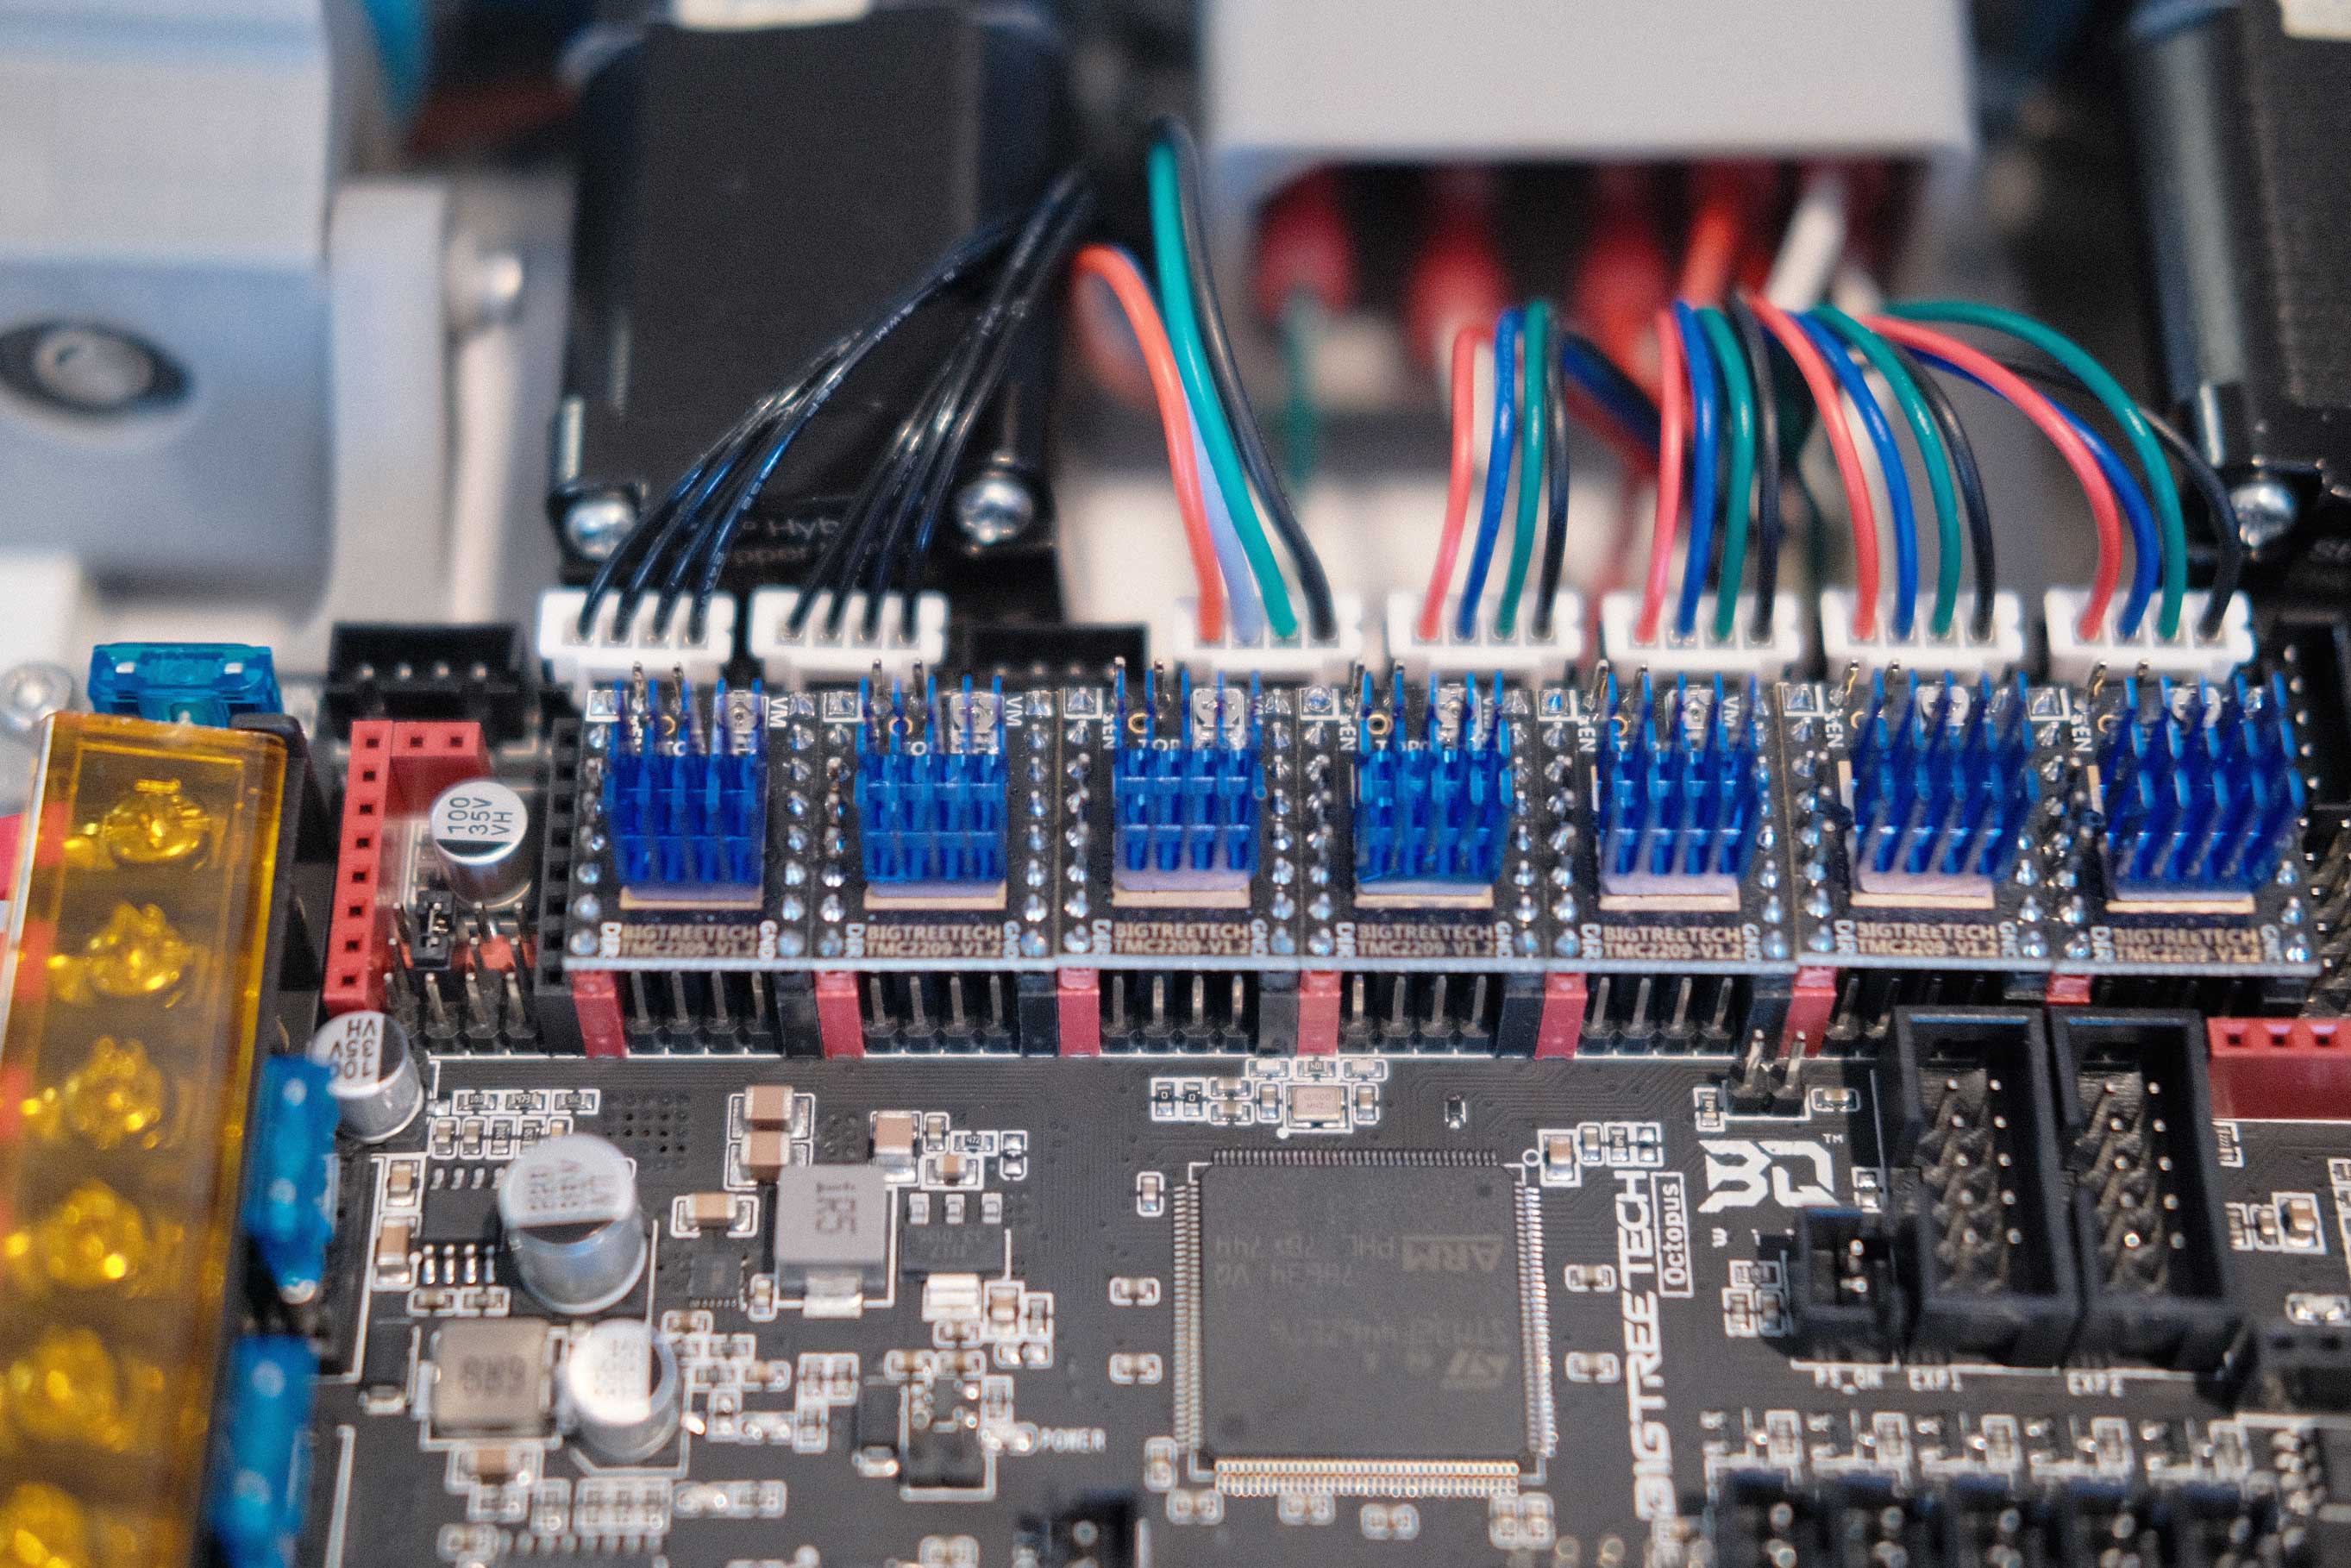 A/B & Extruder Motors - 1
 A/B & Extruder Motors - 1
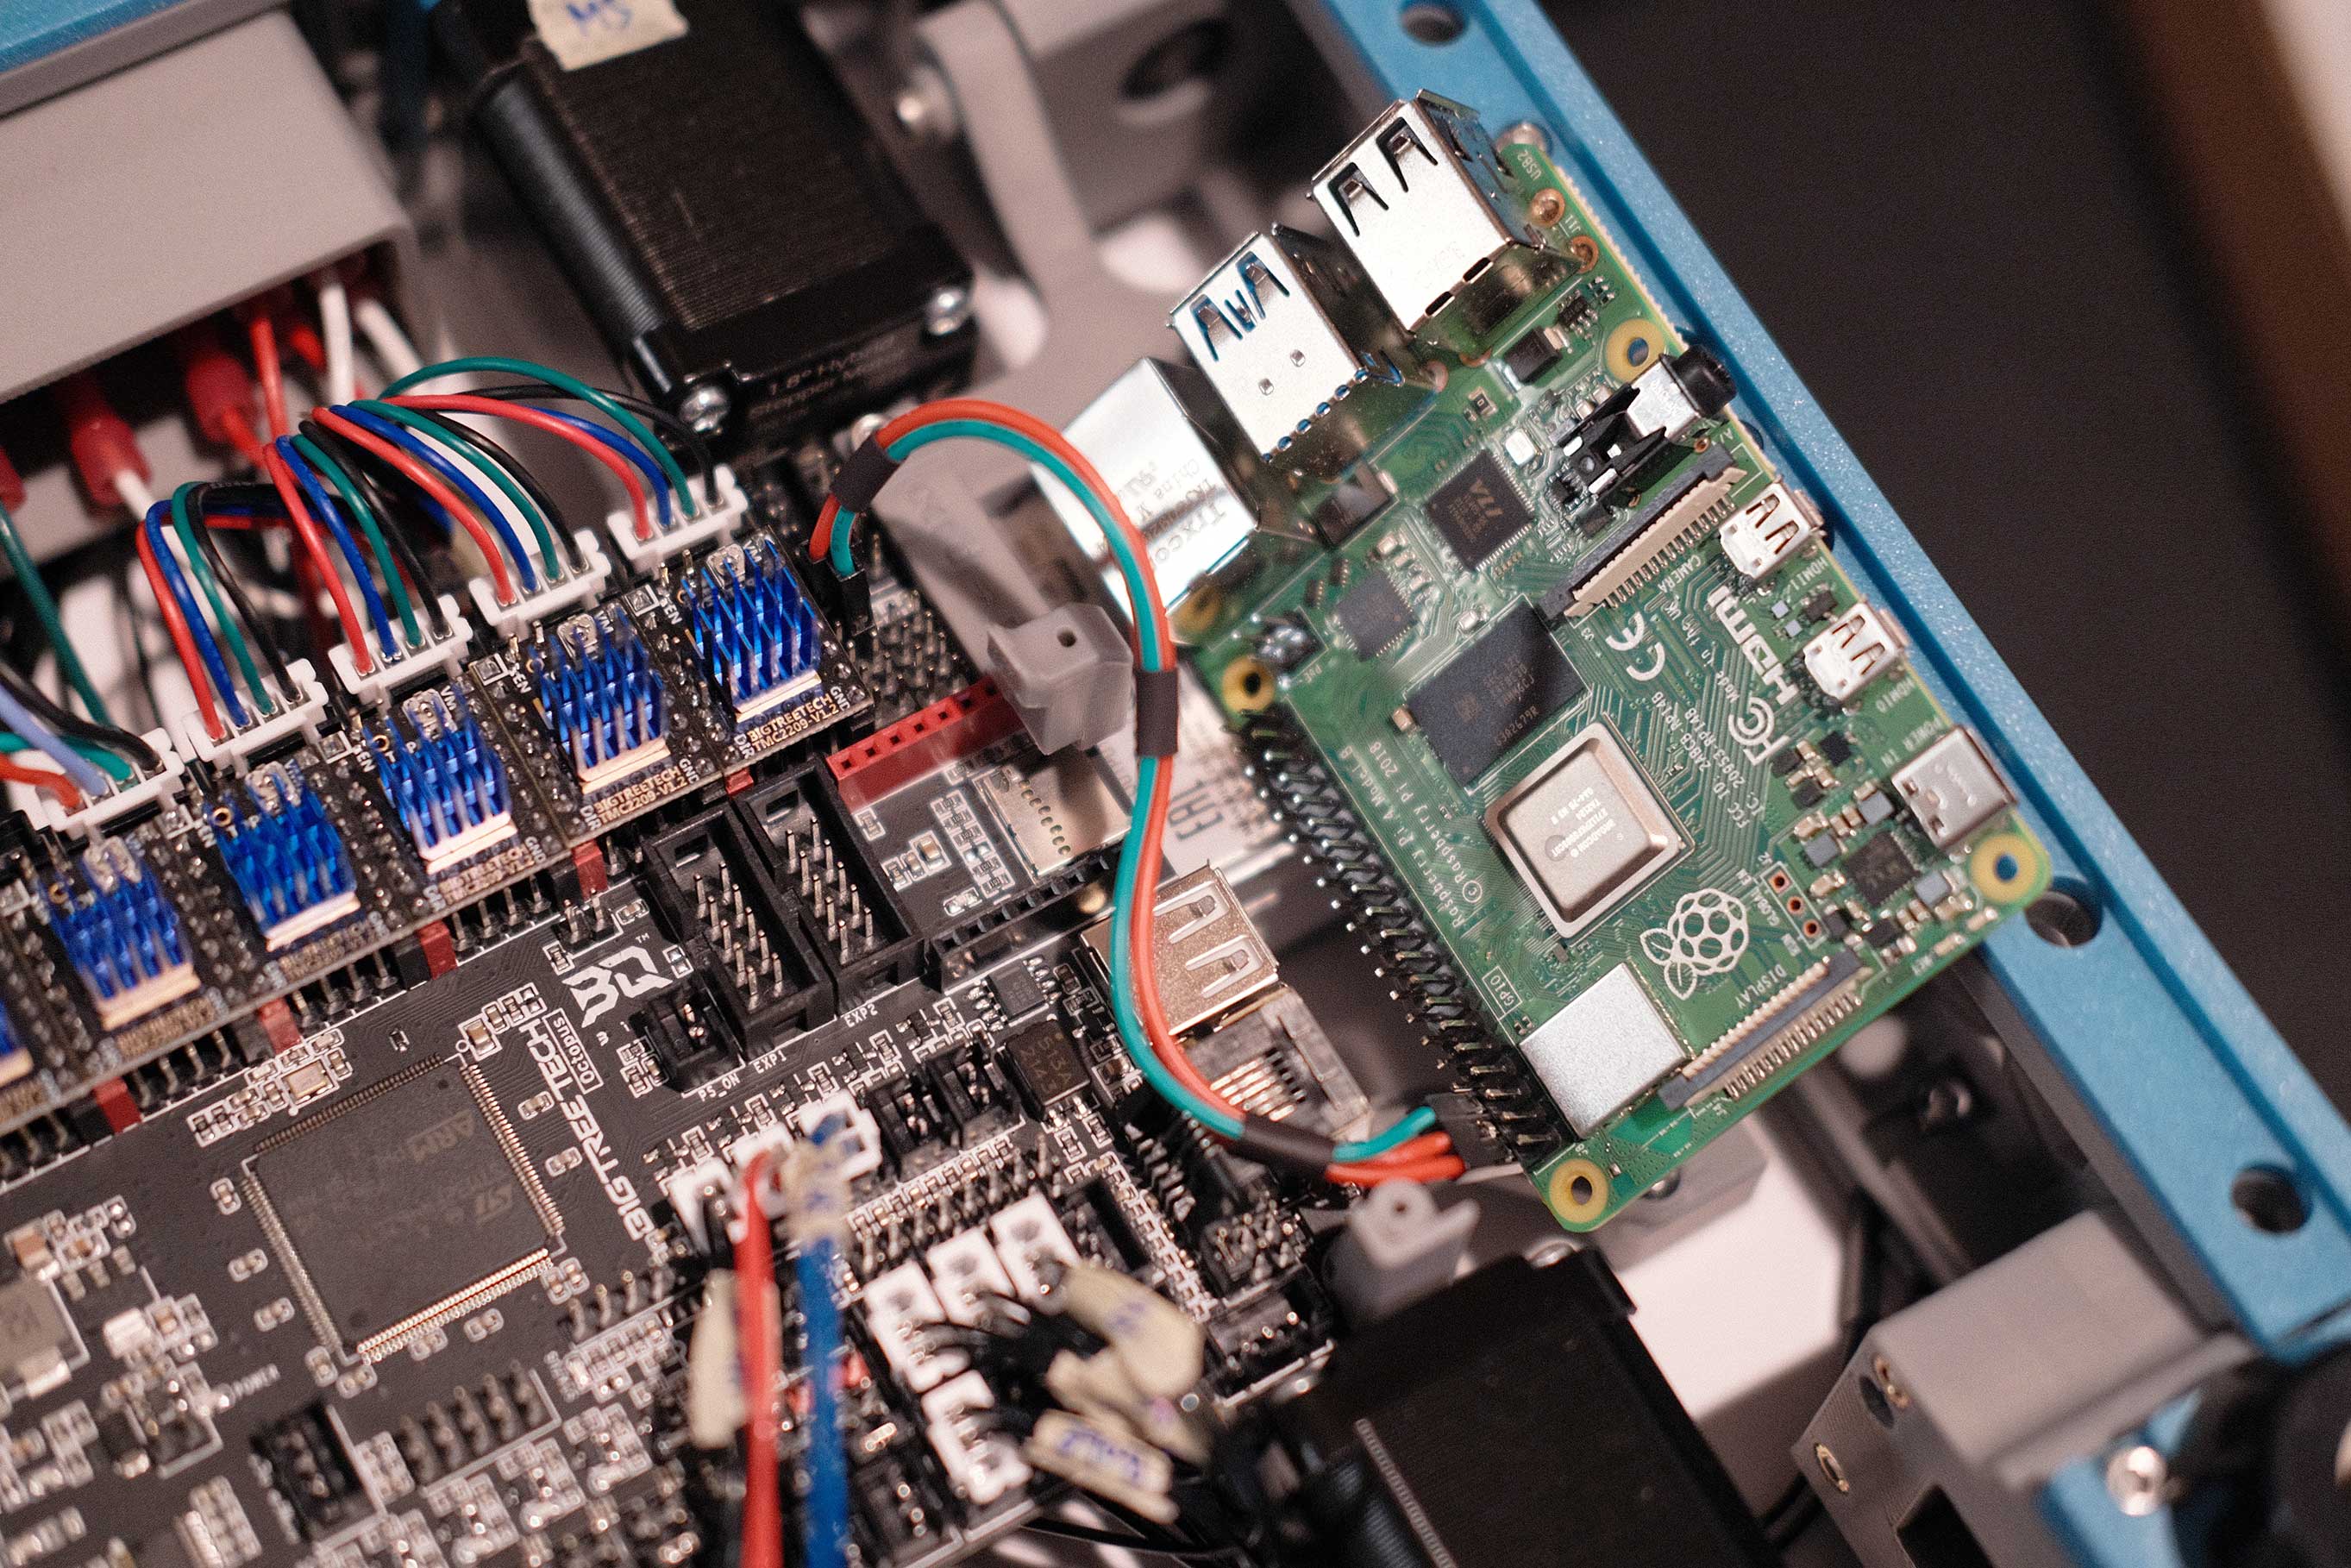 Raspberry Pi - 1
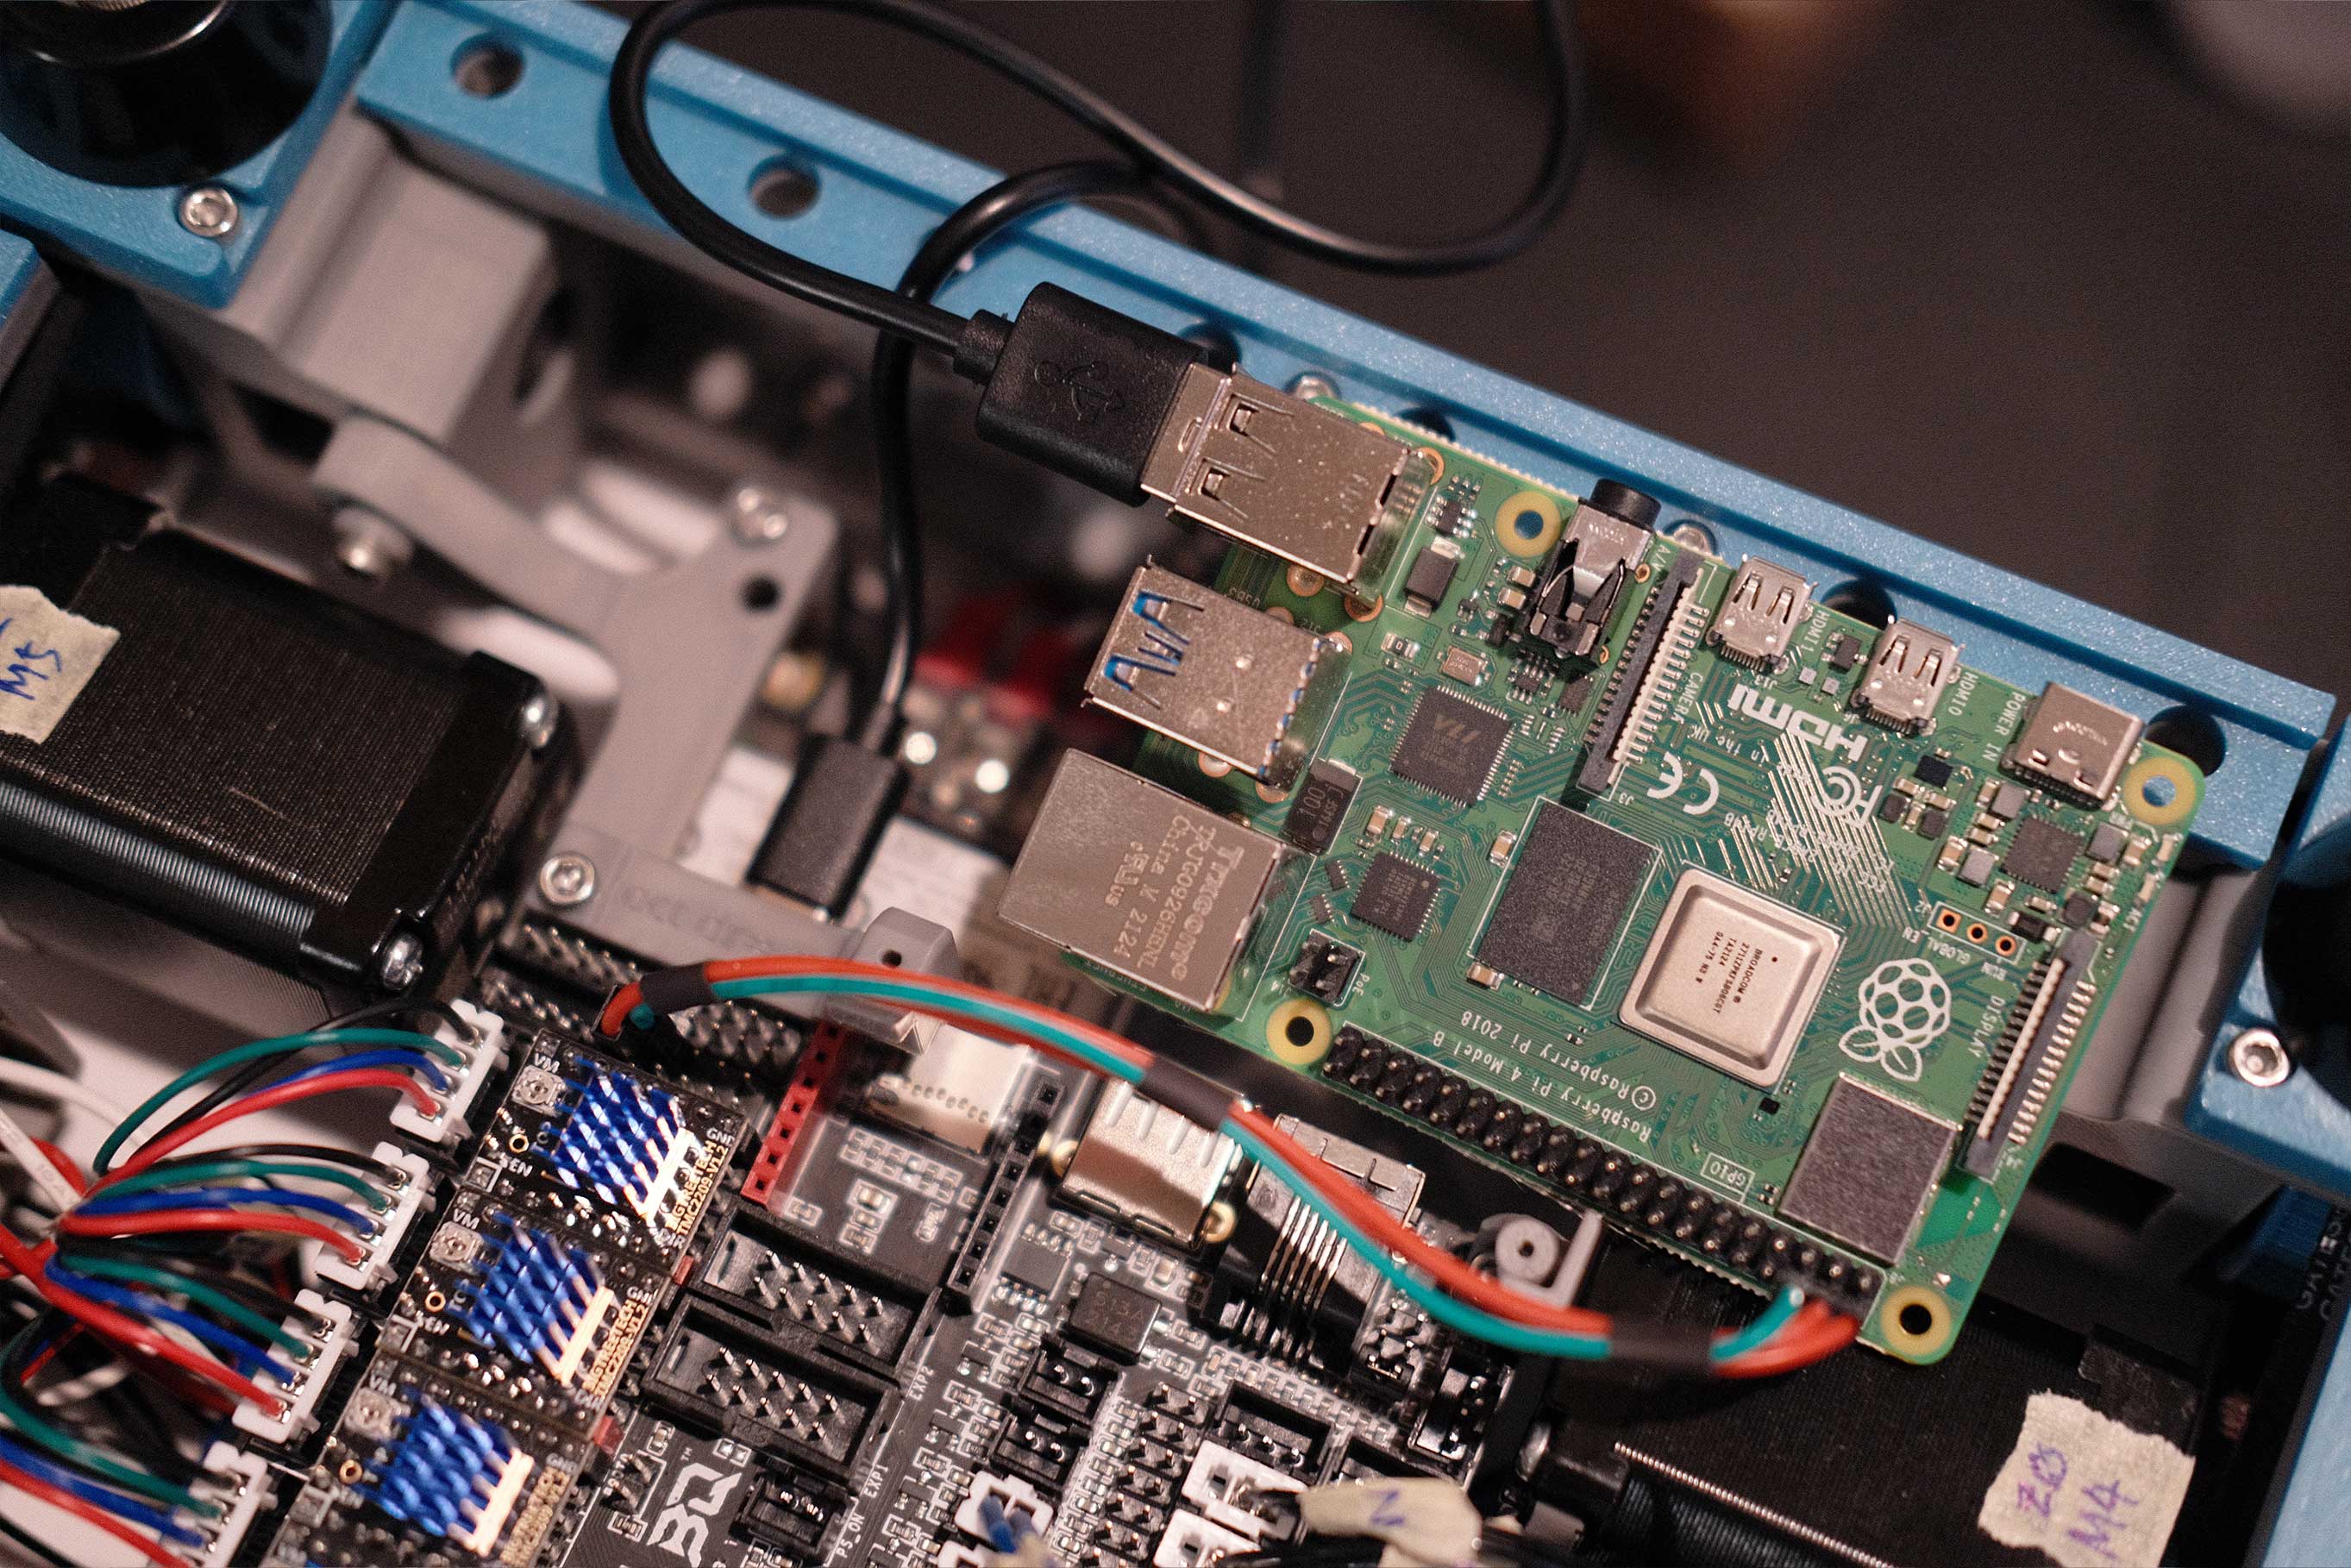 Raspberry Pi - 2
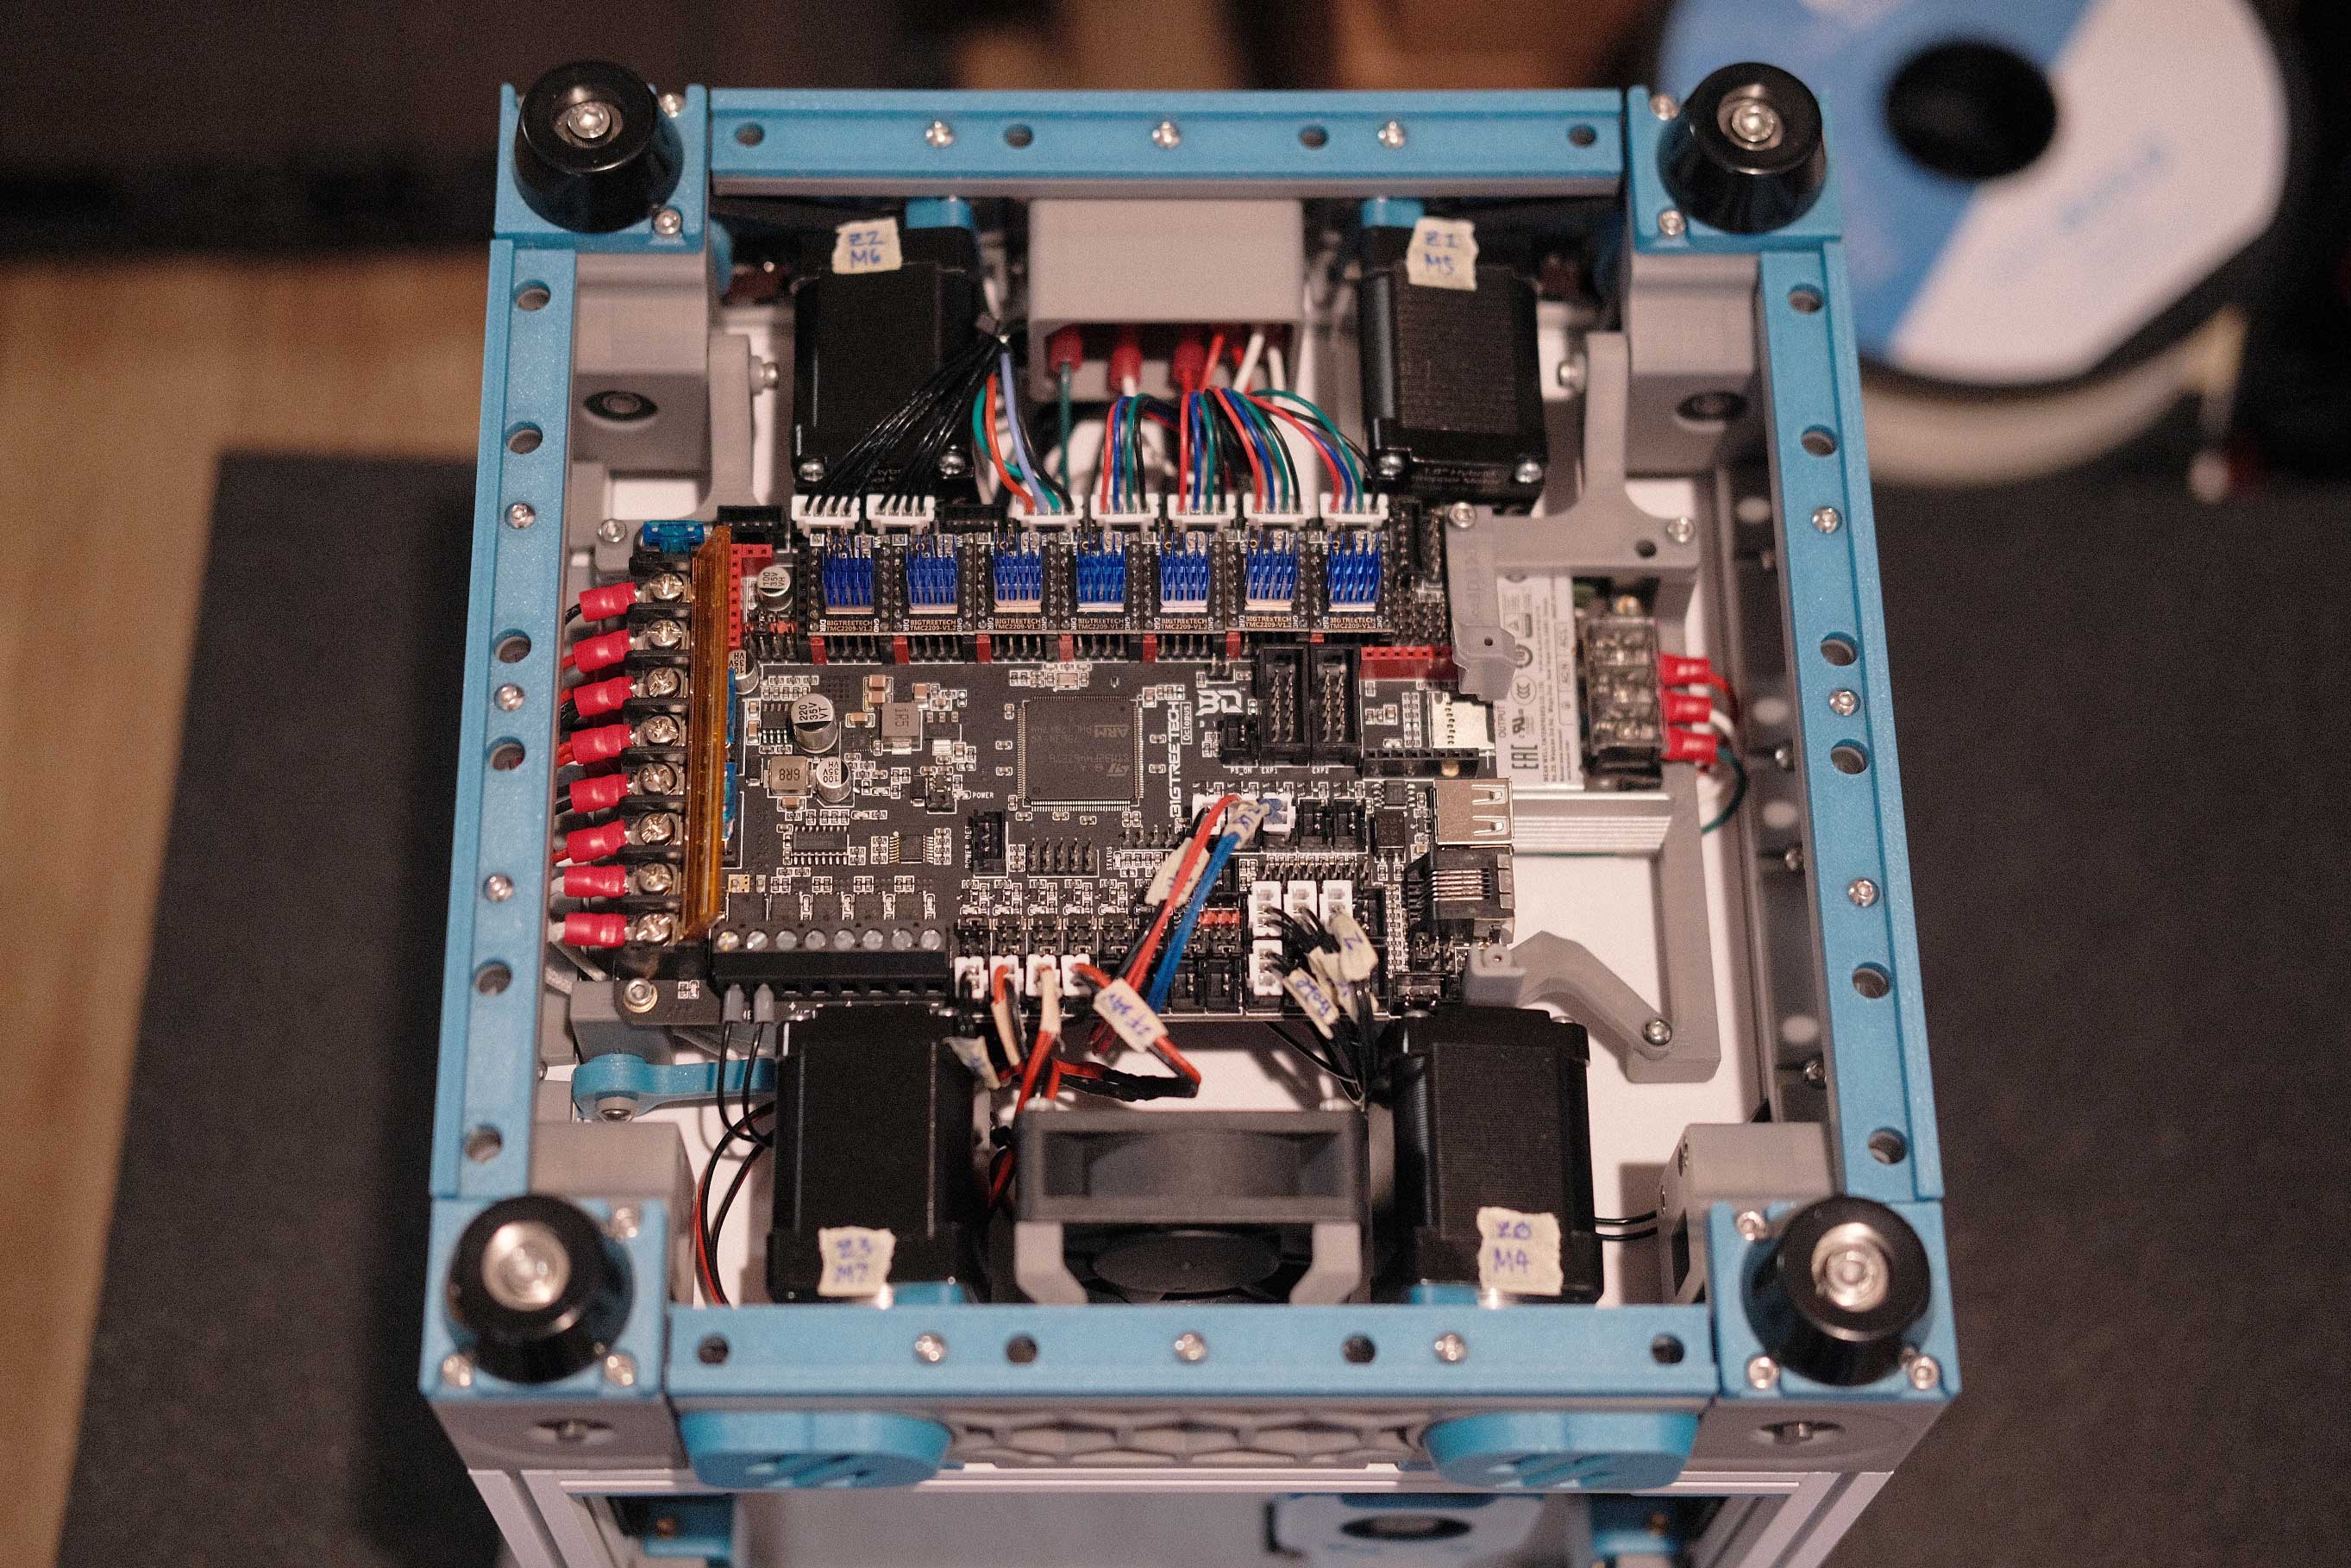
 Wiring - 1
 Wiring - 2
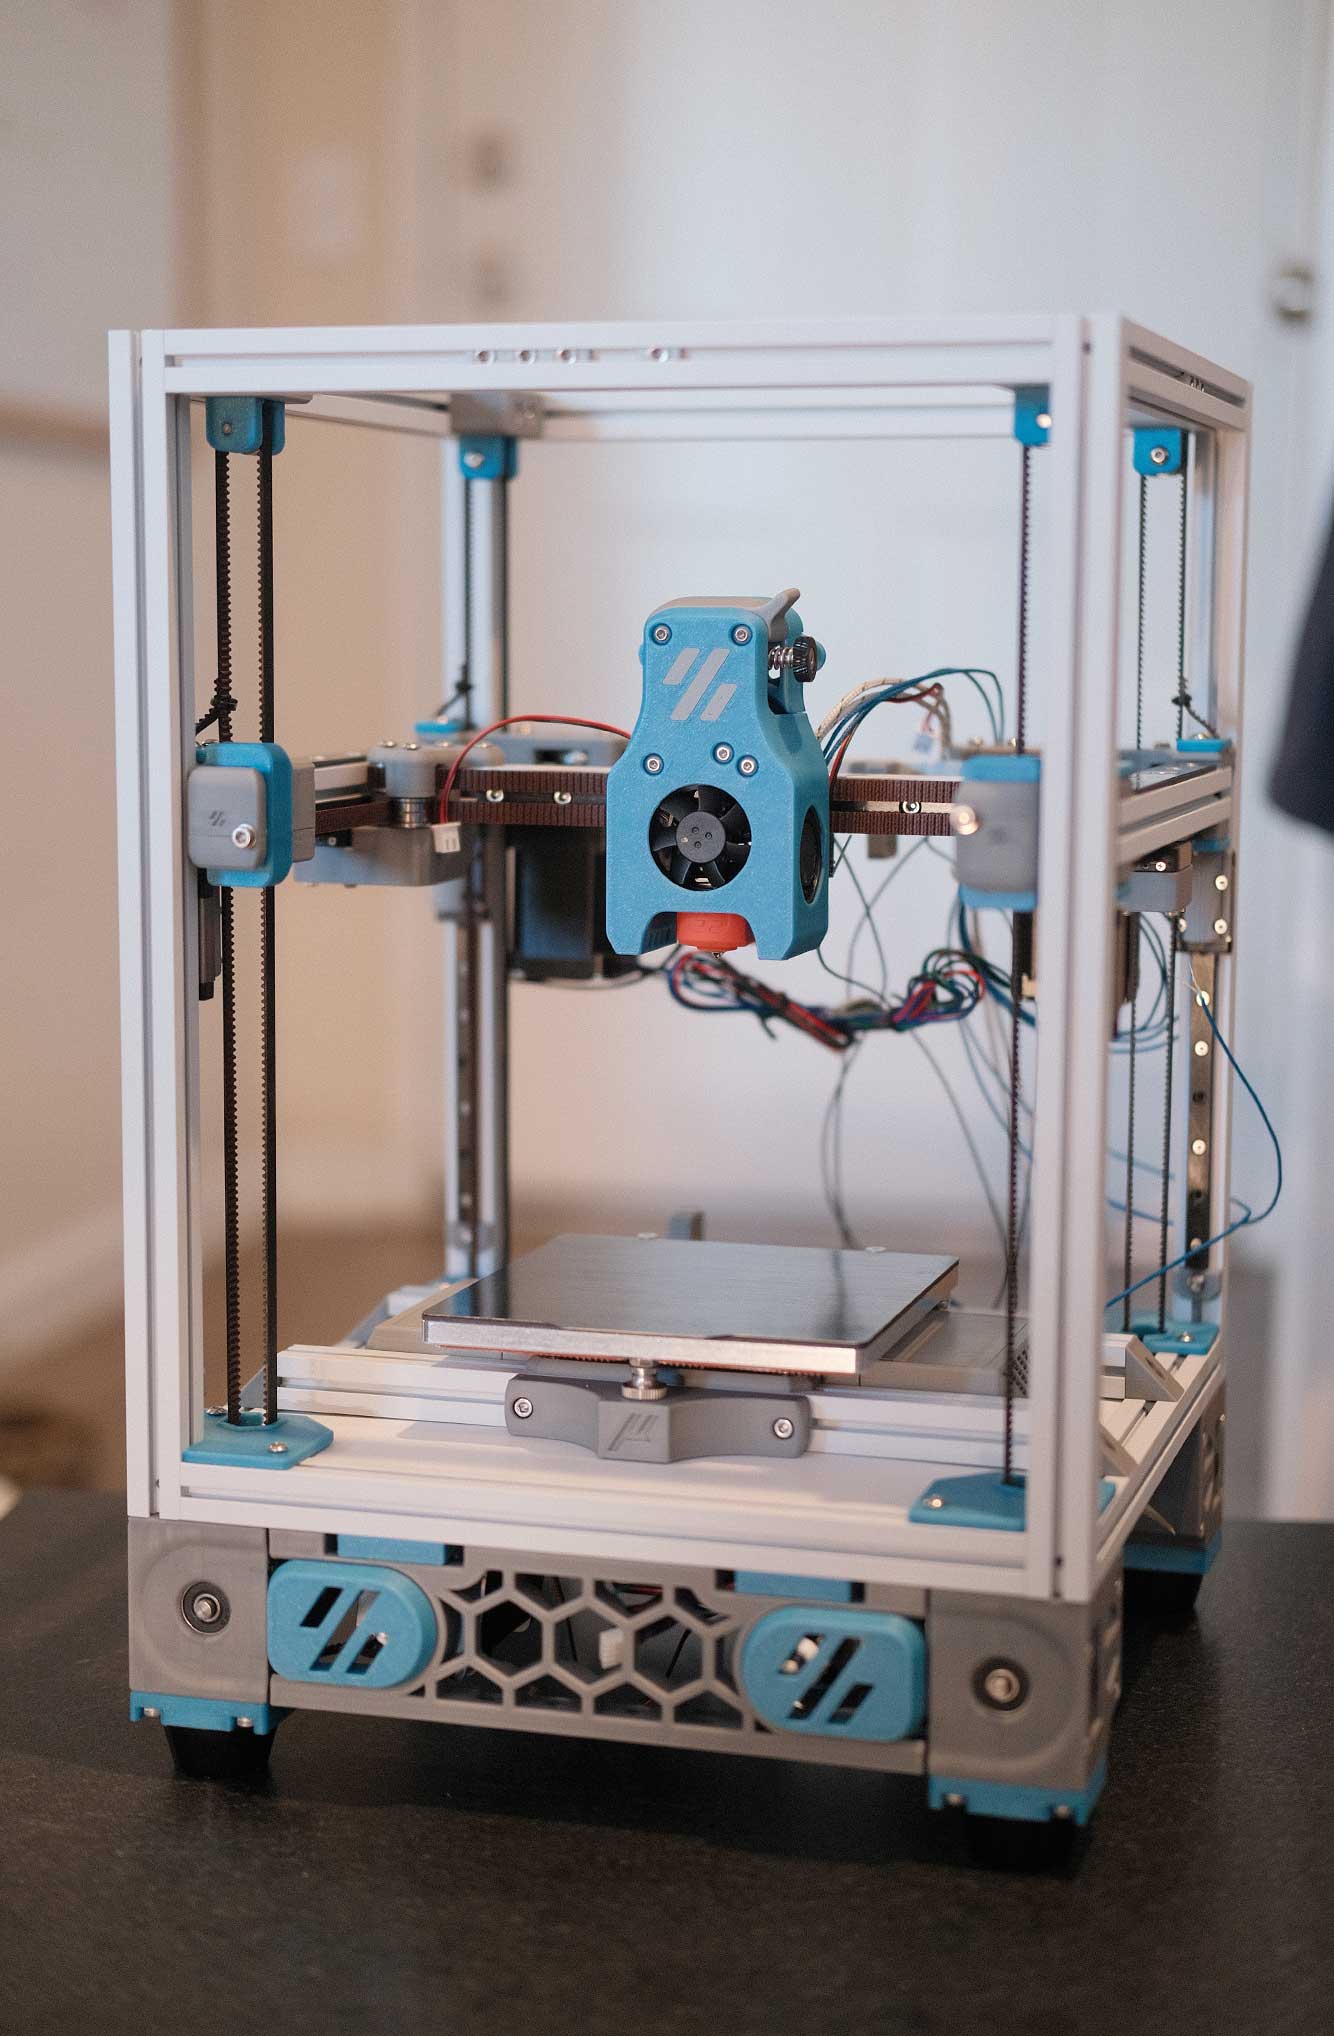
Initial Build Complete
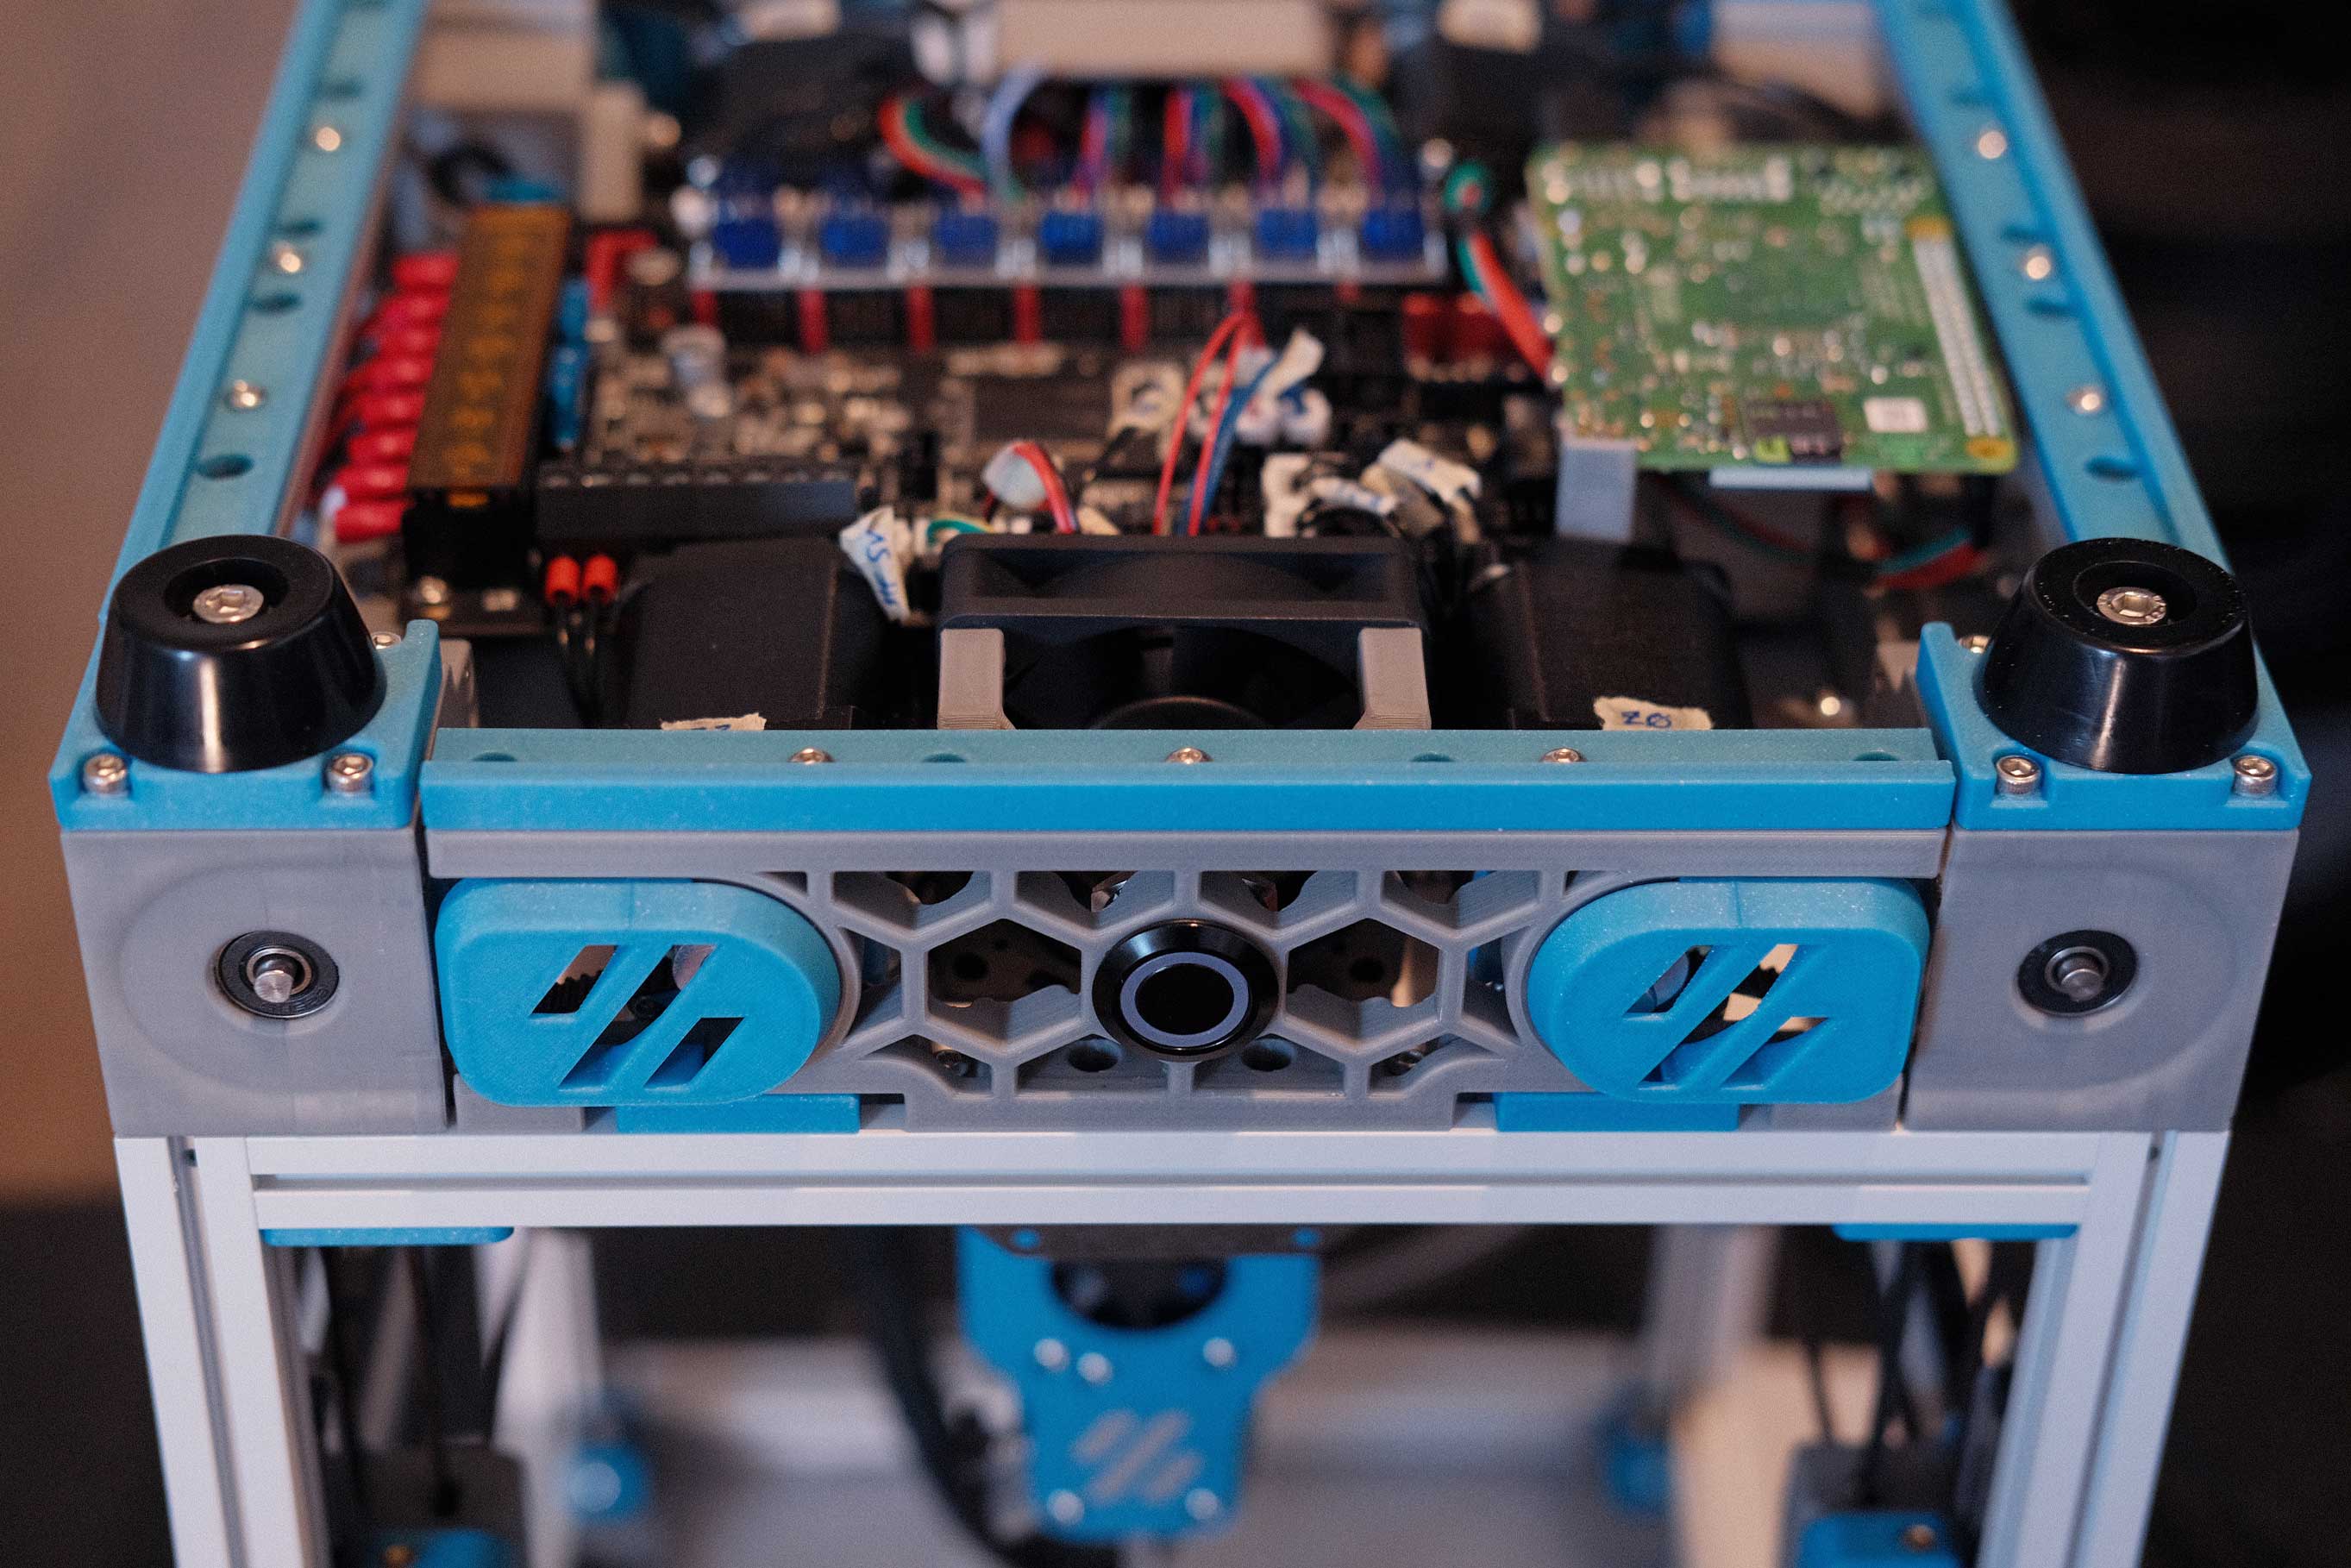
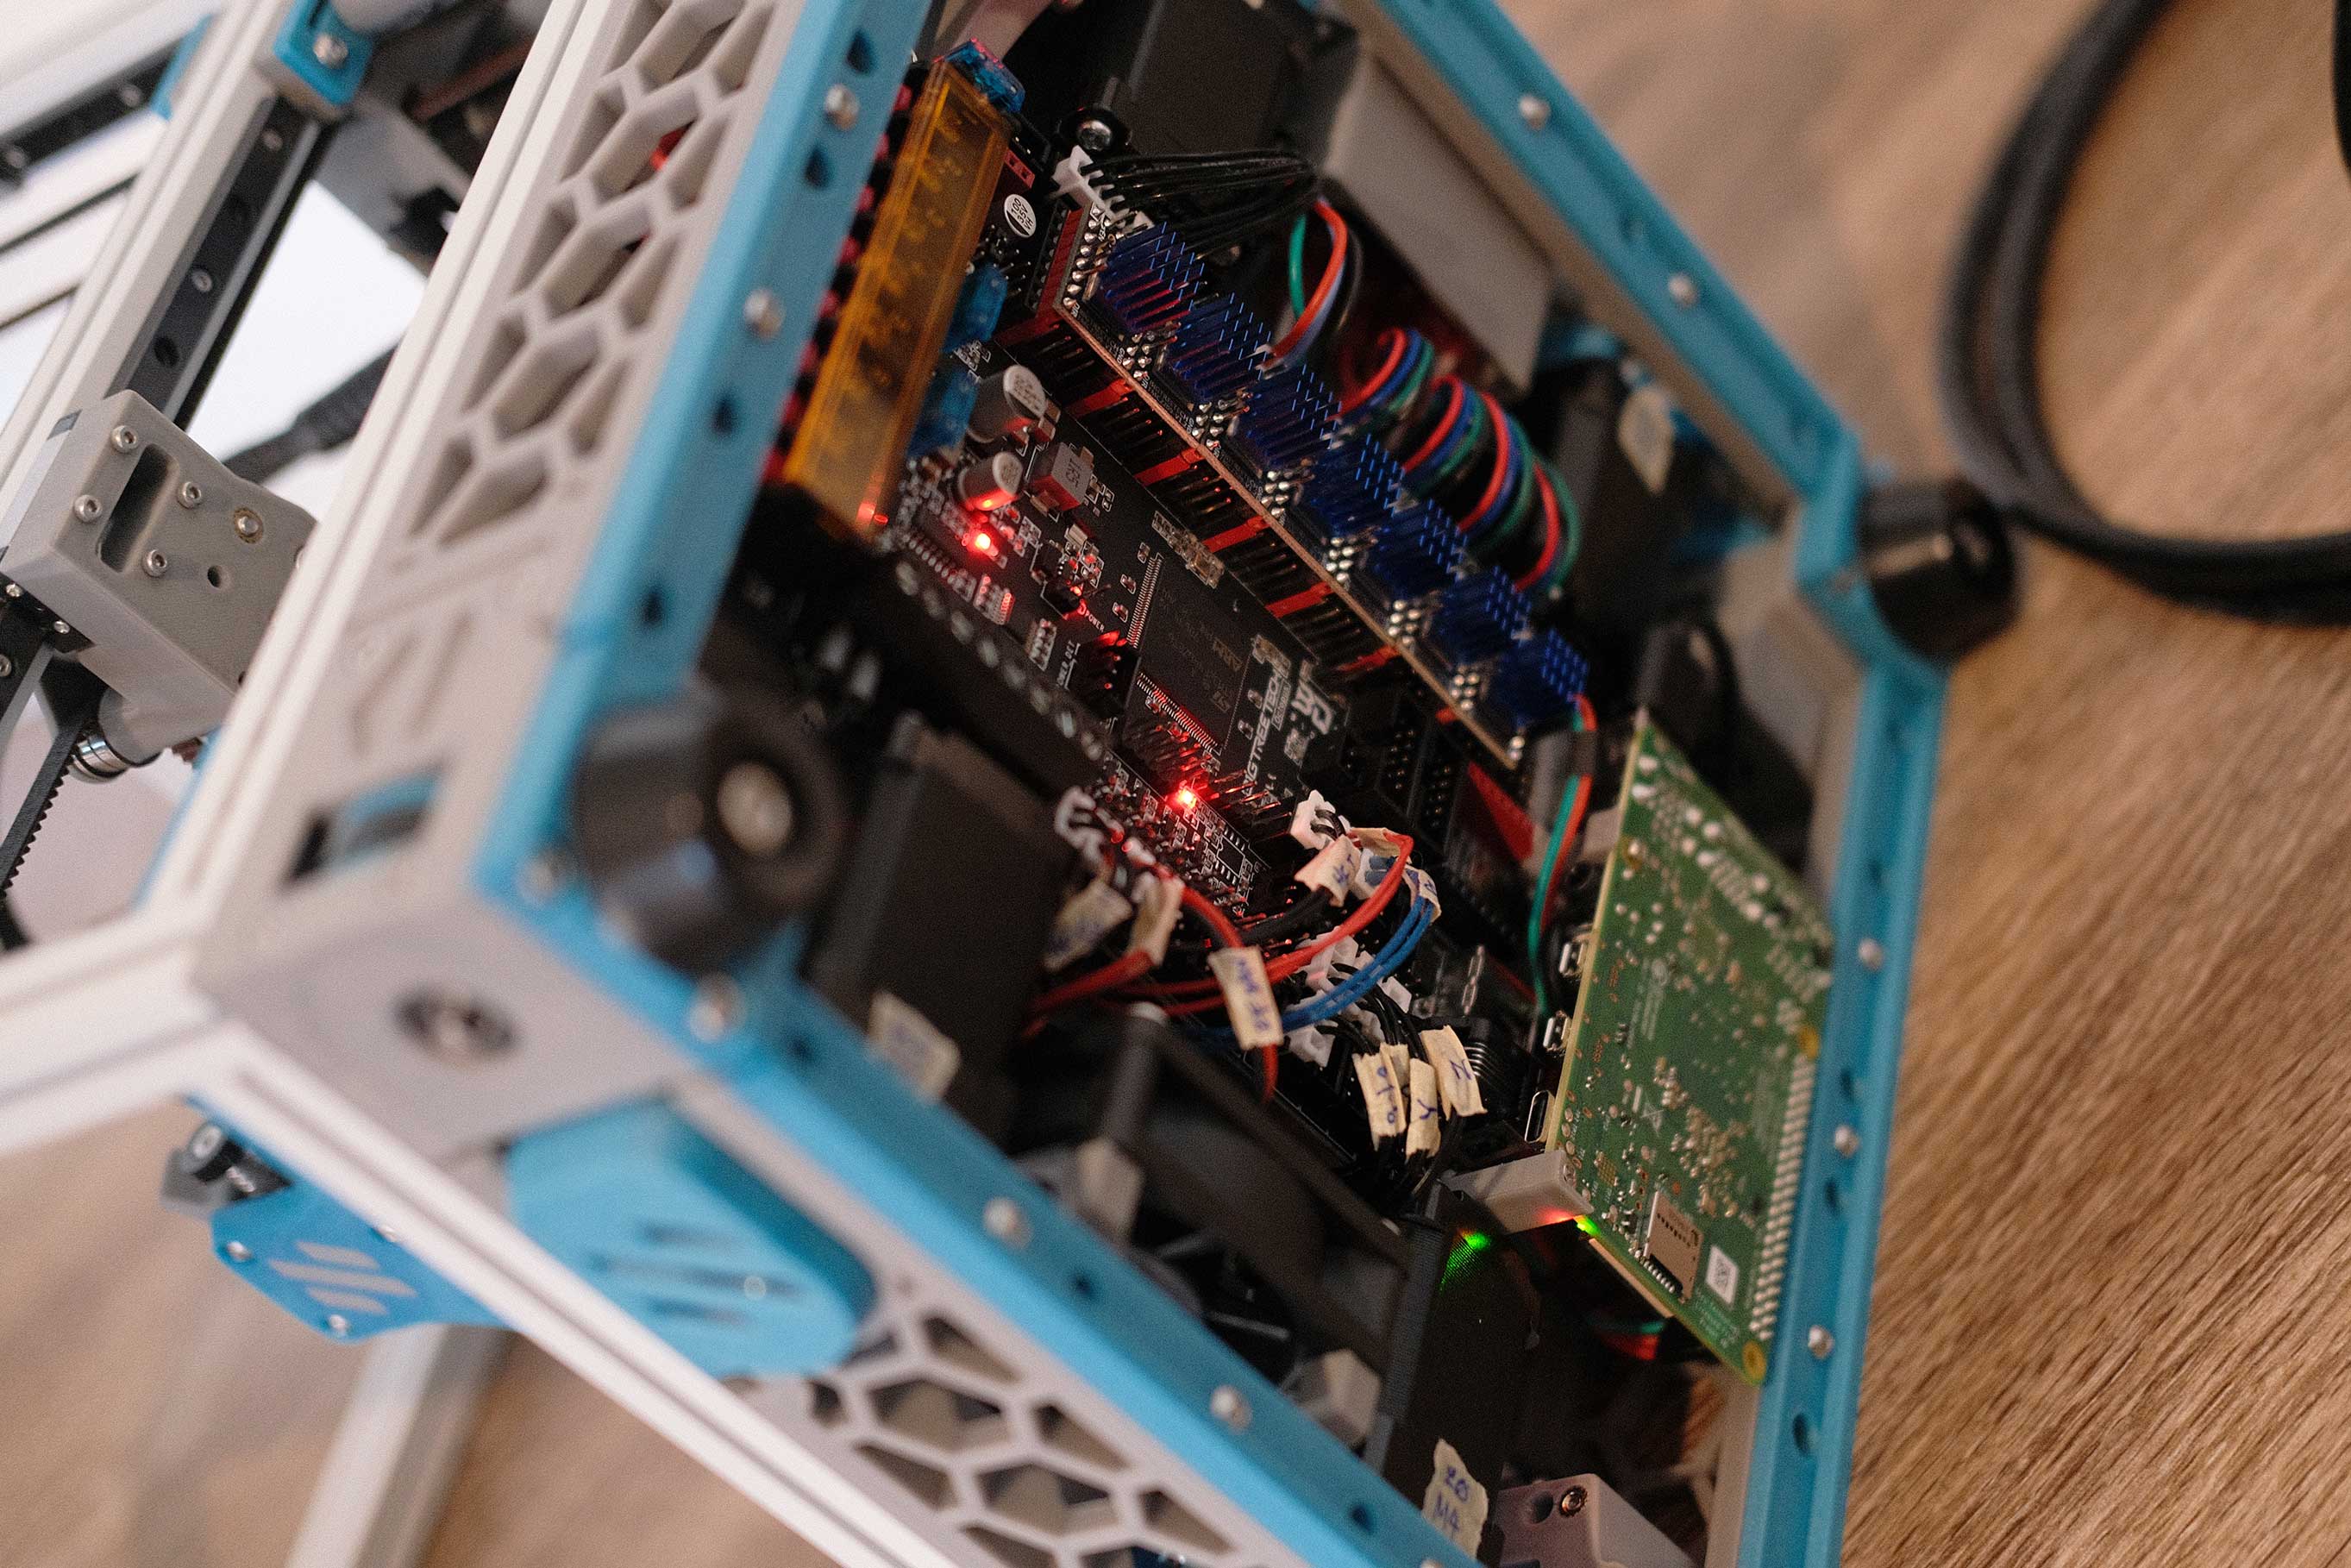
 Initial Build Complete - 1
 Initial Build Complete - 2
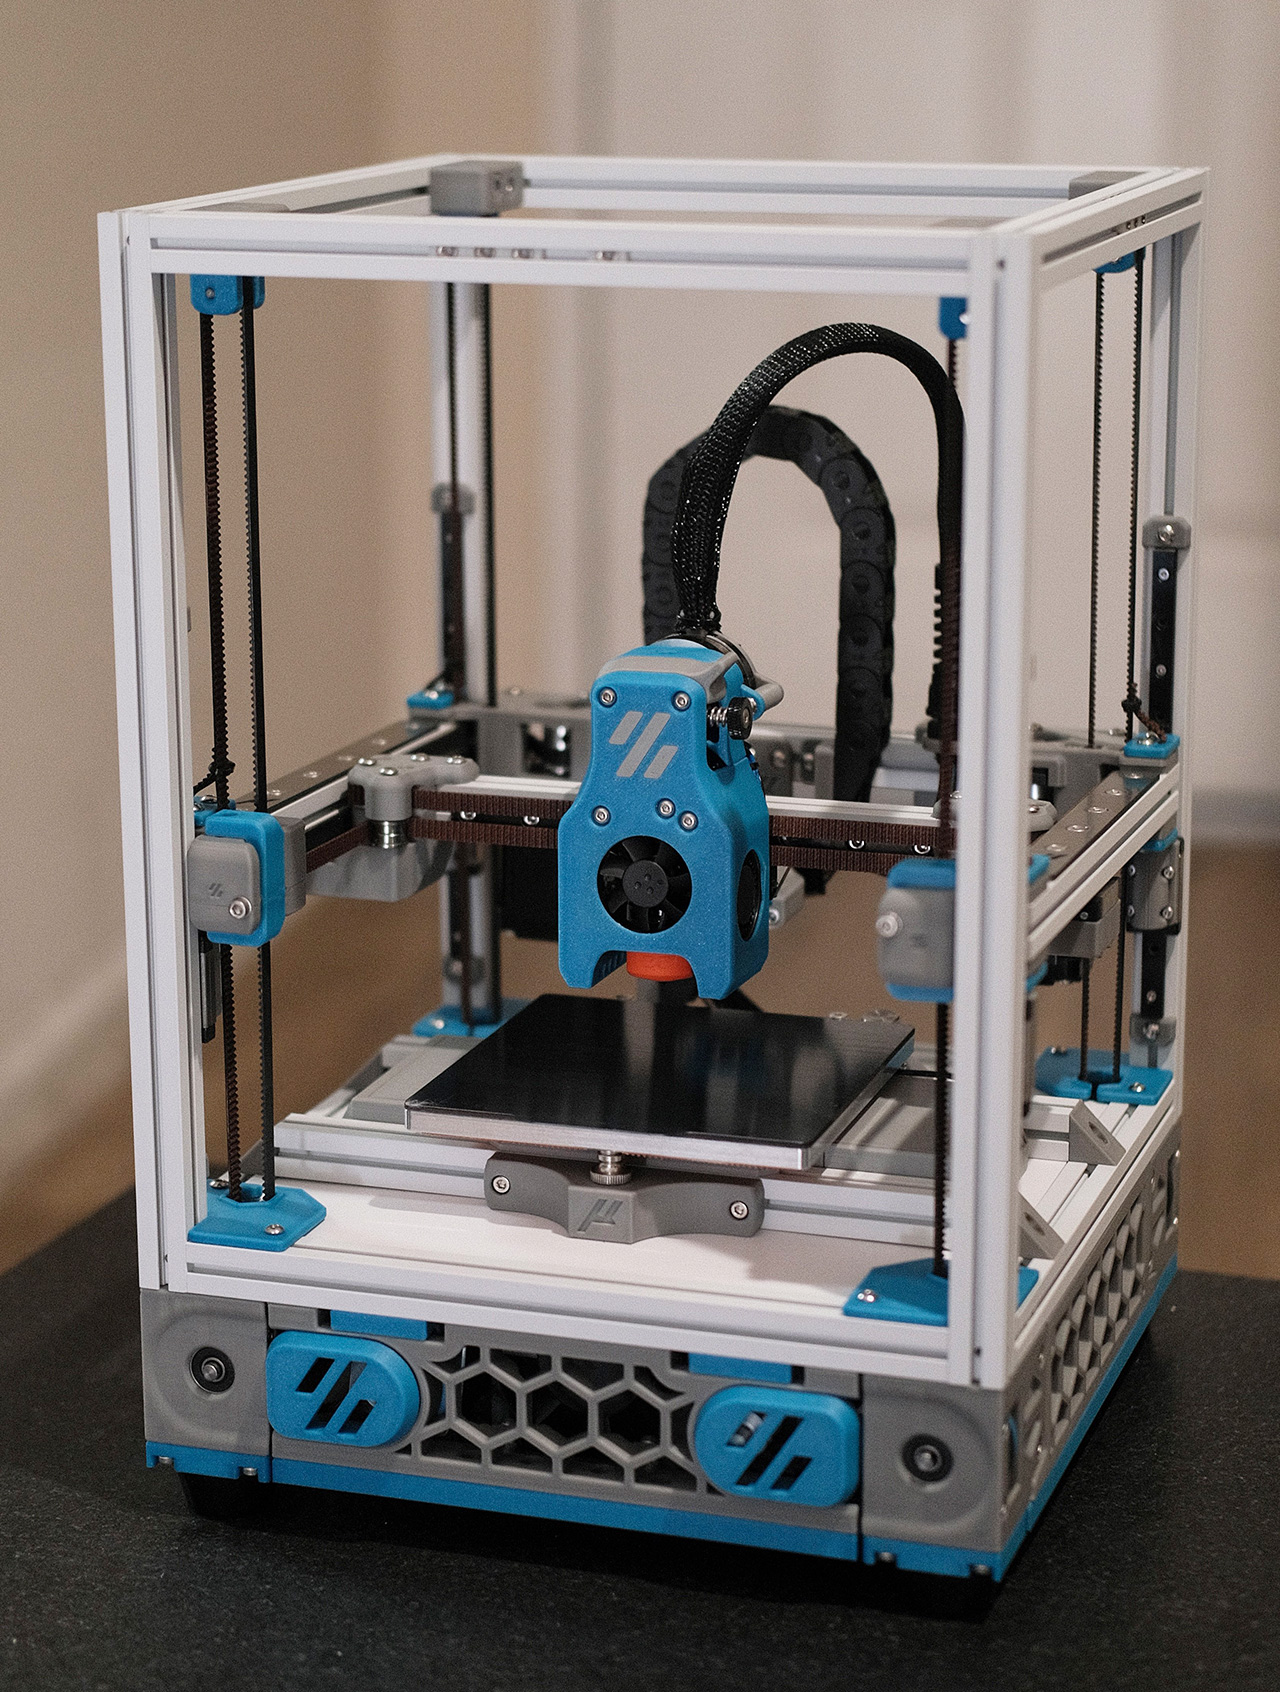 Initial Build Complete - 3
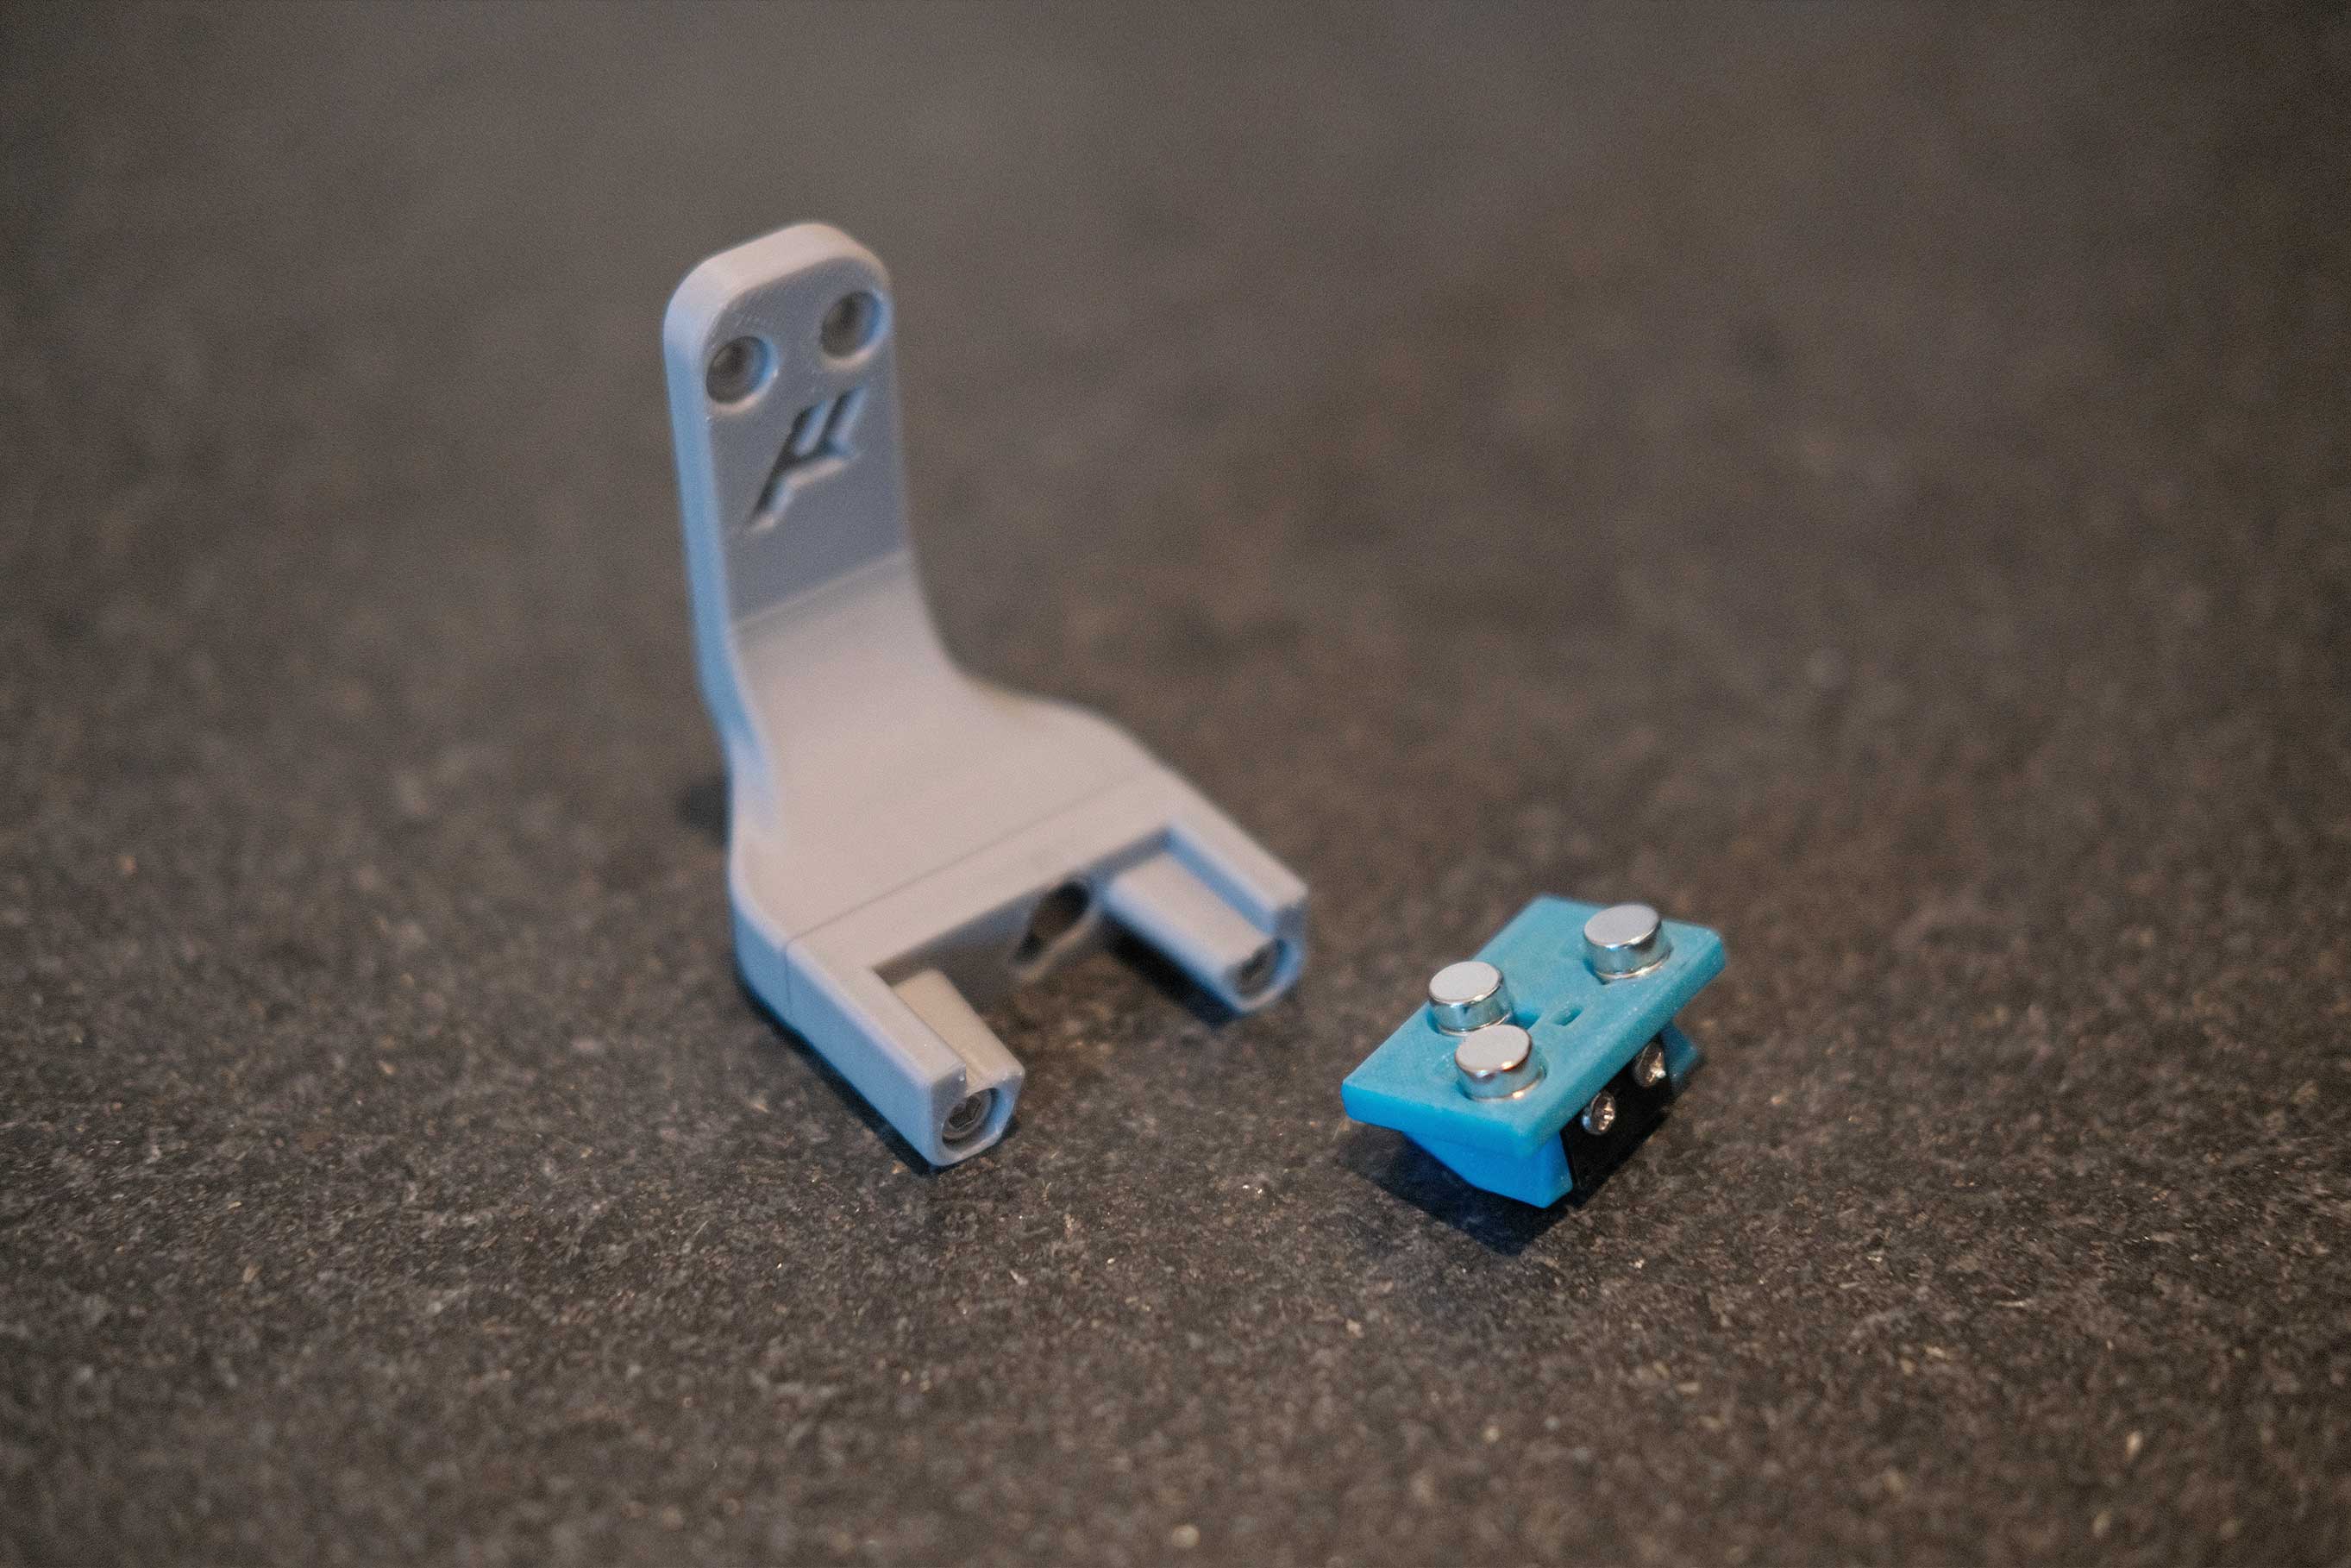
Neopixel Front Button
![]() Neopixel Front Button - 1
Neopixel Front Button - 1
![]() Neopixel Front Button - 2
Neopixel Front Button - 2
![]() Neopixel Front Button - 3
Neopixel Front Button - 3
![]() Neopixel Front Button - 4
Neopixel Front Button - 4
![]() Neopixel Front Button - 5
Neopixel Front Button - 5
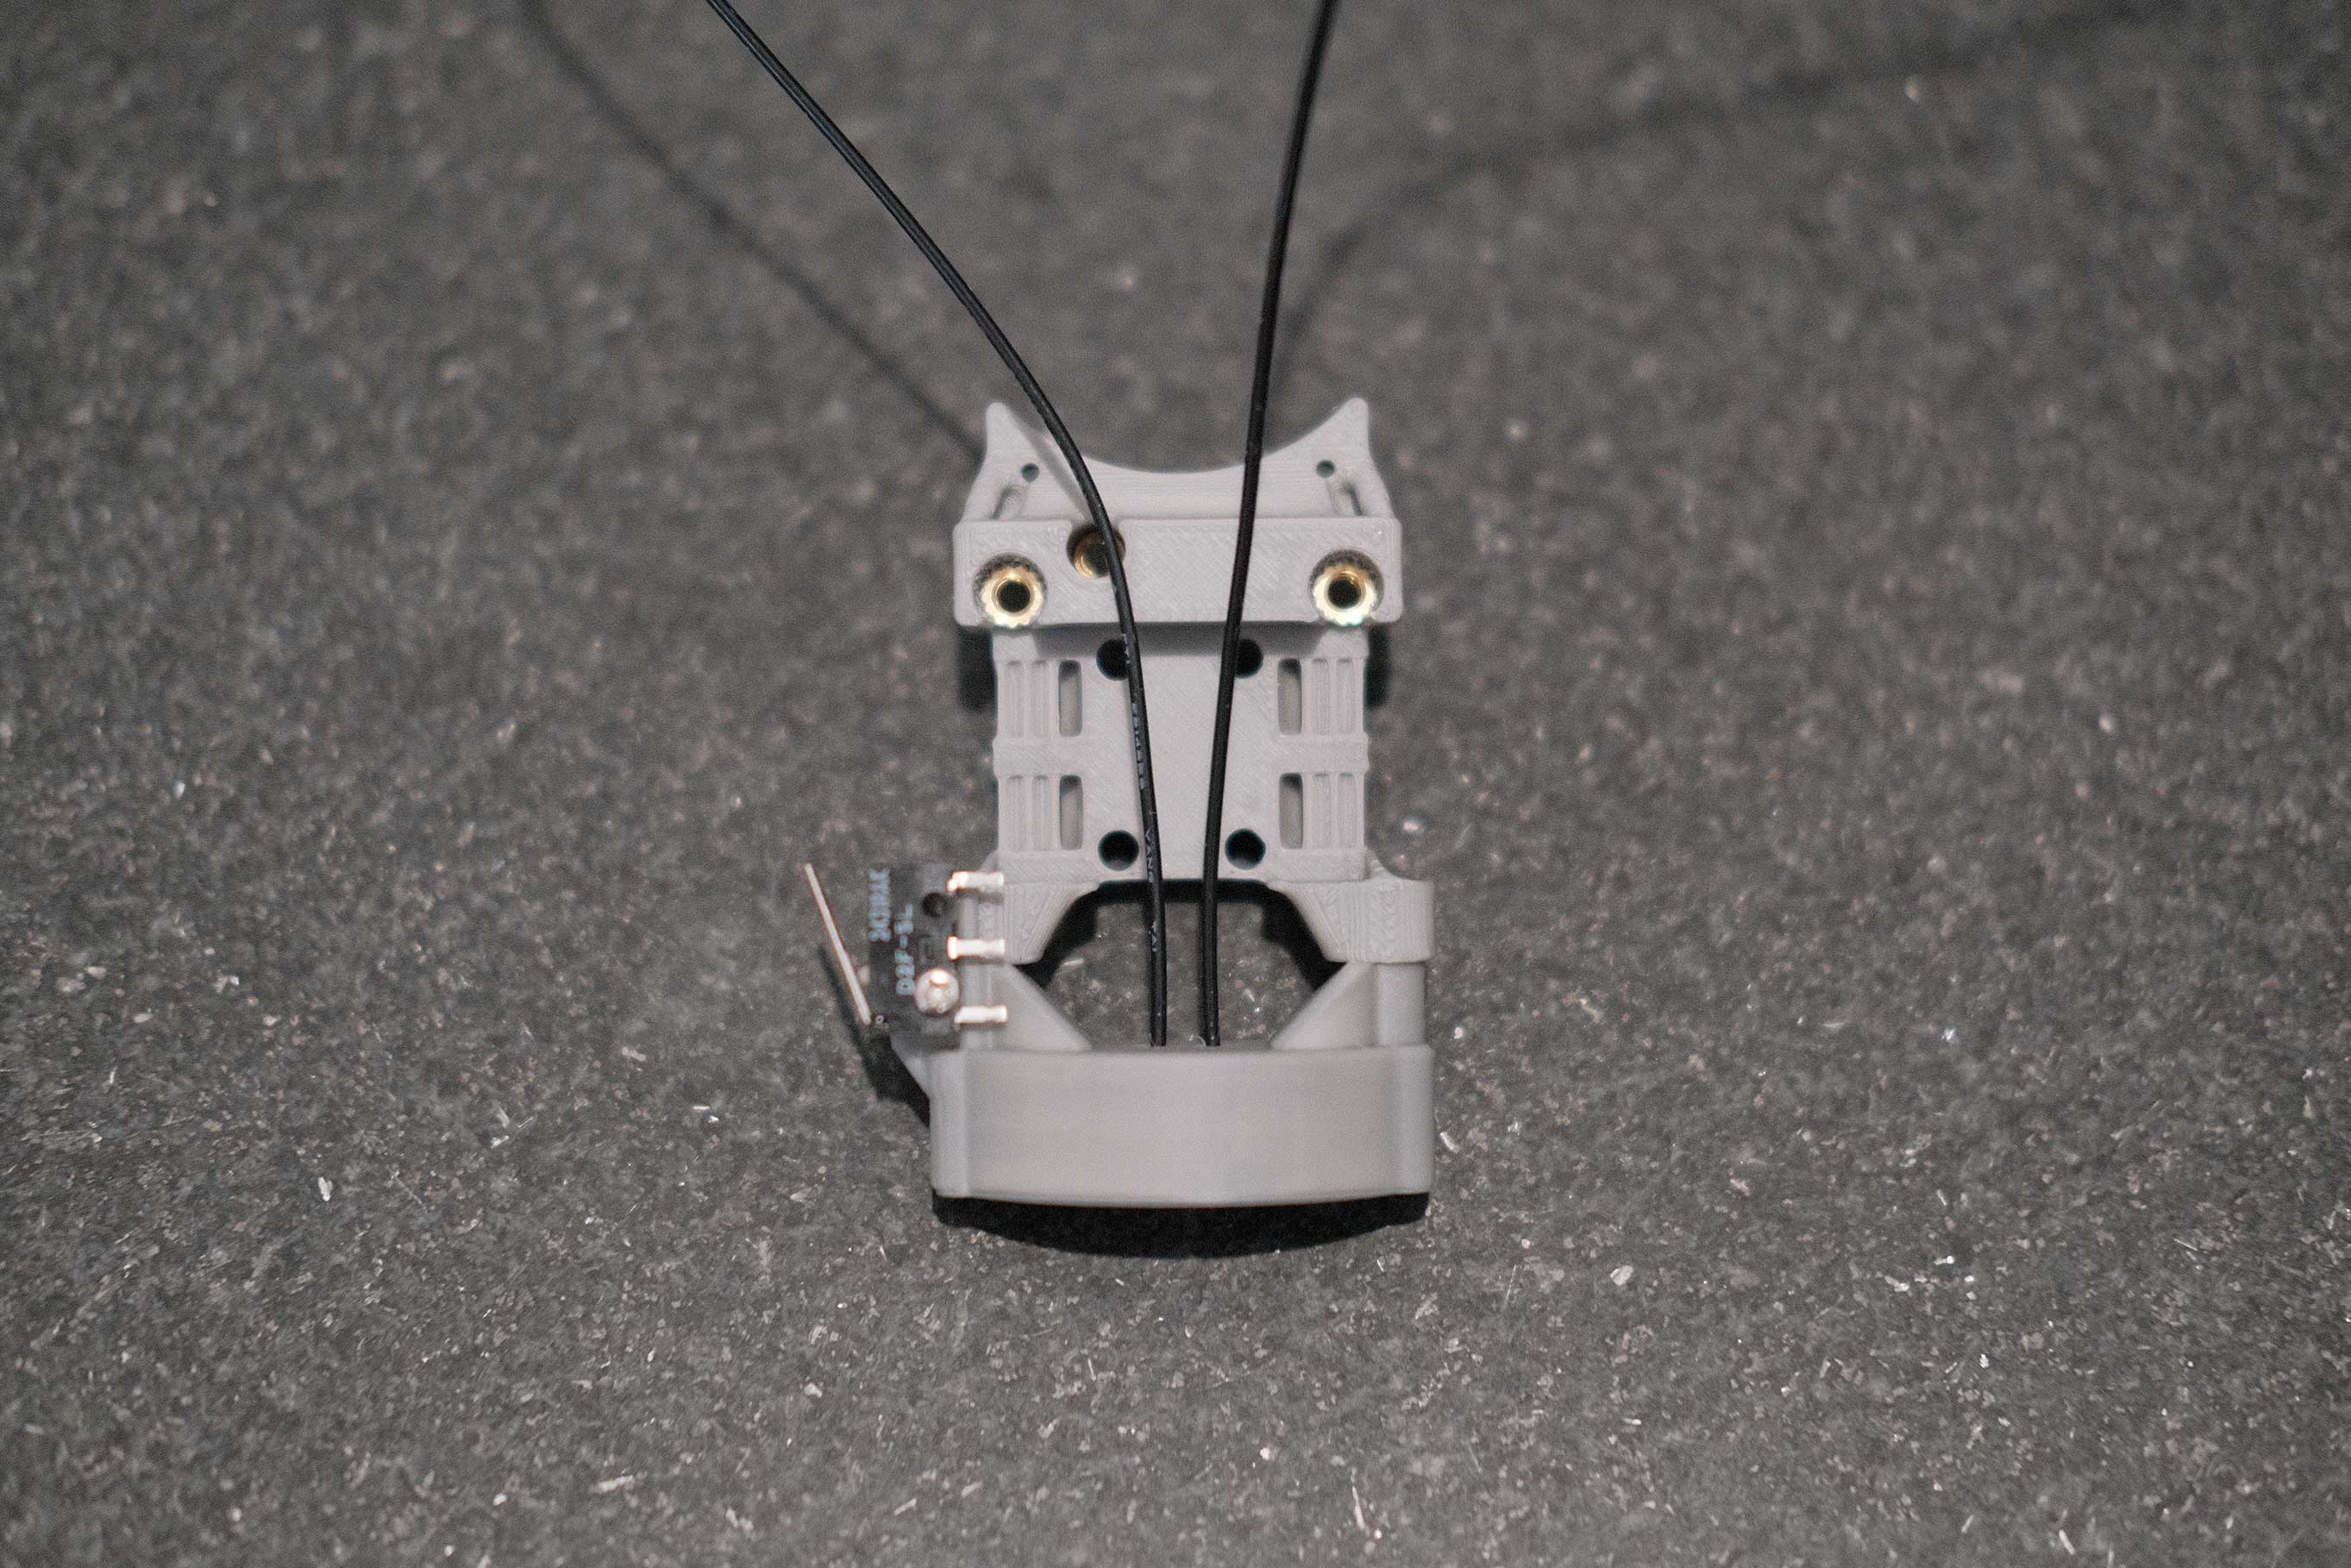
Here’s how I positioned the wires.
![]() Neopixel Front Button - 6
Neopixel Front Button - 6
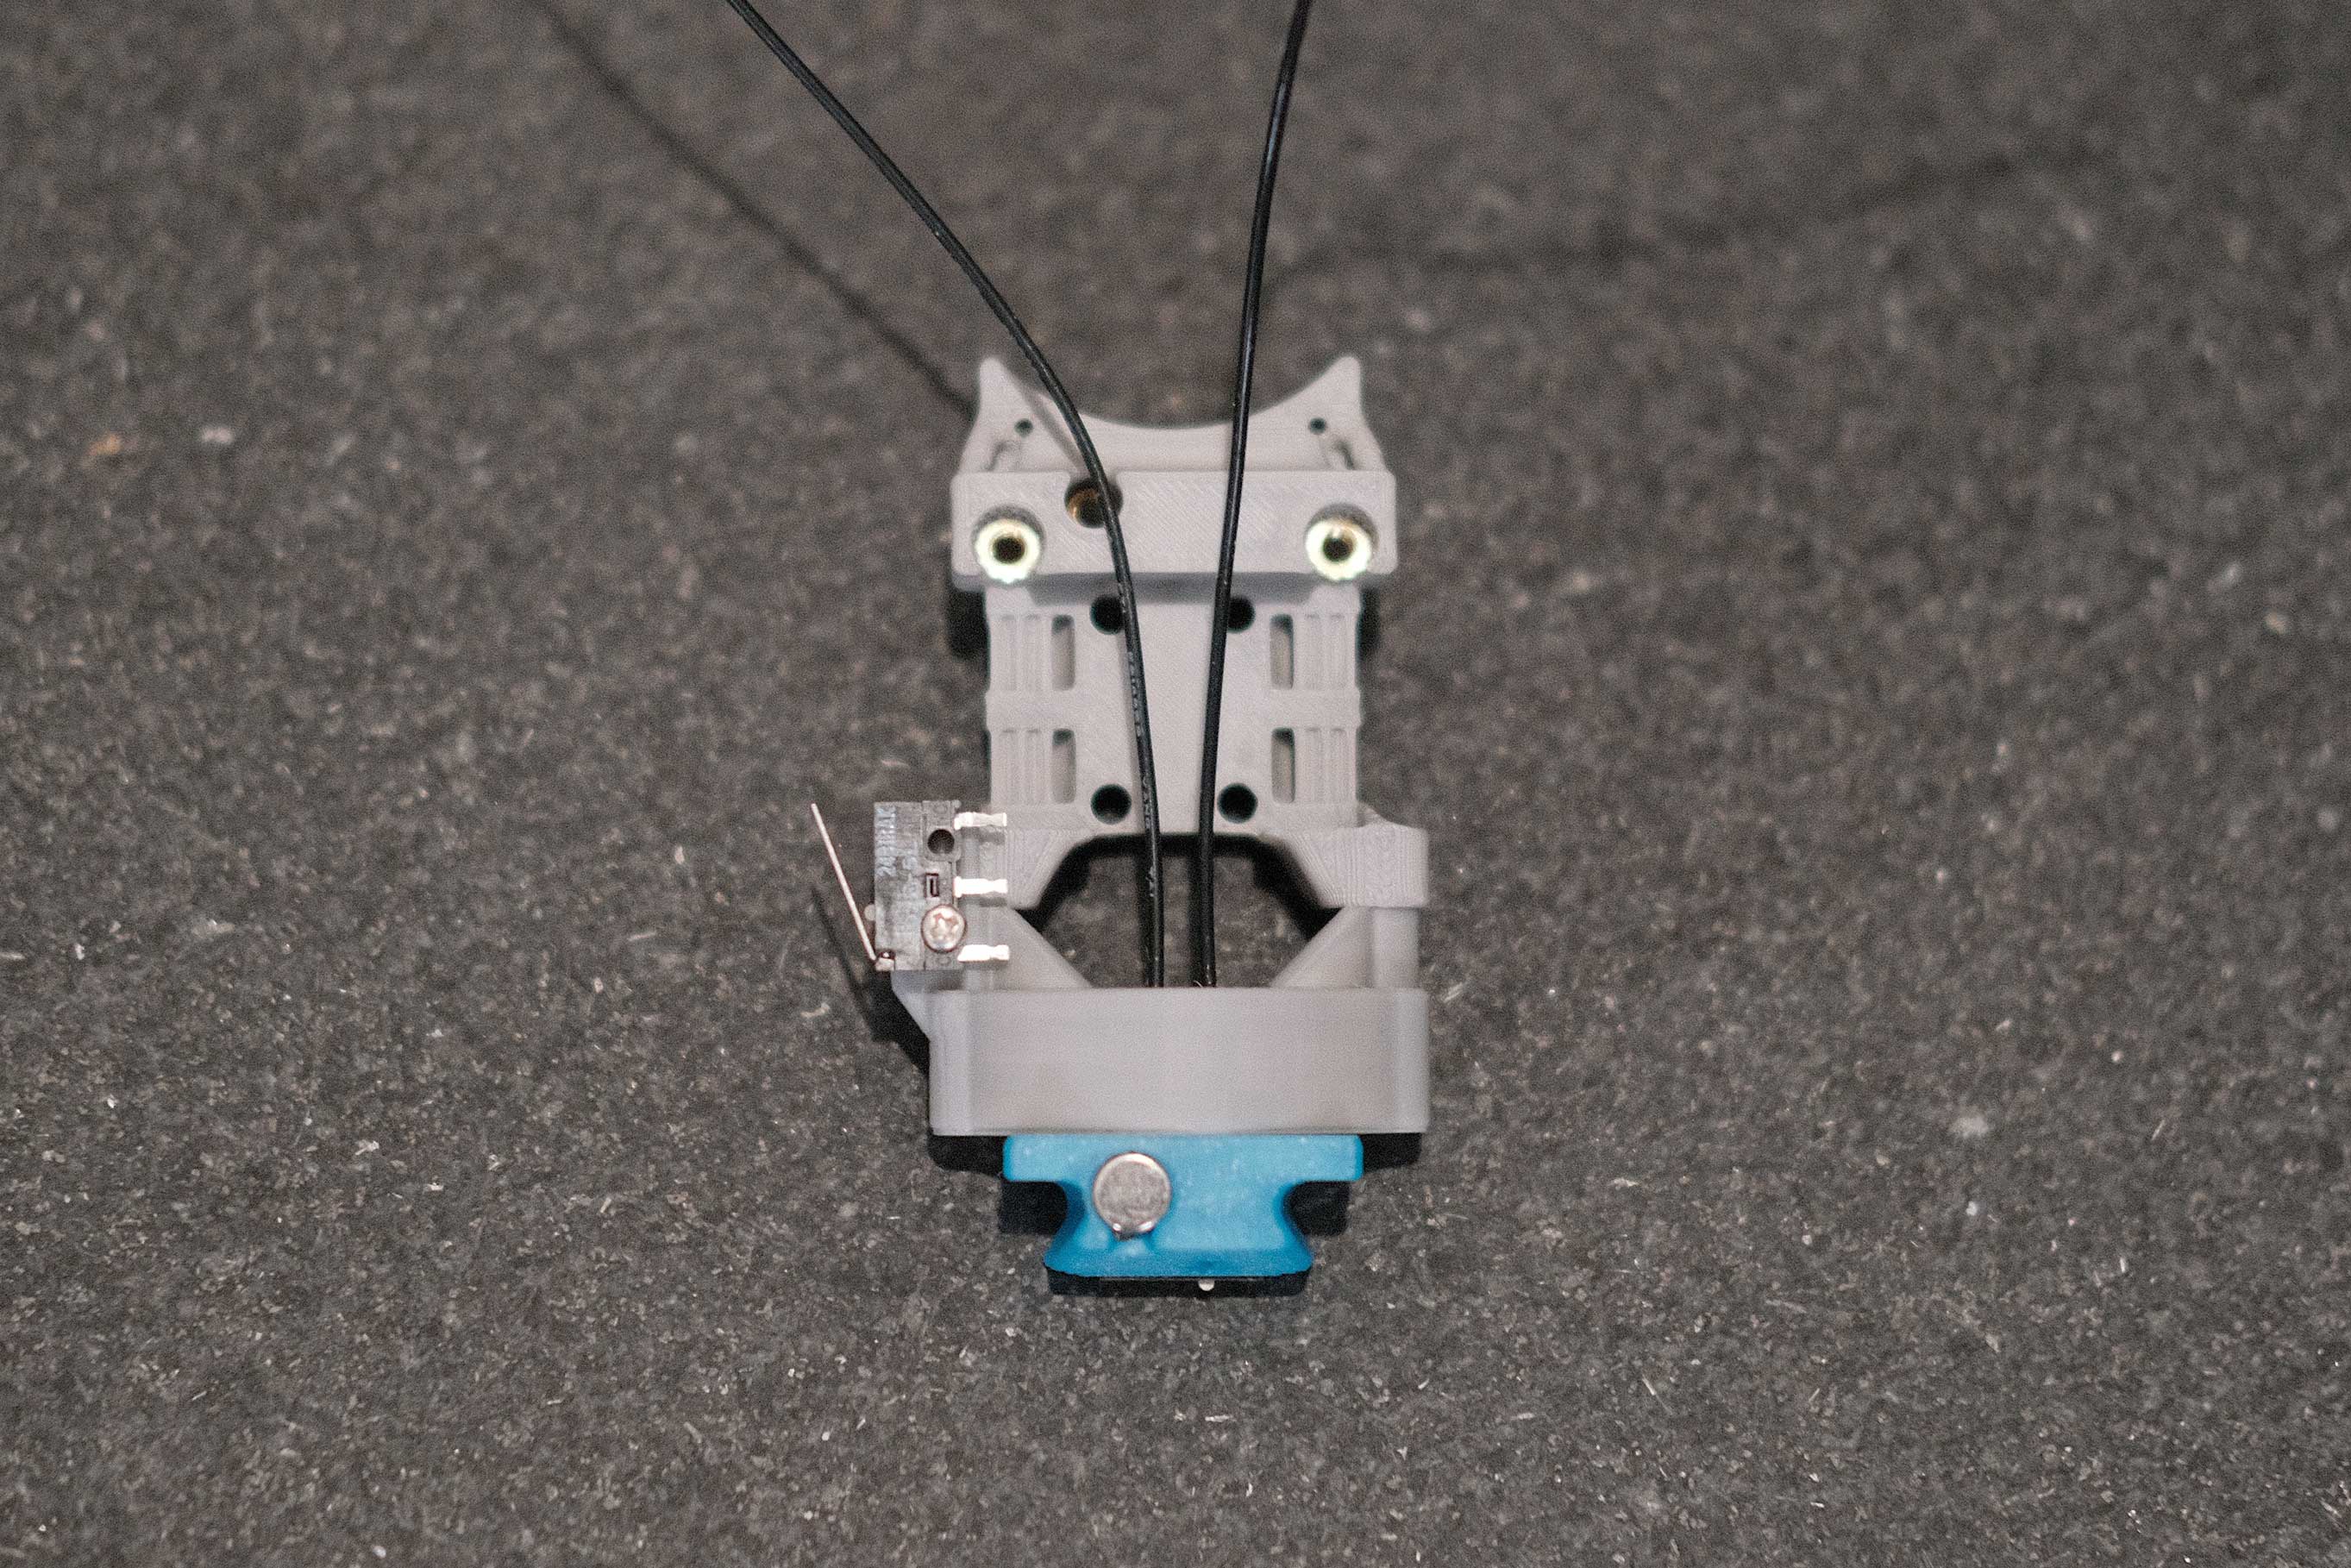
![]() Neopixel Front Button - 7
Neopixel Front Button - 7
![]() Neopixel Front Button - 8
Neopixel Front Button - 8
Panels
 Panels - 1
Comparison to 300mm Trident
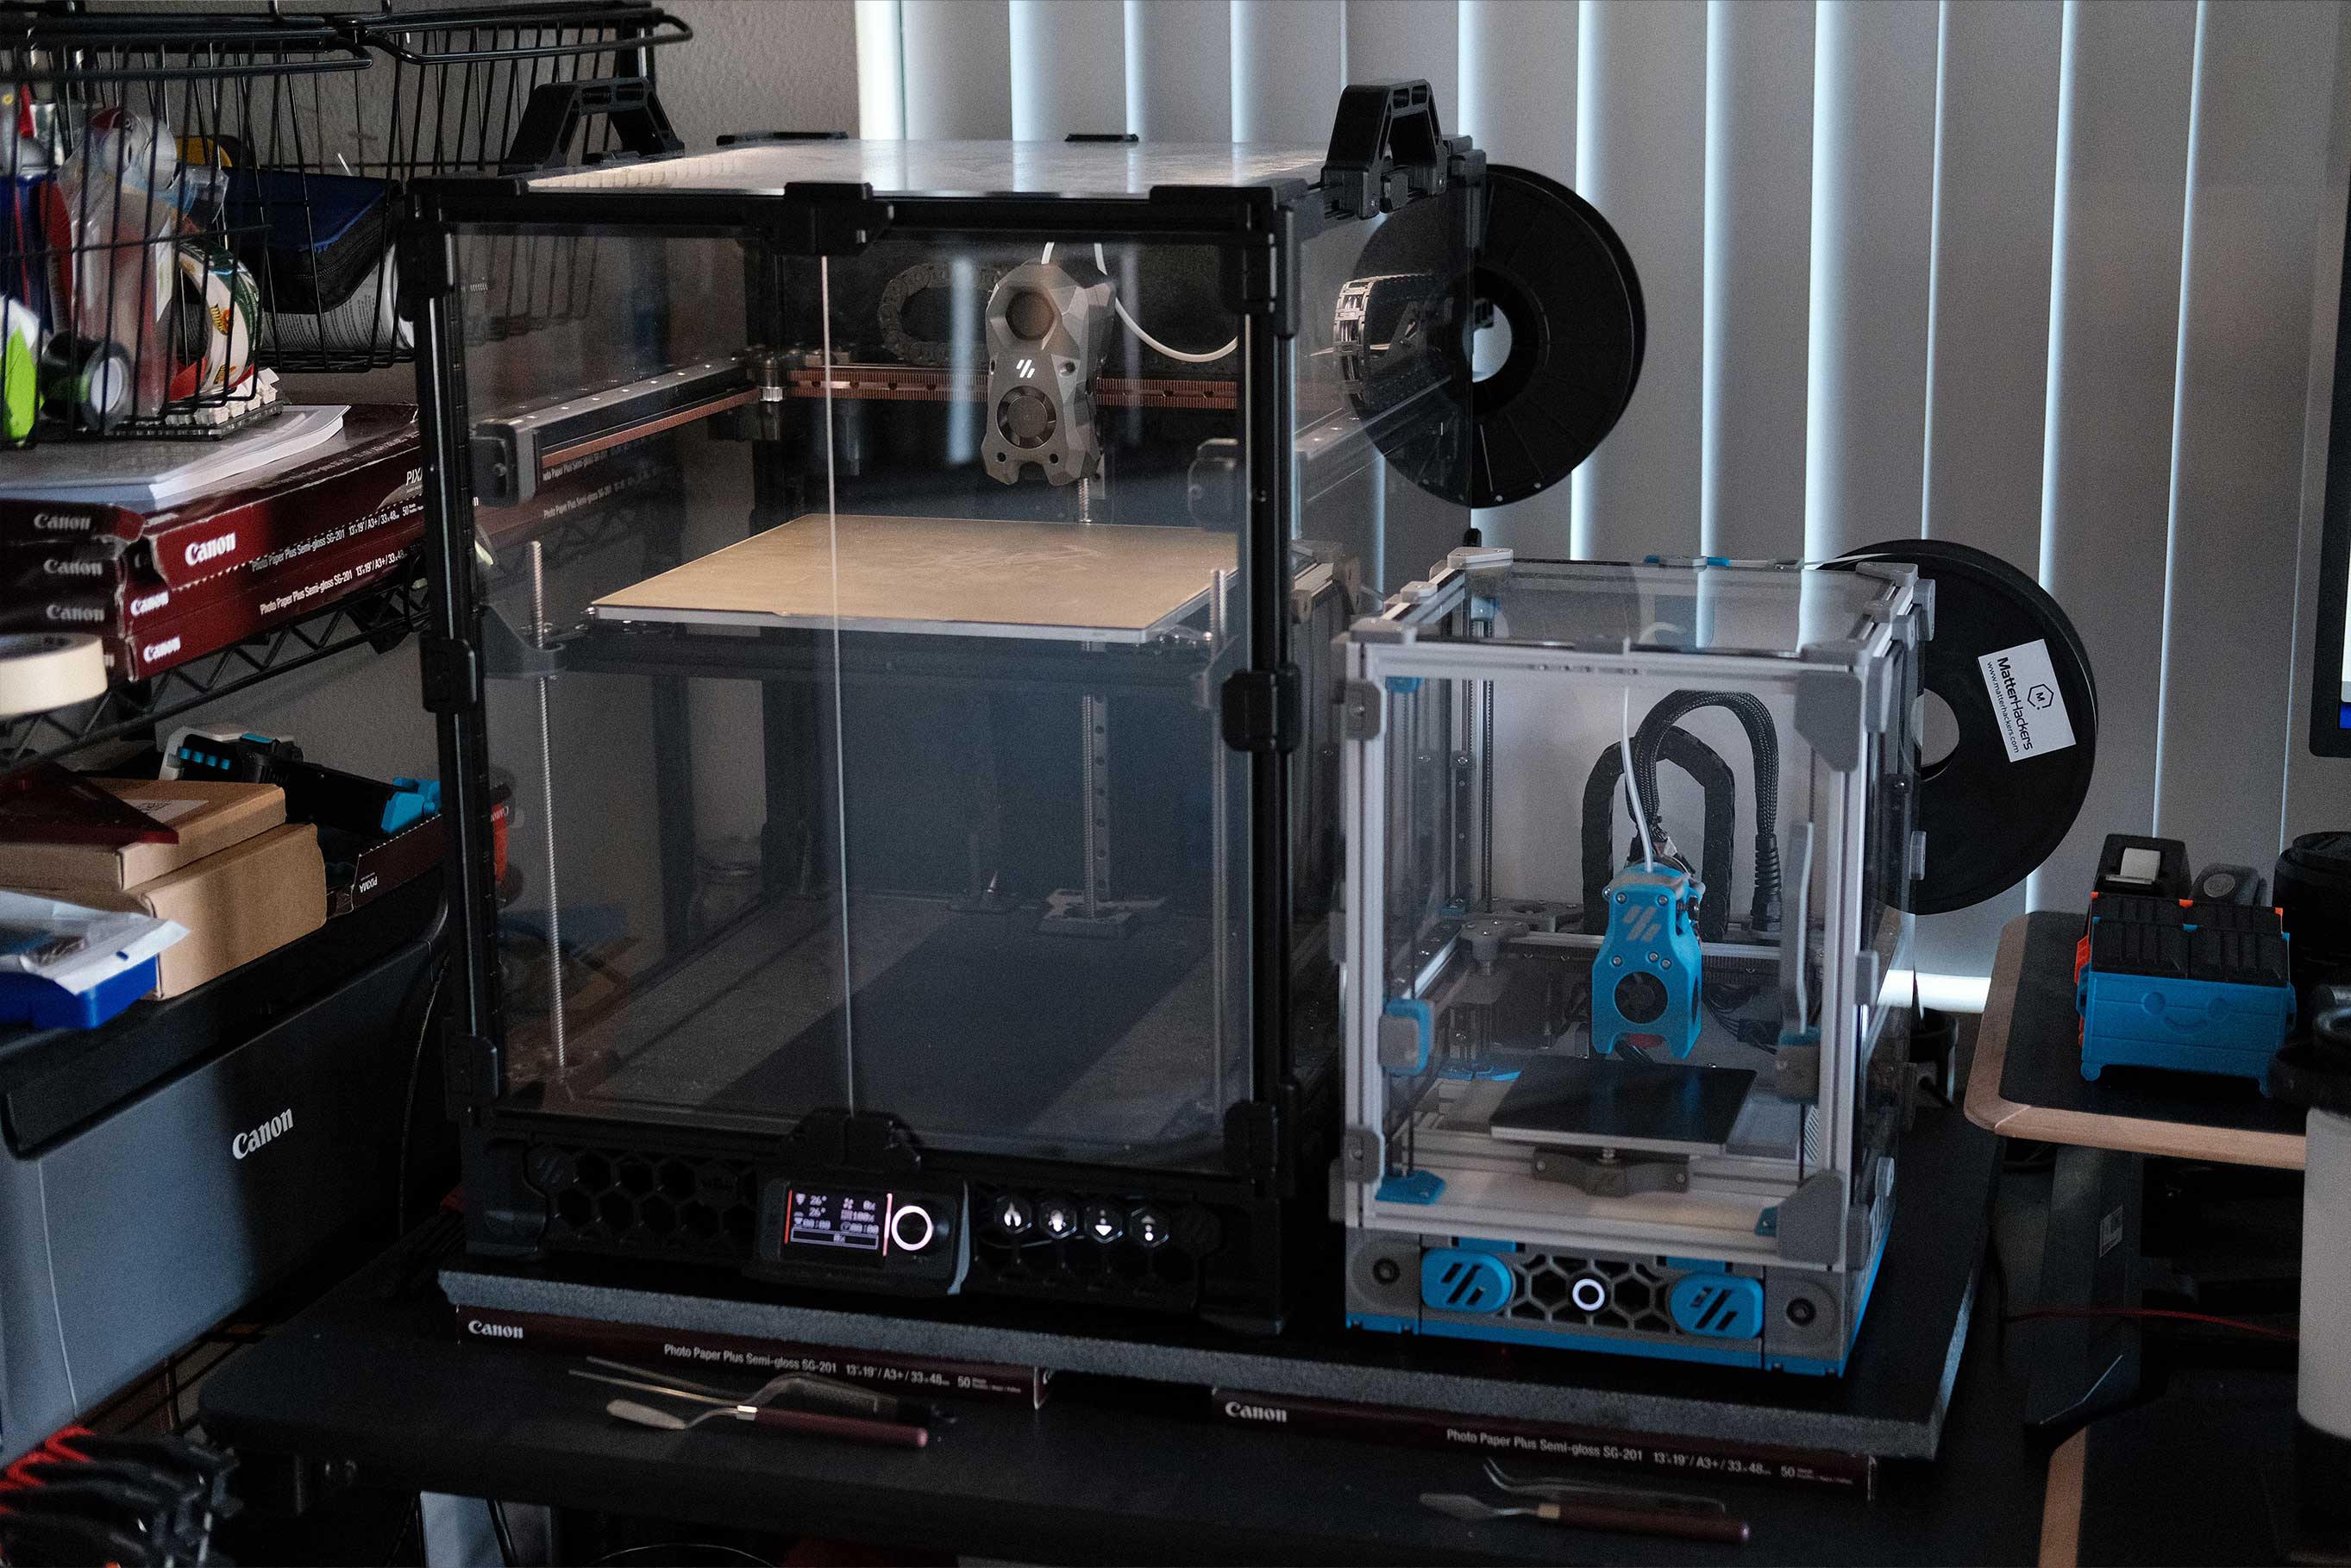 Trident and Micron - 1
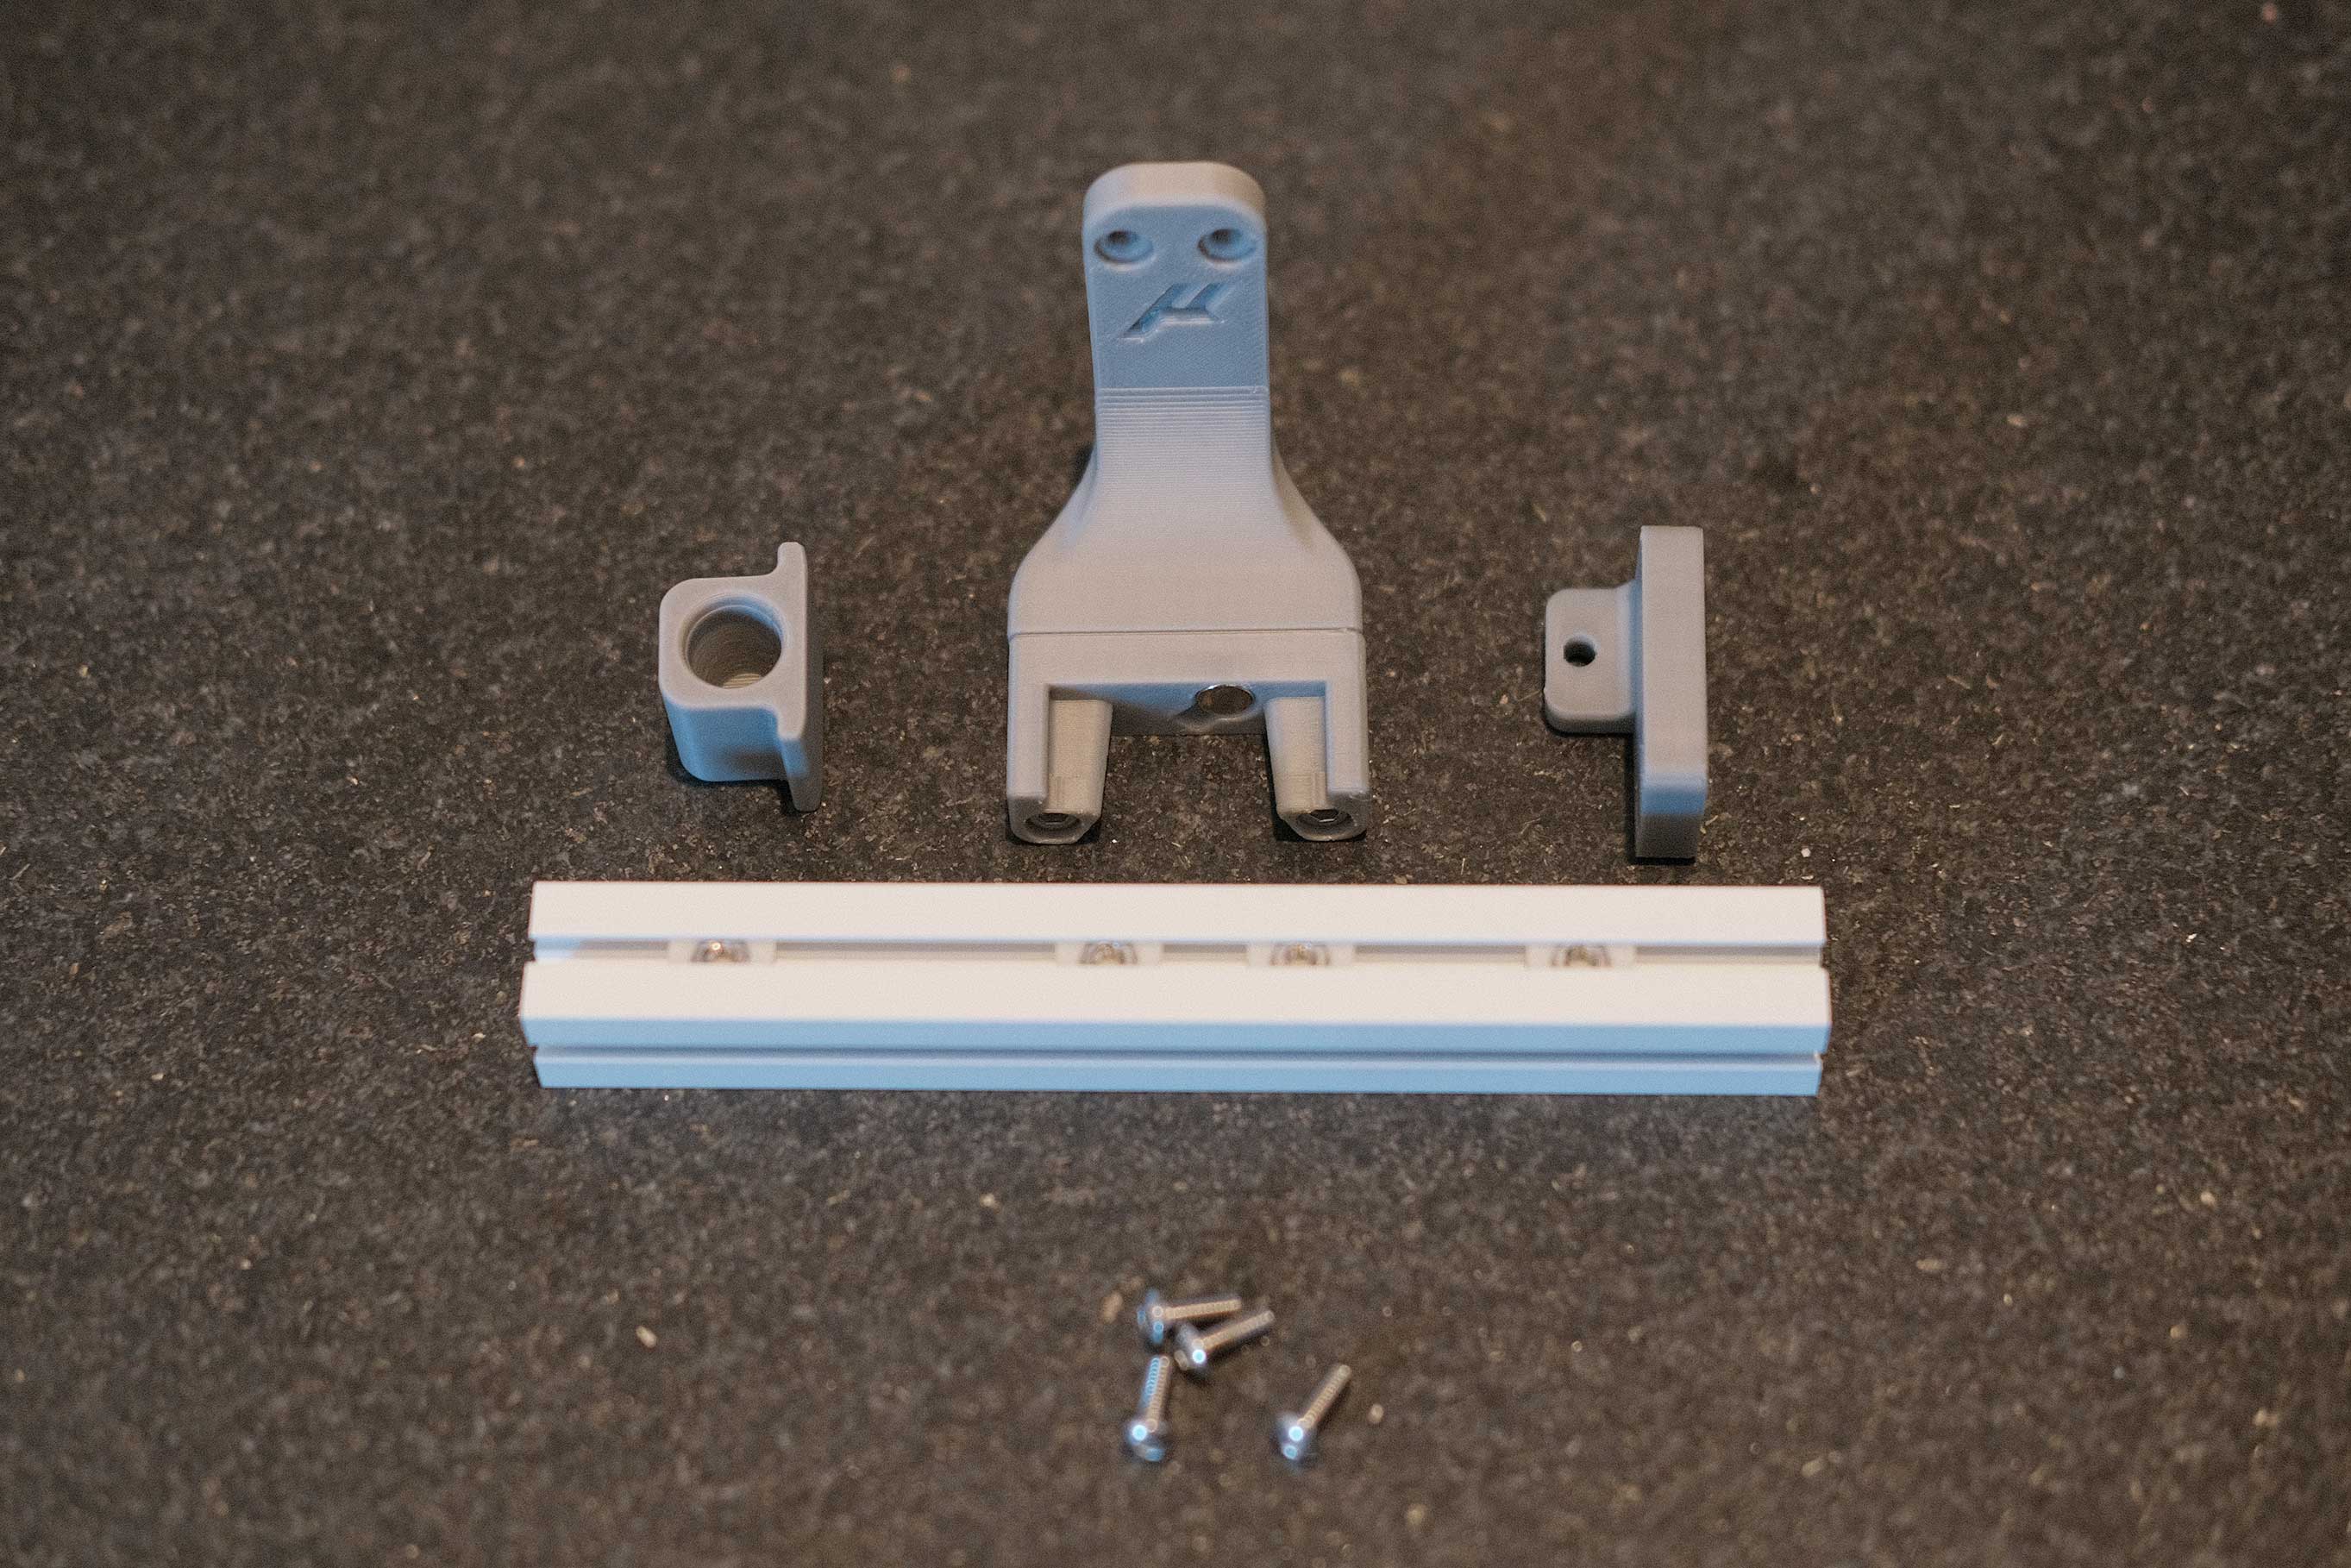
Neopixel Sticks for Chamber Lighting
![]() Neopixel Sticks for Chamber Lighting - 1
Neopixel Sticks for Chamber Lighting - 1
![]() Neopixel Sticks for Chamber Lighting - 2
Neopixel Sticks for Chamber Lighting - 2
![]() Neopixel Sticks for Chamber Lighting - 3
Neopixel Sticks for Chamber Lighting - 3
![]() Neopixel Sticks for Chamber Lighting - 4
Neopixel Sticks for Chamber Lighting - 4
![]() Neopixel Sticks for Chamber Lighting - 5
Neopixel Sticks for Chamber Lighting - 5