CANbus with EBB36 & CANbridge
 EBB36 & CANbridge
Table of contents
BOM
- EBB36 v1.2 - BigTreeTech
- Igus Chainflex CF77-UL-D - Igus
References
- Maz0r’s Klipper/CANbus Guide
- Maz0r’s CANboot Guide
- [PDF] BigTreeTech EBB36 CAN v1.1 User Manual
- [PDF] How to Use CAN Toolhead Boards Connected Directly to Octopus
- [Software] STM32CubeProgramer
 EBB36
EBB36
Procedure
This is mostly a rehash of the steps found in the excellent PDF above, found on TeamFDM and attributed to TJM on Facebook, with my own notes and experience sprinkled in. Specifically, the guide focuses on how to get an EBB36/EBB42 to work directly with the CAN bridge port of an Octopus/Octopus Pro without an adaptor board like the U2C.
Overview
- Install CANboot on the Raspberry Pi.
- Re-
makefirmwares for both the Octopus and EBB to be CANboot-compatible. - Set up Octopus to use CANbridge mode to EBB.
- Set up EBB for CAN communication.
- Find Octopus serial and flash Octopus with CANboot
serialcommand. - Set up CAN network.
- Find CAN UUID for both Octopus and EBB.
- Flash EBB with CANboot
CANcommand. - Update printer.cfg with EBB pins.
Notes
All specific terminal commands and
makeinstructions are laid out very clearly in the PDF. Copying/pasting through the steps, and paying attention to my hardware specifics, I was able to complete the entire process. In fact, the only trouble I ran into was reversing the wires on the CAN cable leading from the EBB to the CANbridge port. The diagram at the end of the PDF shows the orientation of the High/Low/Vin/GND wires in the EBB connector. My mistake was not mirroring the layout for the wires being connected. Luckily, I did not fry my EBB board.Here’s the easiest way to get the new firmware files after
make. Right after generating a new bin file, use this command to move the file to a Mainsail/Fluidd-reachable folder:cp ~/klipper/out/klipper.bin ~/klipper_logs/. Then just right click and download the bin from your browser.For EBB v1.1 boards, its a good idea to not power the heater pins while you are flashing. There’s a bug where the heaters will turn on in DFU mode. This is fixed in v1.2 boards.
Dedicated probes like inductive, BLTouch/3DTouch, etc. can use the dedicated probe pins on the EBB board, but Klicky probes should use an available endstop pin. The probe pins have a built-in resistor that will interfere with Klicky and cause mis-triggers.
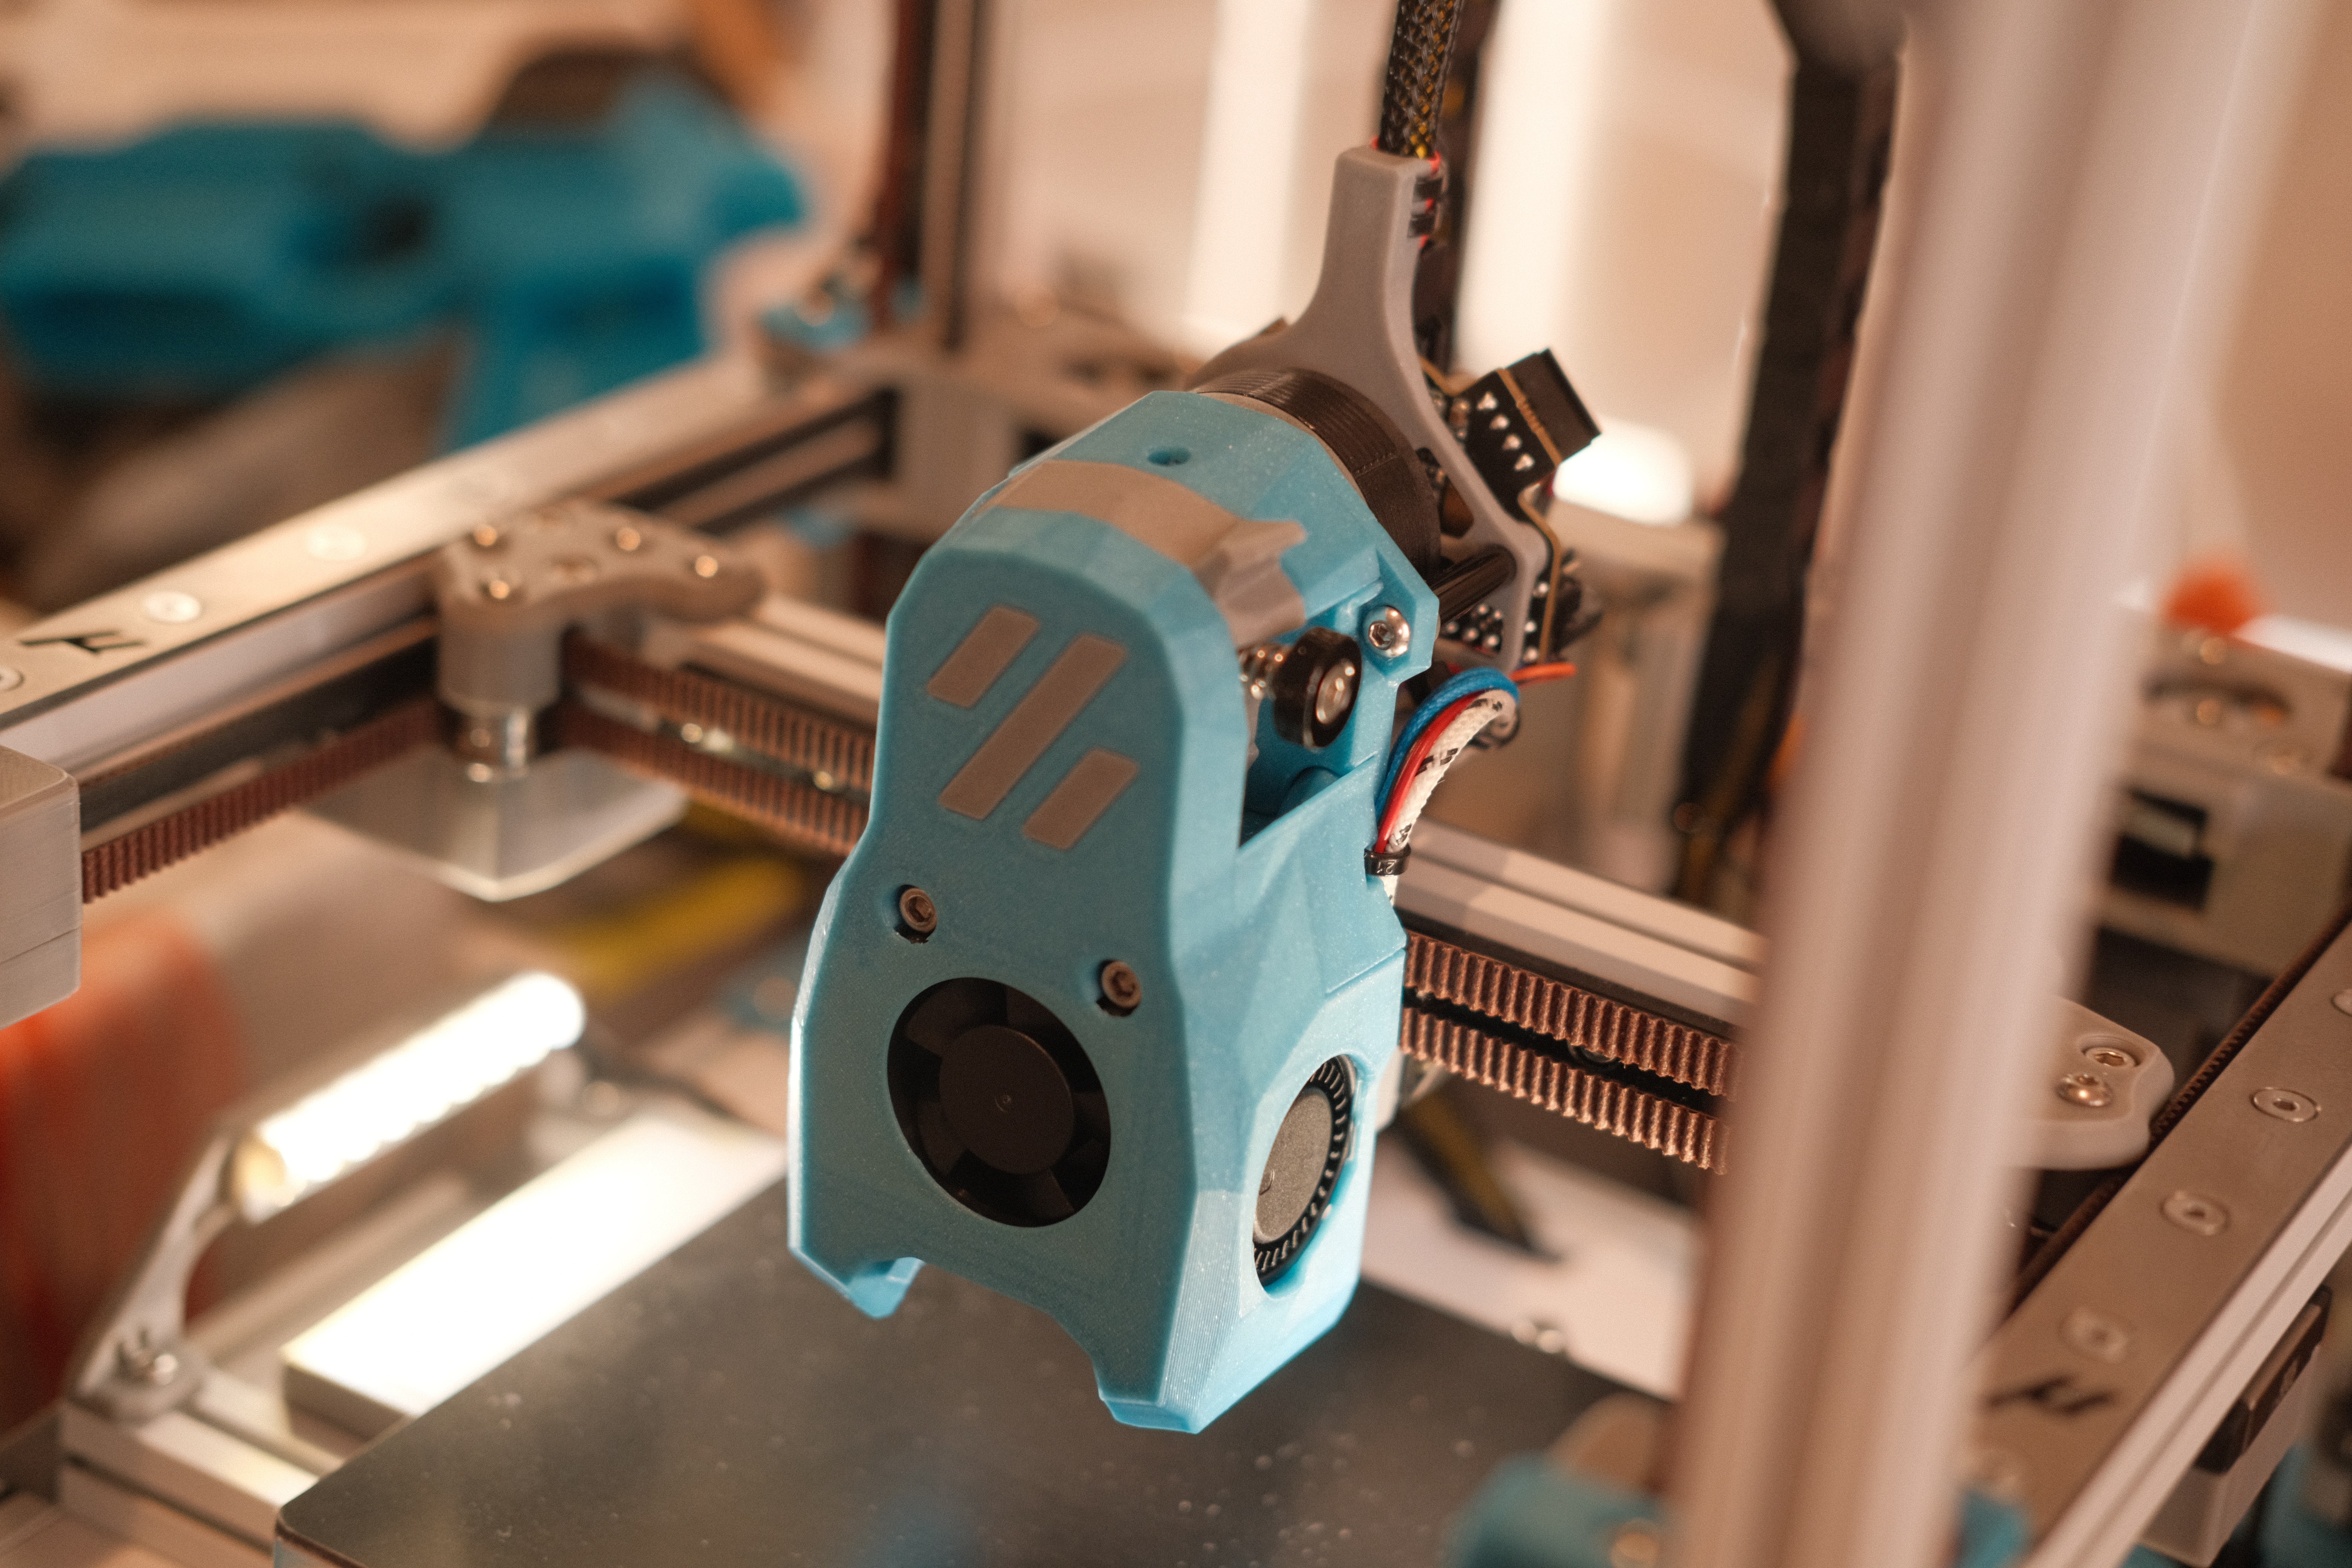
EBB36 Mount
KayosMaker already designed a set of EBB36 mounts for various toolheads and extruders, but they don’t fit the newest revisions of the CAN board. I used his as a starting point, but added/moved/removed features to make it work with EBB36 v1.2.
 EBB36 Mount
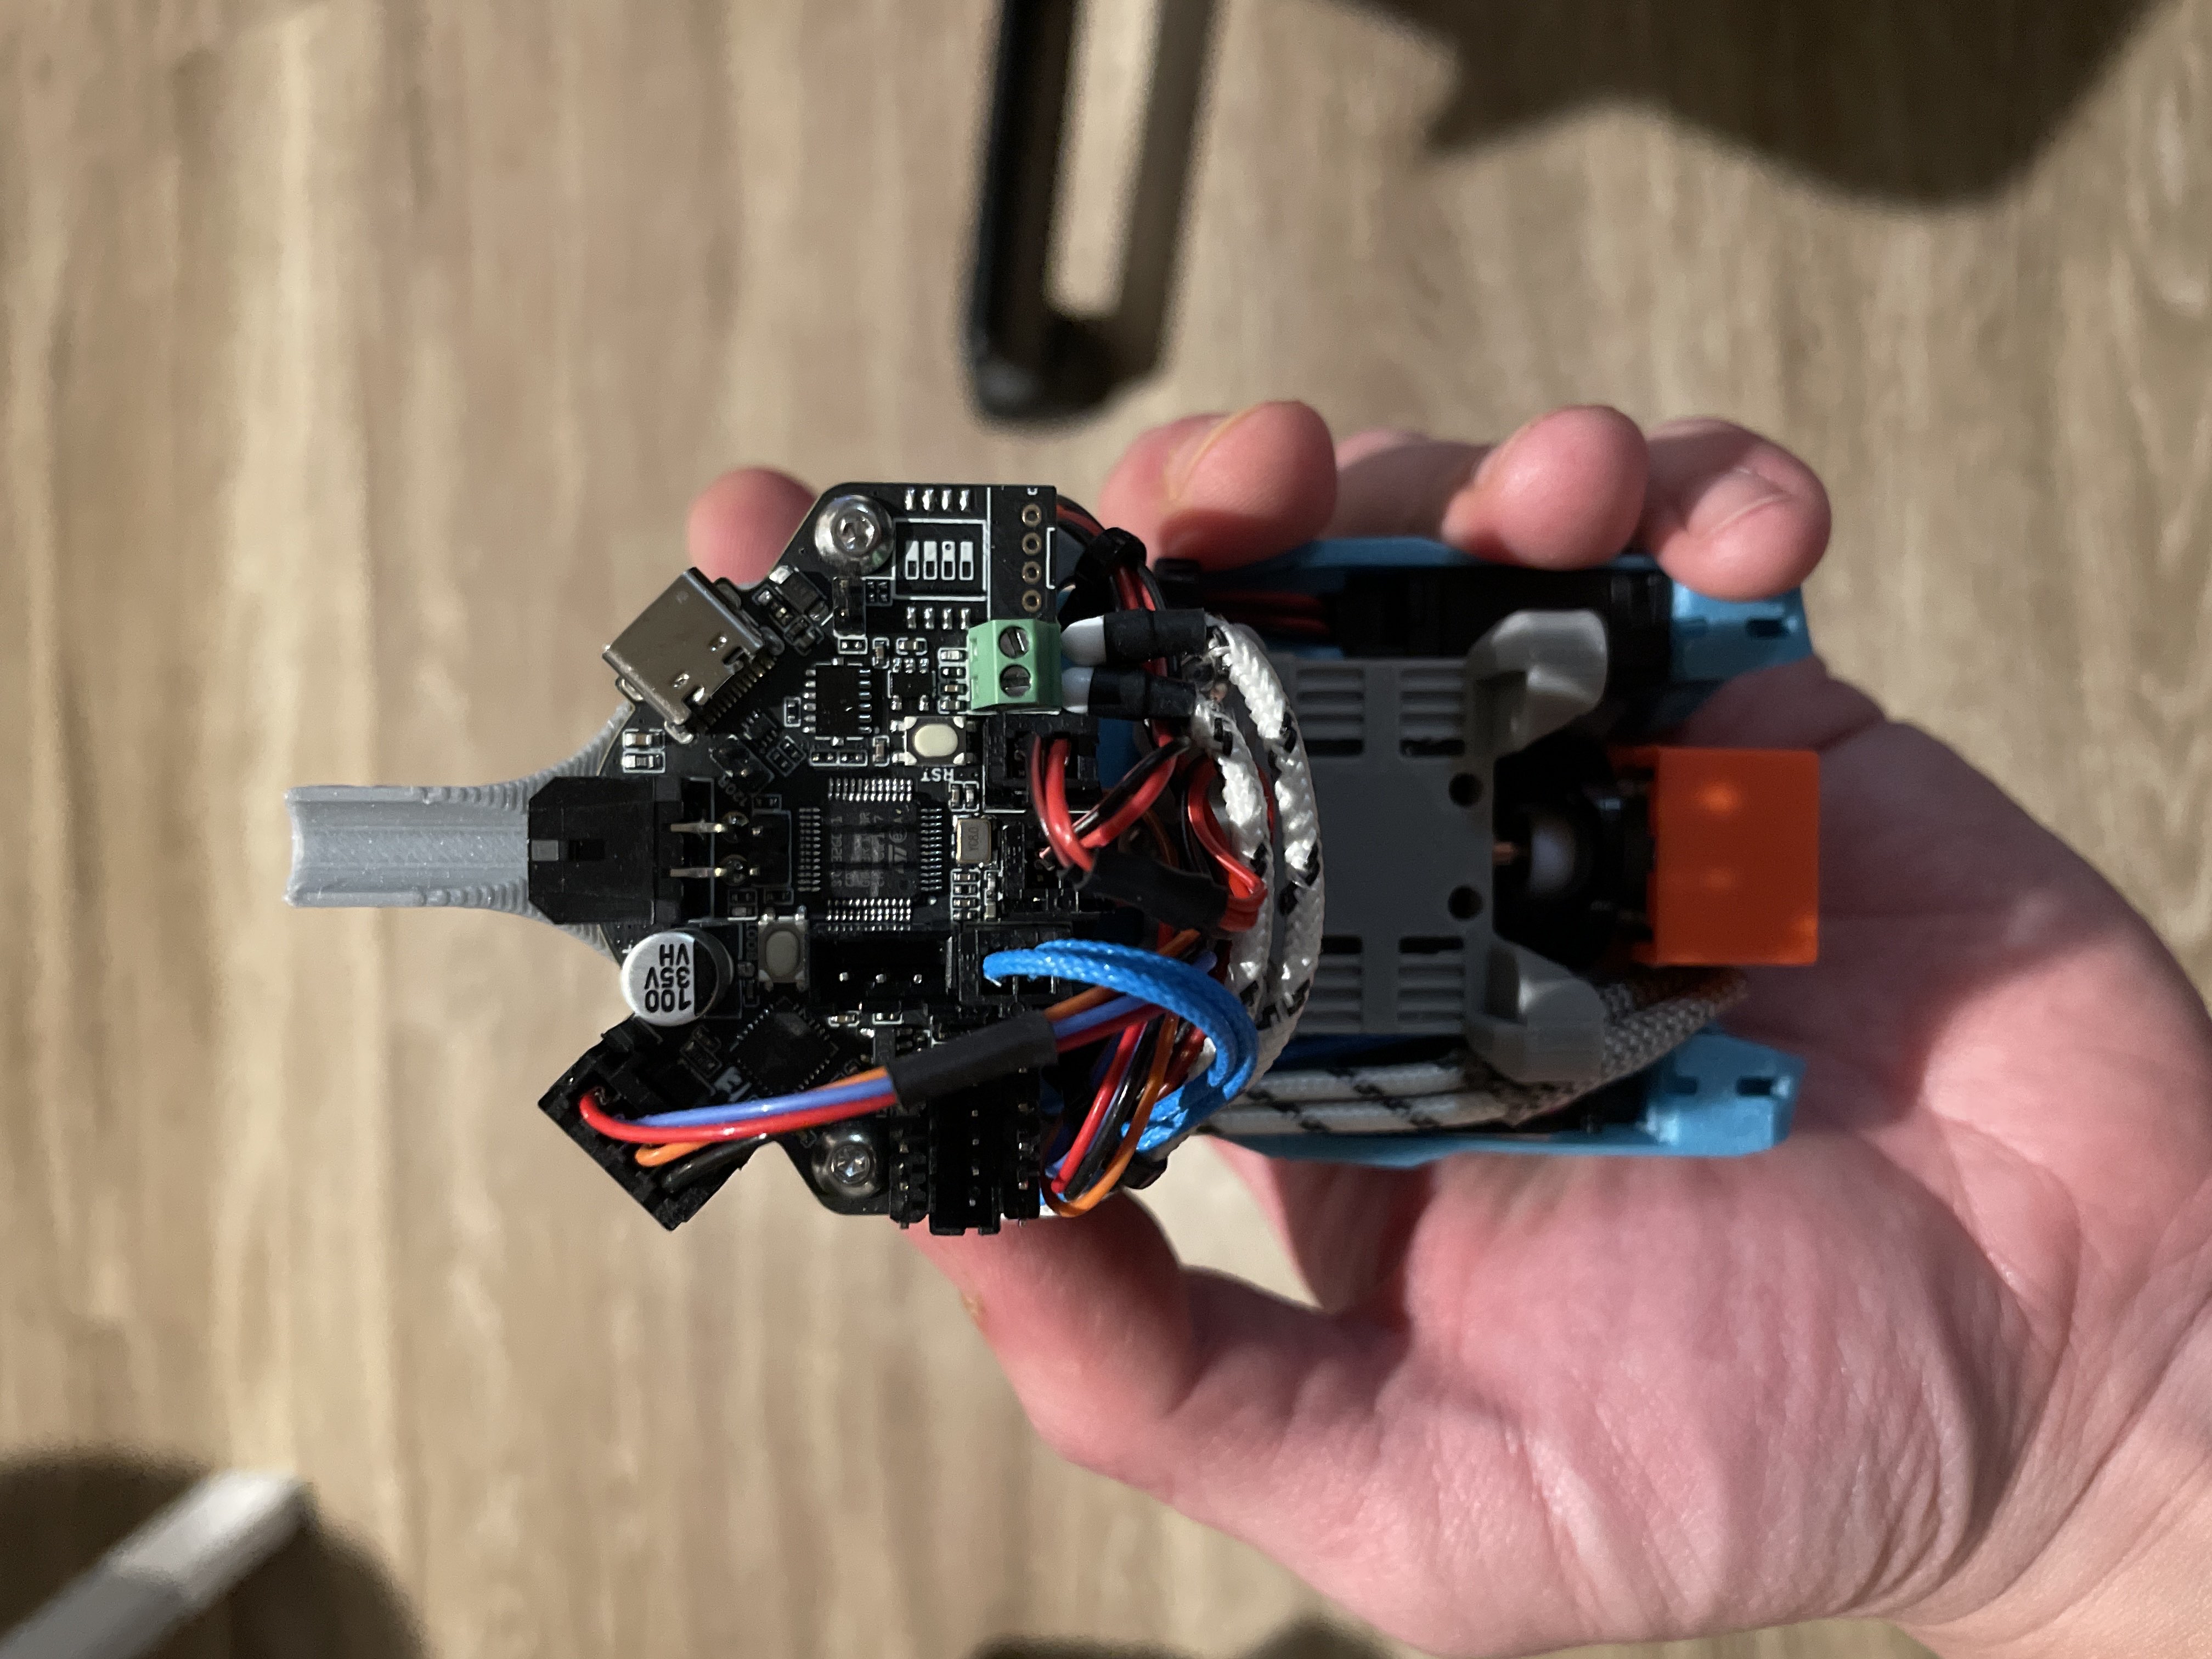
 EBB36 Mounted
The wires extend further out from the rear than I hoped. To make sure they didn’t get caught on anything, I extended the printed part that actuates the Y limit switch about 14mm to trigger further out. Unfortunately, with my new Y max of 106, there’s a substantial loss of Y travel.
Here, you can see the original Y limit switch actuator:
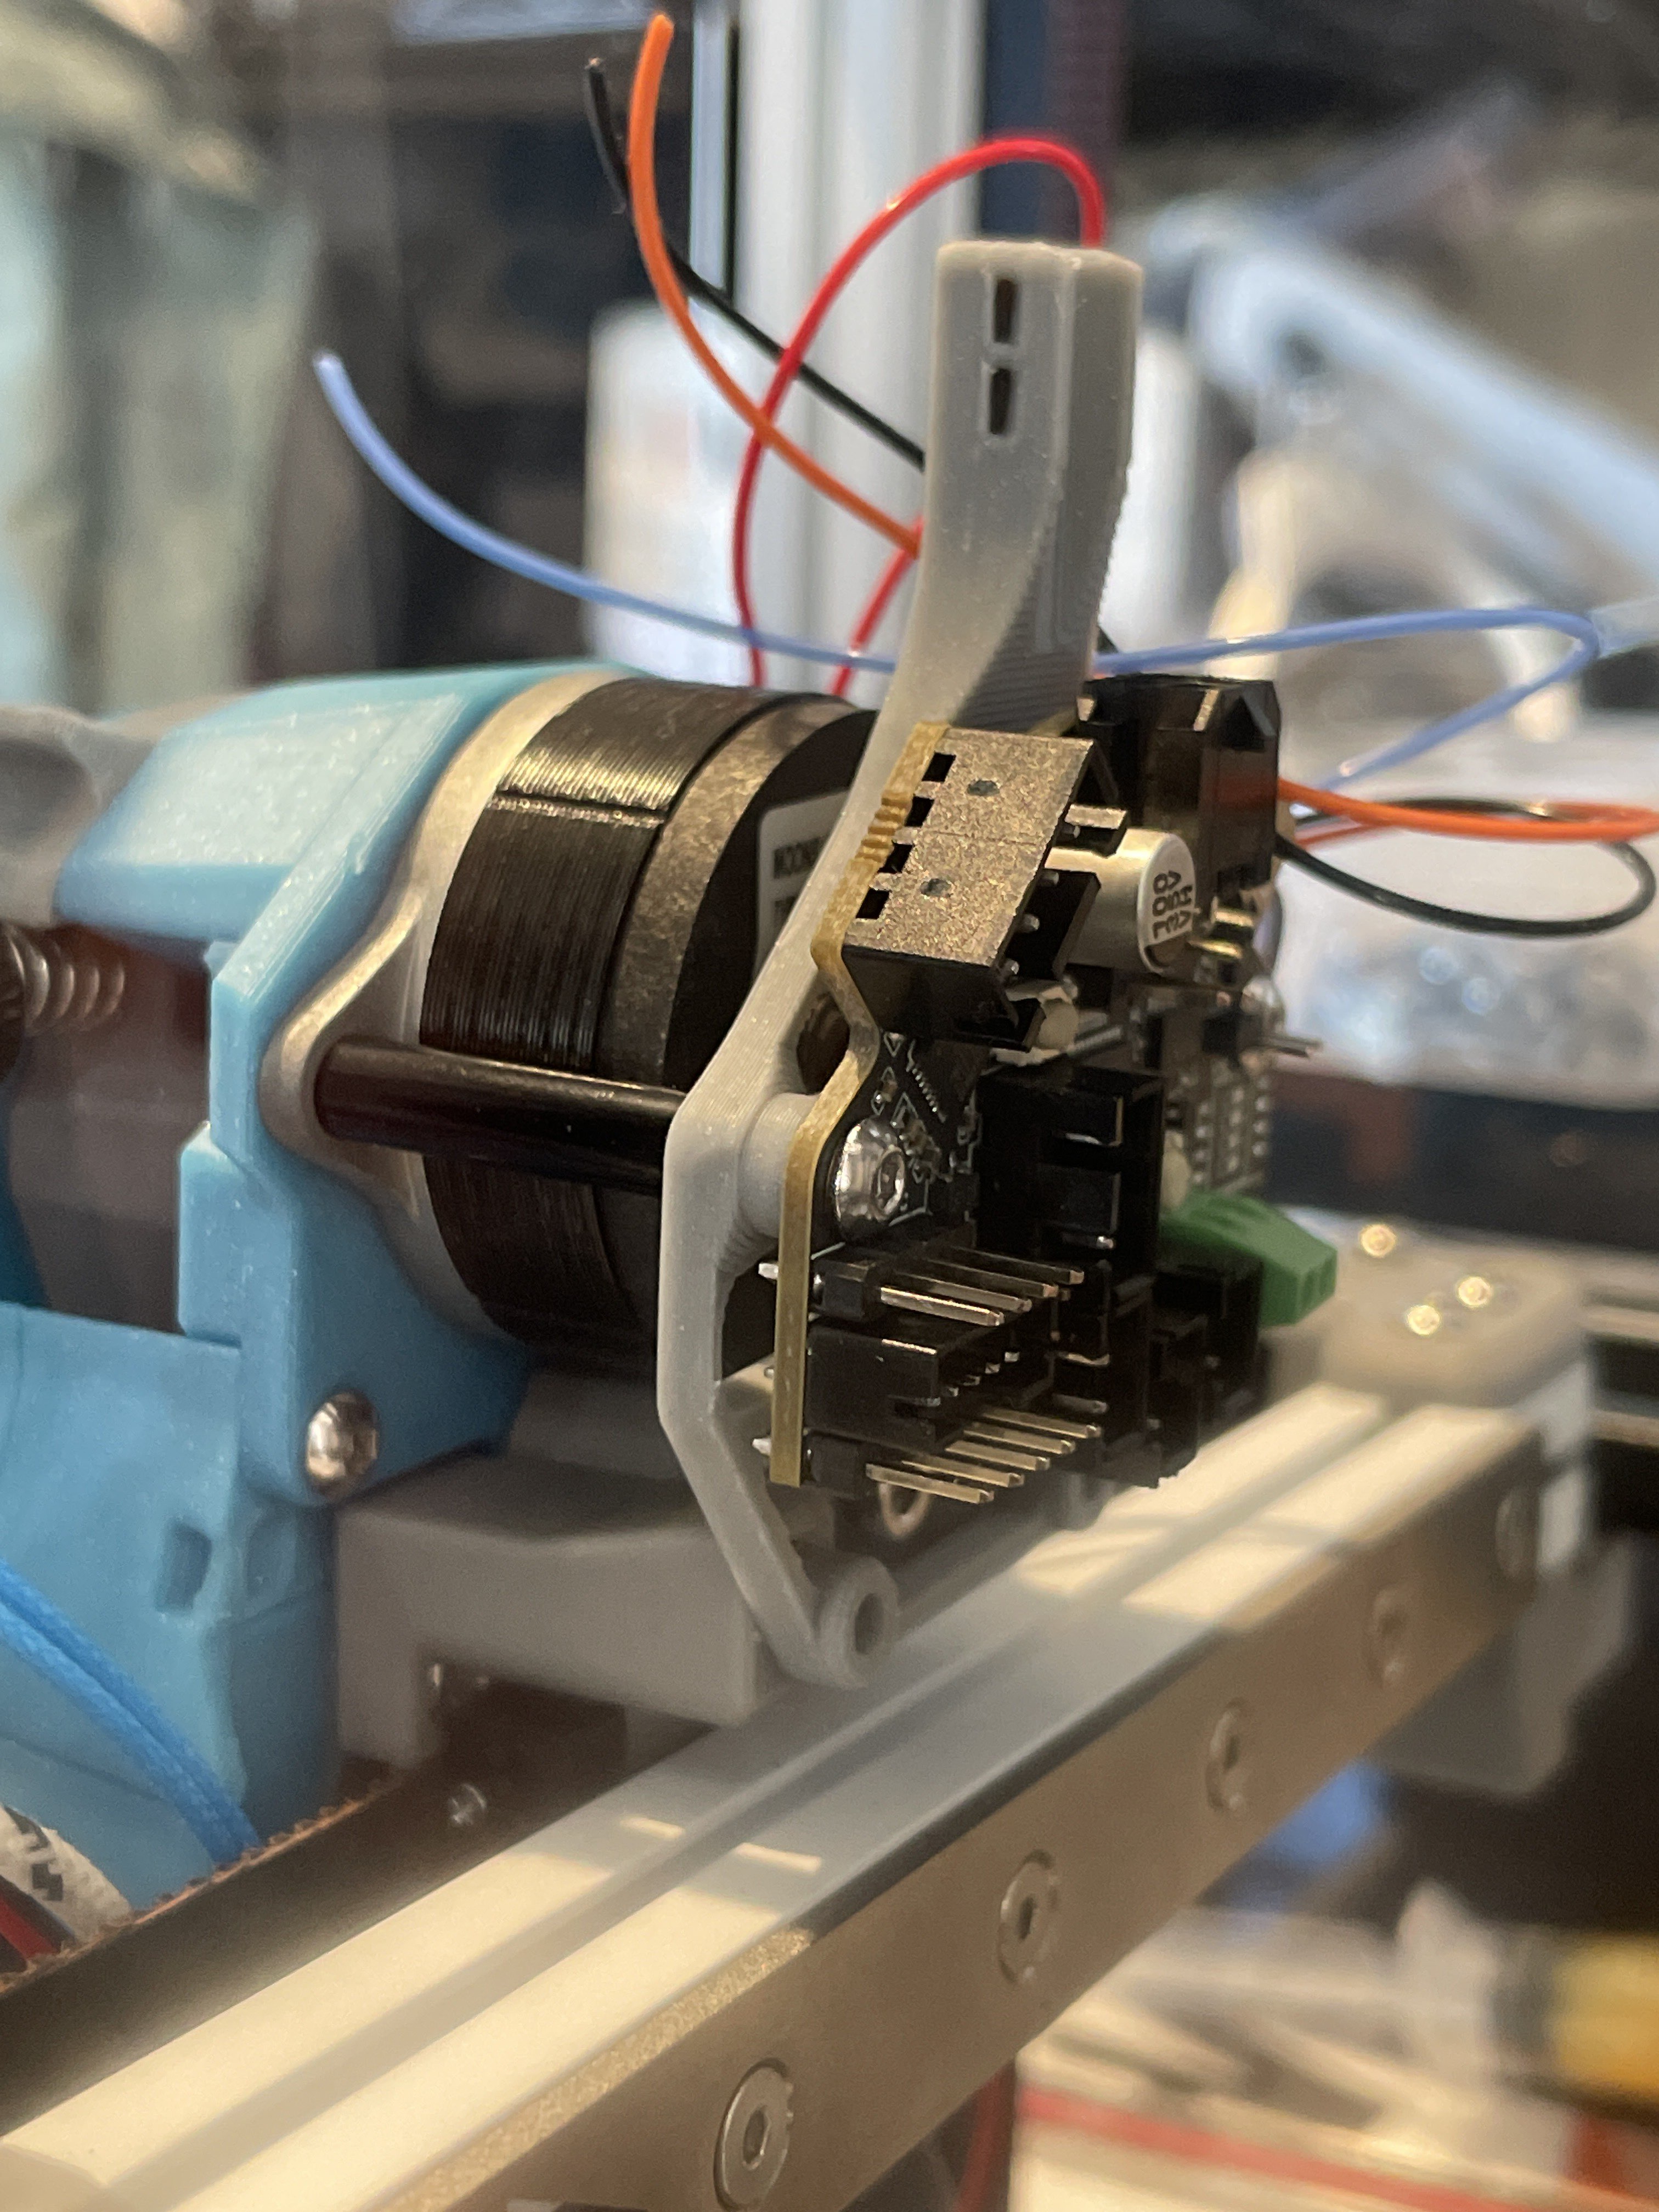
 EBB36 Mounted Rear
And this is the extended one:
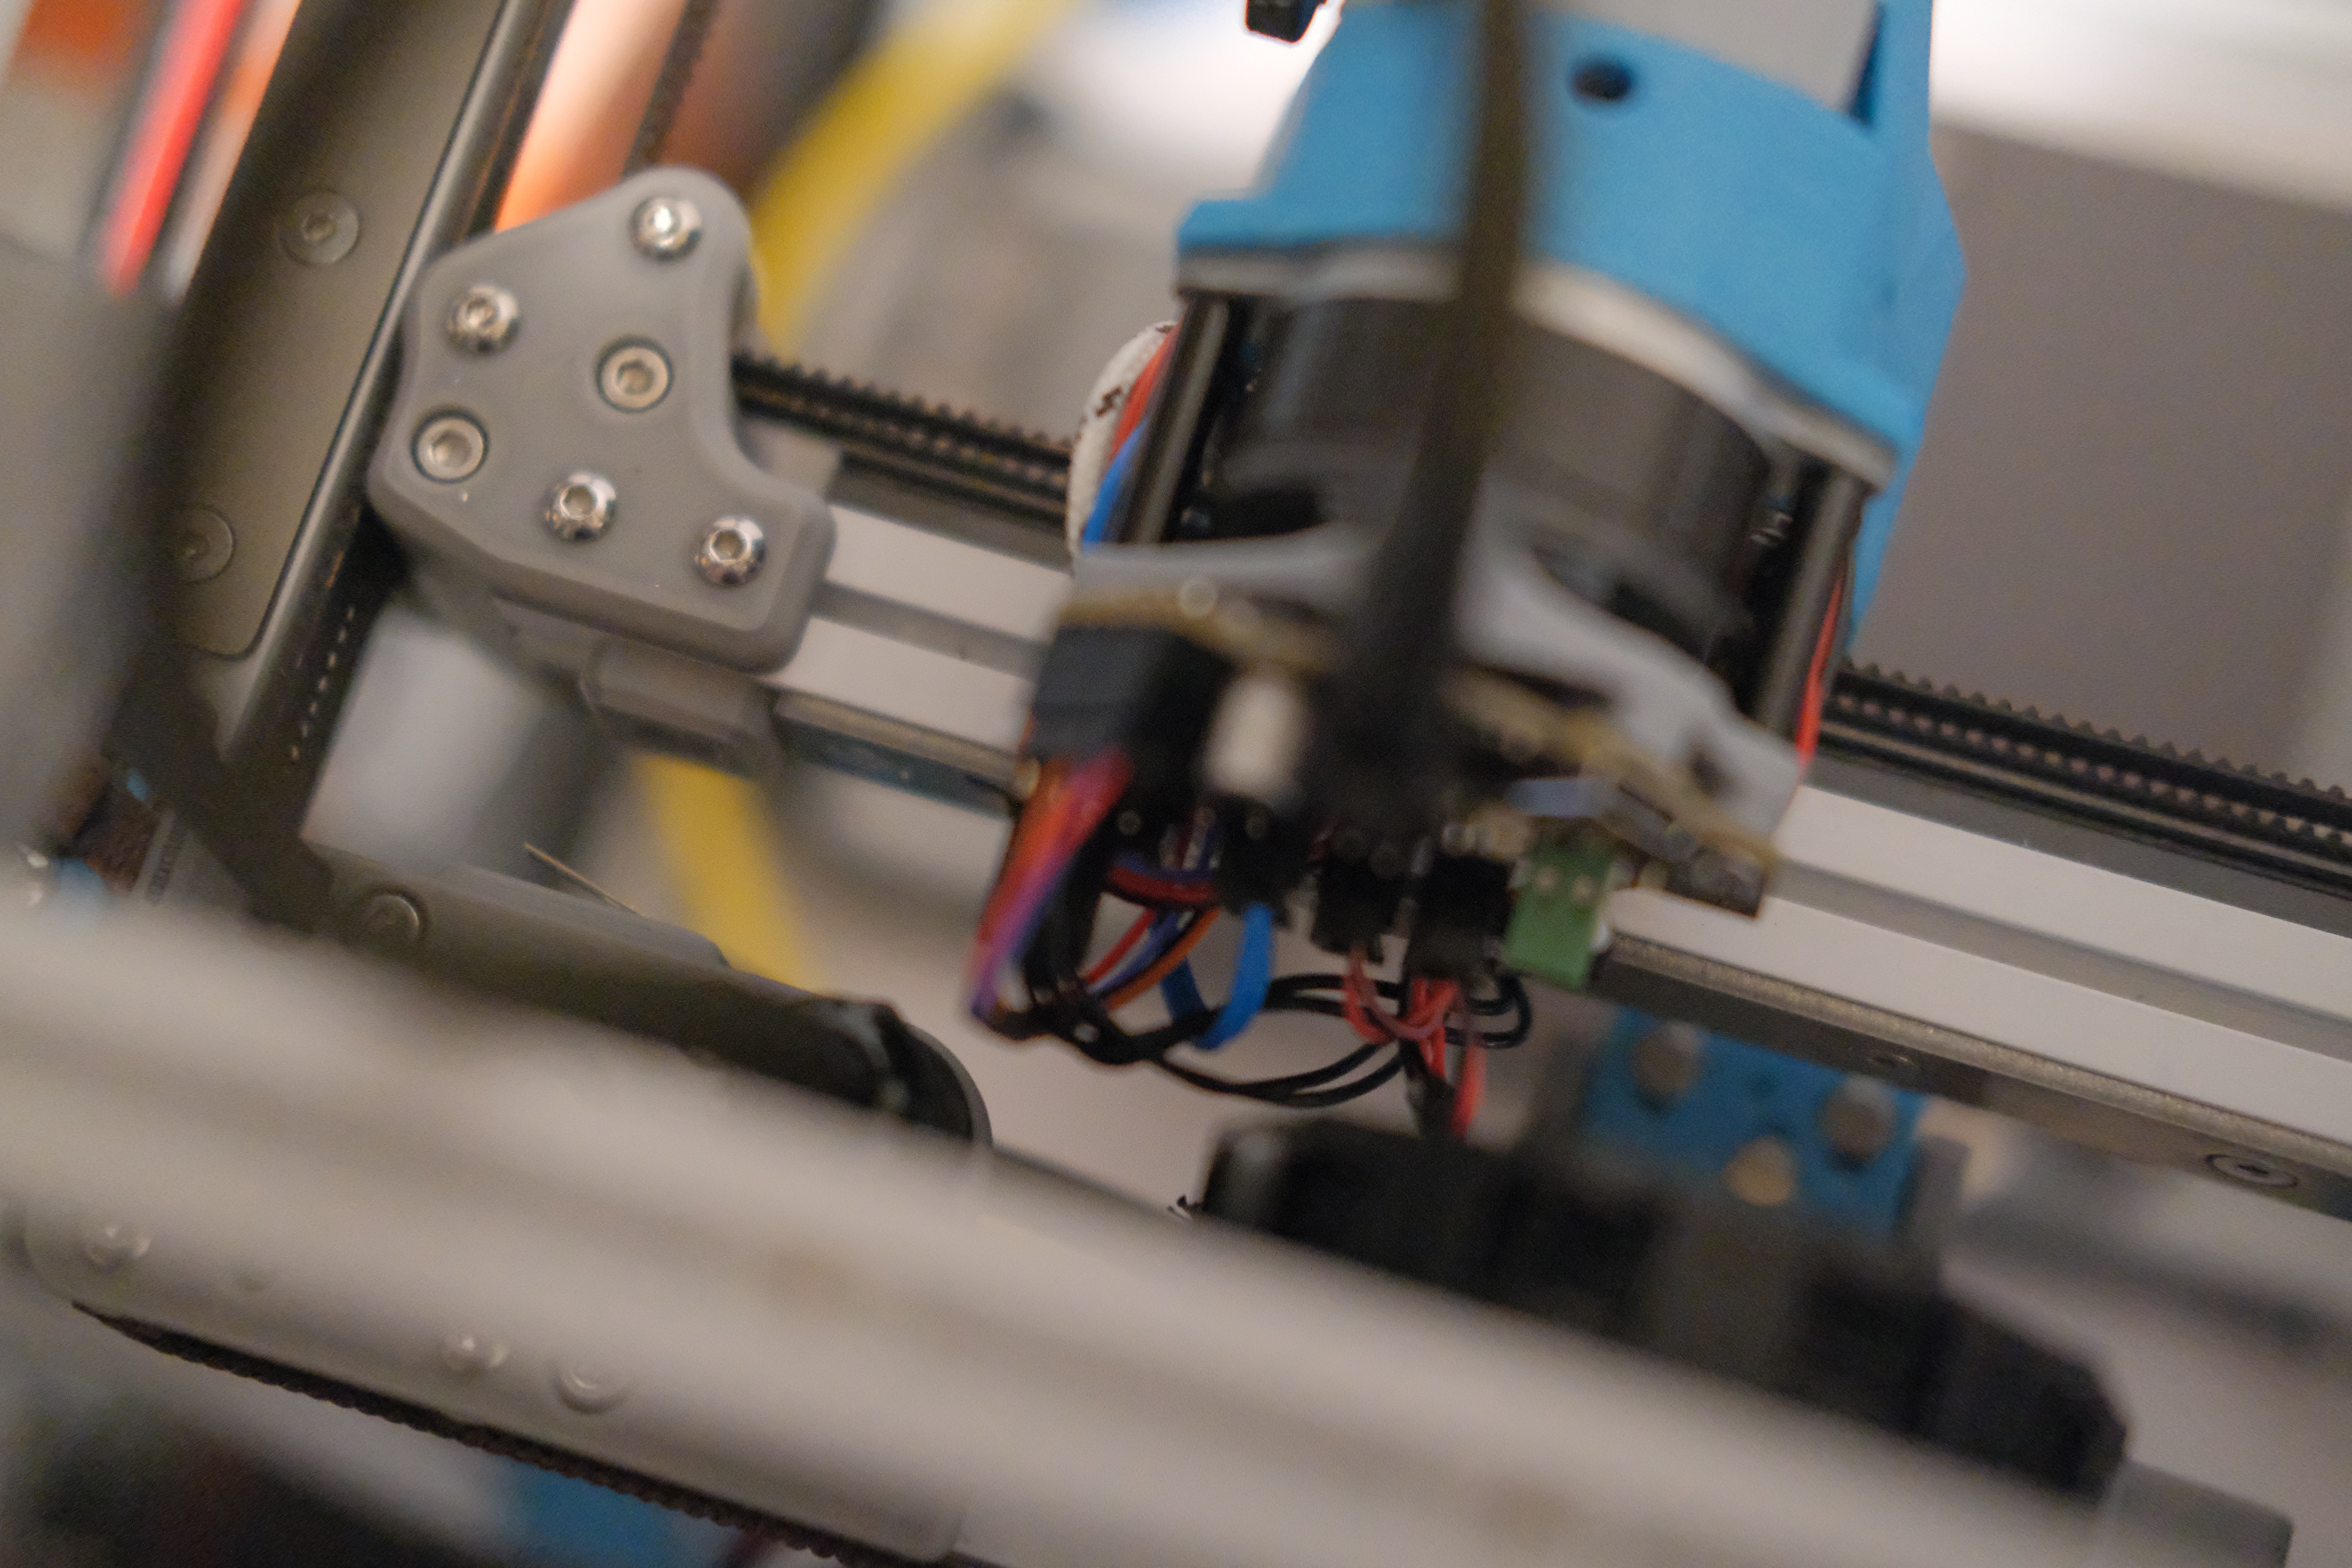
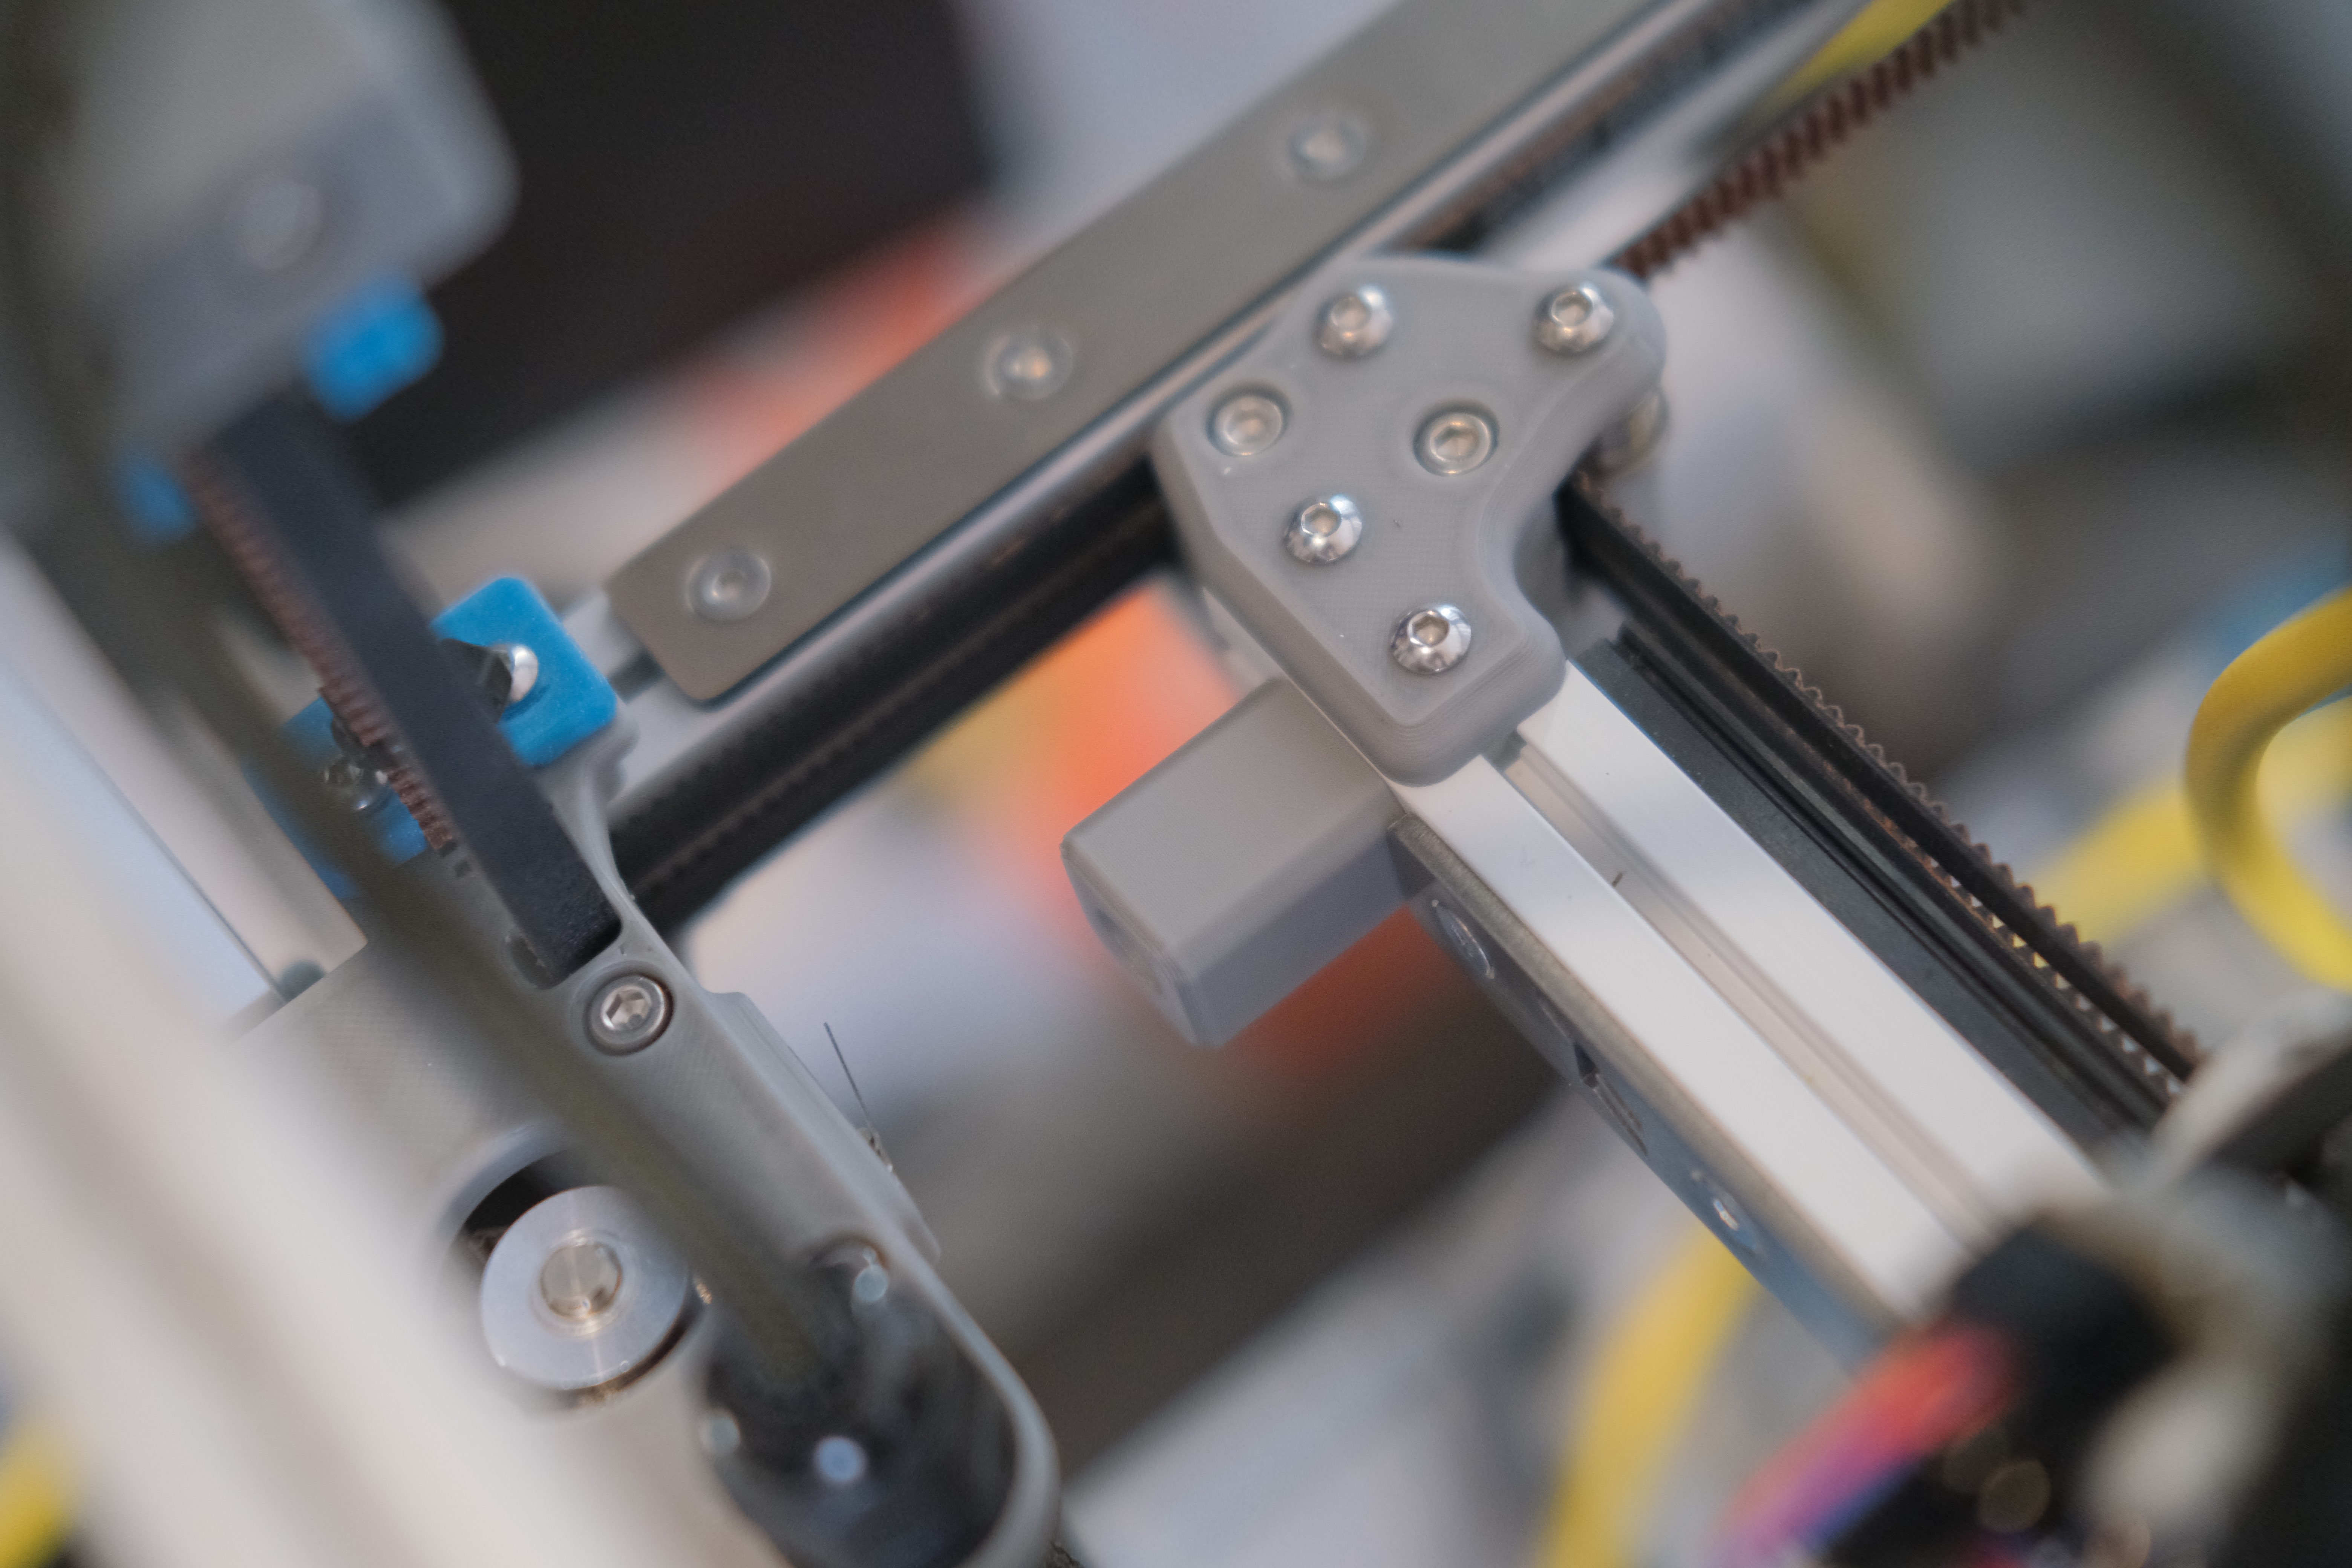 Extended Y Actuator
I can live with it for now. Just glad Micron is printing again!
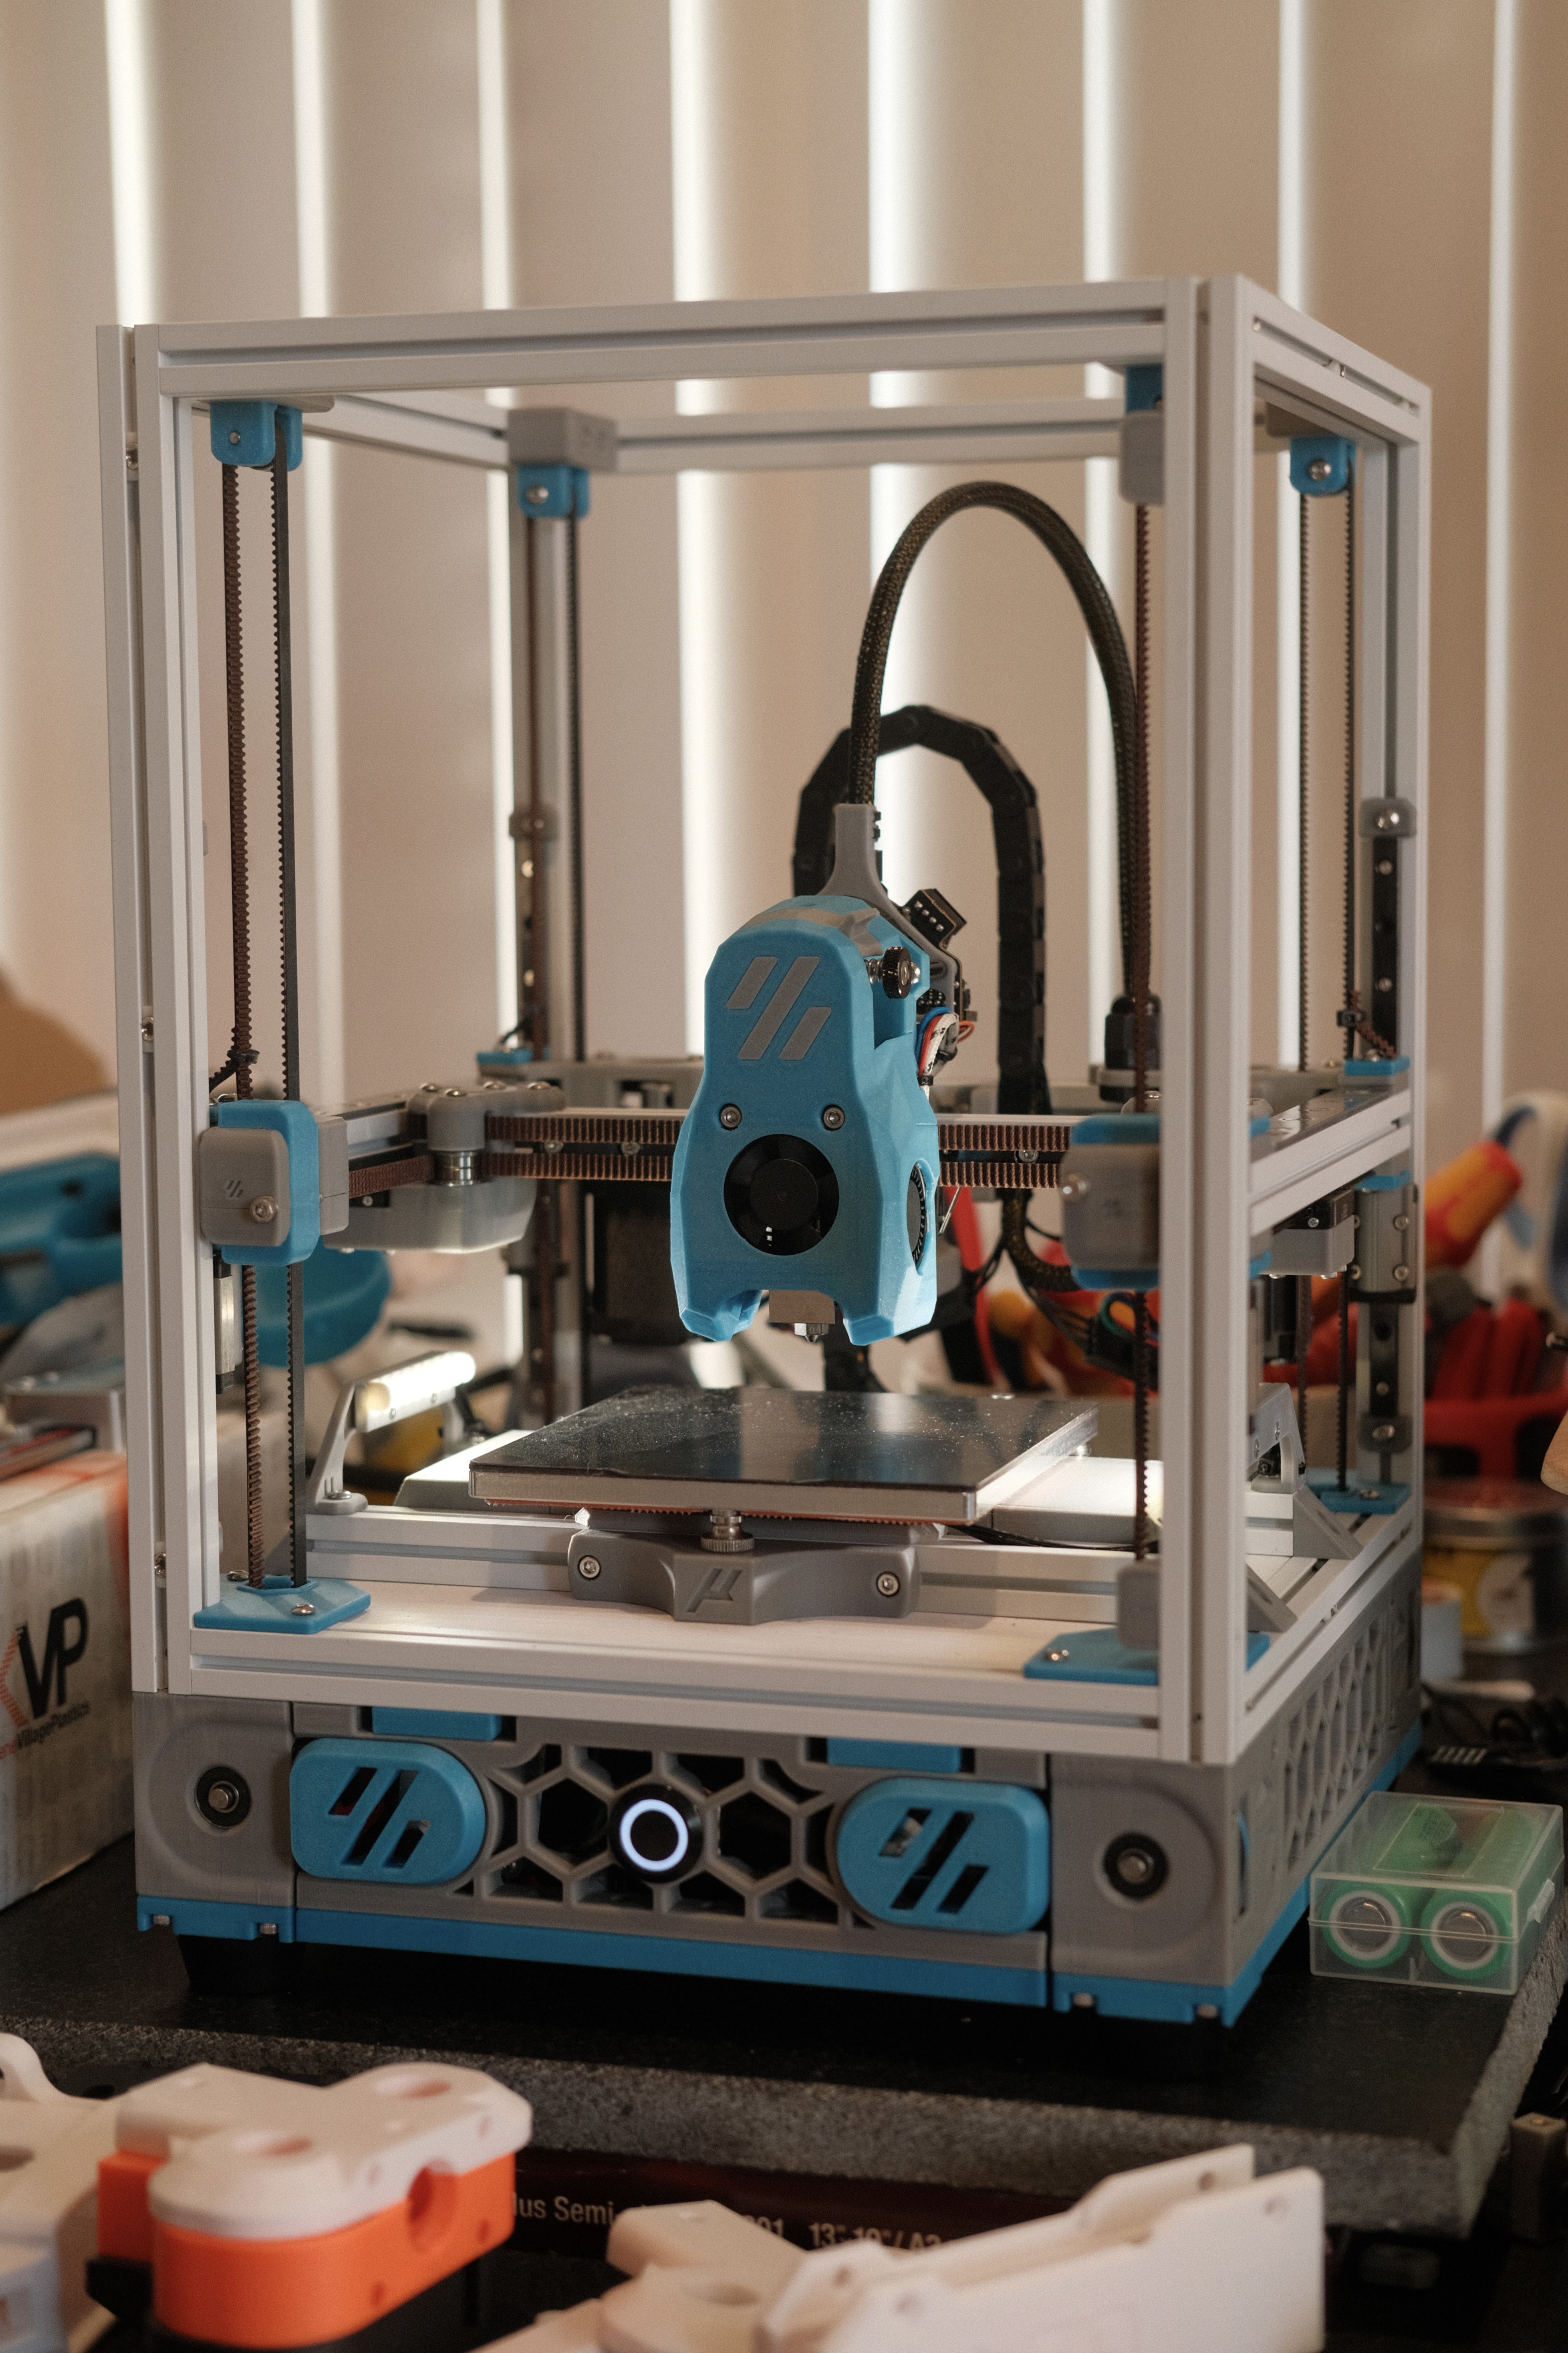 CAN Complete - 1