Voxelab Aquila
Table of contents
Quick Start Guide
Printing
- Power on the Pi and turn on the printer.
- Open Mainsail in browser.
- Use BOOT macro to (1) preheat the bed and (2) perform G28 to home the axis. Wait about 10-15 minutes for bed thermal expansion.
- If the printer has moved physical locations or hasn’t been trammed recently, use SCREWS to tram the bed. See Macros sections for details.
- Send gcode from slicer.
Swapping Filament
- Move gantry/toolhead a few inches above bed for safety.
- Heat the nozzle to filament-melting temperature (eg, 190C for PLA).
- When temperature is reached, use FIL UNLOAD to retract the filament from nozzle to extruder.
- Pull extruder tension lever and pull filament out.
- Swap spools, pull extruder tension lever, insert filament through extruder gears (should feed into the bowden tube just a bit).
- Use FIL LOAD to feed filament from extruder back to nozzle.
- Use FIL PURGE to extrude some filament into thin air. Repeat FIL PURGE until old color is gone and new color is ready.
- Cool nozzle back down. Leaving it at this temp for too long will cook any filament in the nozzle.
SSH
- Open terminal,
ssh aquila.local -l pi. - Password is 0212.
References
- AndrewEllis93’s Printer Tuning Guide - The most thorough tuning guide I’ve seen. Very SuperSlicer-oriented.
- Tomb of 3D Printed Horror’s Ender 3v2 Setup Video - The best video on setting up the Aquila. Lots of tips for proper alignments and things to look out for.
Glossary
Firmware
- Mainsail
- Web frontend for Klipper. Runs on Pi. Allows for remote uploading, custom macros, file manager, print history, bed mesh, webcam support. Documentation
- Klipper
- Powerful open-source 3D printer firmware. Runs on Pi and main controller board inside the Aquila. Offloads calculations from the controller board to the more capable Pi. Printer configuration is stored in simple text files and, unlike stock Marlin firmware, does not need to be re-flashed for changes. Supports advanced features like Input Shaping and Pressure Advance. Has built in tools and macros for bed leveling. Documentation
- Moonraker
- Web server to handle communication between Mainsail and Klipper. Documentation
Slicers
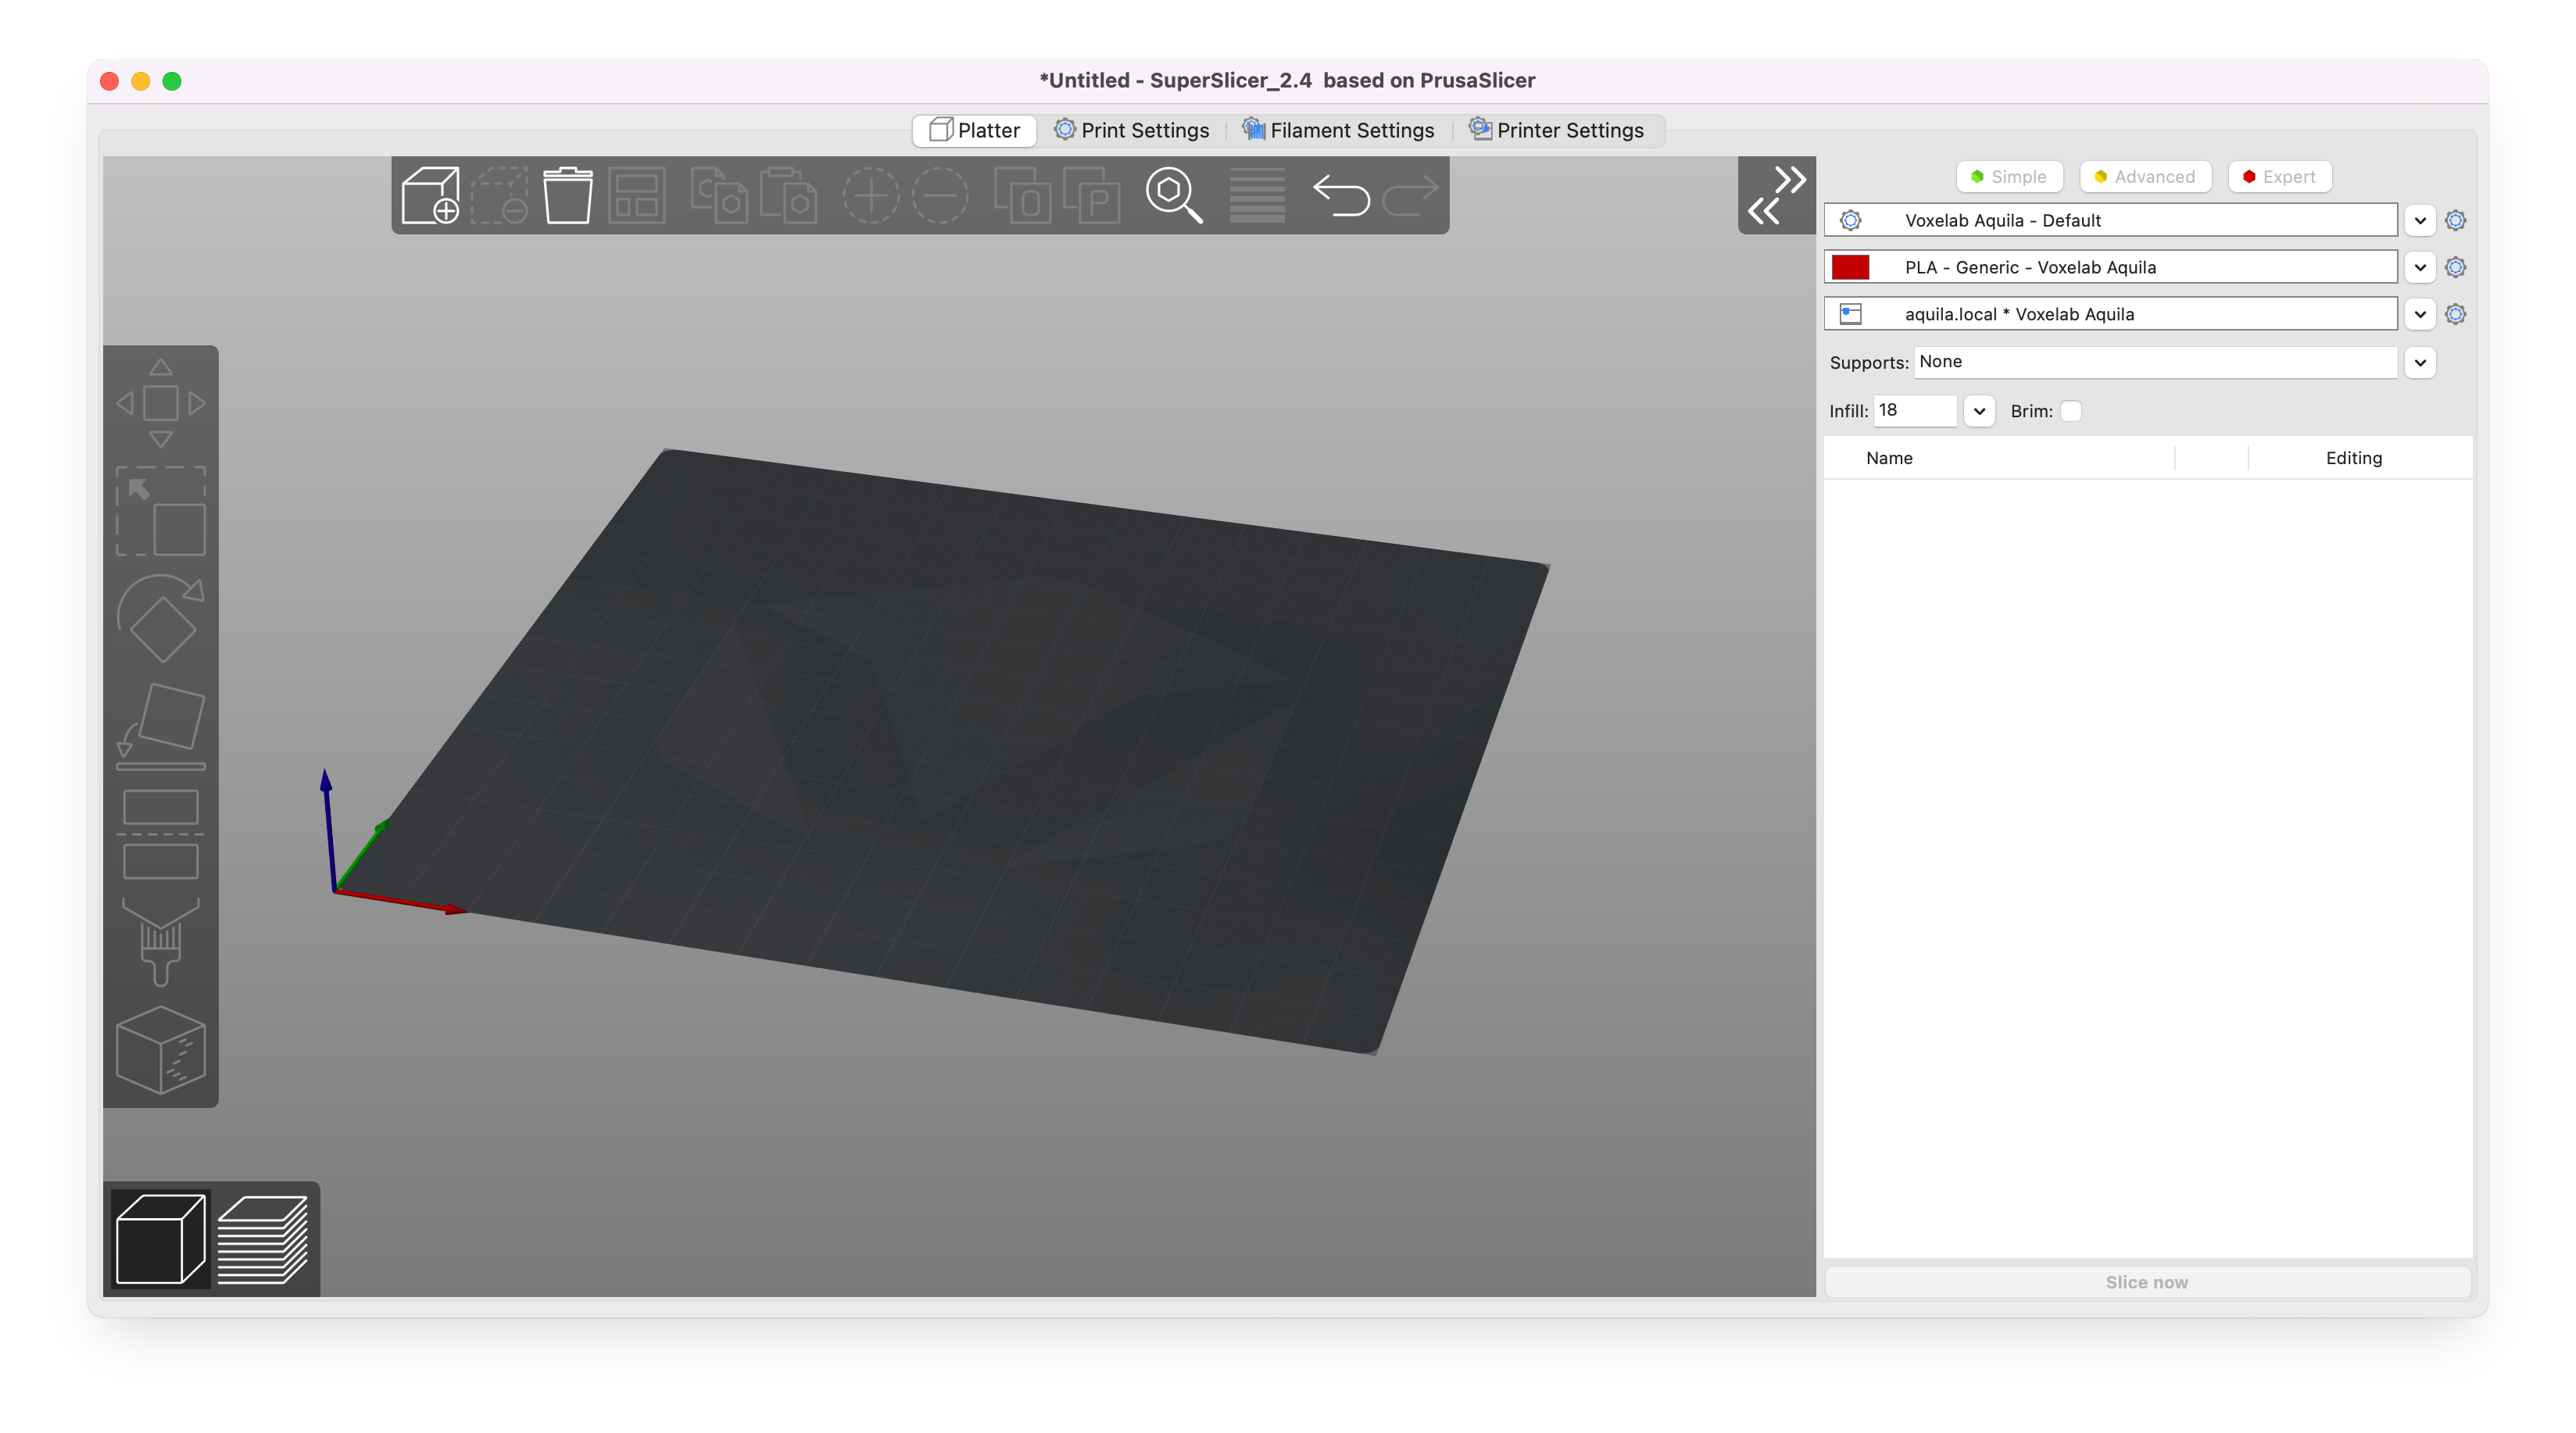
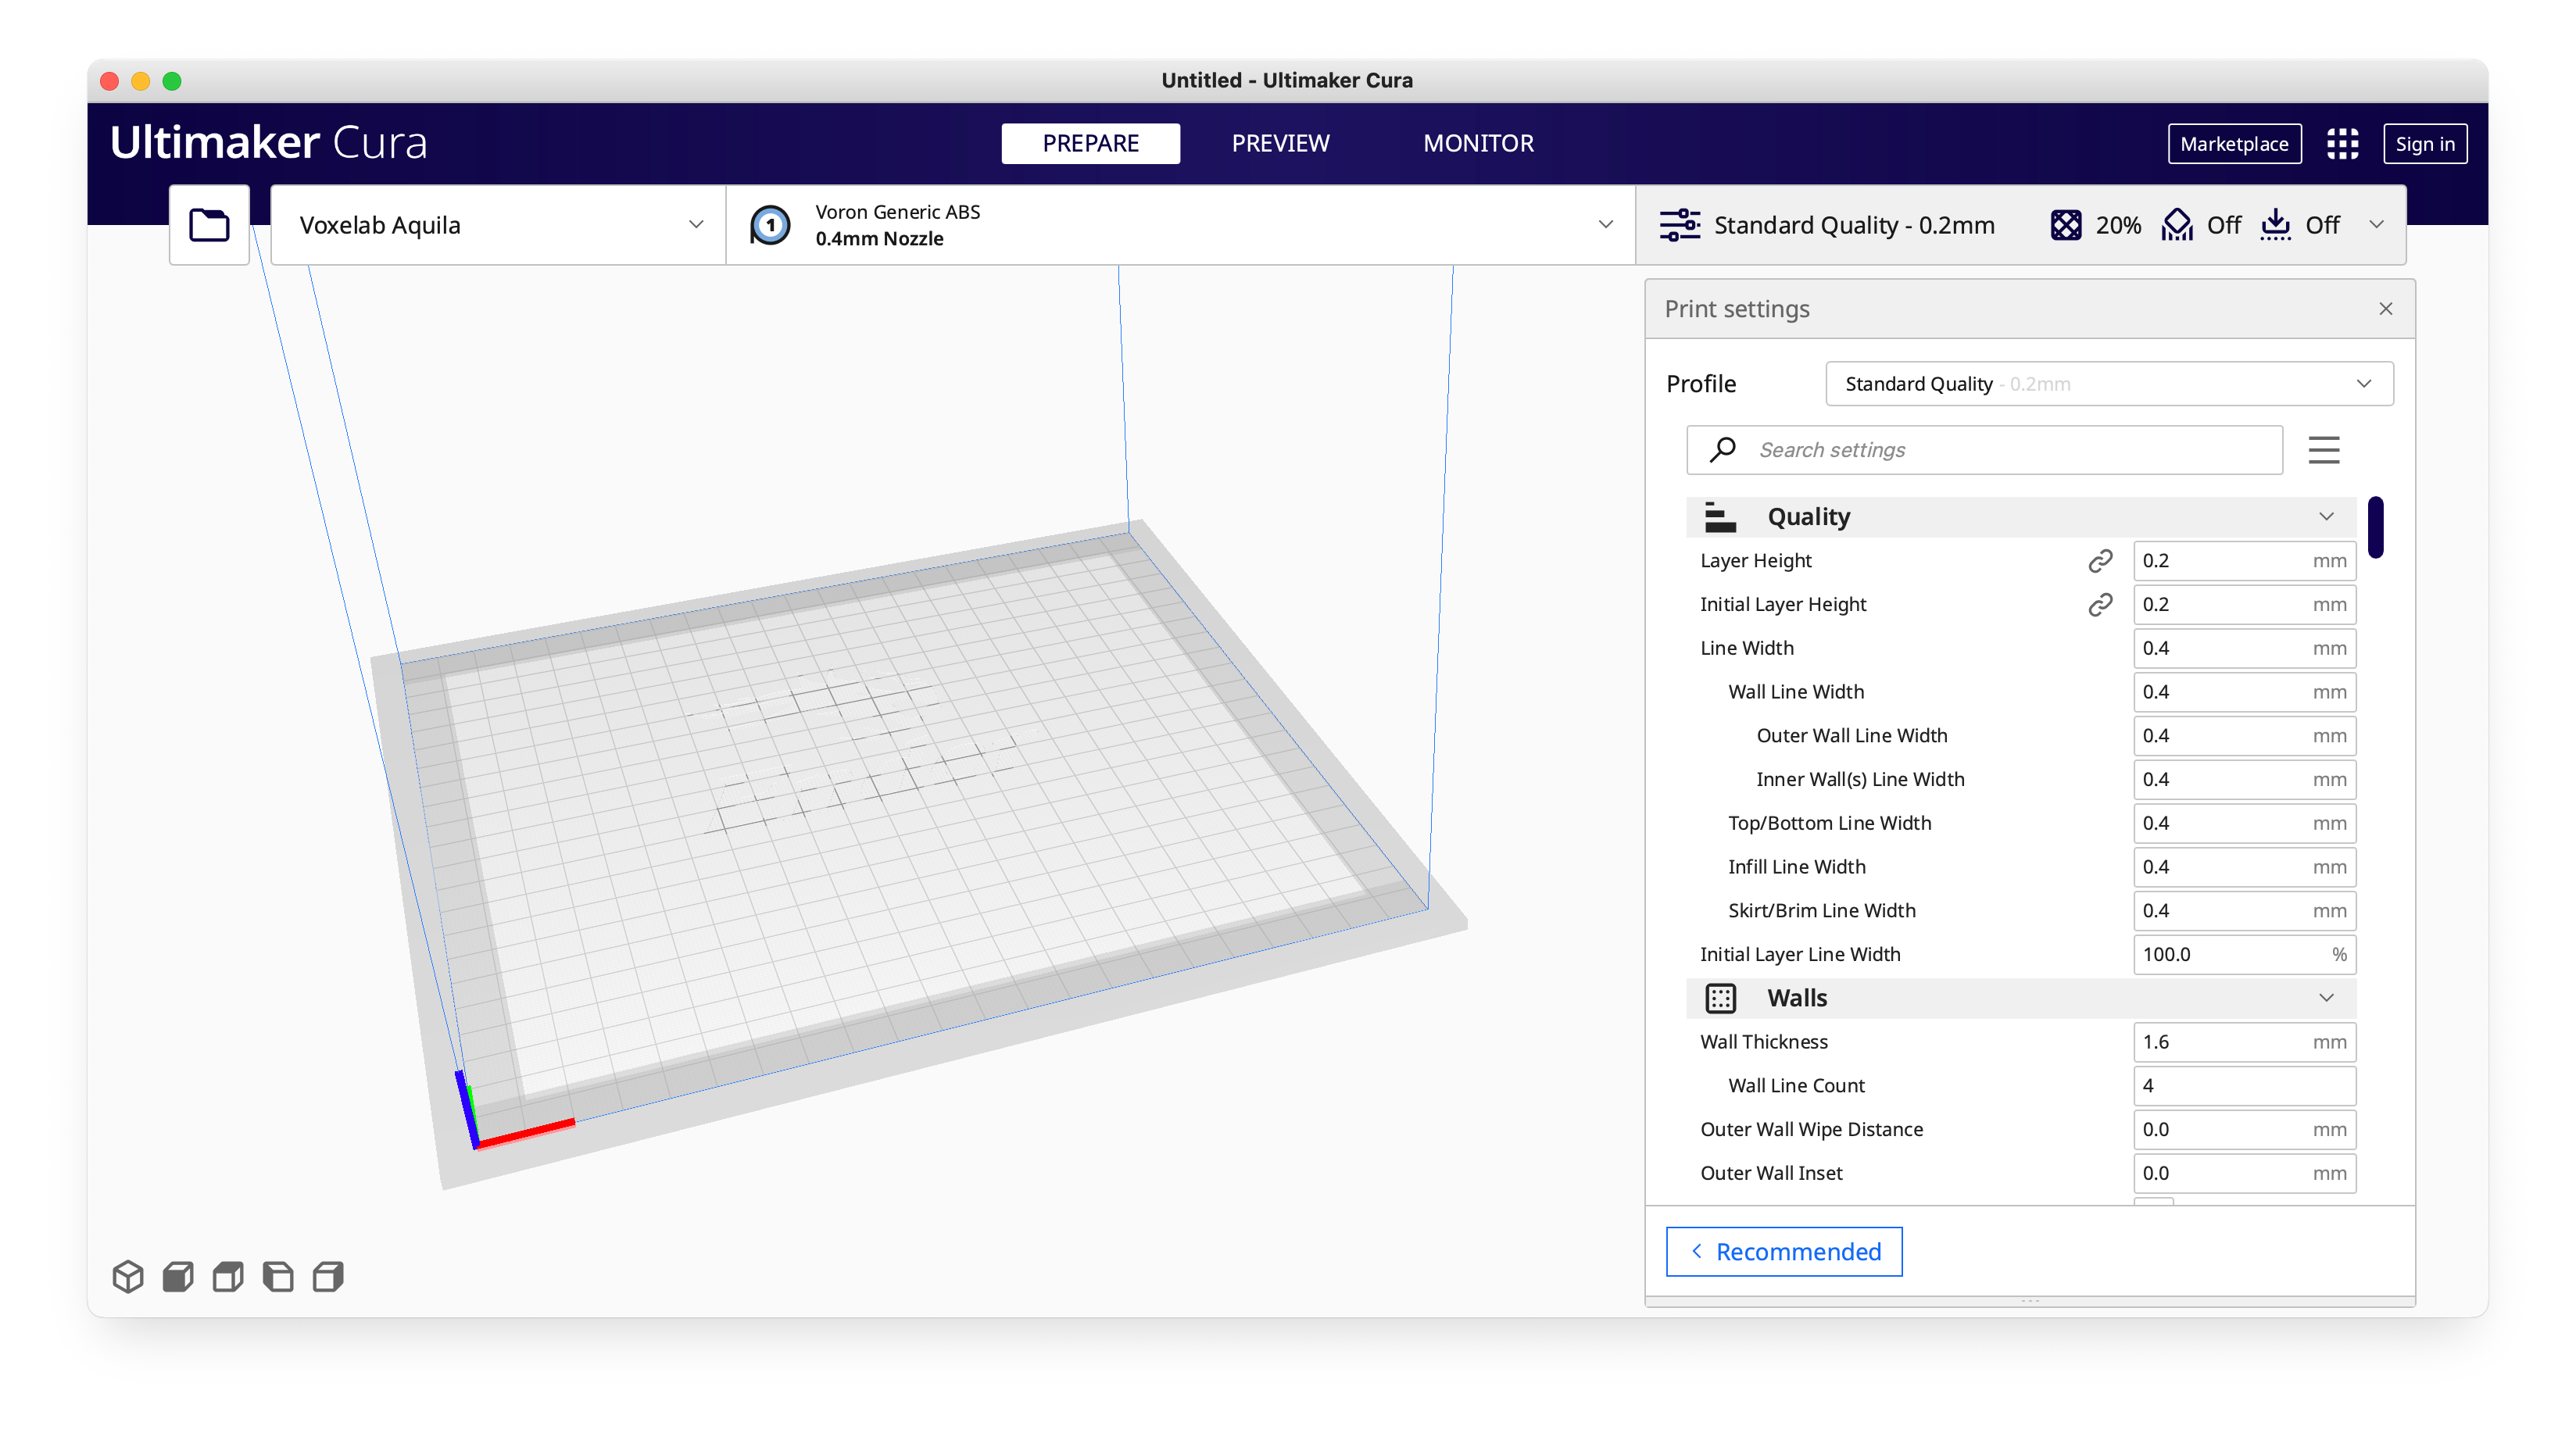
The three most popular slicers right now are SuperSlicer, Cura, and PrusaSlicer. SuperSlicer is a fork of PrusaSlicer with some nice additions and is my slicer of choice. Regardless of which slicer you use, when a project is sent to the Aquila, it should call the [_PRINT_START] macro and send temperatures for the hotend and bed as parameters. The Aquila will then go through the macro, create a mesh of the required build area, and heat up the nozzle before printing.

- SuperSlicer
- Lots and lots of settings and options. Less beginner friendly. The Aquila can basically use the stock Ender 3v2 profile. The most common slicer for Vorons. Supports sending gcode to Mainsail out of the box. The best printer tuning guide is pretty much written with SuperSlicer in mind. I use SuperSlicer exclusively now because it has a lot more settings and options, and because of the great print tuning guide, but Cura still does a few things better (like supports and seams). Github, Releases, Adding Preview Images to GCode, Andrew Ellis’ Tuning Guide

- Cura
- A little more beginner friendly, but needs a plugin to send gcode to Mainsail. The Aquila can basically use the stock Ender 3v2 profile, but there are two better ones: 3DPrintSOS(see description) and CHEP. Cura is still better than SuperSlicer at seam placement and supports. Download, How to send Gcode to Mainsail, Adding Preview Images to GCode
Mechanics
- Toolhead
- The assembly of parts on the gantry containing the hotend, hotend fan, parts cooling fan, probe, shroud, etc. The toolhead moves left to right, handling the X axis. I have upgraded the hotend to one that has a titanium heatbreak (the throat that connects the cooling block to the heating block). This makes the hotend able to handle higher temp filaments like ABS and PETG. I have also added a 3DTouch probe for aiding in bed leveling and nozzle-to-bed offset. I have also swapped out the stock shroud with a Satsana shroud printed in ABS for better parts cooling. Even better would be a Satsana shroud that still has a 3DTouch mount but supports larger 5015 part cooling fans. Maybe a good first mod for you to try.
- Gantry
- The horizontal aluminum rail and toolhead. The gantry moves up and down, handling the Y axis. I’ve noticed that the right side of the gantry has some vertical slop. To try and fix this, I’ve added a second leadscrew that is synced with a belt along the top of the printer for some more rigidity and gantry support. I’ve also noticed that the vertical aluminum rails don’t stay perfectly 90° either, which manifests as worsening print quality the higher the model goes.
- Extruder
- Mounted on the left side of the gantry, the extruder has some gears that are driven by a small motor, and feeds filament through the bowden tube to the hotend. The stock extruder was a cheap single-gear type with a plastic housing that was prone to cracking. I first upgraded it to an all aluminum version with the same gear internals, but experience some filament slipping. I then upgraded it to a BMG clone dual drive extruder with 3:1 gear ratio for higher torque and more precise filament feed. The bowden tube leading from the extruder to the toolhead should only be long enough for the toolhead to reach the furthest end of the X axis, but no longer than that. The longer the bowden tube, the higher retractions have to be.
- Bed
- The bed moves front to back, handling the Y axis. Leveling the bed is handled by 4 knobs. The stock Aquila bed has a heater on the underside and a specially coated glass bed on top (attached with metal clips). I have upgraded the stock bed with a magnetic sheet and a flex plate with a layer of PEI on top. A removable print surface like this flex plate is a huge quality of life upgrade, but also has better filament adhesion, and easier model removal. Sorry, mine has some damage from bad nozzle control. I have included two more PEI flex plates that are coated with texture rather than a PEI sheet (the black ones). The bed does undergo a small amount of thermal expansion when heated, so its good practice to let it warm up for around 10-15 minutes before leveling/printing. PLA generally likes a bed temp of around 60C, which is what my BOOT macro sets it to.
Config Files
These are stored on the pi in ~/klipper_config/ in case you want to back them up somehow. I like the macro that runs an automated script to push changes to github.
- printer.cfg
- The main configuration file for the physical printer. Also, anything automatically calculated is stored at the bottom of this file.
- macros.cfg
- I separated the macros into a new file for organization.
Mainsail Dashboard Macros
- BOOT
- Sets the bed to 60C, then performs a homing routine (G28 in gcode language). This is the first macro I hit when the printer is powered on. I like to let it preheat for about 10-15 minutes prior to any leveling or printing to allow for thermal expansion. A lot of people will preheat both the bed AND the nozzle, but I find that a hot nozzle makes it easy to damage PEI. See the flex plate for evidence T__T.
- FILAMENT UNLOAD
- Assumes the hotend is already at a temperature where the filament can extrude properly (eg, 190C for PLA)! This macro will retract the filament all the way from the hotend to the extruder, allowing for removal.
- FILAMENT LOAD
- Assumes the hotend is already at a temperature where the filament can extrude properly (eg, 190C for PLA)! After manually feeding filament through the extruder gears, this macro will feed the filament all the way from the extruder to the hotend. Follow this with repeated PURGE macros until you see filament extruding from the nozzle.
- FILAMENT PURGE
- Assumes the hotend is already at a temperature where the filament can extrude properly (eg, 190C for PLA)! Tells the extruder/hotend to extrude 25mm of filament. This is mainly used during filament swaps to push out old filament and prime the hotend with the new filament. The toolhead should be a few inches above the bed and purging into thin air. May require more than one PURGE to get things flowing.
- SCREWS
- Should be done with bed at printing temp to account for thermal expansion. This macro will use the probe to help level/tram the bed. The probe measures the Z position at each of the 4 screw locations and tells you how much to rotate each knob (in “minutes”) to get it perfectly level. The top left screw is always used as the correct one and probed first, followed by the remaining screws in counterclockwise order. For example “Bottom left: CCW 00:15” means to rotate the bottom left knob a quarter turn counter-clockwise. When I tram, I generally need repeat this macro a few times. Within 00:05 should be acceptable, but I go until within 00:02.
- STAGE
- I didn’t know what else to call this macro. It “stages” the bed for easy removal by moving the toolhead to the rear and bed to the front.
[PRINT_START] & [PRINT_END]
For best practices, slicer’s generated gcode should call a [PRINT_START] macro before printing, and a [PRINT_END] macro after completion. These macros can be found in macros.cfg and are good places for custom tasks. For the Aquila, I renamed it to [_PRINT_START] (because adding the underscore hides in on the Mainsail dashboard) and it handles the nozzle preheating, probes the required mesh area, and purges a line of filament on the side of the bed to prep the nozzle pressure. [_PRINT_END] shuts down the heaters, moves the nozzle out of the way, and shifts the bed forward for easy model viewing and removal.